Showing posts with label Repurpose. Show all posts

Tuesday, 23 June 2015

My new craft space....time to get crafty!

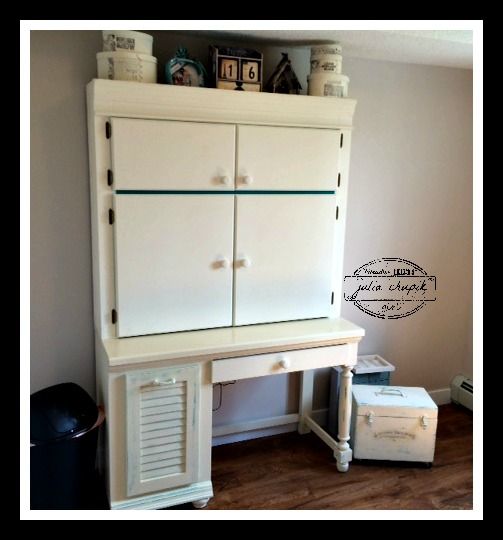
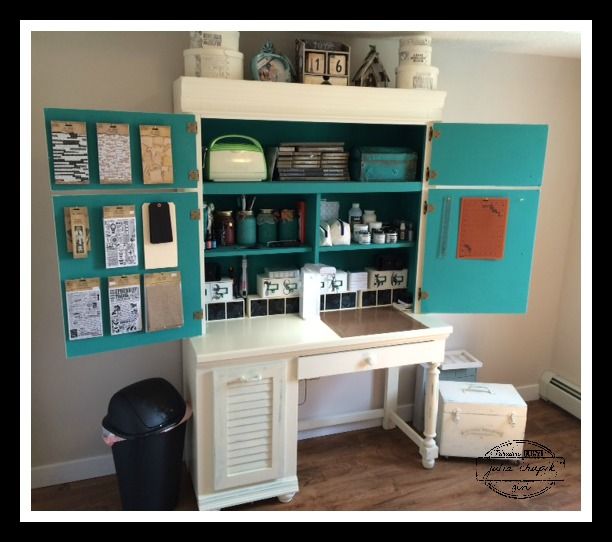
Finally, after a week of waiting for our stuff to arrive, I have my new craft set up. I absolutely love how my re-purposed computer desk/hutch turned out and it works perfectly in our guest bedroom. 

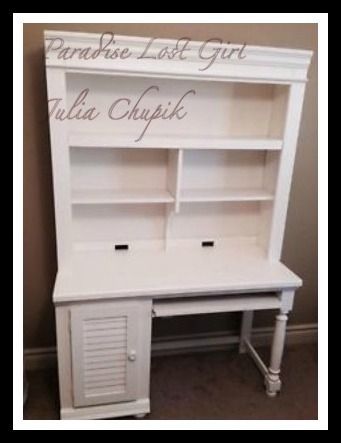
I bought this desk on Kijiji and although the structurally it was perfect I needed a bit of remodelling on it to make it amazing. So off to my dads workshop I went!


He listened to all my crazy ideas and basically told what would & wouldn't work.  New doors, drawers and pull it storage and it was ready for painting.  Off course I had to use my favourite Annie Sloan Chalk Paint colours ~ Old White on the outside and Florence for the pop of colour on the inside.

Well, take a look at it now ~ organized and ready for craftiness.  Check out my dollar store organizers & how well they fit! I couldn't be happier with how it turned out and, most importantly, I can close it up and have the room ready for when guests arrive. 

I think it's time to get crafty!

Thanks for visiting my blog today!

~~~~~stay crafty~~~~~

Julia
 

Tuesday, 26 May 2015

Crafty Storage Boxes........Part 1

I am in the final stages of getting things ready for our move to Edmonton and have been frantically focused on figuring out how to make a workable craft space in a small condo. 

Last weekend I found an amazing computer desk/hutch that was PERFECT!
After a few modifications by my amazing dad it has been painted & is ready to be loaded on to the moving truck. Watch for the desk reveal in blog post next week.

Today I have storage boxes.....lots & lots of storage boxes.

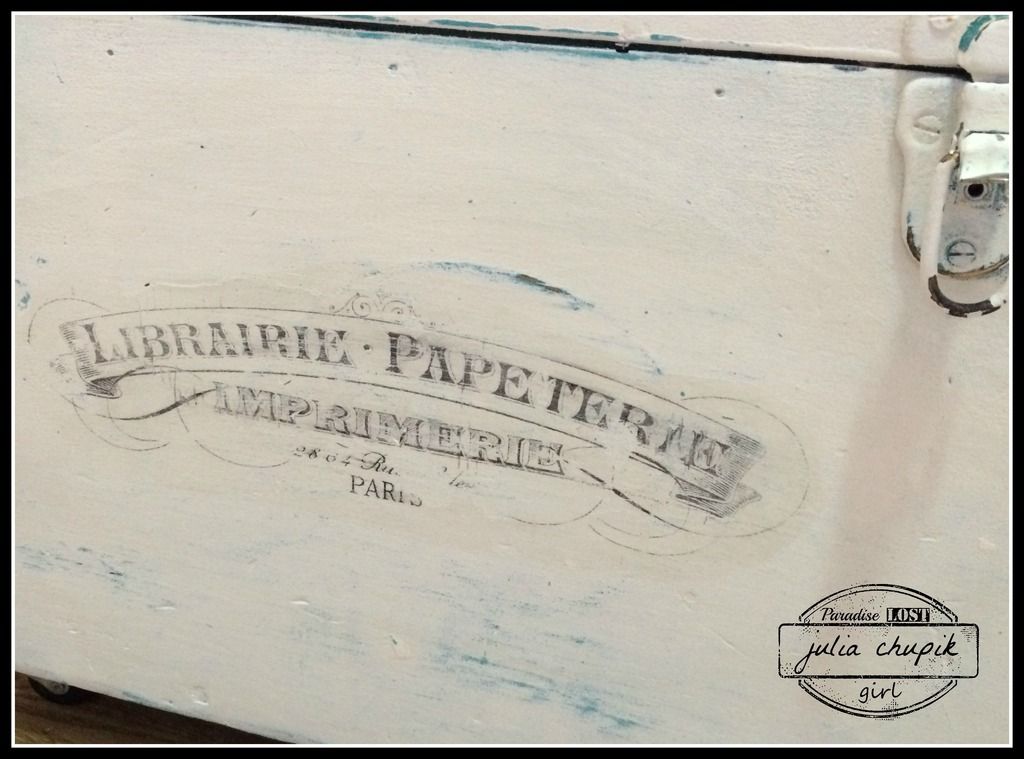
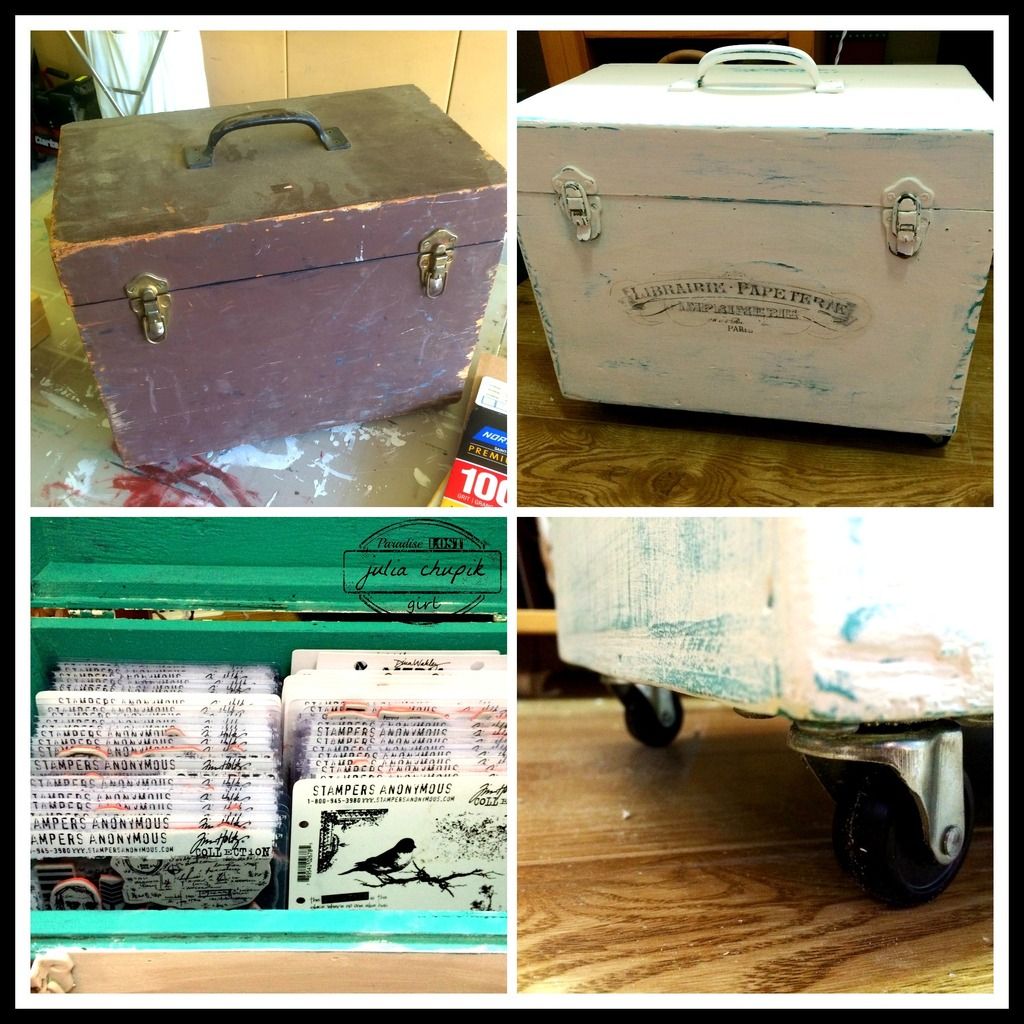
This one I particularly excited about. I first sanded the heck out the box, then painted with a coat of Annie Sloan Chalk Paint in Florence & then 2 coats of Old White. After a bit of sanding I had a lovely distressed box. I tried a new transfer method for the French Typography Graphic I found on the Graphics Fairy. I think I worked out well - I first applied a thin coat of Aleen's Tacky Glue to a thin sheet of cardstock, let that dry completely, then printed my reverse image on it. I trimmed it so I just had my image and not the entire sheet of cardstock. I think applied a thin coat of matte medium to my box where I wanted my image to be. I then placed my printed image face down on to the matte medium, pressed it down then let it dry overnight. In the morning I sprayed it with water then slowly & carefully began to rub the paper pulp of with my finger tips. I then used the edge of an old hotel key card to gently scrap off the glue residue. It was a bit time consuming but it was by far the best image transfer result I have done.

I think it turned out really well....not bad for a $10 old wooden tool box I found at Restore.
Its the perfect storage box for my Tim Holtz stamp sets & the casters I added to the bottom finish it off perfectly!


Stayed tuned because on Thursday I will post more crafty boxes I made with dollar store purchases!

Thanks for visiting my blog today!


~~~~~~ stay crafty ~~~~~

julia