Today I finally complete my crafty storage for my new craft space.
Over the past couple of weeks I have been searching for & collecting boxes that
I thought would work.
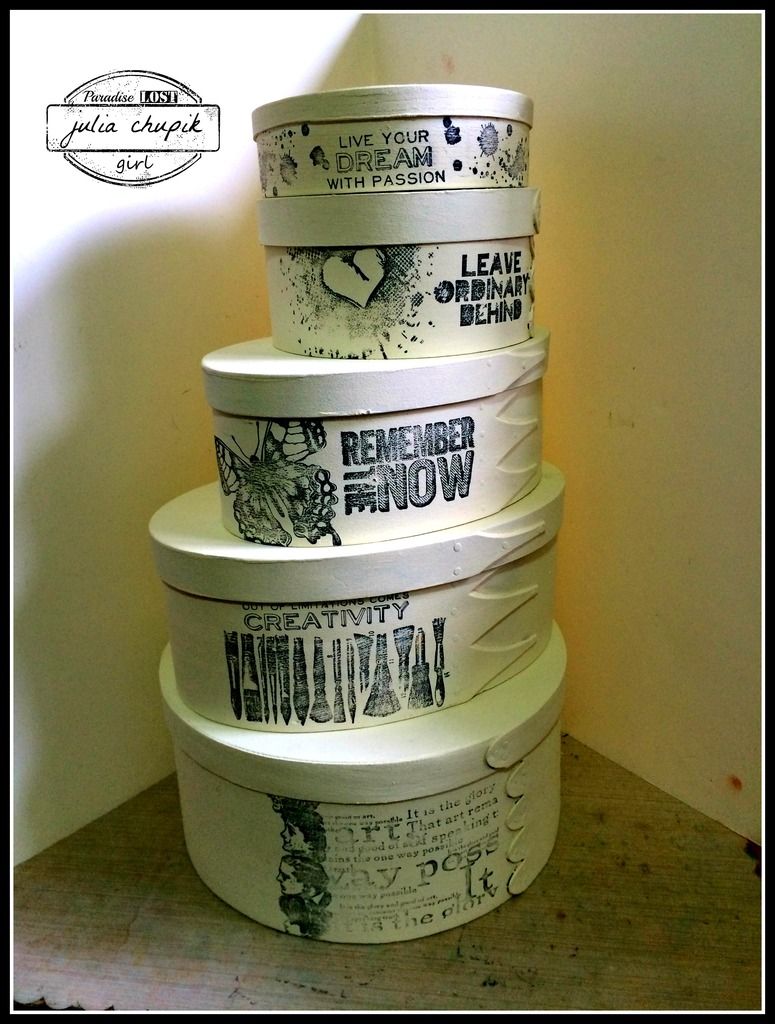
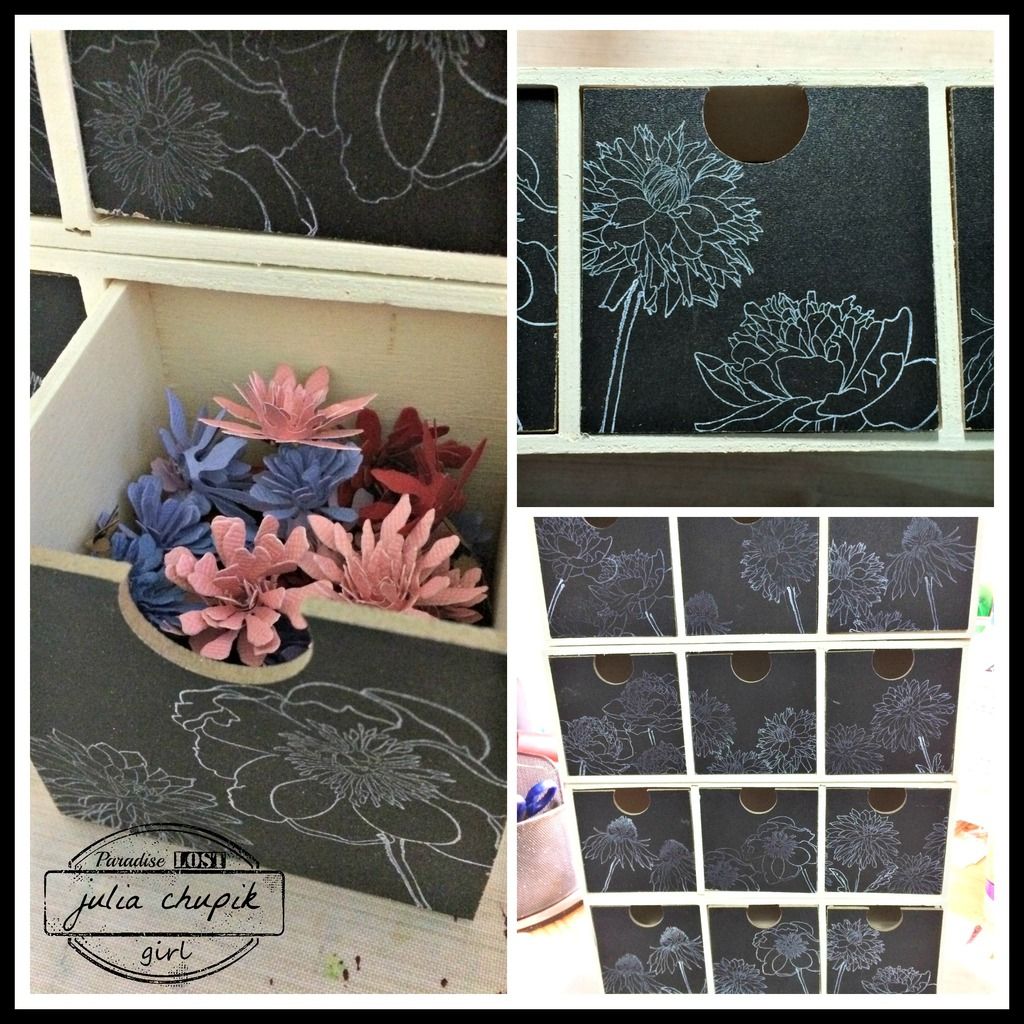
Aren't these awesome! I painted everything with one coat of Old White Chalk Paint
from Annie Sloan with the exception of the black chalkboard finish.
These wooden nesting boxes will be perfect for ribbon & washi tape storage.
The largest one can fit about 20 - 2oz bottles of acrylic paint!
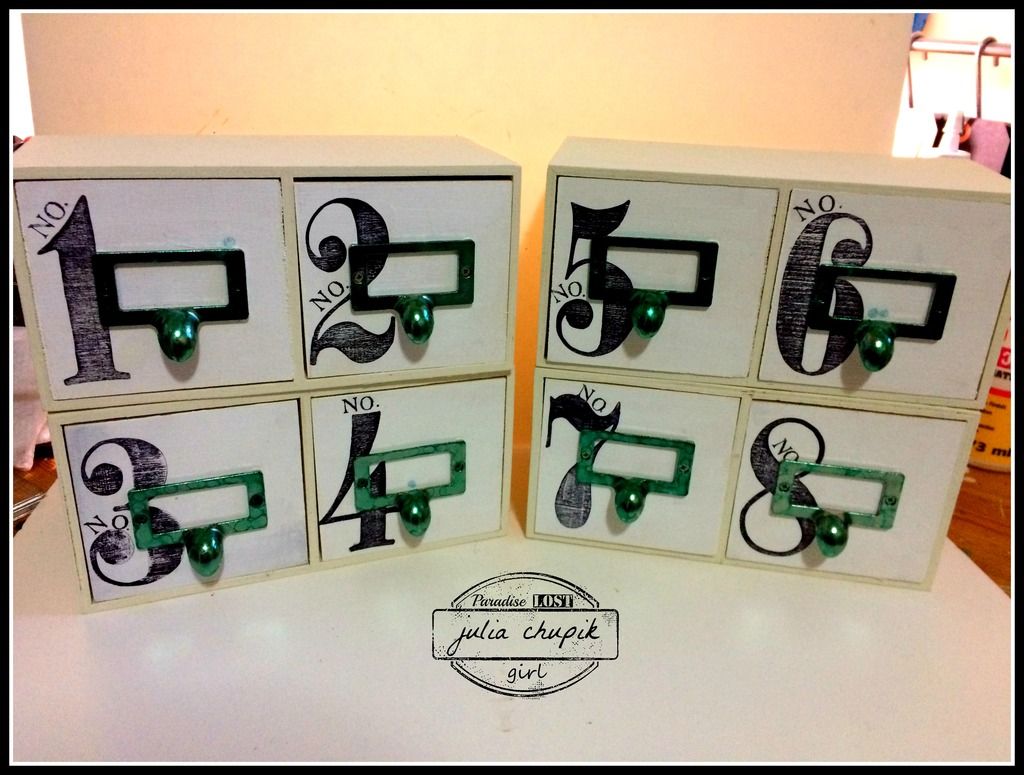
These small drawers were a dollar store find. I removed the metal drawer pulls
and applied alcohol ink so that they coordinated my stamp storage box.
The Numeric stamps from Stampers Anonymous were the perfect size for the drawer
fronts.
Yet another dollar store find - triple drawer with chalkboard fronts. The Flower Garden Stamps from Stampers Anonymous look amazing stamped in white on the drawer front.
Look at how awesome my Tiny Tattered Florals look!
I am in the final stages of getting things ready for our move to Edmonton and have been frantically focused on figuring out how to make a workable craft space in a small condo.
Last weekend I found an amazing computer desk/hutch that was PERFECT!
After a few modifications by my amazing dad it has been painted & is ready to be loaded on to the moving truck. Watch for the desk reveal in blog post next week.
Today I have storage boxes.....lots & lots of storage boxes.
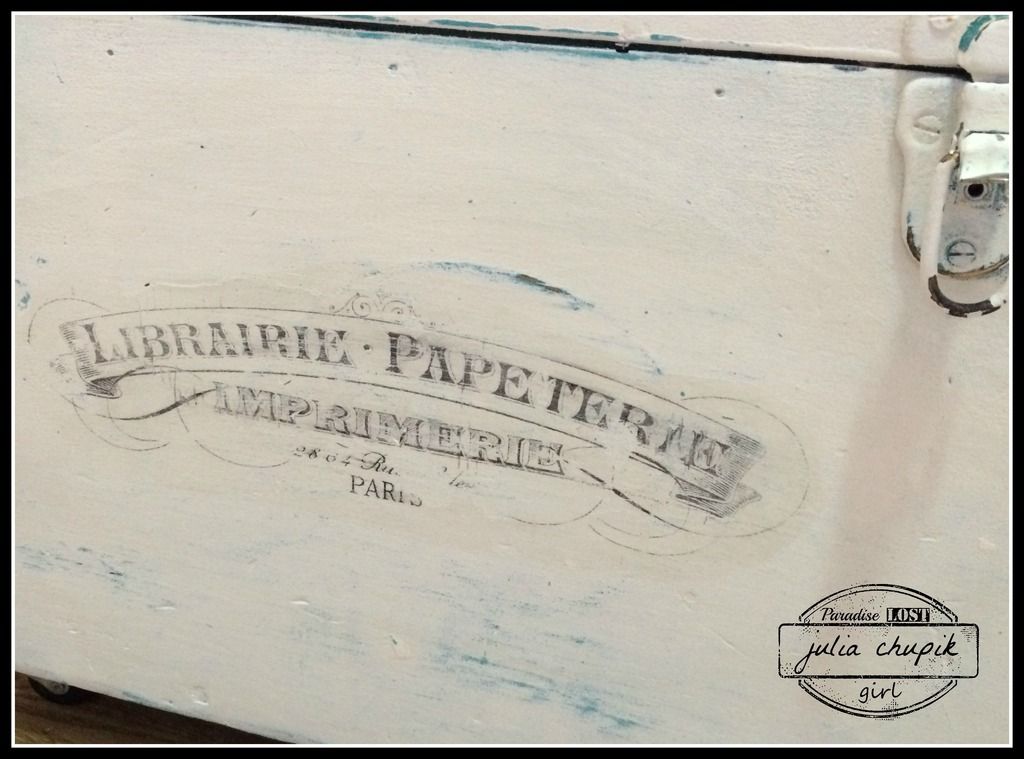
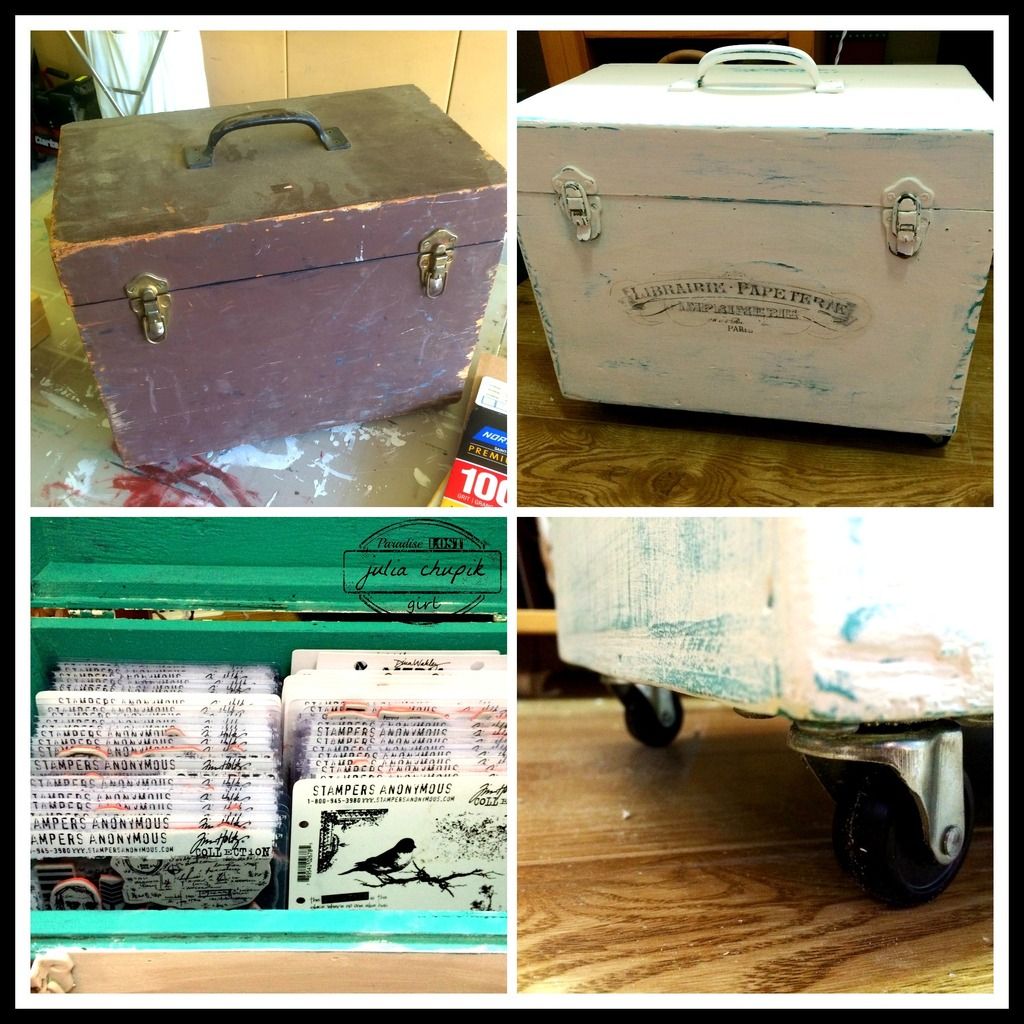
This one I particularly excited about. I first sanded the heck out the box, then painted with a coat of Annie Sloan Chalk Paint in Florence & then 2 coats of Old White. After a bit of sanding I had a lovely distressed box. I tried a new transfer method for the French Typography Graphic I found on the Graphics Fairy. I think I worked out well - I first applied a thin coat of Aleen's Tacky Glue to a thin sheet of cardstock, let that dry completely, then printed my reverse image on it. I trimmed it so I just had my image and not the entire sheet of cardstock. I think applied a thin coat of matte medium to my box where I wanted my image to be. I then placed my printed image face down on to the matte medium, pressed it down then let it dry overnight. In the morning I sprayed it with water then slowly & carefully began to rub the paper pulp of with my finger tips. I then used the edge of an old hotel key card to gently scrap off the glue residue. It was a bit time consuming but it was by far the best image transfer result I have done.
I think it turned out really well....not bad for a $10 old wooden tool box I found at Restore.
Its the perfect storage box for my Tim Holtz stamp sets & the casters I added to the bottom finish it off perfectly!
Stayed tuned because on Thursday I will post more crafty boxes I made with dollar store purchases!
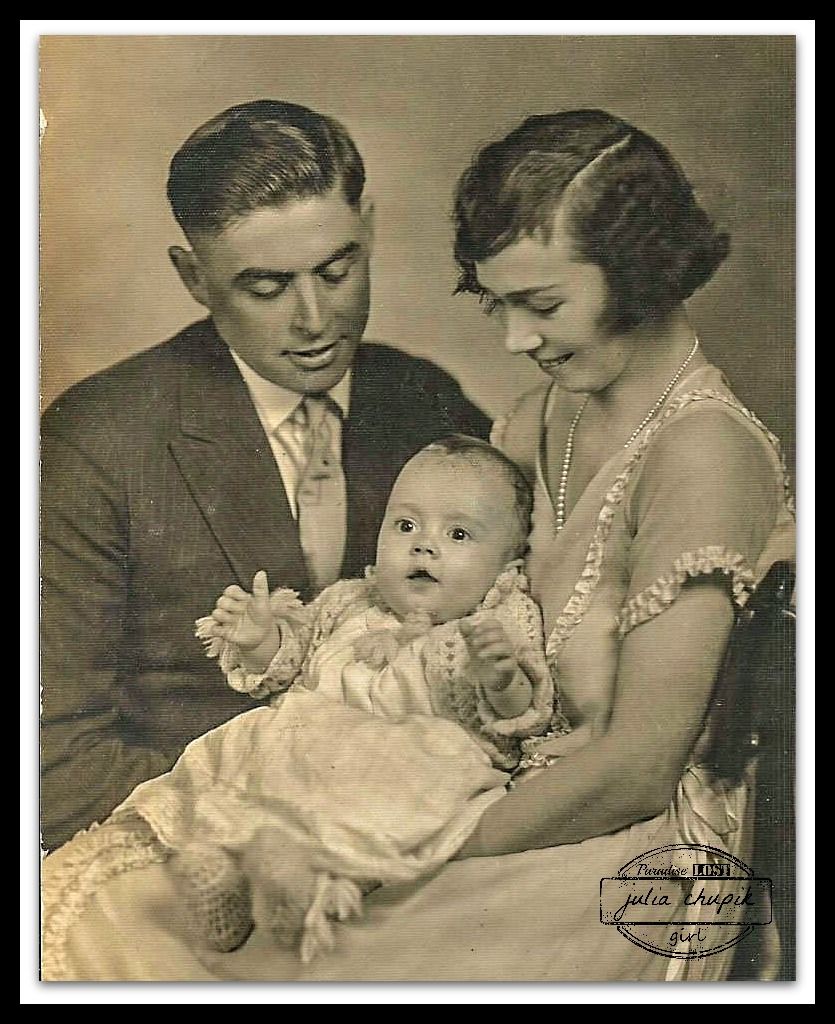
My Great-Grandma Edna was a grand lady. Full of life and a hearty laugh that would
bring a smile to anyone's face. I give her full credit for passing on the
scrapbook gene to me.
My great-gram with her husband Septimus & holding my grandfather - circa 1925
I recently inherited her scrapbooks (dating from the 1920's - 1970's), her mother's scrapbook (dating back to the 1870's) and my great-grandfathers scrapbook (dating from 1910-1920's)
It has been quite a journey going through these old family photos & it has also been quite inspiring.
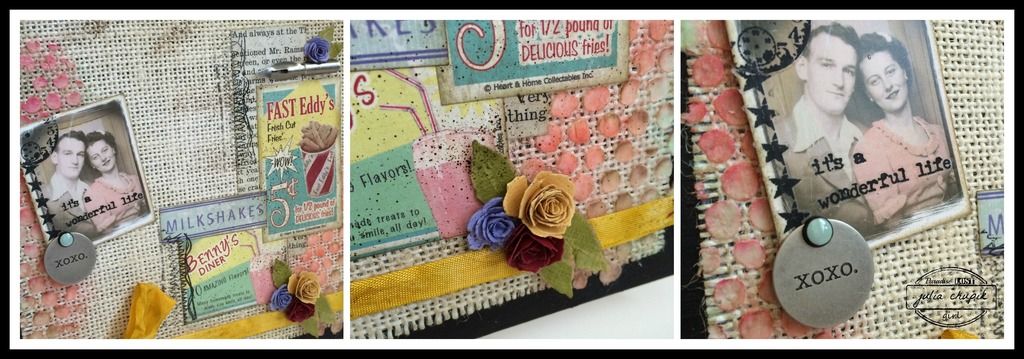
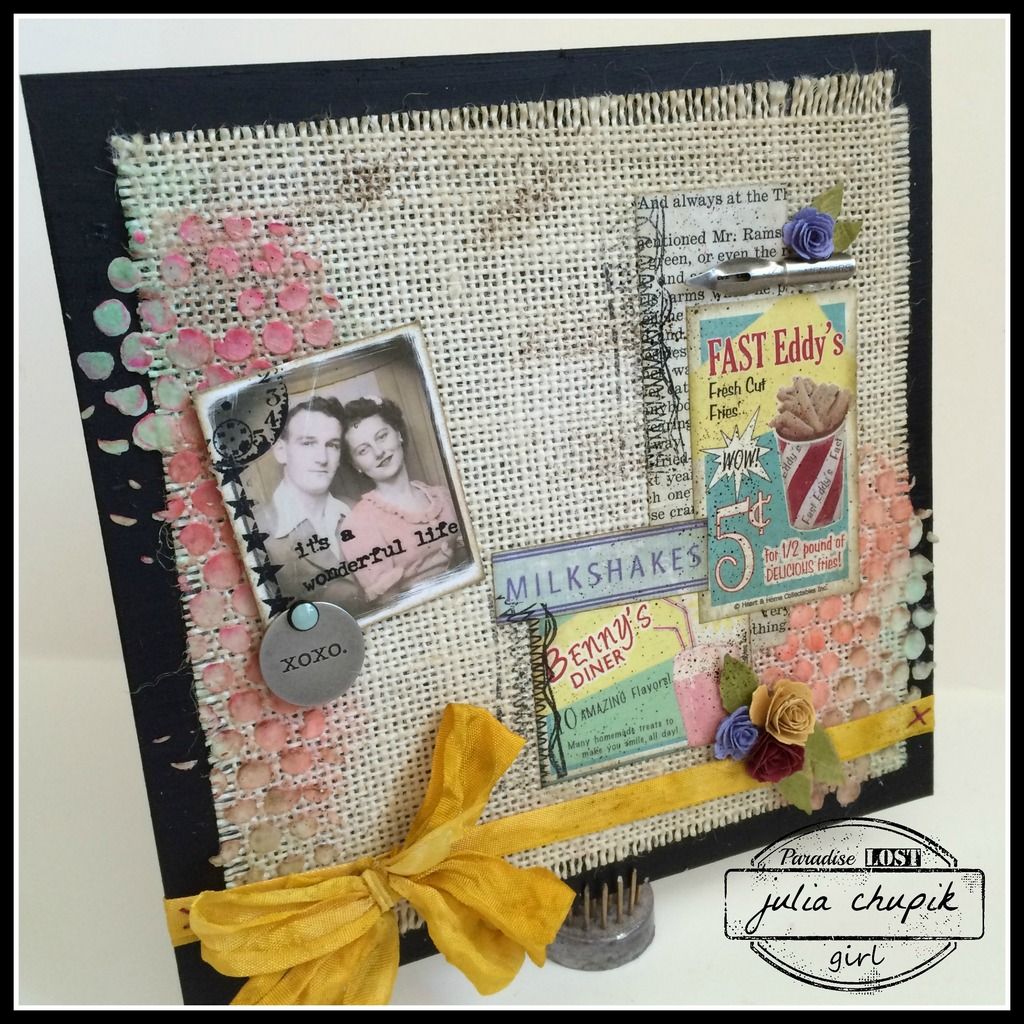
I recenyl started a series of canvases that will displayed in my home using copies of some of my favorites. This is one of them.....
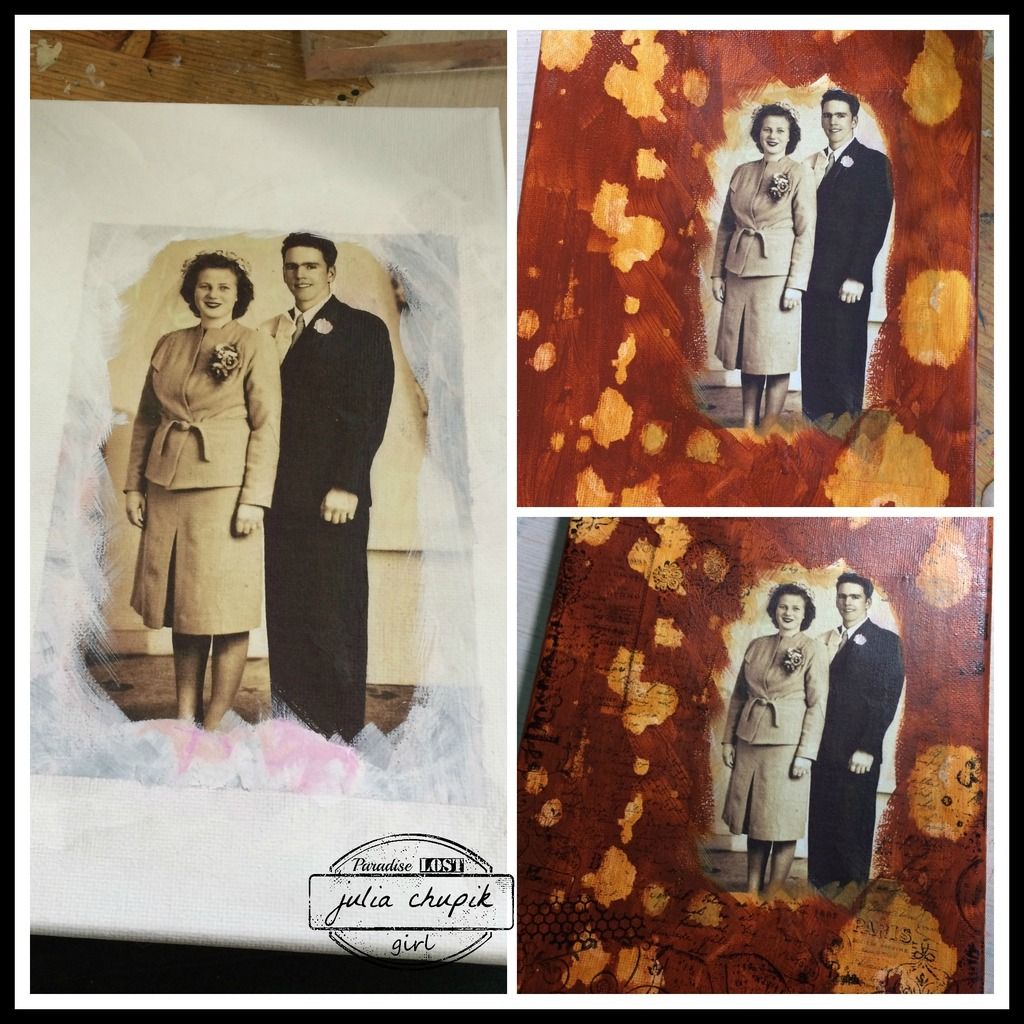
This is a photo of my Grandpa & Grandma Shuttleworth on their wedding day in 1946. After editing the photo I printed it out on white tissue paper. I then used matte medium to adher it to an 8x10 canvas. I applied a light coat of gesso arounf the edges before starting to layer my paint. My next step was to stamp various images across the canvas.
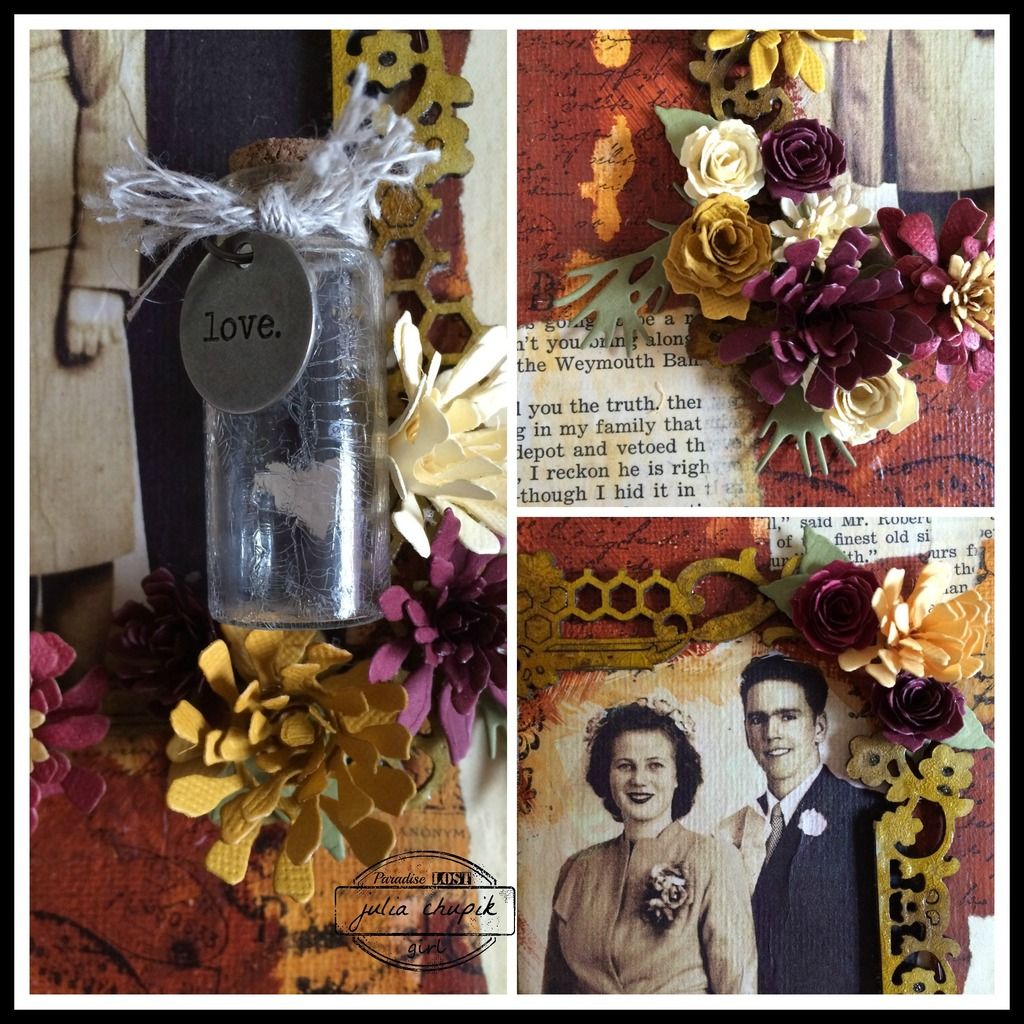
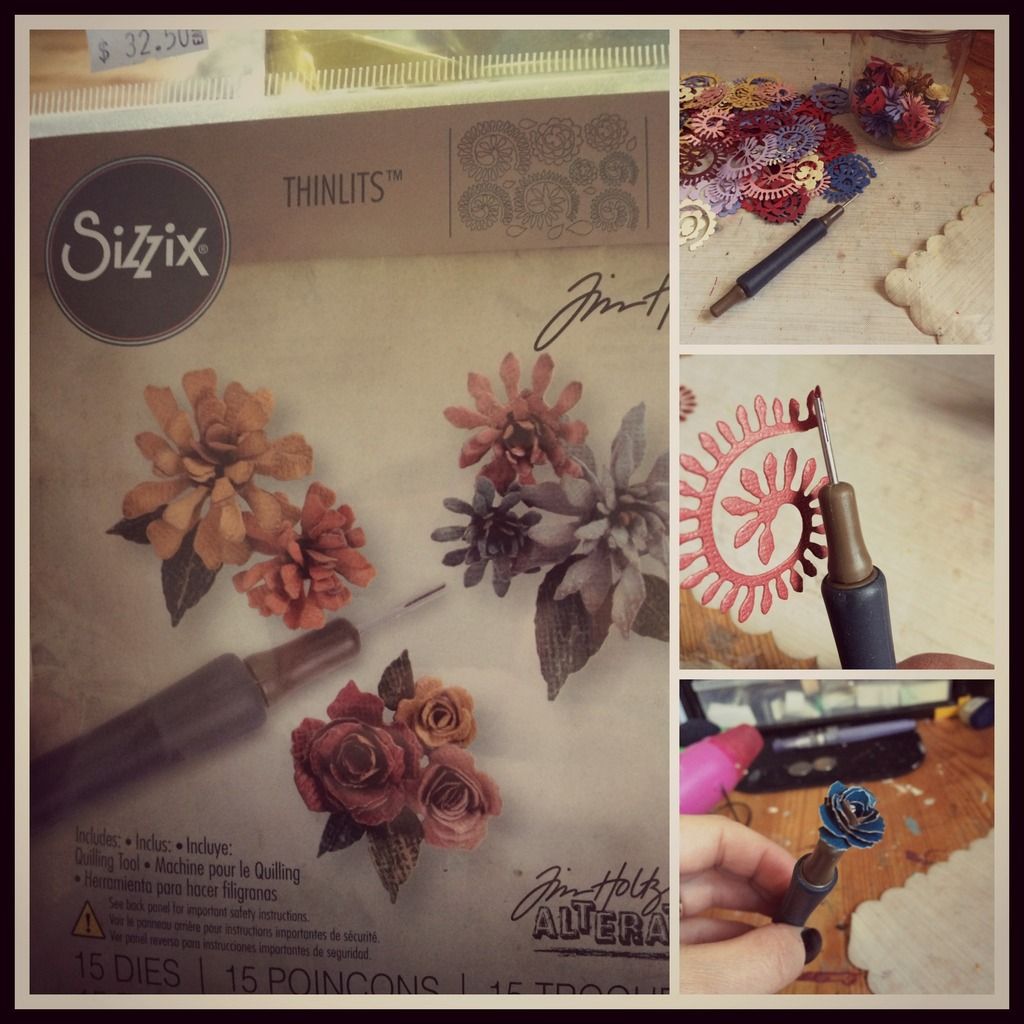
After adding some torn paper pieces to the canvas I started adding my 3D elements. The Foral Medley Frame from Blue Fern Studios was perfect and I couldnt wait to use my new Fossilized Amber Distress Stain on it. I finshed the frame off with a coat of Distress Clear Rock Candy paint for a little more added texture. Check out those Tiny Tattered Florals! It's my new favorite die!
I sat down earlier in the week & made a whole mason jar full of these tiny flowers! The quilling tool that comes with the dies really makes these flowers easy to assemble.
Check out this demo video by Tim from CHA 2015.....
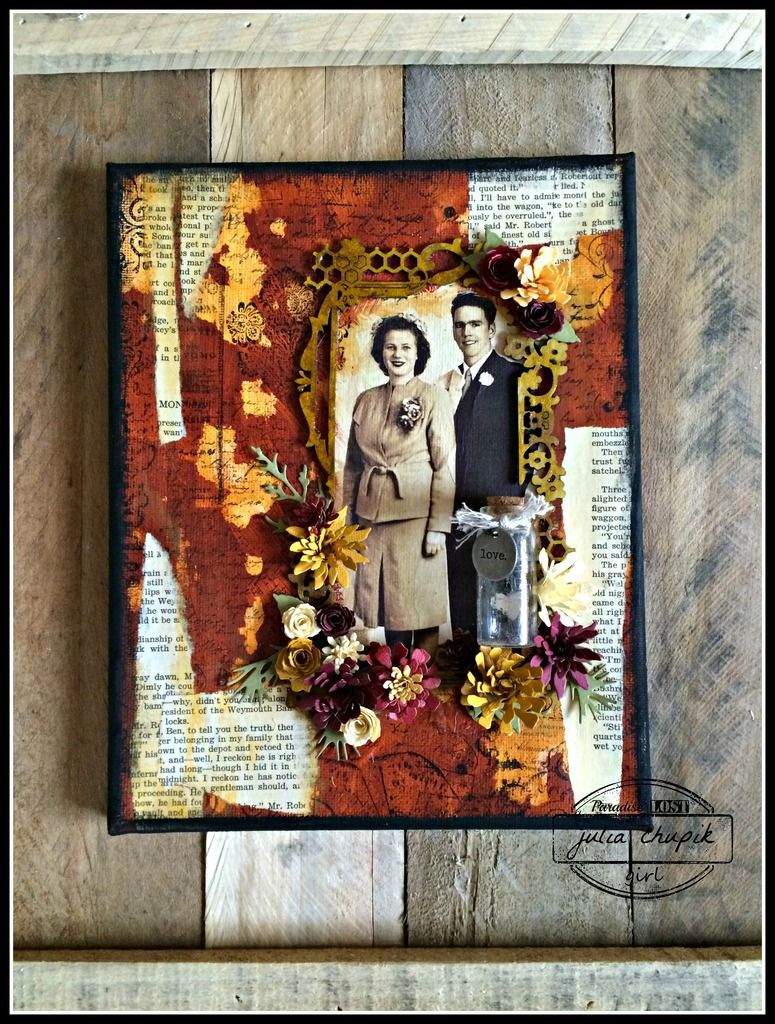
Finally here is my completed canvas.....
.....all ready to display with my other family canvases.
Check out A Vintage Journey Challenge Blog
for a lot of Tim-Inspired Shabby & Vintage goodness!
Thank for visiting my blog today! I really appreciate all your comments.
Forgive me bloggers. It has be 16 days since my last blog post.
In my own defense, I have been busy with working out the details of our move
and I think just about everything is in place. The only thing left to do is to
actually move and that will happen in a couple of weeks.
Until that happens though, I do have some crafty projects to work on -
including more storage options for my new craft/guest bedroom in
our new condo.
I spent this morning hanging out with my crafty friend, Nicole. I always leave her house full of crafty ideas & inspiration! If you haven't done so yet - go check out her blog Canadian Nickle Scrapn'
Here is some more exciting news - Nicole will be teaching at this years Great Canadian Scrapbook Carnival in Calgary! Congratulations Nicole! I have seen her projects and they are super cute!
Click on the link for all the details of the Carnival!