Friday, 26 January 2018

Distress Oxides + Distress Micro Glaze + Glossy Paper

Hello and welcome back!
Did anyone else spend last weekend glued to social media waiting and watching for live updates from Creativation? It was so much fun and I wasn't jealous at all. There are so many exciting products being released this spring!

One of the most exciting demos I watched was this one from Tim Holtz.....watch and be amazed.

This technique of absolutely blew my mind and I rushed to my craft room to try it out.
After a few attempts and being dazzled by the results I decided to take it one step 
further with a stencil.

Here is the final result.


After using the smoosh technique to apply the Abandoned Coral & Twisted Citron Oxides to the glossy paper - I took my Tim Holtz Layering stencil (THS059 Blocks) placed it over the glossy paper and applied Distress Micro Glaze with an ink blending tool.

I then dragged my glossy card through some Vinatge Photo Distress Oxide on my craft mat. This left the Vintage Photo only on the stenciled image not covered with Distress Micro Glaze.

The last step was to go voer then entire card again with the Distress Micro Glaze to remove the chalky white finish left from the oxidation.
This is such a fantastic technique and one that I am sure to use over and over.

Click below to watch the step-by-step video I made while making this card.


Tuesday, 23 January 2018

Happy Everything Card

It's Monday and time for another card.

Over the holidays I did some stamp re-organizing and I came across an old favorite from 
Deep Red Stamps. I love this set of butterflies and decided they needed to see the light of day again.
I have included a link to the process video I  made while making this card.

~~Here is my completed card~~
I used a piece of acetate to apply the Color Burst pigments to the base and a watercolor brush to apply more Color Burst to the butterflies.


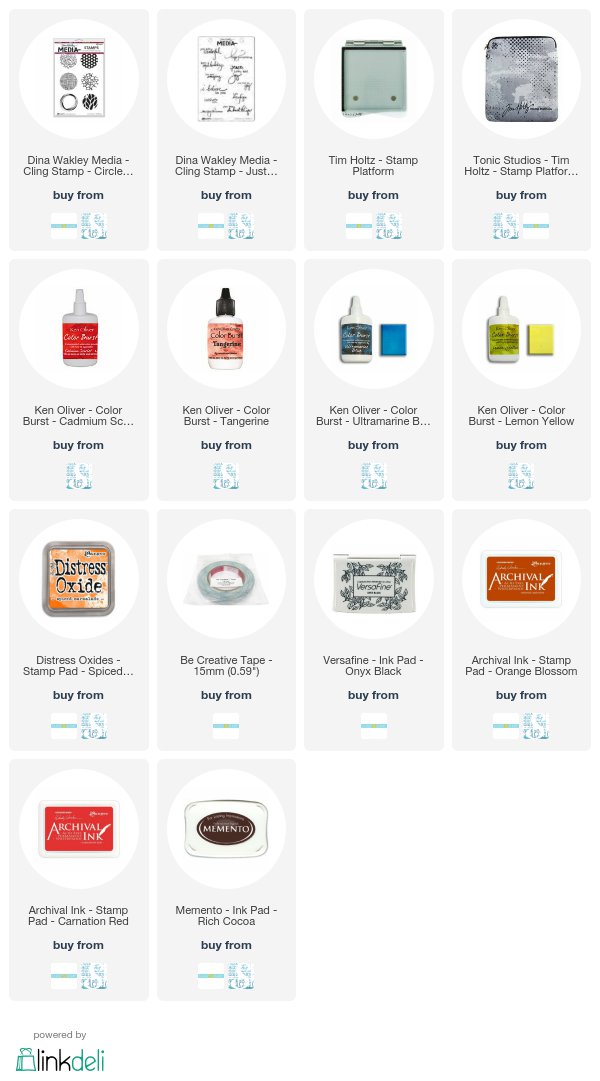
Products used:
(this blog uses affiliate links that earn me a small commission at no extra cost to you.
Thank you for your support.)

Deep Red Stamps:


Friday, 19 January 2018

3 Cards using Baked Texture Embossing Powders

Hello again! Today is day #2 of my January 2018 Kit reveal for Scrap Shotz.

I have 3 cards to share with you today including a step-by-step video tutorial.

Click below to watch the video tutorial.


A full list of supplies and more photos can be found over on the Scrap Shotz Blog.


Thursday, 18 January 2018

One Of A Kind - January Kit Reveal for Scrap Shotz

Welcome back! 

Today I am over on the Scrap Shotz Snap Shotz blog sharing a project I made using the gorgeous product in this months kit which includes the 12x12 Documented paper pack from Kaisercraft.

I created this 12x12 layout and based it on the January Sketch at Creative Scrapbooker Magazine.
Check it out here --------> January Sketchy Gallery

To see more step-by-step photos and details on the Janaury Kit go check 
out my post at the Scrap Shotz Snap Shotz blog.

Monday, 15 January 2018

Bird In My Journal - Birthday Card

Hello my crafty friends!
I am back with a couple of birthday cards to share with you 
using a beautiful stamp from Carabelle Studio.

~~Here are the 2 completed cards~~
I used a pretty simple watercolor background for my stamp. 
Some Yellow Gold Liquid Metal (Ken Oliver) was added for a bit of shimmer.

I masked the oval on one of the cards when stamping the bird image (above) except
 for the tail portion.


These were pretty simple and fast cards to make. In total it took 30 minutes to complete both.


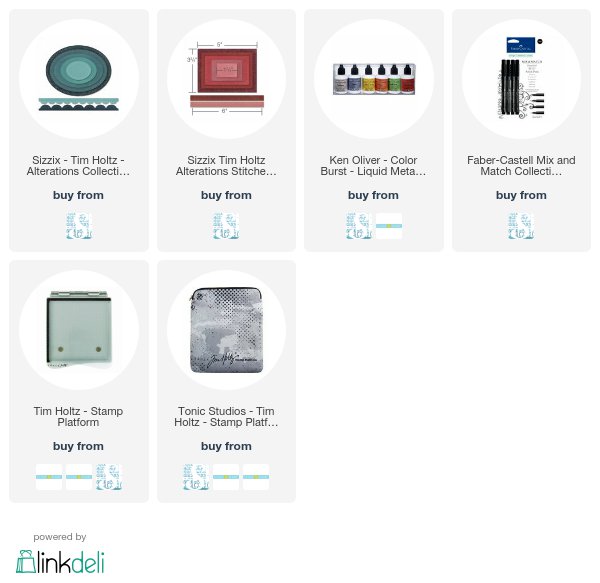
Products use:
(I use affiliate links that earn me a small commission at no extra cost to you. Thank you for your support)

Carabelle Studio:
Un Oiseau Sur Mon Journal

Wednesday, 3 January 2018

New Year Resolution 2 - Celebration File & Card Storage.

Welcome back my crafty friends!
My last post was all about taking a moment each day to write down one thing I am grateful for. 
Today's project is about a resolution that I have made every January for the last 3 years (at least) and have never followed through with. I am hoping that this Celebrate File & card storage will help me.
I love to make cards but I am terrible at mailing them out in time. Horrible actually.

I used the Eileen Hull Travel Journal (661906) and Card Box, Planner Storage & Organizer (662361) dies to make my organizer.


~ Here is my finished organizer ~

Now I had to creative because the assembled card box is wider than the finished journal die. To solve this I left the first cut of the front and back of the journal whole and did not bend the spine on the score line. I made 2 extra cuts of the spine to attach to the front and back of the journal.
 If that doesn't make sense then please watch the video - that may explain it better.

I made some monthly inserts for my card box that list the dates of birthdays and anniversaries for the entire year. I love that I can look ahead make a card and then store it in the box until its time to pop it in the post. I'm keeping my fingers crossed that this will keep be organized & motivated to get cards in the mail. 

Click below to watch my tutorial video for this project.
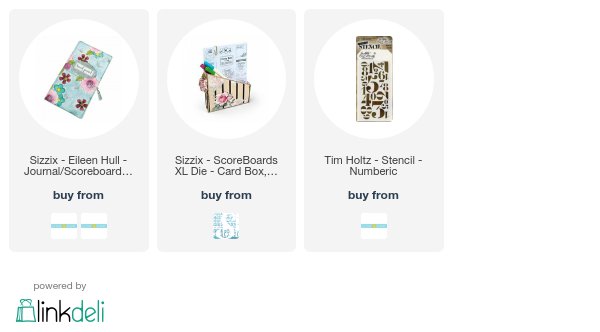
Products Used:
(This blog contains affiliate links that earn me a small commission when used to make purchases. This does not cost you any extra. Thank you for your support!)