Showing posts with label Sizzix. Show all posts

Wednesday, 18 April 2018

Some Fur Babies Have Spikes - A Wild Whisper DT Project

Hello! 
It has been a crazy time in my life so not a lot of creating is happening.
I did manage to get another Fur Baby project finished for Wild Whisper.
This weeks project isn't so much about fur as it is about spikes. A spiky hedgehog to be exact.

Here is a sneak peek pic of the little pincushion. Head over to the Wild Whisper blog for more photos and details on how I created this page.

Don't forget to use the promo code DTJulia when placing your order at the Wild Whisper Online Shop. You'll save 10%!


Saturday, 24 March 2018

Easter Treat Trinket Box - Scrap 'n Stamp Designer Challenge

Hello and welcome back!

It is time for another designer challenge at Scrap 'n Stamp.
This month the team was challenged to use one of the new  Side Order sets from Tim Holtz/ Sizzix.
If you are following along the blog hop you should have come here from Nancy's blog and her fabulous project. 

I chose to use the Springtime set and decided to pair it with the Eilleen Hull Trinket Box Die to make a sweet-filled place setting for Easter dinner.

Distress Oxides on glossy paper made for a fabulous spring background for my trinket box.

The bunny, bow & script word from the Springtime Side-Order set
are super cute and look fabulous with some green velvet rick rack I had in my stash

The trinket box makes a great little treat box for dinner. Who doesn't like candy easter eggs?!?!

Check out the process video below:


Now head over to Karen's blog to see what amazing inspiration she has in store for you.

Julia Chupik ----> you're here!
Karen Warner

Products Used:

Eileen Hull Trinket Box Die

Distress Oxides:


Monday, 5 February 2018

Distress Oxides + Glossy Paper - a birthday card

Hello everyone!

I am OBSESSED with Distress Oxides on Glossy Paper.
Every time the result is different and gorgeous. 

The card was created for a special crafty friend's birthday recently and she loved it. I hope you do too.
Be sure to check out the video at the end of the blog to see a full step-by-step tutorial.


~The completed card~

When making these backgrounds I like to try some different color combo's with the Distress Oxides.
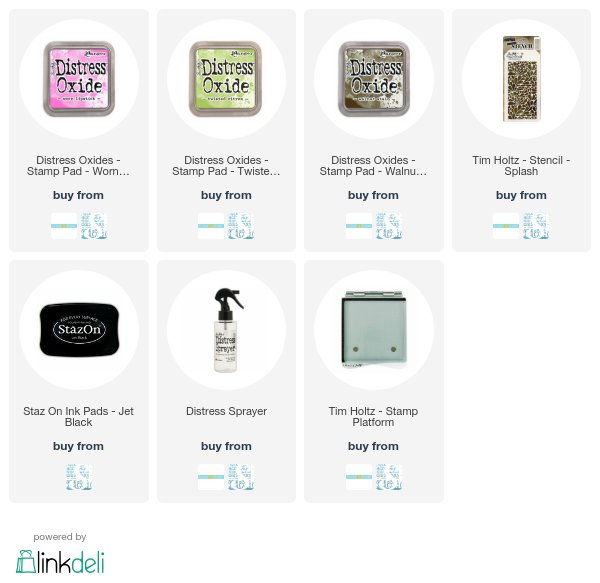
This one is definitely a fave - Worn Lipstick; Twisted Citron and Walnut Stain.

The layering stencil is from Tim Holtz/Stampers Anonymous - Splash THS080

Watch the step-by-step video below to see how I created this card from beginning to end.

Products used:


Monday, 15 January 2018

Bird In My Journal - Birthday Card

Hello my crafty friends!
I am back with a couple of birthday cards to share with you 
using a beautiful stamp from Carabelle Studio.

~~Here are the 2 completed cards~~
I used a pretty simple watercolor background for my stamp. 
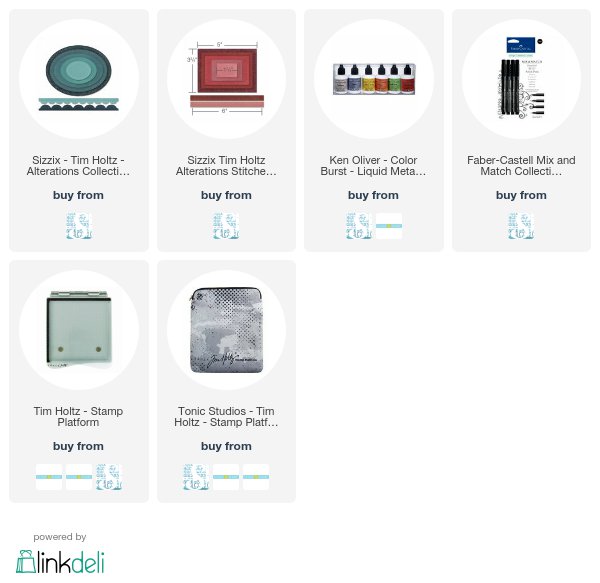
Some Yellow Gold Liquid Metal (Ken Oliver) was added for a bit of shimmer.

I masked the oval on one of the cards when stamping the bird image (above) except
 for the tail portion.


These were pretty simple and fast cards to make. In total it took 30 minutes to complete both.


Products use:
(I use affiliate links that earn me a small commission at no extra cost to you. Thank you for your support)

Carabelle Studio:
Un Oiseau Sur Mon Journal

Wednesday, 3 January 2018

New Year Resolution 2 - Celebration File & Card Storage.

Welcome back my crafty friends!
My last post was all about taking a moment each day to write down one thing I am grateful for. 
Today's project is about a resolution that I have made every January for the last 3 years (at least) and have never followed through with. I am hoping that this Celebrate File & card storage will help me.
I love to make cards but I am terrible at mailing them out in time. Horrible actually.

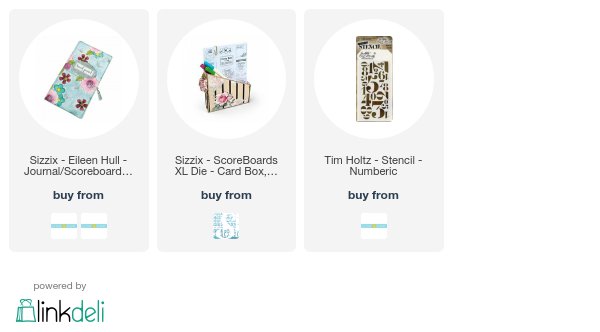
I used the Eileen Hull Travel Journal (661906) and Card Box, Planner Storage & Organizer (662361) dies to make my organizer.


~ Here is my finished organizer ~

Now I had to creative because the assembled card box is wider than the finished journal die. To solve this I left the first cut of the front and back of the journal whole and did not bend the spine on the score line. I made 2 extra cuts of the spine to attach to the front and back of the journal.
 If that doesn't make sense then please watch the video - that may explain it better.

I made some monthly inserts for my card box that list the dates of birthdays and anniversaries for the entire year. I love that I can look ahead make a card and then store it in the box until its time to pop it in the post. I'm keeping my fingers crossed that this will keep be organized & motivated to get cards in the mail. 

Click below to watch my tutorial video for this project.
Products Used:
(This blog contains affiliate links that earn me a small commission when used to make purchases. This does not cost you any extra. Thank you for your support!)

Sunday, 31 December 2017

Happy New Year Trinket Box

Happy New Year! 
I'm not one to make (or keep) resolutions but this week I'll be sharing to projects 
that will (I hope) help me keep 2 of my resolutions.  
My first resolution is to take a moment each day to reflect on something 
I'm grateful for and to write it down. 

- My first project - 

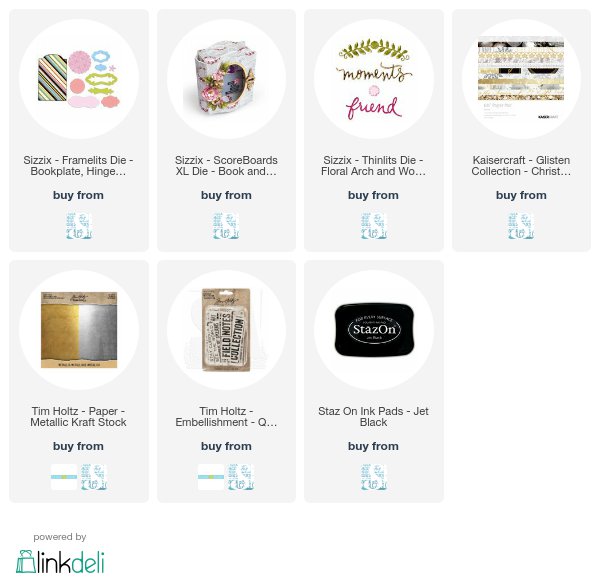
I recently received 3 new Sizzix dies - the Trinket Box (662360);  Bookplate, 
Hinges & Label (662356); Floral Arch & Words (662357) - all from designer Eileen Hull.
I die cut out the pieces for the trinket box using mat board, black cardstock and pattern paper from the Kaisercraft Glisten Collection.

I created a shaker box for the window using the bookplate die (662356) 
I used the same die to cut out 2 pieces of craft foam. The background of the shaker box is Gold Kraft-Core. I then filled my shaker box with silver stars and a couple of different kinds of chunky gold glitters. It's all very sparkly. I topped it off with a piece of acetate then attached it to the inside of the box cover.

Here is the inside of the front cover and the back of the shaker box.
The quote chip is layered over two pieces of  metallic kraft-core die cut with the label die from the Bookplate set (662356).

I made 3 accordion booklets for my trinket box.
I took 3 strips of white cardstock - 3.75" x 12" and scored them at 3", 6" & 9". 

To finish off the front of my box I die cut 2 floral arches (662357) from Gold Kraft-Core.
I took an enameled tag and stamped 2018 on it using black Staz-On. I glued 2 metal washers to the back of the tag before attaching it to the front of the box. A loop of elastic cording
 holds my box closed.

Click on the video below to see a video of the project.


Thursday, 16 November 2017

Merry Christmas!

It's the most wonderful time of the year and I have just started my Christmas cards.
It's time to power through and get them in the mail by Dec 1.

Here is the completed card - it's a 5 1/4" x 5 1/4" square card.

I started with a 5"x 5" square piece of Superstock - this is a fabulous cardstock 
from Creative Scrapbooker Magazine.
I tacked this down to piece of chipboard with washi tape.
I then taped down a piece of torn copy paper across my cardstock.

 I wanted to create a wintery sky for my card background and decided to use
Distress Oxides. I love the soft chalky look of these inks.
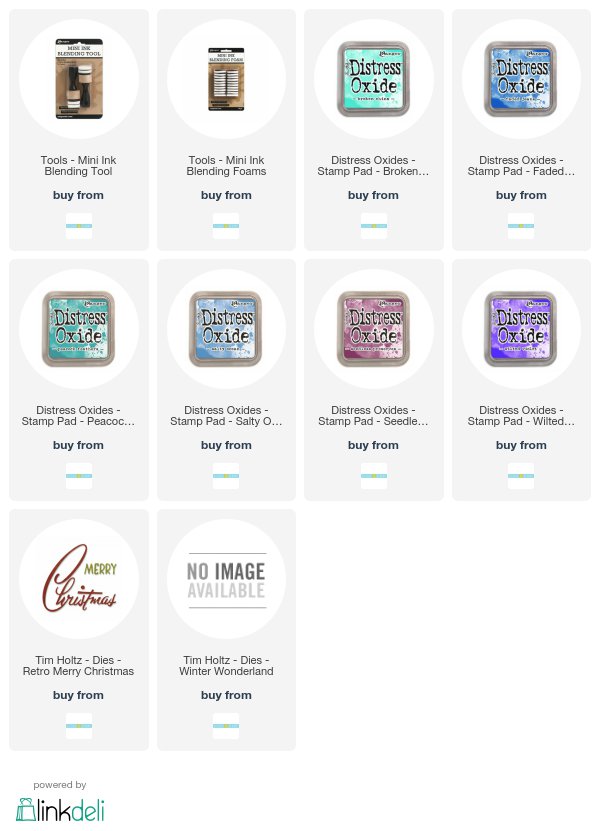
The colours I used Broken China; Salty Ocean; Peacock Feathers;
Wilted Violet; Seedless Preserves and Faded Jeans.

I removed the copy paper and had a lovely winter sky over a snowy ground cover.
Next I used the "snowfall" die from the Winter Wonderland die set.

I die cut the deers from the Winter Wonderland die set with Seedless Preserves Kraft cardstock & the Retro Merry Christmas die with silver Deco Sheet.

I assemble my card for a perfectly wintery Christmas card.
Products Used:
(this blog contains affiliate links)


Wednesday, 8 November 2017

Out & About Travel Journal

Hello & welcome back!

Today I am back with another journal made using the Eileen Hull XL Journal Die from Sizzix and my fave paper company - Wild Whisper.

The first journal I made was made using the Strong & Free line from Wild Whisper.

This new journal is made using the Out & About paper line - perfect for a travel bullet journal.

The paper packs include 6 12x12 double-sided patterned paper. Just enough to cover the inside & outside covers of your journal plus to make the covers for 4 journal insert booklets. 
I used the paper scraps to make pockets to hold journal cards.

I used the coordinating stamp set to add some stamping to the journal pages 


I love how this journal turned out and can't wait to take it on my future trips.


Products Used:

Wild Whisper


------------