Showing posts with label glossy paper. Show all posts

Saturday, 24 March 2018

Easter Treat Trinket Box - Scrap 'n Stamp Designer Challenge

Hello and welcome back!

It is time for another designer challenge at Scrap 'n Stamp.
This month the team was challenged to use one of the new  Side Order sets from Tim Holtz/ Sizzix.
If you are following along the blog hop you should have come here from Nancy's blog and her fabulous project. 

I chose to use the Springtime set and decided to pair it with the Eilleen Hull Trinket Box Die to make a sweet-filled place setting for Easter dinner.

Distress Oxides on glossy paper made for a fabulous spring background for my trinket box.

The bunny, bow & script word from the Springtime Side-Order set
are super cute and look fabulous with some green velvet rick rack I had in my stash

The trinket box makes a great little treat box for dinner. Who doesn't like candy easter eggs?!?!

Check out the process video below:


Now head over to Karen's blog to see what amazing inspiration she has in store for you.

Julia Chupik ----> you're here!
Karen Warner

Products Used:

Eileen Hull Trinket Box Die

Distress Oxides:


Thursday, 15 March 2018

Distress Oxides + Glossy Paper + Art Journal

Welcome back!

Today I have an art journal page to share with you.

This page was inspired by the mermaid stamp from the new Wild Whimsy collection

I started by stamping the mermaid image on to water color paper. I colored the image in with
Distress Markers and then fussy cut it out.


The background is Distress Oxides, molding paste & stamping.

The circles were made with glossy paper that I applied Distress Oxides to and then
shined up with Micro Glaze.

Check out the video below to see a process video on how I created
the background of my journal page.


Make sure to check out the Wild Whisper blog all month long to see some amazing inspiration from the design team.


Products Used:

Wild Whimsy Stamp Set - Wild Whisper

Distress Oxide Ink:
Wilted Violet
Salty Ocean
Walnut Stain

Distress Micro Glaze

Tim Holtz Layering Stencil:
Mosaic

Tim Holtz Idea-ology:
Small Talk

Ranger Ink:
Glossy Paper

Molding Paste

Gesso


Monday, 5 February 2018

Distress Oxides + Glossy Paper - a birthday card

Hello everyone!

I am OBSESSED with Distress Oxides on Glossy Paper.
Every time the result is different and gorgeous. 

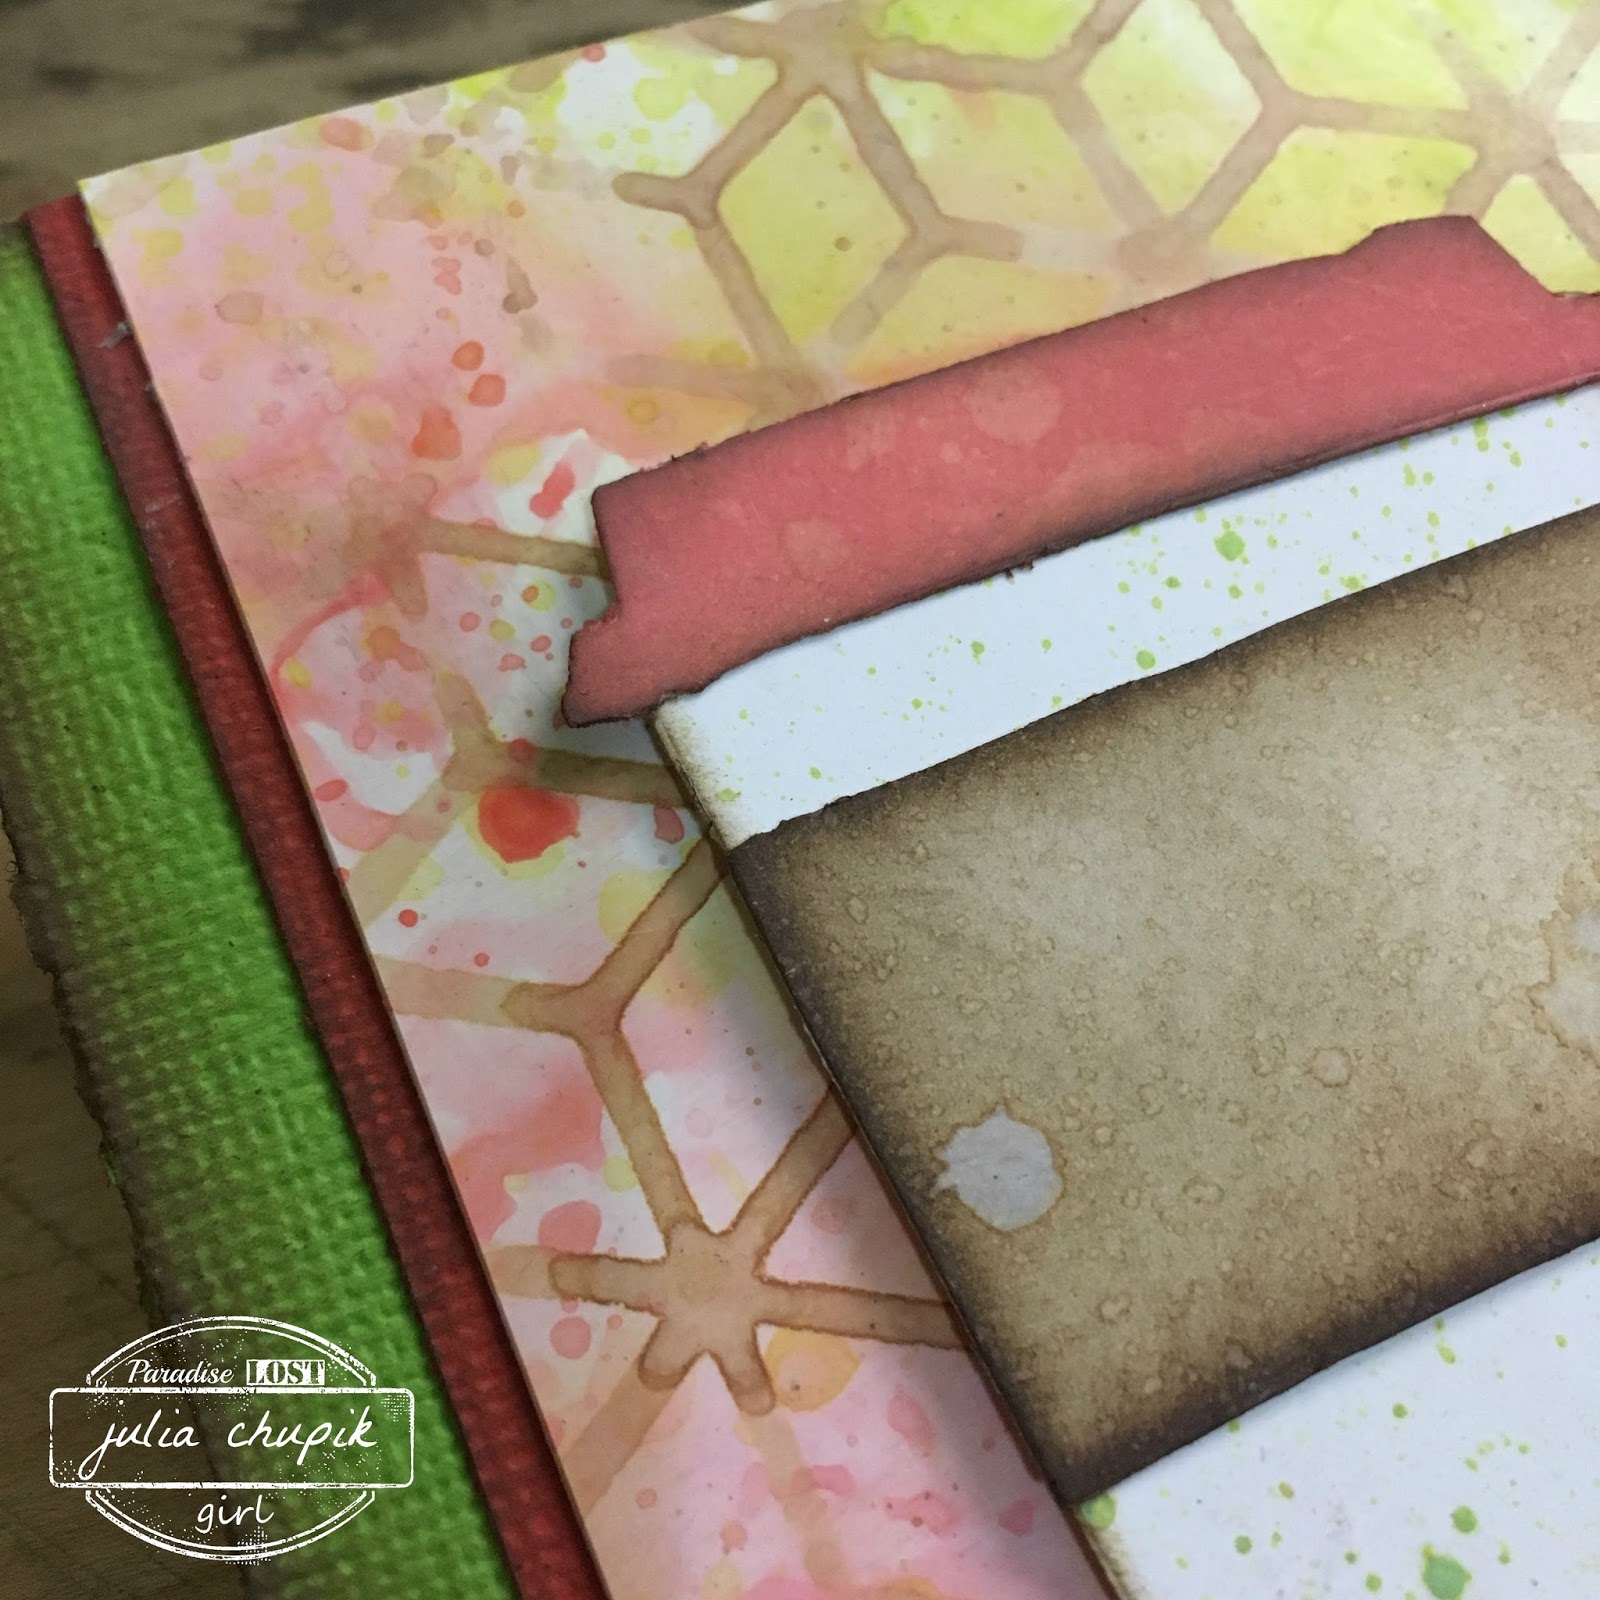
The card was created for a special crafty friend's birthday recently and she loved it. I hope you do too.
Be sure to check out the video at the end of the blog to see a full step-by-step tutorial.


~The completed card~

When making these backgrounds I like to try some different color combo's with the Distress Oxides.
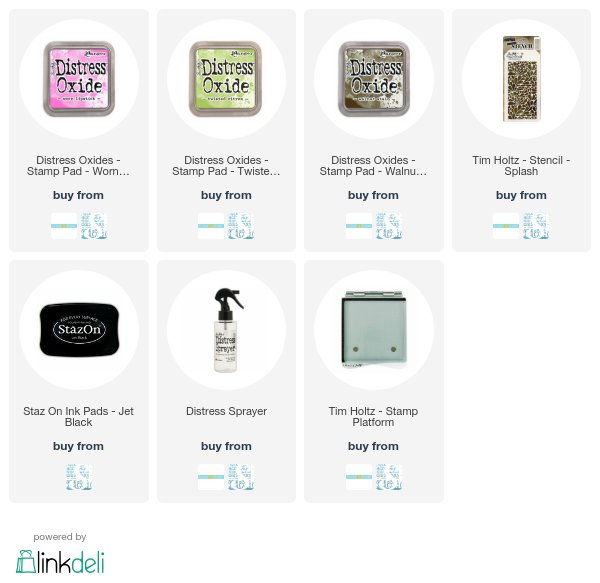
This one is definitely a fave - Worn Lipstick; Twisted Citron and Walnut Stain.

The layering stencil is from Tim Holtz/Stampers Anonymous - Splash THS080

Watch the step-by-step video below to see how I created this card from beginning to end.

Products used:


Friday, 26 January 2018

Distress Oxides + Distress Micro Glaze + Glossy Paper

Hello and welcome back!
Did anyone else spend last weekend glued to social media waiting and watching for live updates from Creativation? It was so much fun and I wasn't jealous at all. There are so many exciting products being released this spring!

One of the most exciting demos I watched was this one from Tim Holtz.....watch and be amazed.

This technique of absolutely blew my mind and I rushed to my craft room to try it out.
After a few attempts and being dazzled by the results I decided to take it one step 
further with a stencil.

Here is the final result.


After using the smoosh technique to apply the Abandoned Coral & Twisted Citron Oxides to the glossy paper - I took my Tim Holtz Layering stencil (THS059 Blocks) placed it over the glossy paper and applied Distress Micro Glaze with an ink blending tool.

I then dragged my glossy card through some Vinatge Photo Distress Oxide on my craft mat. This left the Vintage Photo only on the stenciled image not covered with Distress Micro Glaze.

The last step was to go voer then entire card again with the Distress Micro Glaze to remove the chalky white finish left from the oxidation.
This is such a fantastic technique and one that I am sure to use over and over.

Click below to watch the step-by-step video I made while making this card.


Tuesday, 28 June 2016

Summer Of Creative Chemistry - Week 4

It's time to share my week 4 project for Summer of Creative Chemistry!
This week's challenge is to create a project using Archival Ink.

My first project is a card using the Archival Ink Resist Technique.
This is a really fun technique that I don't think I've used since the first time I took
Creative Creative 101. It was wonderful revisiting it!


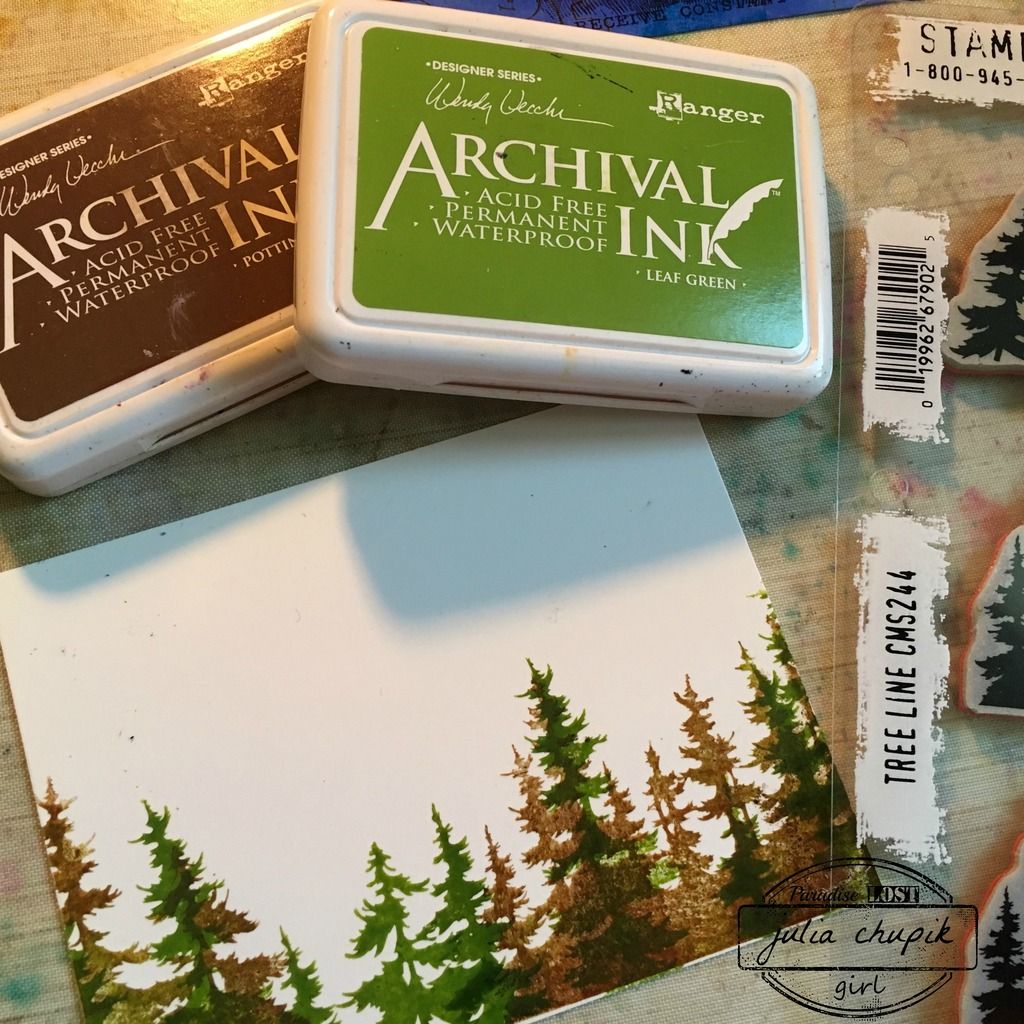
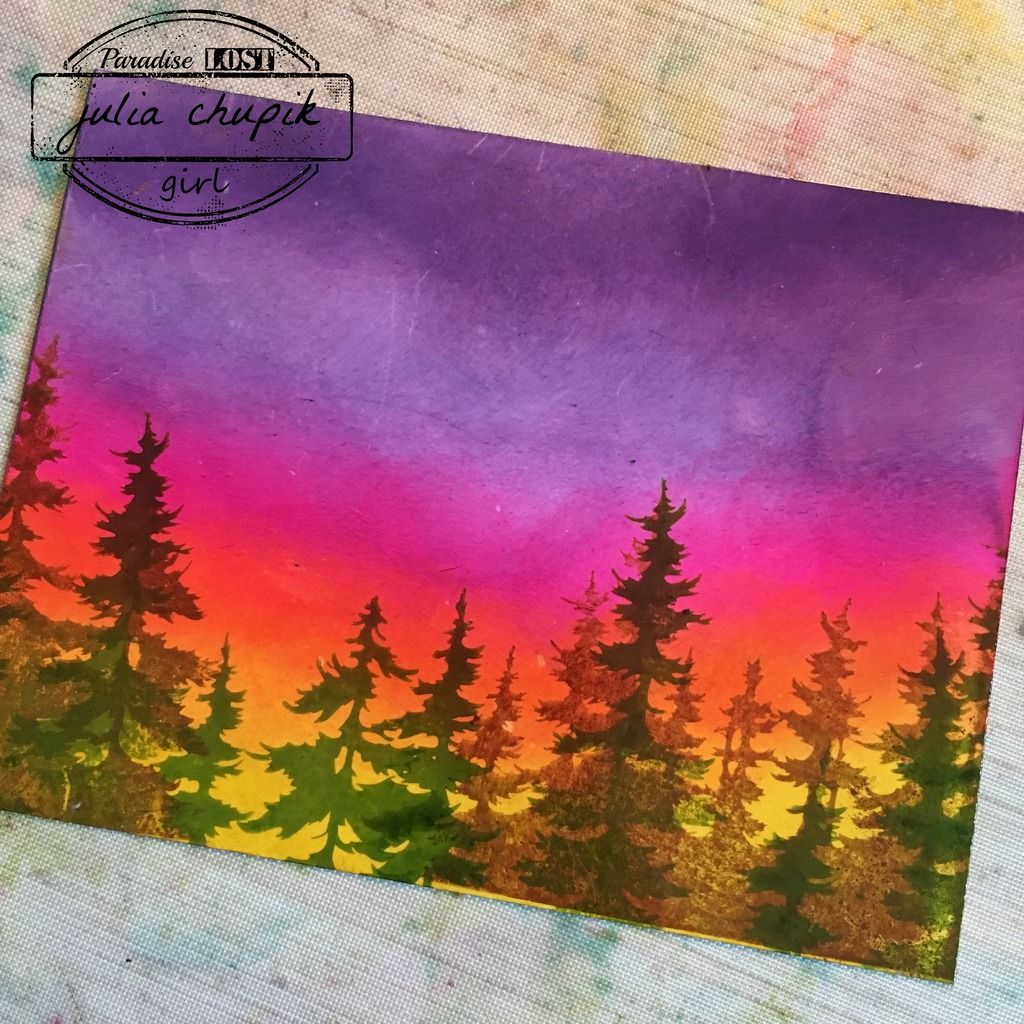
I started by stamping my trees on glossy paper using Potting Soil & Leaf Green Archival Inks.

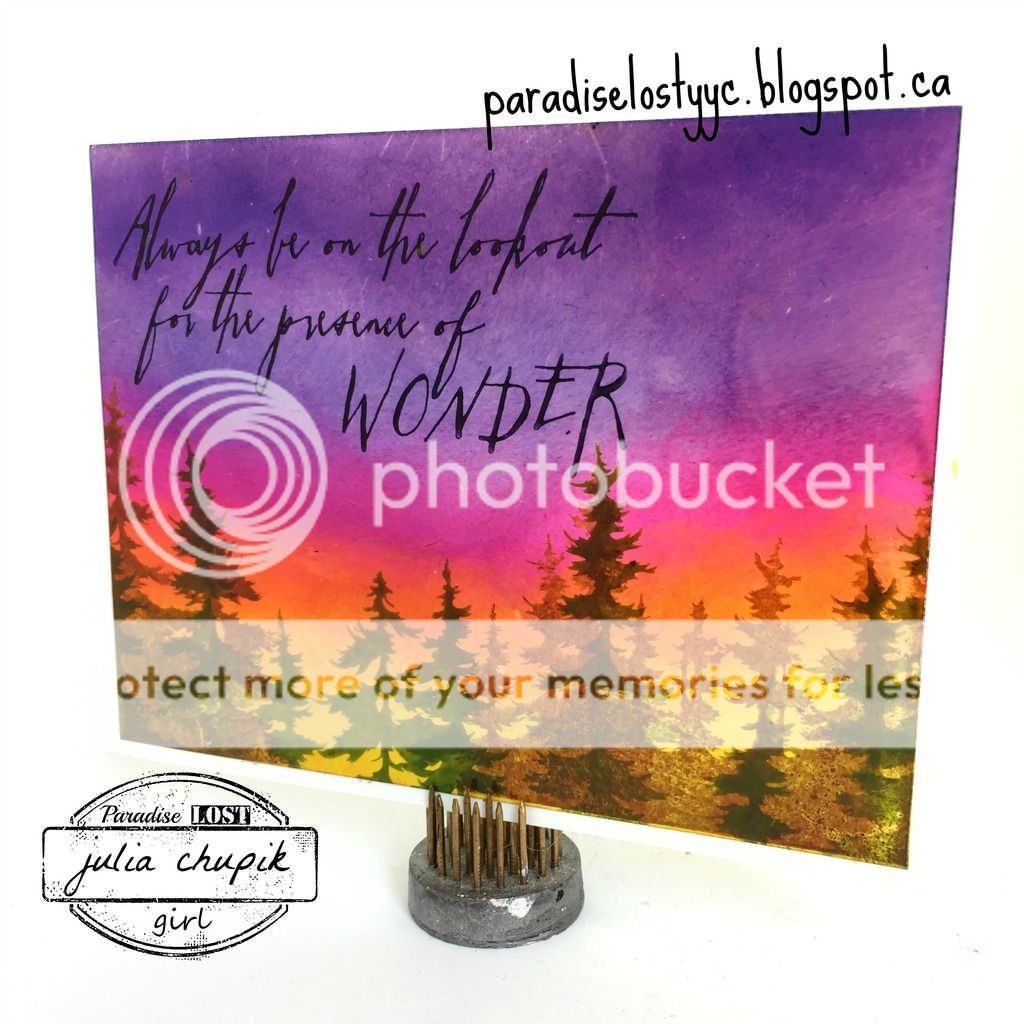
I then gathered a few different colours of Distress Ink and using my blending foam & tool tired to recreate the colours of a sunset.
I added my sentiment and adhered to my card base to finish it off.

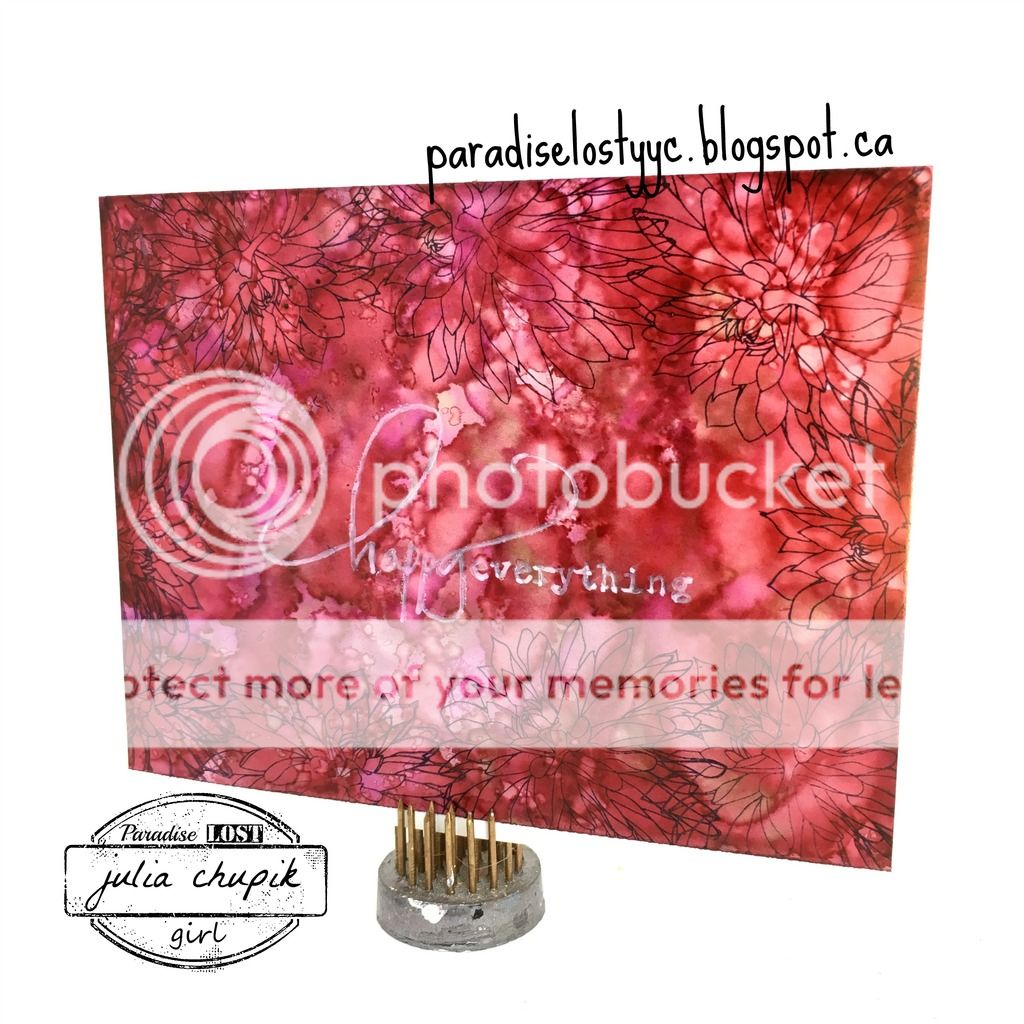
This card was so quick to make that I decided to make another card using the Alcohol Ink Agate technique on yupo paper with Archival Ink stamping.