It's getting spooky over at the Emerald Creek Dares Blog ~ be sure to check out some
of the weird and wonderful creations from the Emerald Creek Design Team
My creation is a shadow box made from a wood frame I bought at my local dollar store.
I started by first painting the entire frame with black acrylic paint (probably bought at the dollar store too). I then applied Ground Espresso Distress paint with my fingers along the sides and in the corners to grunge it up a bit & added a bit of texture paste through the
Harlequin & Speckles stencils by Tim Holtz.
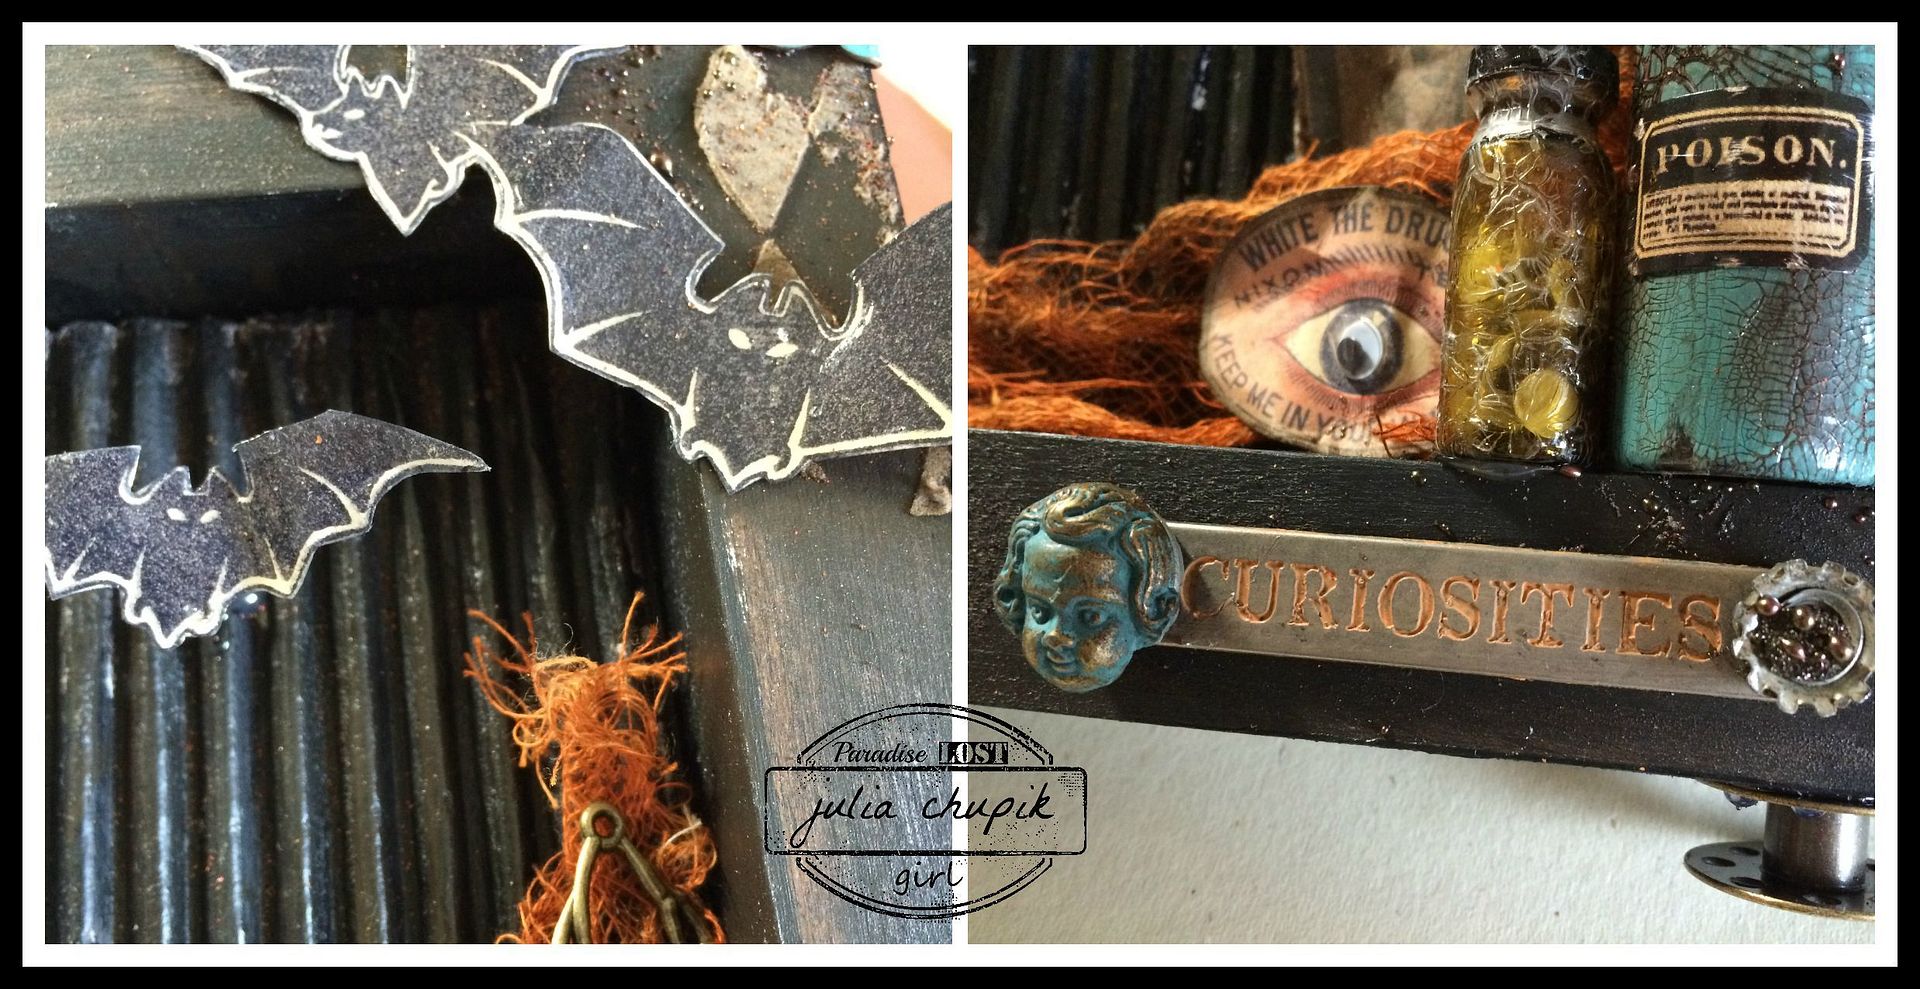
The bats are made using the Batting Practice stamp from Emerald Creek Craft Supplies - I stamped them on cardstock then cut them out. They were a perfect addition to Mr. Poe's 3D Box of Curiosities.

To add some texture to the inside of the frame I peeled back the outside layer of a piece of cardboard to expose the corrugated part. I painted this using the same products as the outside of the frame.
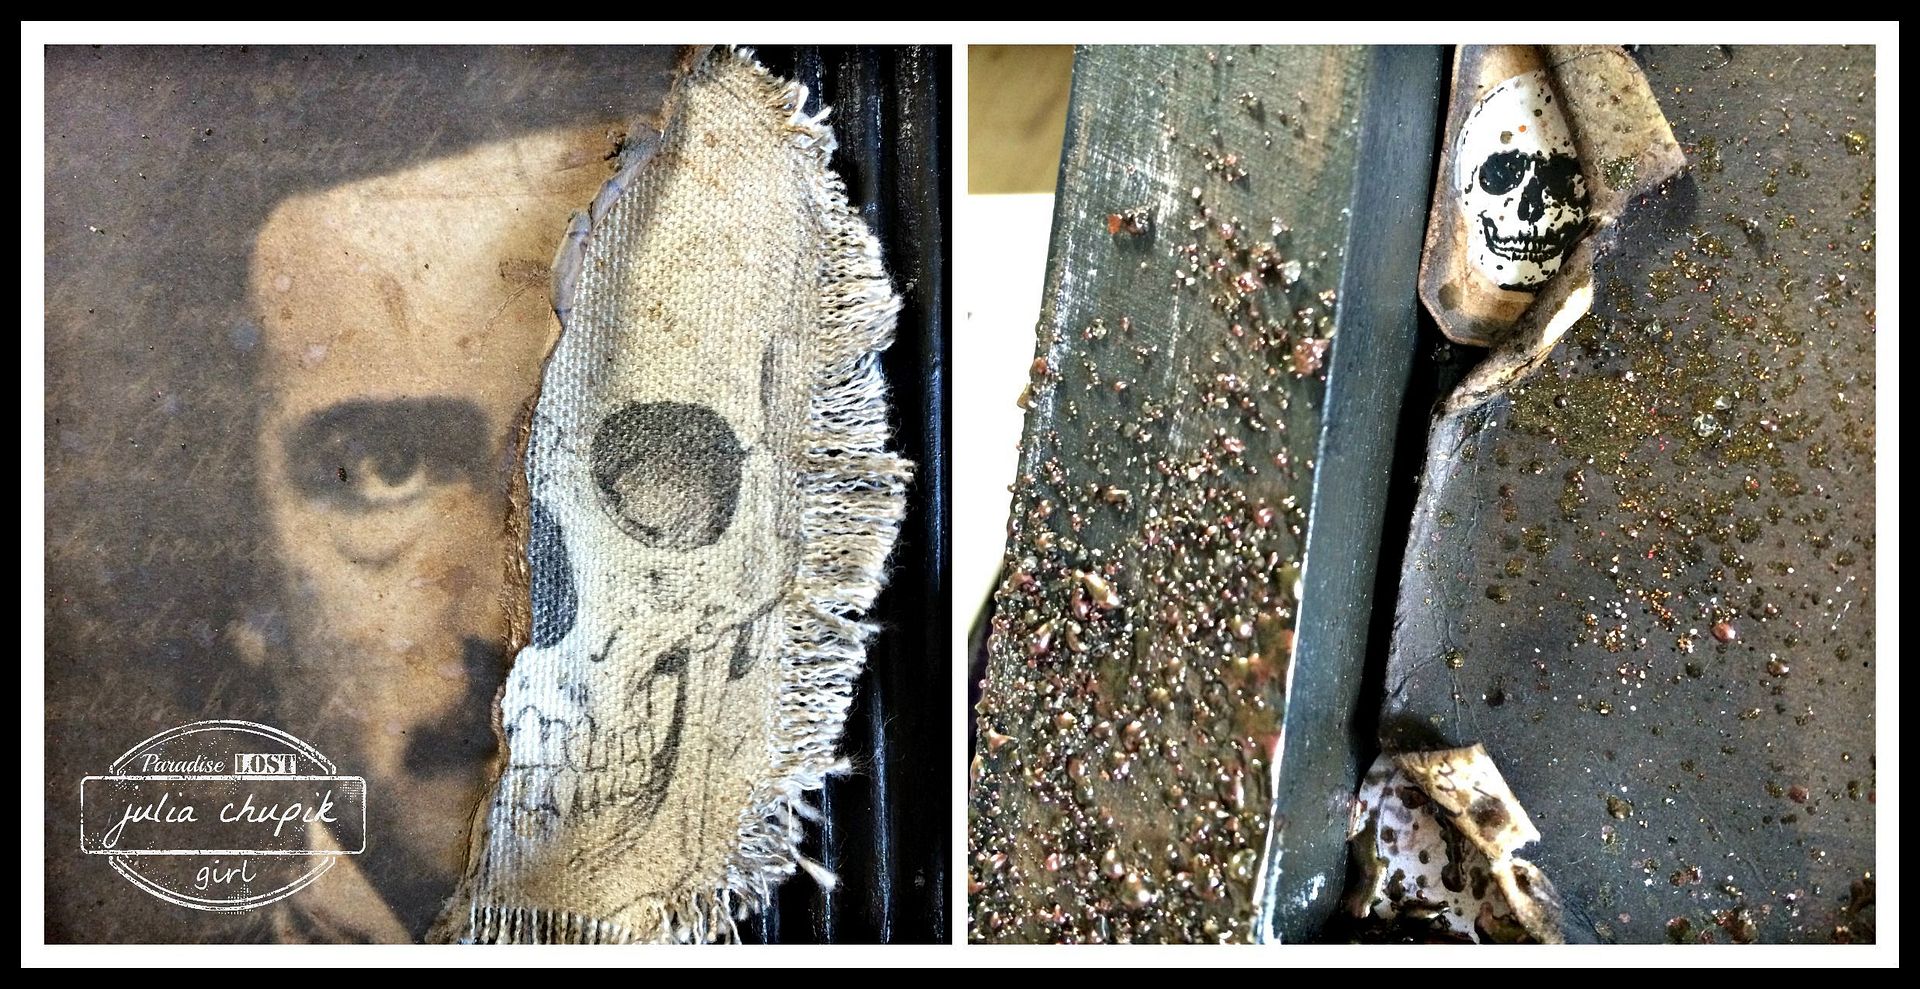
Mr. Poe's skull is from The Graphic's Fairy - which I downloaded, resized and printed onto a piece of canvas that I then grunged up using Ground Espresso inks & stains.

My favorite part of this whole project was the glass vials. The larger one I bought, where else, the dollar store & the smaller one is from the Apothecary Vials set from Tim Holtz.
I first painted the large vial layer of Patina Green Antiqing Cream from DecoArt Media then when that dried painted on a fairly thick coat of clear rock candy Distress Crackle Paint. I finished it off with a bit of Ground Espresso stain to bring out the gorgeous crackle finish. I also stained the corks with Ground Espresso.
The final touch was sprinkling on some Burnt Copper Leaves embossing powder on the sides and in the corners of the frame. It gave it that grungy & dirty feel I was wanting.
Products Used:
I first painted the large vial layer of Patina Green Antiqing Cream from DecoArt Media then when that dried painted on a fairly thick coat of clear rock candy Distress Crackle Paint. I finished it off with a bit of Ground Espresso stain to bring out the gorgeous crackle finish. I also stained the corks with Ground Espresso.
The final touch was sprinkling on some Burnt Copper Leaves embossing powder on the sides and in the corners of the frame. It gave it that grungy & dirty feel I was wanting.
Products Used:
Burnt Copper Leaves Embossing Powder - Exclusive to Emerald Creek Craft Supplies
8X8 Regions Beyond Paper Stash by Tim Holtz
Curiosities Remnant Rubs by Tim Holtz
Frightful Ephemera Pack by Tim Holtz
Thank you so much for visiting my blog today!
 Be sure to check out the blog posts from the rest of the Emerald Creek Dares Design Team for a lot more Halloween Themed inspiration!
Diana Hetherington - missusgmoments
Cathy Potosky - Amethyst Dragon's Alcove
Karon Hughes - Karon's Krafty Korner
Don't forget to check out the Emerald Creek Dares blog for your
chance to win a $25 gift certificate to
Emerald Creek Craft Supplies


Thank you so much for visiting my blog today!
Diana Hetherington - missusgmoments
Cathy Potosky - Amethyst Dragon's Alcove
Karon Hughes - Karon's Krafty Korner
Don't forget to check out the Emerald Creek Dares blog for your
chance to win a $25 gift certificate to
Emerald Creek Craft Supplies
Challenges Entered: