Showing posts with label October. Show all posts

Friday, 27 October 2017

Scrap Shotz Projects - My Favorite Things & Simple Stories products

Hi everyone!

I am on the 
blog today sharing some projects I mad using products available at the online store.


Head on over to the Scrap Shotz blog for more photos and a list of the products used.


Monday, 9 October 2017

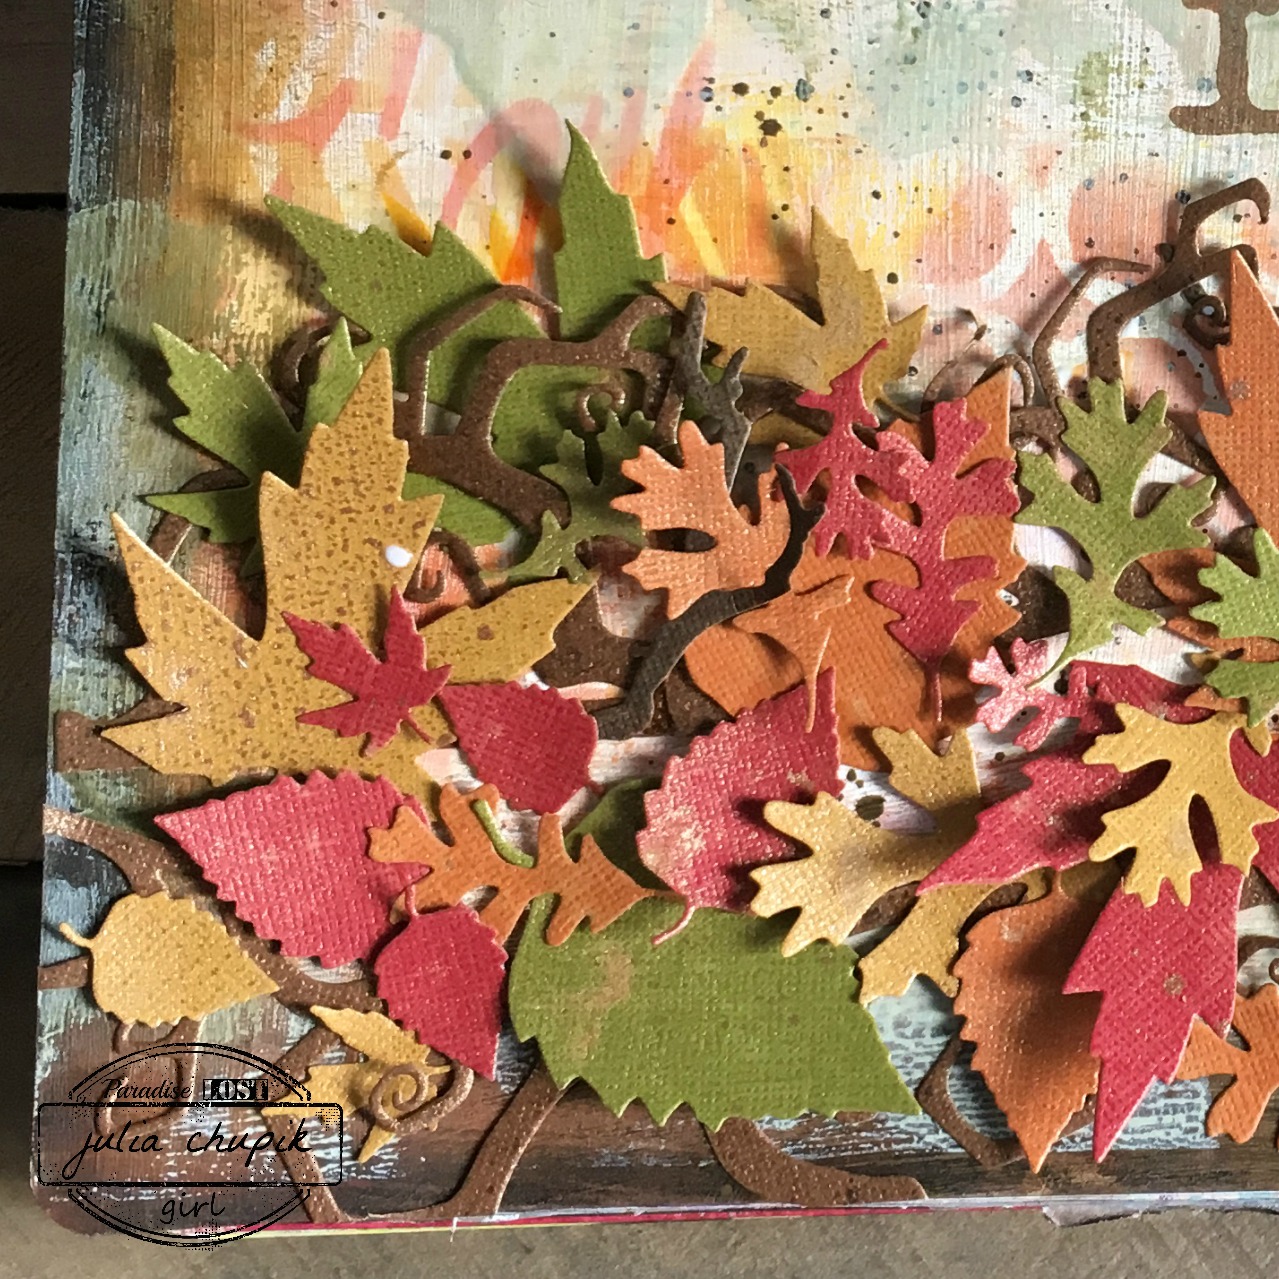
Happy Fall Art Journal

Happy Thanksgiving to all my Canadian friends wherever you may be in the world.

This will be a short post today.....an art journal page I did in my large Dylusions journal.

Here are the steps I used to create this page:
1. Brayered on acrylic paints in orange & yellow; random and didn't cover then entire page
2. Dry brushed on a light coat of gesso; let dry
3. Applied Distress Inks - Squeezed Lemonade, Carved Pumpkin & Ripe Persimmon through stencils
4. Around the edge of my page, I scribbled Distress Crayons - Walnut Stain & Black Soot and smudged them with my fingers.
5. Brayered on 2 different colors of green acrylic paint randomly over the page; let dry
6. While may page was drying I used my Fall Foliage and Twisted Edge dies from Tim Holtz/Sizzix and cut out some shapes with various colors of Distress Kraft Cardstock
7. I sprayed all of my die cuts with a light listing of Distress Mica Spray - Antiqued Bronze
8. I glued down all my die cuts along the bottom of the page 
9. I used the Tim Holtz Foam Cling Stamp - Type Lower, to stamp my sentiment.

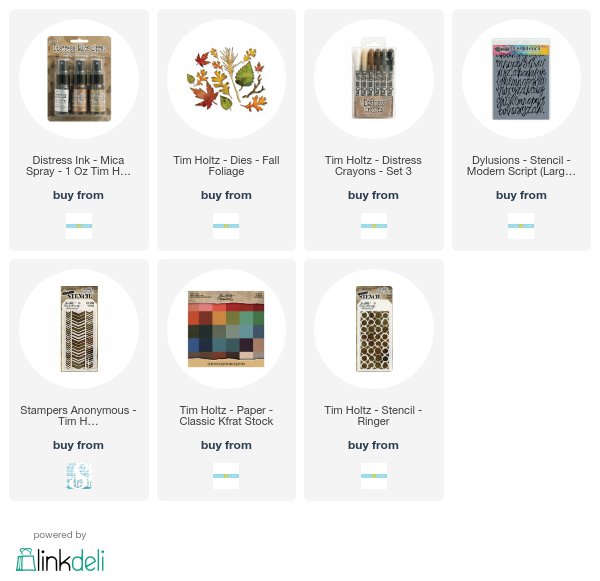
Below are the affiliate links for the products used for this project.

Saturday, 7 October 2017

World Cardmaking Day 2017

Hello and welcome to my blog!
Today is World Cardmaking Day and I decided to participate.

I recently purchased this beautiful background stamp from Scrap Shotz.
 It's called Magnolia Fields and it's from The Ton Couture Cling Stamps

 I started by stamping my image on cold press water colour paper with Versamark Ink.
I embossed it with Pastel Lilac Embossing Powder from Emerald Creek Craft Supplies.

To  color my image I used Ken Oliver Color Bursts in Orchid, Lime Green and Ultramarine Blue.

I used my Tim Holtz/Sizzix Stitched Rectangle Die and cut out a portion of my stamped image. I adhered this to a piece of dark purple cardstock then attached this to my folded cardstock base.

My sentiment was stamped on a piece of scrap watercolor paper.

Products used:

The Ton Background Stamp - Magnolia Fields
Ken Oliver Color Burst: Orchid, Lime Green, Ultramarine Blue
Emerald Creek Craft Supplies Pastel Lilac Embossing Powders
Tim Holtz/Sizix Stitched Rectangles Die

Friday, 28 October 2016

Beware.....Tim Tag Remix October

Hello and Happy Halloween!
It is time for another Technique Remix Tag.
This month Tim used the patchwork collage & Sizzix Monster.
Click on the photo to see Tim's finished tag for inspiration.

I didn't own the Monster die from Sizzix last year and guess what! I still don't.
That's ok - improvising is fun & part of the creative process.

Here is my finished tag - 

I started by collaging some scraps I had of Halloween paper in my stash.
It felt really good using these up so I decided that when I finish a project I will glue down the scraps of paper down on a tag when I'm done. These will be perfect for card backgrounds.
Once my pieces were adhered down I added some crazing medium and let this dry completely before moving on to the next step.

To finish the background I added some Black Soot Distress Crayon & splatters.

I added in a skull that I had cut out of some scrap to the small charm with some crackle adhesive. When this was dry I rubbed some Black Soot Distress Crayon over the cracks to grunge it up.

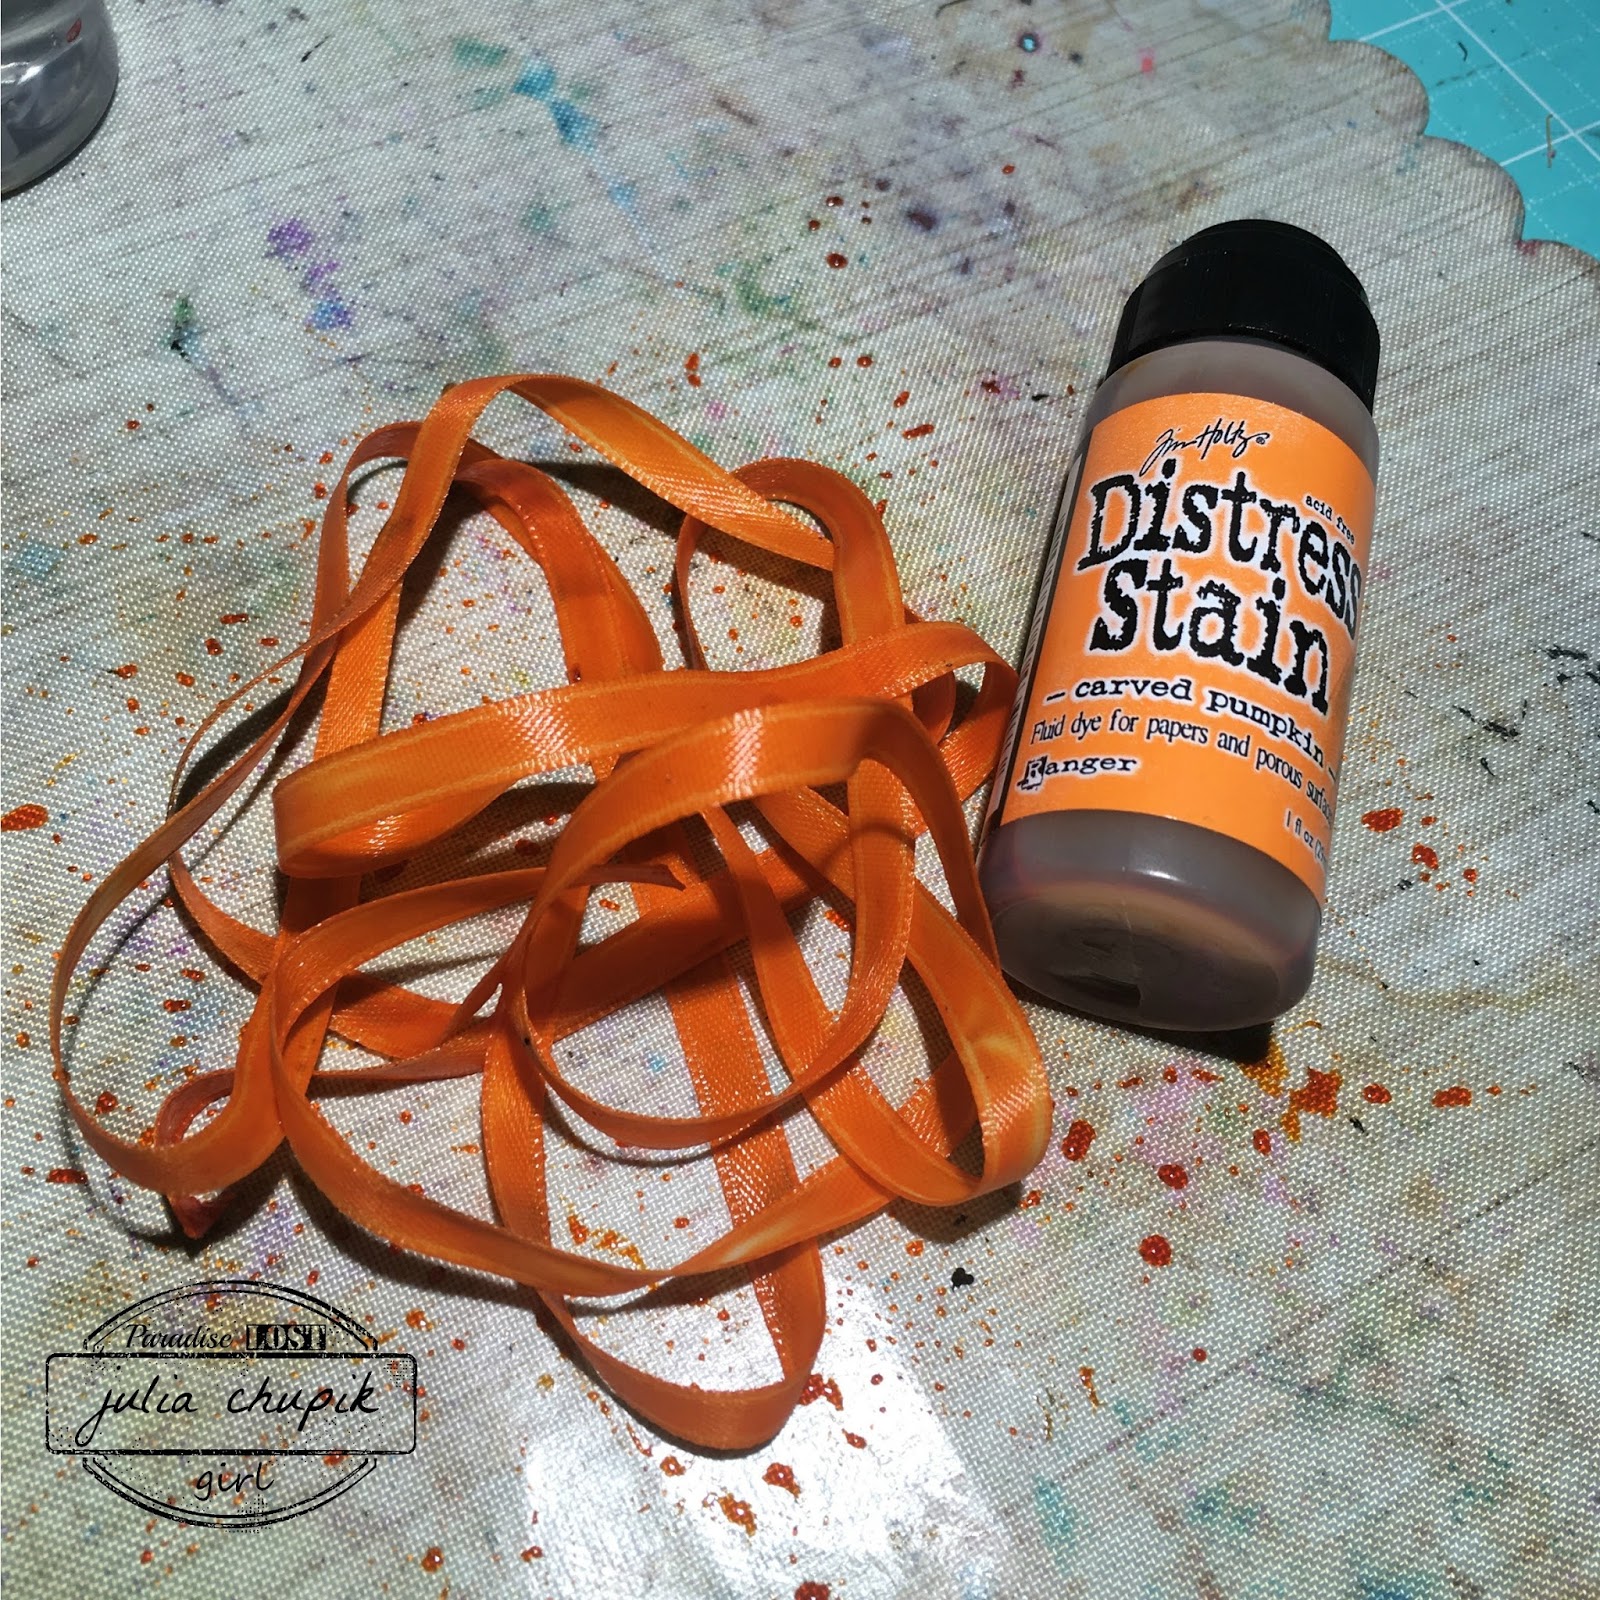
I dyed some ribbon with Carved Pumpkin Distress Stain and added some Walnut Stain Distress Ink.

Instead of the Monster - I decided to use the Apothecary Bottle die from Sizzix.
I used the Metallic Kraft-Core Distress paper from Ranger and a couple embossing folders.
I added some Black Soot Distress Paint over the embossing and some Black Soot Distress Crayon around the edges to grunge it up.


With all my pieces done it was time to assemble my tag.


Submitted to:


Monday, 10 October 2016

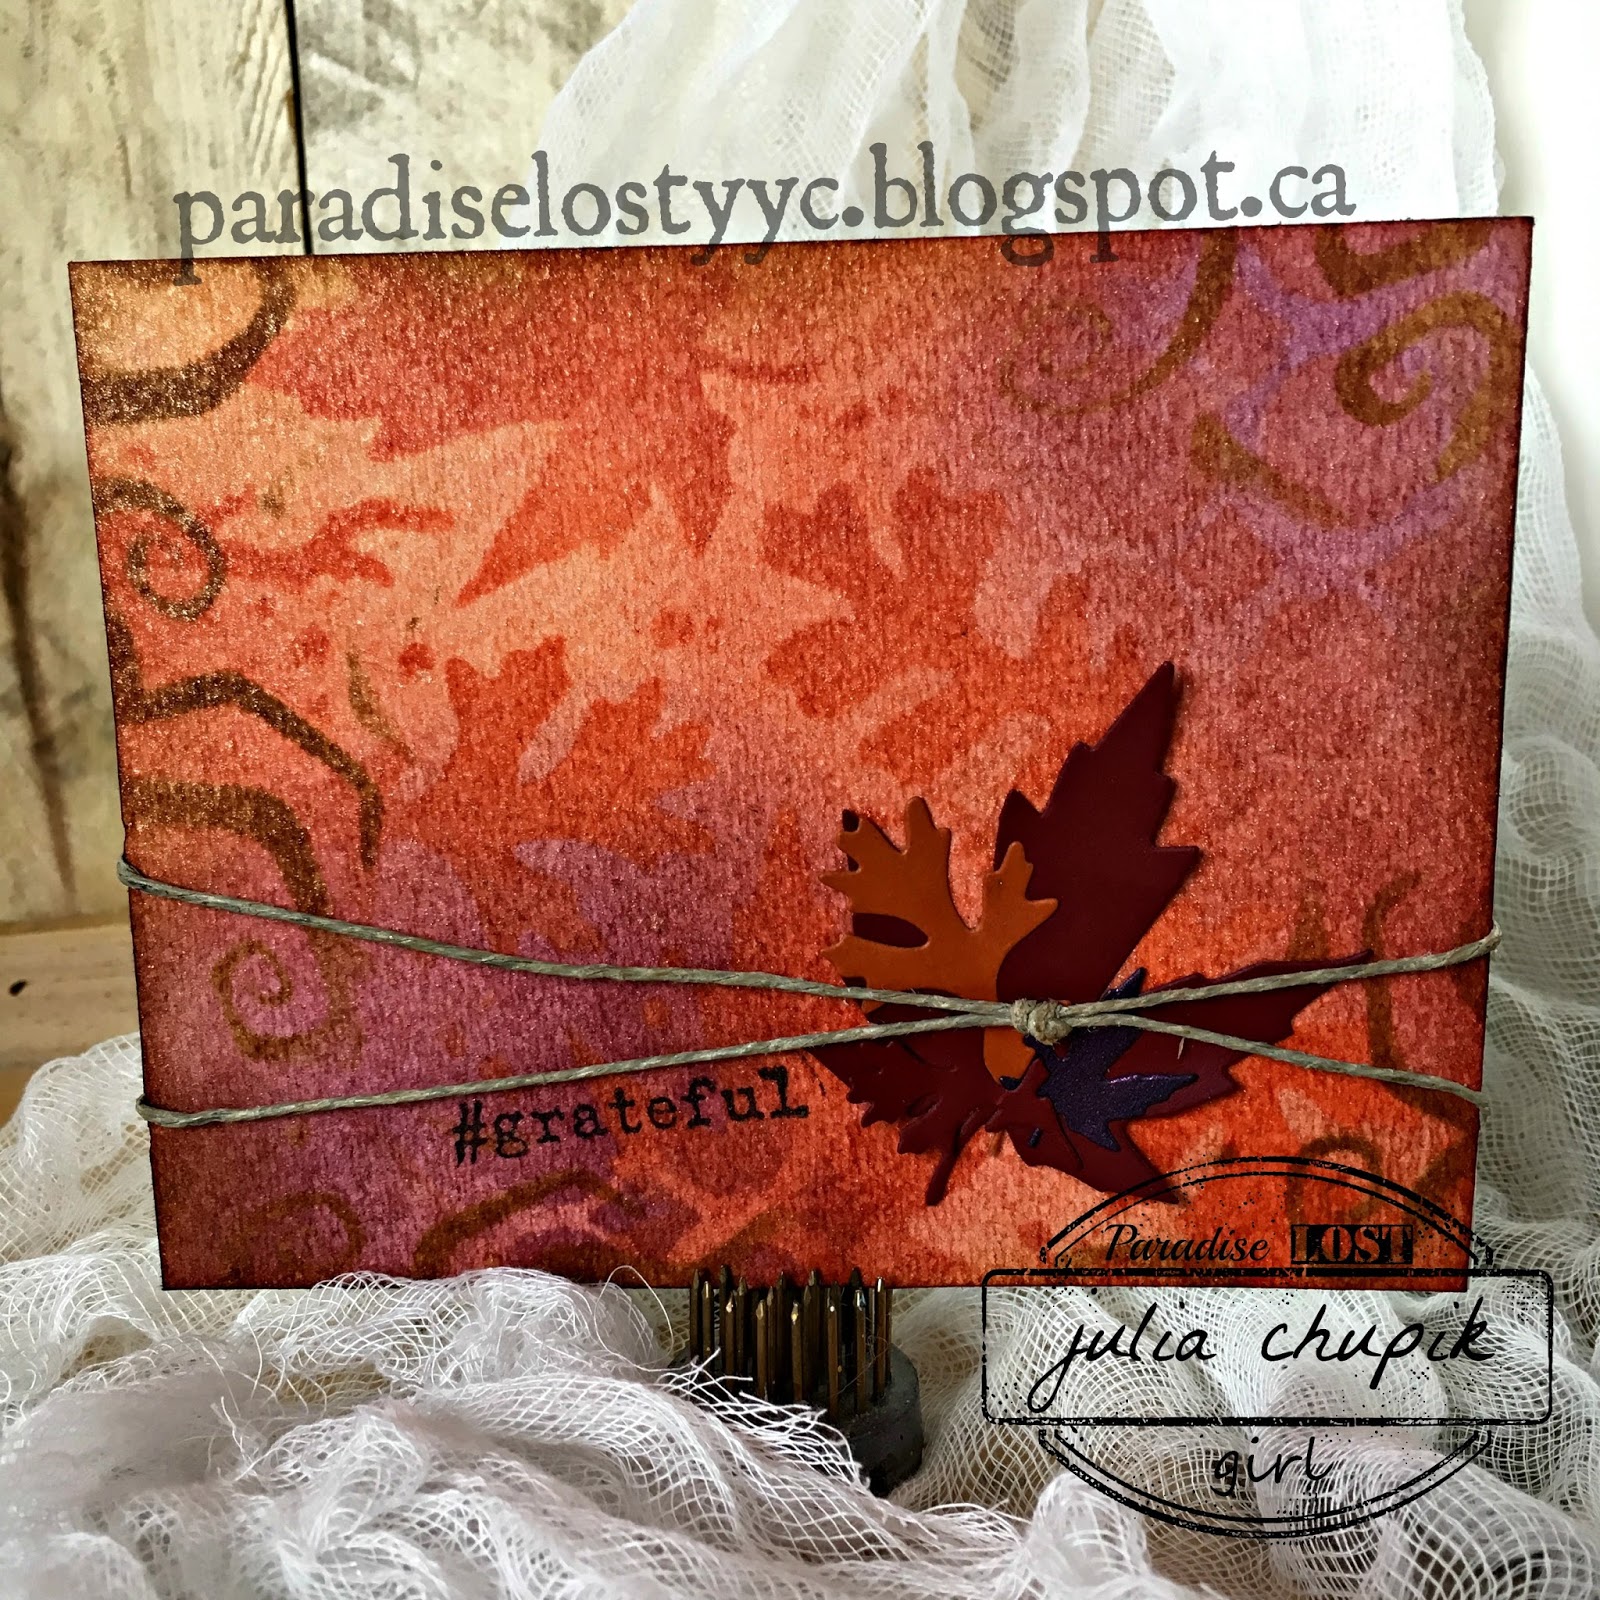
#Grateful

It's October and that means Thanksgiving in Canada.
This weekend it will be be all about the turkey, stuffing, pumpkin pie and spending time with family.
I have so much to be grateful for but I am especially thankful for my family, friends and all of you for following me.

So this is for you.....I am very grateful to have you here.

I used the Autumn & Twisted Stampers Anonymous Layering Stencils along with the Twisted Sizzix Die. I really love the Twisted Die and stencil.

I started by blending 4 Distress Ink colours - Wild Honey, Scattered Straw, Fired Brick & Ripe Persimmon on 140lb watercolour paper..

I spritzed my watercolour paper with water to remove some the ink and then dried it with 
my heat tool.

Next I used some layering stencils and Distress Inks.

The Twisted Stencil is my new favourite!

Here is the card background after I finished with the layering stencils.

I quick spritz of Mica Spray to add some razzle dazzle and I was ready for the finishing touches.

Here are two more cards I made using the same steps.


Friday, 30 October 2015

Happy Halloween Eve.....

Happy Halloween Eve my crafty friends!
I know a lot of you have been busy creating spooky, creepy and all things ghoulish projects because I have seen so many in my trip around blogland.
Emerald Creek Craft Supplies is hosting a Trick or Treat Dare over on the blog.
Come visit us and share your Halloween Tricks with the Design team for a chance to win a Treat!
Click on the button below to enter your Halloween themed project today!

 photo ECD Button.png

Thursday, 22 October 2015

Poe knows.....Curiosities

It's getting spooky over at the Emerald Creek Dares Blog ~ be sure to check out some 
of the weird and wonderful creations from the Emerald Creek Design Team

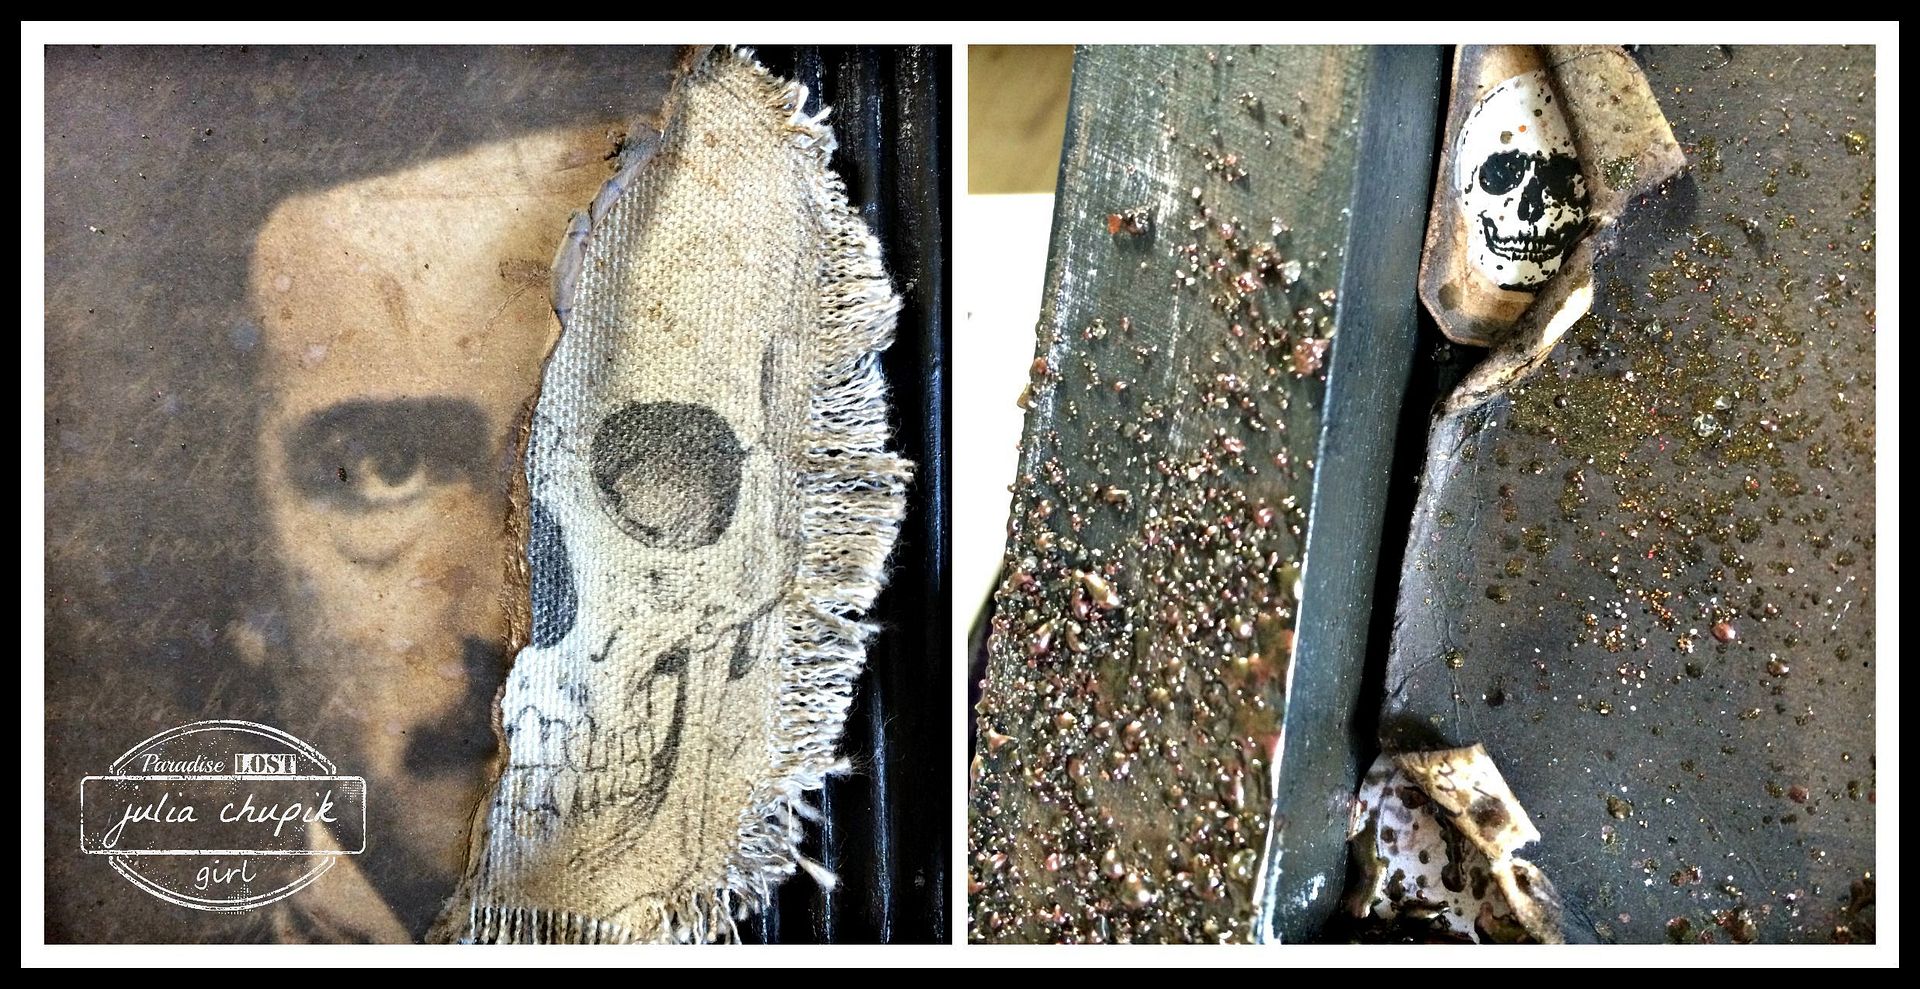
My creation is a  shadow box made from a wood frame I bought at my local dollar store.
I started by first painting the entire frame with black acrylic paint (probably bought at the dollar store too). I then applied Ground Espresso Distress paint with my fingers along the sides and in the corners to grunge it up a bit & added a bit of texture paste through the 
Harlequin & Speckles stencils by Tim Holtz.

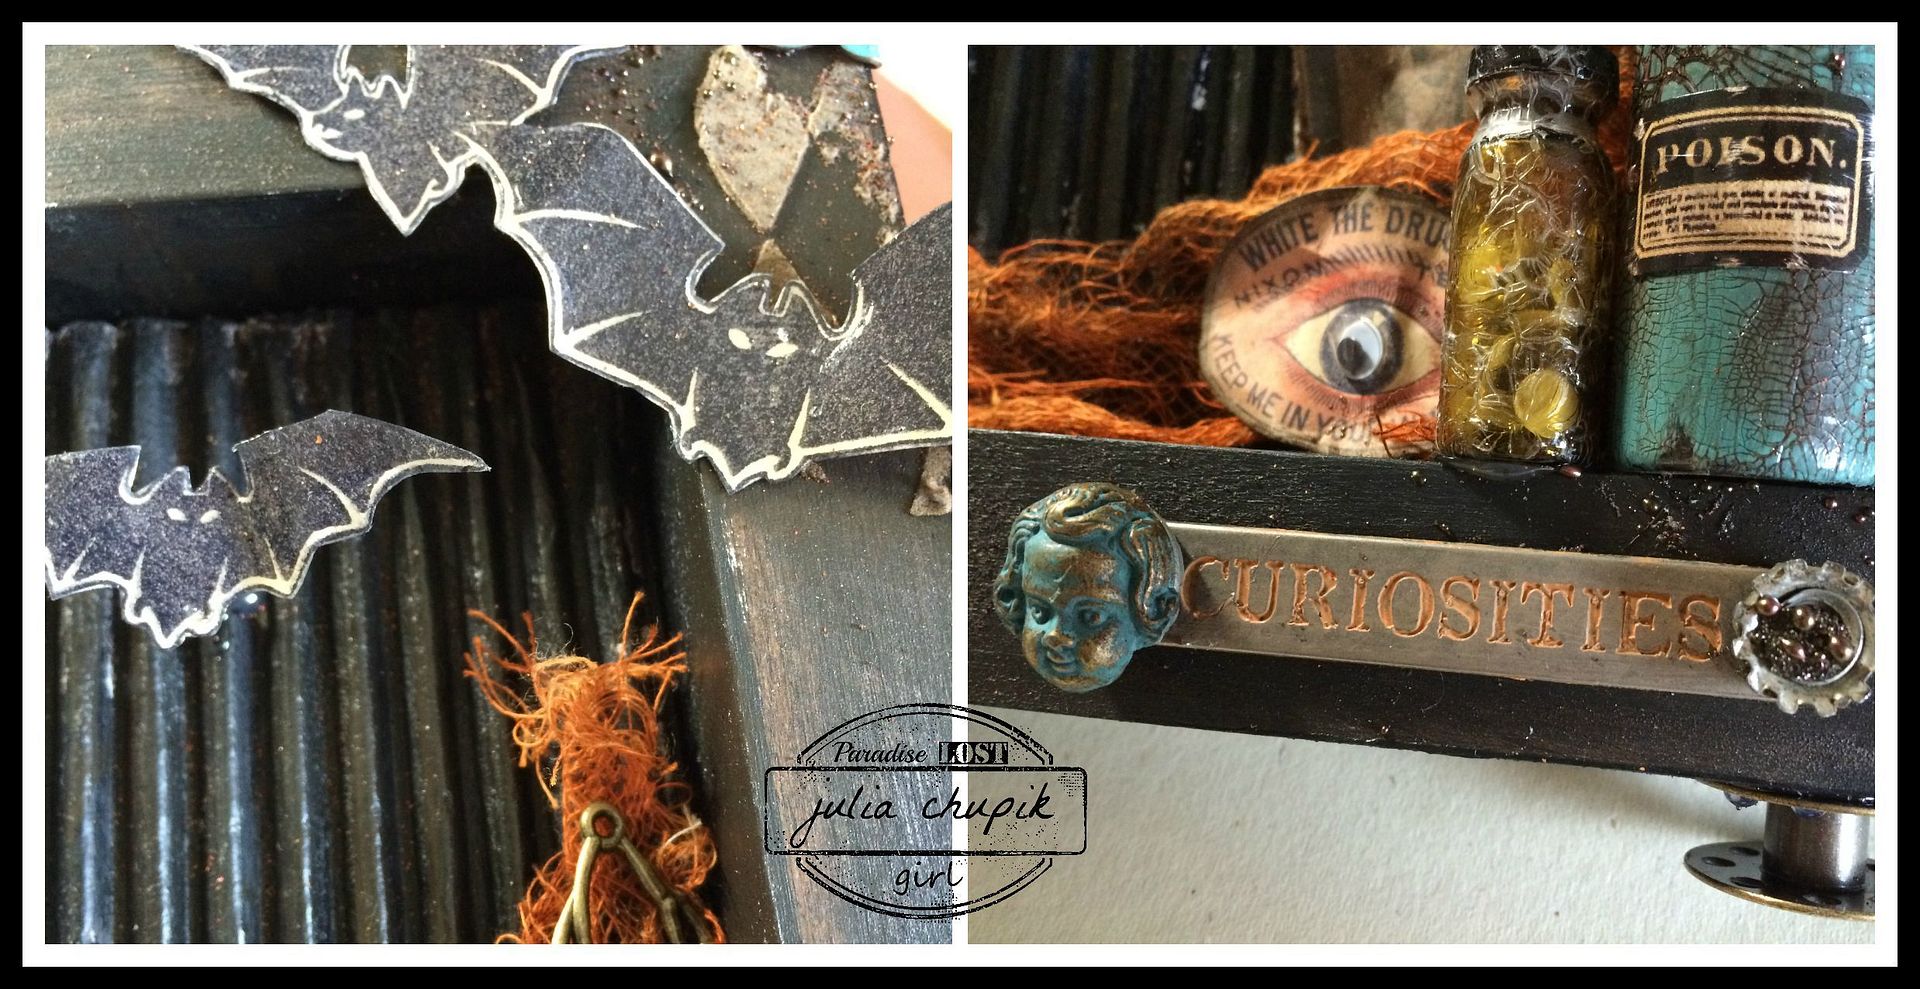
The bats are made using the Batting Practice stamp from Emerald Creek Craft Supplies - I stamped them on cardstock then cut them out. They were a perfect addition to Mr. Poe's 3D Box of Curiosities.


To add some texture to the inside of the frame I peeled back the outside layer of a piece of cardboard to expose the corrugated part. I painted this using the same products as the outside of the frame.
Mr. Poe's skull is from The Graphic's Fairy - which I downloaded, resized and printed onto a piece of canvas that I then grunged up using Ground Espresso inks & stains.


 My favorite part of this whole project was the glass vials. The larger one I bought, where else, the dollar store & the smaller one is from the Apothecary Vials set from Tim Holtz.
I first painted the large vial layer of Patina Green Antiqing Cream from DecoArt Media then when that dried painted on a fairly thick coat of clear rock candy Distress Crackle Paint. I finished it off with a bit of Ground Espresso stain to bring out the gorgeous crackle finish. I also stained the corks with Ground Espresso.
 

The final touch was sprinkling on some Burnt Copper Leaves embossing powder on the sides and in the corners of the frame. It gave it that grungy & dirty feel I was wanting.

Products Used:

Burnt Copper Leaves Embossing Powder - Exclusive to Emerald Creek Craft Supplies
8X8 Regions Beyond Paper Stash by Tim Holtz
Curiosities Remnant Rubs by Tim Holtz
Frightful Ephemera Pack by Tim Holtz

Thank you so much for visiting my blog today!

Be sure to check out the blog posts from the rest of the Emerald Creek Dares Design Team for a lot more Halloween Themed inspiration!

Diana Hetherington - missusgmoments
Cathy Potosky - Amethyst Dragon's Alcove
Karon Hughes - Karon's Krafty Korner 


Don't forget to check out the Emerald Creek Dares blog for your
 chance to win a $25 gift certificate to
Emerald Creek Craft Supplies

http://blog.emeraldcreek.ca/


http://www.emeraldcreek.ca/


Challenges Entered:

Tuesday, 6 October 2015

The Journey......Art Journal Layout

I started an art journal a year or so ago and somehow, somewhere along the way I stopped.
I got into the habit of over-planning and over-thinking every creative project instead of just letting the creativity flow naturally.
I decided I just needed to sit down with my art journal and just let the ideas happen.
No planning. No thinking.


It was so refreshing and it reminded why I began an art journal in the first place.
This page a little bit of everything - painting with a brush and some with my fingers; stamping, stencils; texture paste;distress stains; metallic paint; gesso & rub-ons.
From start to finish this took me 45 minutes to finish including the drying time.

Hello, Art Journal. It's nice to see you again.

Thanks for visiting my blog today!
I really appreciate it.


Challenges submitted:

A Vintage Journey: Art Journalling With Tim

Friday, 2 October 2015

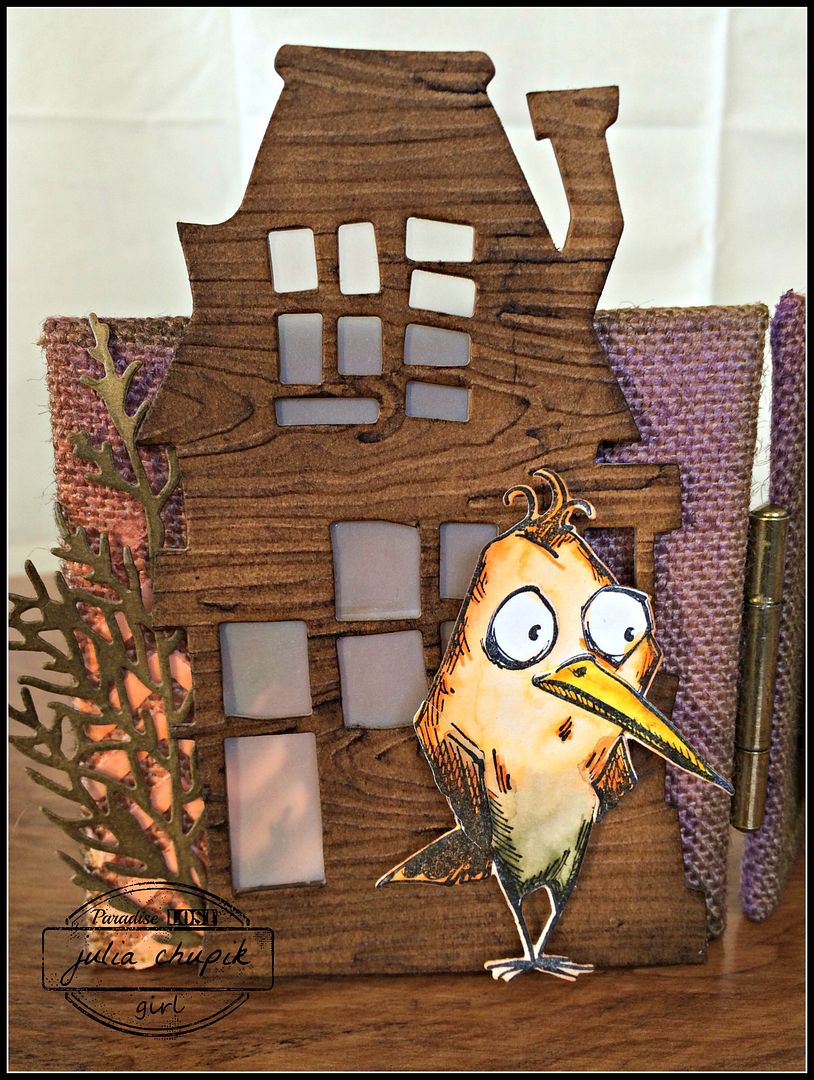
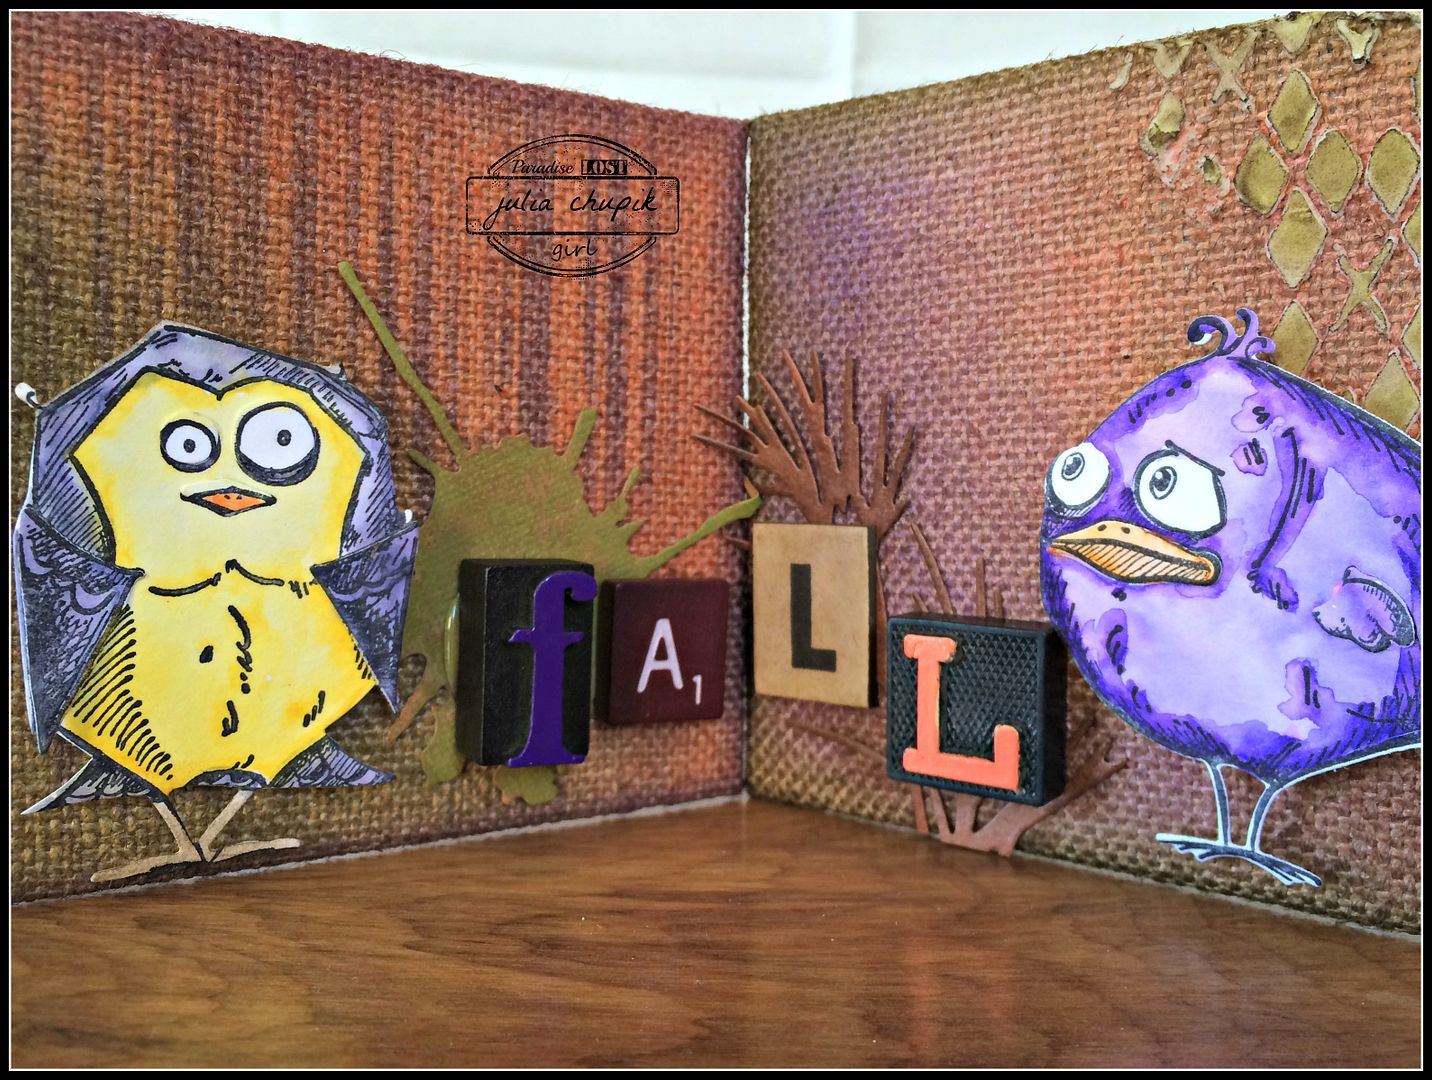
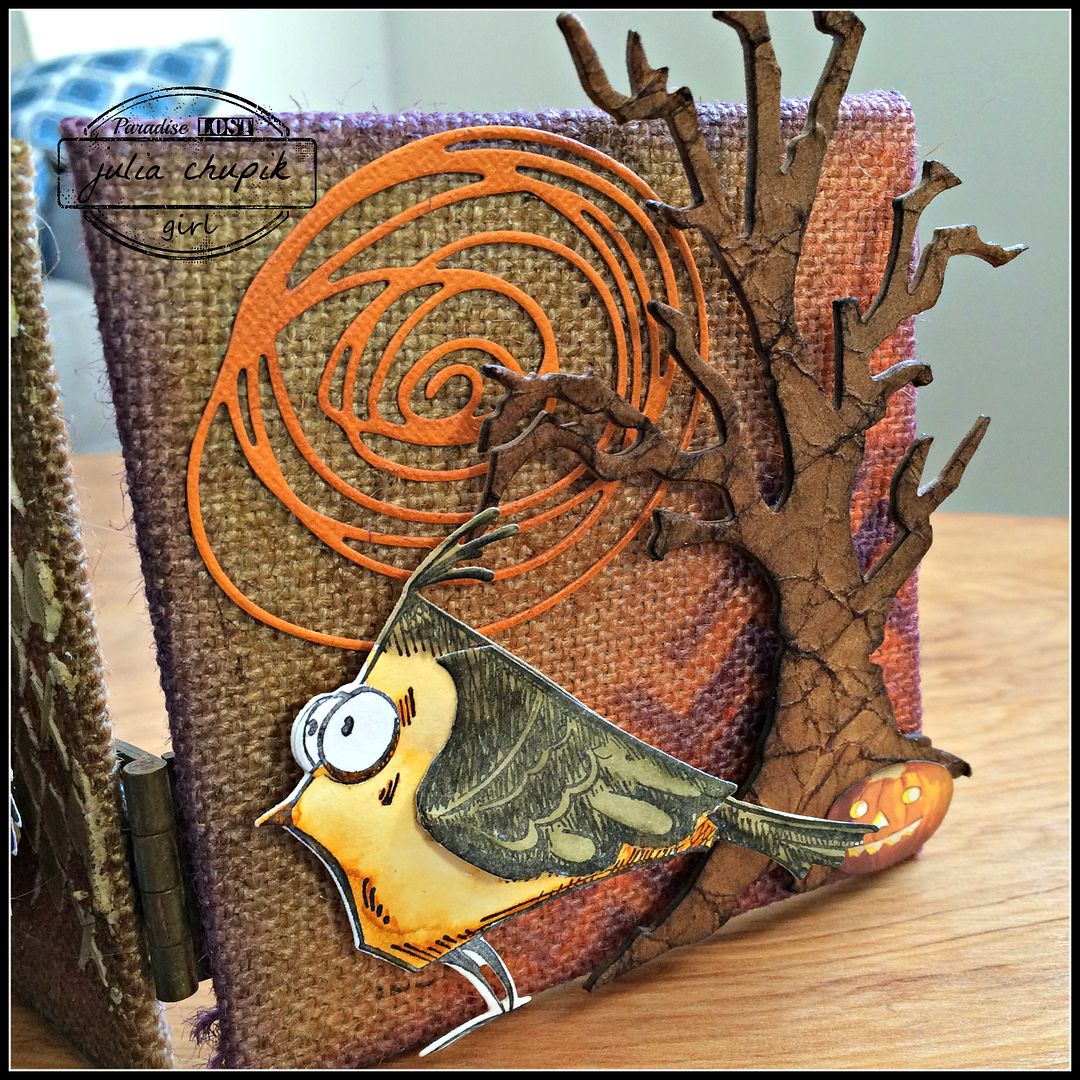
Mini Fall Canvas Set

Well, it finally happened - I took my dog for a walk at a local park in the river valley and I felt things.
The beautiful colours of the leaves, the rustling sound the leaves made as my dog ran & bounded through them. It was glorious!
All I needed a glass a warm apple cider and slice of pumpkin pie and it would have been perfection!

I came home full of inspiration and immediately went to, what I like to call, my Box of Bases!
It's where is keep canvasses, wood frames, 3D boxes etc etc. As I was flipping through I found 4 mini burlap canvasses - 4"x 4". Perfect!


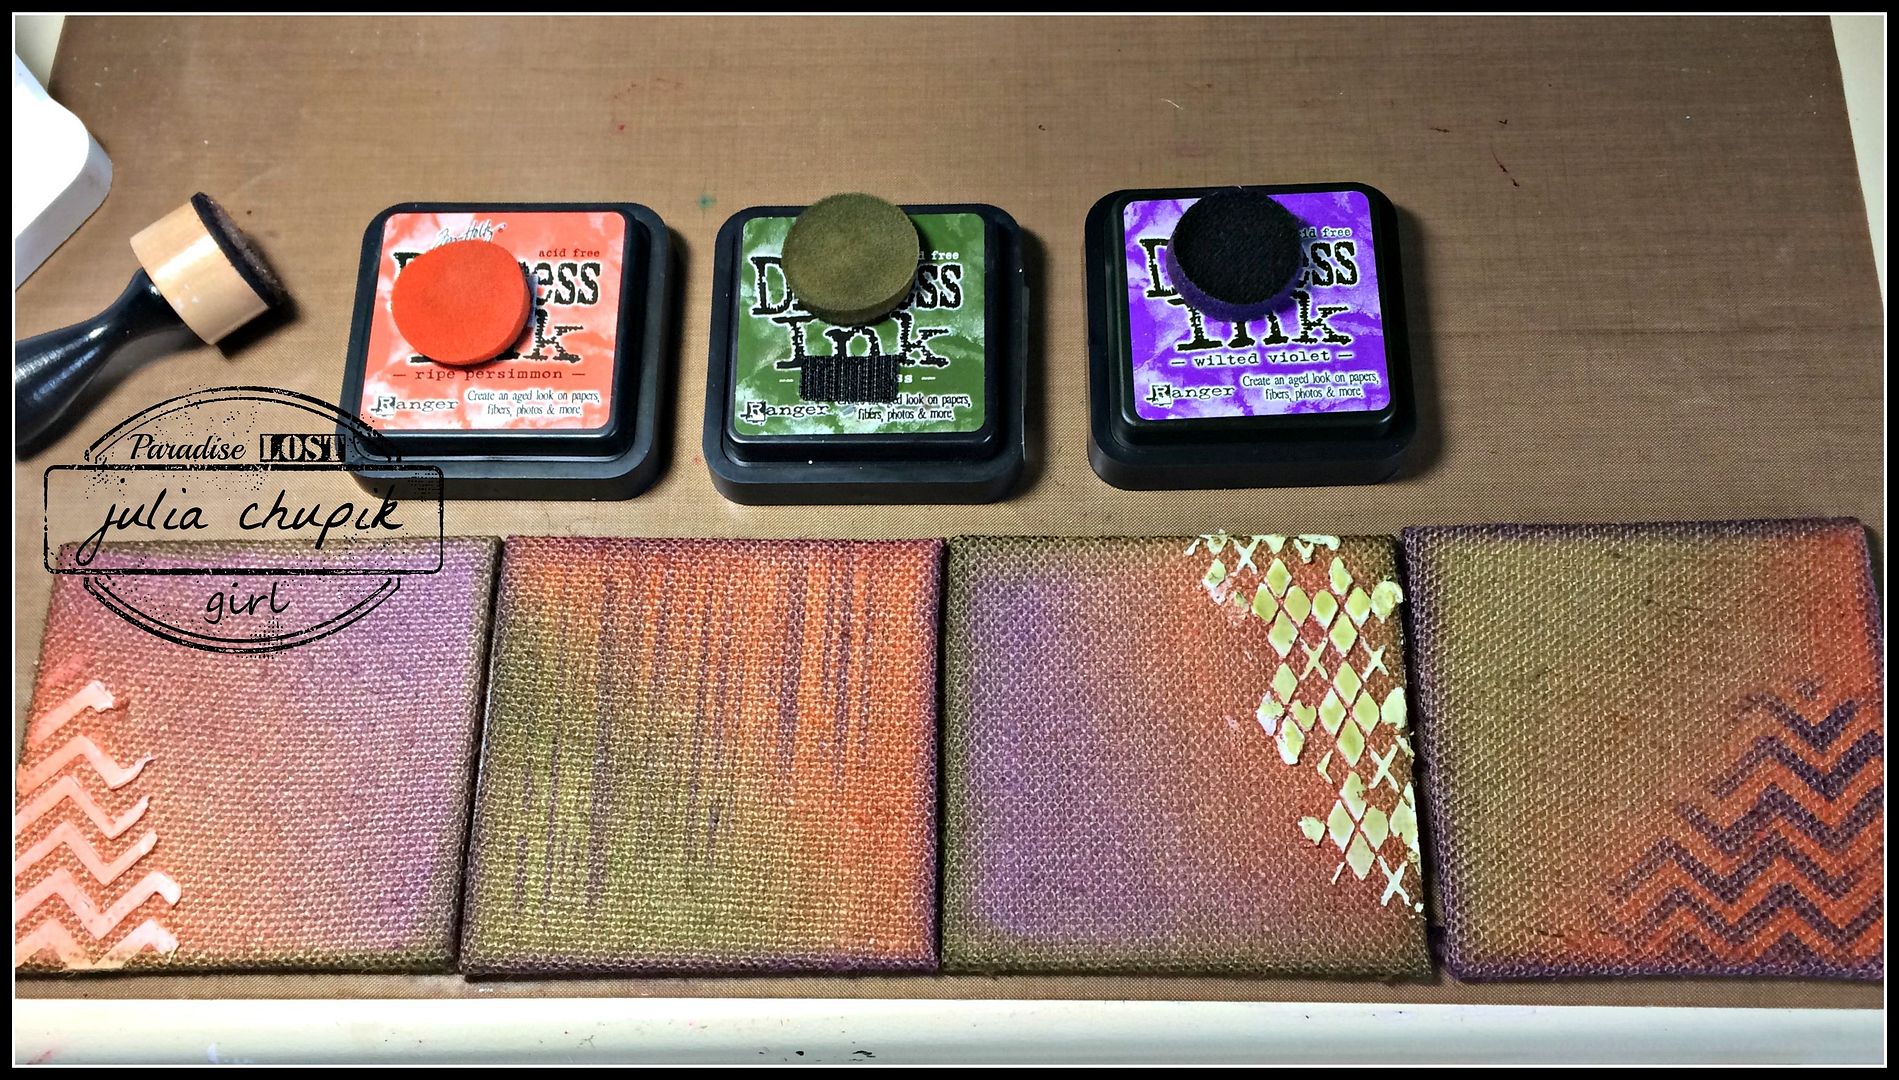
Ripe Persimmon, Forest Moss and my brand new Wilted Violet that I bought at Emerald Creek Craft Supplies is a gorgeous fall colour pallet. I used my blending tool to apply the the colours to the burlap. On 2 of the canvasses I applied Ranger Texture Paste through the Zig Zag Stencil & the Argyle Stencil by Tim Holtz & Stampers Anonymous. After the texture paste dried I applied more distress ink. I applied Wilted Violet with my ink blending tool through the Zig Zag & Stripes Stencils on the other 2 canvasses.
I decided to use the Bird Crazy Stamp set because those little guys were just the perfect size. 
I stamped & watercolored 4 of them with my Distress Ink. 
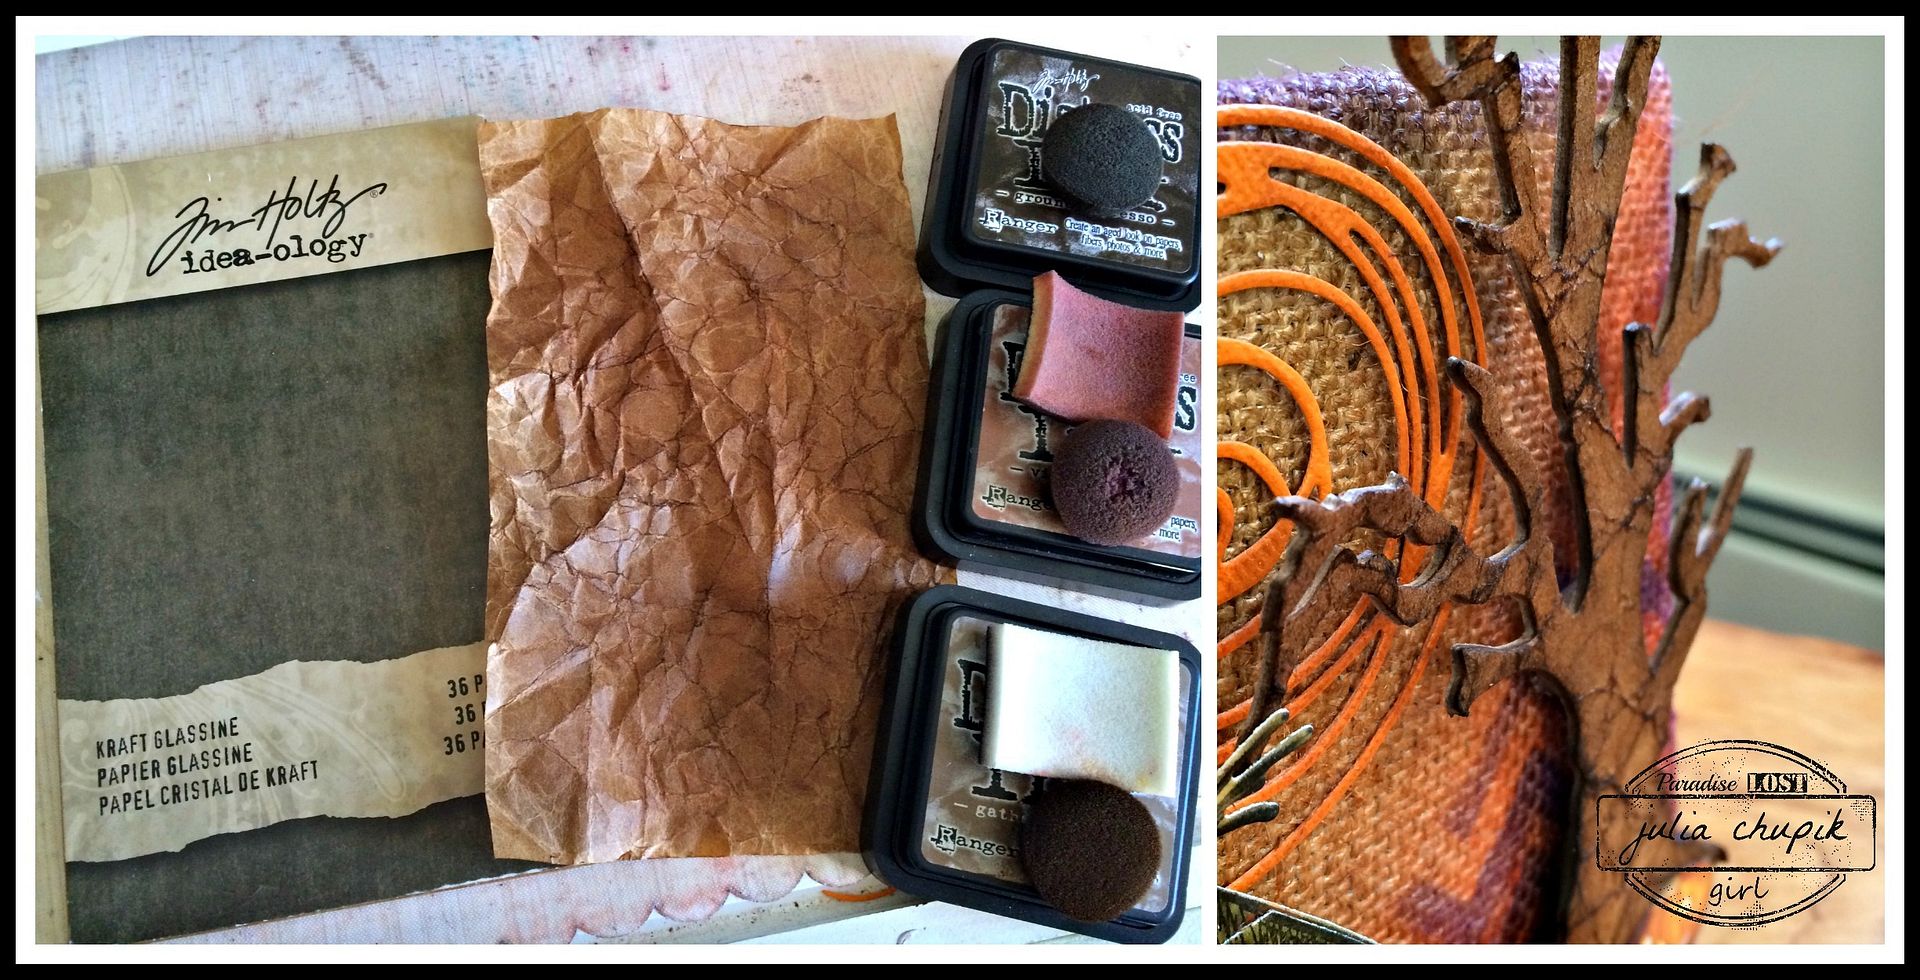
I wanted some larger die cut elements and the Branch Tree & Rickety House were just the right size. 


To get the texture on the tree I took a sheet of Glassine and scrunched it up before appling Ground Espresso, Vintage Photo & Gathered Twigs with my blending tool. I then used matte medium to adhere the glassine to chipboard before diecutting my image. I used the same technique for the rickety house except I used my woodgrain embossing folder the for texture.


I used the Holidays Greens and Scribbles & Splats Thinlit dies to add a few more elements and some random letters to spell our "Fall". 


Finally, I used some old rusty hinges that I bought at ReStore to join all four mini panels together.


Thanks for visiting my blog today! I really appreciate it!
Don't forget to check out the Emerald Creek Dares blog for this months challenge and for a chance to win a $25 gift card to the online store!
http://www.emeraldcreek.ca/
http://blog.emeraldcreek.ca/