Showing posts with label 2015. Show all posts

Thursday, 17 December 2015

Merry Christmas & Happy Holidays from Paradise Lost & the Emerald Creek Design Team

2015 is quickly coming to an end and what a year it has been for me!
If someone had told me a year ago that I would be living in Edmonton, Alberta,  have my own blog and be on a design tem I would thought they were crazy! 
But here I am and I am so happy! 
I hope, that no matter how you spend this holiday season, you are able to spend time with your family & friends making memories! I really appreciate each and every single of you that follow or visit my blog ~ you bring crafty inspiration into my life and I am forever grateful!

Now on to my Holiday project for Emerald Creek Craft Supplies.
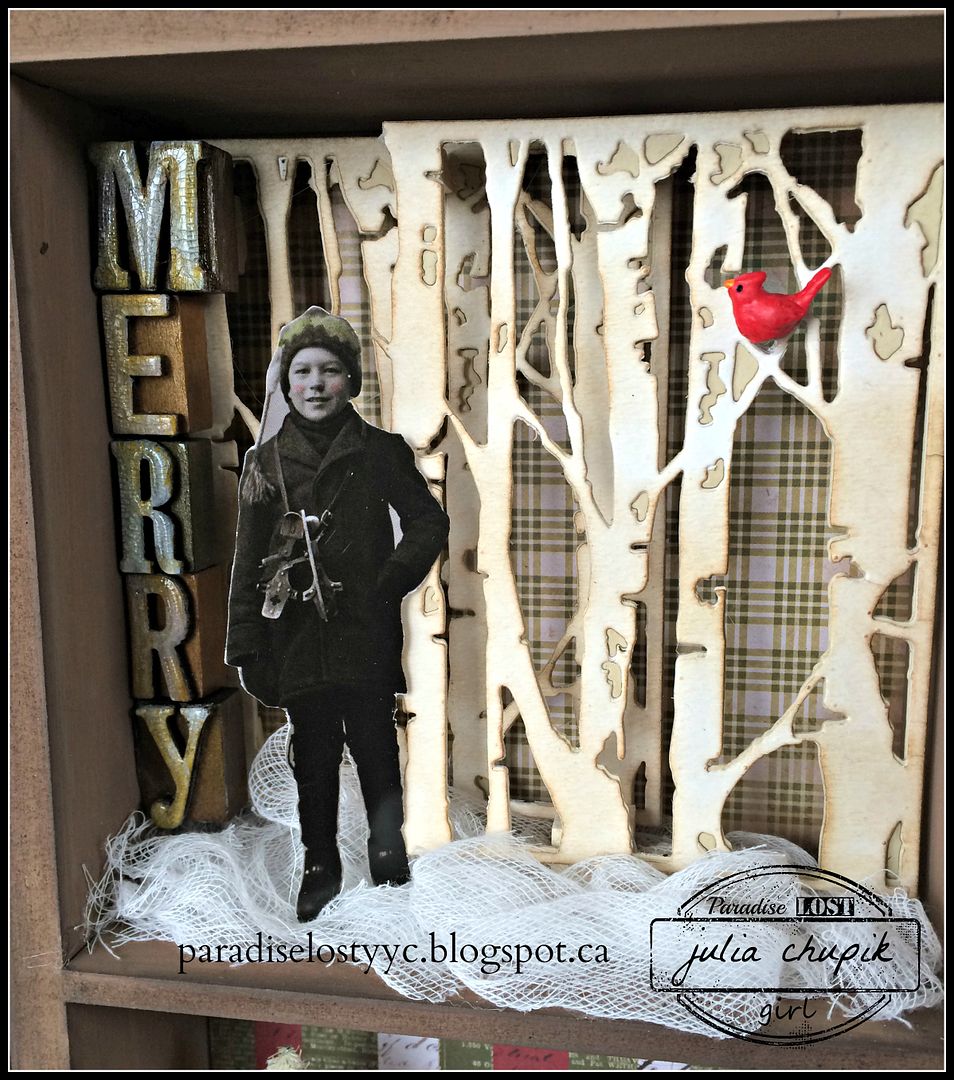
This project is a bit of a de-stash project, with  a whole lot of Sizzix dies, Tim Holtz Idea-ology and my favourite charms & embossing powders from Emerald Creek.
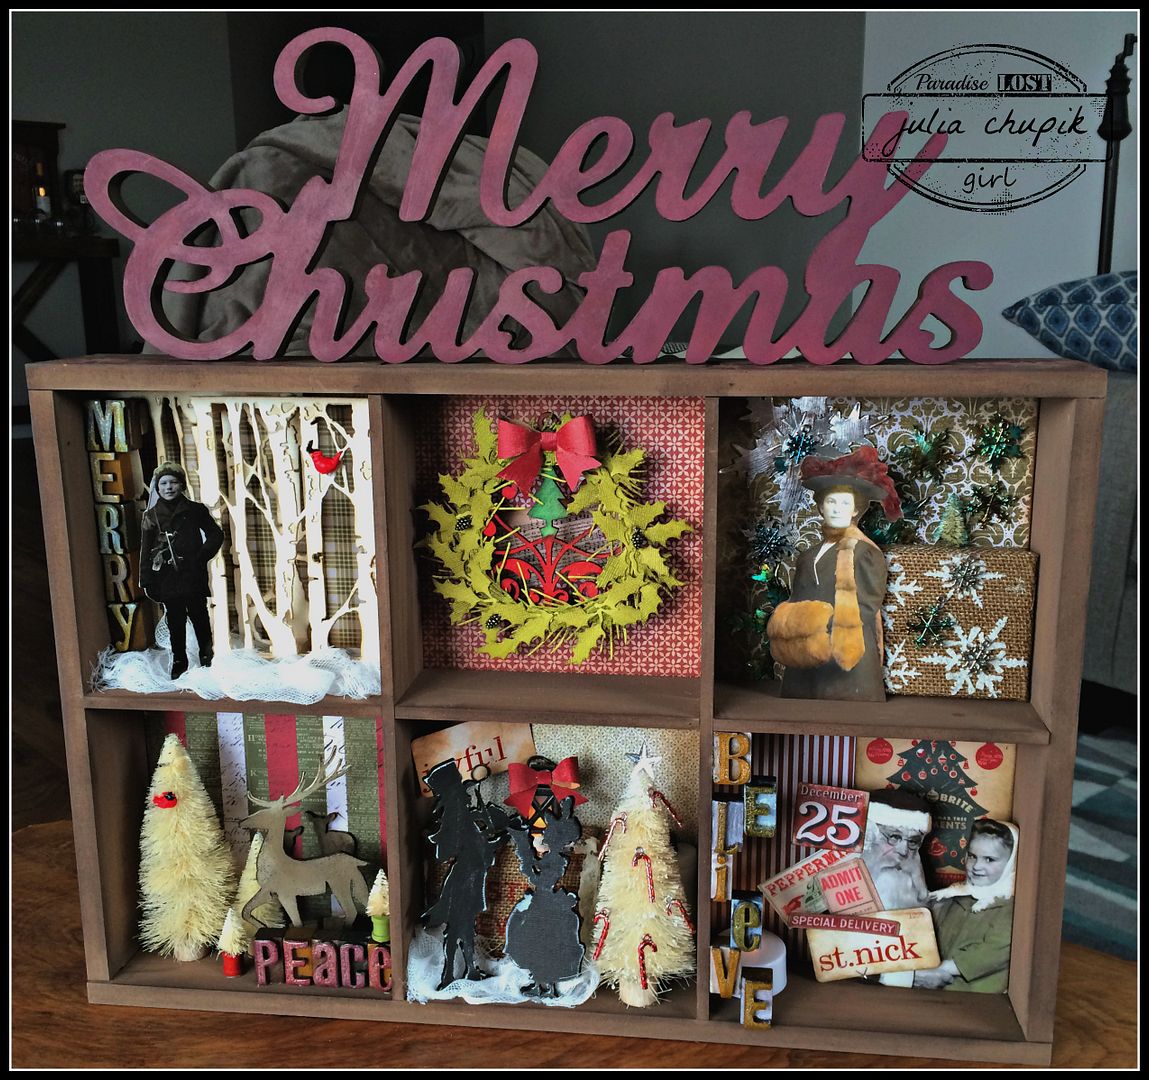
 I used a 6 frame shadow box from KaiserCraft that I had in my stash. The 'Merry Christmas' sign sitting on top is also a KaiserCraft and a long time lurker in my stash.
Let's take a closer look at each box and some of the techniques I used.
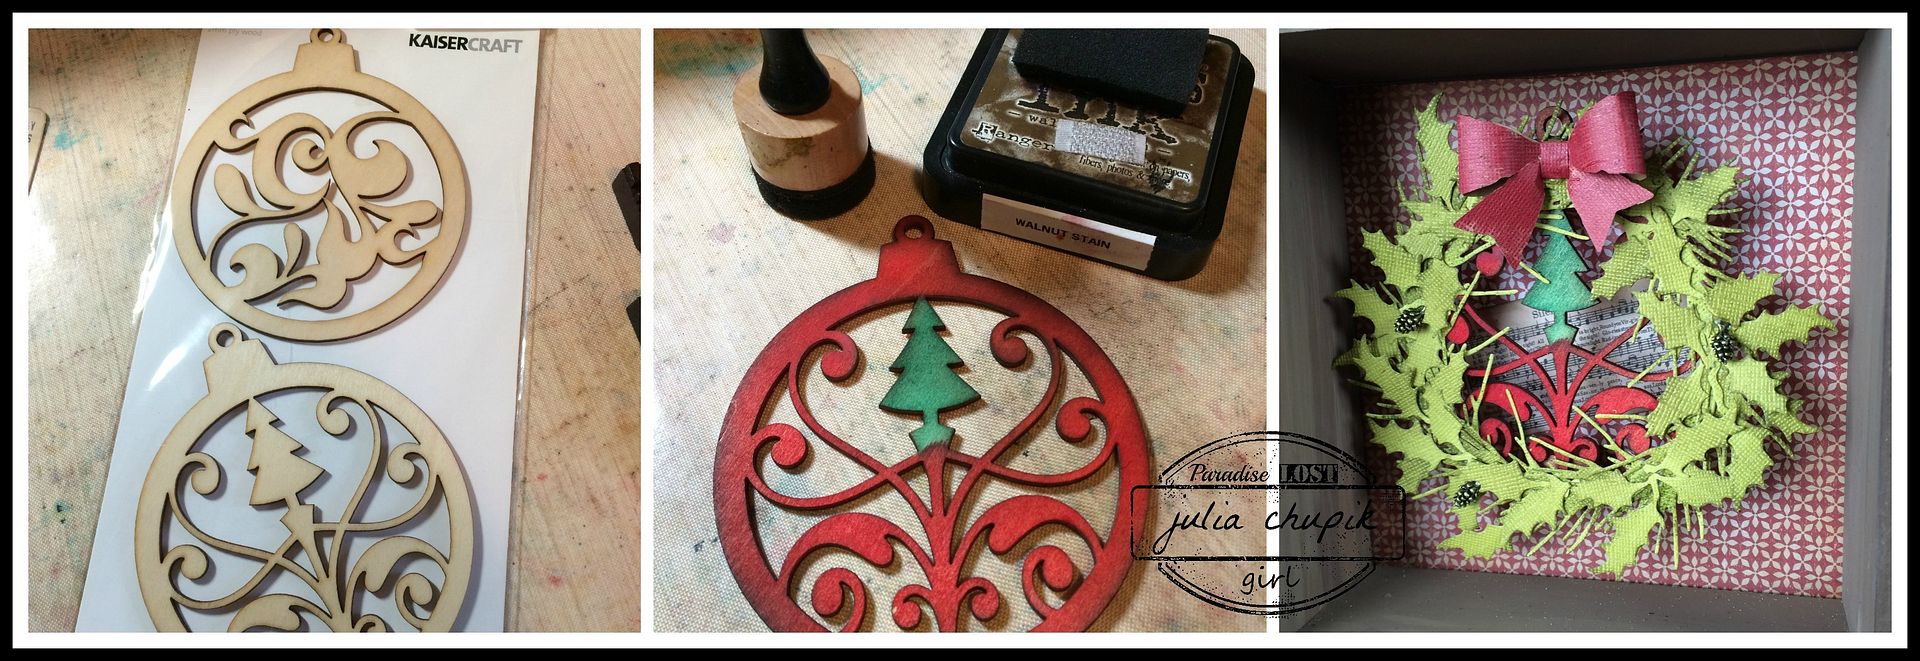


Oh! Look! More KaiserCraft! I decided that these wood veneer 'ornaments' would make a great base for a wreath. I first used Barn Door & Lucky Clover Distress Stains to add colour before using Walnut Stain Ink to tone down the bright colours. Festive Foliage die set was used for the wreath and I added a few Pinecone charms from Emerald Creek Craft Supplies.


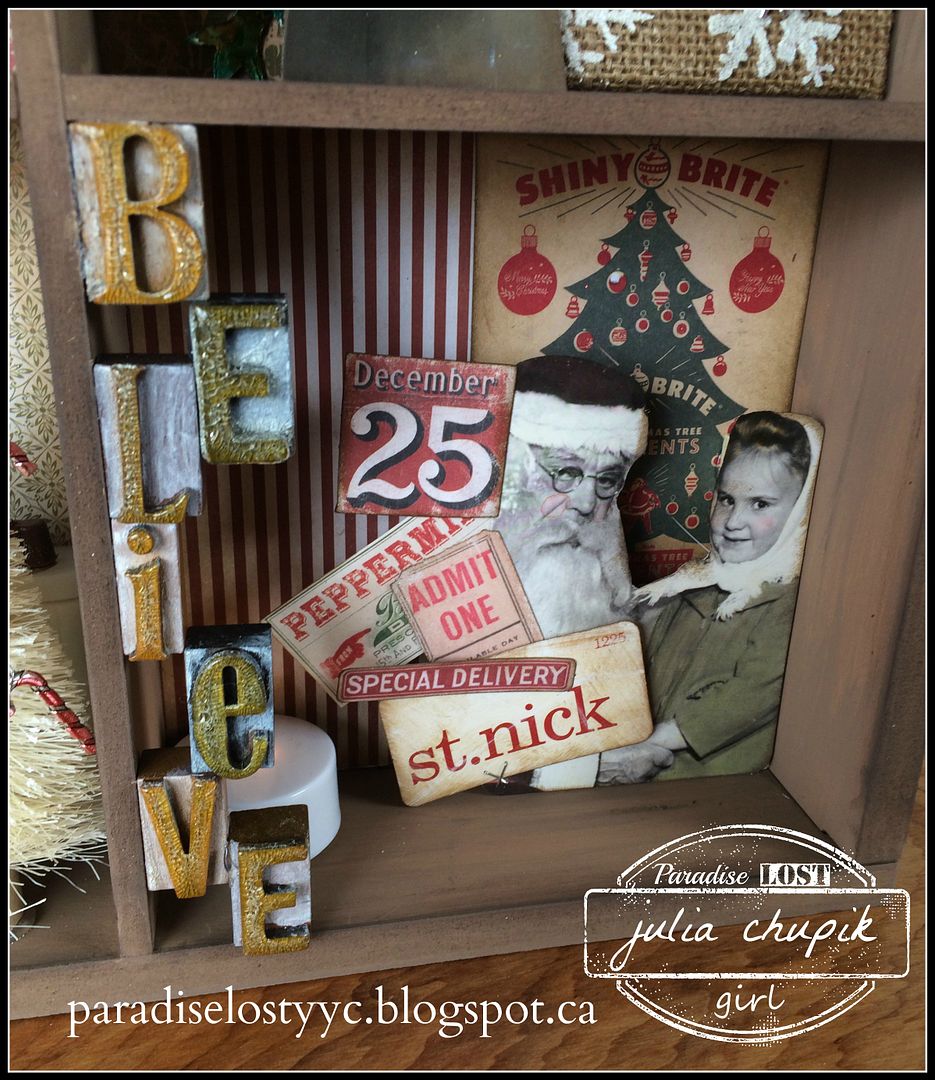
I bought a set of Tim Holtz Holiday LetterPress just for this project. I added some Distress Paint before dipping my letters in Distress Crackle Clear Rock Candy. I just love the look of this stuff when it dries!
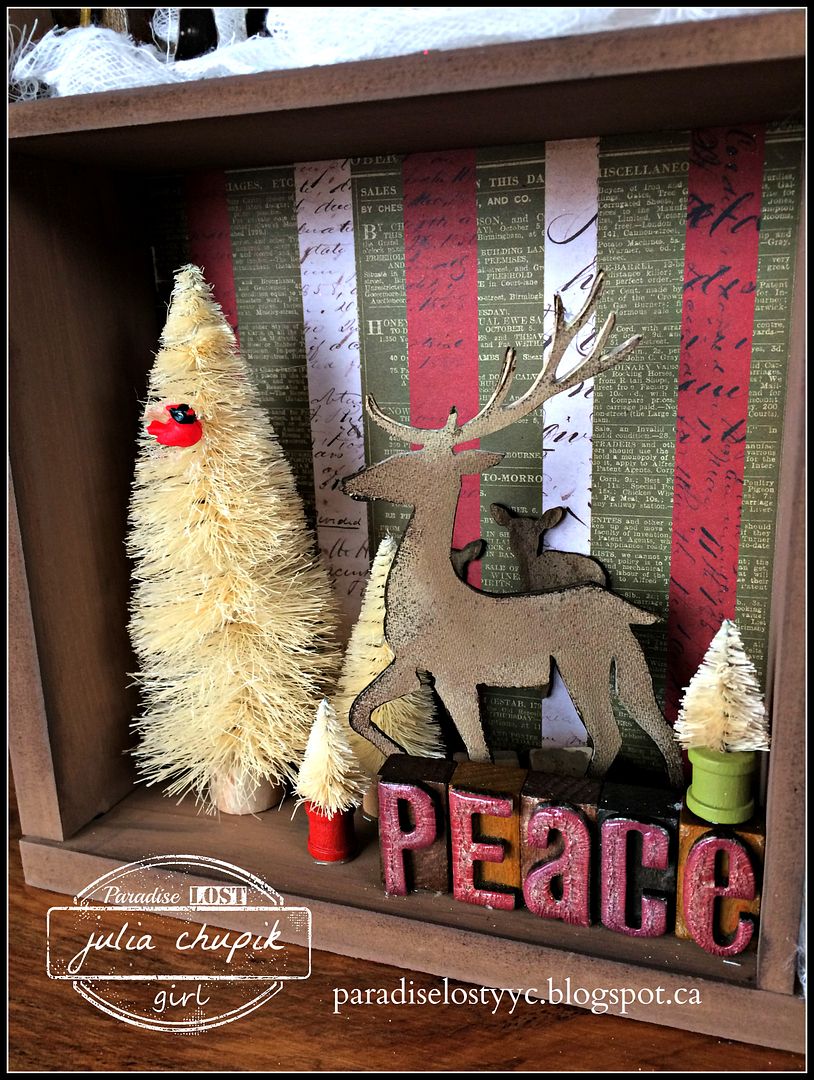
I just love bottle brush trees. I usually will tint my trees with Distress Stain but for this project I decided to leave them natural. Except in the next frame - I decided to add some Soft Fallen Snow Embossing Powder from Emerald Creek Craft Supplies to the tips to give my tree a frosty feel.
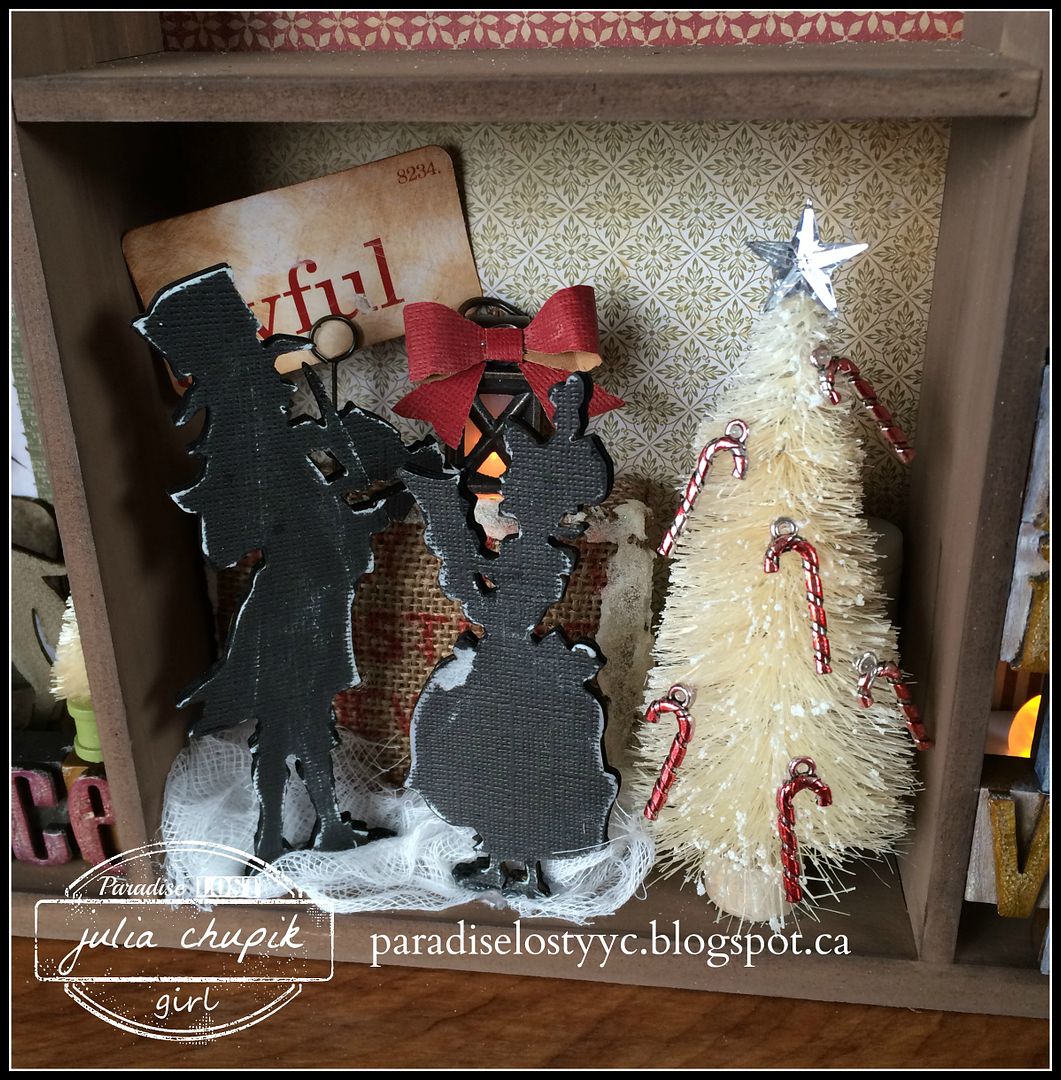
make the perfect decoration for my mini tree. I added some Poppy Red alcohol ink from Ranger for a bit of colour.
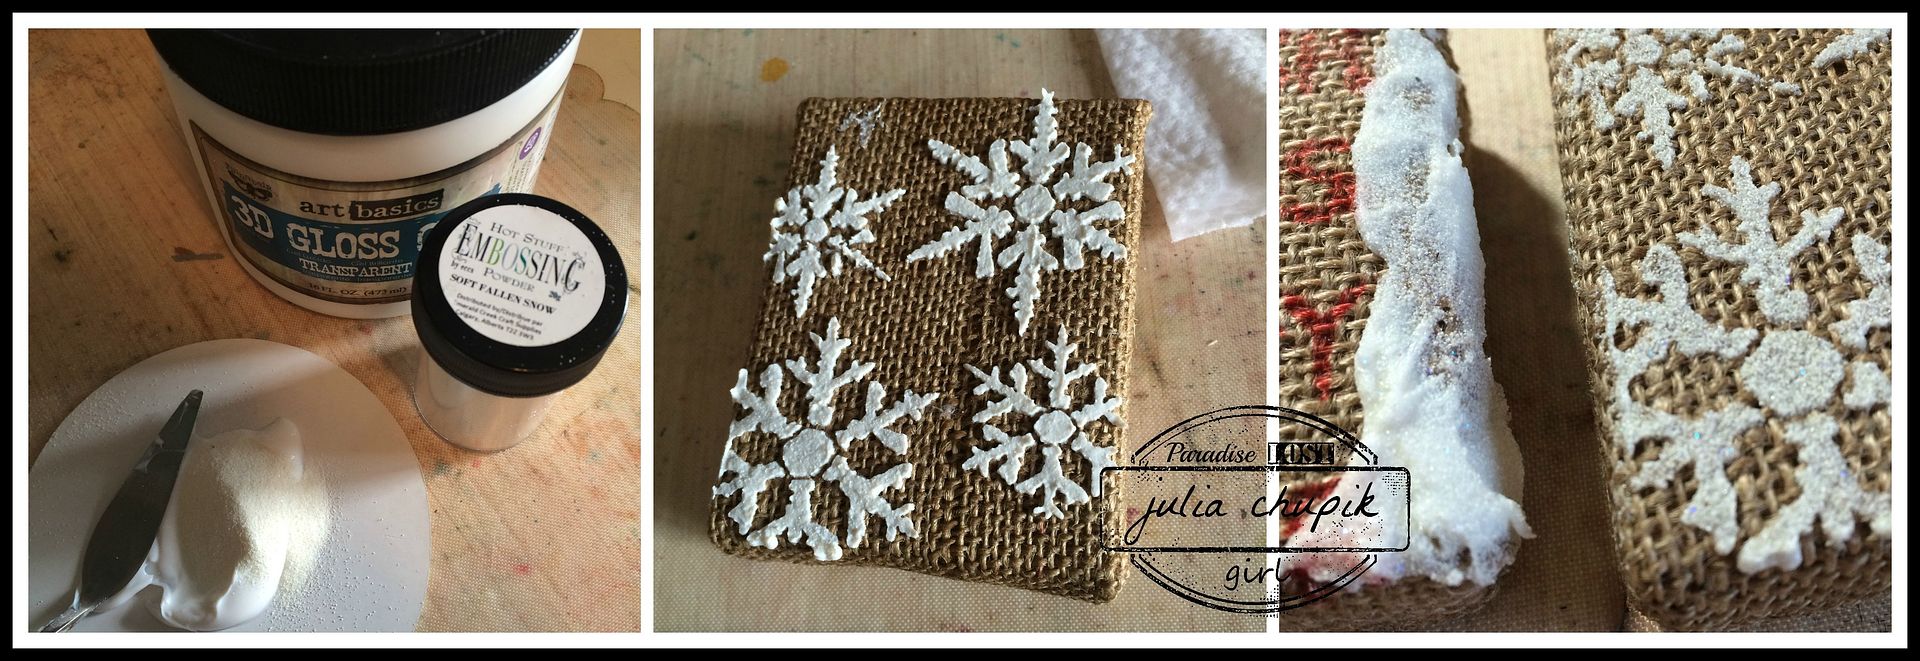
The burlap panel is hard to see in the background but here is another photo of it while I was working on it. I used some Soft Fallen Snow embossing powder mixed with transparent 3D gel to add a snow texture to the edges of this panel. I used the same mixture with my snowflake layering stencil.


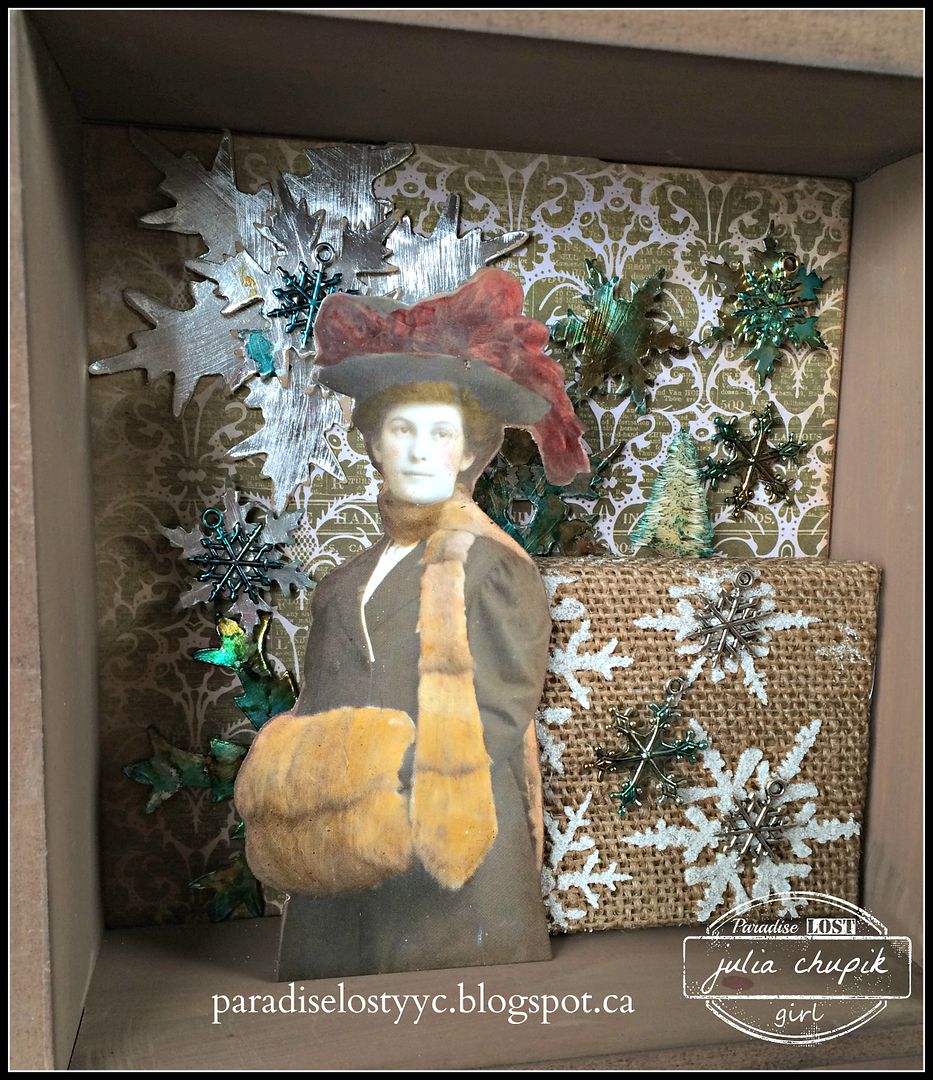
Here is the snowflake panel used in another frame with some stacked snowflakes dies and Snowflake charms from Emerald Creek
I couldn't resist using a few Found Relatives for this Holiday project & Festive Ephemera
 from Tim Holtz.
Thank you so much for visiting my blog today and I wish you and your loved one an very Merry Christmas and a happy holiday!

Please take some time to visit the rest of the Emerald Creek Design Team for more holiday inspiration.
Check out the new challenge at the Emerald Creek Challenge blog 
for a chance to win a $25 credit to the online store
http://blog.emeraldcreek.ca/
 

Wednesday, 16 December 2015

It's the most wonderful time of the year....my Tim Tag for December

It really is the most wonderful time of the year!
I'm looking forward to spending time with kids who are both back 
home from college ~ we have plans to decorate the tree & bake cookies!
Before I pack up the car and head back to Calgary, I wanted to share my take on Tim's tag.

Here are my tag bases I did. I wasn't sure which one I was going with at first but I 
decided to save the lucky clover argyle one for another project.
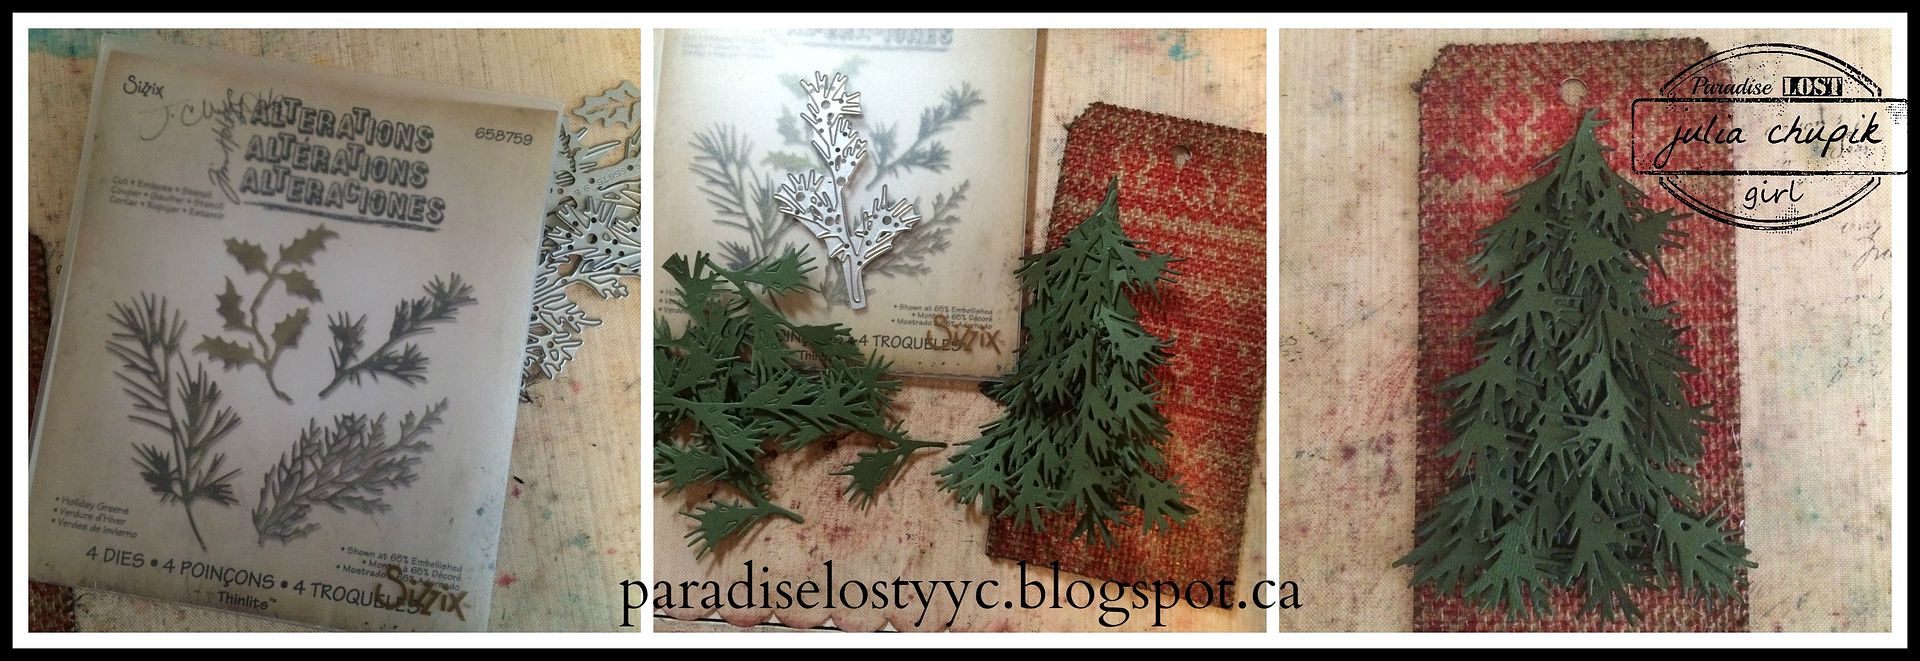
The tree is from an old Sizzix die I had and I think its called Christmas Tree #2. That was going to be the base for my next technique.


This is the same technique Tim used to make his wreath except I used my Holiday Greens Thinlit dies to make my tree.
I added a sentiment from the Occasions Small Talk and some splattered Picket Fence Distress Paint along with a few alcohol inked stars and some jute along the edges.
Another finished tag for 2015!

I am already so excited for 2016 and looking forward to more wonderful inspiration from Tim Holtz!
I wish you a very Merry Christmas & a happy and crafty new year!

Thank you so much for popping by my blog today.
 I hope I was able to inspire you even just a little bit! 

~~stay crafty~~
julia

Monday, 14 December 2015

4 Quick Christmas Cards

Just when I thought I was all caught up & organized I wake up in a cold sweat at 3am this morning and remember 2 people I forgot to mail Christmas cards to. 
Oh no! I had no cards left! 
So I was up early and in my craft room by 7am so I could make more cards
 and get them in the mail by noon.

First up ~ pick a colour scheme
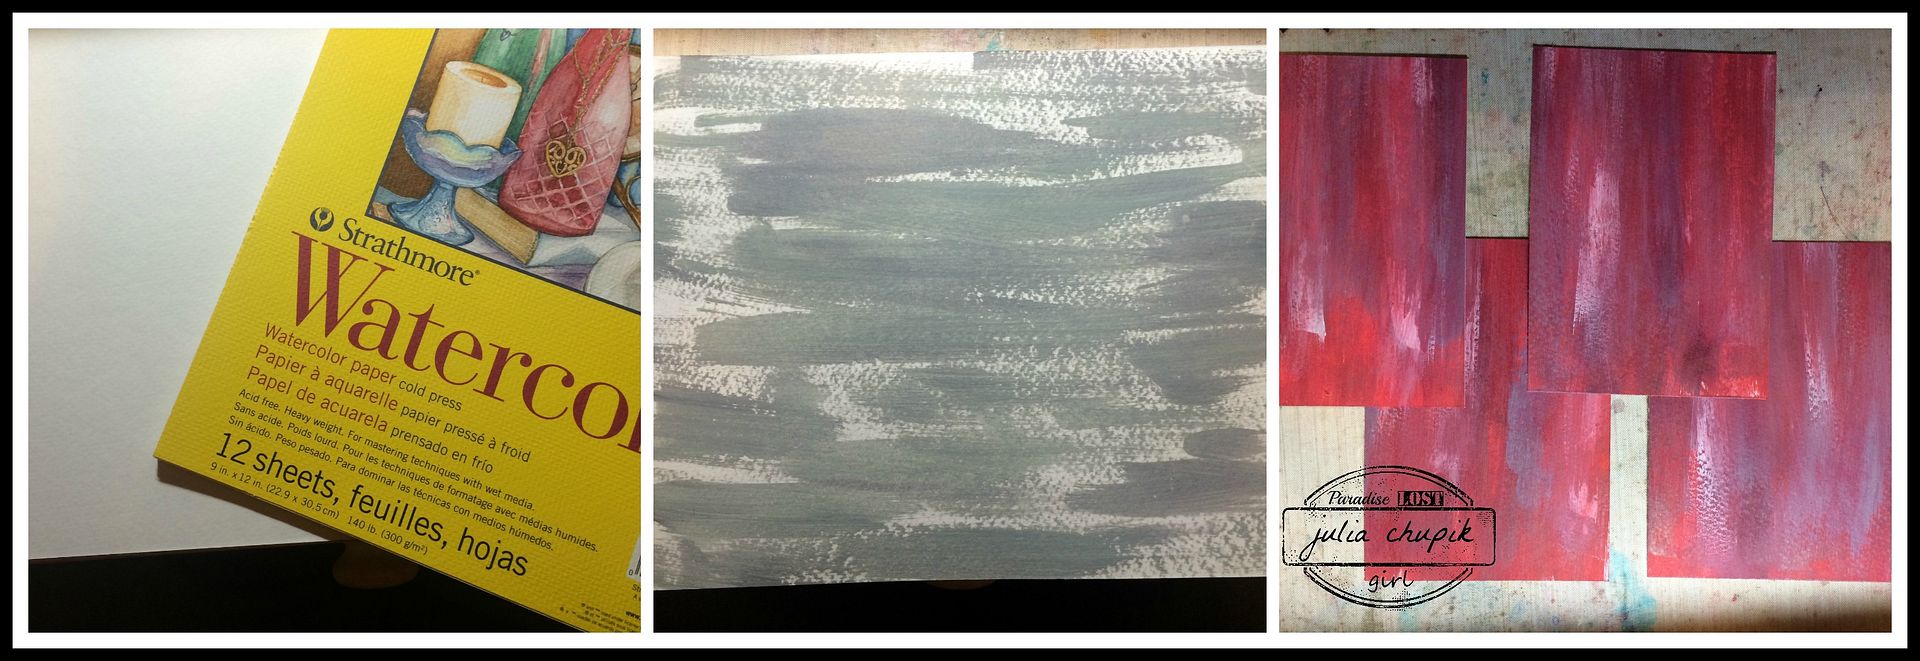
Next I grab a 9"x12"sheet of 140lb cold press watercolour paper & then I began to
apply drops of distress paint and spread them around with a soft brush.
I started with the greys and then the red from lightest to darkesk, using my heat gun to dry the paint before applying more layers.

 I forgot to take more photos of this step as I was so into creating the the layers.
The far left photo shows the watercolour paper trimmed to four 4.25' x 6" card fronts.
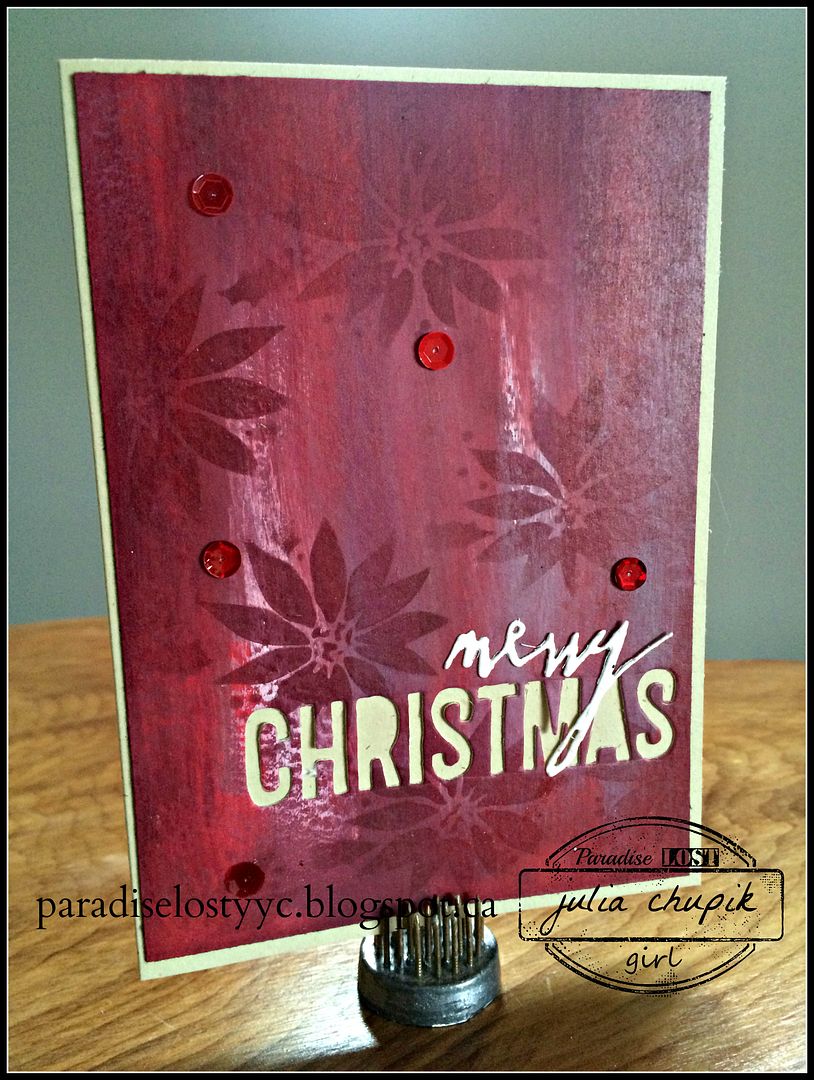
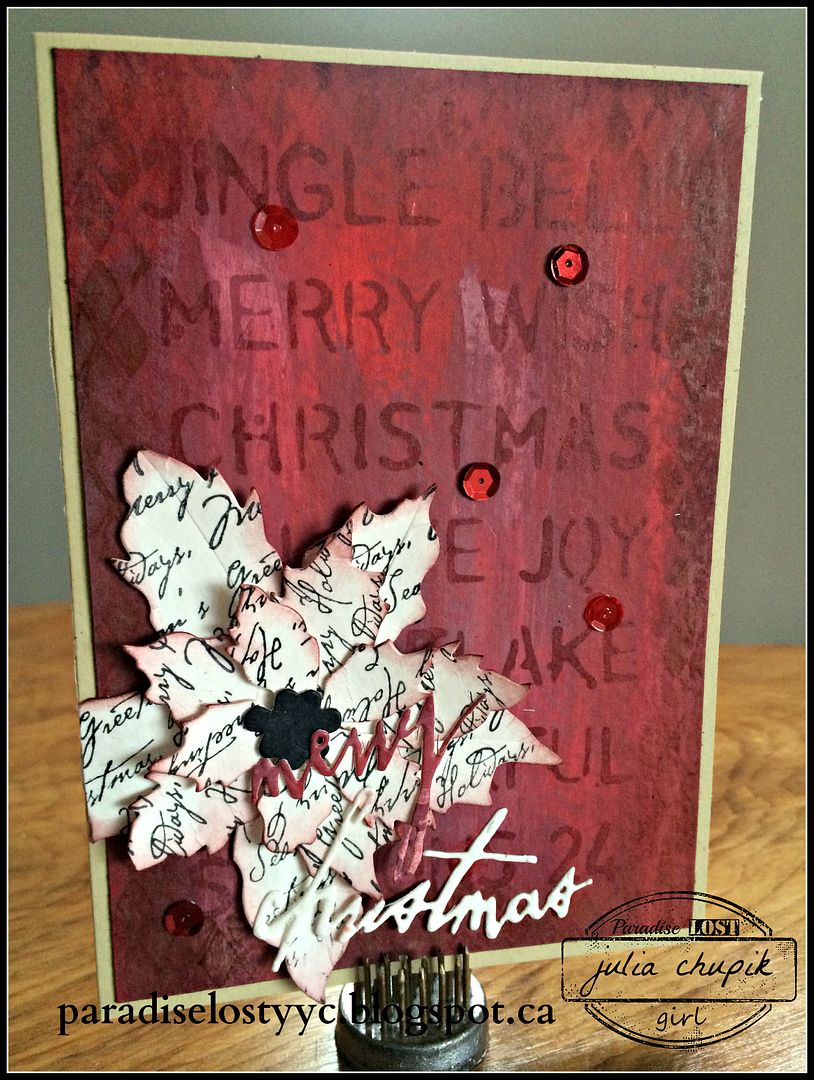
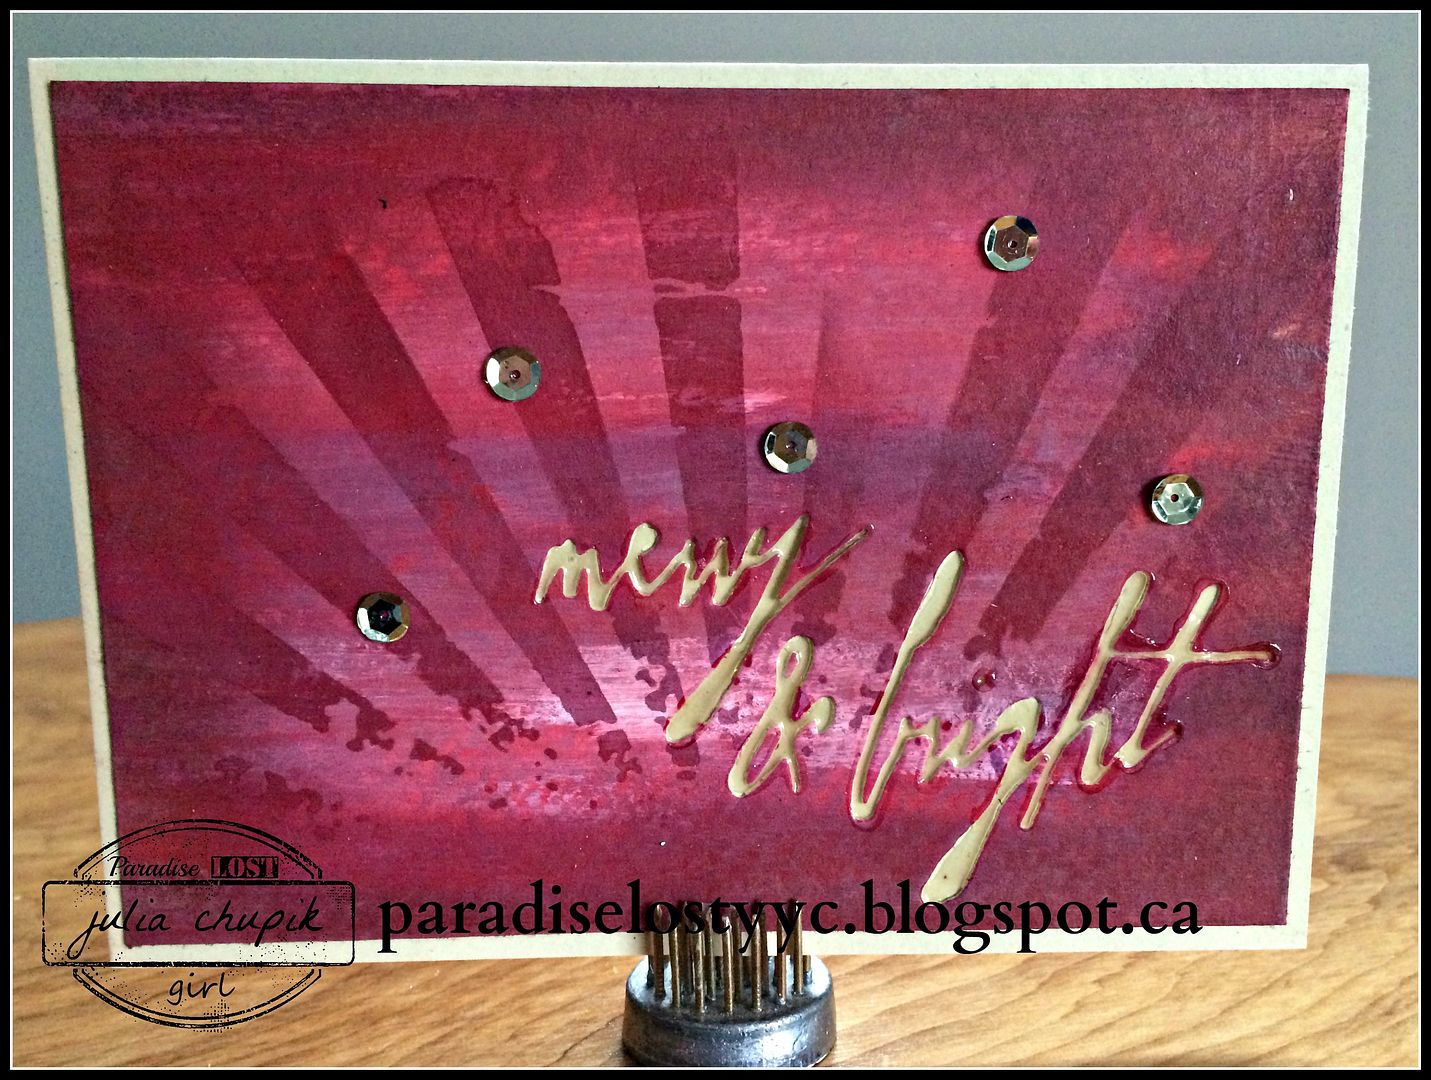
Next I inked the edges with Aged Mahogany Distress Ink & used 4 of my Tim Holtz Layering stencils to add some more depth. It was time to add a few more details using sequins, Sizzix dies, stamping and embossing powders.

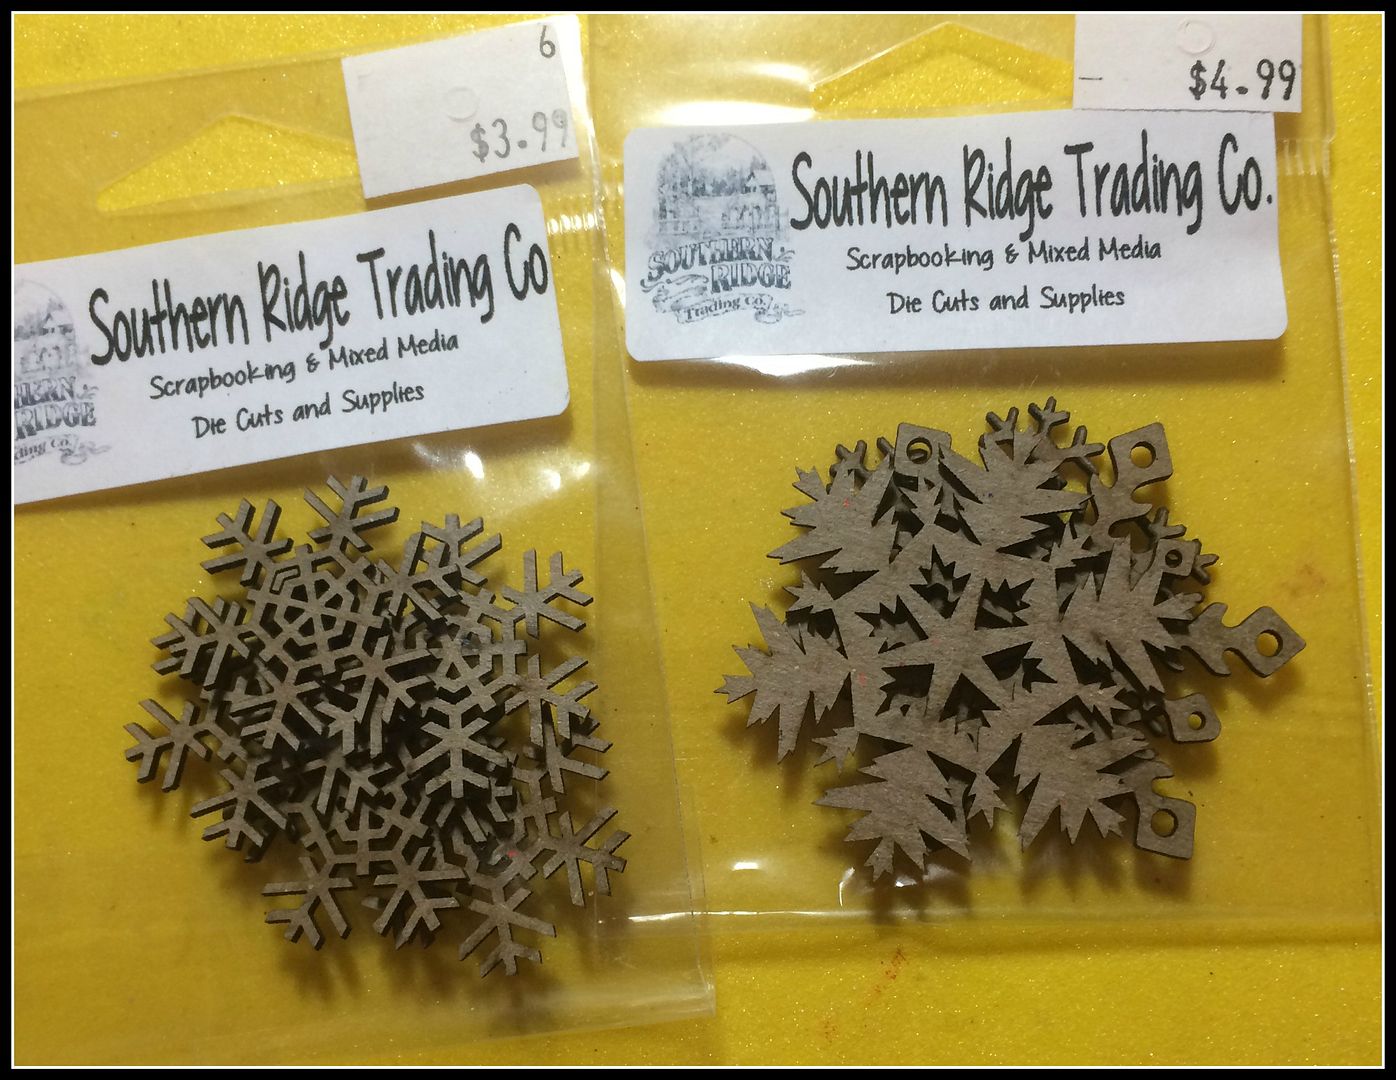
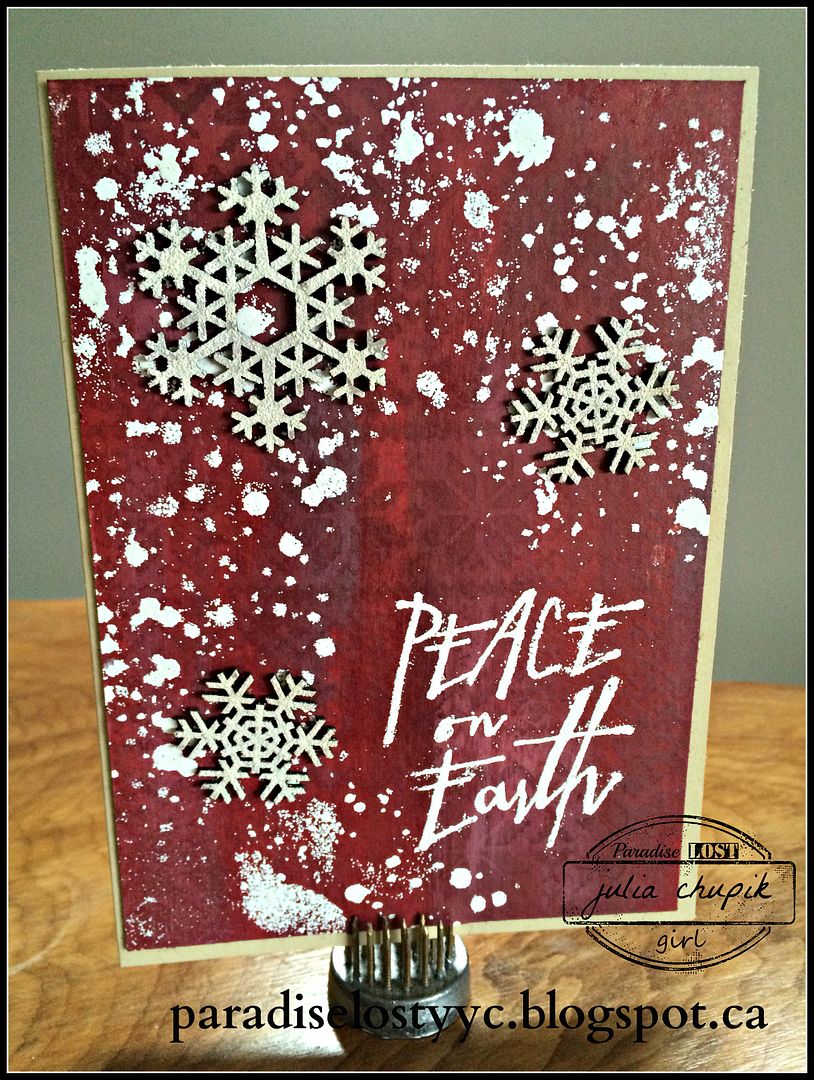
Check out the cool die cut snowflakes from Southern Ridge Trading Co. that I used on this first card.
Amazing right? Check them out for some awesome die cut chipboard images.
I used Picket Frence Ditress paint on these then covered with Soft Fallen Snow embossing powder from Emerald Creek Craft Supplies.


I am happy to report that 2 of these cards made it to the 
post office by noon and I have 2 cards to spare. Just in case. ;)
 Thank you so much for visiting my blog and I hope you have an amazing day!
~~stay crafty~~
http://themixedmediacardchallenge.blogspot.ca/2015/12/mmcc-18-celebration.html

Monday, 7 December 2015

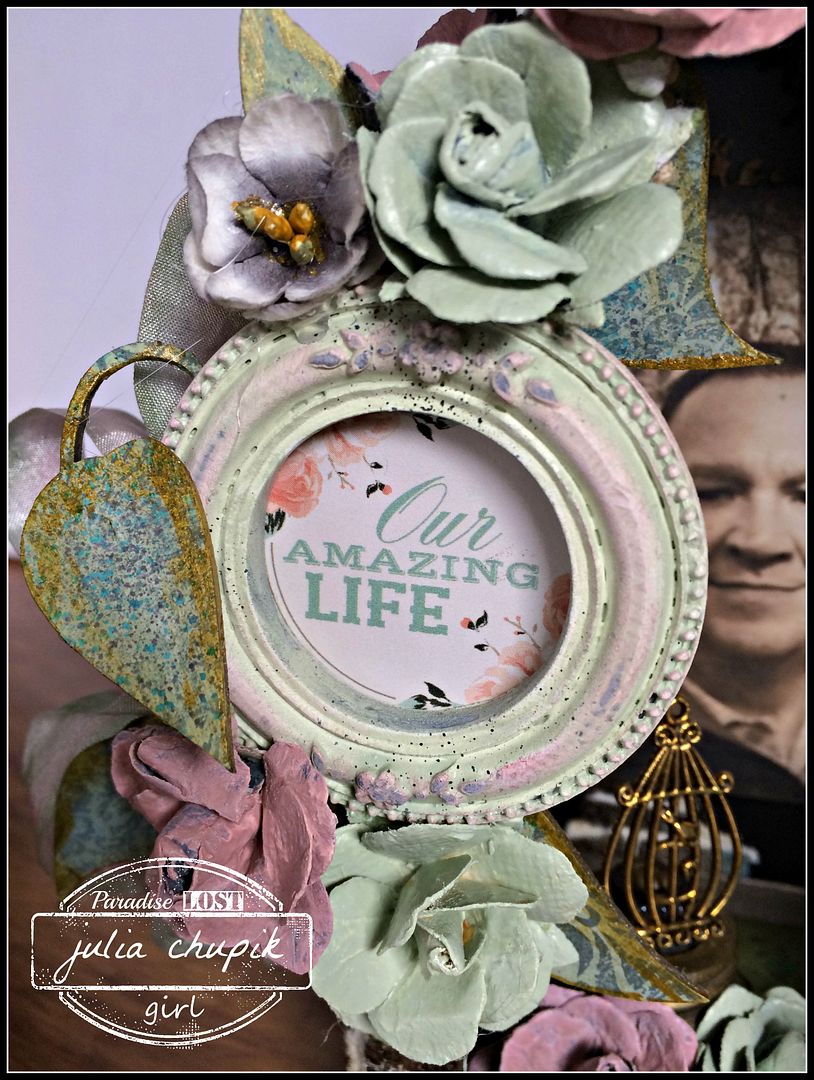
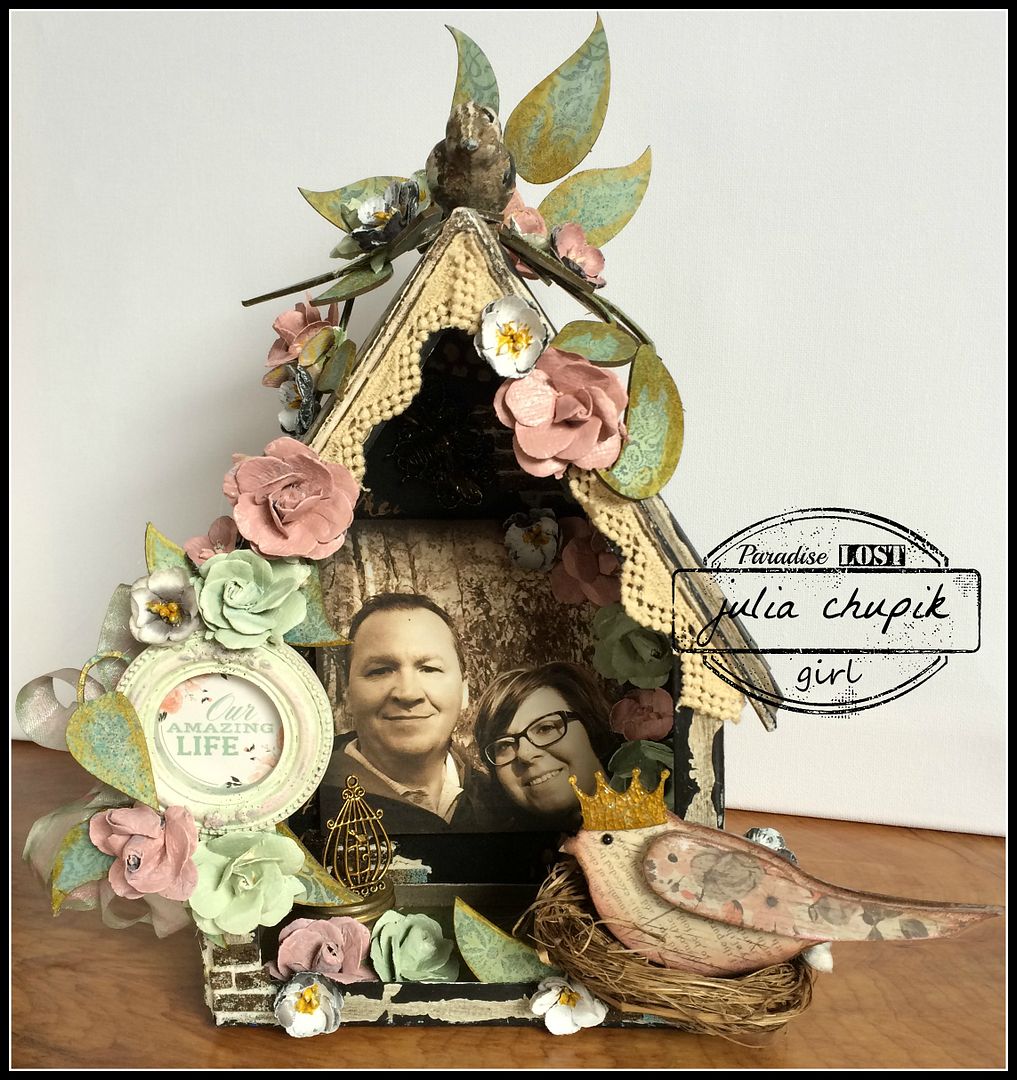
Our Amazing Life.....De-Stash Project #4

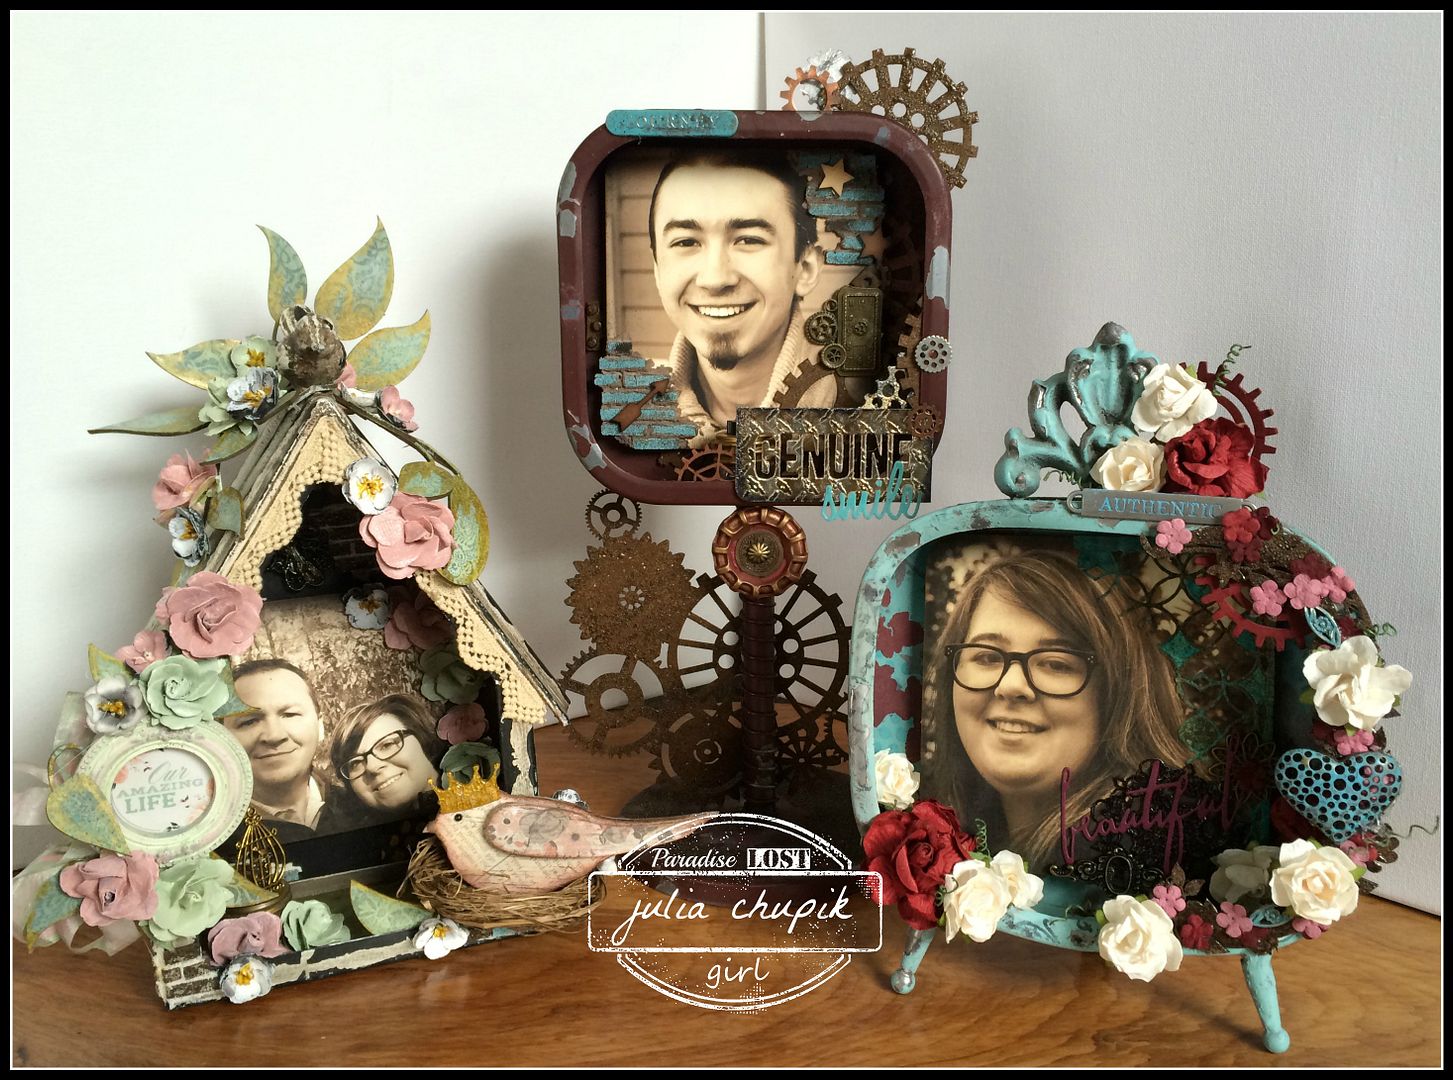
I have another De-Stash Project to share and this is using my last metal frame from Prima. I am half sad and half excited. Sad that this is my last metal frame but excited that these frames are finally out of the stash and on display. 
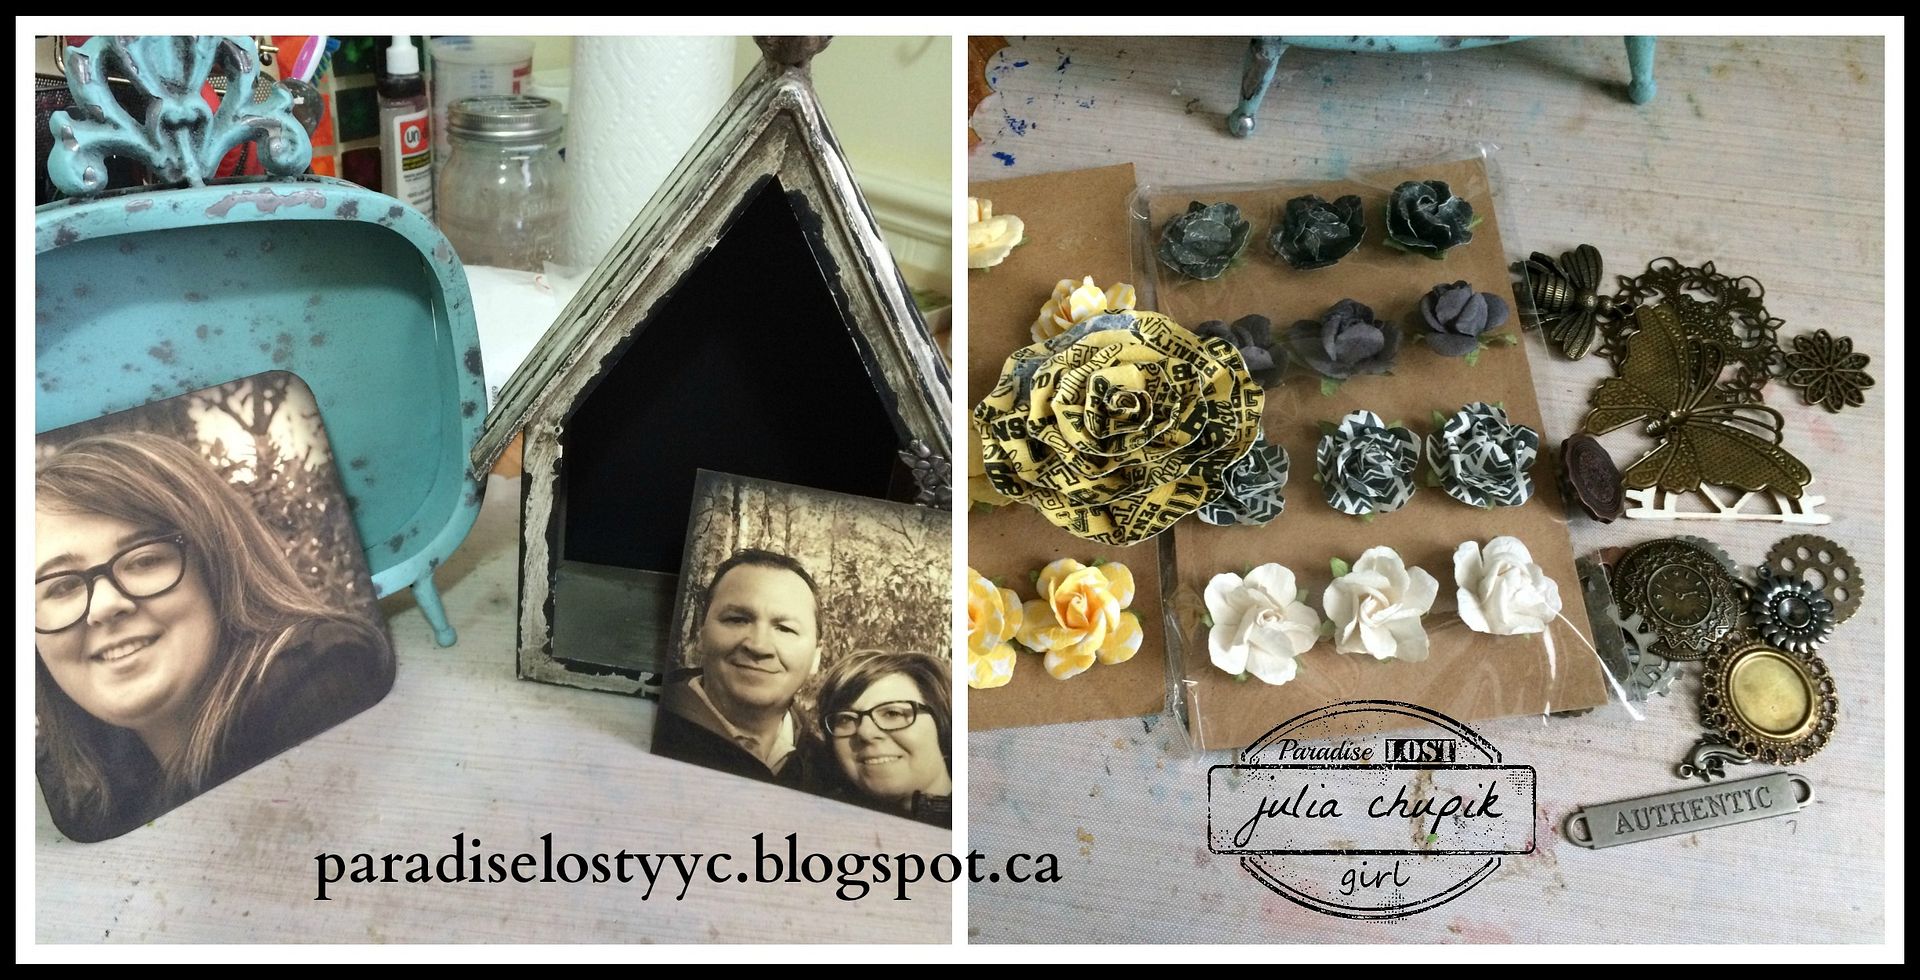
My goal for this project was to use up the last of these fabric flowers. 
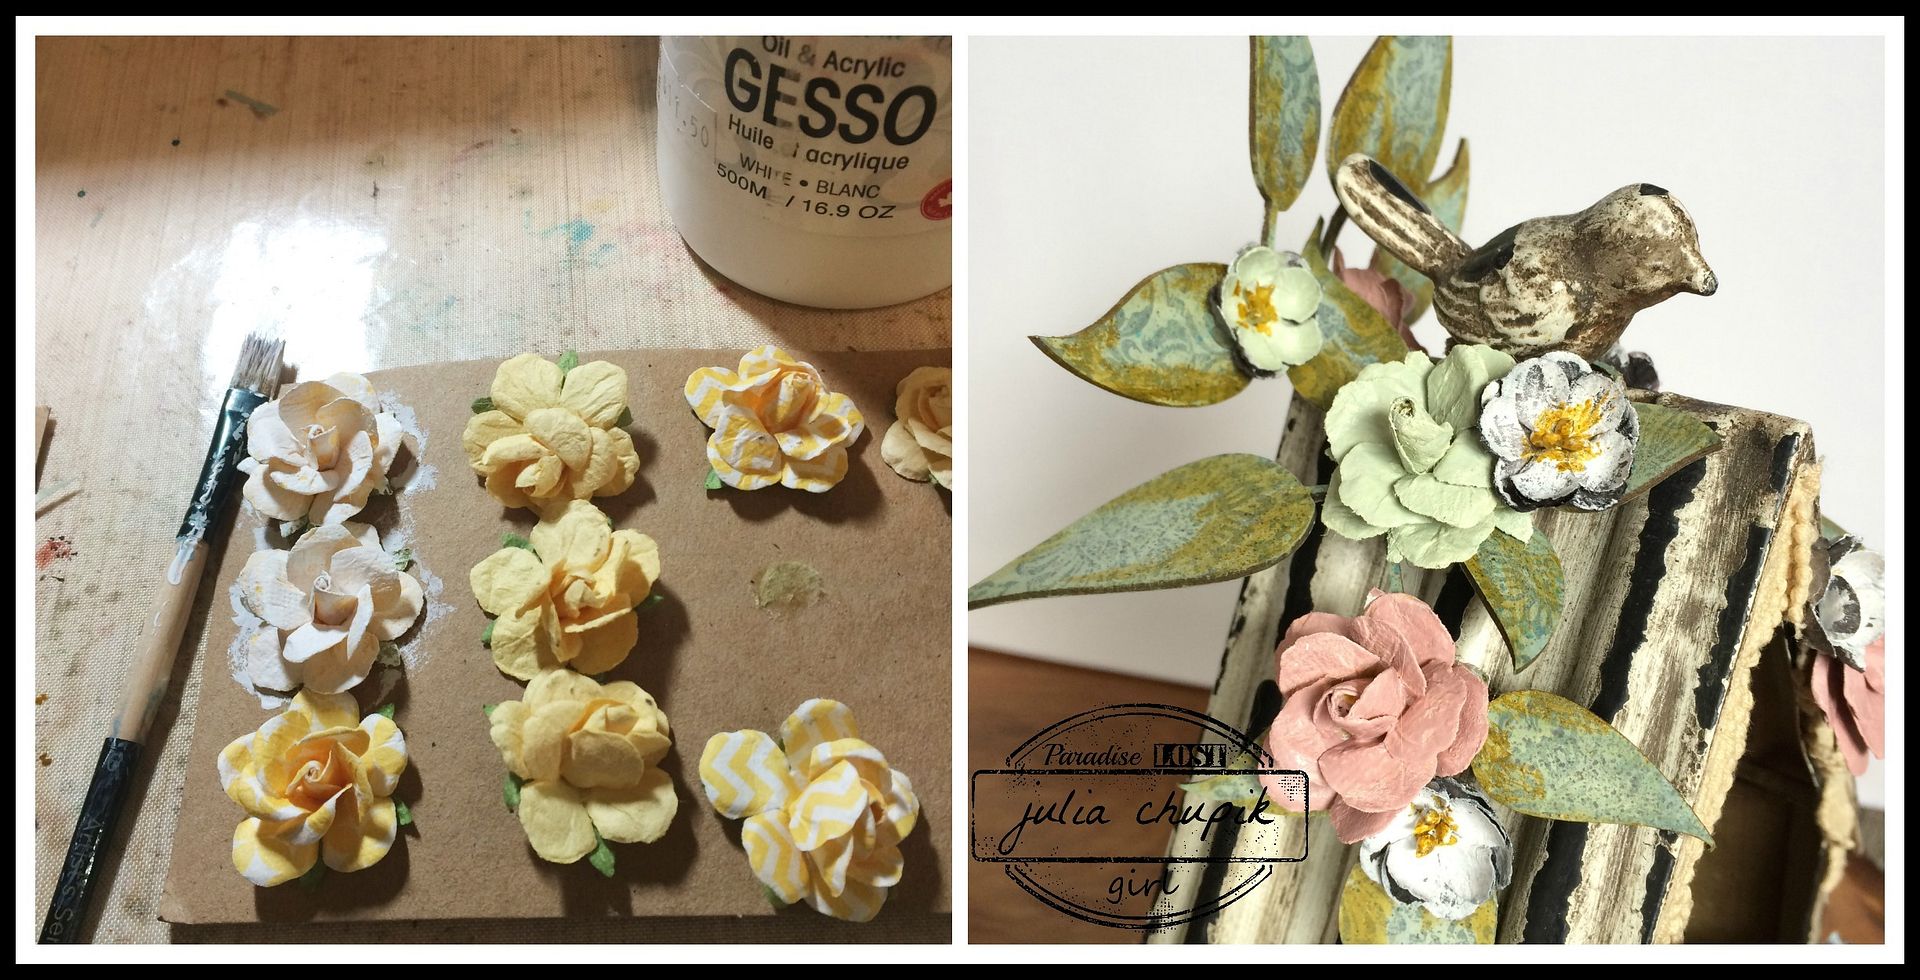
Unfortunately, they were patterned yellow & black fabric flowers.
No worries, a coat of gesso and couple coats of Distress Paints and they were perfect for my project.
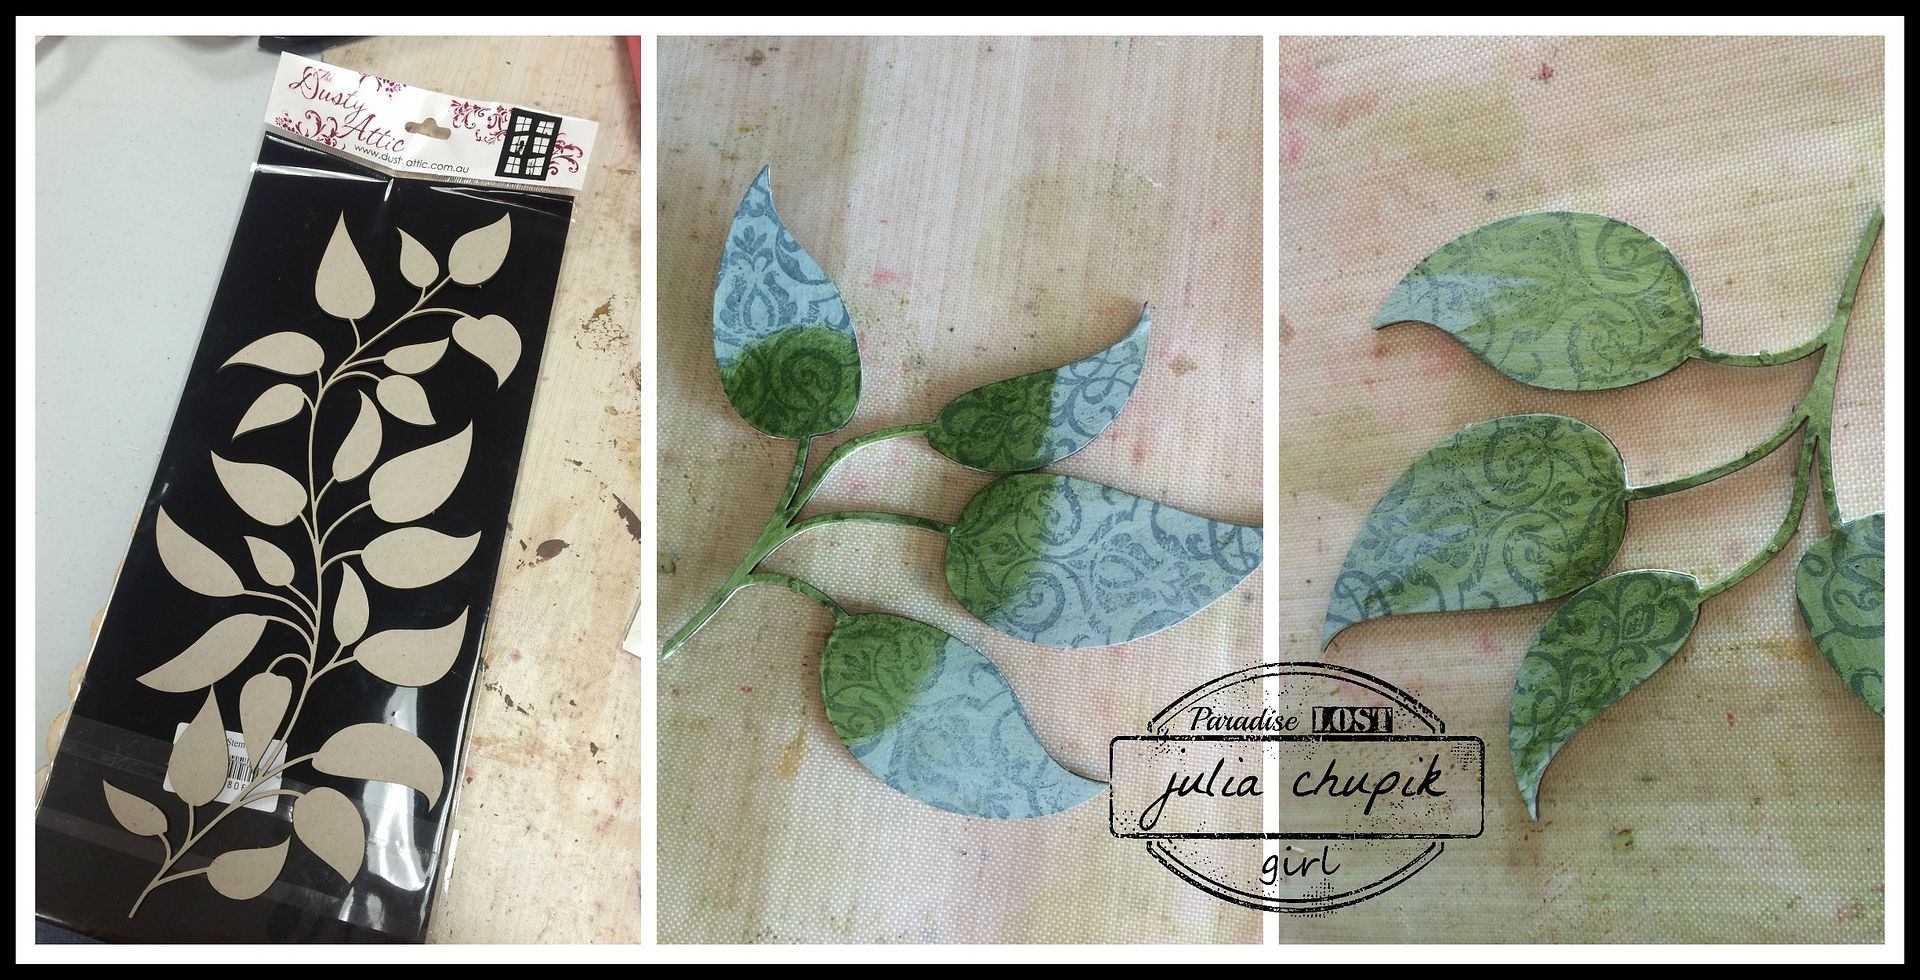
A chipboard leafy vine from Dusty Attic ~ a coat of gesso, stamped with a pattern, coloured with Distress Paint and finally finished off with Bronze Distress Paint ~ perfect for my birdhouse frame.
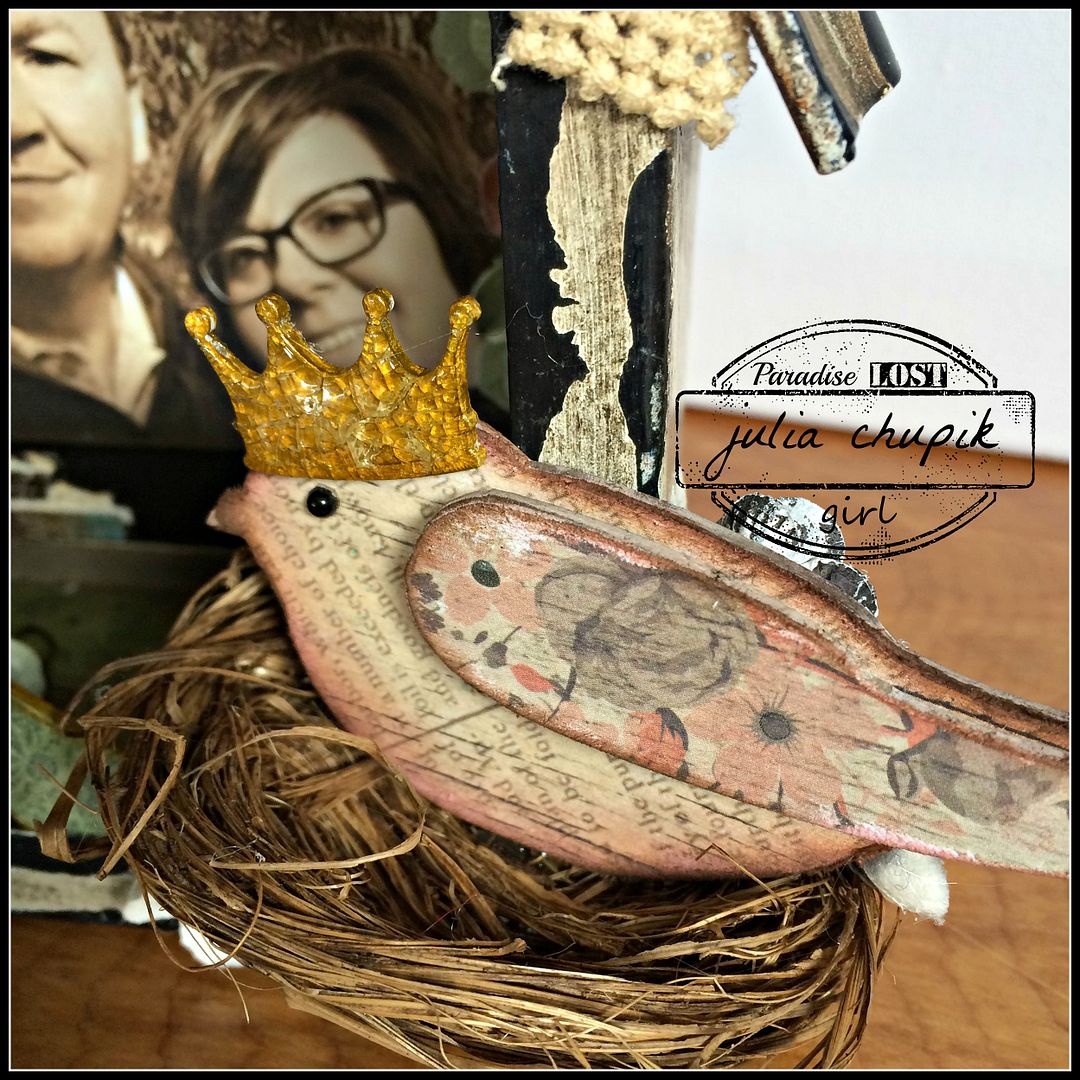
I can't have a birdhouse without a bird so I just had to use this crowned bird from Leaky Shed. My wee bird is sitting in a nest I picked up at the dollar store last year.
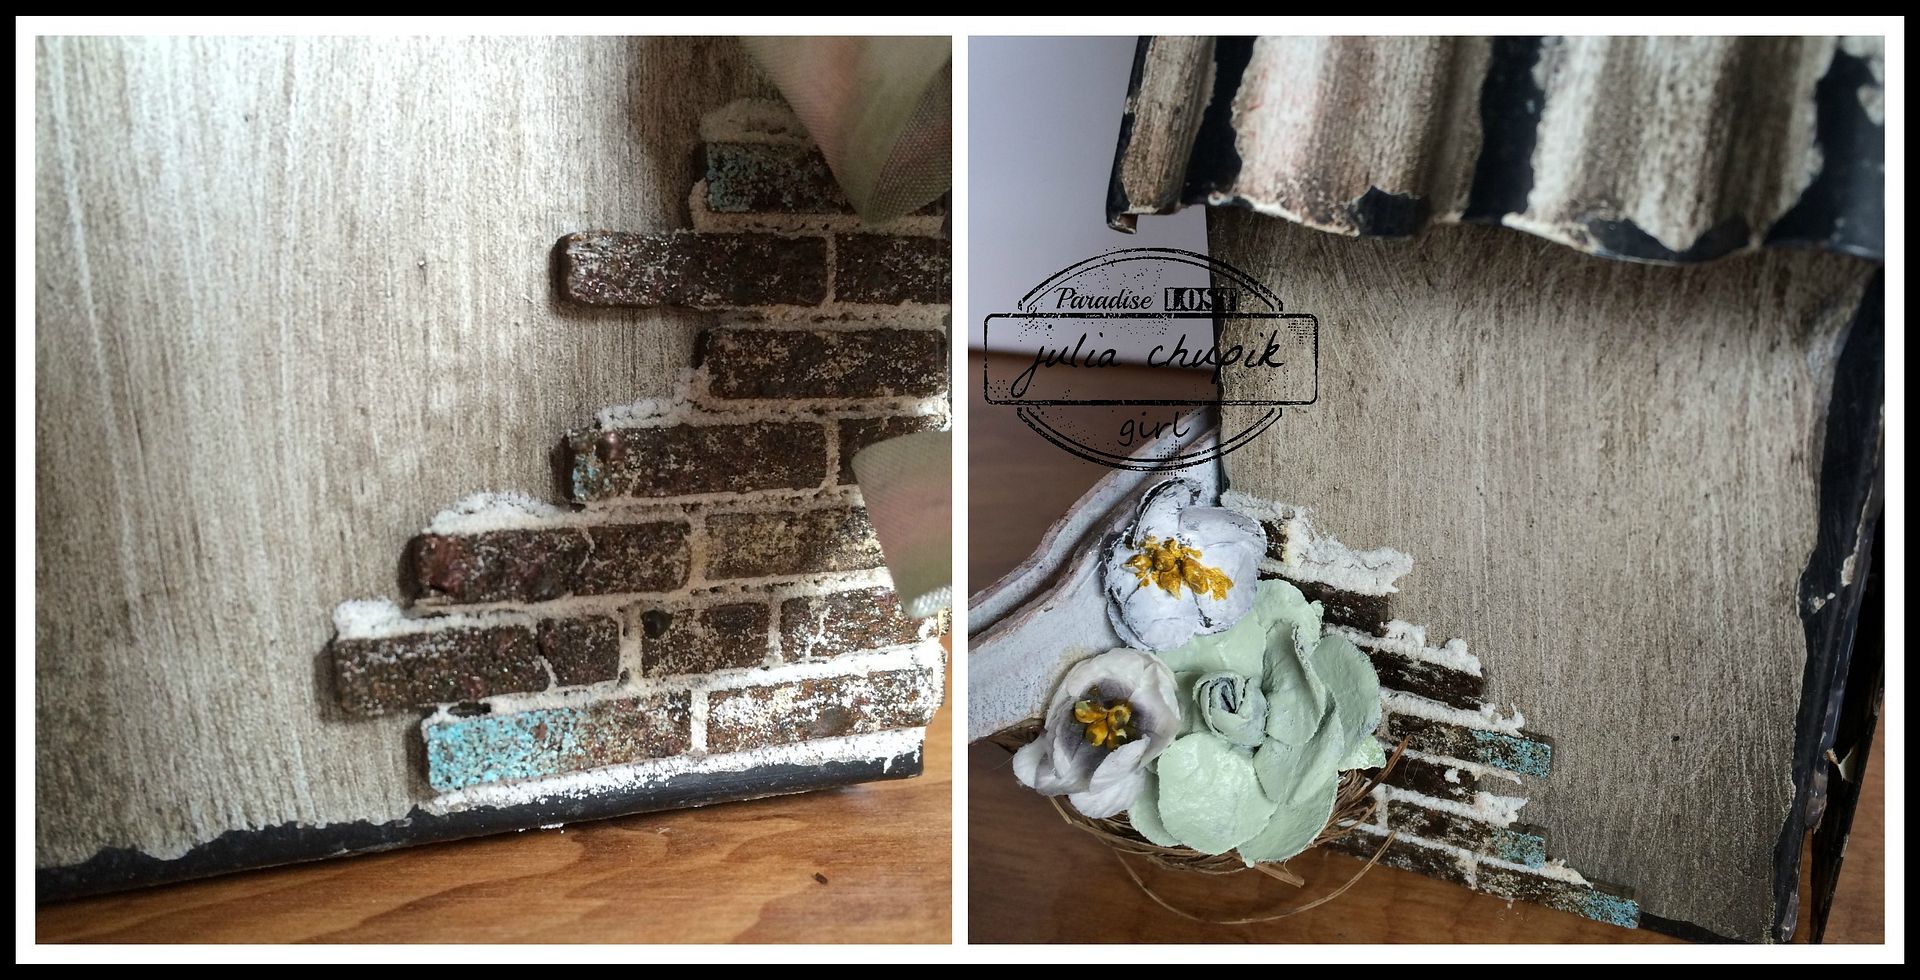
I had a few bricks left over from my De-stash Project #1 so I had to use them to add some texture to the outside edges of my frame.
Thanks so much for visiting my blog today. 
Please leave my a comment and your blog info so I can come visit.

Don't forget to visit the Emerald Creek Dares blog and enter your Festive projects for a chance to win a $25 credit to the online store!
http://blog.emeraldcreek.ca/2015/11/bringing-bits-of-cheer.html


~~stay crafty~~

Monday, 30 November 2015

Authentic Beauty....DeStash #3

It's time for more de-stashing and this week it's all about those teeny, tiny Prima flowers that came in those amazing milk bottles. I didn't physically count how many of those little suckers were in the bottle but I guesstimate around a million. Yes, it was definitely time to start using those.

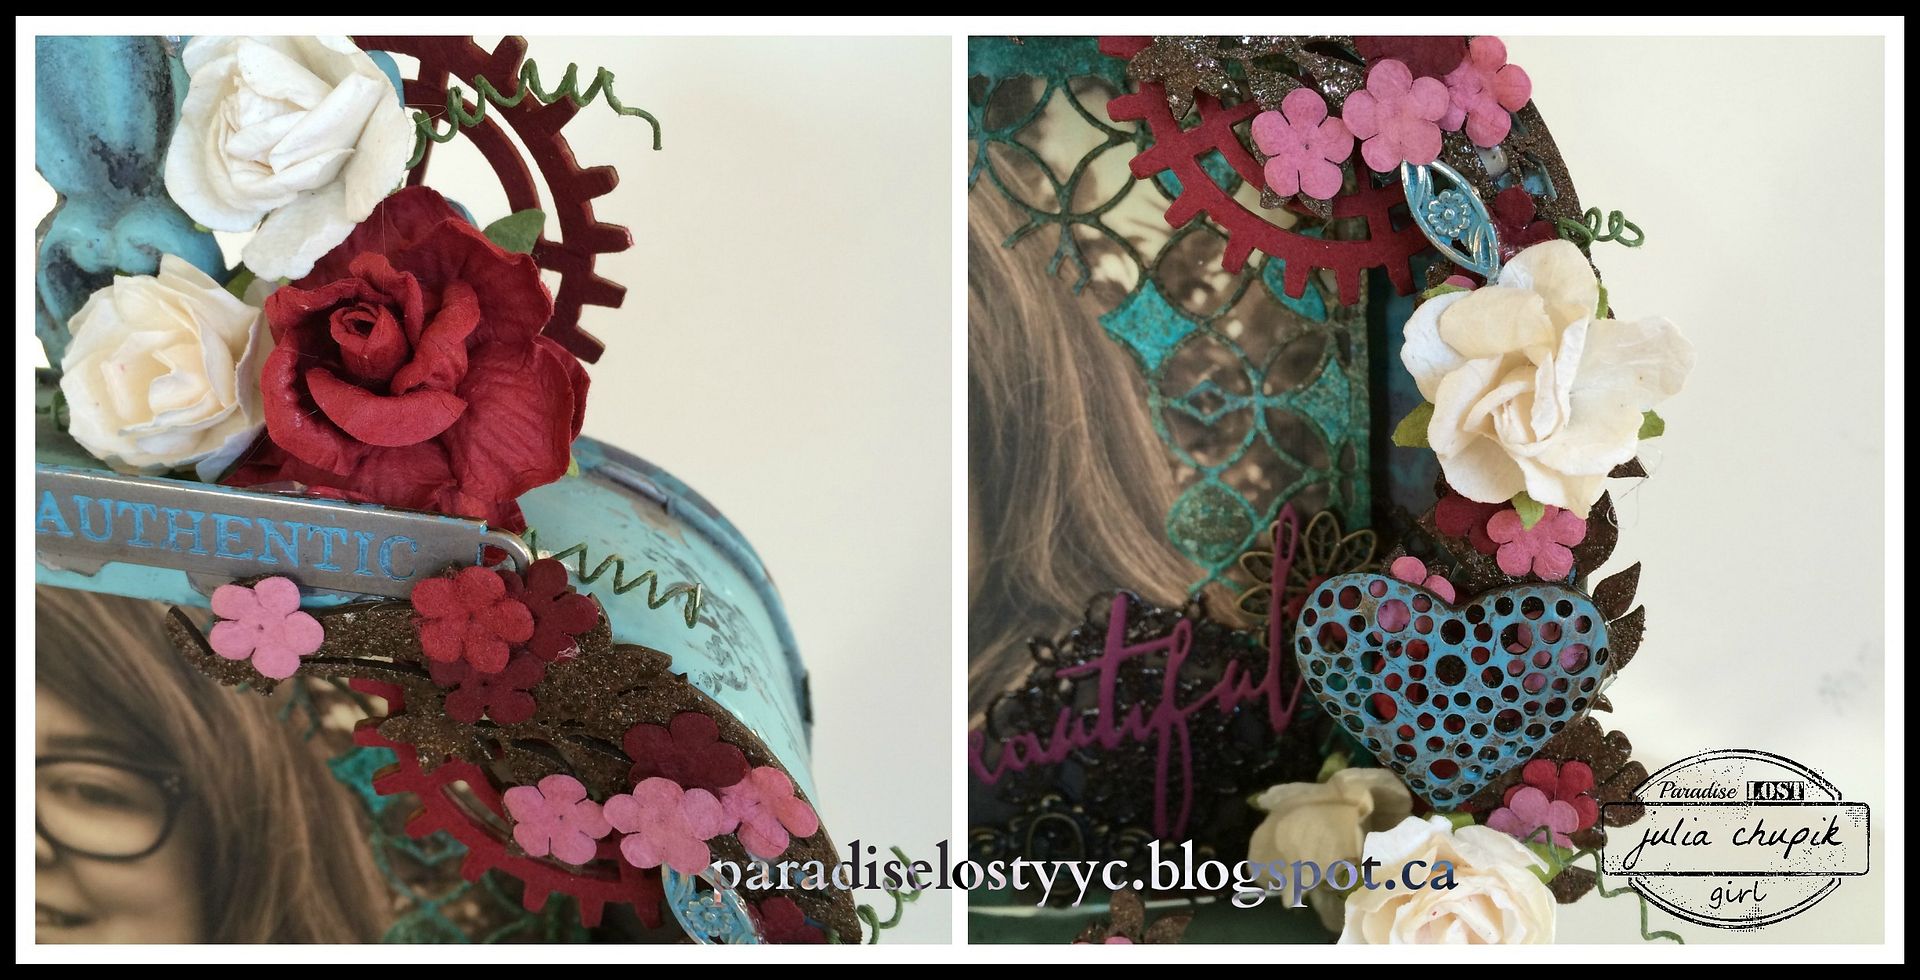
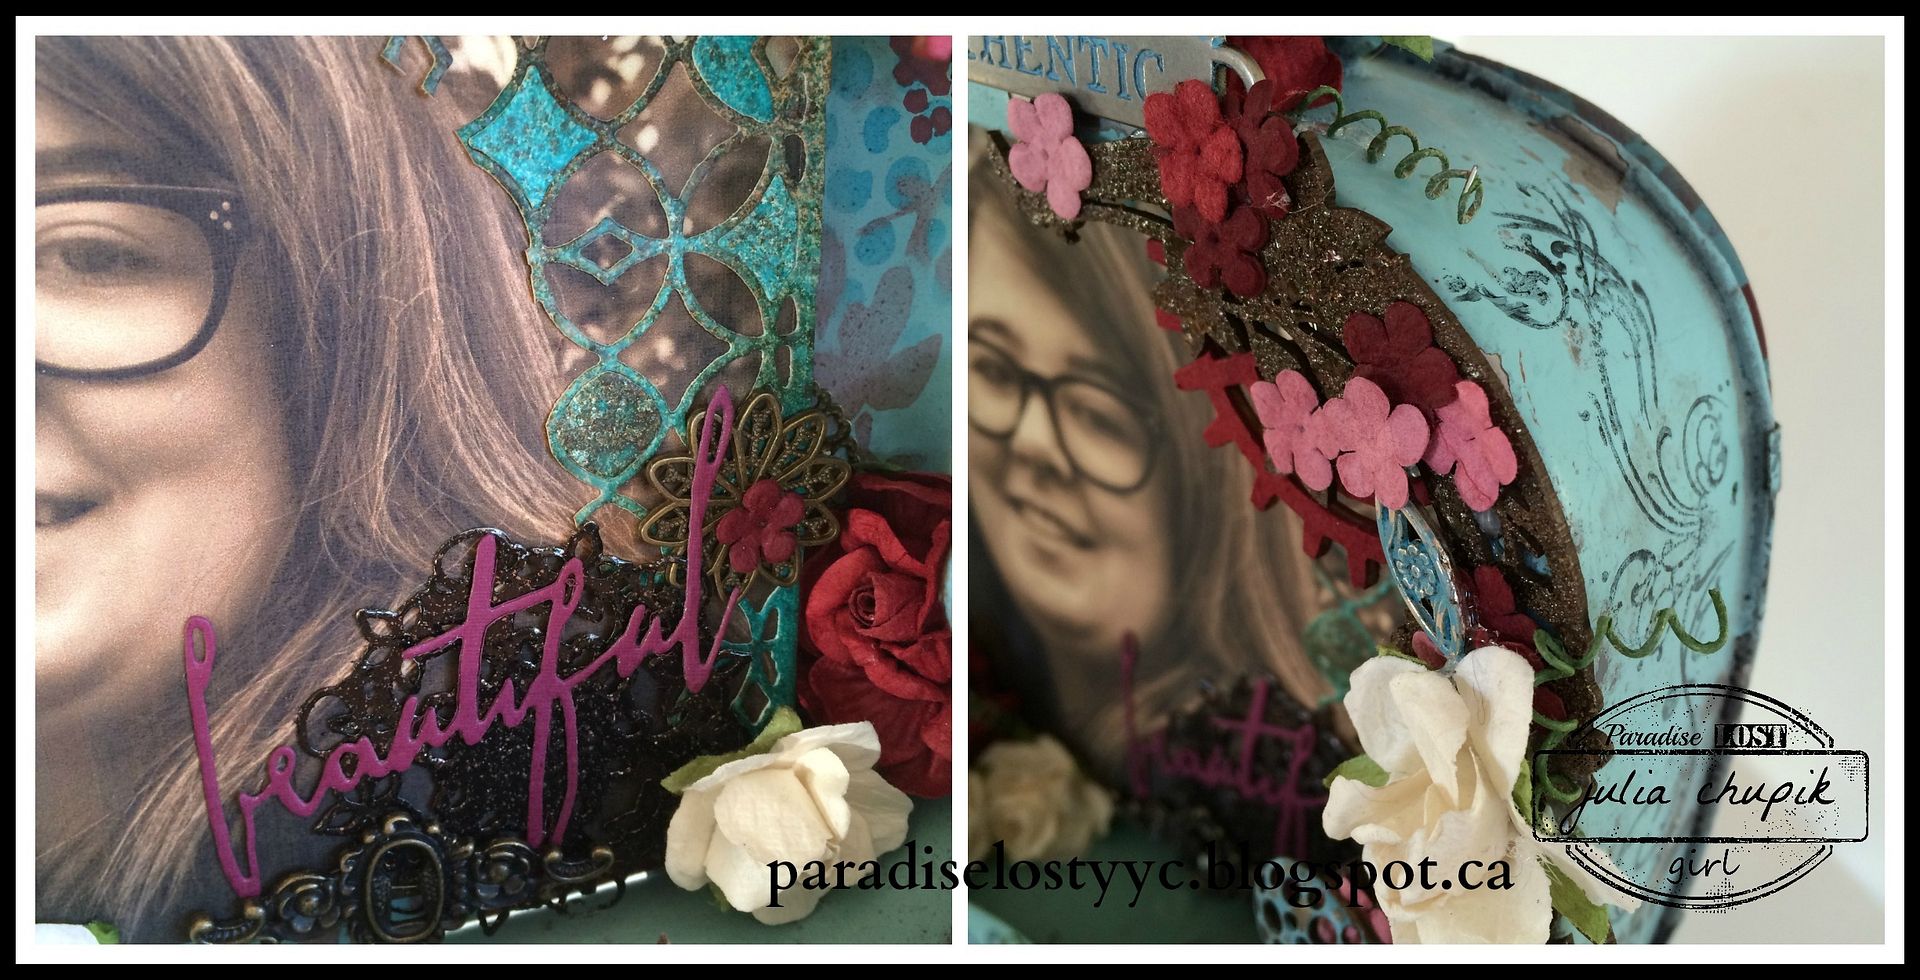
I am also using #2 of the 3 metal frames from Prima. When I first bought this frame I knew I wanted to use it to feature a photo of my daughter, Breanna. I then went through  my stash of flowers & metals bits and made sure my hot glue gun was plugged in.
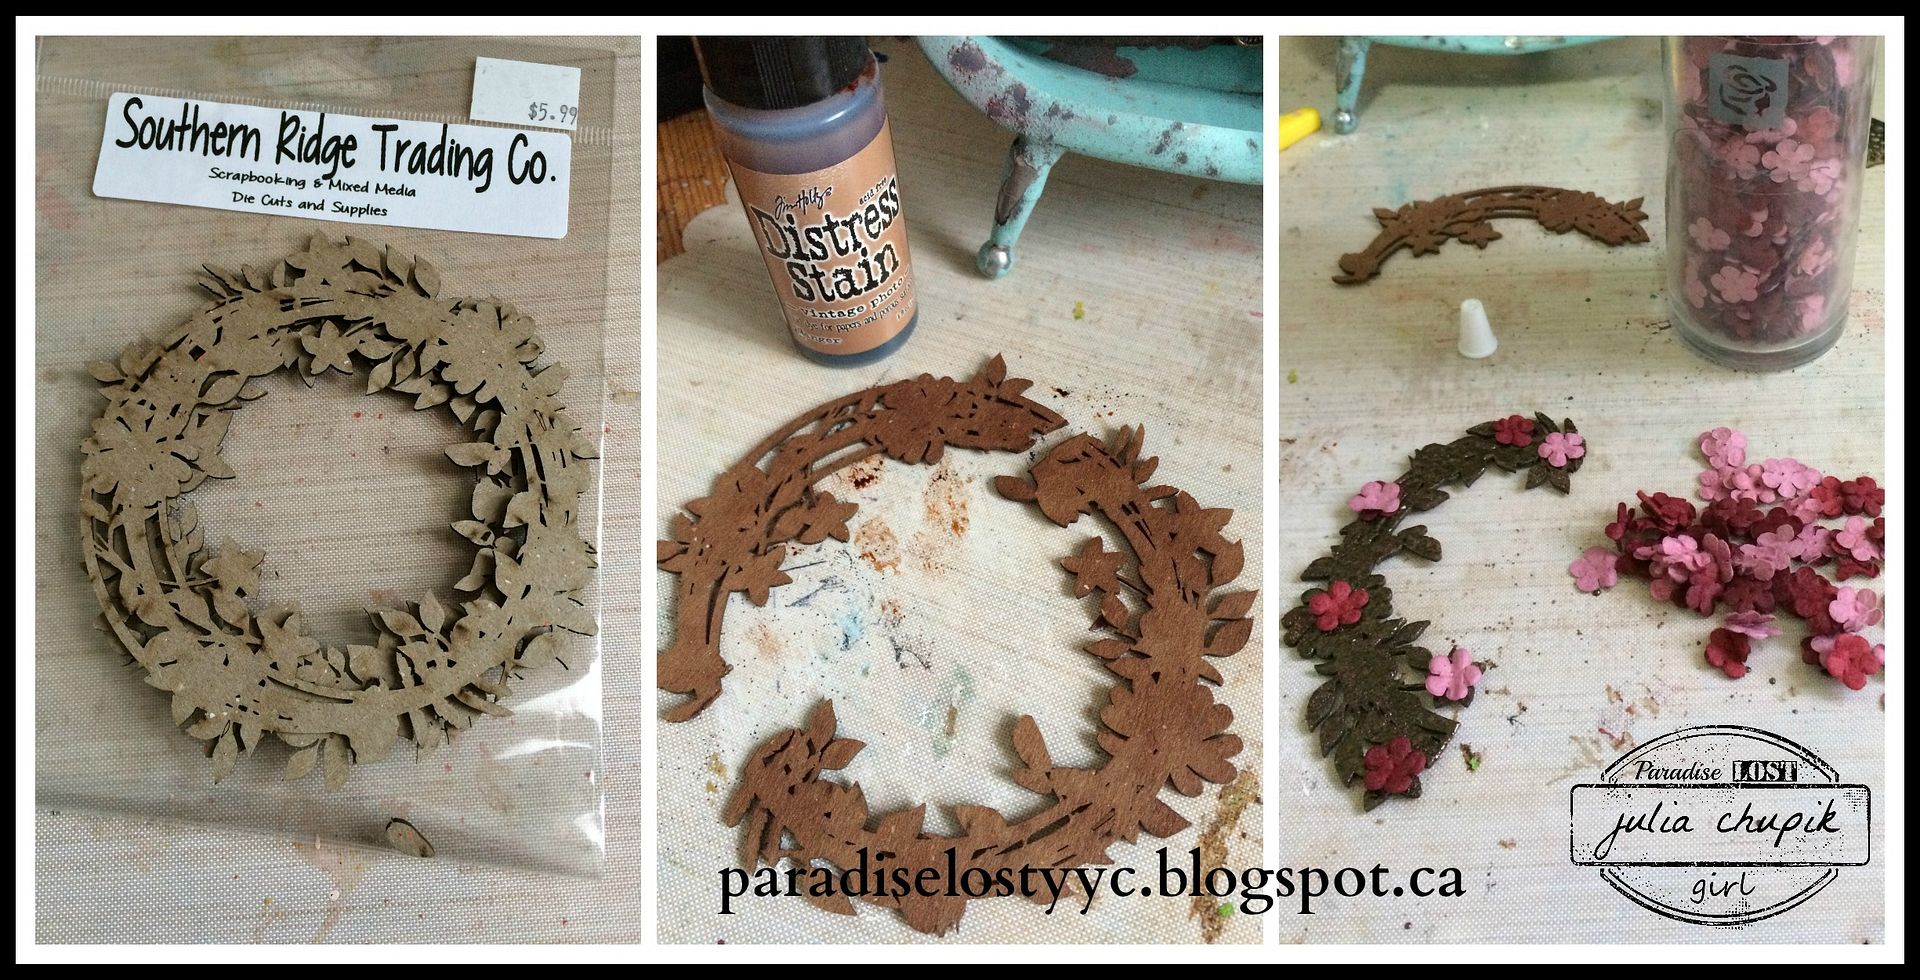
I also grabbed this brand new die cut from Southern Ridge Trading Company.
 It's so beautiful as a wreath but I needed it to frame the outer edge of my frame so I cut it apart.
I then stained it, and applied some my favourite Hot Stuff Embossing Powders from Emerald Creek Craft Supplies. I used mostly Burnt Coppers Leaves  with just a sprinkling of Oil Rubbed Bronze.
I then started gluing on those teeny Prima flowers. And I kept gluing. And gluing. I still have a tonne of those suckers left.
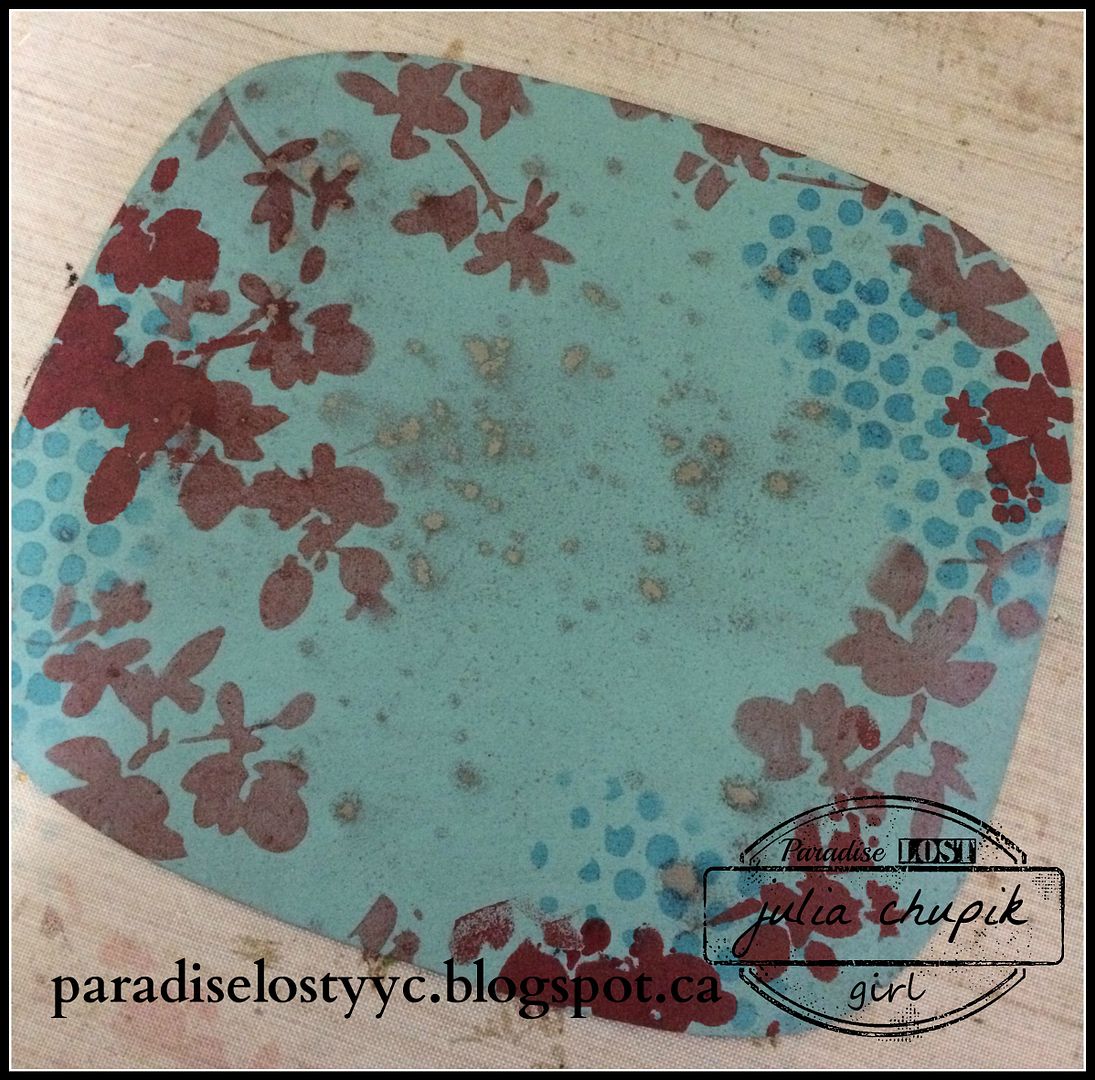
 Just before starting to assemble my frame I stenciled the removable back 
with inks and paint just to add a bit more depth.
I used a lot of little bits of bobs including a few Flower Link Charms from Emerald Creek. 

Here is finished frame.

Thank you so much for visiting my blog today!
~~stay crafty~~

Wednesday, 18 November 2015

My Tim Tag ~ November 2015

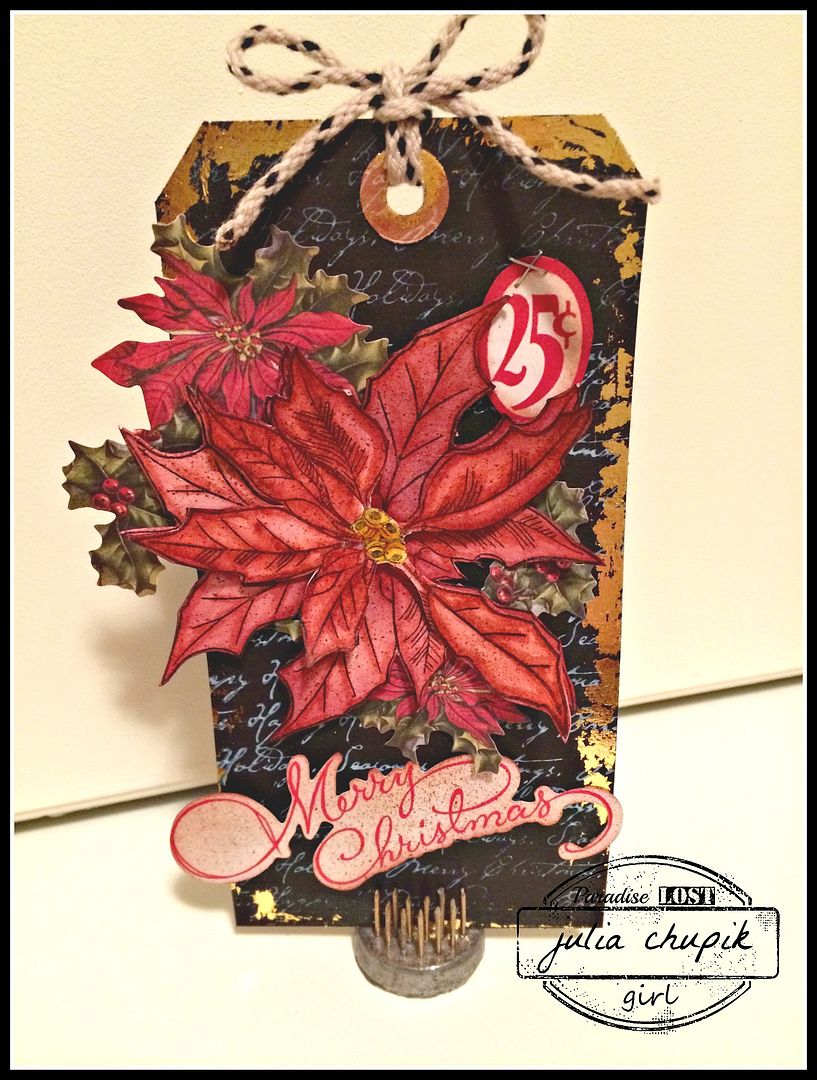
It's beginning to look a lot like Christmas.....or winter at least and I am ready to take on Tim's tag for November. Check out his tag tutorial here. 

I decided to take my tag in more of Christmas theme but using some of Tim's techniques.

Off I flew to my tickle trunk of Christmas stamps to look for some oldies but goodies.
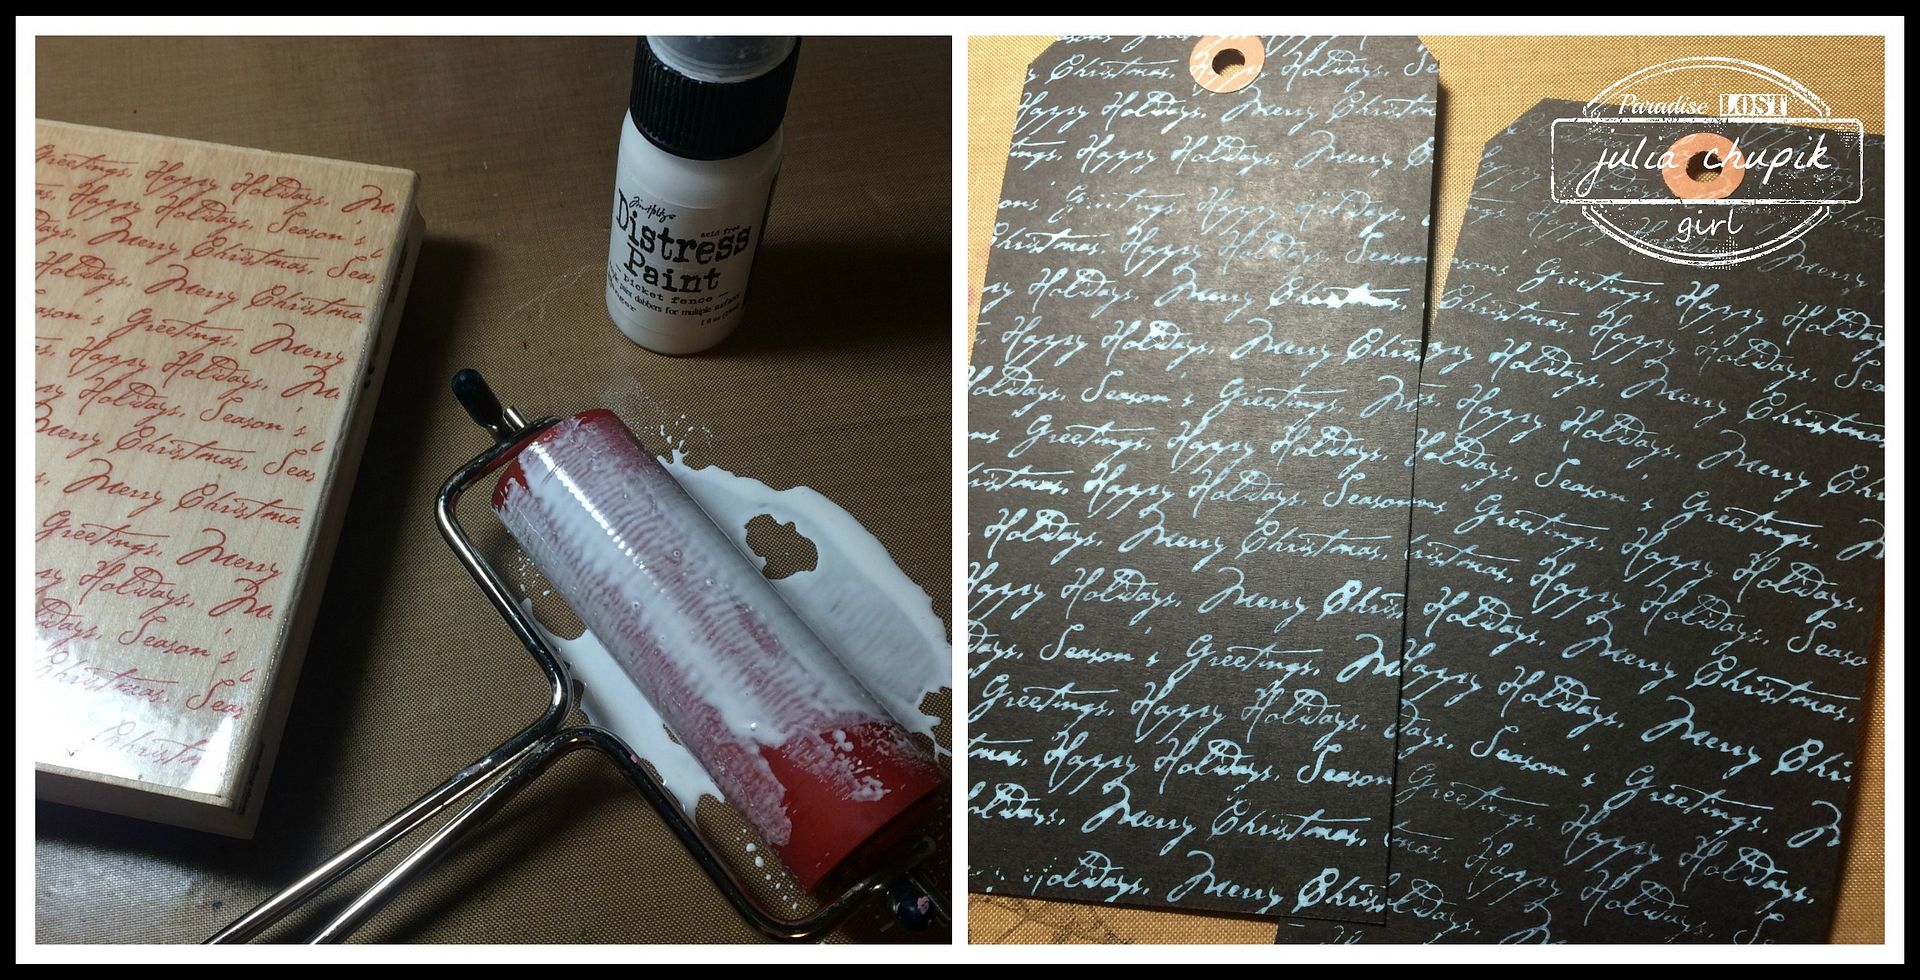
I found one from Rubber Stampede called "Sayings" that I have had forever but haven't used in a few years. It would be perfect for the background technique on a black tag.


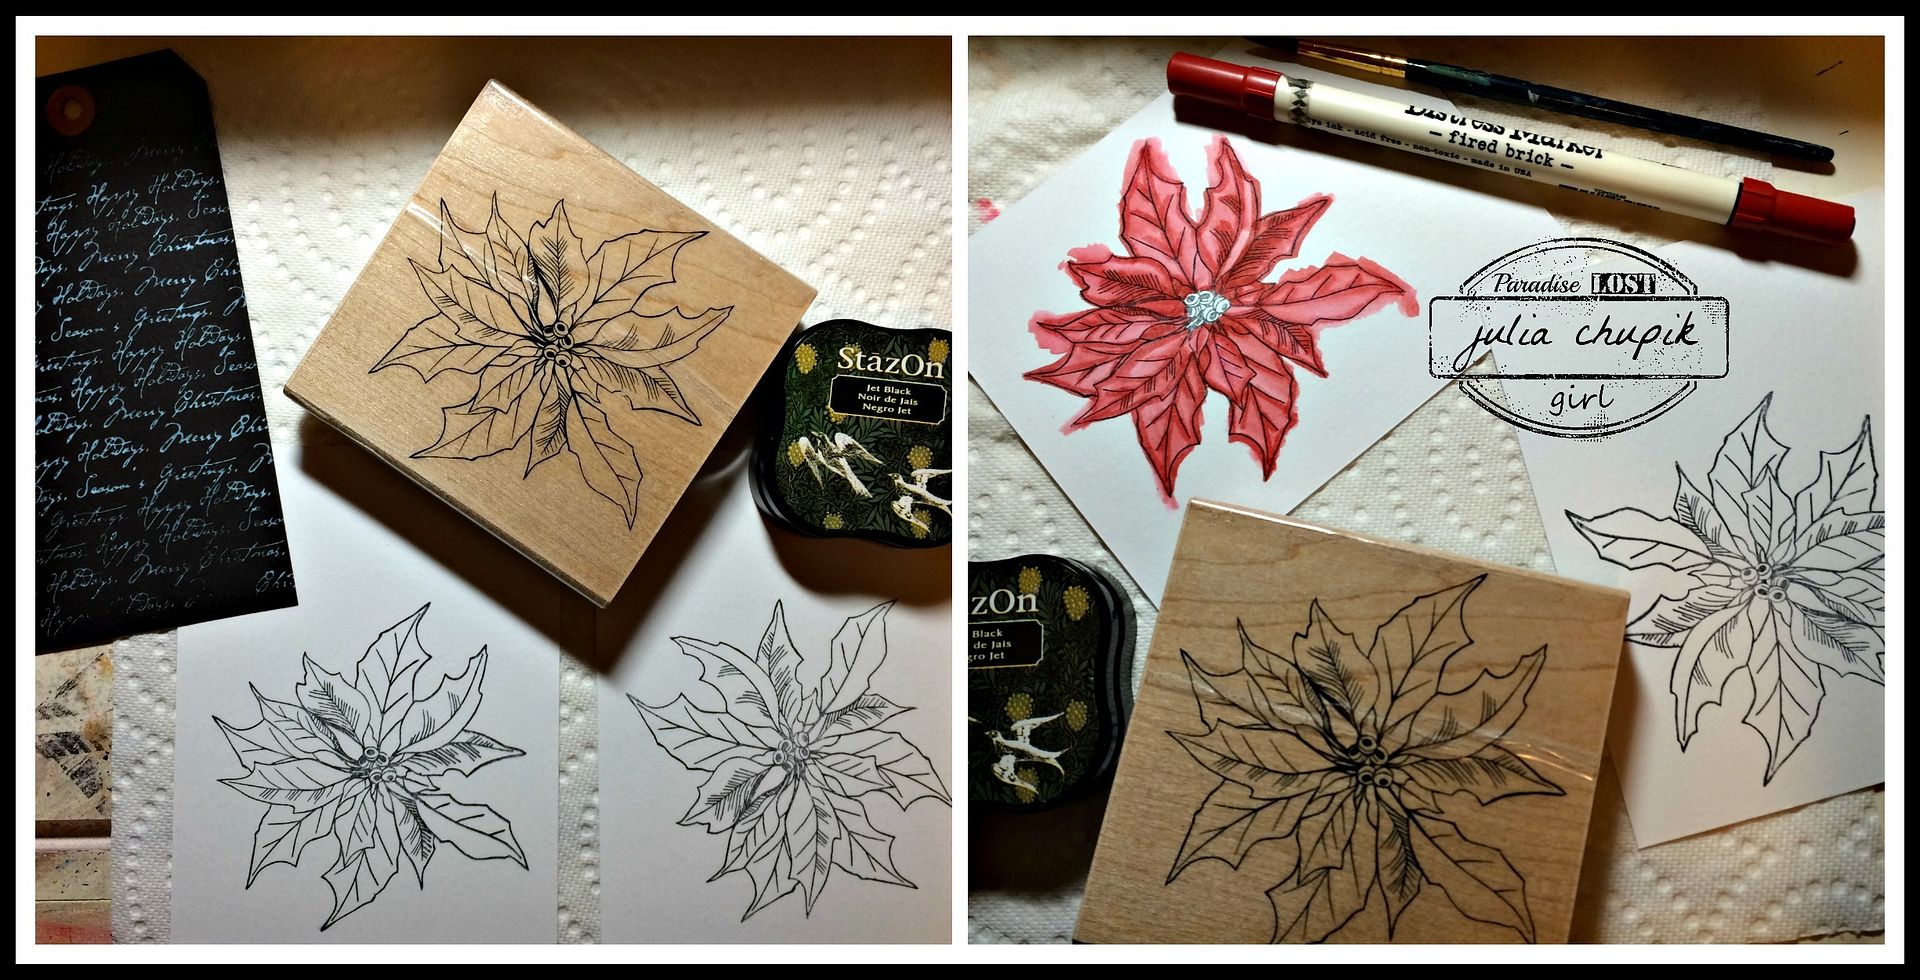
Next I found a poinsettia stamp from Penny Black called "Warm Wishes".
I decided to stamp 2 images on watercolour paper with Staz-on & using my Fired Brick Distress Marker and a watercolour brush to add the colour.


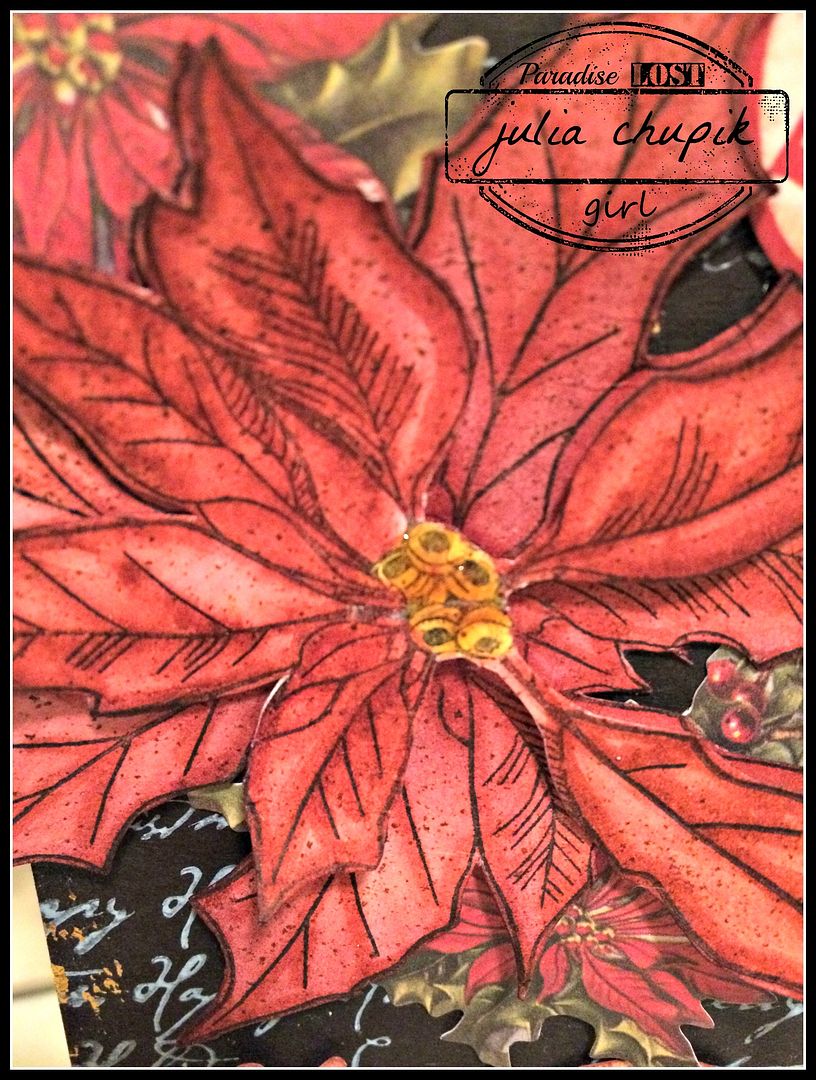
I fussy cut one poinsettia as it was then fussy cut only the centre leaves of the other so I could layer them with a foam square. I gently curled the leaves before gluing it to my tag.  I love the dimensional look it gives.

I should mention that before I adhered the flower to the tag I burnished some gold foil to the edges of my tag like Tim did in his tutorial.


I added a few bits from the Christmas Ephemera pack from Tim Holtz Idea-ology and used my spritzer tool & vintage photo Distress marker to add some details over the entire tag.

Thank you so much for dropping by my blog today!
I really appreciate your visit & comments.

~~ stay crafty~~

***don't forget to pop by the Emerald Creek Dares blog***
Enter your 'Remembrance' projects for a chance to win a $25 credit to the online store.
http://blog.emeraldcreek.ca/2015/11/remember-fallen.html

Wednesday, 11 November 2015

Remember The Fallen.....Emerald Creek Dares Challenge

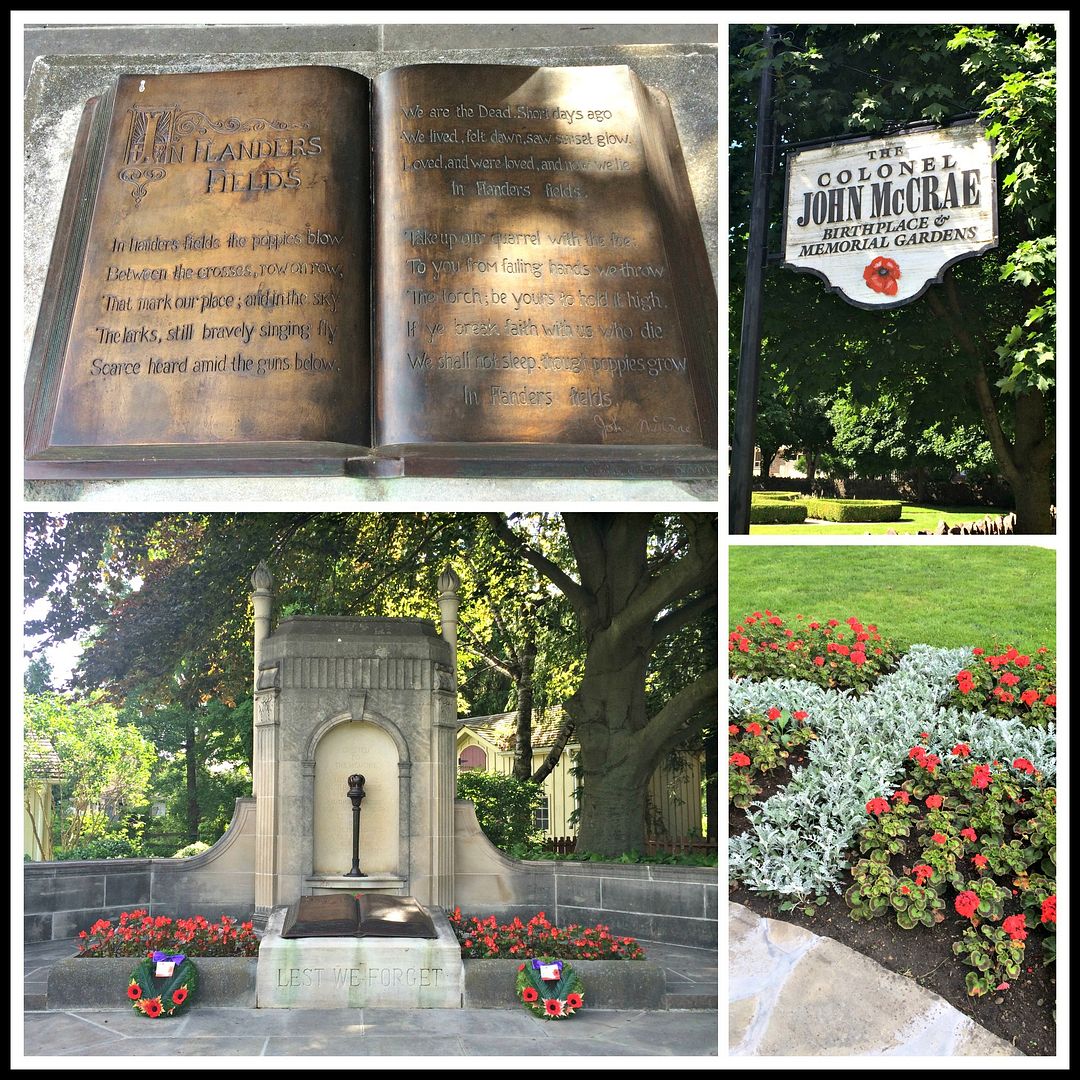
Earlier this year I was fortunate enough to visit the John McCrae Birthplace & Memorial Gardens in Guelph, Ontario. Did you know that 2015 is the 100th anniversary of the poem "In Flanders Field"?  I know I didn't. 
Standing in that quiet garden in Guelph and reading the beautiful words of Colonel McCrae's poem was a very sobering reminder about how lucky I am to be living in Canada. I am so very thankful for the sacrifices made by the men and women who fought for our rights & freedoms in wars past and for those who continue to fight today. 
Now on to my project ~~~
I started with an 8x10 canvas that, in a previous life, was going to be another project. That planned project didn't quite turn out how I hoped so I just painted over it with black gesso and tucked it away. 
Never waste a canvas! 
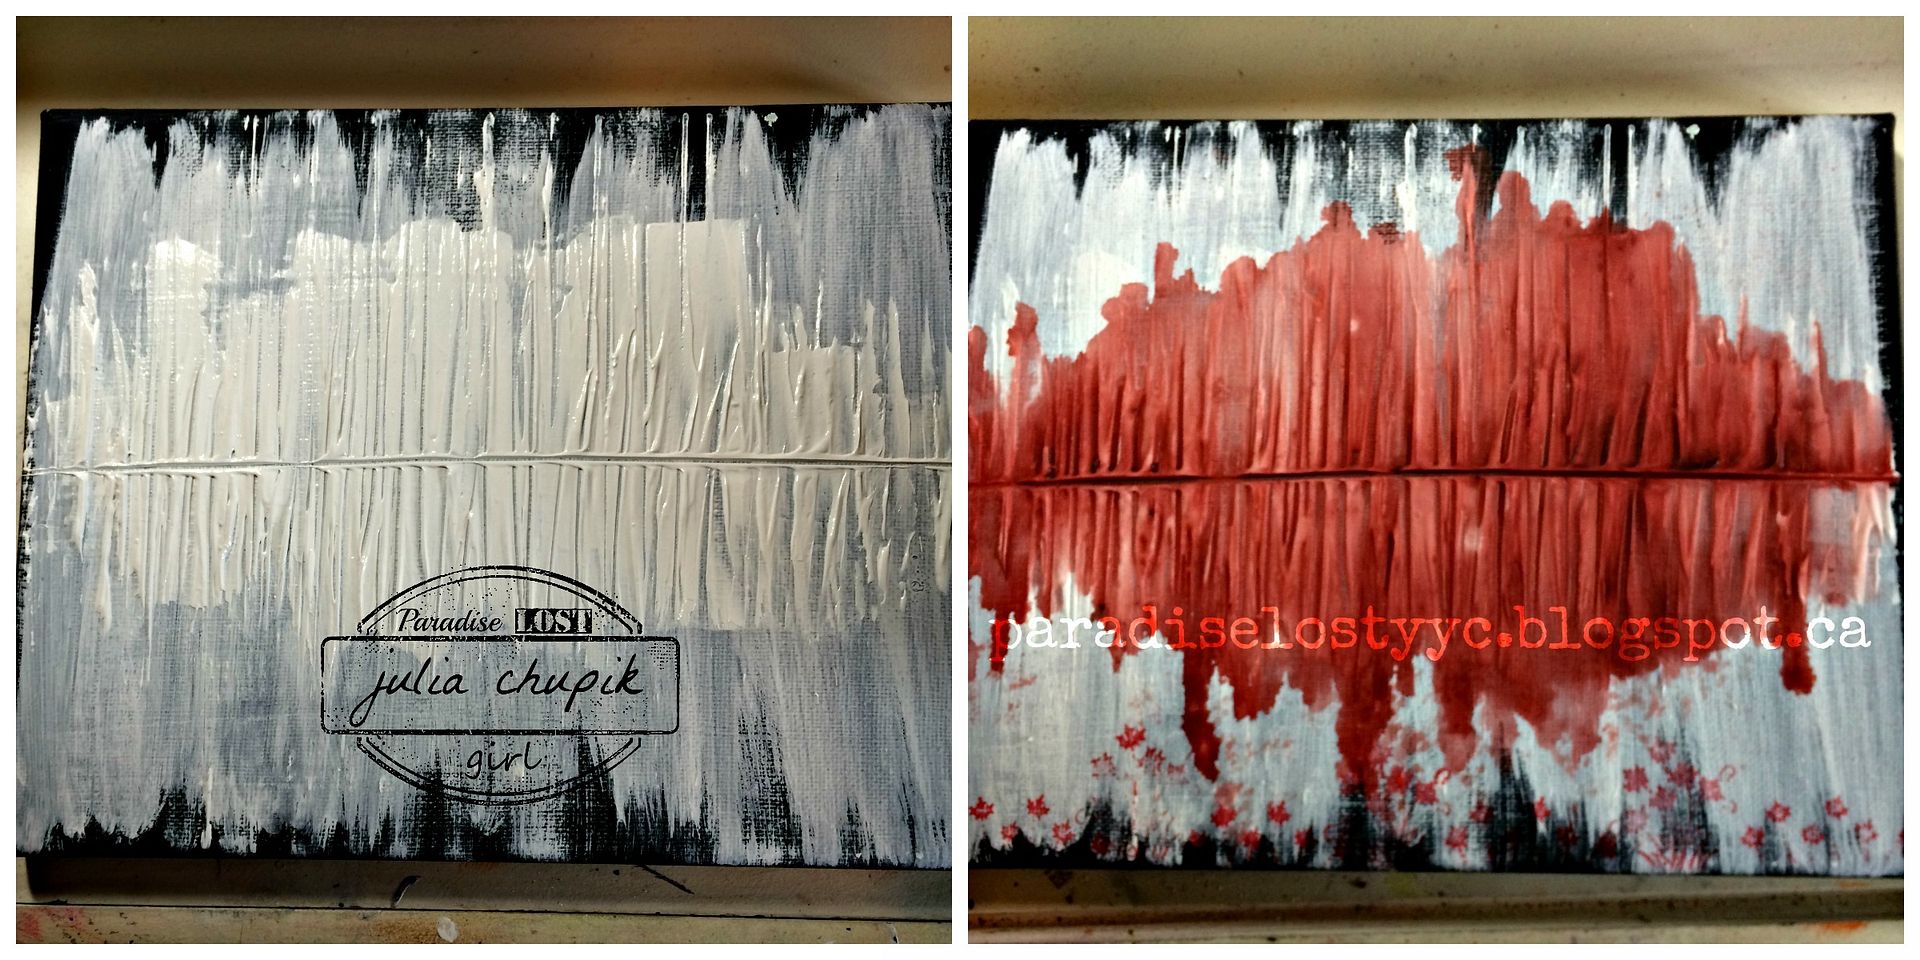
I first started by applying a thin layer of white gesso with my paint brush. I wasn't too neat about it, I just knew I wanted a bit of black left around the edges as a border. Next I applied a dollop of  heavy gesso to the centre of my canvas and used an old hotel key card to spread it out a bit. I then used the same card to make vertical drag lines through the thick gesso and one horizontal line.
Once that was good and dry, I applied an few dabs of Fired Brick & Aged Mahogany Distress paint along the horizontal line, spritzed it with a bit of water then tip my canvas to & from until I got the finished look you see on the right panel. 
I then added so stamping along the bottom edge of the canvas using
Carnation Red Archival Ink from Ranger and these amazing Canada themed stamps from Emerald Creek Craft Supplies.
 Canada
We Grow On You
Maple Leaf
 Check out the rest of the Canadiana stamps from Emerald Creek - here.
The tag I made using a #8 black tag from Ranger that I trimmed down after I die cut the word "Remember" from the Friendship Words Block thinlit die set from Sizzix.

I then layered this over a small piece of cream cardstock using foam tape for dimension and some Picket Fence Distress paint along the edges.
The wreath was made using  Holiday Greens Thinlit die set from Sizzix & Tim Holtz. I die cut a bunch out using 3 different shades of green cardstock and gluing these around a base made from jute string. I used my spritzer tool & Peeled Paint Distress Marker to add some detail to the wreath and added a few Pine Cone Charms from Emerald Creek Craft Supplies.

Before adhering my wreath & tag to my canvas I used my spritzer tool & Hickory Smoke Distress marker to add some small details and stamped a few Maple Leafs with black Archival Ink to the canvas.

Lest We Forget


Don't forget to check out the rest of the projects from the rest of the
Emerald Creek Dares Design Team:

Cathy - Amethyst Dragonfly's Alcove
Karon - Karon's Krafty Korner
Diana - missusgmoments

http://www.emeraldcreek.ca/

Thank you so much for visiting my blog today!