Hello, my crafty friends!
It's time for another designer challenge from
This month the designers were given Distress Crayons Set 9 to create and inspire with.
Until the end of the month all sets of Distress Crayons will be 25% at Scrap 'n Stamp so its a great time to try them out or to complete your collection.
Be sure to leave a comment on my blog for a chance to win a set of Distress Crayons. Increase your chances of winning by visiting all the designers blogs and leaving some love.
Here is my finished project:
I started by gathering up my Distress Crayons, a couple of tags (covered in white gesso)
and a couple of stencils. These stencils are the Autumn layering stencils from Tim Holtz.
I used both the large and mini sizes.
Distress Crayons Set #9 includes these colours: Barn Door, Ripe Persimmon, Pine Needles, Faded Jeans, Dusty Concord & Brushed Corduroy.
I started by scribbling Dusty Concord, Ripe Persimmon, & Brushed Corduroy randomly over my gesso covered tag. I find the colours blend best over gesso. I sprayed some water on my spalt mat and used my finger to blend the colours on my tag.
Next I took the large Autumn tag and with a baby wipe removed some of the crayon.
I repeated this technique with the mini Autumn stencil.
For my second tag - I used the same colours of Distress Crayons and stencils bu changed my technique. This time I used a blending tool and a slightly damp blending foam to apply the crayon through the stencil. Again this tag has been covered with white gesso.
These were both tags at this point - one very bold & the other very subtle.
Before continuing I finished the edges of the tag with Distress Crayons - Dusty Concord on this one an Ripe Persimmon on the other (sorry, no pic)
I used my Bird Crazy & Crazy Dog stamp & die set for my focal points & coloured them in with a water brush pen and Distress Crayons.
I used the coordinating dies and cut out my images in black fun foam.
This game my stamped images a bit of dimension when adhered to my tag.
For my foliage I created a third tag using the distress crayons & the Bubbles Mini Stencil.
I used the small smallest dies from the Fall Foliage die set to cut out a bunch of leaves.
After adhering the leaves and stamped image to my tag I finished it off with a Small Talk sticker from the occasions pack.
Thank you so much for stopping by my blog today! Now head over to
Karen's blog for even more Distress Crayon Inspiration.
Don't forget to leave a comment - you could win a set of Distress Crayons from
Design Team:
Julia Chupik (you're here!)
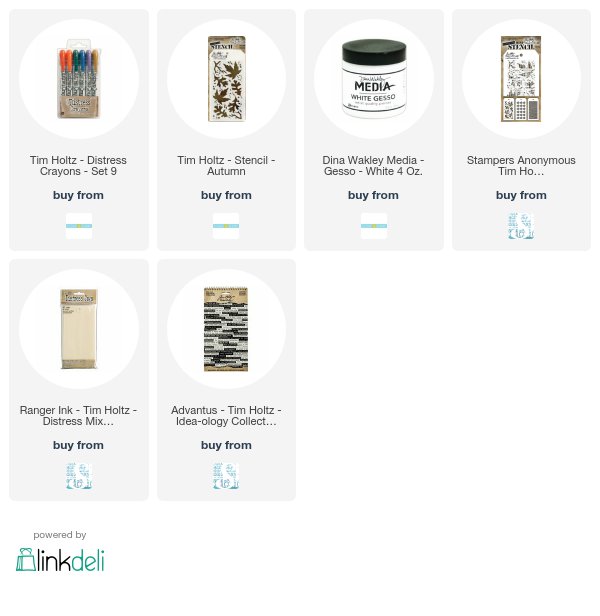
Products Used:
(This blog post contains affiliate links)


