Hello! Welcome back! It's been a very long since my last blog post but I'm back with a project I created for Wild Whisper Designs. This months new release is called Small Patterns and it's a fabulous collection of double-sided pattern paper.

Showing posts with label Card. Show all posts
Showing posts with label Card. Show all posts
Wednesday, 6 June 2018


Sunday, 8 April 2018
Flowers For Mom
Hello!
Today I am sharing a card I made for my mother-in-law.
She loves flowers so I know she would love to receive this
in the mail.

This pattern paper is from the 7 Gypsies Architextures 8"x 8" Paper Pad.
This is a great paper pad that is very versitile - it has papers that masculine and some that are feminine.

The Flower Jar die set from Sizzix created the perfect focal point embellishment
for the front of my card.

I added some extra texture to my card with gesso, paint and molding paste.
You can see the step-by-step details by watching the video I posted at the end of this post.


Check out the process video to see how I made this card:


Products Used:
7 Gypsies Architextures 8"x 8" Paper Pad
Tattered Angels Glimmer Mist:
Stone; Tarnished Silver
Distress Paint:
Worn Lipstick; Spun Sugar
Distress Inks:
Broken China
Ripe Persimmon
Spiced Marmalade
Squeezed Lemonade
Shaded Lilac
Peeled Paint
Matte Medium
Clear Gesso
Molding Paste
Wednesday, 21 February 2018
You Keep Me Safe & I'll Keep You Wild - Wild Whisper Design Team Project
Hello again and welcome back.
Today I am sharing a sneak peek of my next Wild Whisper Design Team Project.
Head on over to the Wild Whisper Blog to see the full reveal, a list of all the products used and a link to the process video.
Here is a quick sneak peek.......

Interested in seeing more.....head over to the Wild Whisper blog for more!

Wednesday, 14 February 2018
Love - A Valentines Day card created for Wild Whisper Designs
Hello and Happy Valentines Day! Here's wishing for a day full of love and crafting!
I am back on the Wild Whisper Designs Blog sharing a Valentines Day card I made for my husband.
I used a couple of the pattern papers from the Classic Woodgrain Mini Collection. This paper is so versatile and can be used for so many projects and in so many different ways.
Here is link for the 12x12 mixed media layout I created last week using the same paper collection.
Here is a sneak peek of my project


For more details and to see the step-by-step video head on over to the Wild Whispers blog.

Friday, 26 January 2018
Distress Oxides + Distress Micro Glaze + Glossy Paper
Hello and welcome back!
Did anyone else spend last weekend glued to social media waiting and watching for live updates from Creativation? It was so much fun and I wasn't jealous at all. There are so many exciting products being released this spring!
One of the most exciting demos I watched was this one from Tim Holtz.....watch and be amazed.
This technique of absolutely blew my mind and I rushed to my craft room to try it out.
After a few attempts and being dazzled by the results I decided to take it one step
further with a stencil.
Here is the final result.


After using the smoosh technique to apply the Abandoned Coral & Twisted Citron Oxides to the glossy paper - I took my Tim Holtz Layering stencil (THS059 Blocks) placed it over the glossy paper and applied Distress Micro Glaze with an ink blending tool.

I then dragged my glossy card through some Vinatge Photo Distress Oxide on my craft mat. This left the Vintage Photo only on the stenciled image not covered with Distress Micro Glaze.
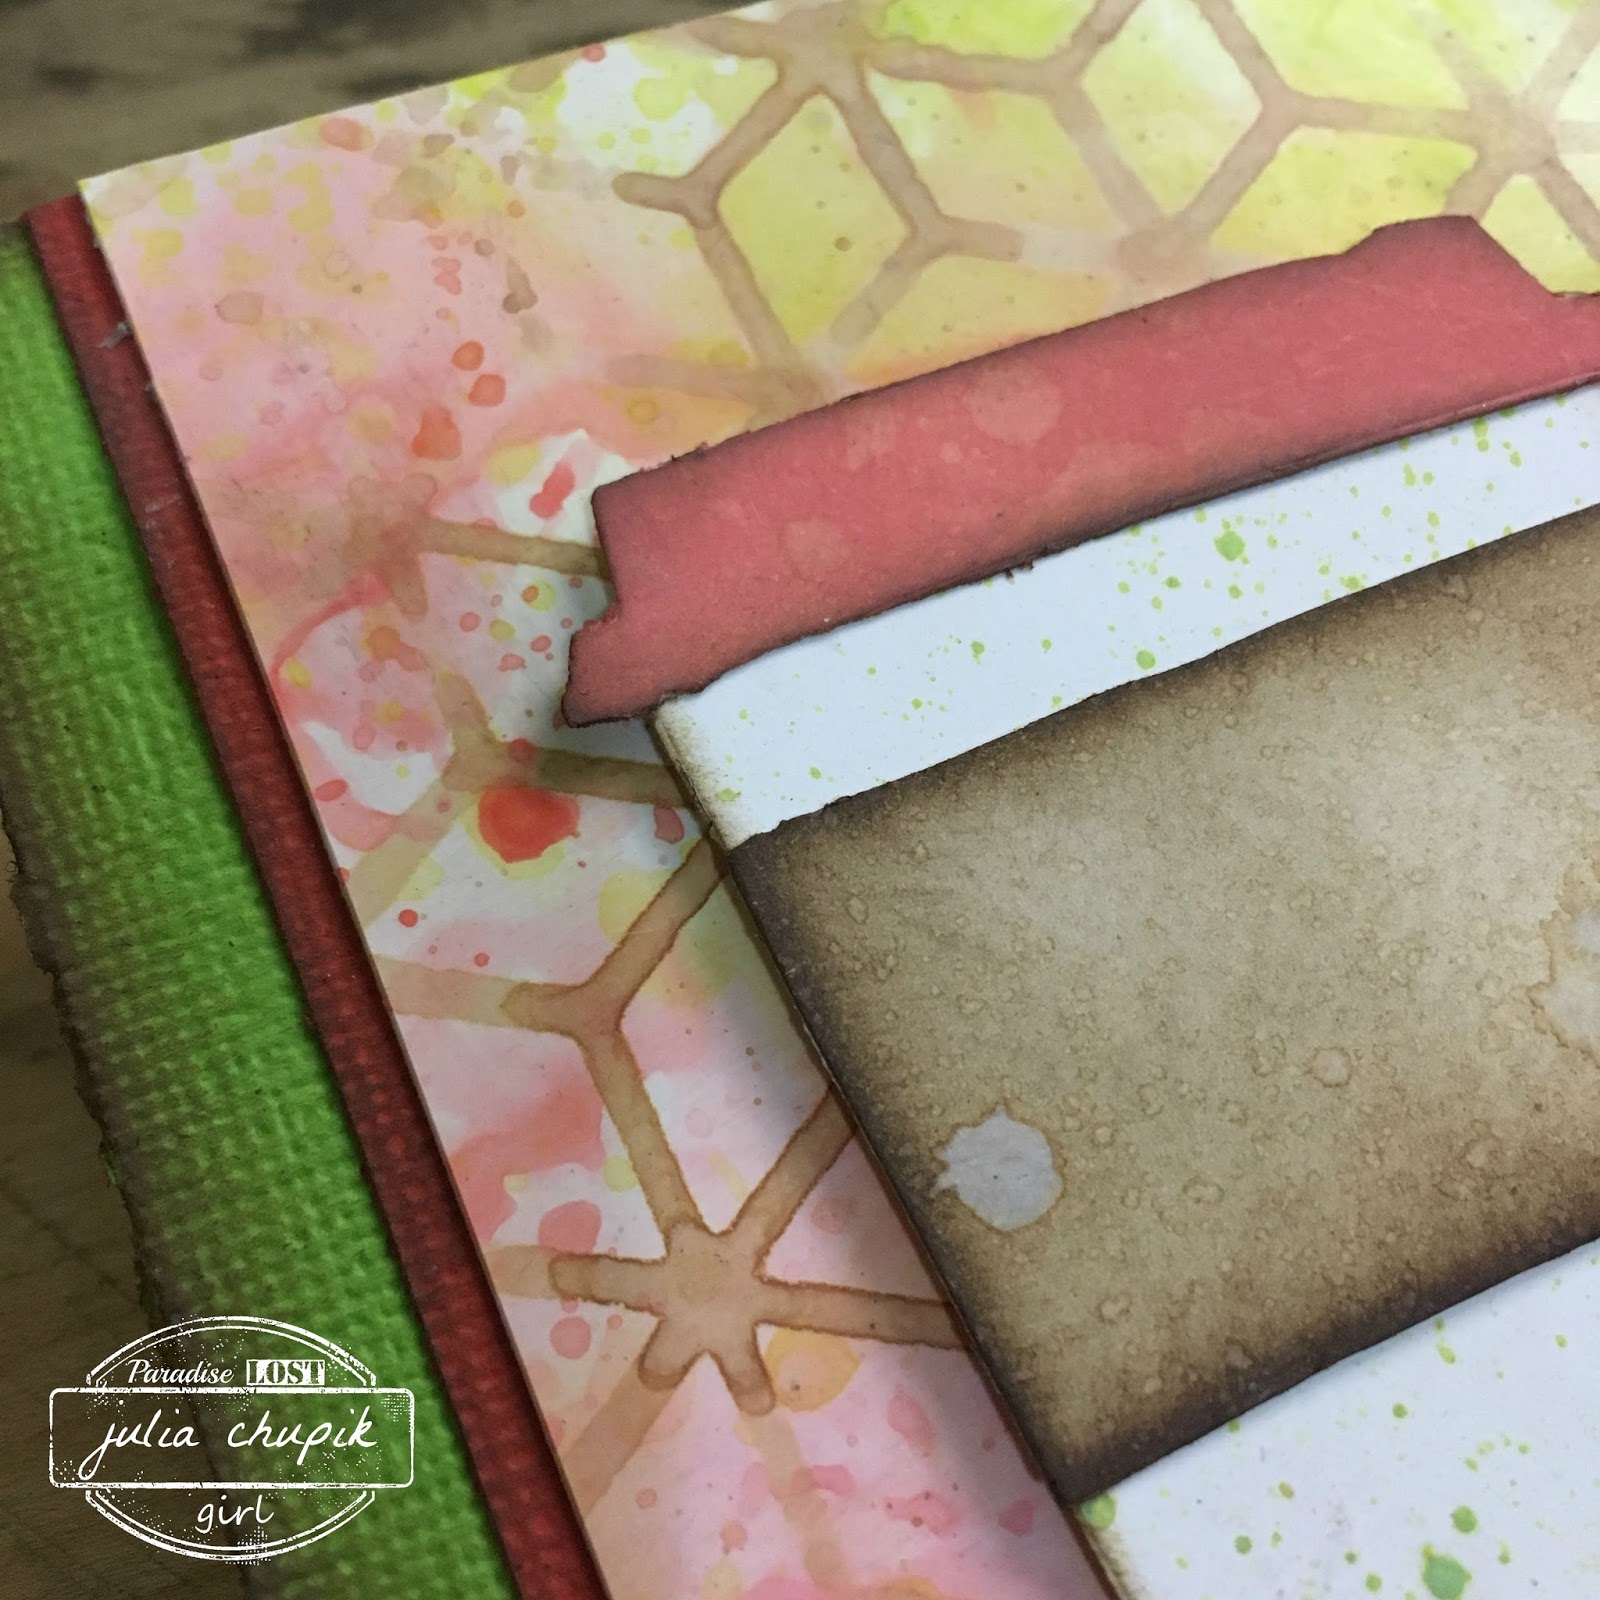
The last step was to go voer then entire card again with the Distress Micro Glaze to remove the chalky white finish left from the oxidation.
This is such a fantastic technique and one that I am sure to use over and over.
Click below to watch the step-by-step video I made while making this card.

Tuesday, 23 January 2018
Happy Everything Card
It's Monday and time for another card.
Over the holidays I did some stamp re-organizing and I came across an old favorite from
Deep Red Stamps. I love this set of butterflies and decided they needed to see the light of day again.
I have included a link to the process video I made while making this card.
~~Here is my completed card~~


I used a piece of acetate to apply the Color Burst pigments to the base and a watercolor brush to apply more Color Burst to the butterflies.

(this blog uses affiliate links that earn me a small commission at no extra cost to you.
Thank you for your support.)
Deep Red Stamps:

Friday, 19 January 2018
3 Cards using Baked Texture Embossing Powders
Hello again! Today is day #2 of my January 2018 Kit reveal for Scrap Shotz.
I have 3 cards to share with you today including a step-by-step video tutorial.

Click below to watch the video tutorial.
A full list of supplies and more photos can be found over on the Scrap Shotz Blog.

Monday, 15 January 2018
Bird In My Journal - Birthday Card
Hello my crafty friends!
I am back with a couple of birthday cards to share with you
using a beautiful stamp from Carabelle Studio.
~~Here are the 2 completed cards~~

I used a pretty simple watercolor background for my stamp.
Some Yellow Gold Liquid Metal (Ken Oliver) was added for a bit of shimmer.

I masked the oval on one of the cards when stamping the bird image (above) except
for the tail portion.

These were pretty simple and fast cards to make. In total it took 30 minutes to complete both.

Products use:
(I use affiliate links that earn me a small commission at no extra cost to you. Thank you for your support)
Carabelle Studio:
Un Oiseau Sur Mon Journal

(I use affiliate links that earn me a small commission at no extra cost to you. Thank you for your support)
Carabelle Studio:
Un Oiseau Sur Mon Journal

Wednesday, 13 December 2017
Leave A Little Sparkle - Distress Oxides + Perfect Pearls
Hello everyone!
I am back and ready to share a card I made for a friend.
I have included a link to the YouTube video for this card as well.
~Here is the finished card~

I love using Perfect Pearls Pigment Powders with the Distress Oxides.
The little bit of shimmer looks lovely against the matte finish of the inks.

YouTube Video Link:

Products Used:
(This blog contains affiliate links that earn me a small commission when used to purchase products.
These links do not cost you any extra. Thank you for your support)
Thursday, 16 November 2017
Merry Christmas!
It's the most wonderful time of the year and I have just started my Christmas cards.
It's time to power through and get them in the mail by Dec 1.
Here is the completed card - it's a 5 1/4" x 5 1/4" square card.

I started with a 5"x 5" square piece of Superstock - this is a fabulous cardstock
from Creative Scrapbooker Magazine.

I tacked this down to piece of chipboard with washi tape.
I then taped down a piece of torn copy paper across my cardstock.
I wanted to create a wintery sky for my card background and decided to use
Distress Oxides. I love the soft chalky look of these inks.
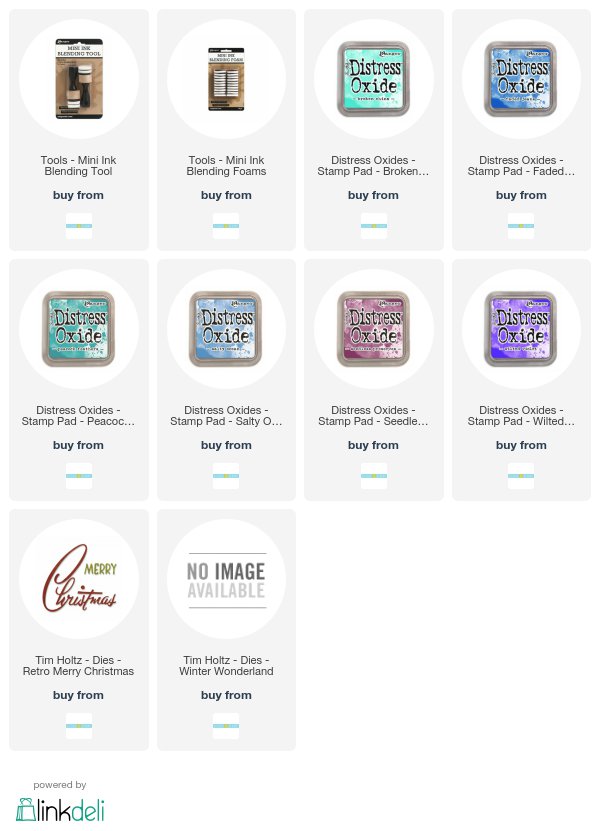
The colours I used Broken China; Salty Ocean; Peacock Feathers;
Wilted Violet; Seedless Preserves and Faded Jeans.

I removed the copy paper and had a lovely winter sky over a snowy ground cover.
Next I used the "snowfall" die from the Winter Wonderland die set.

I die cut the deers from the Winter Wonderland die set with Seedless Preserves Kraft cardstock & the Retro Merry Christmas die with silver Deco Sheet.

I assemble my card for a perfectly wintery Christmas card.

Products Used:
(this blog contains affiliate links)
Friday, 27 October 2017
Scrap Shotz Projects - My Favorite Things & Simple Stories products
Hi everyone!
I am on the

blog today sharing some projects I mad using products available at the online store.


Head on over to the Scrap Shotz blog for more photos and a list of the products used.

Subscribe to:
Posts (Atom)