Thursday, 17 March 2016

Scrapbook Bootcamp

I needed a serious kick in the butt to get started on scrapbooking my 
old family photos. I had all the photos printed and ready to go but the task seemed so daunting that I kept putting it off and putting it off. A year and a half later and I was still putting it off.

Then I found Scrapbookin' Adventures and the UYOP Workshop.
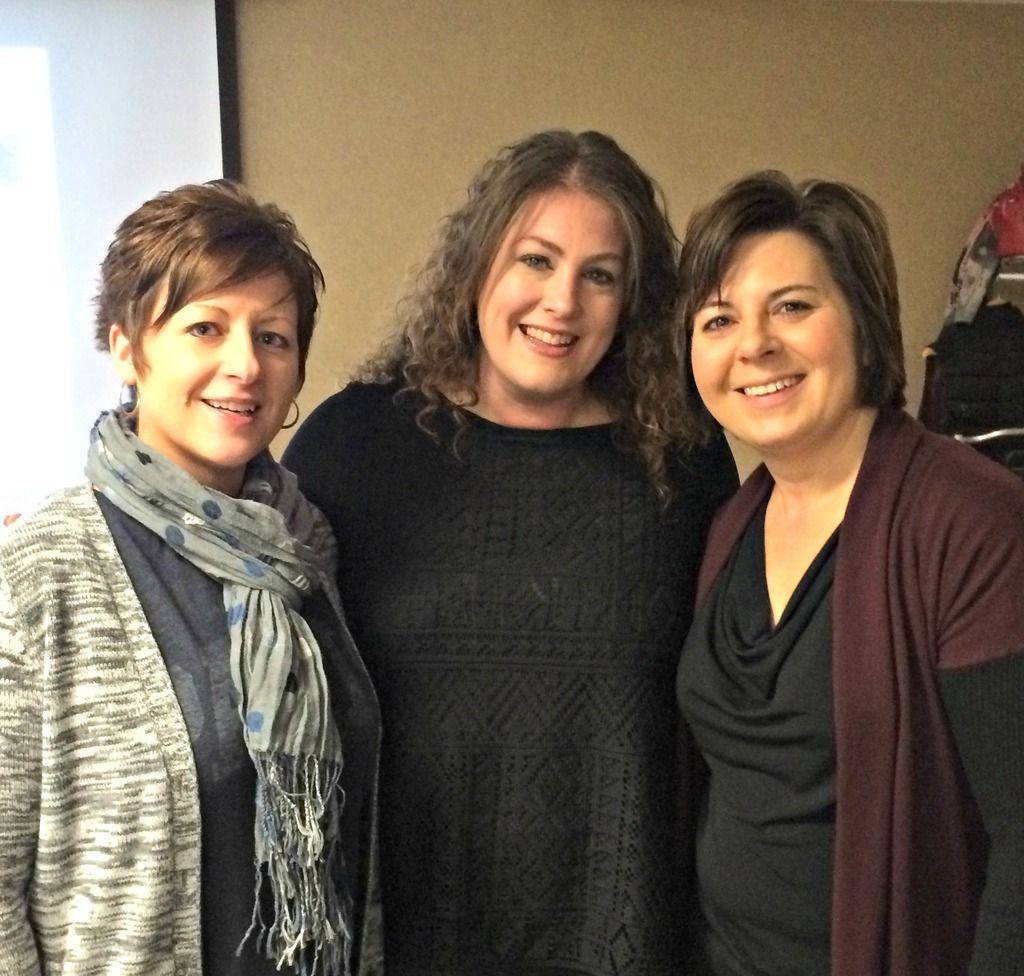
Heather, Jennifer Edwardson & Julia at the UYOP Workshop
What is a UYOP (Use Your Own Product) Workshop, you ask?
It is a workshop developed by Jennifer Edwardson in 2009 ~ meant to help scrapbookers go through their stash, create easy kits and spend one day creating 20 layouts. YES! TWENTY LAYOUTS!

I'll share a few of mine with you....
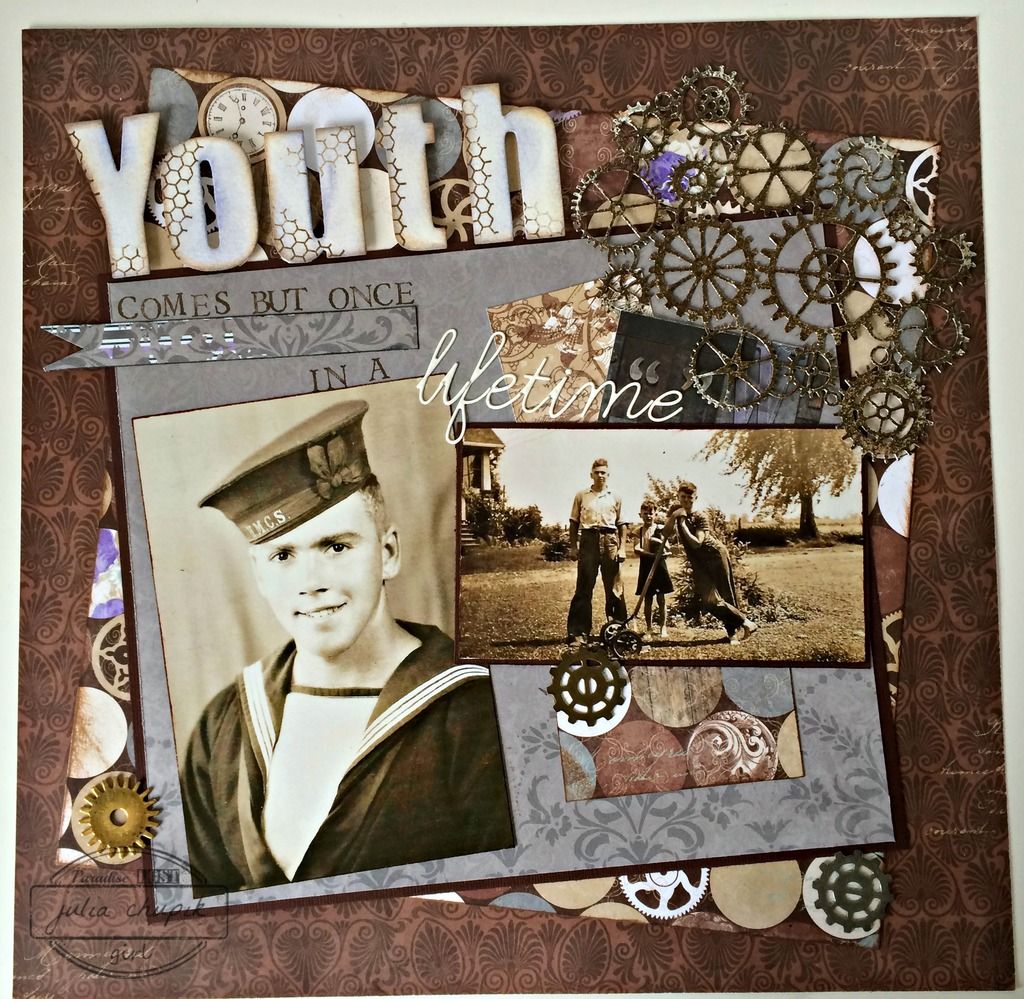
Three before the workshop, I received the instruction kit from Jennifer.
One sheet of basic instructions and 20 layout maps that told me what I would need for each kits.
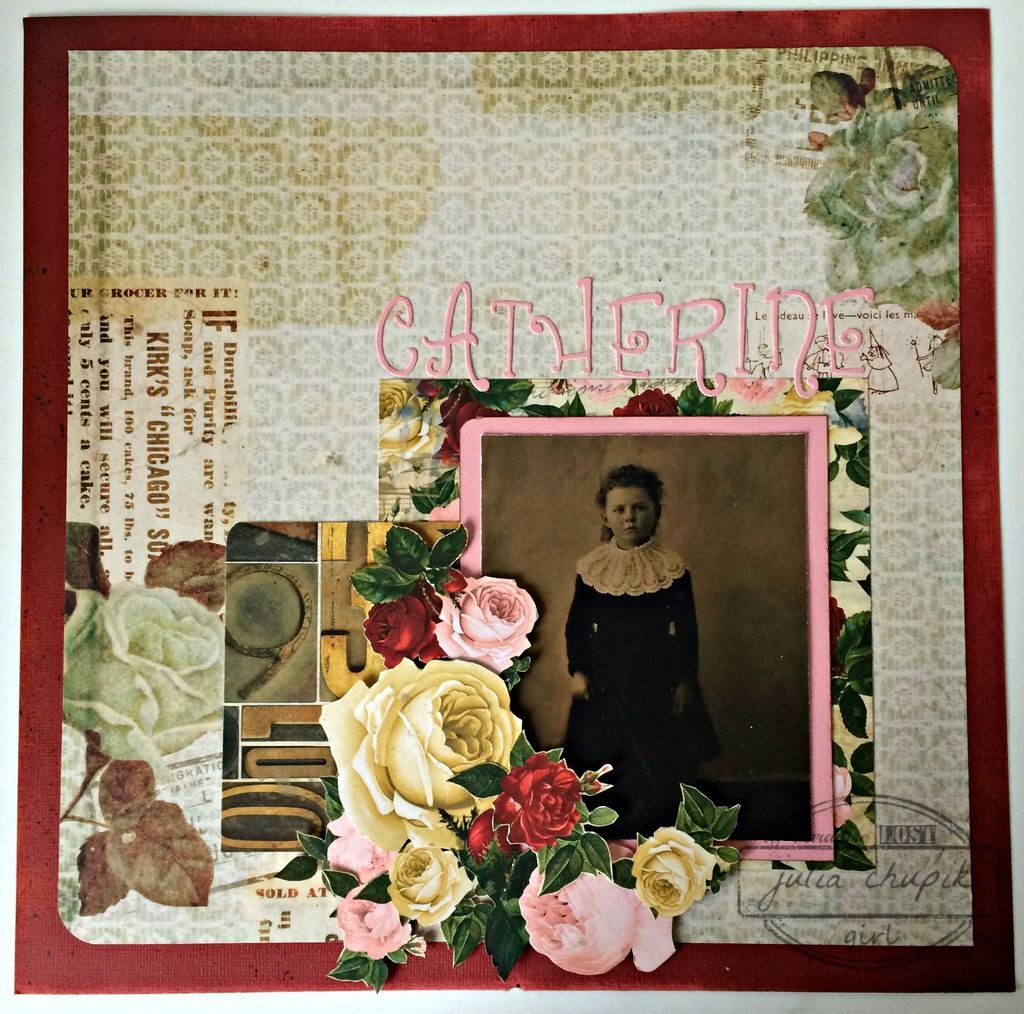

Creating my kits was intense and took me about 10 days to complete but I was thrilled to be
 using up so much of my stash. I was so excited to get started when I finally had my kits ready.
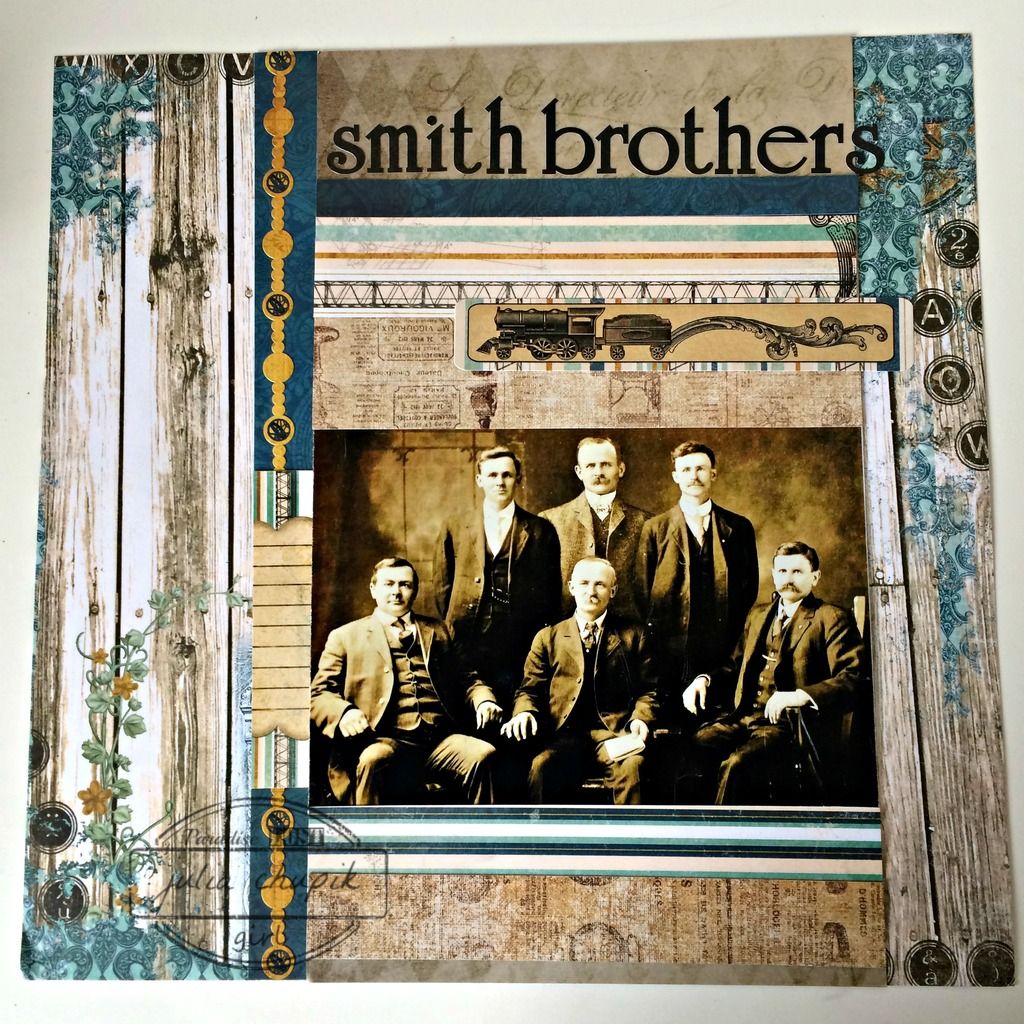

Workshop day arrived and off I went with my kits & a large coffee! I was greeted by the lovely Jennifer Edwardson and had a few minutes to chat and shop before we got started.
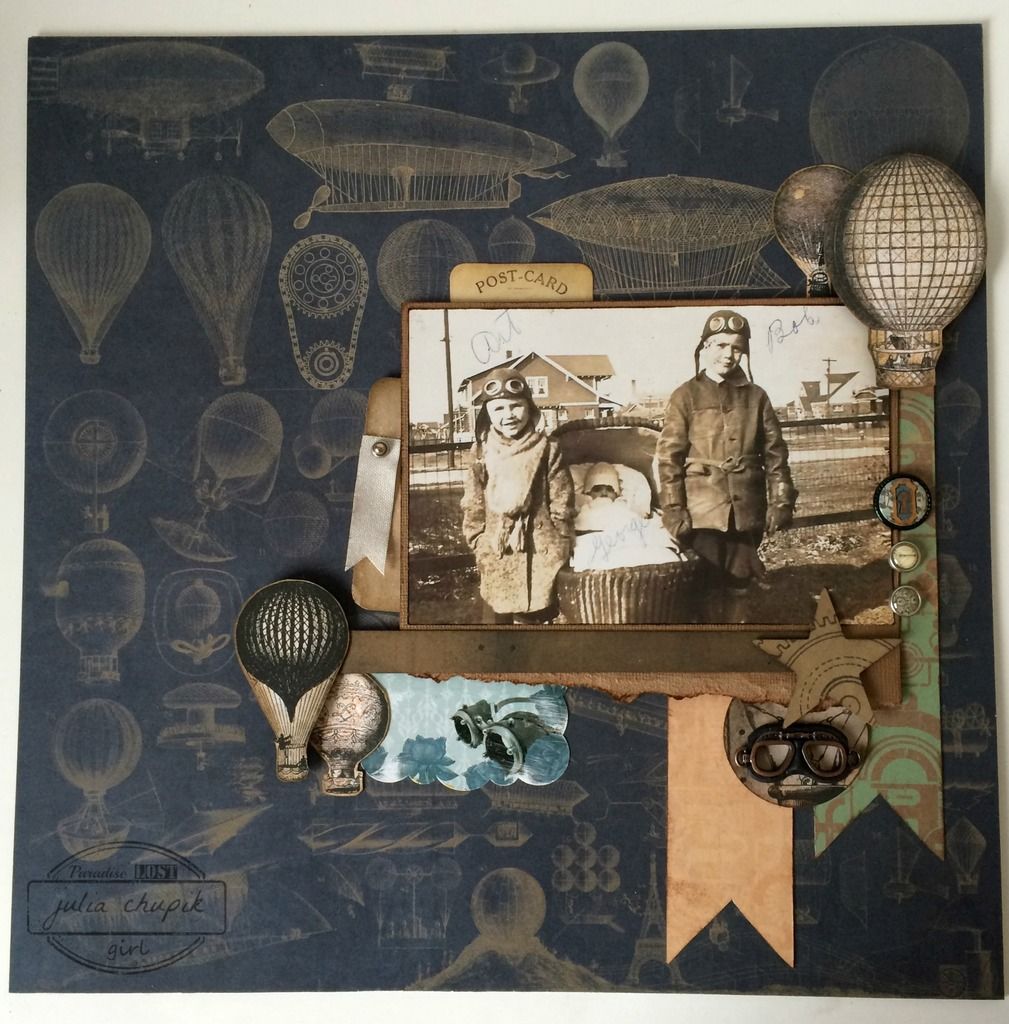
This is a fast-paced workshop with Jennifer leading through the construction of each layout
 in about 25 minutes. I only finished the basic assembly of each page. I added titles, embellishments and hidden journaling pockets at home.
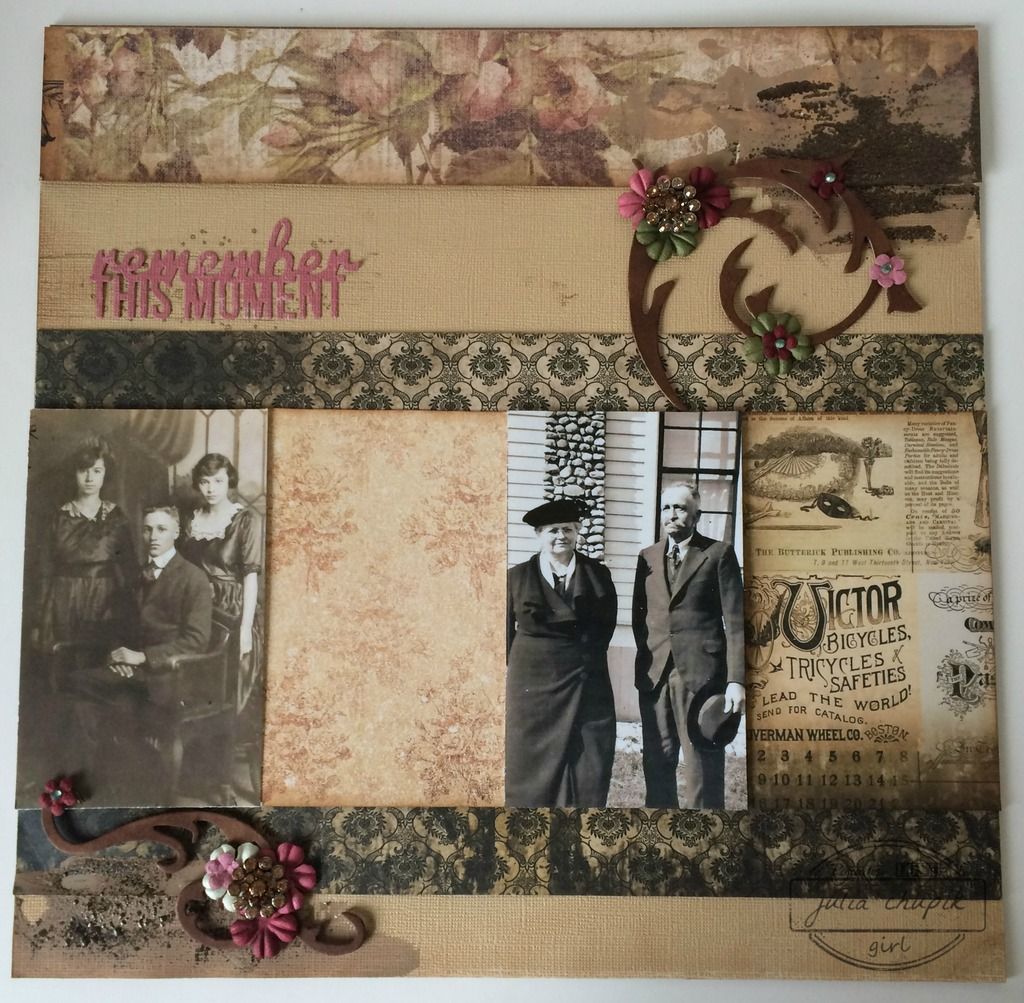

By the end of the 12 hour workshop I had 20 layouts ready for a few touches!
Twenty! That's more layouts completed in one day than I have done in 5 years.
Jennifer suggested keeping out kit instructions and reuse the page maps over again by flipping or rotating them to get a different look. What a fabulous idea!

This week I am starting to put 20 more kits together - these will be perfect to take to crops and retreats over the next few months.

If you live in the Calgary area be sure to check out Scrapbookin' Adventures! 

Follow them on Facebook

~~stay crafty~~

julia


Thursday, 10 March 2016

Emerald Creek Dare - Ring In Spring

It's time for another challenge at Emerald Creek Dares!
Show us your Spring-themed projects - think bright & colourful. We want to see your cards, canvases, art journal pages, scrapbook layouts or home decor.


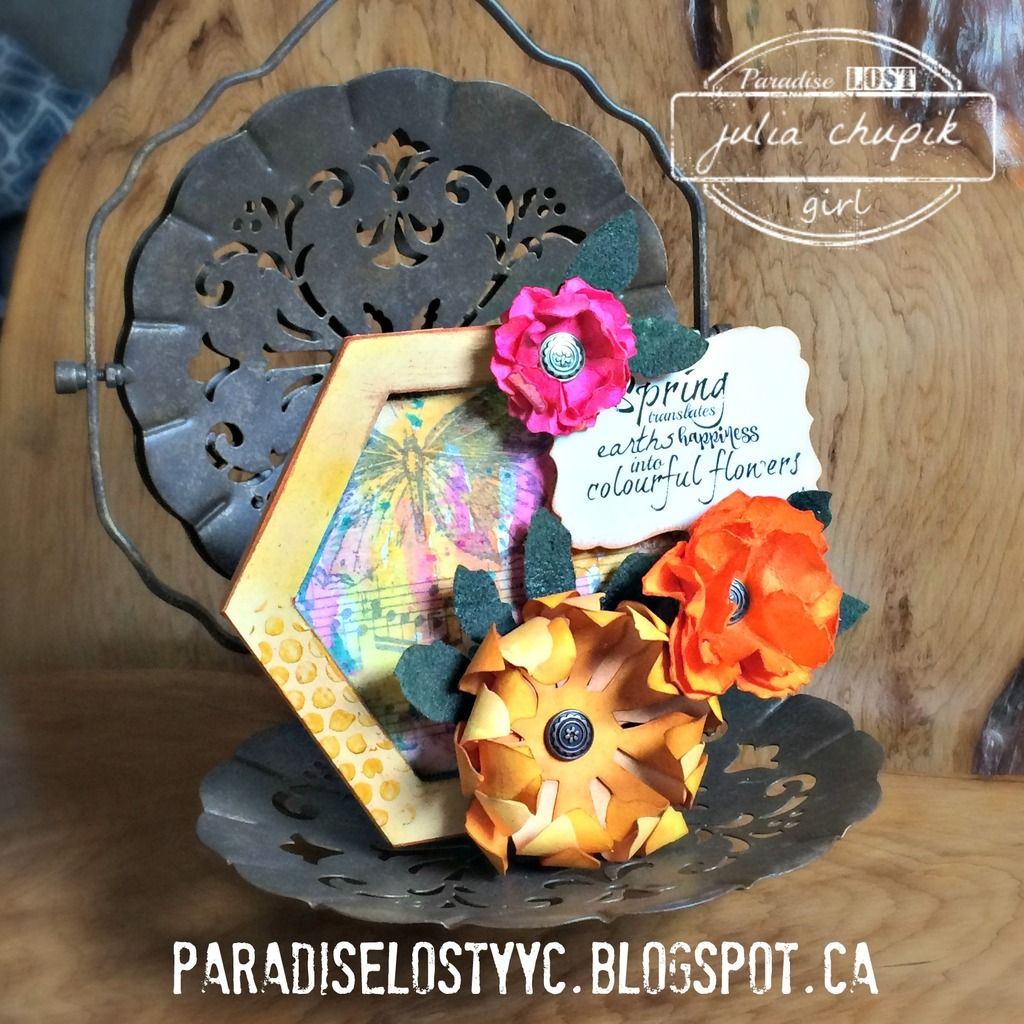
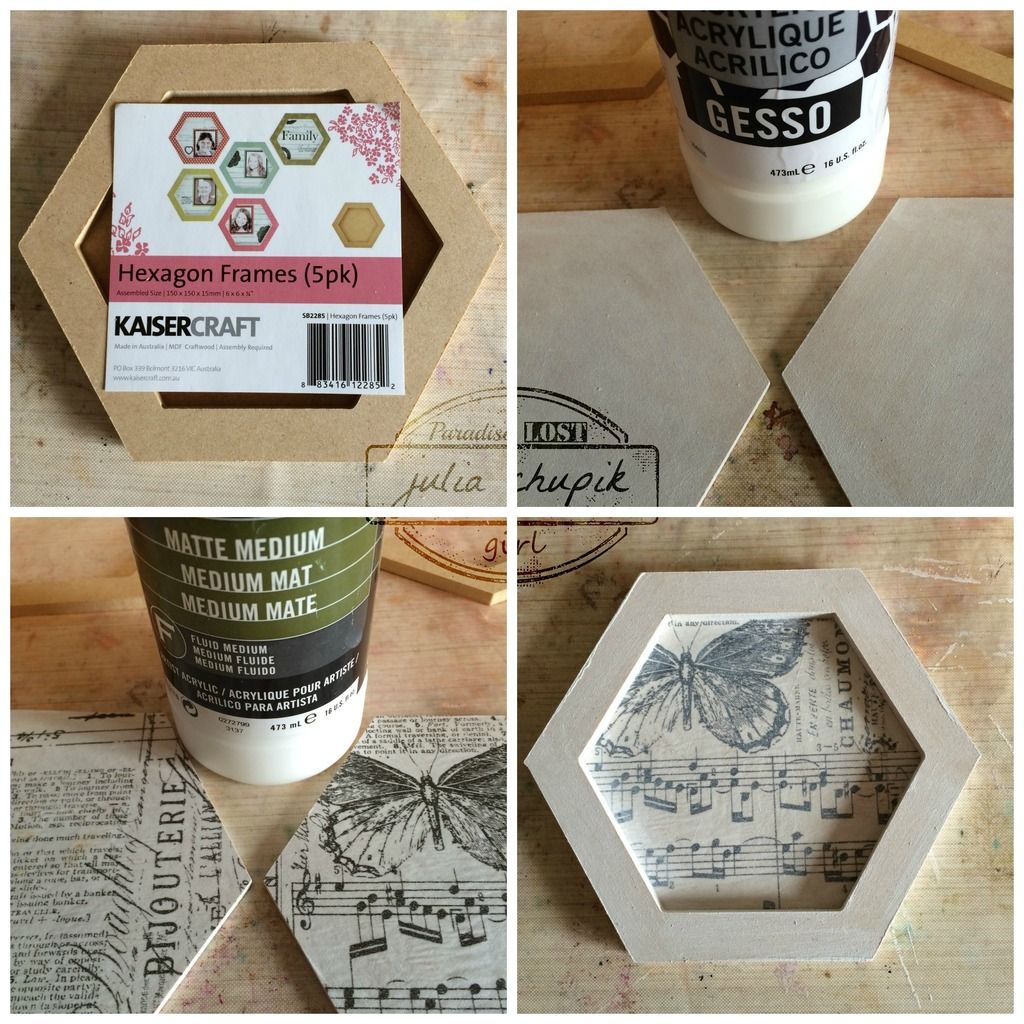
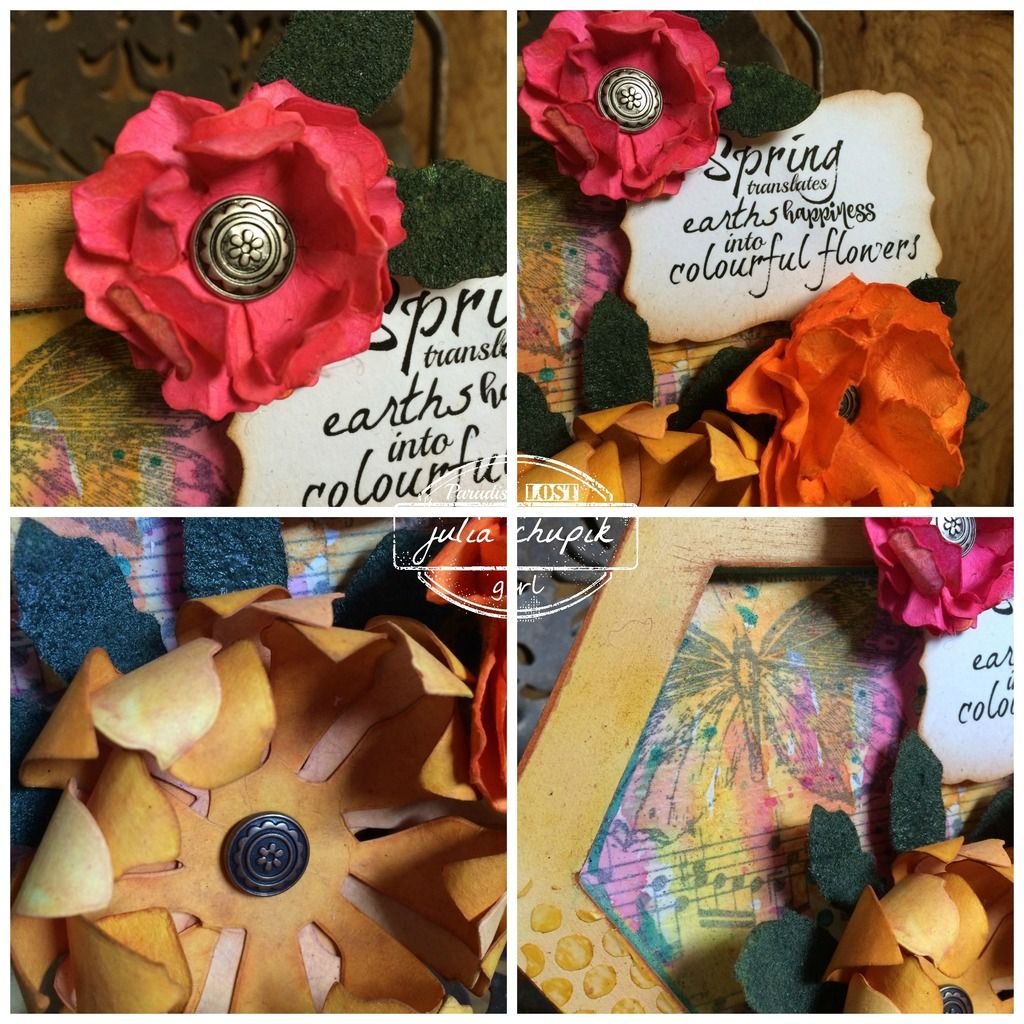
My project is a hexagon frame from Kaiser Craft. 
I prepped the frame pieces first with a coat of gesso then using matte medium applied Tim Holtz tissue paper. I applied another coat of matte medium over the top of the tissue paper. Once everythig was dry I assembled the frame pieces then gave the entire thing another light coat of gesso.
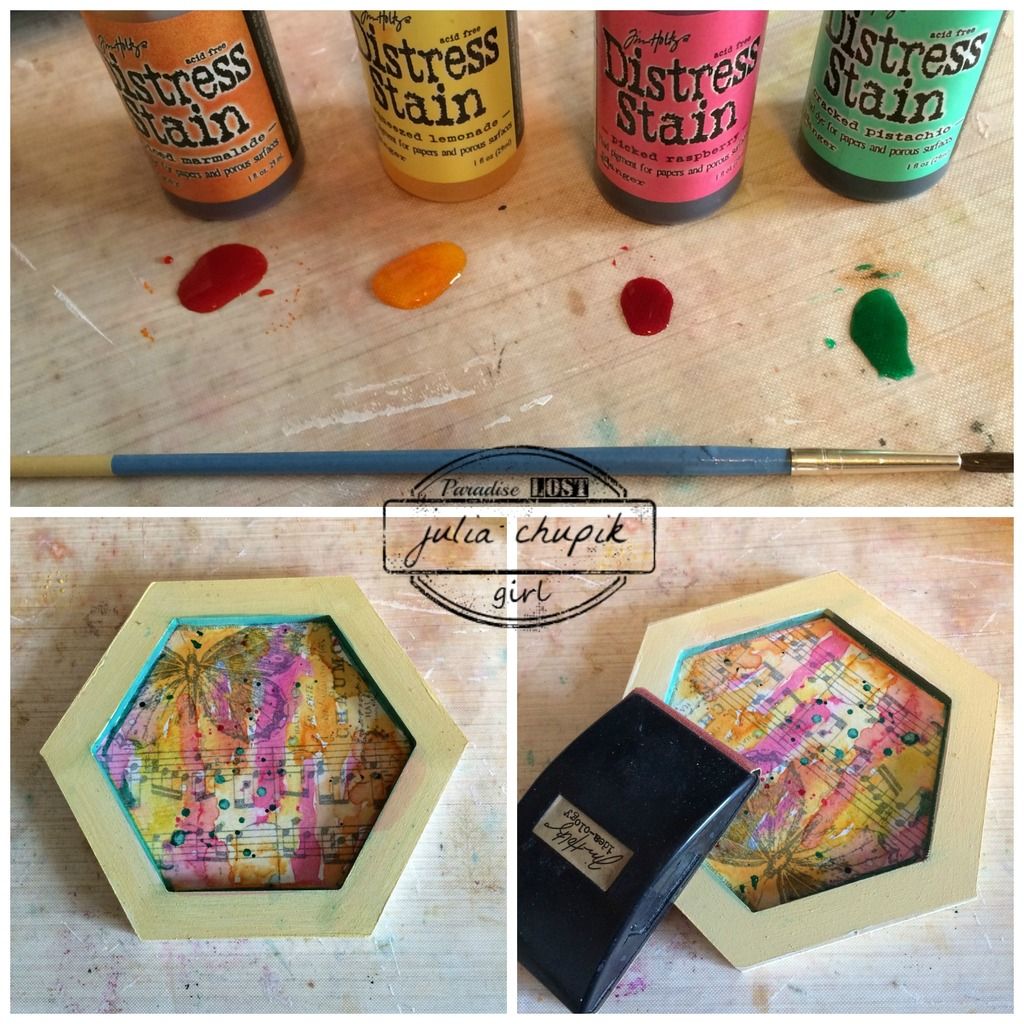
I used Tim Holtz Distress Stains in Spiced Marmalde, Squeezed Lemonade, Picked Raspberry & Cracked Pistachio to colour my background. I first applied small pools of the stains on to my splat mat and then used a small brush to apply small amounts over the tissue paper. 
I painted the outside of the frame with Scattered Straw Distress paint and distressed the edges with sandpaper. To further deepen the colour of the frame I used my ink blending tool to apply Rusty Hinge Distress Ink over the frame.
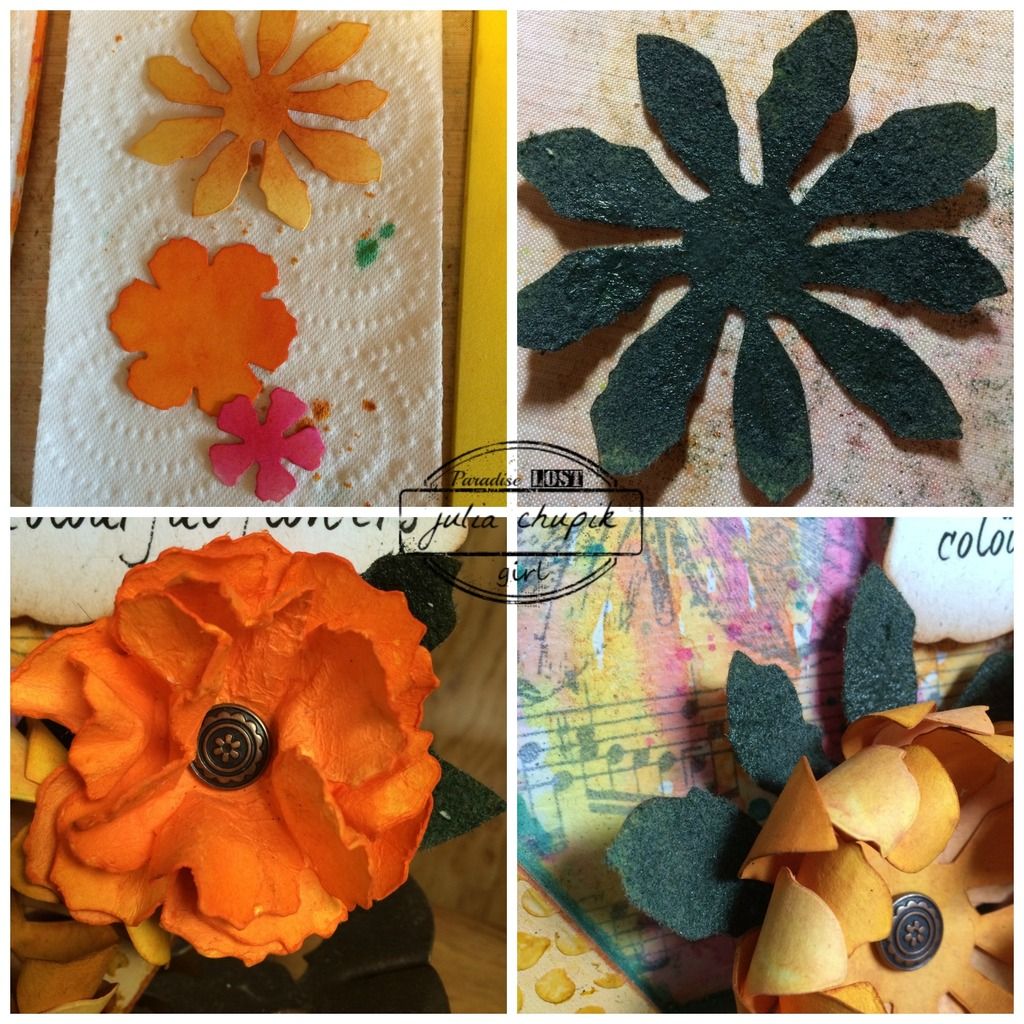
I used my Jumbo Tattered Floral die from Sizzix to make my focal point. What better way to signify Spring than some big colourful flowers! I die cut my flowers out of 140lb cold-pressed watercolour paper and coloured them with Distress Stains. While the paper was still wet I shape the flowers by curling the petals around my fingers. I then let the flowers dry naturally before layering 4 dies together and securing them with a Flower Wheel Brad from Emerald Creek.
The leaves were made with by applying Vintage Ivy Embossing Powder from Emerald Creek.
I love this embossing powder ~ after its heat set it leaves a soft, velvety texture.
I found this sentiment on Pinterest and thought it was perfect for this project.


Here is my finished project ~ a little bit of Spring inspiration to enjoy while I wait for the snow melt.


Thank you for visiting my blog today! Now head over the rest of the Emerald Creek DT
blogs for more Ring In Spring inspiration.

Claudia Neubacher
Shilpa
Katelyn
Diana
Cathy Potosky
Pam Bray

Head on over to Emerald Creek Dares to show us your Spring projects for a chance
to win a $25 credit to the Emerald Creek online store.


Tuesday, 1 March 2016

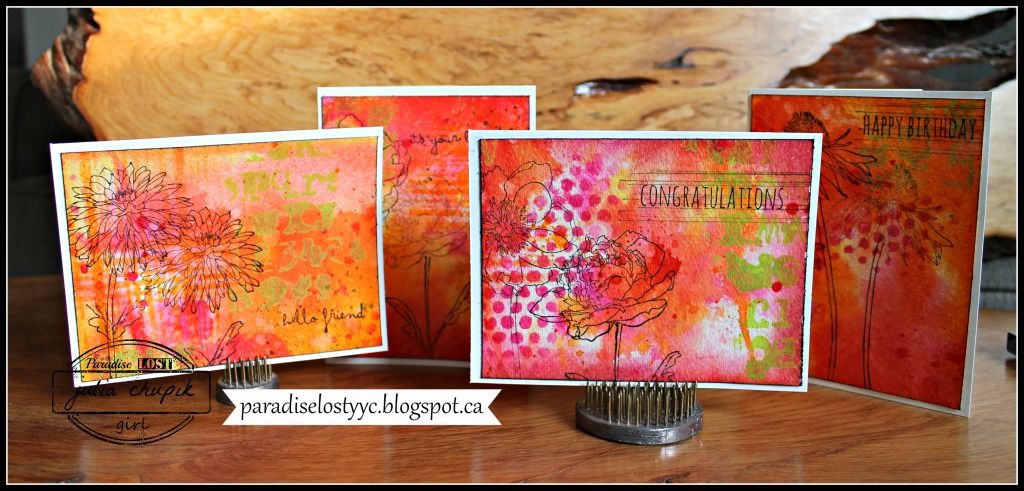
4 Quick Cards - Spring Edition

Ah...can you smell that? It's the sweet smells of SPRING!

Today I'm showing you the make & take I taught at the Paradise Lost One Day Crop on Feb 27.
I based it on another blog post I did back in December - 4 Quick Christmas Cards

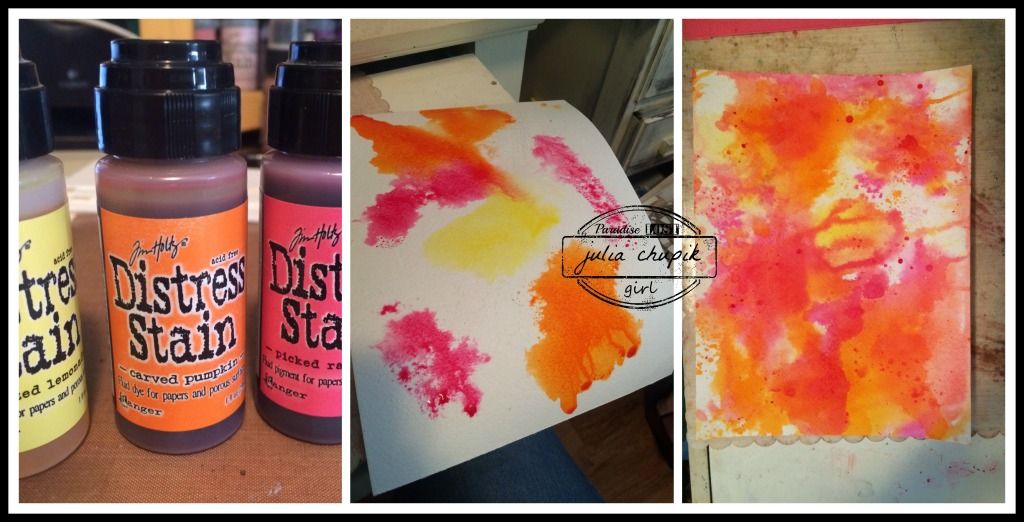
I start with a pallet of spring colours - Squeezed Lemonade, Carved Pumpkin & Picked Raspberry 
Distress Stain ~ and a sheet of 140lb cold press watercolour paper 9"x11".


I start by smooshing my 3 colours of Distress on to my splat mat and giving them a good spray of water. Then I start laying my watercolour paper on top of my stains. The middle picture shows the first & the right photo is about the 5th. I dry between layers and keep adding stain and water until I like what I've got. I don't worry about the white spaces and you'll see why in the next step.
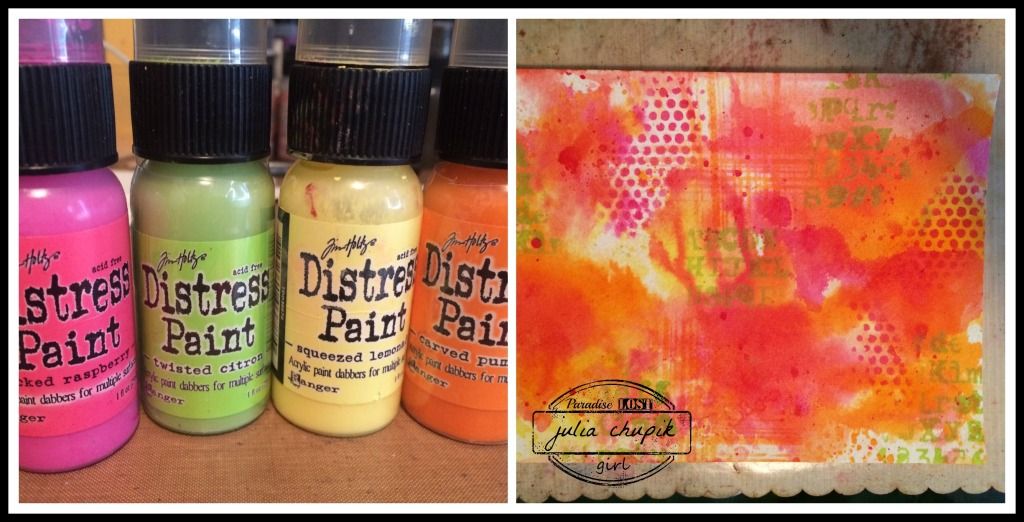
This layer is all about Distress Paint & Ink Pads. I use all the same colour and start layering these on over the stains. I give this layer a really good dry with my heat gun before trimming my paper to 4 - 4"x 5.25" panels. This will leave a few small scraps that I toss in my scrap bucket to be used for future projects.


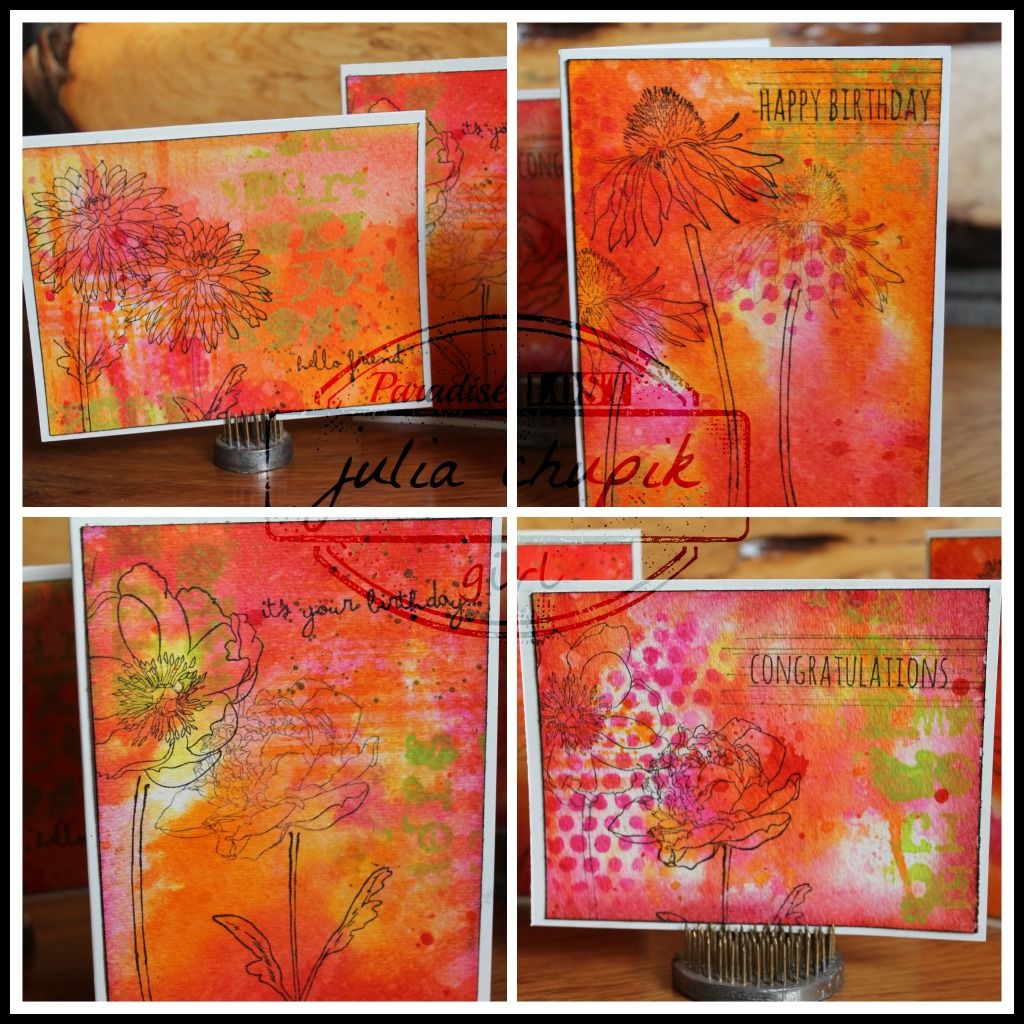
I add a stamp image (SA/Tim Holtz - Flower Garden)  and a sentiment (SA/Tim Holtz - Crazy Talk) to each card front before using my blending tool to ink the edges. Lastly I ran my Black Archival Ink pad along the edges to 'frame' them. 


I really enjoy this technique to make a set of cards - I get to combine my love of a large mixed media surface and cardmaking. 

Thanks for dropping by my blog today & I hope I was able to inspire you!

~stay crafty~

julia