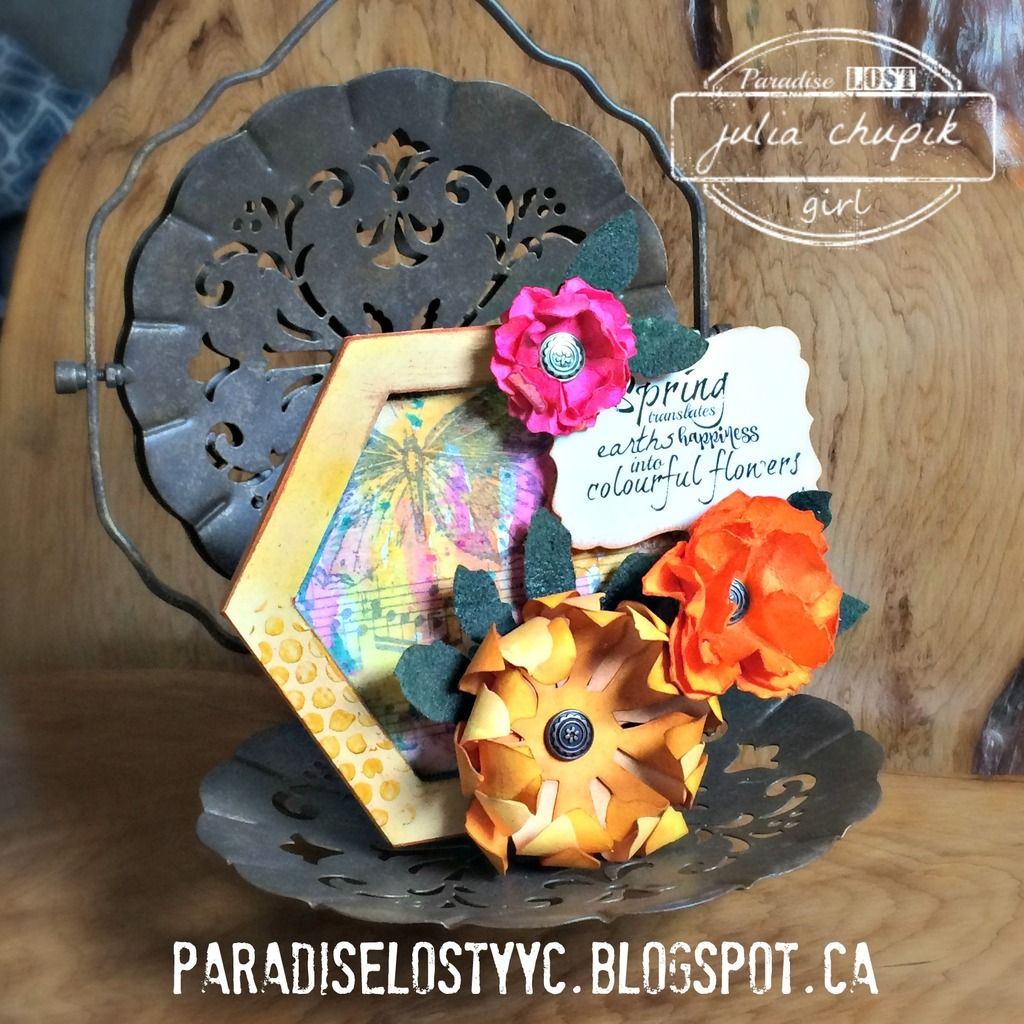
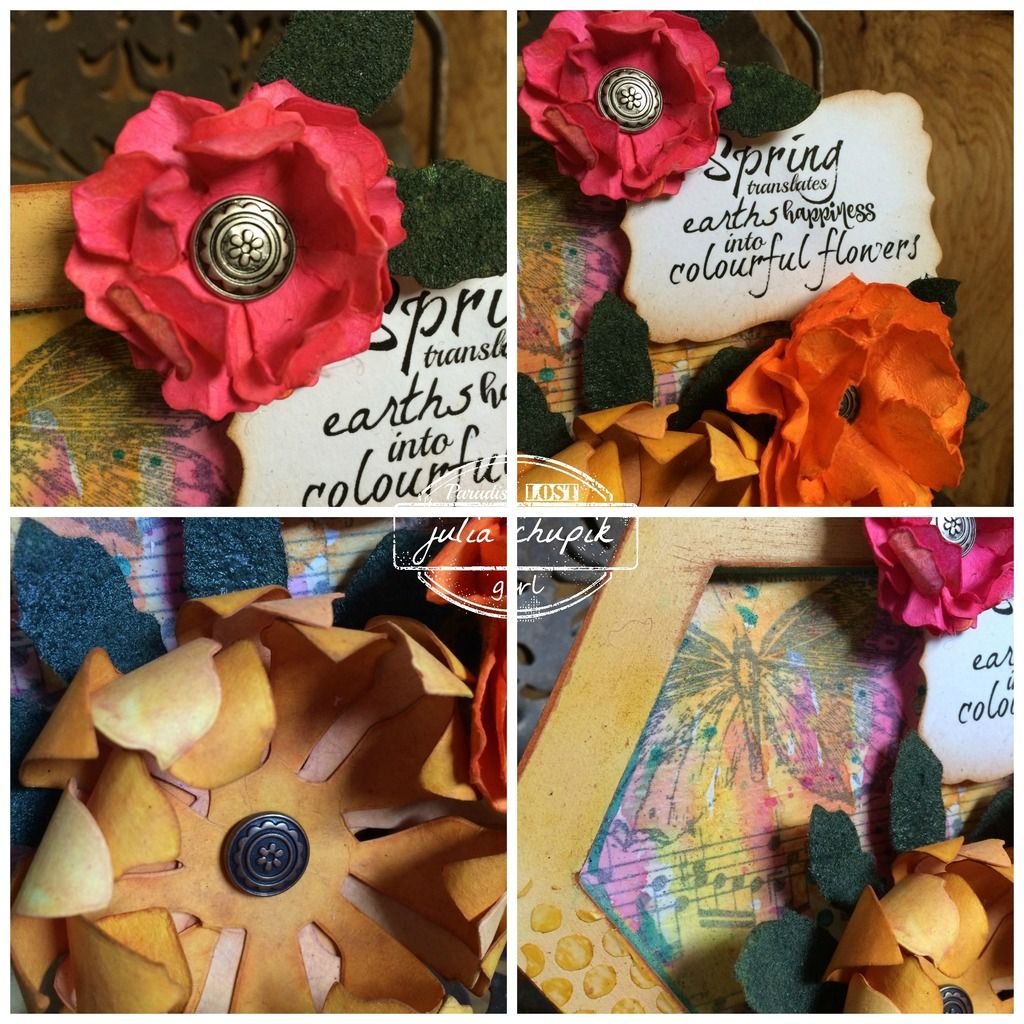
Ah...can you smell that? It's the sweet smells of SPRING!
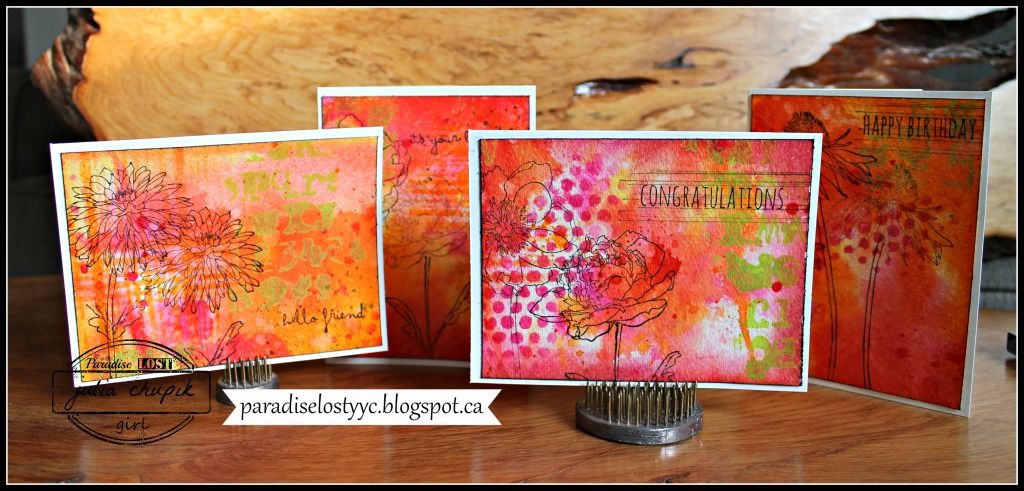
Today I'm showing you the make & take I taught at the Paradise Lost One Day Crop on Feb 27.
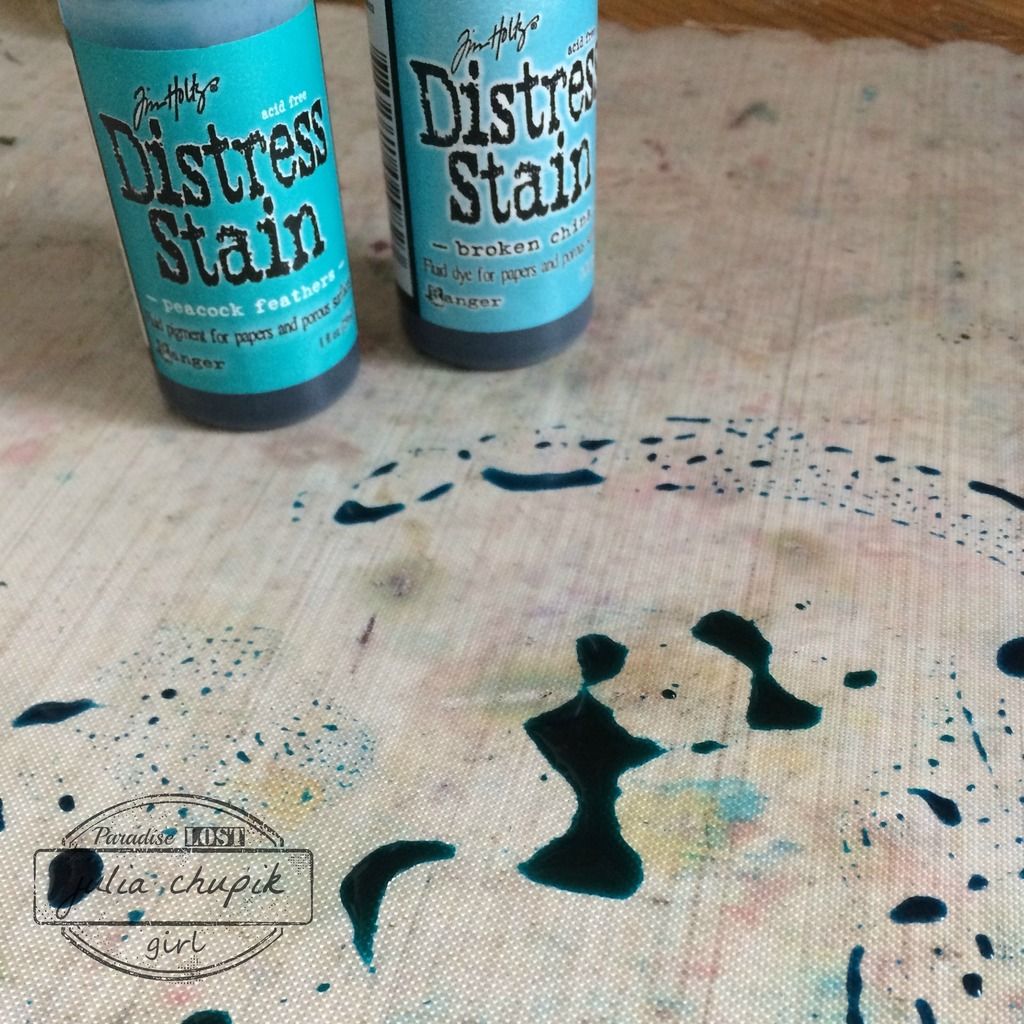
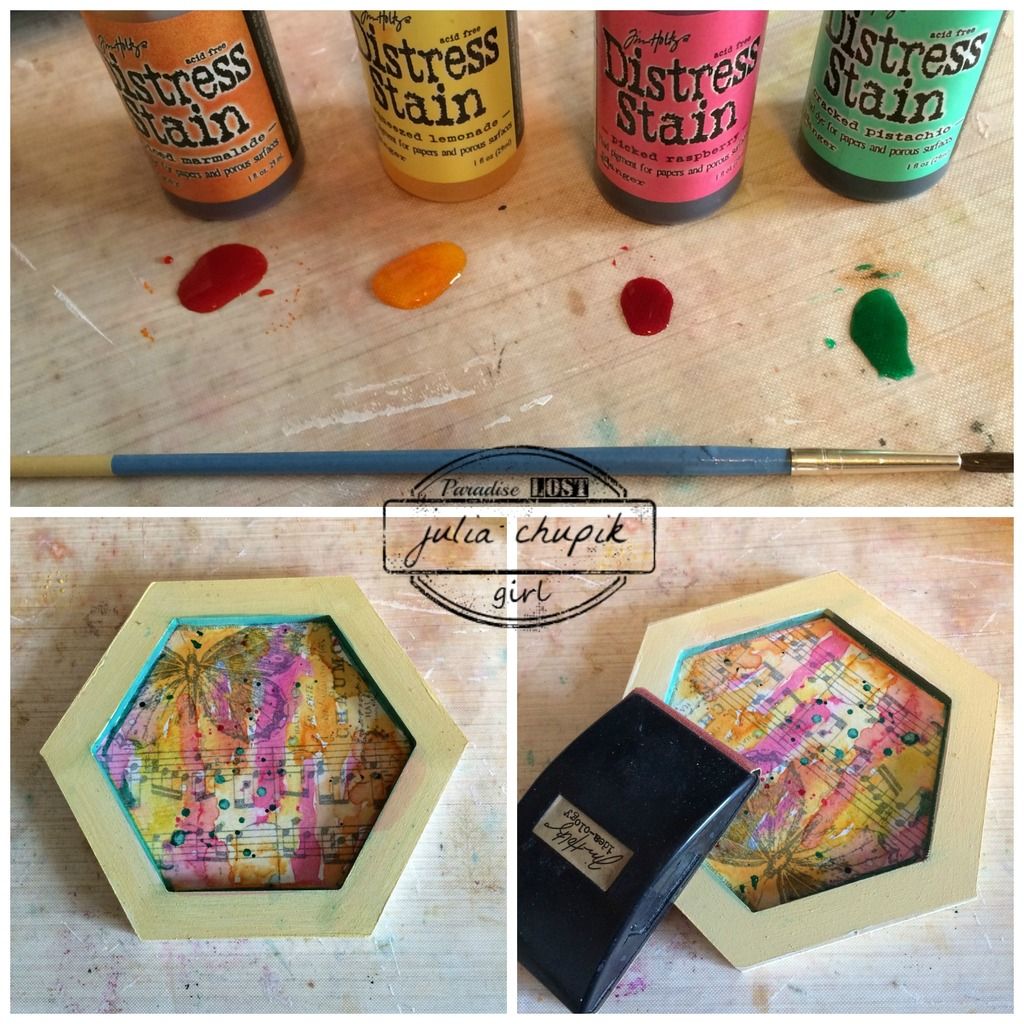
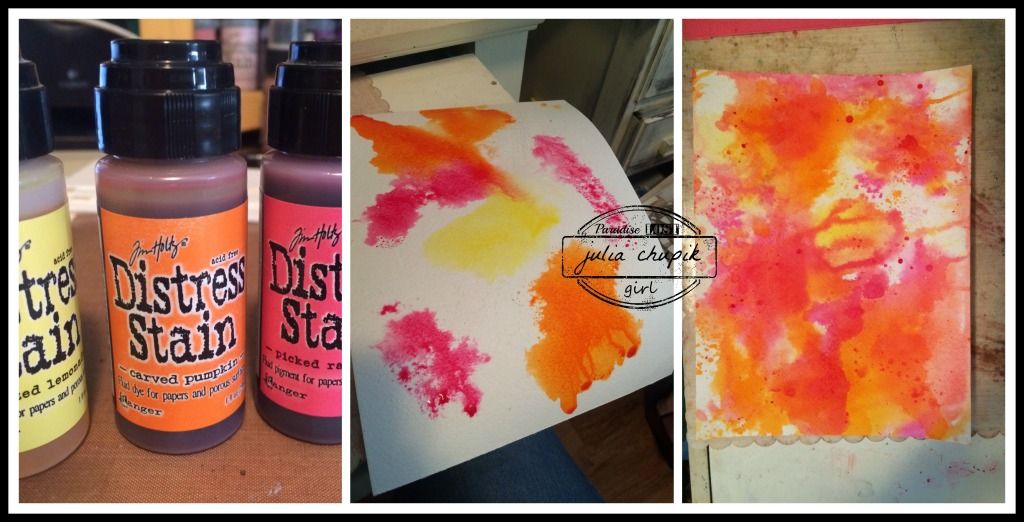
I start with a pallet of spring colours - Squeezed Lemonade, Carved Pumpkin & Picked Raspberry
Distress Stain ~ and a sheet of 140lb cold press watercolour paper 9"x11".
I start by smooshing my 3 colours of Distress on to my splat mat and giving them a good spray of water. Then I start laying my watercolour paper on top of my stains. The middle picture shows the first & the right photo is about the 5th. I dry between layers and keep adding stain and water until I like what I've got. I don't worry about the white spaces and you'll see why in the next step.
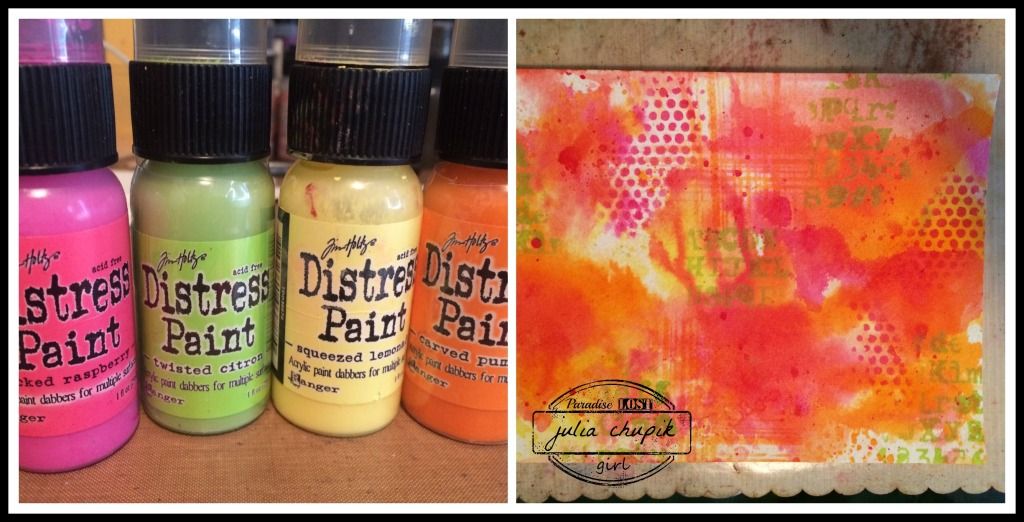
This layer is all about Distress Paint & Ink Pads. I use all the same colour and start layering these on over the stains. I give this layer a really good dry with my heat gun before trimming my paper to 4 - 4"x 5.25" panels. This will leave a few small scraps that I toss in my scrap bucket to be used for future projects.
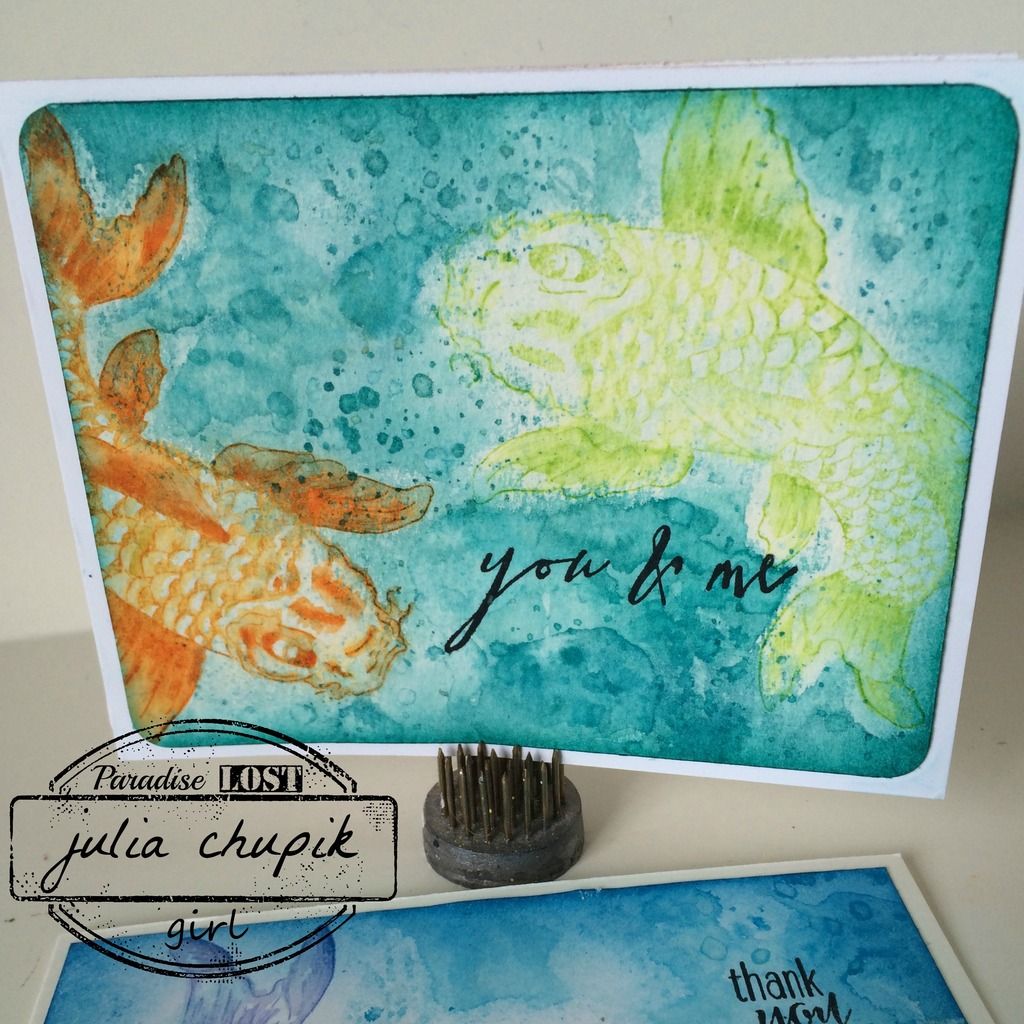
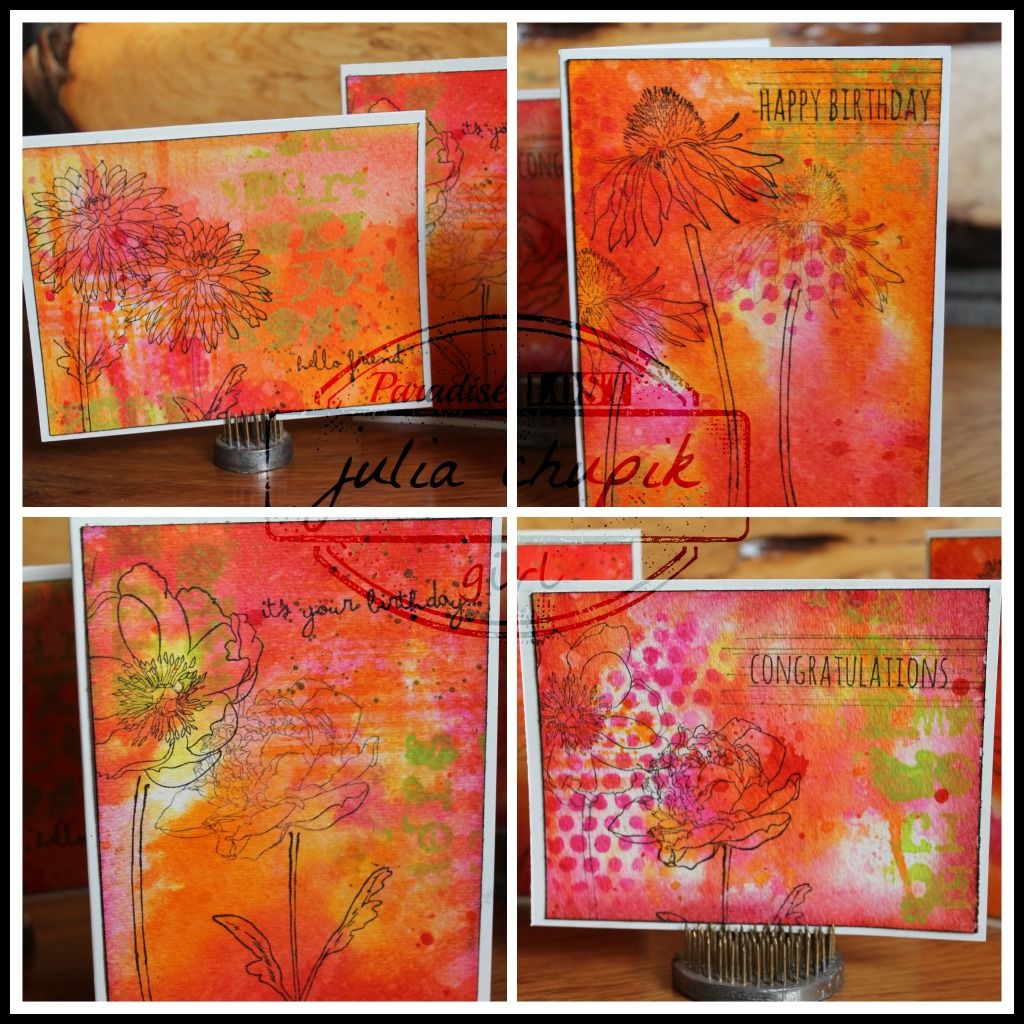
I add a stamp image (SA/Tim Holtz - Flower Garden) and a sentiment (SA/Tim Holtz - Crazy Talk) to each card front before using my blending tool to ink the edges. Lastly I ran my Black Archival Ink pad along the edges to 'frame' them.
I really enjoy this technique to make a set of cards - I get to combine my love of a large mixed media surface and cardmaking.
Thanks for dropping by my blog today & I hope I was able to inspire you!
~stay crafty~
julia