Thursday, 24 March 2016

Emerald Creek Dare - Easter Hunt

It's time for another challenge at Emerald Creek Dares
and this time we are celebrating Easter and the Easter Egg Hunt.

Show off how you celebrate Easter at Emerald Creek Dares for a chance to win
a $25 credit to the Emerald Creek online store.
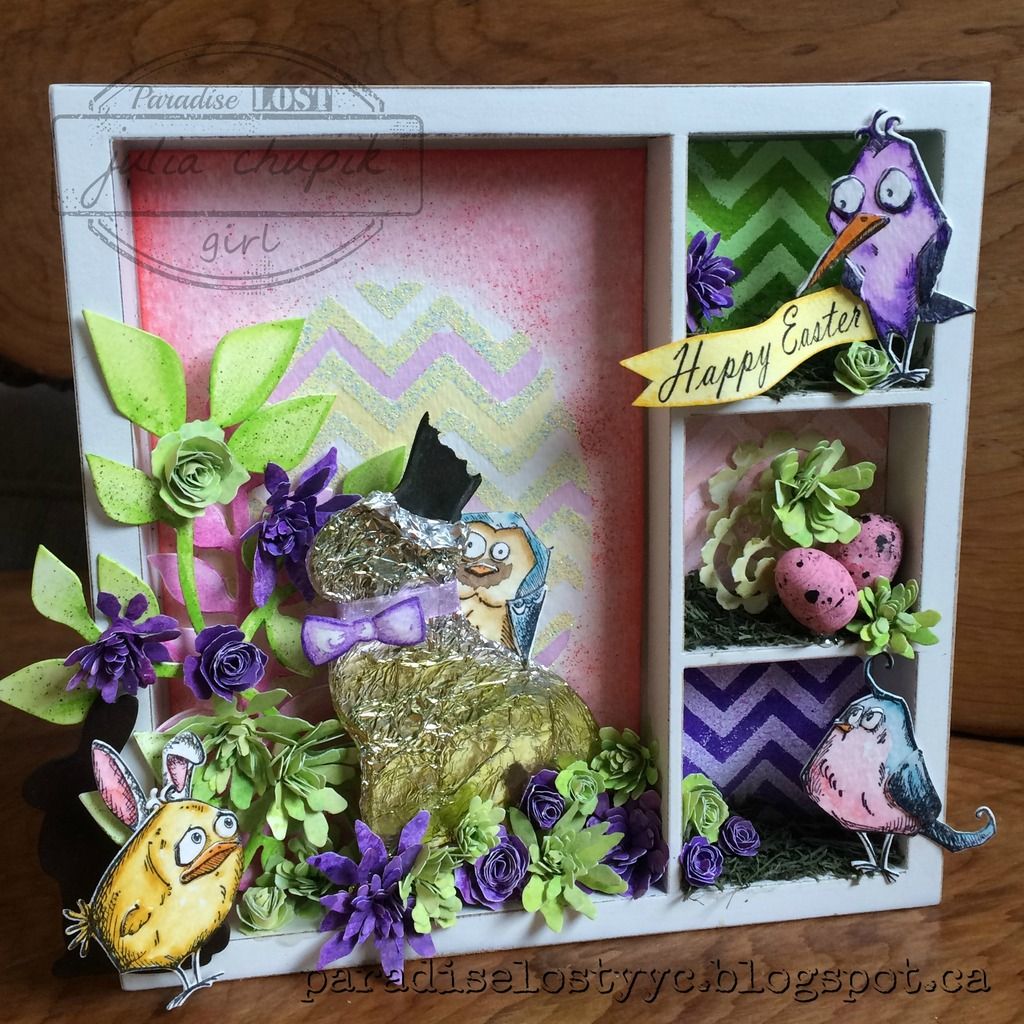
My family of Crazy Birds and the Easter Egg Hunt

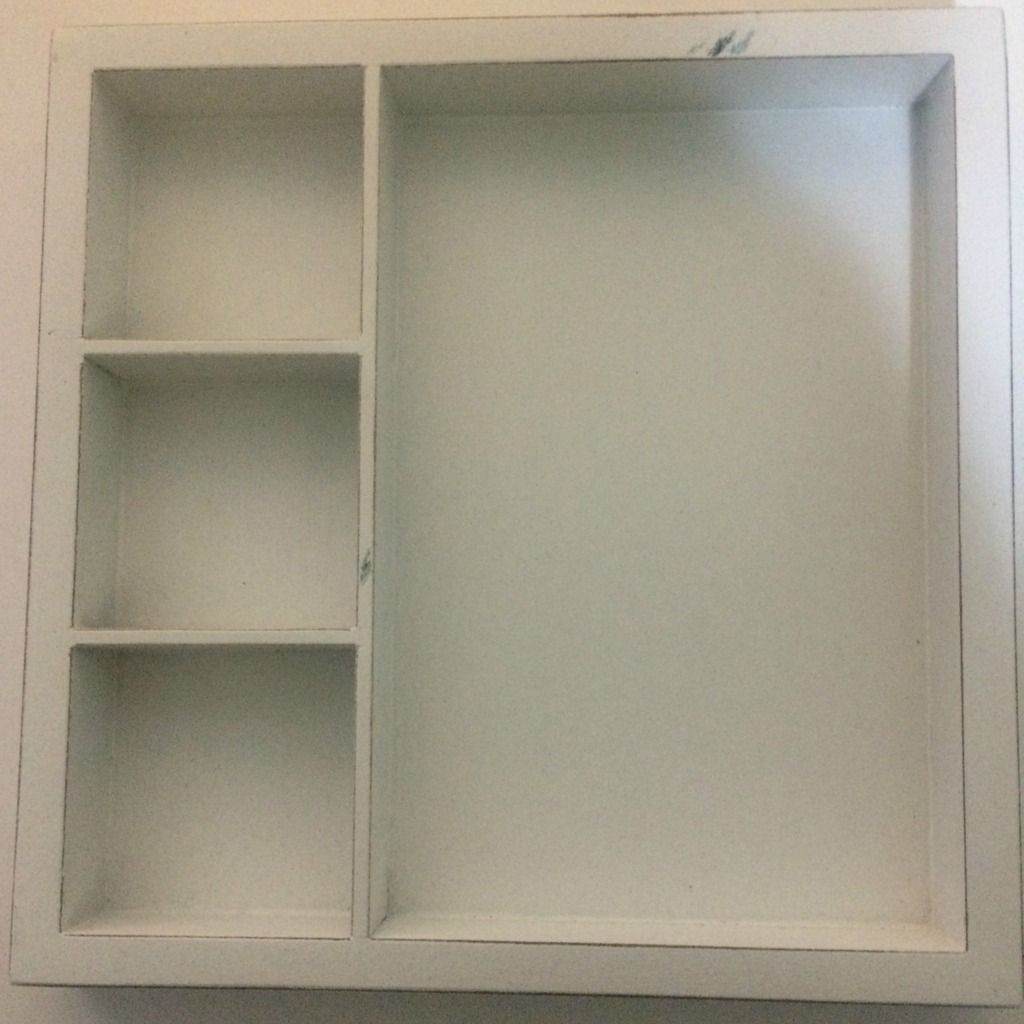
I started with a small square box that I had in my box. It needed very little prep as it was already white but I did take my small sanding block to the edges to distress it just a bit.
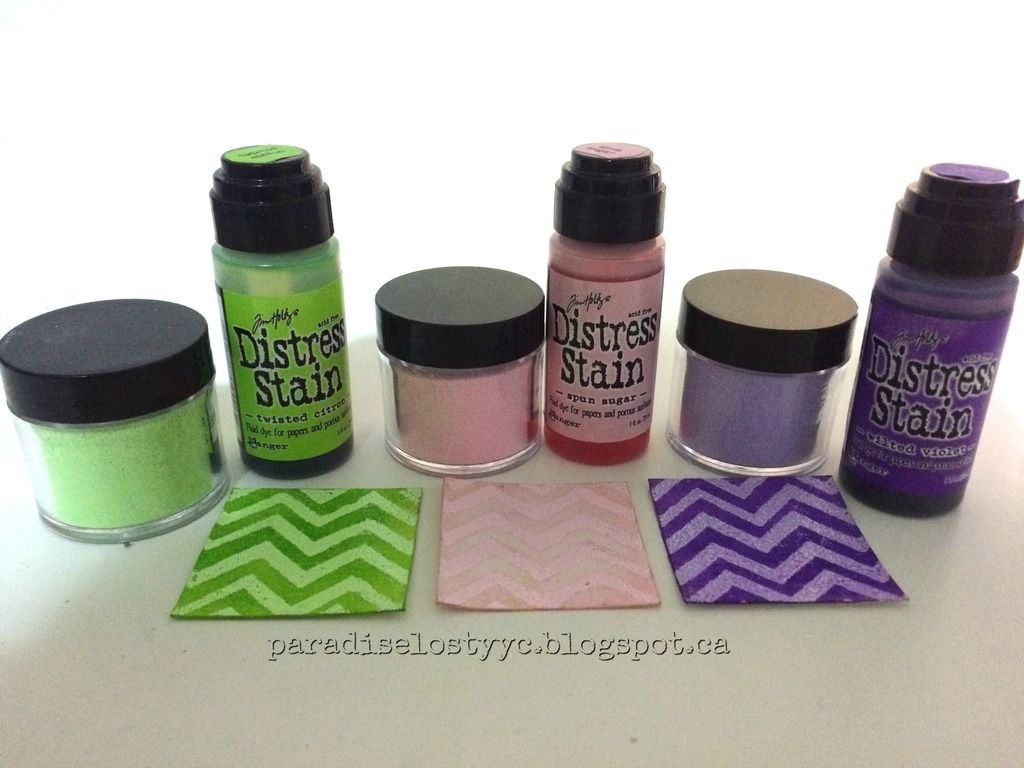
I started by making my background for the small squares. I trimmed some watercolour paper to fit each space and sponged Versamark over my Chevron Layering Stencil from Tim Holtz before applying Emerald Creek pastel embossing powder in 3 different colours - green, lilac & pink.
I finished these off with some Distress Stains in coordinating colours.

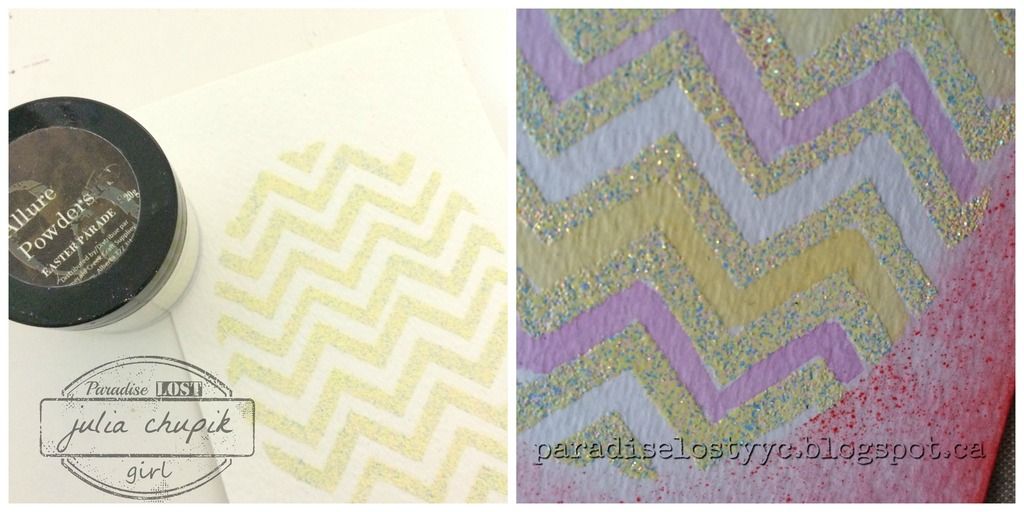
The background for the large box was made using watercolour as well but this time I used a large oval stencil that I thought could pass for an Easter Egg. Again I sponged Versamark through the Chevron Layering Stencil and this time used the Easter Parade embossing powder from Emerald Creek - its just one of a whole line of  Festive Glitters. I love them all! 
I received my Distress Crayons this week and was so excited to use them with this project. I have a lot to learn about them but had fun playing around with some watercolour techniques on my bunnies & floral embellishments.


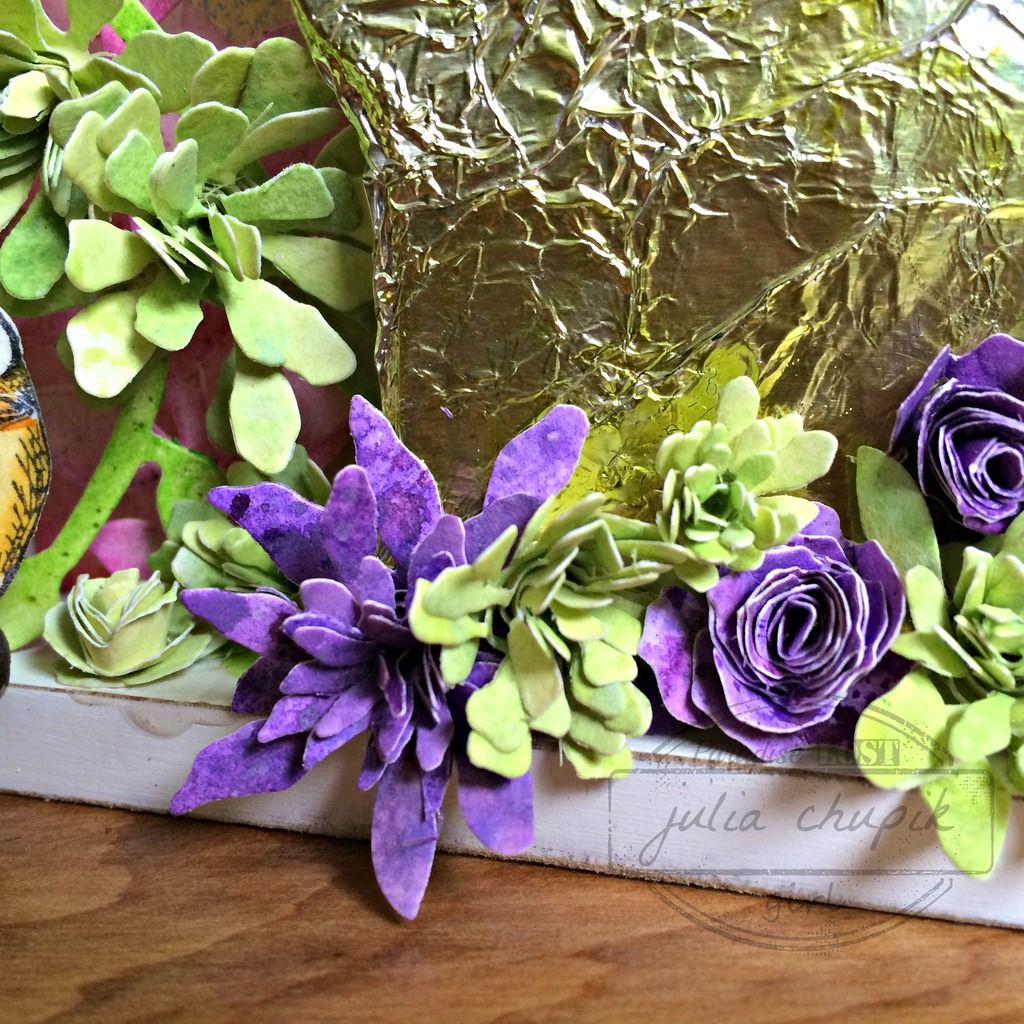
For my flowers I used 98 lb watercolour paper that I dragged through Distress Stains & Picket Fence Distress Paint that I applied to my craft mat. The Picket Fence give the stains a gorgeous pastel feel. I then use my set of Tiny Tattered Florals die set to cut out a bunch of flowers.
Here is a close up photo of the finished flowers ~
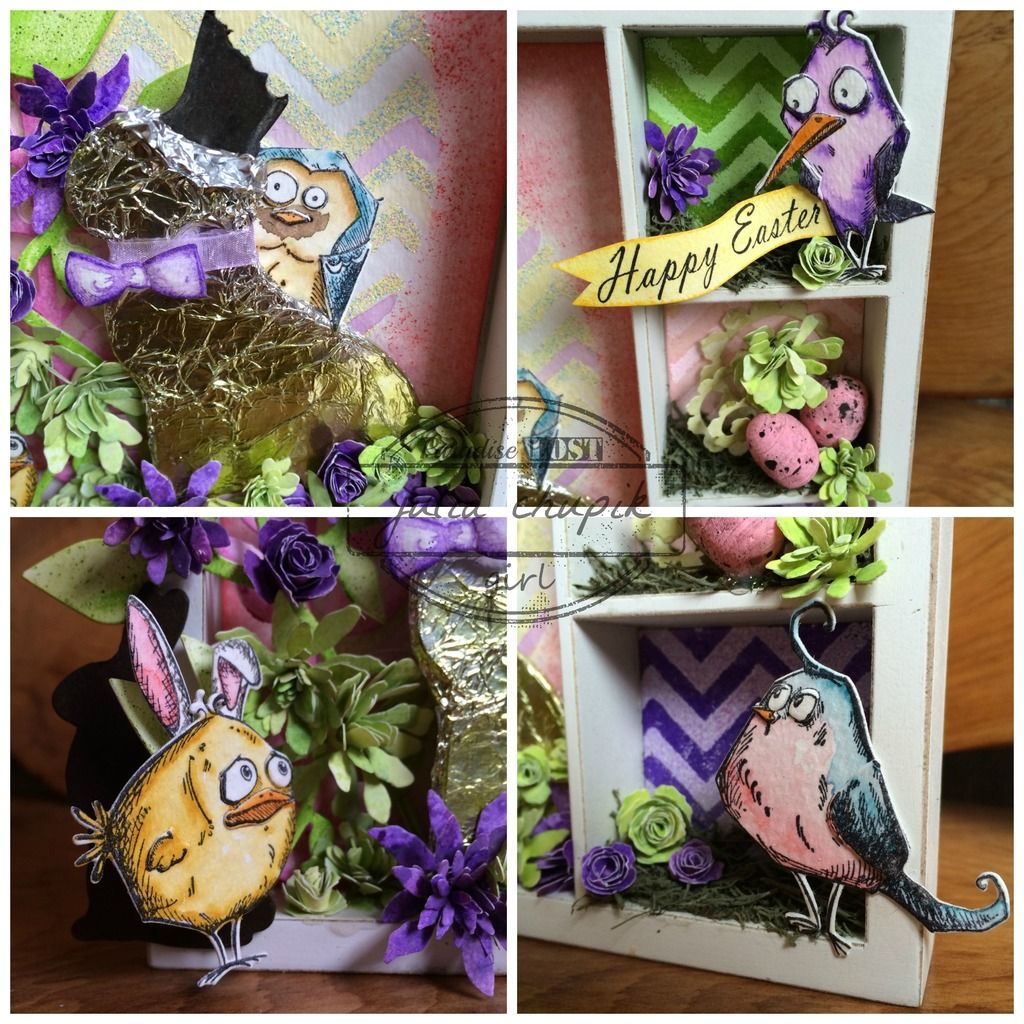
And close-ups of those Crazy Easter Egg Hunting Birds. One of those rascals couldn't resist a nibble of  the chocolate bunny ears.
Thank you for visiting my blog today! 
I wish each of you a very Happy Easter and may your long weekend be filled with love, happiness & joyful celebration with family & friends.

Be sure to check out more Easter inspiration from the rest of the Emerald Creek Design Team
then visit the Emerald Creek Dare blog to share your creation with us.


Emerald Creek Craft Supplies
products used:

Stamp:

Embossing Powders:


Wednesday, 23 March 2016

Playing With Crayons - Tim Tag March 2016

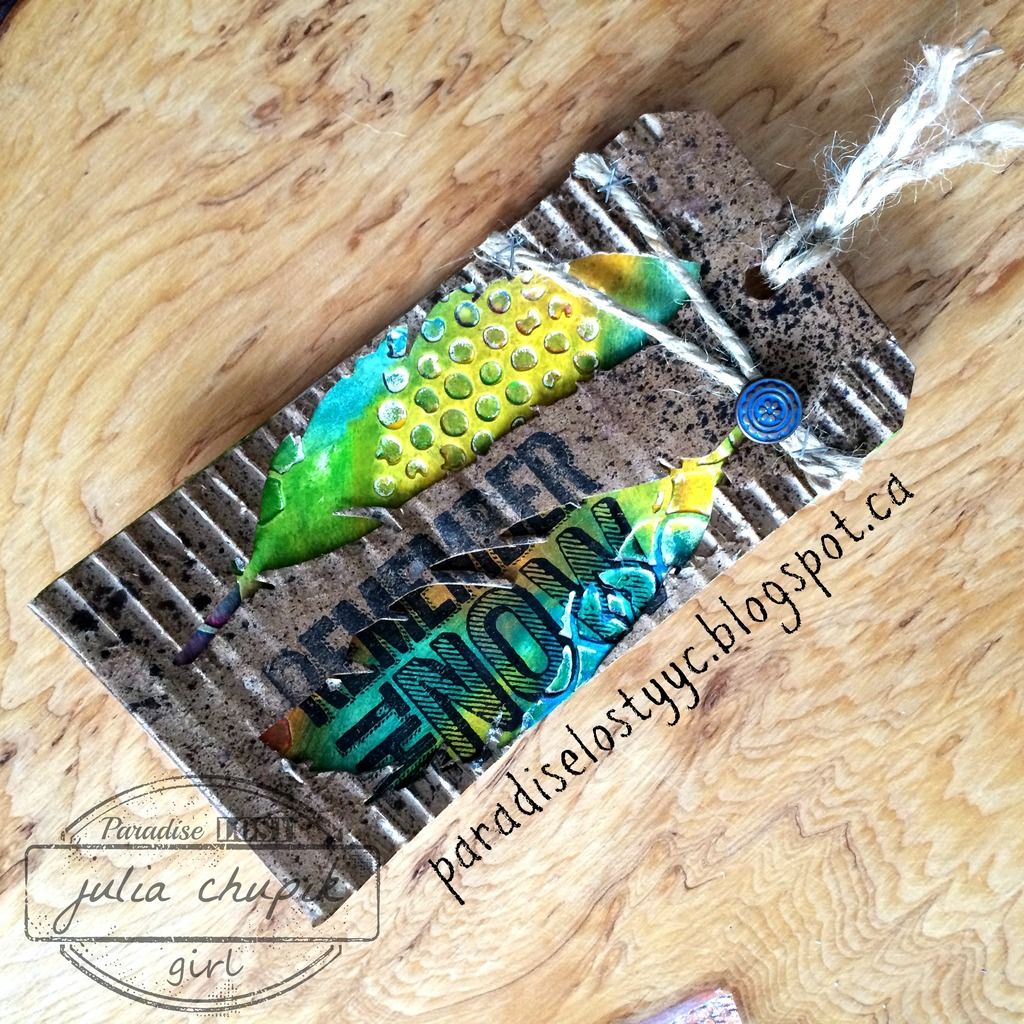
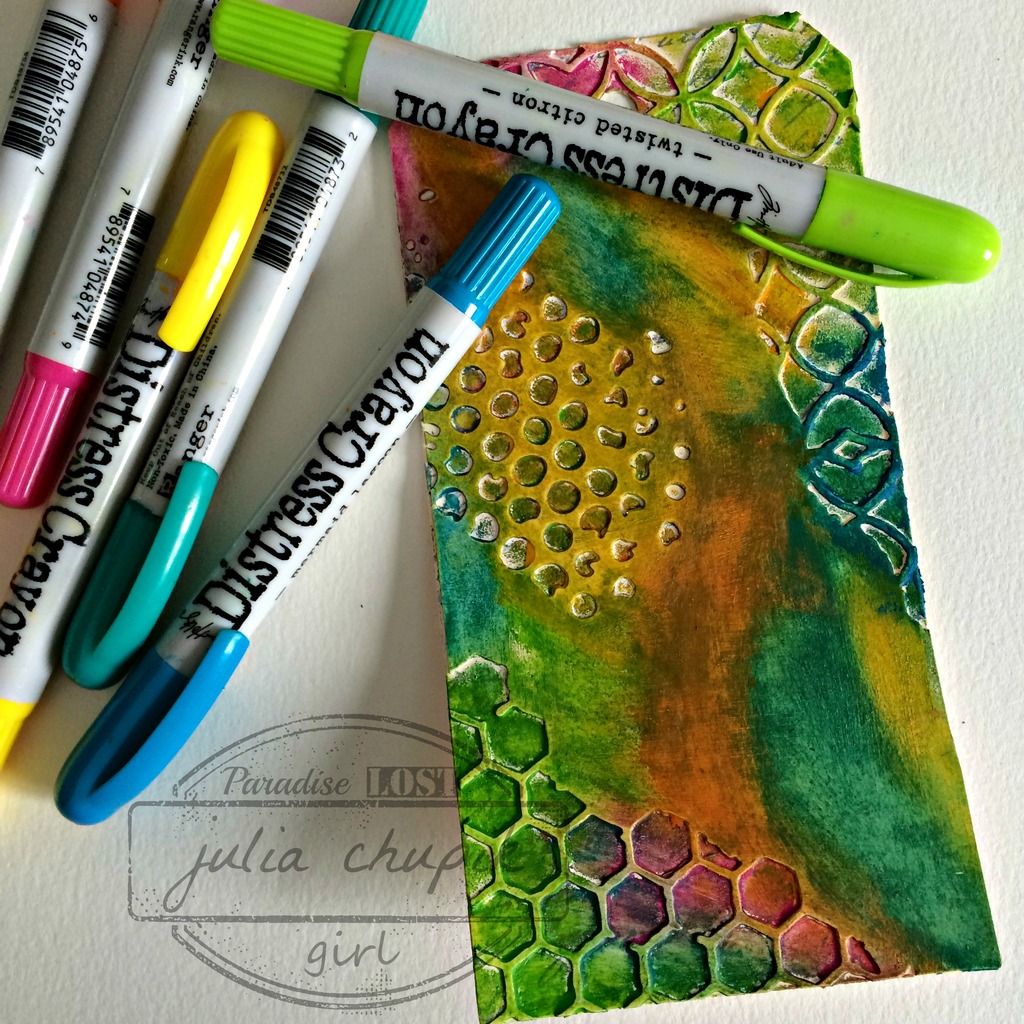
I was beyond excited when my Distress Crayons arrived last week but was so busy I didn't have a chance to start playing with them until yesterday. Well, let me say they were worth the wait. 
After a bit of play time on random paper - with some success and some hot messes -  I jumped into the creation of my Tim Tag for March.


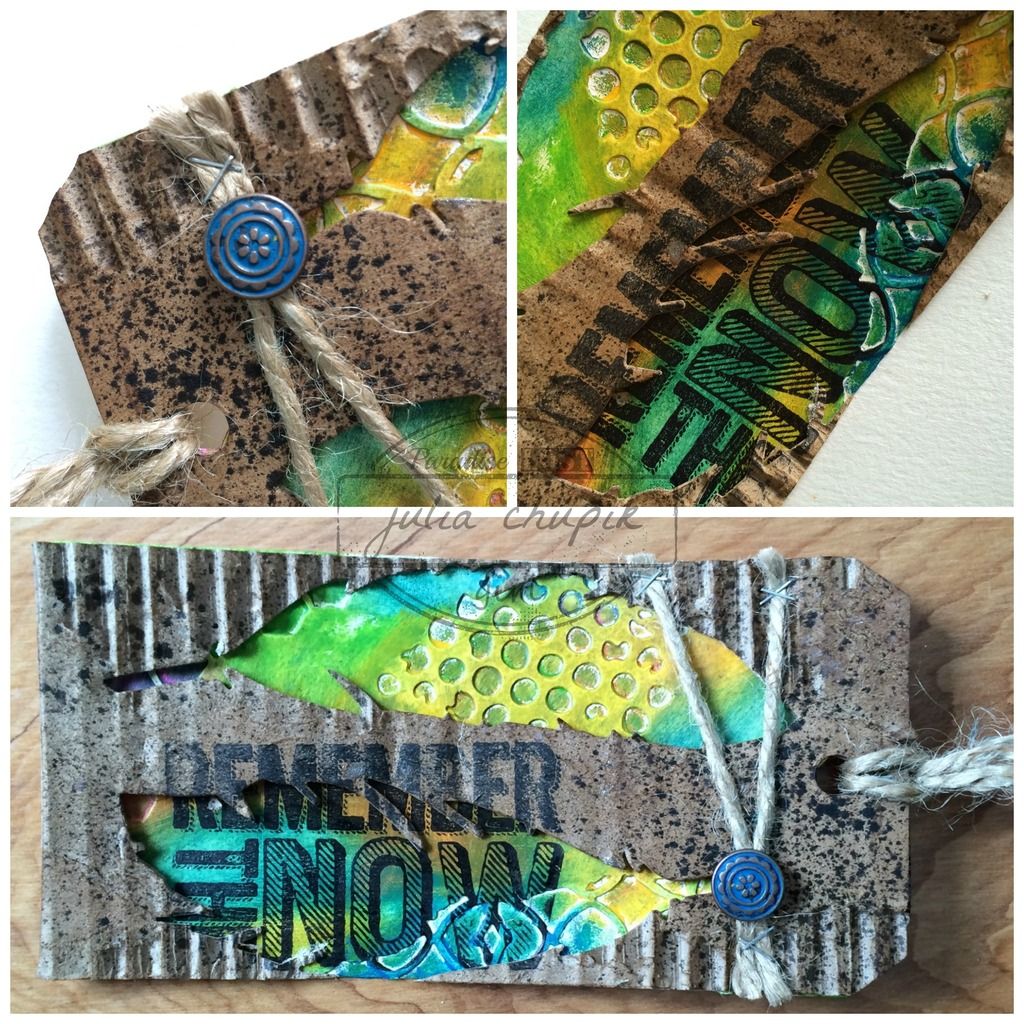
Here is Tim's gorgeous tag

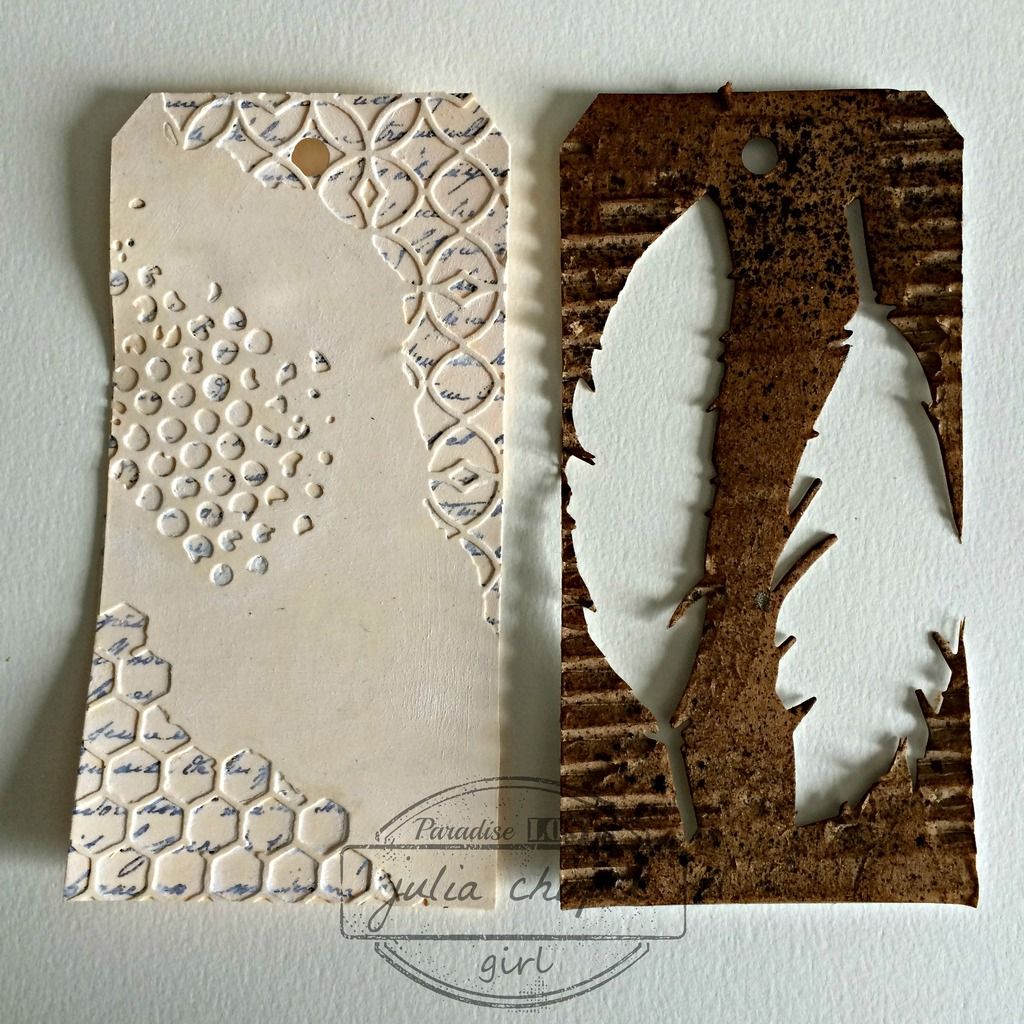
I realized that after I die cut the corrugated cardboard & the base tag that most of the 
details would be covered up - note to self: better pre-planning.

The Distress Crayons blend beautifully on a surface prepped with
 gesso - so smooth and easy to blend. 

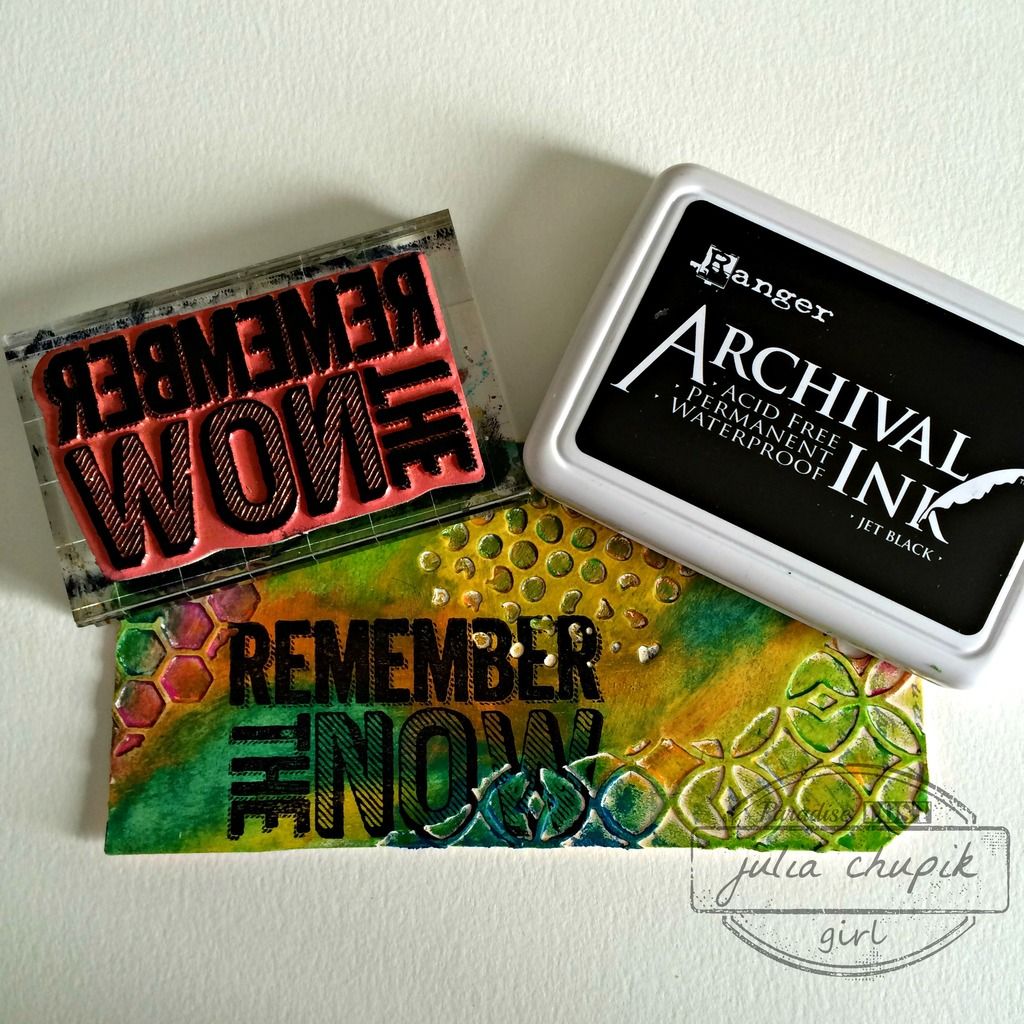
I wasn't happy with the blank space that would be showing through the feather on the right so I decided to add a stamp. I also stamped the corrugated layer so it would line up with the image on the bottom layer.

My brad embellishment is a Flower Wheel Brad  from Emerald Creek. I rubbed  the Mermaid Lagoon Distress Crayon over the brad and used my fingertip to push the crayon into the grooves. I really like how it turned out. 


Challenges Entered:

Tuesday, 22 March 2016

Distress Ink & Watercolour - My Current Obsession

I love watercolour and have made a lot of cards using watercolour techniques
but I recently became completely obsessed with a no-line watercolour
technique I saw on Scraps & Stamps.
You can check out Nicole's blog post about no-line watercolouring here.


Nicole uses a combo if Distress Ink & Peerless  Transparent Watercolours.
Her finished project is gorgeous but it got me thinking - why couldn't I just stamp the image using Distress Inks and then blend the ink with my detailed watercolour pen?
Easy peasy lemon squeezy.

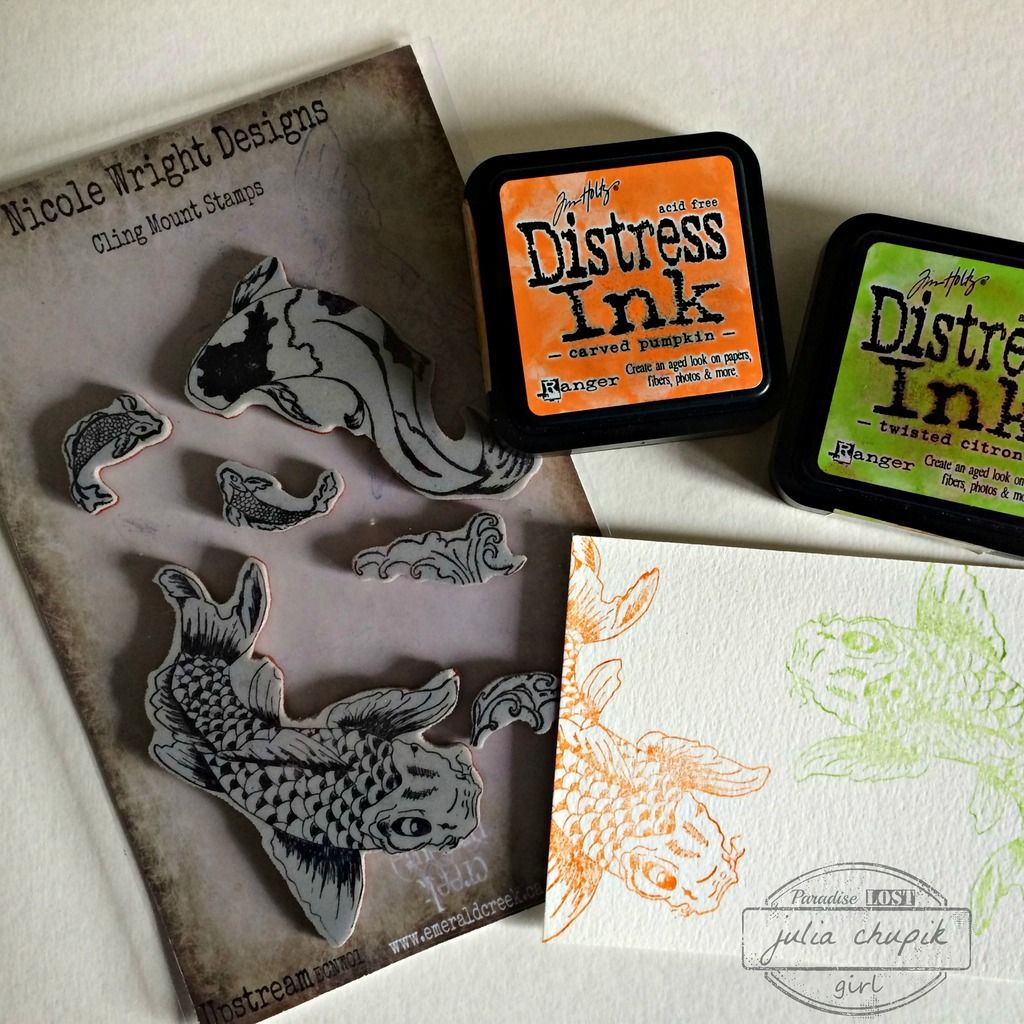
I stamped the koi image from the Nicole Wright Designs Upstream stamp set
on to 140lb cold-pressed watercolour paper using Twisted Citron & Carved Pumpkin
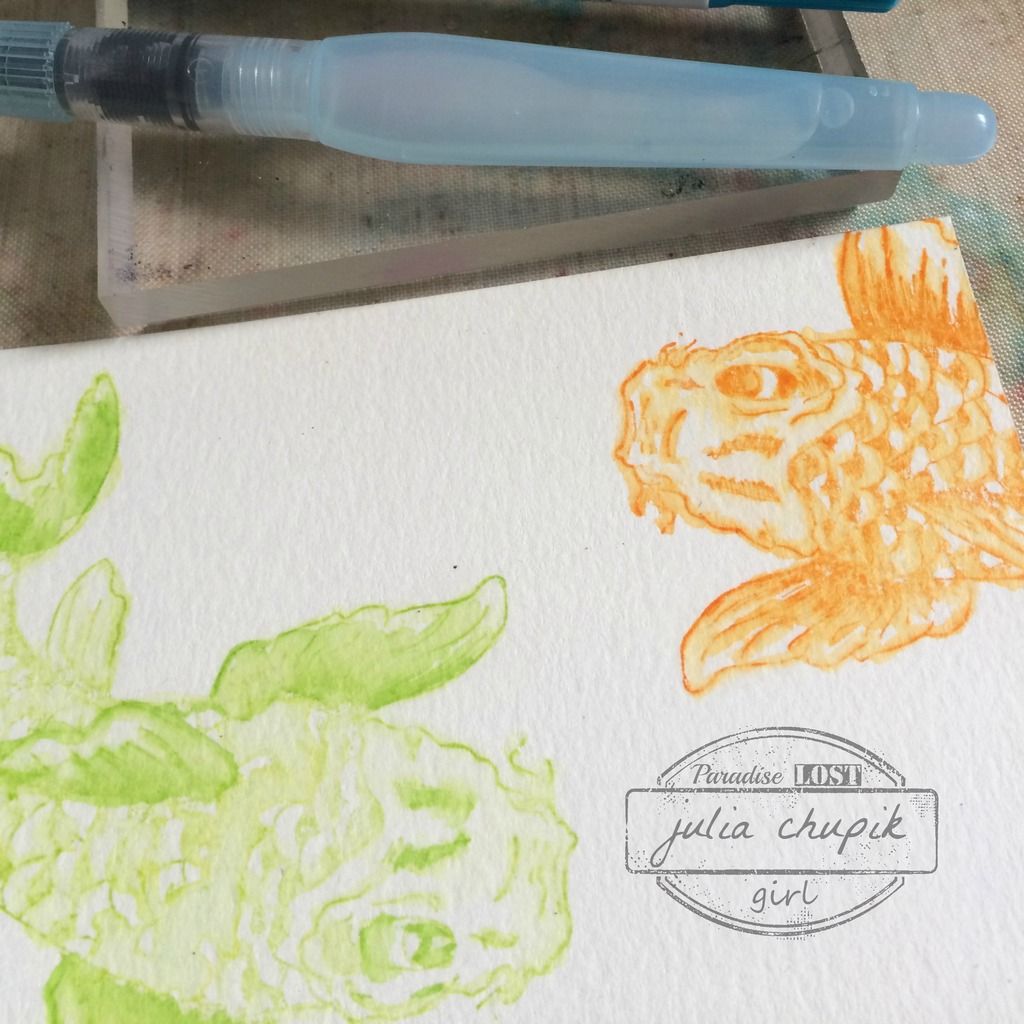
 Distress Ink Pads. Now it was time to grab the water brush and start blending.


It doesn't take much to get a beautiful watercolour effect and it's oh so simple & quick.
To get a bit more definition I took my Distress Markers in the same colours and added more colour to the fins before blending with water..

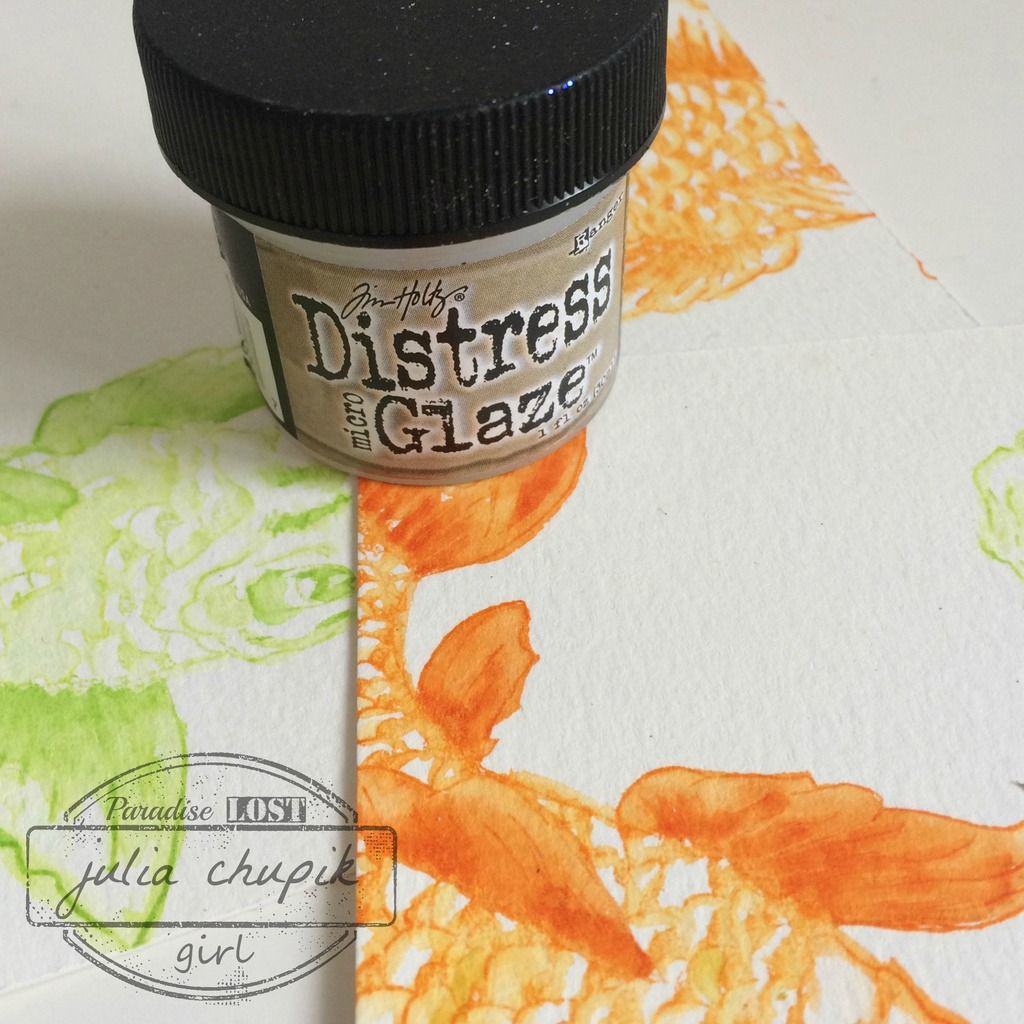
To protect my images before the next step I applied a layer of Distress Micro Glaze.

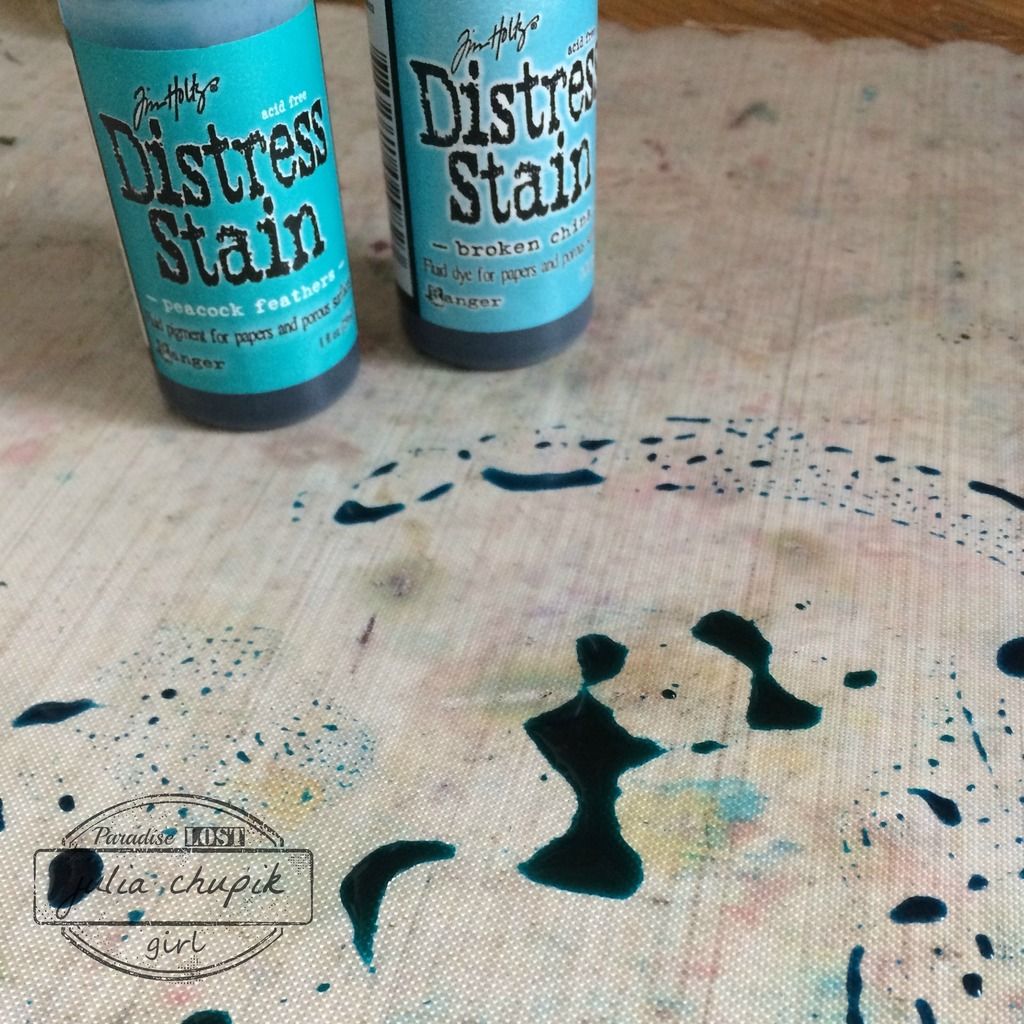
The final step was to swipe the paper through some Distress Stain for a water effect.

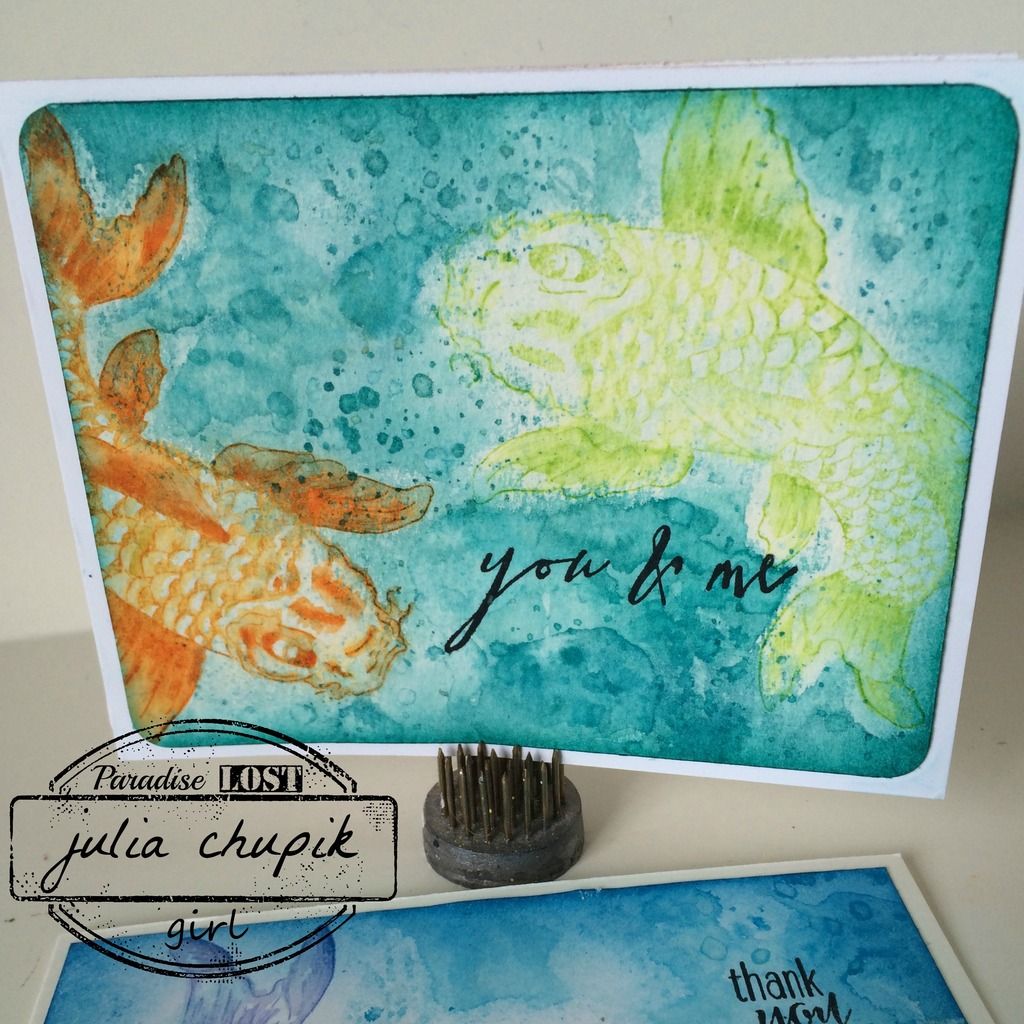
My completed card - I love the water droplets made with the stain.

Here is another card made using the same steps but this time when I applied the
Distress Micro Glaze I made sure to spread it a bit past the image. I wanted to have more a 'halo' effect when I applied the stain layer.

Thank you so much for visiting my blog today!

~~stay crafty~~

julia