Wednesday, 24 August 2016

Crazy about Crazy Dogs!

I was so excited to pick up my Crazy Dogs stamp set from Debbie's Scrap Shack last week 
& couldn't wait to make a few cards with them. 


I started by stamping my images with Versamark on to watermark paper &
embossed it with superfine black embossing powder.
. 

I coloured my images with Distress Markers and my water pen. I masked off
the image and sprinkled some Color Burst from Ken Oliver. A spritz of water and Bam! Those fantastic colours just pop! Gorgeous, right?
I love these! They create a fantastic background.

A sentiment stamp then adhered to my card base and I have a a quick & easy card!

Using the exact same techniques, I made 5 more cards.

Some I made with certain people in mind - just waiting for the perfect occasion. 


This stamp reminds me of my dog, Dakota. So I am sure I will use it the most.

This card explains my life everyday!


Friday, 19 August 2016

Technique Remix Time - August

I can't believe it's been a month since my last blog post! It's been a great summer but now it's time to get back in the craft room. Before I start working on Creative Chemistry 103 I wanted to get my tag for Tim's Technique Remix Challenge for August done. 

Check out Tim Holtz's Tag here.

Here is my take - I decided to go for a shabby garden look.

Before I did the Brayered Stain technique I stamped an image from the Mixed Media 2 stamp set from Stampers Anonymous. I used Old Paper Distress Paint to stamp it on to my tag.

I chose 3 Distress Stains to brayer on to my tag next - Victorian Velvet, Bundled Sage & Spun Sugar.

I just love how the Distress Paint stamped image resists the stain.

Before adding my elements I used my round blending tool to add some Bundled Sage Distress Ink to my tag. I forgot to take a photo of that step.

I used the Lattice Framework Die for the next technique. I die cut using chipboard for the main part and some pattern paper, cork & canvas for the insets. 


My flowers were made by layering two die cuts (one cardstock & one patterned paper) from the Tiny Tattered Florals set. I like the fuller look of the flower that this gives me.

I adhered a sentiment from the Casual Talk sticker pack before layering my Tint Tattered Floral over some Garden Greens die cut.

The theme for my take was inspired by the Shabby Garden Mood Board over at the Anything But Cute challenge blog. The mood board reminded of my grandma's garden on the farm but especially her lovely pink roses. 


Challenges Entered:


Thursday, 14 July 2016

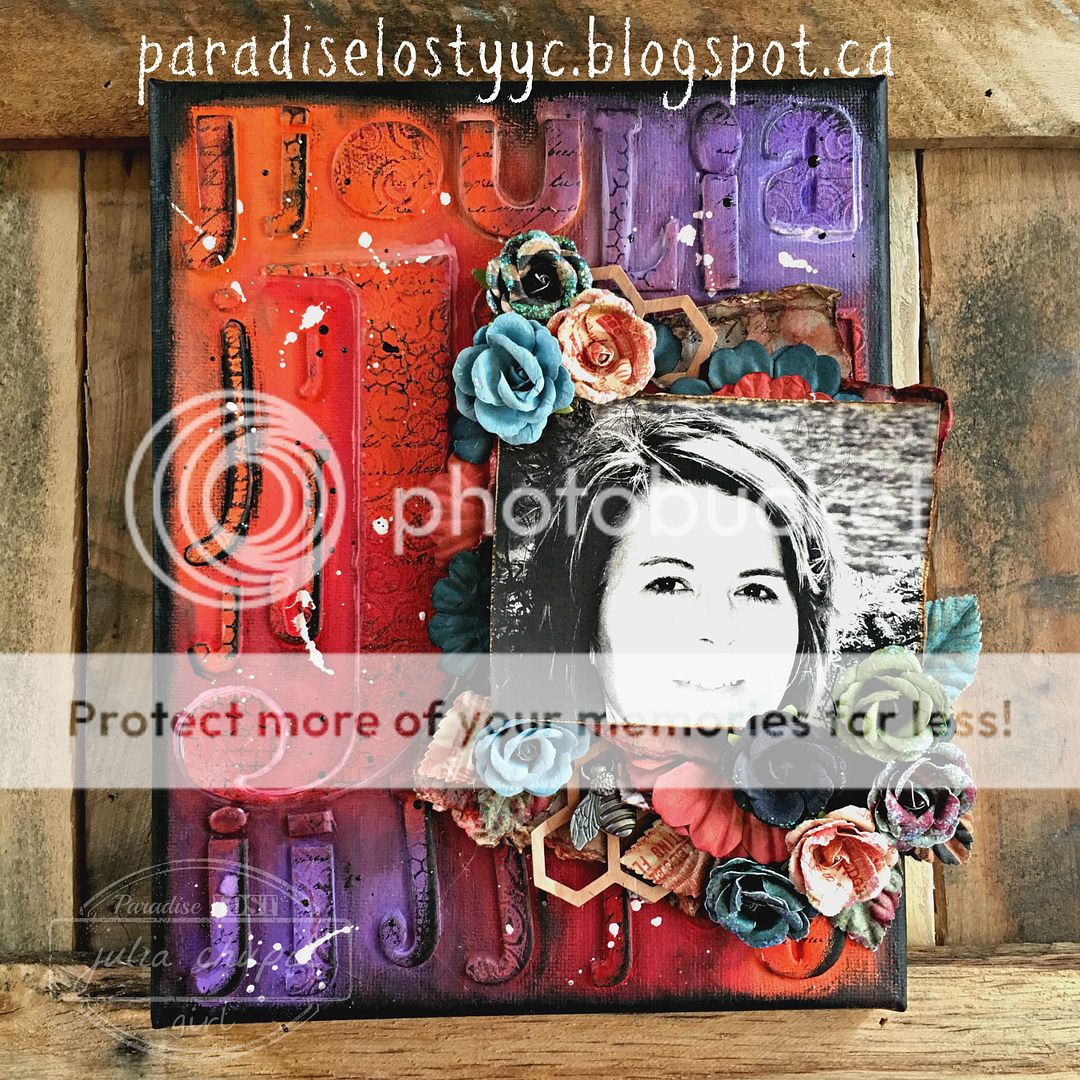
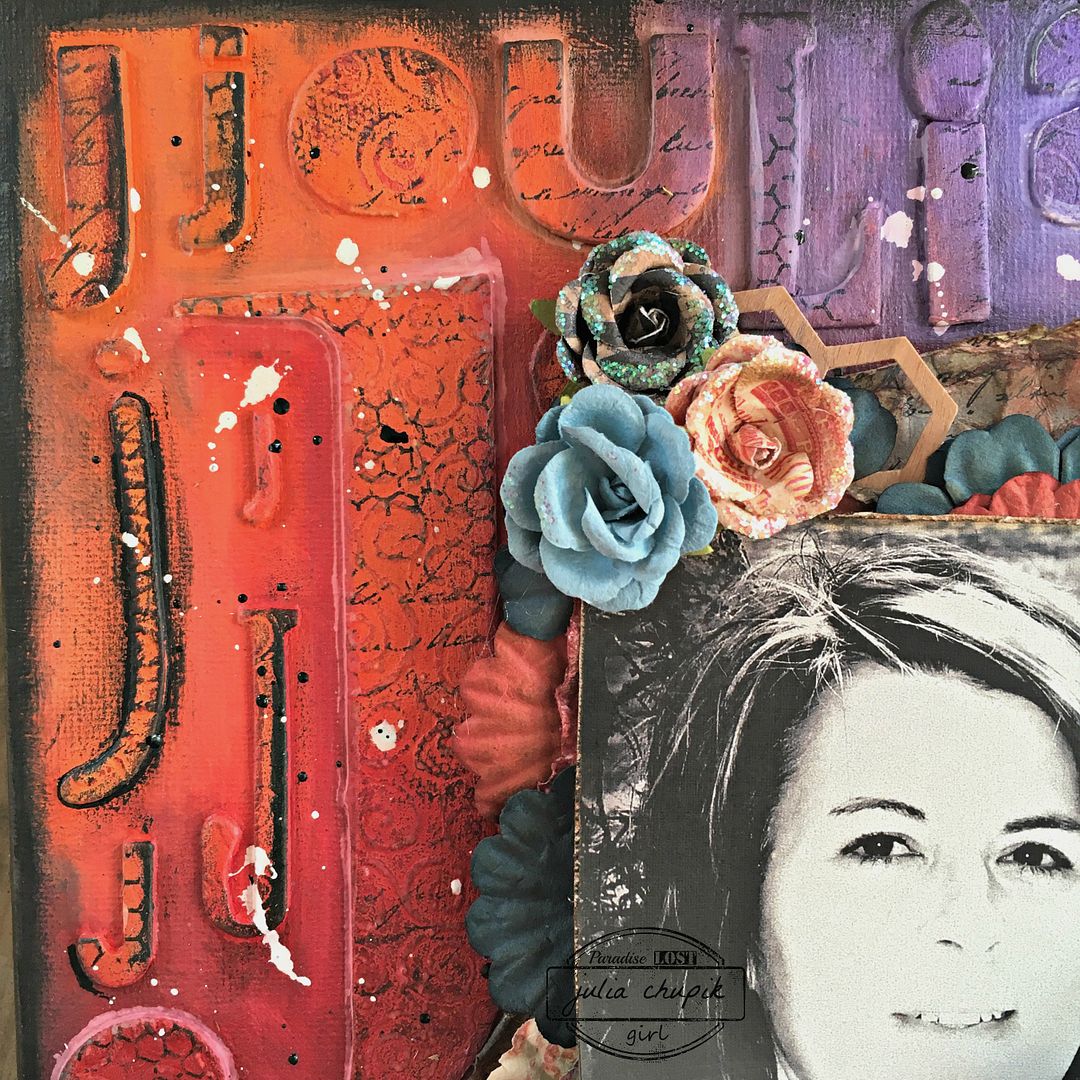
All The J's - any my final canvas in my family series

Well, this series of canvases have been a lot of fun to make.
It has also helped me use up A LOT of chipboard letters I have been hoarding in my stash.

This canvas features a recent photo of myself that my husband took during our last trip out to 
Lake Louise, Alberta.

Before we get to the process photos here is the finished canvas ~

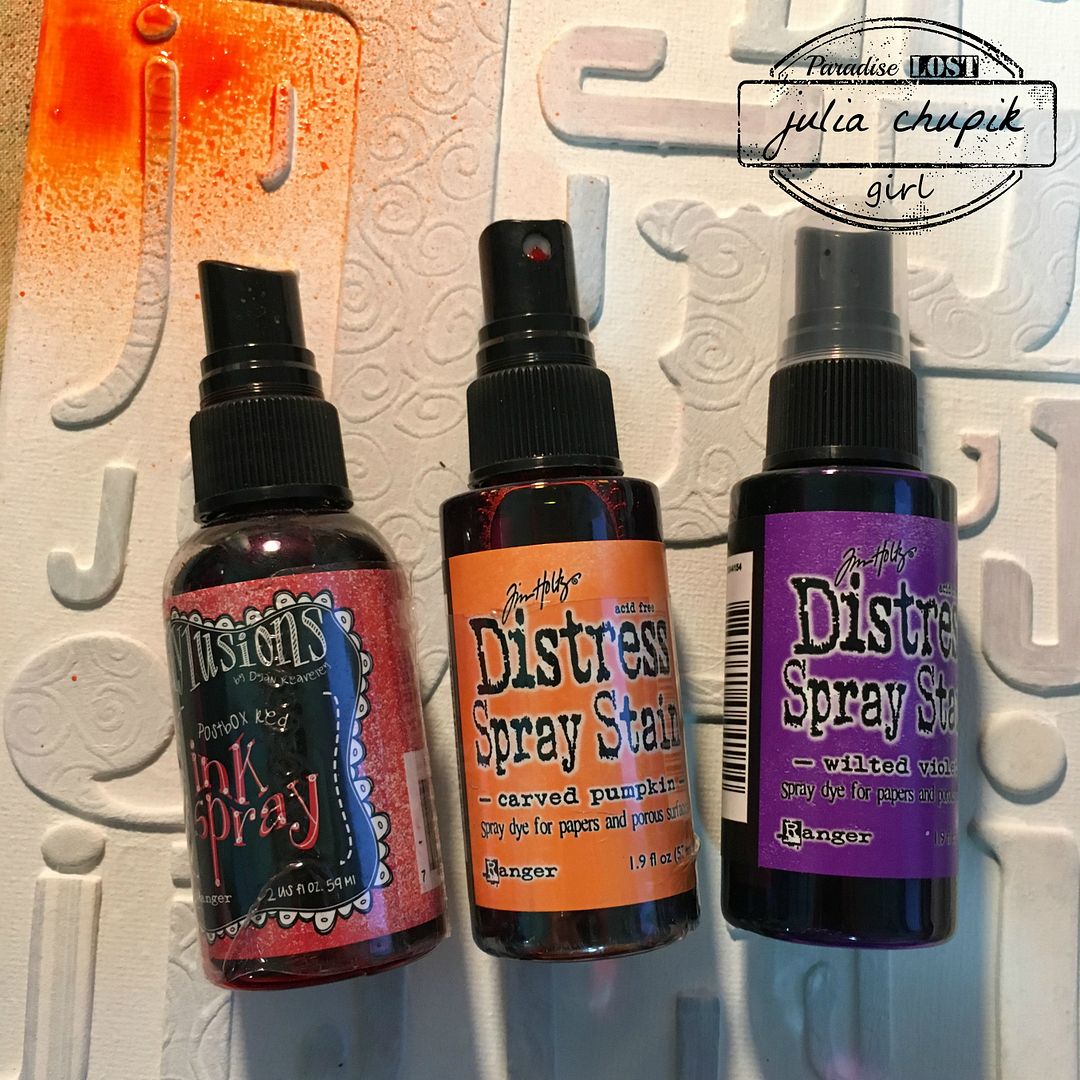
For this canvas I used Dylusions Ink Spray in Postbox Red and Distress Spray Stain in Carved Pumpkin & Wilted Violet.

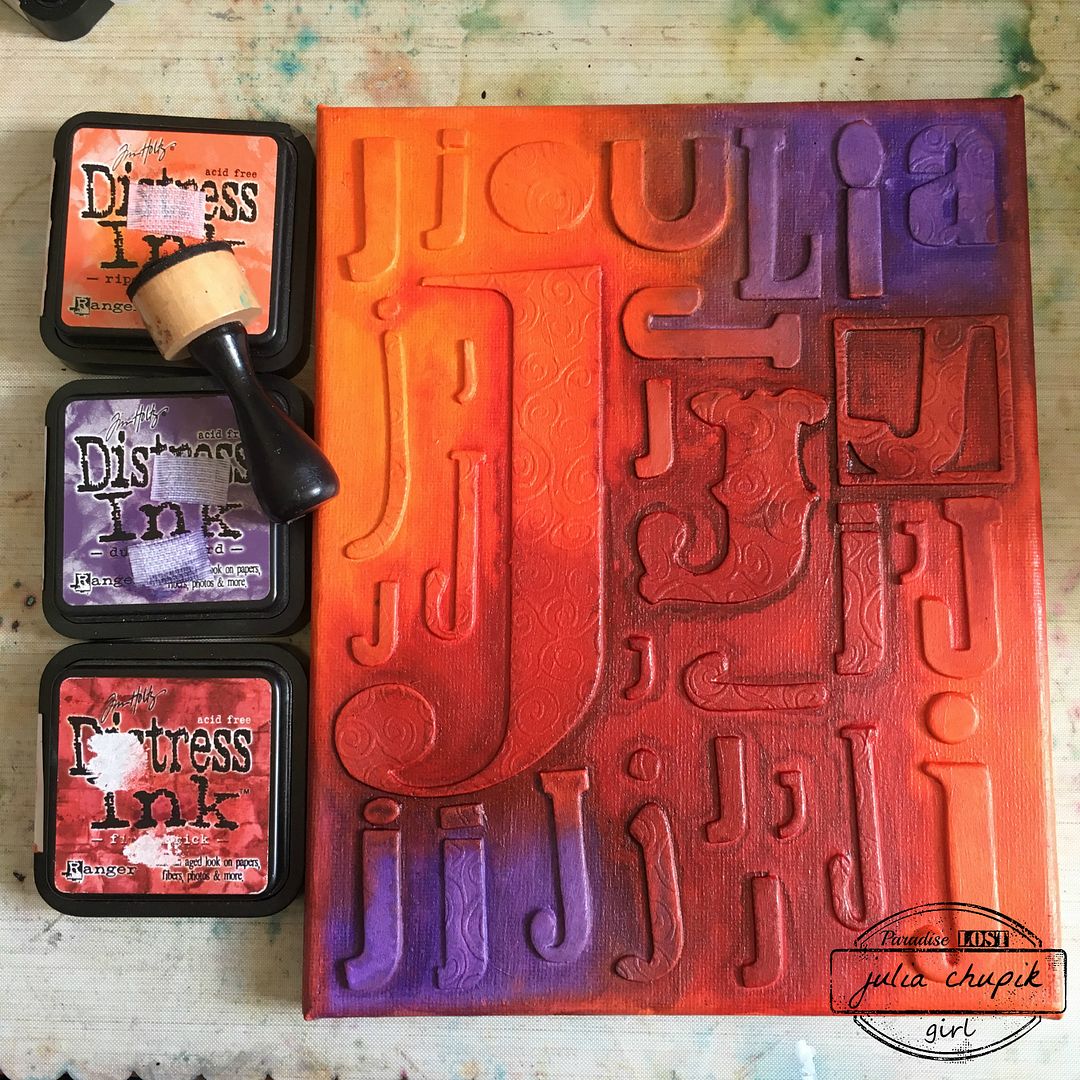
Once I was done with the sprays and dried the entire canvas with my heat tool - I starting applying Distress Ink with a blending tool.

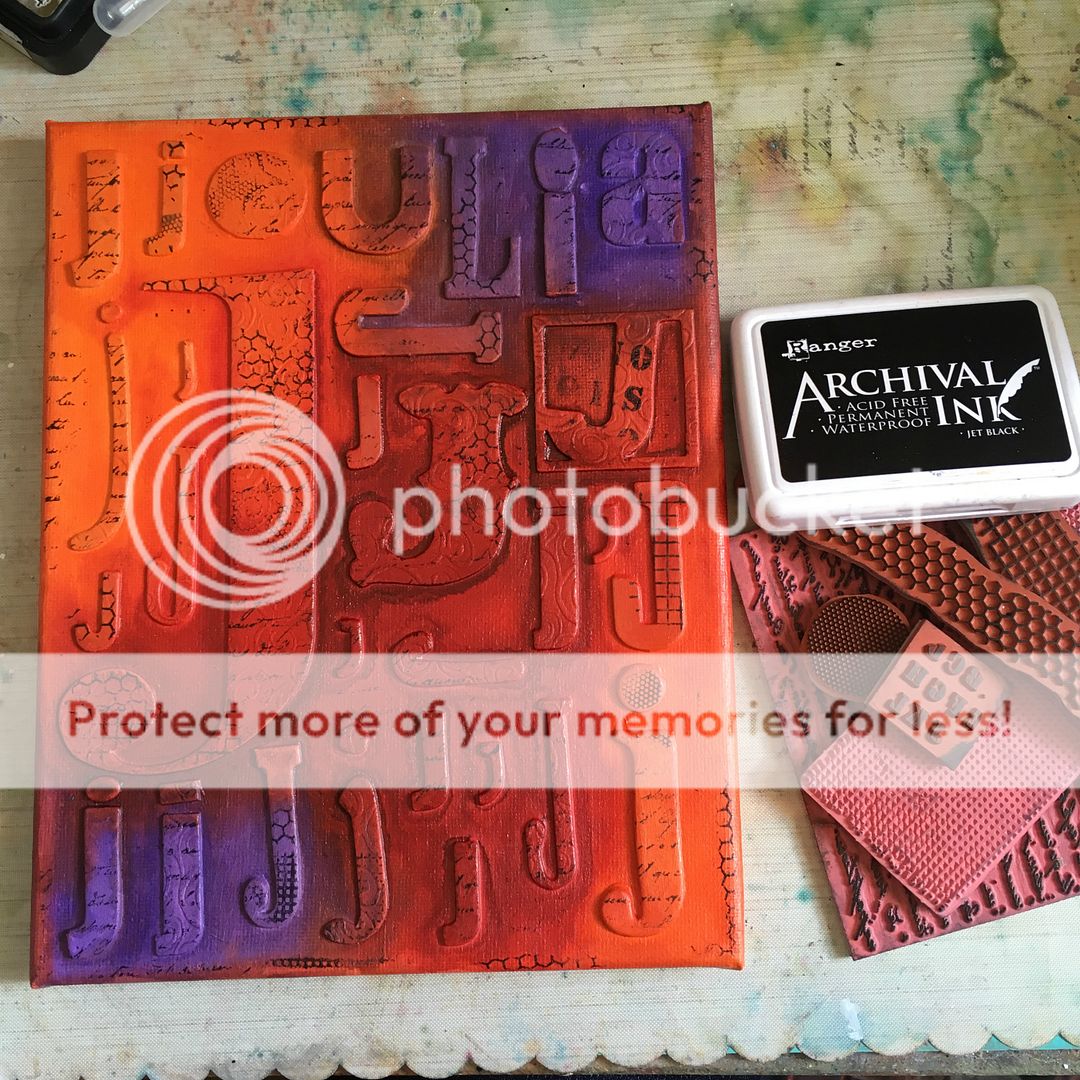
Next, it was time to apply some texture stamps with Archival Ink.

At this point, I took a small paint brush and gesso and painted the entire background leaving the letters. It helped blend the background colours and make the letter pop.
Unfortunately, I forgot to take a photo. Ooops.

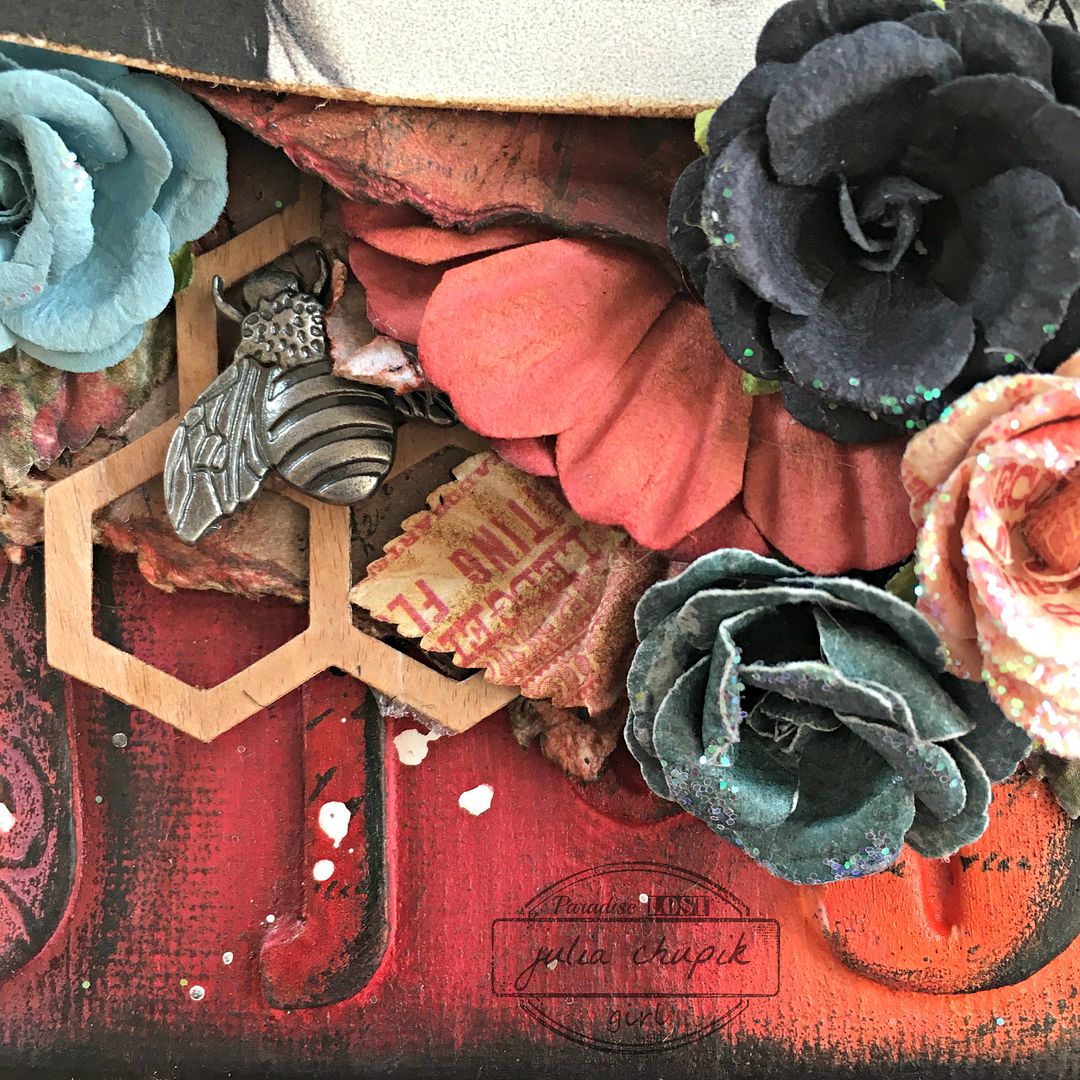
My focal point consisted of paper and flowers from the Prima Stationers Desk line.
They worked perfectly with the canvas. The metal bee embellishment was another stash find.