Showing posts with label Distress Spray. Show all posts

Friday, 7 October 2016

Thank you card for Coffee Lover

I needed a small, masculine Thank You card & gift card holder & decided that I just had to use my 


The Tim Horton's stamps pairs perfectly with the Fresh Brewed Die from Sizzix.
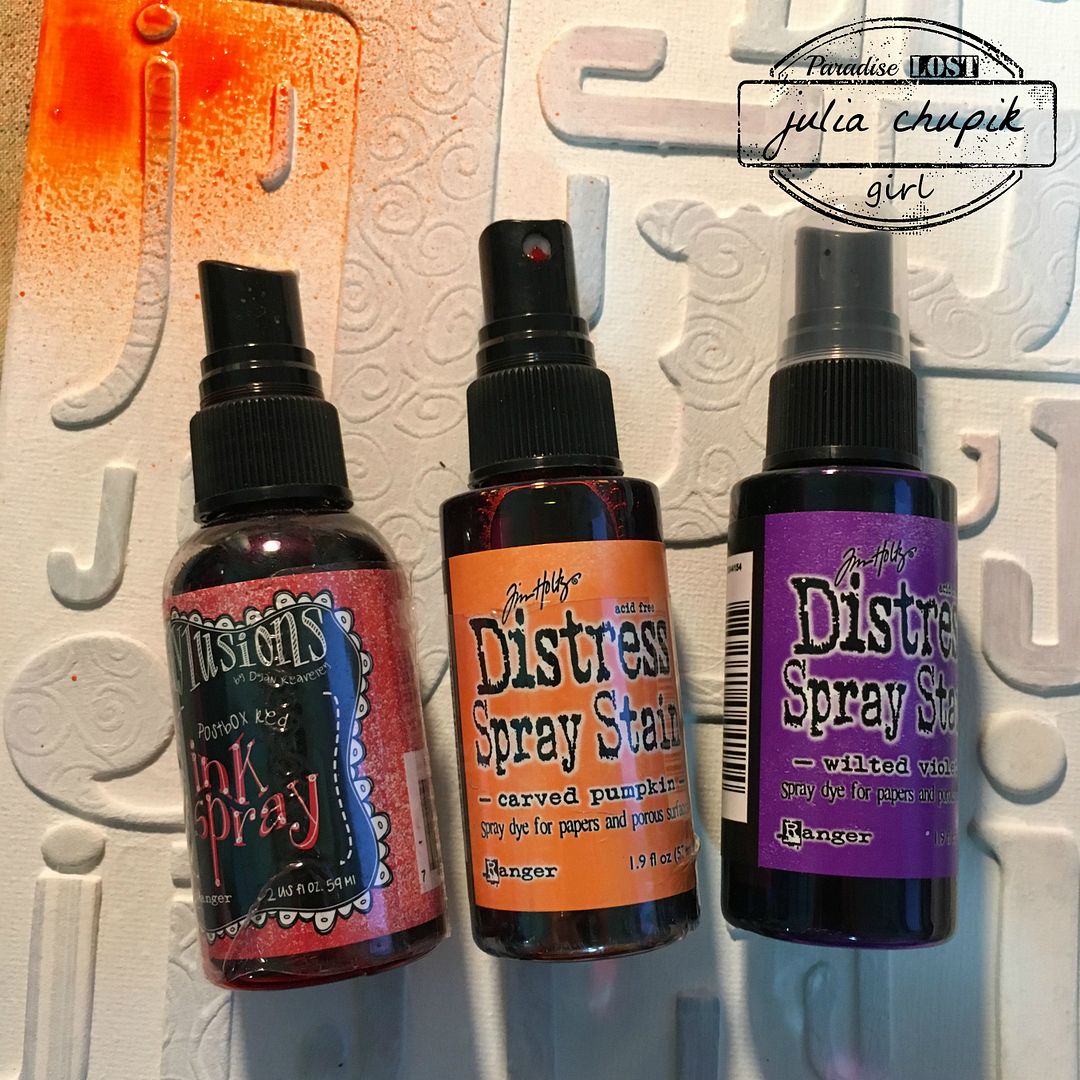
.I cut out my coffee cup in chipboard and sprayed it with Candied Apple Distress Spray Stain.

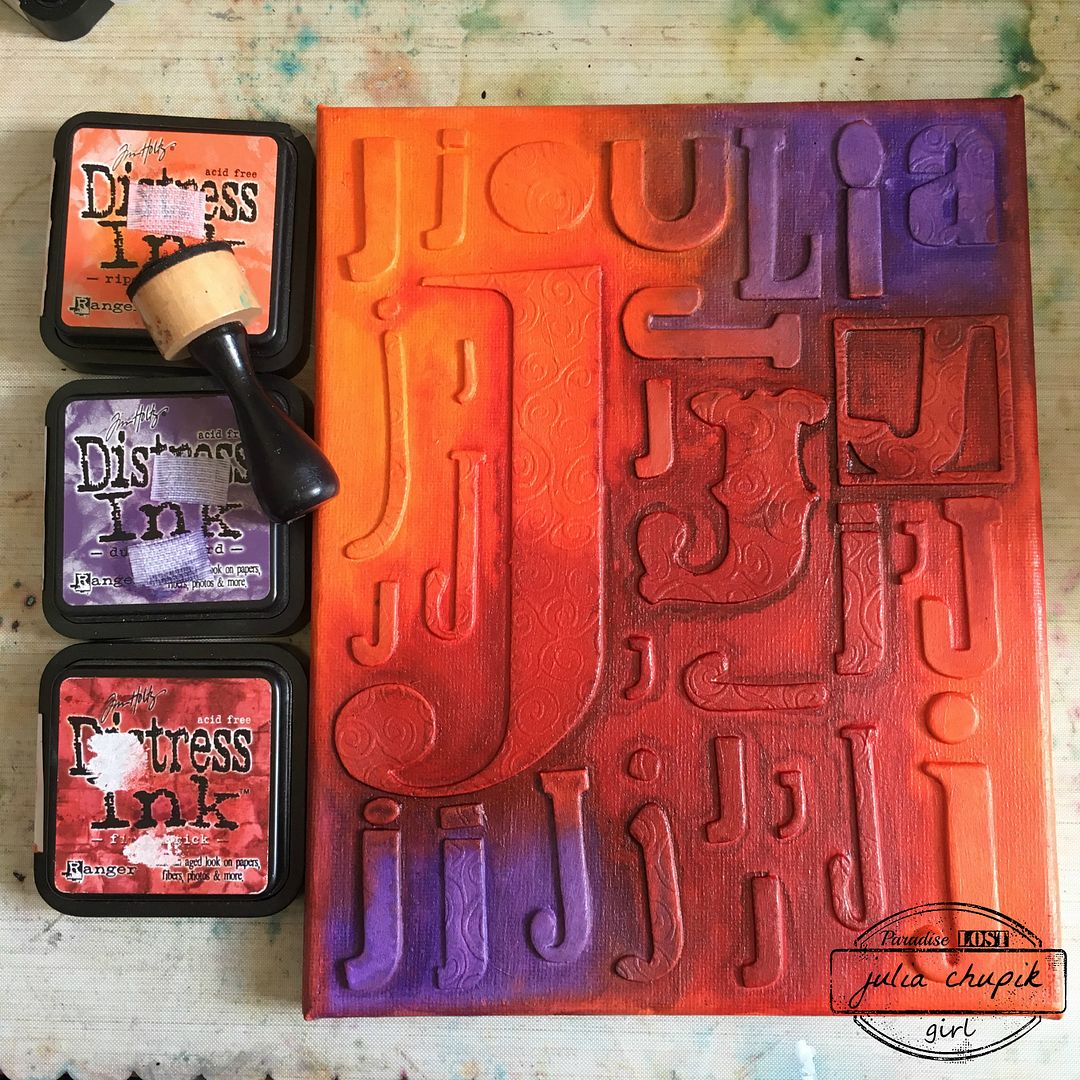
A layer of Fired Brick Distress Ink gave the cup extra depth.


The lid was sprayed with Ground Espresso Distress Spray Stain(of course) and inked with Walnut Stain Distress Ink. I stamped the logo with Fired Brick Distress Ink.

Next step was to make my kraft paper envelope using the Envelope Die from Sizzix.
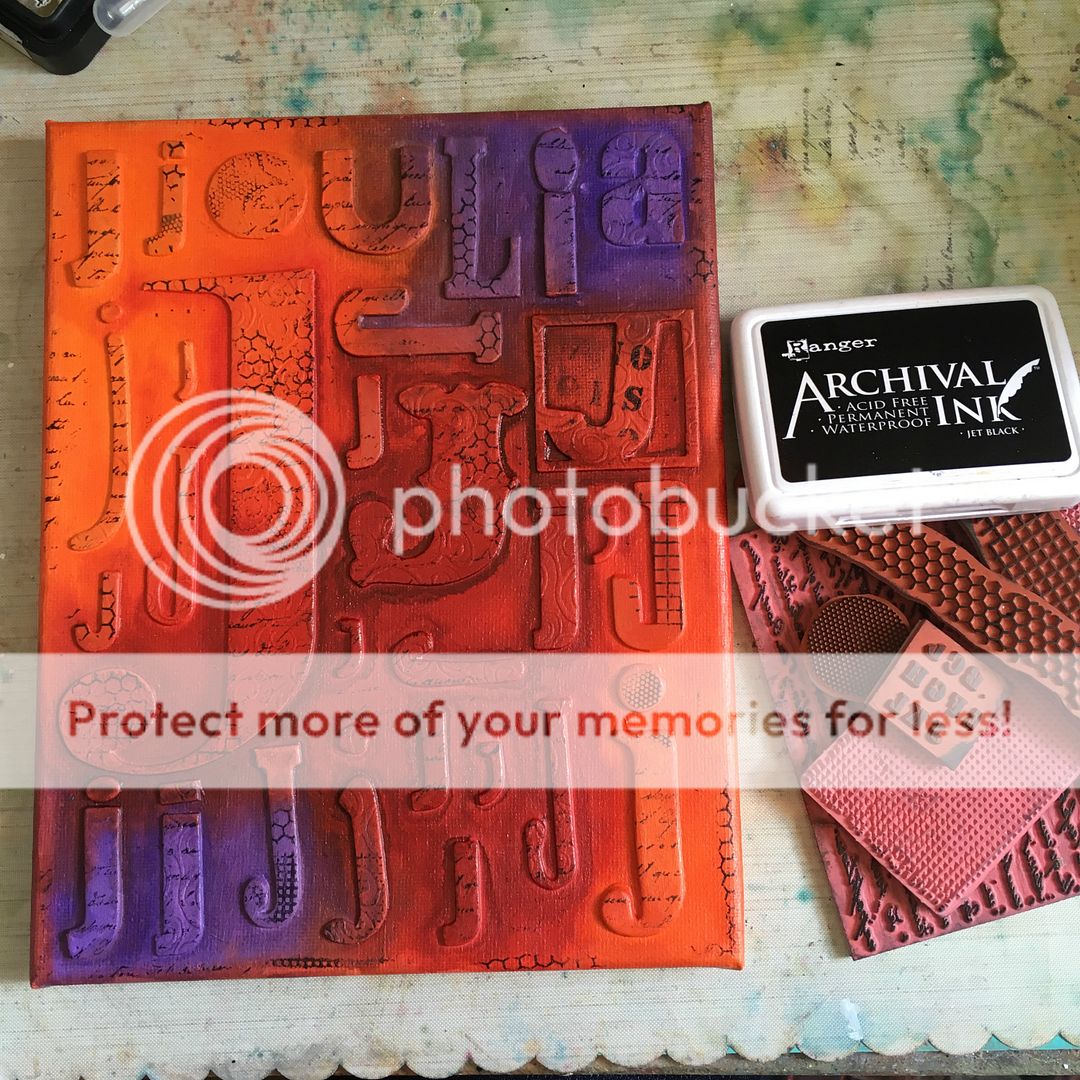
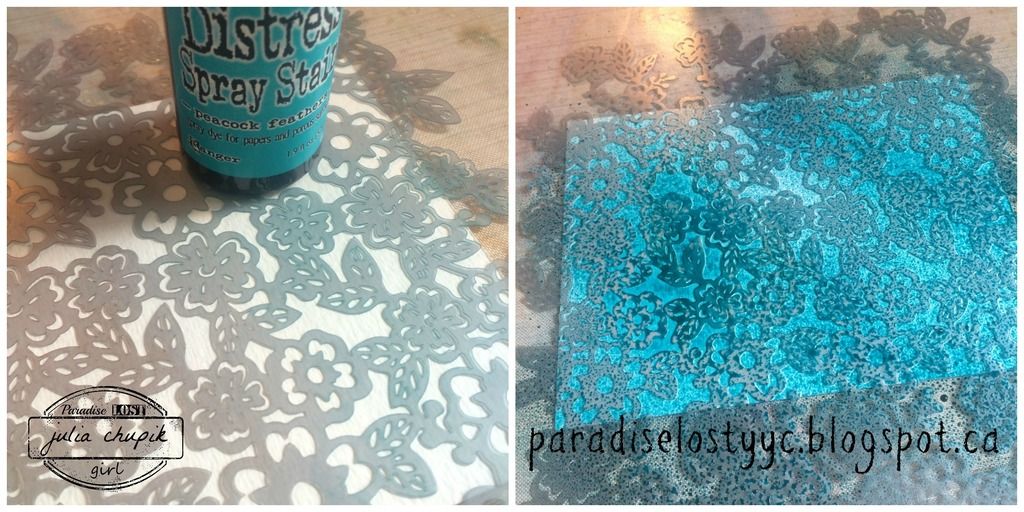
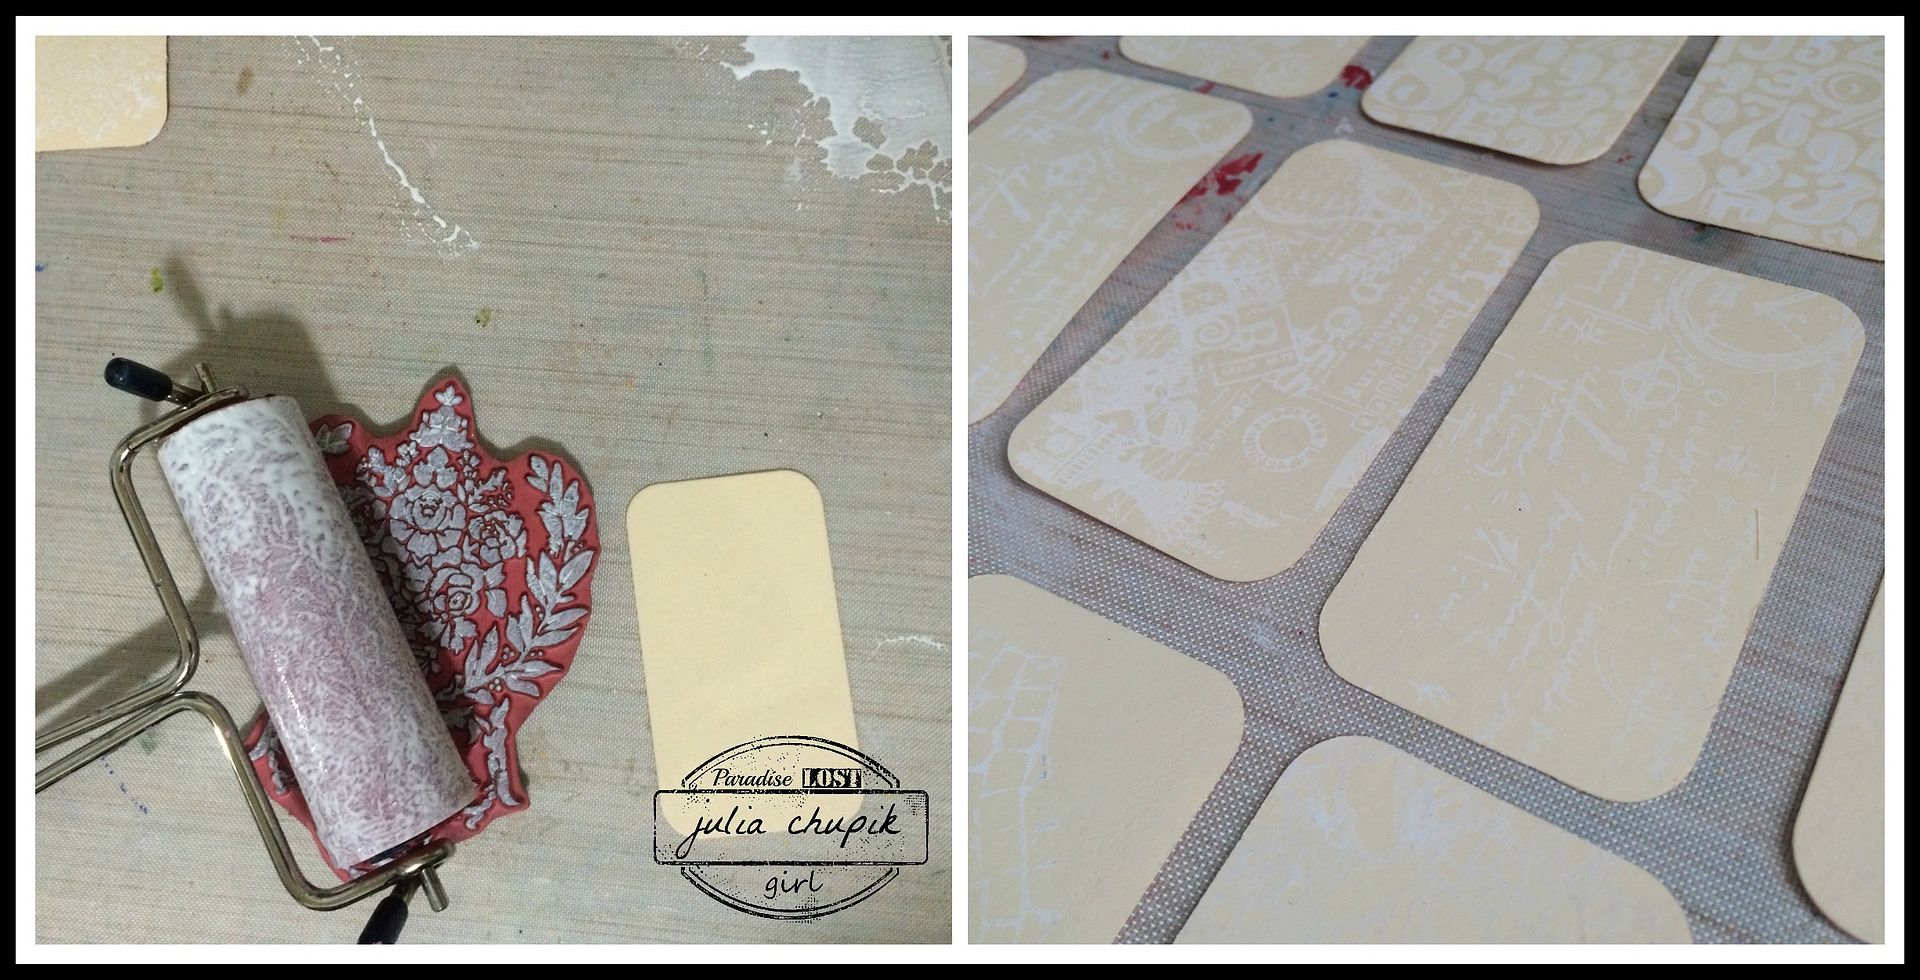
I used the Splatters Layering Stencil from Stampers Anonymous for the envelope.

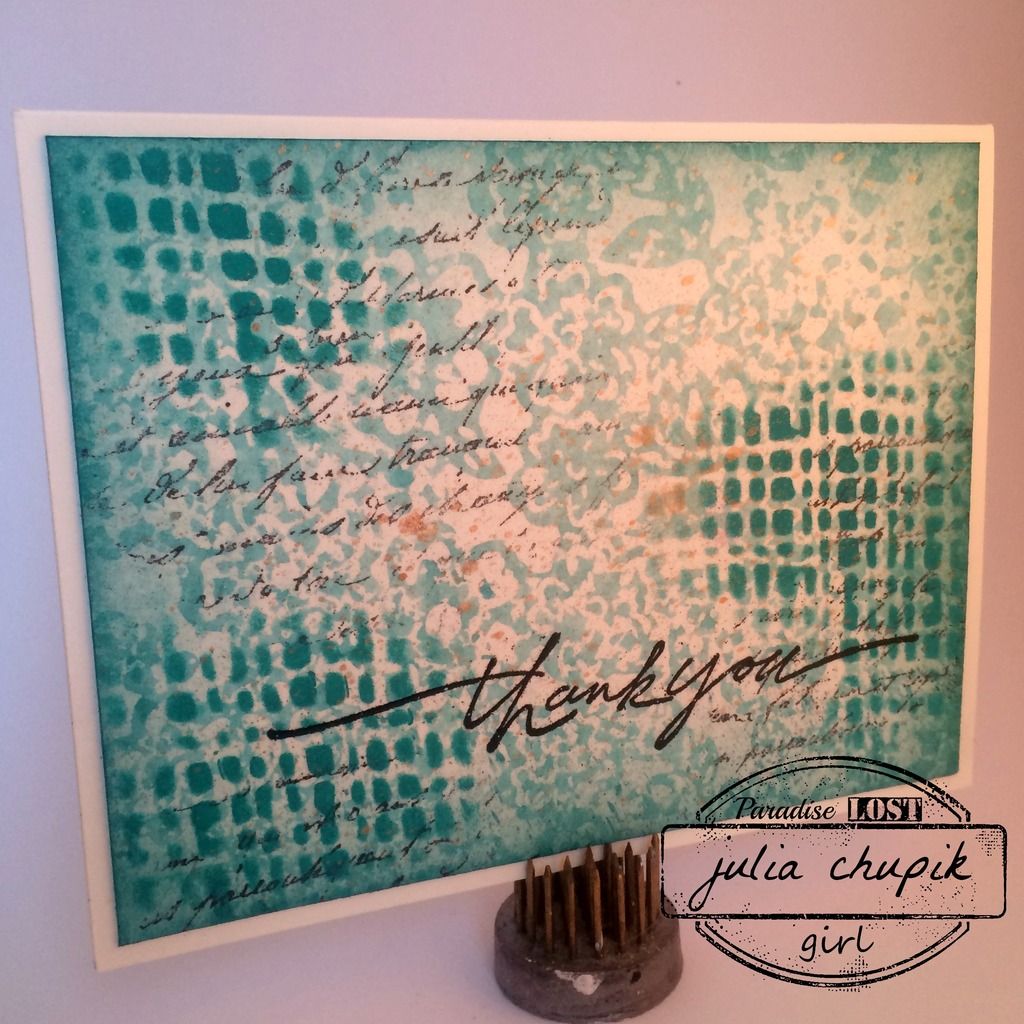
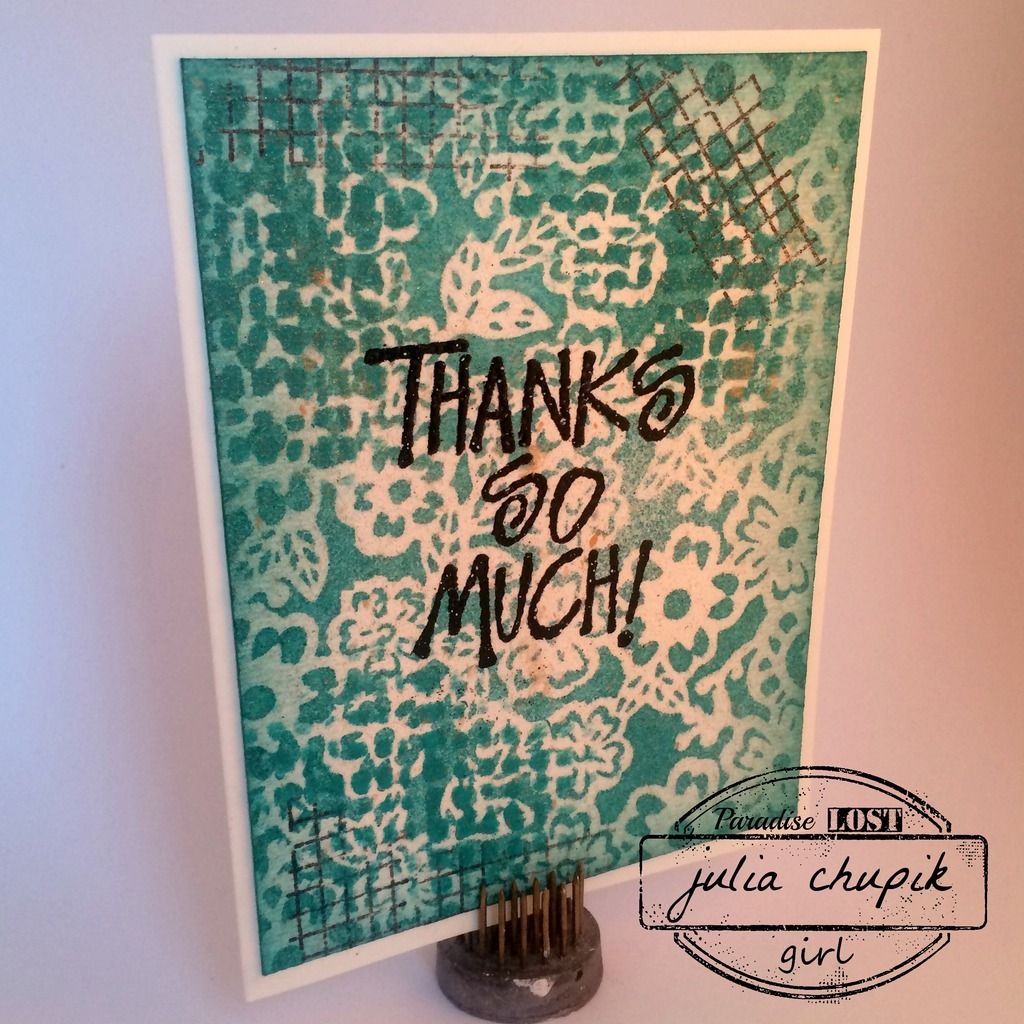
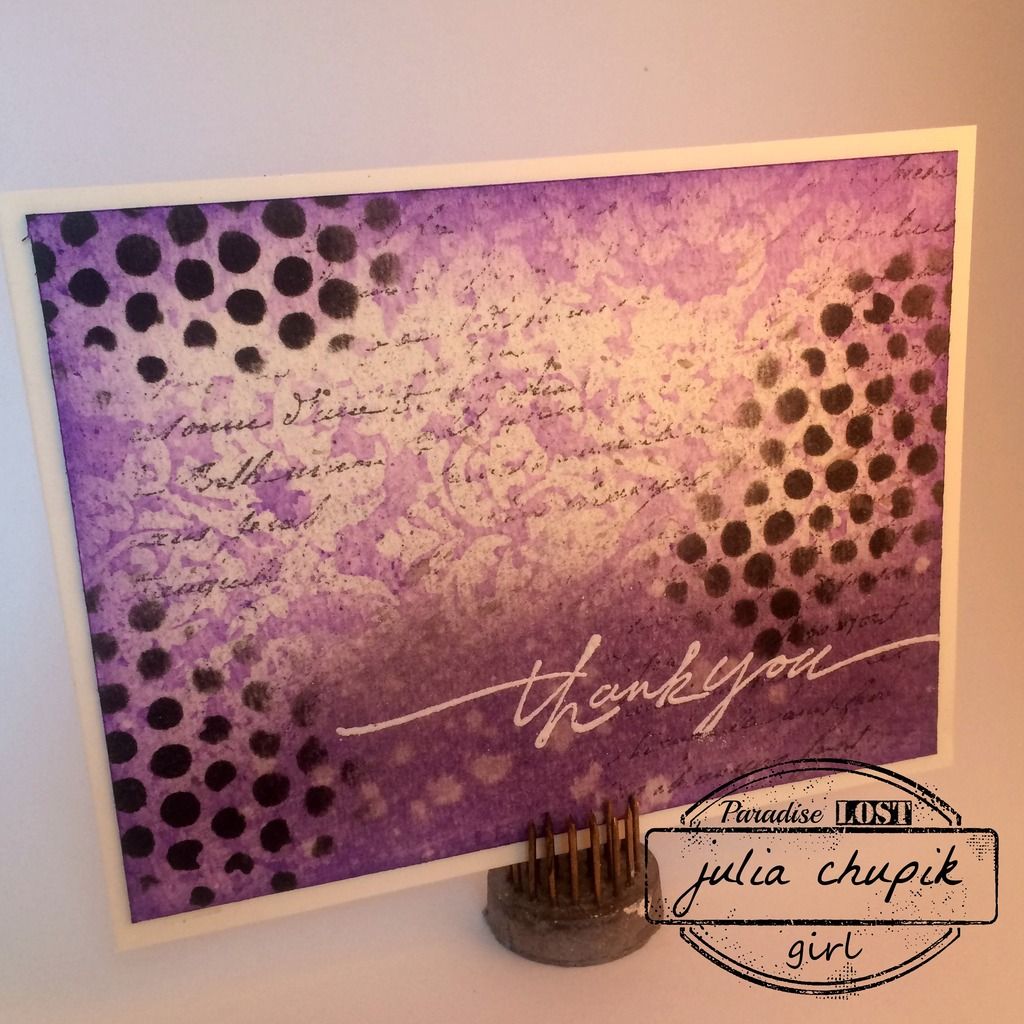
I made a small card just small enough to fit into the envelope and stamped the front with a bunch of different 'thank you' stamps from my stash.

There you have it - a perfect Thank you card & gift card holder for a Tim Horton's coffee lover.


Thursday, 14 July 2016

All The J's - any my final canvas in my family series

Well, this series of canvases have been a lot of fun to make.
It has also helped me use up A LOT of chipboard letters I have been hoarding in my stash.

This canvas features a recent photo of myself that my husband took during our last trip out to 
Lake Louise, Alberta.

Before we get to the process photos here is the finished canvas ~

For this canvas I used Dylusions Ink Spray in Postbox Red and Distress Spray Stain in Carved Pumpkin & Wilted Violet.

Once I was done with the sprays and dried the entire canvas with my heat tool - I starting applying Distress Ink with a blending tool.

Next, it was time to apply some texture stamps with Archival Ink.

At this point, I took a small paint brush and gesso and painted the entire background leaving the letters. It helped blend the background colours and make the letter pop.
Unfortunately, I forgot to take a photo. Ooops.

My focal point consisted of paper and flowers from the Prima Stationers Desk line.
They worked perfectly with the canvas. The metal bee embellishment was another stash find.


Wednesday, 11 May 2016

Many Thanks!

Ever since the weather turned nice I have had a hard time staying in my craft room.
I just want to be outside enjoying the sun, warm temps. My garden needed some well deserved attention and the patio was screaming for the planters to be filled with flowers.

I did manage to sit down and make a few Thank You cards for my daughter to give to her co-workers
at the lab she is finishing her practicum up at. It felt good to get messy & I may just find myself back in the craft room again today. It is delightfully sunny outside though. ;)

Here is one of the finished cards ~ you'll just have to stick around until the end of this post to see the other three.

I started with my favourite 140lb cold press watercolour paper,
Peacock Feathers Distress Spray & a floral stencil (Sorry, I have no idea what company it is from. Its an oldie but a goodie).

After spraying the stain I gave it a quick 2 spritzes of mist before flipping the stencil over onto a second piece of watercolour paper and rolling my paper towel over it.
I repeated the same technique on 2 more pieces of watercolour paper but used Wilted Violet
Distress Spray & Tim Holtz Gothic Layering Stencil.
I inked the edges of all the cards using the coordinating Distress Inks & my round blending tool
Next I added some random stamping before applying some Dylusion Paint through a stencil with some blending foam.
All that was left to do was to add my sentiment and emboss it with fine detail embossing powders.


Wednesday, 16 December 2015

It's the most wonderful time of the year....my Tim Tag for December

It really is the most wonderful time of the year!
I'm looking forward to spending time with kids who are both back 
home from college ~ we have plans to decorate the tree & bake cookies!
Before I pack up the car and head back to Calgary, I wanted to share my take on Tim's tag.

Here are my tag bases I did. I wasn't sure which one I was going with at first but I 
decided to save the lucky clover argyle one for another project.
The tree is from an old Sizzix die I had and I think its called Christmas Tree #2. That was going to be the base for my next technique.


This is the same technique Tim used to make his wreath except I used my Holiday Greens Thinlit dies to make my tree.
I added a sentiment from the Occasions Small Talk and some splattered Picket Fence Distress Paint along with a few alcohol inked stars and some jute along the edges.
Another finished tag for 2015!

I am already so excited for 2016 and looking forward to more wonderful inspiration from Tim Holtz!
I wish you a very Merry Christmas & a happy and crafty new year!

Thank you so much for popping by my blog today.
 I hope I was able to inspire you even just a little bit! 

~~stay crafty~~
julia

Monday, 23 November 2015

More Tim Holtz Inspired Tags


I loved Tim's techniques for his November tag that I decided to make a bunch of mini tags that I knew I would eventually need for gifts this year.

I started by die cutting my 15 mini tags out of a jumbo manila tag.
These are about 2"x 3" and I think this is a Spellbinders die.
I used a variety of Stampers Anonymous stamps for my backgrounds with Picket Fence Distress Paint applied with a brayer.
Now my favorite part - I love applying the Distress Sprays and seeing the 
how the paint resists the stain.

After applying Vintage Photo Distress Ink to the edges it was time to add the gold foil.
Finally after adding my watercoloured mini blueprint stamped images and
my tag were done!
I now have a bunch of tags ready to added to gifts this year!
I feel like I am one step closer to feeling organized.

Thanks for visiting my blog today!

~stay crafty~


Challenges Entered:
Anything But Cute: It's Ornamental
Mixed Media World: #9 Anything Goes 
Simon Says Wednesday Challenge: Anything Goes 
Tim Holtz: 12 Tags Of 2015 - November 
That Crafty Place: Anything Goes Mixed Media