Showing posts with label Canada. Show all posts

Wednesday, 14 February 2018

Love - A Valentines Day card created for Wild Whisper Designs

Hello and Happy Valentines Day! Here's wishing for a day full of love and crafting!

I am back on the Wild Whisper Designs Blog sharing a Valentines Day card I made for my husband. 
I used a couple of the pattern papers from the Classic Woodgrain Mini Collection. This paper is so versatile and can be used for so many projects and in so many different ways.

Here is link for the 12x12 mixed media layout I created last week using the same paper collection.

Here is a sneak peek of my project


For more details and to see the step-by-step video head on over to the Wild Whispers blog.


Wednesday, 8 November 2017

Out & About Travel Journal

Hello & welcome back!

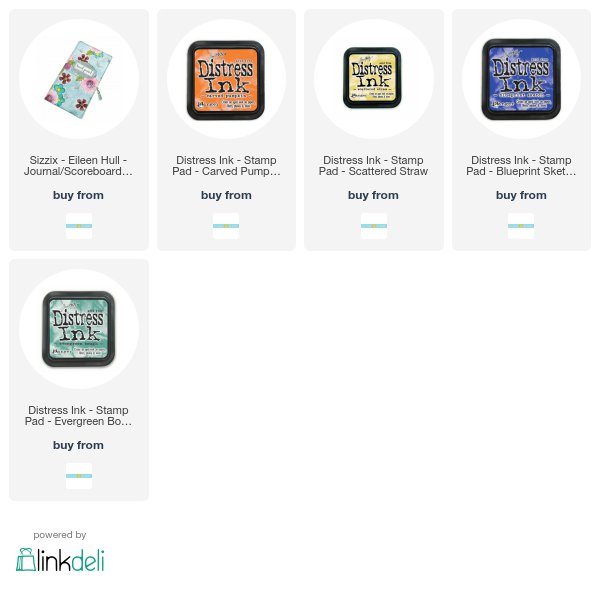
Today I am back with another journal made using the Eileen Hull XL Journal Die from Sizzix and my fave paper company - Wild Whisper.

The first journal I made was made using the Strong & Free line from Wild Whisper.

This new journal is made using the Out & About paper line - perfect for a travel bullet journal.

The paper packs include 6 12x12 double-sided patterned paper. Just enough to cover the inside & outside covers of your journal plus to make the covers for 4 journal insert booklets. 
I used the paper scraps to make pockets to hold journal cards.

I used the coordinating stamp set to add some stamping to the journal pages 


I love how this journal turned out and can't wait to take it on my future trips.


Products Used:

Wild Whisper


------------


Friday, 29 September 2017

The Jimmy Journal

Welcome back!
It has been a very eventful week around here. 
I was very excited to have been asked by Sandy from Scrap Shotz to do a demo during the Great Canadian Scrapbook Carnival. It was a fun weekend hanging out with crafty folks.

Eileen Hull was a special guest and I was thrilled to meet her and see Scotty in real life. During the show I spotted Flat Jimmy Fallon in Eileen's cart and decided to abduct him. With the help of Nicole Wright we took Jimmy around the show floor taking photos. 

This is where my idea for the Jimmy Journal began.
Of course, I had to the Eileen Hull Journal Die from Sizzix and the Strong & Free paper line and wood veneers from Wild Whisper.


I was able to give the Jimmy Journal to Eileen at the Journal 101 class she taught at Scrapendipity.
She loved it!

Products used: 


Friday, 8 September 2017

Stamptember Blog Hop with Scrap 'N Stamp

Welcome back! I am so excited to be back as a guest designer for 
Scrap N Stamp's September Blog Hop.

This month Scrap N Stamp is featuring
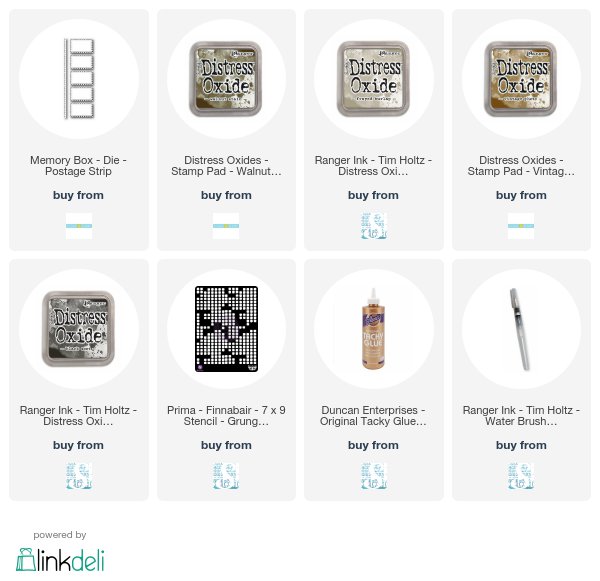
The Postage Strip Die from Memory Box.
This is such a fabulous and versatile die that can be used in so many ways!

Here is my finished project - a vintage photo inspired 5 sided frame.

The 5-sided frame came from a project my dad was working on. I knew I would use it some day but was waiting for inspiration. To make the insert for the frame I first took a piece of 12x12 chipboard and cut it to fit my frame. I then used natural canvas and Aileens Tacky Glue to adhere it to the chipboard. This took a couple of days to dry completely.
Once it was dry, I applied a layer of white gesso to seal the canvas.

Next I took a couple of stencils: Prima Grungy Grid and Stencil Girl Encouraging Scribbles and used these with  molding paste to create my focal point.
I painted the entire surface with vintage white acrylic paint once the molding paste was dry.

To start adding some colour to my canvas, I took some cheap acrylic paint I bought at the dollar store in blues, greens and browns. I added the blue and green paints with a brush then sprayed them water, letting the drip over my stenciled images. Next I added the brown by dry brushing along the edges and splattering some across the canvas.

The help the raised parts stand out a little more I used some Distress Oxides: Frayed Burlap; Walnut Stain; Vintage Photo and Black Soot. I 'painted' the Oxides over the stenciled areas to help them pop off the background. 

Next I collected some ephemera: vintage photos,  post card, book page, ration stamps, lace doily and a Wildflower Bouquet chipboard die from Southern Ridge Trading Co.
I used the Postage Strip die from Memory Box to die cut out 6 pieces from my vintage postcard and painted the Wildflower Bouquet die with some black acrylic paint.

 I began to assemble these pieces into my focal point. Before using the postage stamp die cut I did use some Distress Oxides to grunge them up a bit. After I got everything adhered down I decided that the black Wildflower Bouquet was a bit much - so I gently dry brushed some light brown acrylic paint over it It was just enough to help the flower die blend a bit into the background.

Here is my finished project again.
Check out some more inspiration from the
Guest Designer Team.


Sunday, 3 September 2017

Scrap Shotz September Kit Reveal

Hello! Welcome to the September Kit reveal!
Today is my first project for Scrap Shotz using the September Kit and add-ons.
 These kits are fabulous and bursting with wonderful goodies.

September's kit features the Transatlantic Travel paper from Carta Bella. 

The design team is using a page sketch from Stuck?! Sketches

Here is my take on the sketch using the September Scrapbook Kit.

I created a mixed media layout  - first I choose a pattern paper from the kit and used matte medium to adhere is to piece of chip board. *Full Disclosure - I don't do a lot of scrapbooking so when I create a layout like this it will usually be framed and hung up in my house - thats why I use the chipboard**
I cover the front of the paper with matte medium and let it dry completely.

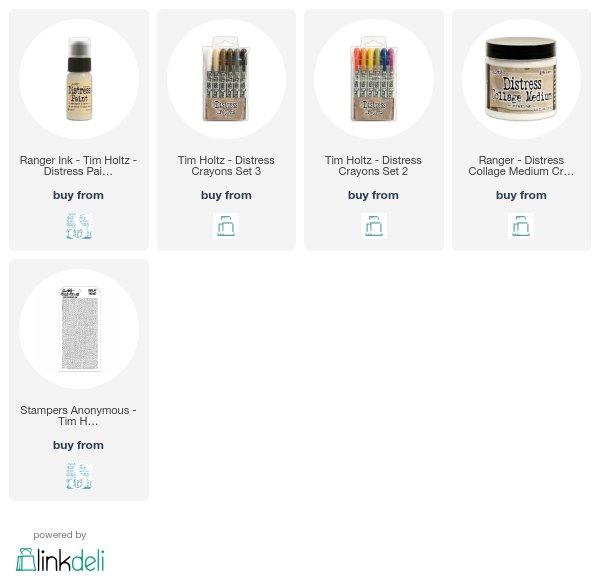
When this was done I took some Distress Crayons and applied these through a stencil on to my background.  

Next, I took a palette knife and applied Distress Crazing Medium over my entire page leaving some areas thicker than other. This gave me larger crazing in spots. I left this to dry overnight.

I took my Black Soot and Walnut Stain Distress Crayons and went over the areas with the larger cracks to highlight them. Being sure to get the crayons in the cracks before wiping off the excess.
To create my focal point I used various ephemera from the kit along with 2 photos from my stash.

To create the 'O' in the word Explore I used this cute new stamp from Emerald Creek Craft Supplies.

This stamp is brand new and will be available from Scrap Shotz in September and is included in the September Kit.


BONUS PROJECT:
I was having so much fun creating with this kit that I created another mixed media home decor item.
This time I used a small Etcetera Tag as my substrate.


Be sure to check out the Scrap Shotz blog for even more September Kit inspiration from the Design Team.