Showing posts with label Ephemera. Show all posts

Friday, 8 September 2017

Stamptember Blog Hop with Scrap 'N Stamp

Welcome back! I am so excited to be back as a guest designer for 
Scrap N Stamp's September Blog Hop.

This month Scrap N Stamp is featuring
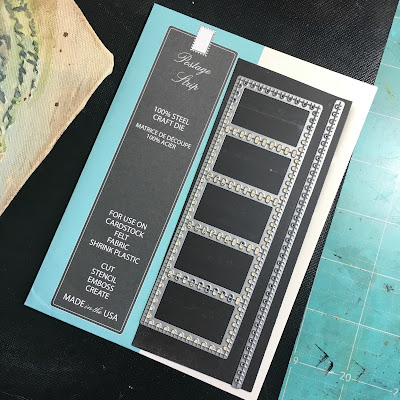
The Postage Strip Die from Memory Box.
This is such a fabulous and versatile die that can be used in so many ways!
Here is my finished project - a vintage photo inspired 5 sided frame.

The 5-sided frame came from a project my dad was working on. I knew I would use it some day but was waiting for inspiration. To make the insert for the frame I first took a piece of 12x12 chipboard and cut it to fit my frame. I then used natural canvas and Aileens Tacky Glue to adhere it to the chipboard. This took a couple of days to dry completely.
Once it was dry, I applied a layer of white gesso to seal the canvas.

Next I took a couple of stencils: Prima Grungy Grid and Stencil Girl Encouraging Scribbles and used these with  molding paste to create my focal point.
I painted the entire surface with vintage white acrylic paint once the molding paste was dry.

To start adding some colour to my canvas, I took some cheap acrylic paint I bought at the dollar store in blues, greens and browns. I added the blue and green paints with a brush then sprayed them water, letting the drip over my stenciled images. Next I added the brown by dry brushing along the edges and splattering some across the canvas.

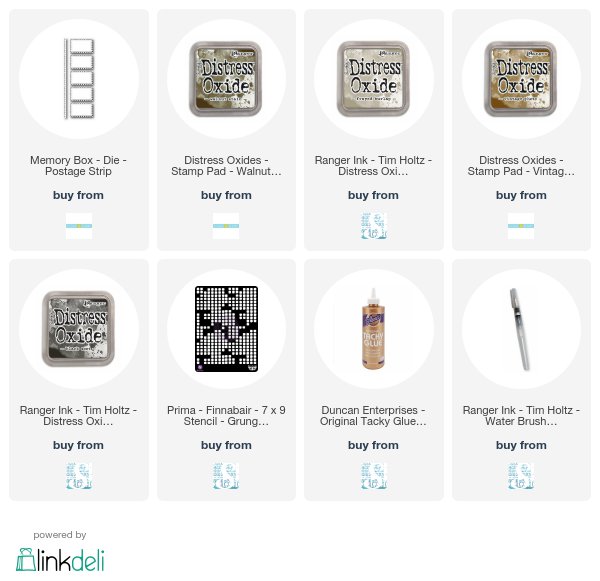
The help the raised parts stand out a little more I used some Distress Oxides: Frayed Burlap; Walnut Stain; Vintage Photo and Black Soot. I 'painted' the Oxides over the stenciled areas to help them pop off the background. 

Next I collected some ephemera: vintage photos,  post card, book page, ration stamps, lace doily and a Wildflower Bouquet chipboard die from Southern Ridge Trading Co.
I used the Postage Strip die from Memory Box to die cut out 6 pieces from my vintage postcard and painted the Wildflower Bouquet die with some black acrylic paint.

 I began to assemble these pieces into my focal point. Before using the postage stamp die cut I did use some Distress Oxides to grunge them up a bit. After I got everything adhered down I decided that the black Wildflower Bouquet was a bit much - so I gently dry brushed some light brown acrylic paint over it It was just enough to help the flower die blend a bit into the background.

Here is my finished project again.
Check out some more inspiration from the
Guest Designer Team.


Thursday, 21 April 2016

Emerald Creek Dares - It's A Charmed Life

It's time for the next challenge at Emerald Creek Dares - and this one features the wonderful charms from Emerald Creek Craft Supplies. Kim has a fantastic selection of charms available at her online store. 

This will be my final Design Team post for Emerald Creek ~ I have enjoyed working with Kim & her amazing line of embossing powders, charms & stamps over the last 8 months. Check out the Design Team Call on the Emerald Creek Dares blog if you would like to join this fabulous Canadian design team!

Now on to my project - I created a vintage look canvas.
I started with a flat 8x10 canvas and using matte medium glued down scraps of patterned paper from the Emporium Of Curosities Mixed Media Paper Pack from IndigoBlu.
Next I applied molding paste through the Flourish & Harlequin Layering stencils form Tim Holtz/Sizzix. I also applied DecoArt Crackle Paste with a palette knife.
After my canvas was completely dry I sprayed it with Dylusions Ink Sprays - Ground Coffee & Postbox Red. 
Still using the Emporium Of Curiosities Paper Pack from IndigoBlu, I placed paper pieces that I inked and distressed. This was going to begin forming my centre focal point.
The flowers were made using paper from the same paper pack and the Jumbo Tattered Foral die from Sizzix. Each flower is made of 6 layers of paper that I sprayed with water and scrunched up before fixing together with a brad.
The greenery is chipboard cut from the Garden Greens Die from Sizzix. I painted it with Peeled Paint Distress Paint. I then randomly stamped  a script stamp over the painted chipboard before covering  the pieces with the new Crazing Collage Medium from Ranger. I absolutely love the crackle finish the crazing medium leaves when it dries.
To add a bit more grunge I added some Burnt Copper Leaves Embossing Powder by first 'painting' on some matte medium over the edges of my canvas then sprinkling on the embossing powder. I let the this dry before heat embossing the powder.
A couple of Copper Filligree Leaf Charms from Emerald Creek perfectly finished off my floral focal point. A couple of vintage photos added to my canvas and I was done!

Now check out the rest of the design team projects for some more amazing inspiration then head over to the blog to share your 'Charming' projects with us for a chance to win!


Products used:

Emporium Of Curiosities Mixed Media Paper Pack - IndigoBlu
DecoArt Crackle Paste
Crazing College Medium - Ranger
Molding Paste
Layering Stencils - Harlequin, Flourish
Doily Die - Sizzix
Jumbo Tattered Florals Die - Sizzix
Garden Greens Die - Sizzix
Dylusions Ink Sprays - Ground Coffee, PostBox Red
8x10 canvas - Dollar Store


Wednesday, 18 November 2015

My Tim Tag ~ November 2015

It's beginning to look a lot like Christmas.....or winter at least and I am ready to take on Tim's tag for November. Check out his tag tutorial here. 

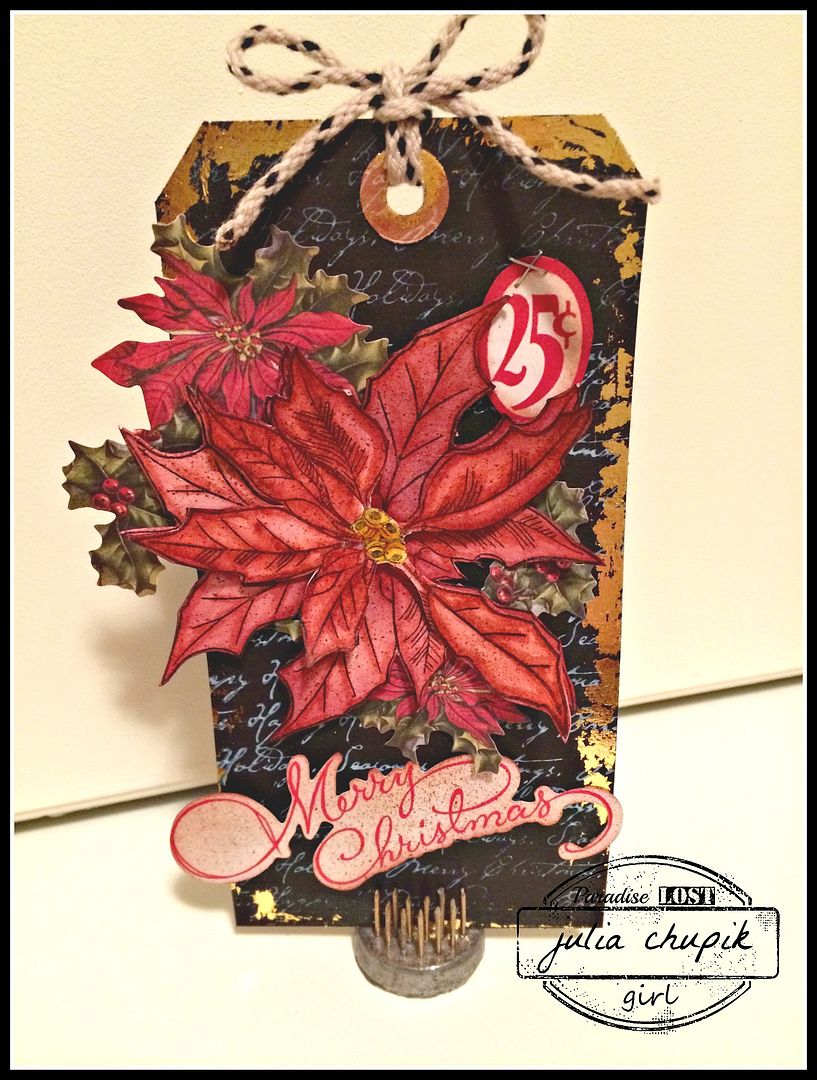
I decided to take my tag in more of Christmas theme but using some of Tim's techniques.

Off I flew to my tickle trunk of Christmas stamps to look for some oldies but goodies.
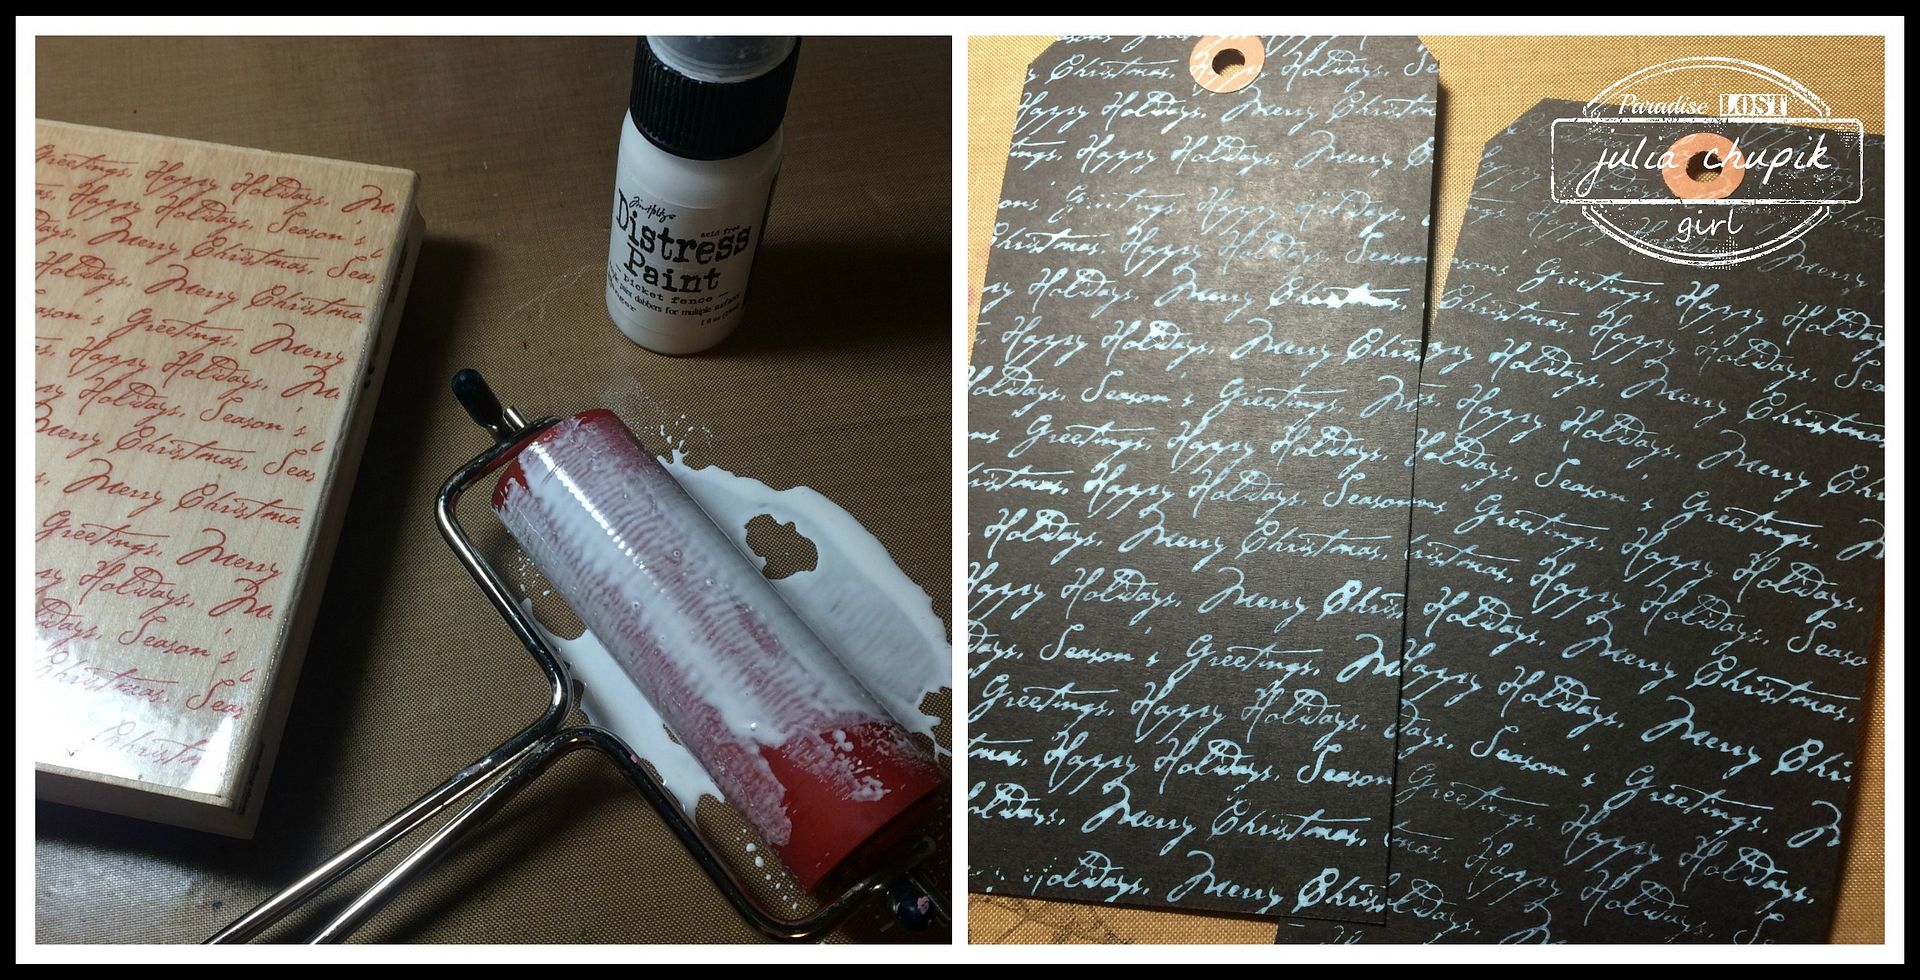
I found one from Rubber Stampede called "Sayings" that I have had forever but haven't used in a few years. It would be perfect for the background technique on a black tag.


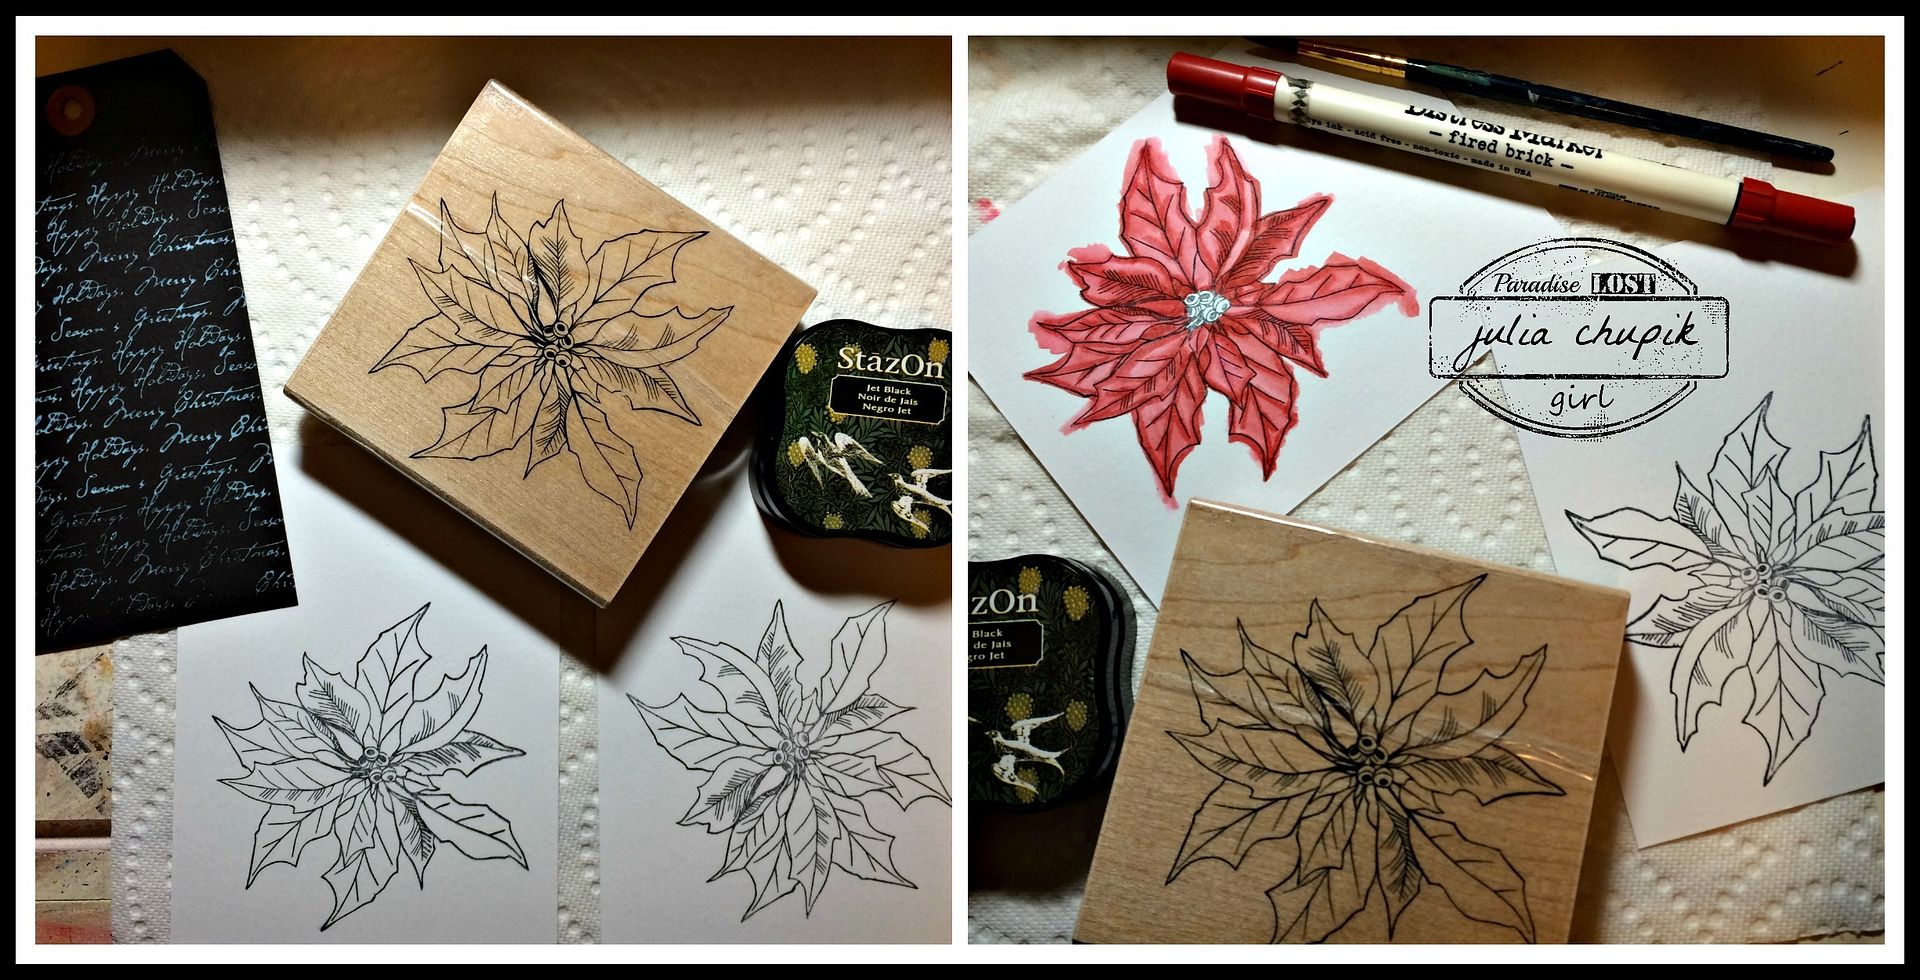
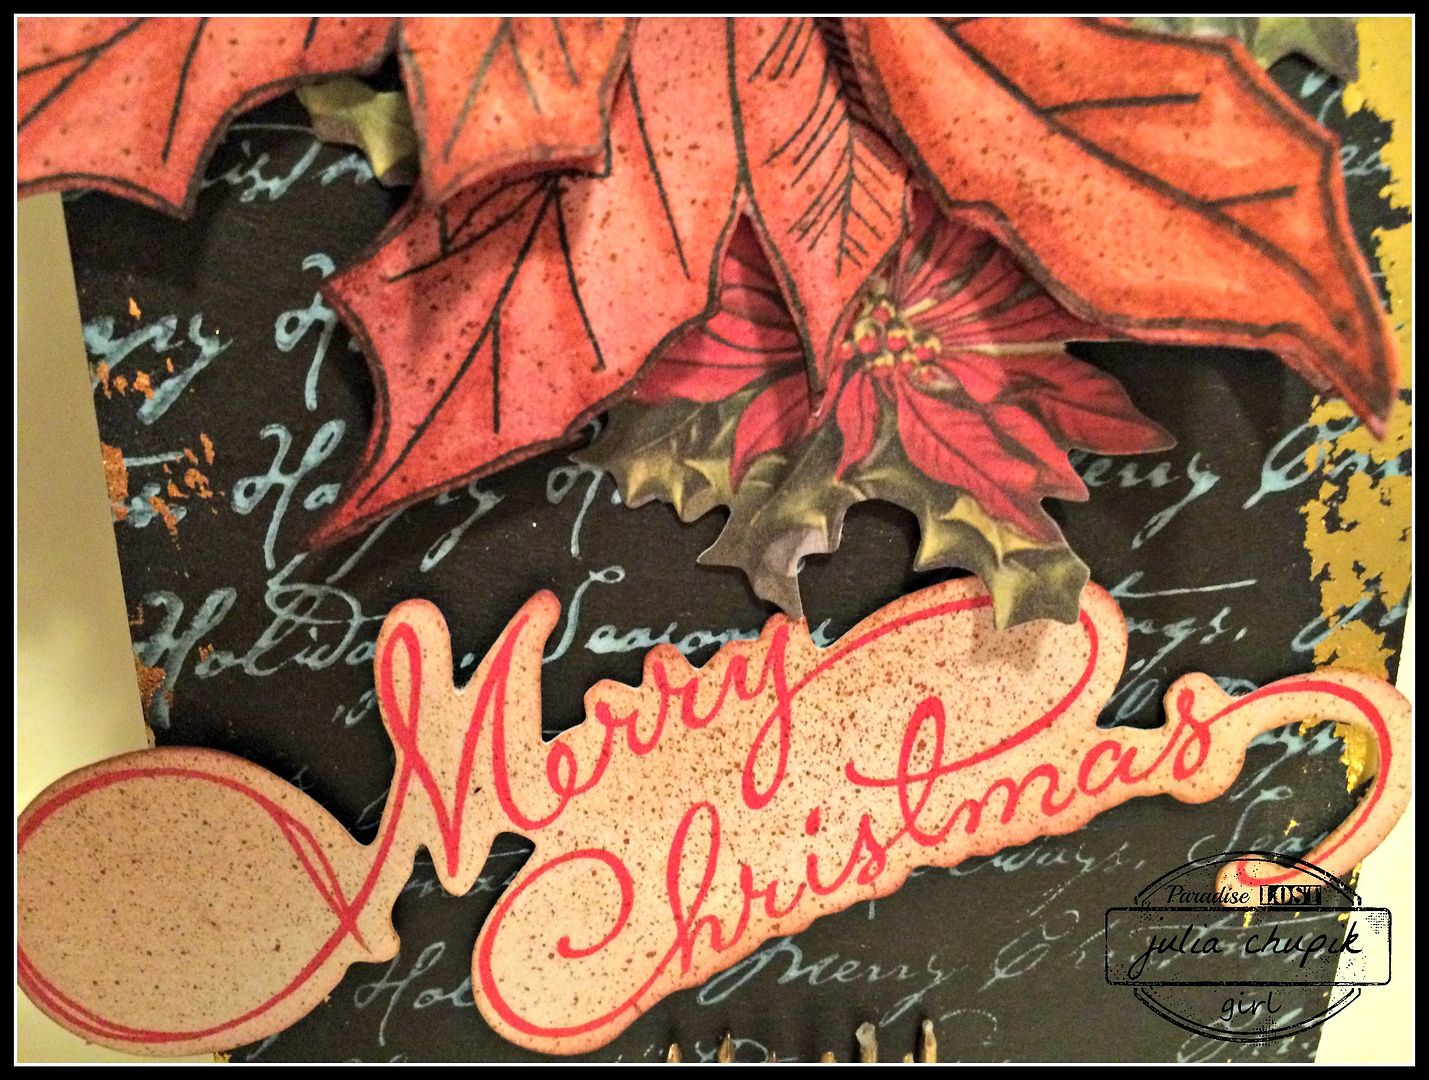
Next I found a poinsettia stamp from Penny Black called "Warm Wishes".
I decided to stamp 2 images on watercolour paper with Staz-on & using my Fired Brick Distress Marker and a watercolour brush to add the colour.


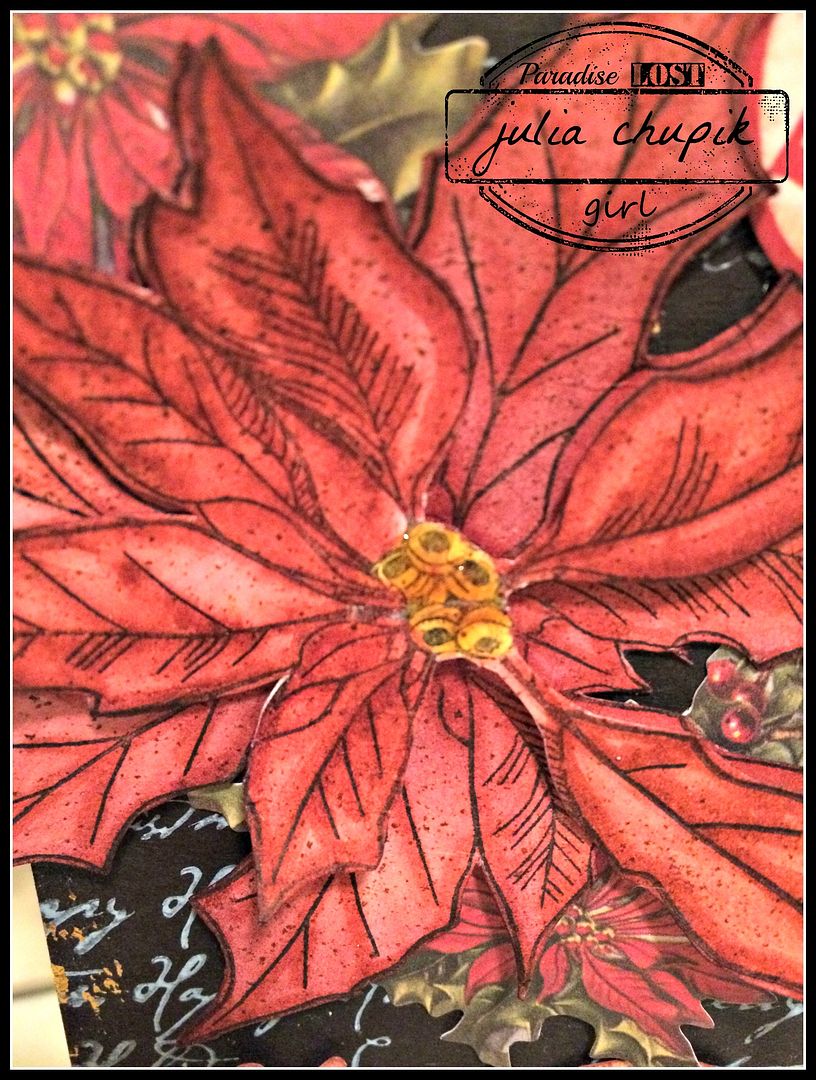
I fussy cut one poinsettia as it was then fussy cut only the centre leaves of the other so I could layer them with a foam square. I gently curled the leaves before gluing it to my tag.  I love the dimensional look it gives.

I should mention that before I adhered the flower to the tag I burnished some gold foil to the edges of my tag like Tim did in his tutorial.


I added a few bits from the Christmas Ephemera pack from Tim Holtz Idea-ology and used my spritzer tool & vintage photo Distress marker to add some details over the entire tag.

Thank you so much for dropping by my blog today!
I really appreciate your visit & comments.

~~ stay crafty~~

***don't forget to pop by the Emerald Creek Dares blog***
Enter your 'Remembrance' projects for a chance to win a $25 credit to the online store.
http://blog.emeraldcreek.ca/2015/11/remember-fallen.html