Showing posts with label Birthday. Show all posts

Monday, 15 January 2018

Bird In My Journal - Birthday Card

Hello my crafty friends!
I am back with a couple of birthday cards to share with you 
using a beautiful stamp from Carabelle Studio.

~~Here are the 2 completed cards~~
I used a pretty simple watercolor background for my stamp. 
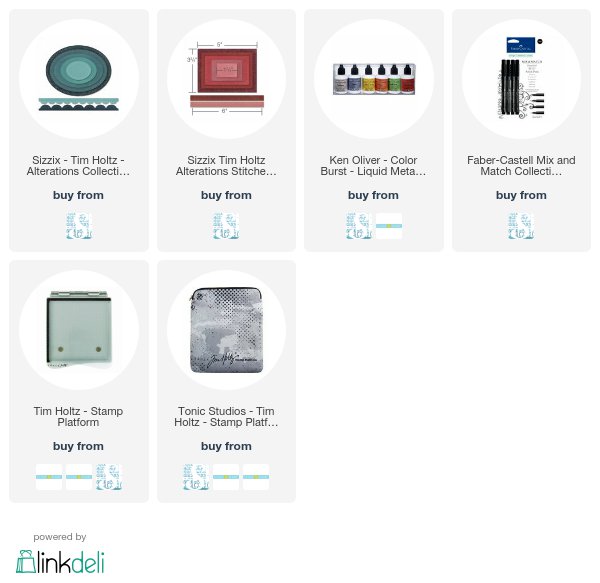
Some Yellow Gold Liquid Metal (Ken Oliver) was added for a bit of shimmer.

I masked the oval on one of the cards when stamping the bird image (above) except
 for the tail portion.


These were pretty simple and fast cards to make. In total it took 30 minutes to complete both.


Products use:
(I use affiliate links that earn me a small commission at no extra cost to you. Thank you for your support)

Carabelle Studio:
Un Oiseau Sur Mon Journal

Wednesday, 20 September 2017

Quick Birthday Card

Welcome back!
Today's post is a short one about the quick creation of a birthday card.
I needed a quick card to send in a care package that would be heading off to 
my son at university.


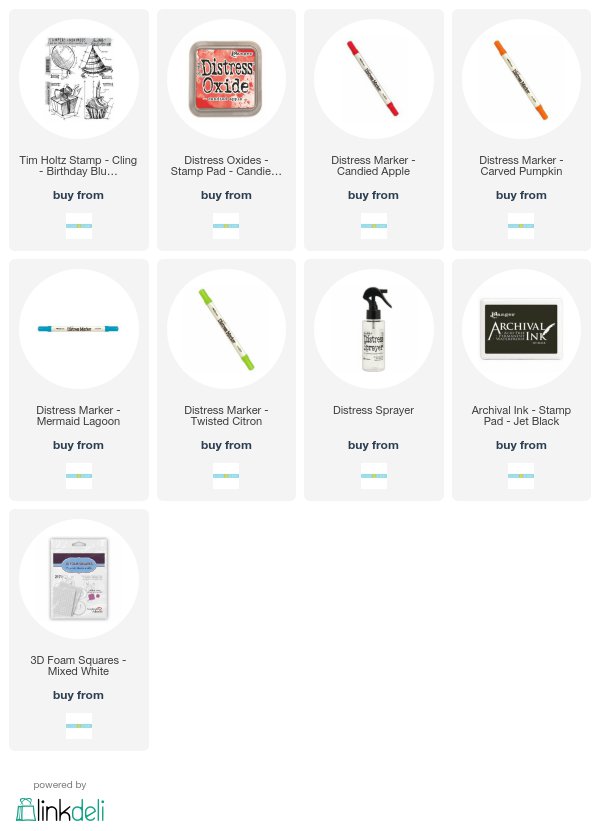
I grabbed my Candied Apple Distress Oxide ink pad and Sprayer.
I applied some ink to my splat mat and sprayed it with some water.

I laid my watercolour paper in the ink then gave the ink a blast of canned air.
I love this splatter effect! I repeated this technique a few times until I was happy with it.

My focal point - the birthday hat - is the from the 2015 STAMPtember Blueprint Set.
I stamped it with Archival Ink on watercolour paper & coloured it with Distress Markers.

I stamped the image on my card base before layering the coloured birthday hat over it with
dimensional foam.

Products used to make this project:
I am an affiliate to Scrap 'n Stamp and Scrapbook.com and may receive a small commission, which in no way affects the price you pay. I only recommend products & retailers that I trust & believe in. Thank you for your support!!


Saturday, 15 July 2017

Celebrate......Botanicals & Distress Oxides

Hello & welcome!

I'm here to share a card I made to give to my grandma who is turning 90 years young next week.
She is an amazing woman and I am so happy to be able to be with her on her special day.

Here is the finished card


For this card I used the Flower Jar Stamp Set with matching framelits, Distress Oxides, Archival Ink and watercolor paper.

I started by applying my Distress Oxides on to my splat mat (which is actually a bbq mat I bought at the $ store) then I gave these a spritz of water. Next I took my 5"x 5" square of watercolor paper and began creating my background. 

To create an edge or frame for my card I swiped just the edges through the leftover ink on my craft mat. Normally I would use my blending foam applicator to do this but this was a happy accident on one edge. I loved it so much I did the same on the other 3 edges.

Here is the background

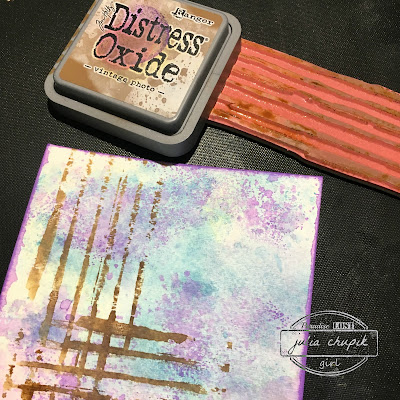
I needed something to help ground my focal point to the card so I took a stamp from the Tim Holtz Mixed Media 2 stamp set to create this loose crosshatch on my background.

I used some scraps of watercolor paper that I had on my desk to create the mason jars.
I love my Misti. I get perfect placement and a sharp, crisp stamped image every time.
I used the Flower Jar framelit set to die cut out my jars. Its hard to see in the photo but I also applied some glossy accents to the jars to give them some highlights.

To create my flowers, I first took some scrap watercolor (again!) and applied some Distress Oxides using the same technique as described above. I then stamped my flowers (using my Misti) then die cut these images out using the coordinating framelits.

It was time to stamp my sentiment and assemble my jars. I used pop dots for the jars then used liquid glue to tuck my flowers in behind the jars.
Products used:

Tim Holtz Flower Jar Framelit set from Sizzix
140lb cold press water color paper
Archival Ink - Jet Black

Friday, 10 March 2017

You're How Old? Birthday Card

Happy Friday, my crafty friends!

I love the new Tim Holtz Hipster stamp set from Stampers Anonymous.
They are hilarious!


I stamped my image on to watercolour paper with Versafine Ink & coloured it with Distress Oxide Ink & my water brush then fussy cutting it out. The card background was made by splattering Distress Oxide ink on to a piece of 4"x 5.25" watercolor paper.


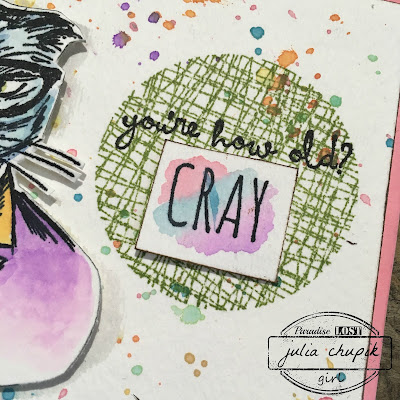
I stamped  "CRAY" on to a scrap of watercolor paper then watercolored it
with some Distress Oxide Ink. I cut it out and inked the edges up with Vintage Photo Distress Ink.
The sentiment is layered of an image from the Dina Wakely Circle Patterns stamp set
from Stampers Anonymous.


I just love how bright & cherry this cards looks even with the very serious Hipster cat.


Monday, 23 January 2017

Pop-Up Slider Card ---- Enjoy A Glass Of White

Happy Monday, everyone!
I am here to share a a pop-up slider card that I've made for a friends upcoming birthday.
I was inspired by a YouTube video by the talented Einat Kessler.

You check out Einat's video tutorial below:

I designed my card around this fabulous paper pack - The Winery Kit - by Reminisce.
I picked it up from The Scrap Shack in Ponoka & I'm so glad I did! It sold out very quickly.
Isn't it gorgeous?

Here is my finished card - laying flat.

My main embellishment was made using 3" circle of brown leather paper that I 
embossed with a wood-grain embossing folder; a 2.5" circle die cut from a sheet of pattern
paper from the kit; a circle sicker from the coordinating sticker sheet included in the pack.

The exposed area is perfect for a small sentiment.

Here is the finished card - popped up.


Friday, 10 June 2016

Summer Of Creative Chemistry - Week 2

It's week 2 of the Summer of Creative Chemistry!
I was late starting week 1 because I thought I didn't need it. I did CC 101 & 102 already.
Why did I need to repeat it all over again? Well, let me tell you that revisiting these techniques has only opened my eyes to the new possibilities!
So if you are a Distress product fan and haven't decided on taking the course, it is well worth it!

Check out all the details here -

For week 2 we were challenge to use Distress Stains & stamping.

I decided to make a birthday card ~

I used Stormy Sky, Broken China, Tumbled Glass, Peacock Feather & Picket Fence Distress Stains to create a marbled effect background on my card base.

I then used the Halftone stamp (from the Halftone & Rings stamp set) & Picket Fence Distress Stain to stamp on top of the marbled background. 
Here is a closeup of the Picket Fence stamped over the background.
I stamped the the word "Celebrate" and the Party Hat image on the card.
I stamped the party hat a second time on to some watrcolour paper and used my Distress markers to watercolour the image before cutting the hat out and adhering it to my card. I added some ribbon to complete the hat.


Monday, 1 February 2016

A Little Bird Told me.....birthday card.

I'm here to tell you that it's Nicole Wright's birthday....so pop by her blog, her facebook page or instagram {@nicolewrightdesigns} and send her birthday wishes!

I have known Nicole for about 3 years and she is fully responsible for my Tim Holtz obsession and  for encouraging me to start a blog. She never fails to blow me away with her crafty goodness and her cheese bagels.

Here is a card I made for Nicole ~


Happy Birthday, Nicole!

This is my favourite technique for a quick background - Distress Stains, my mister bottle & watercolour paper.


I couldn't resist using my Bird Crazy stamps for this card.


Thanks for stopping by my blog today for a little birthday fun!

~stay crafty~

julia