Showing posts with label February. Show all posts

Tuesday, 28 February 2017

Garth Brooks - 2 page layout

Hello & welcome to my blog!

I have a 2-page layout to share with you today. I was lucky enough to see
Garth Brooks at one of his 9 concerts he had in Edmonton, Alberta this month.
It was amazing and I knew I had to scrapbook it asap.


I found these great pattern papers at Treasured Memories in Edmonton and knew they would be perfect. Treasured Memories has an exclusive line of pattern papers that they manufacture and these are from that collection.


I started by mixing some Distress Grit-Paste with some black gesso. Then I applied this through the Tim Holtz bubble mini layering stencil. After this dried I added some stamping & paint splatters. I took my ink blending tool and applied some black Dylusions paint to the edge of the paper.

My layered focal point was made with some old sheet music, twine, stickers and paper scraps that I had in my stash.


The second page of my 2-page layout was created with pretty much the same techniques as I used on page 1 except there are more photos.


I love how these pages turned out and they will be a great way to remember
our amazing evening with Garth.


Thursday, 23 February 2017

Botanical Card

Welcome to my blog!
Today I am sharing a card that was selected to be published in the current issue
of Creative Scrapbooker Magazine. I was thrilled as this was the first time
I had a project published in this amazing magazine.

I was inspired by the Tim Holtz Botanical Sketch stamp from Stampers Anonymous.

I started with a piece of cold-pressed watercolour paper that was larger than my stamp.
I stamped and embossed my image with clear, fine detail embossing powder.
Before I moved on to next step I tore post it note into a rough circle to mask off the centre.

Next I took my Color Burst Pigments from Ken Oliver and sprinkled these over the embossed image.

A few sprites of water and the pigments burst to life. I love this!

I removed the mask and used a watercolour brush to fill in the centre with Yellow Ochre Color Burst.

I dried the background with my heat tool before stamping 'Mom' on to the front the card.


Monday, 13 February 2017

My One True Love......Wanderlust Week 6

Hello to all my crafty friends!
It has been a busy time in Paradise. My husband & I are in the process of moving back to
Calgary. There has been lots of packing and driving which has left little time for crafting & creating.

I did manage to find a little this weekend to get caught up on my Wanderlust adventure and now have a 2 page art journal spread to share - just in time for Valentines Day.


The teacher for Week 6 was Amanda Grace. Her style is refreshing and very enlightening - I hope that one day I can use my art journaling to express my deepest thoughts and feelings in such a beautifully raw way as she does. This week was an exploration of textures and techniques while at the same time creating a love letter to my husband.

My page ended up being a bit messy but in the spirit of "embracing imperfection" I left it - blobs of ink, spelling mistakes and all.

**********

submitted to the following challenges:


Friday, 3 February 2017

Cherish Moments - Mixed Media Layout

Welcome to my blog!
Today I'm here to share a 12x12 mixed media layout I created for The Scrap Shack.
The Scrap Shack now carries a selection of chipboard from Southern Ridge Trading Co.

I created this layout with a couple of Southern Ridge Trading Co chipboard die cuts;
some discontinued papers from my stash in reds & browns & a
Found Relative card from Tim Holtz Idea-ology.

I started by trimming down one patterned paper down to 11.5"x11.5" to layer over a darker
12x12 pattern paper.

I used my Tim Holtz Distress Tool on the edges.

Next I sprayed some Prima Color Bloom (Worn Leather) randomly over the 
11.5"x11.5" pattern paper & I dried it with my heat gun.
I took the spray cap off the bottle of irRESISTible Ink (Danube Blue) and 
dripped it over the paper next.

I torn a page out of an old novel and used inks & stains to age it before
layering it under the distressed edge of the patterned paper.

The chipboard from Southern Ridge Trading Co is amazing and can be altered by painting,
staining, spraying, ink. It can also be distressed by sanding. The photo on the left shows the chipboard after one layer of paint. The one on the right shows the chipboard after 2 coats of paint.

After the paint was completely dried, I took my sanding tool and roughed up 
the paint before adding some Ground Espresso Distess Ink with a blending tool.
The butterfly on the right was first sprayed with Prima Color Bloom
 (Summer Sky) then I stamped over it with a texture stamp &
Ground Espresso Distress Ink.


I distressed the Found Relative Card by sanding & inking it. I used the Tim Holtz 
Distress Tool on the edges then inked the edges with Ground Espresso Distress Ink 
and a blending tool. I then spritzed some ink over the card.

You can see this layout on display at The Scrap Shack in Ponoka, Alberta.


Thursday, 25 February 2016

Lucky Clover - Emerald Creek Dare

It's time for a new Dare at Emerald Creek!

This time we want you to think Irish, greens, lucky clover, pot o'gold & leprechauns.

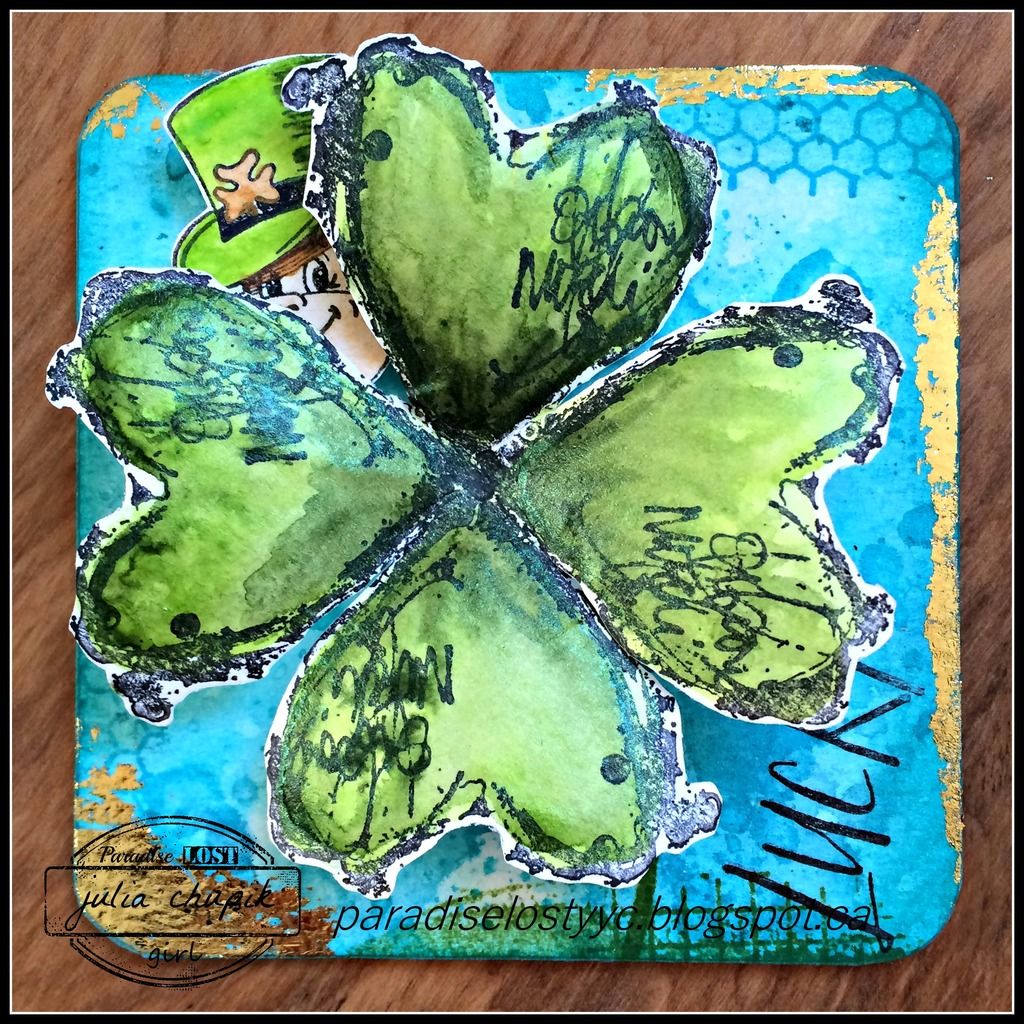
My project is a 4x4 canvas ~ made using watercolour paper and chipboard.
I added a sheet of thin magnet to the back and now it has a new home on the side of my fridge.
Just a little something to remind me of how lucky I really am.

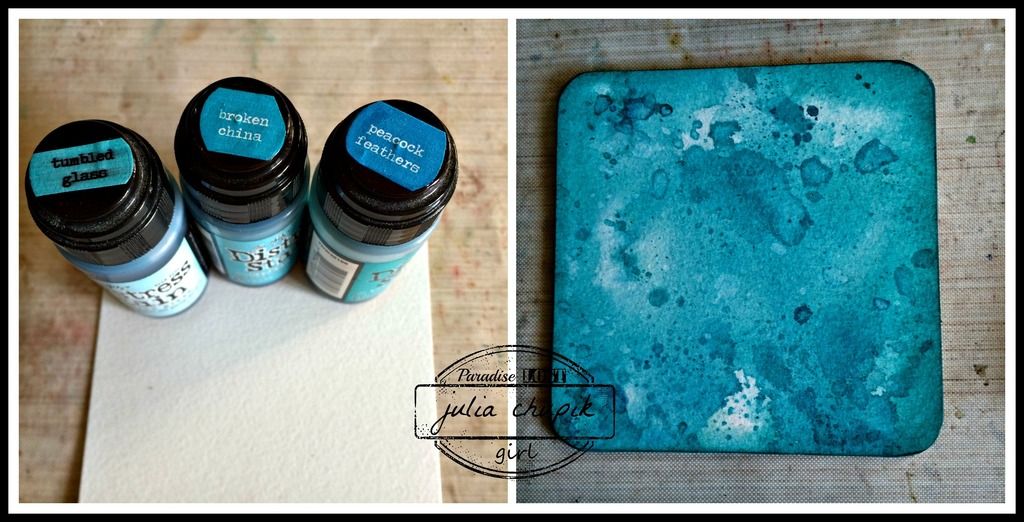
I started with my 4x4 piece of 140lb cold press watercolour paper and 3
shades of blue Distress Stain - Tumbled Glass, Broken China & Peacock Feathers.
I smooshed all 3 colours of stain onto my splat mat before dragging my watercolour paper through it several time, drying the paper with my heat gun in between.

Once I was happy with it I adhered the watercolour paper to my chipboard base and inked the edges with Tumbled Glass Distress Ink. I added some random stamping around the edges and some gold transfer foil.

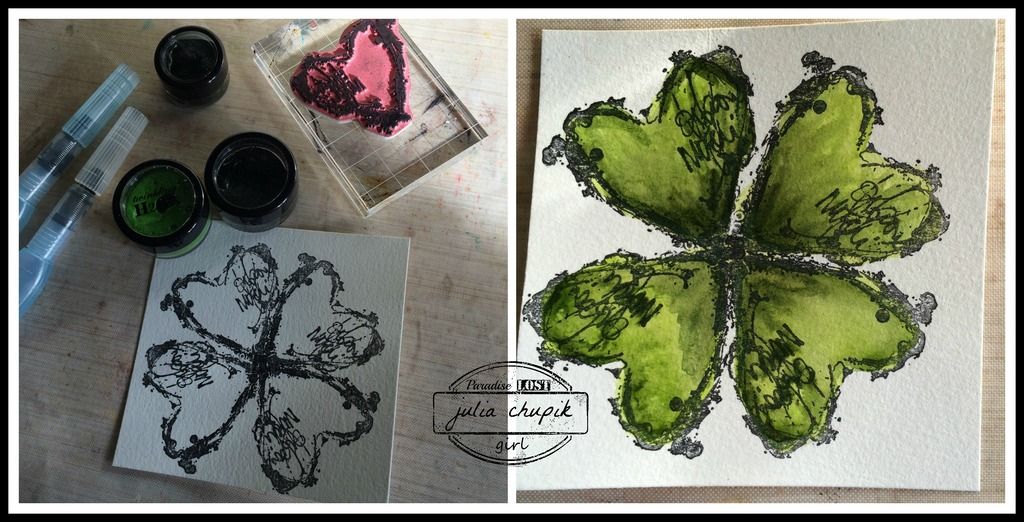
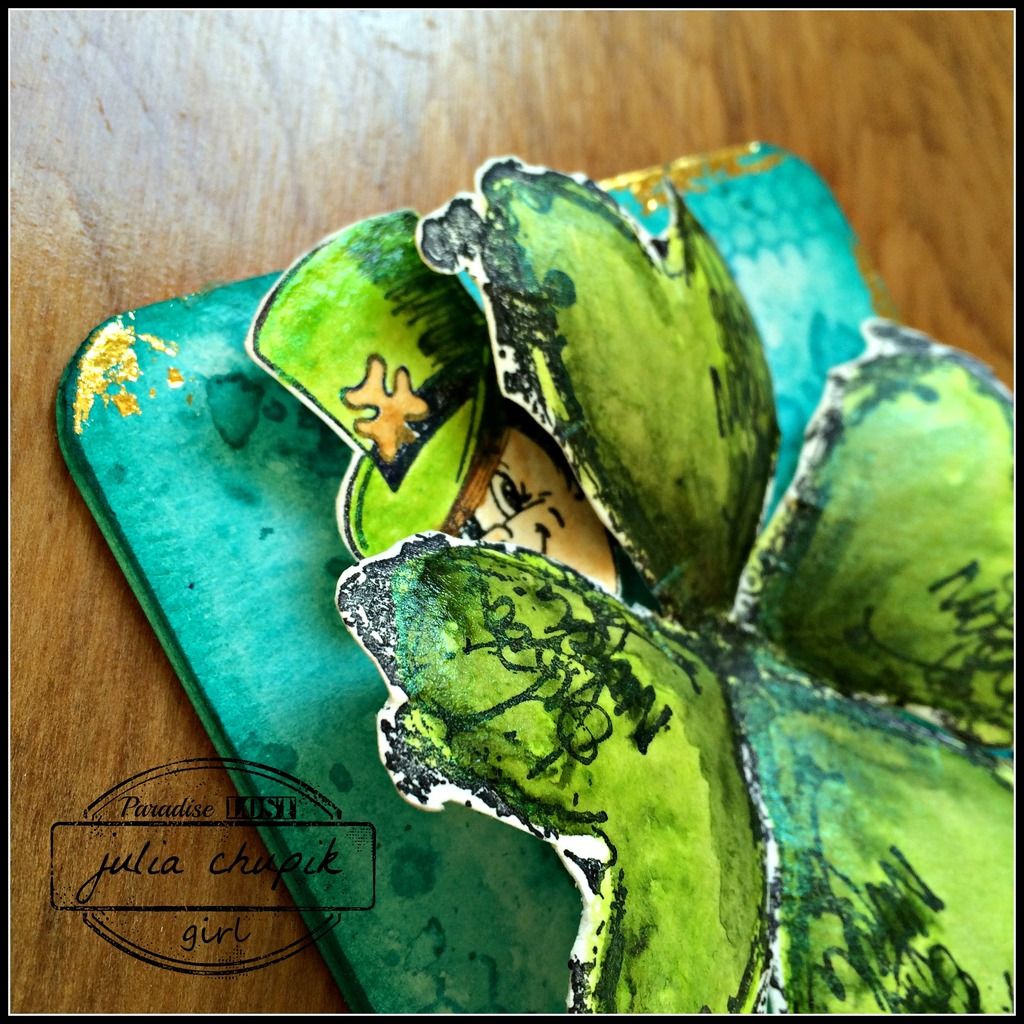
Next I started working on my focal point ~ I used the medium sized heart stamp from the Dina Wakely Collaged Heart stamp set & Staz-On ink pad to create my 4-leaf clover on watercolour paper.
I decided to use Twinkling H20 Shimmer paints to colour my clover. I haven't used my Twinkling H20's is forever and loved the shimmery look my clover ended up with!
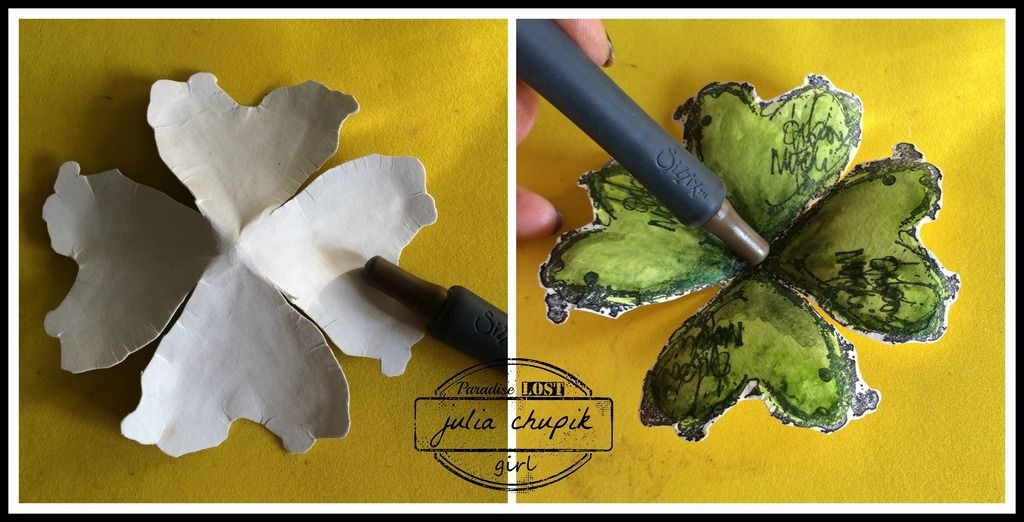
I fussy cut my clover out before using the blunt end of my Sizzix quilling tool to 'shape' my clover leaves.

I used the Paddy stamp from Emerald Creek. I coloured him with Twinkling H20's as well before cutting him out. I just love how he is peeking out from behind the cloverleaf.

Thank you for dropping by my blog today and I hope my project has you feeling lucky.
Visit the rest of the Design Team Blogs for more Lucky Clover Dare Inspiration
and share your project with us at Emerald Creek Dares


Products used:

Emerald Creek Stamp


Distress Stain: Tumbled Glass, Broken China Peacock Feathers
Watercolour Paper
Dina Wakely Collaged Hearts Stamp set
Twinkling H20's 

Wednesday, 17 February 2016

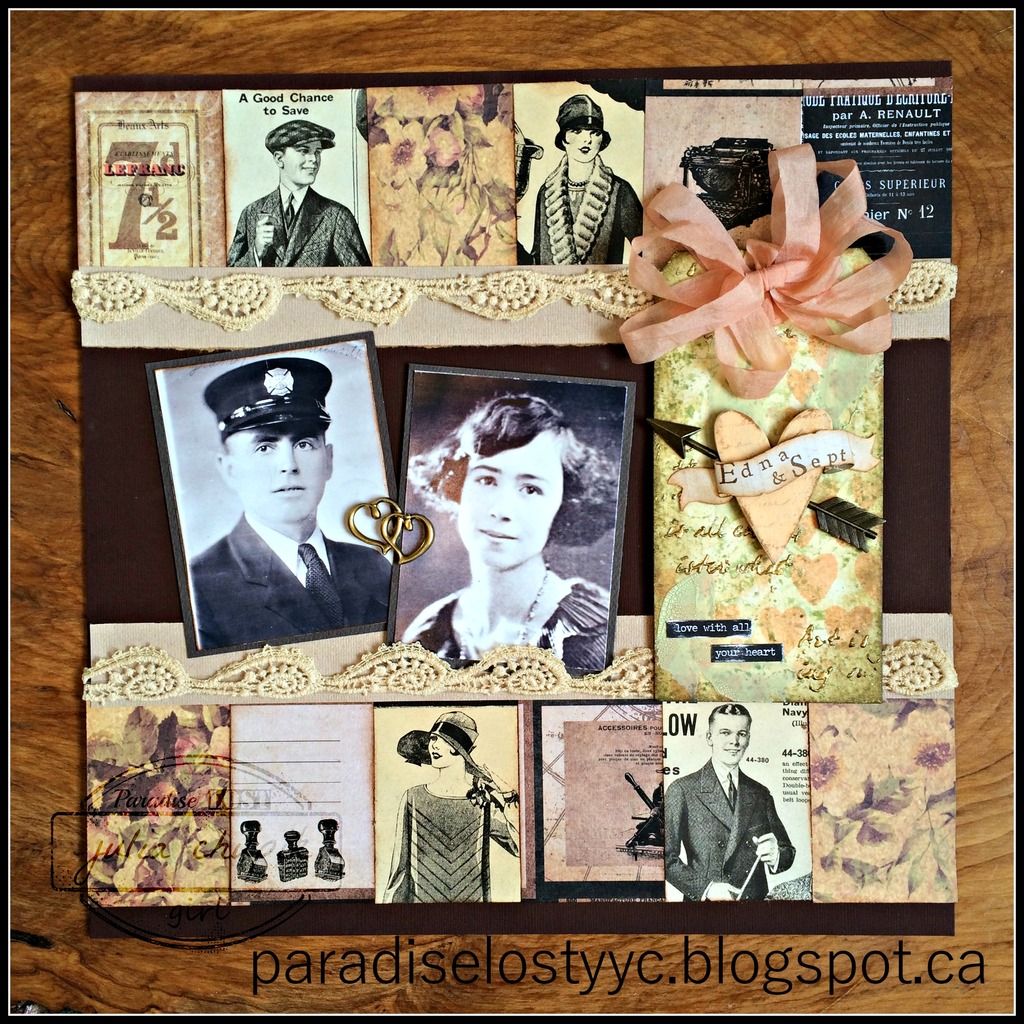
Love With All Your Heart ~ Tim Tag February 2016

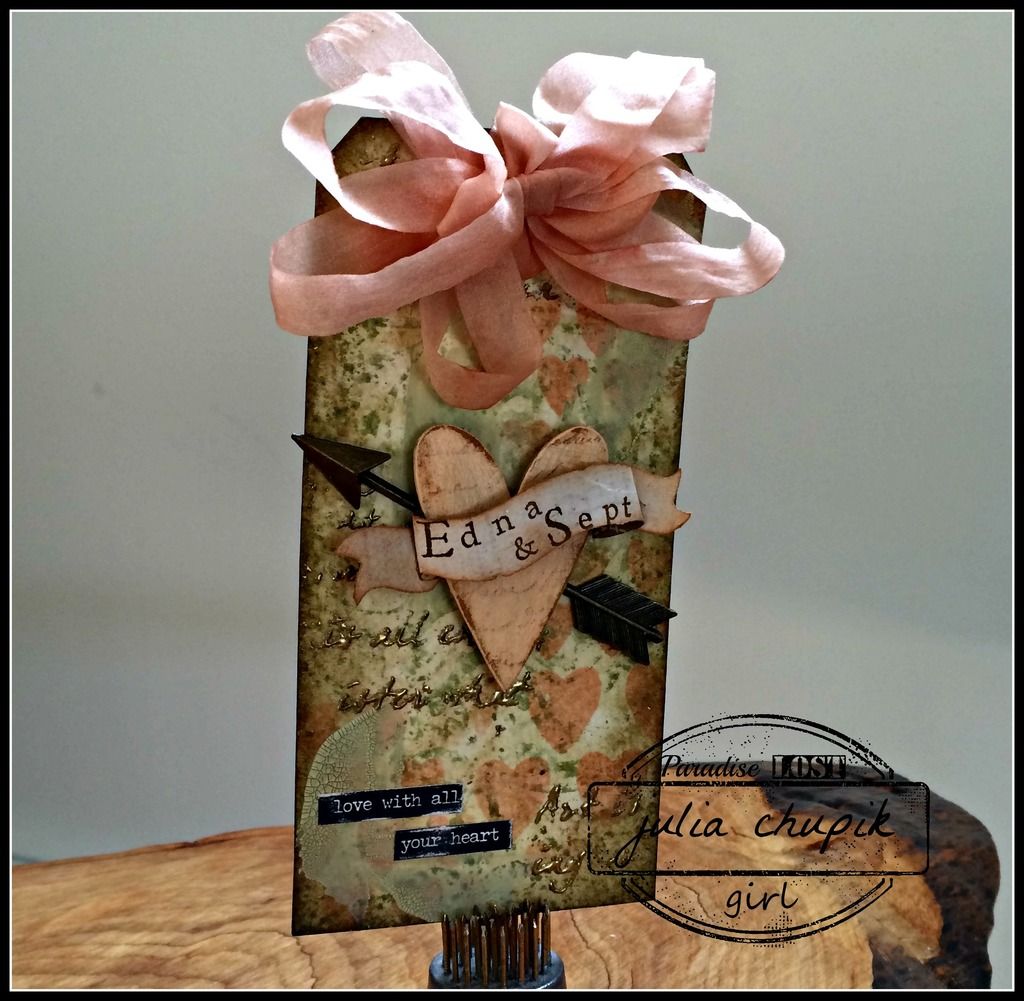
I love Tim's beautiful Valentine's tag and it occurred to me that my finished tag would be the perfect addition to a 12x12 scrapbook page for my family genealogy album.


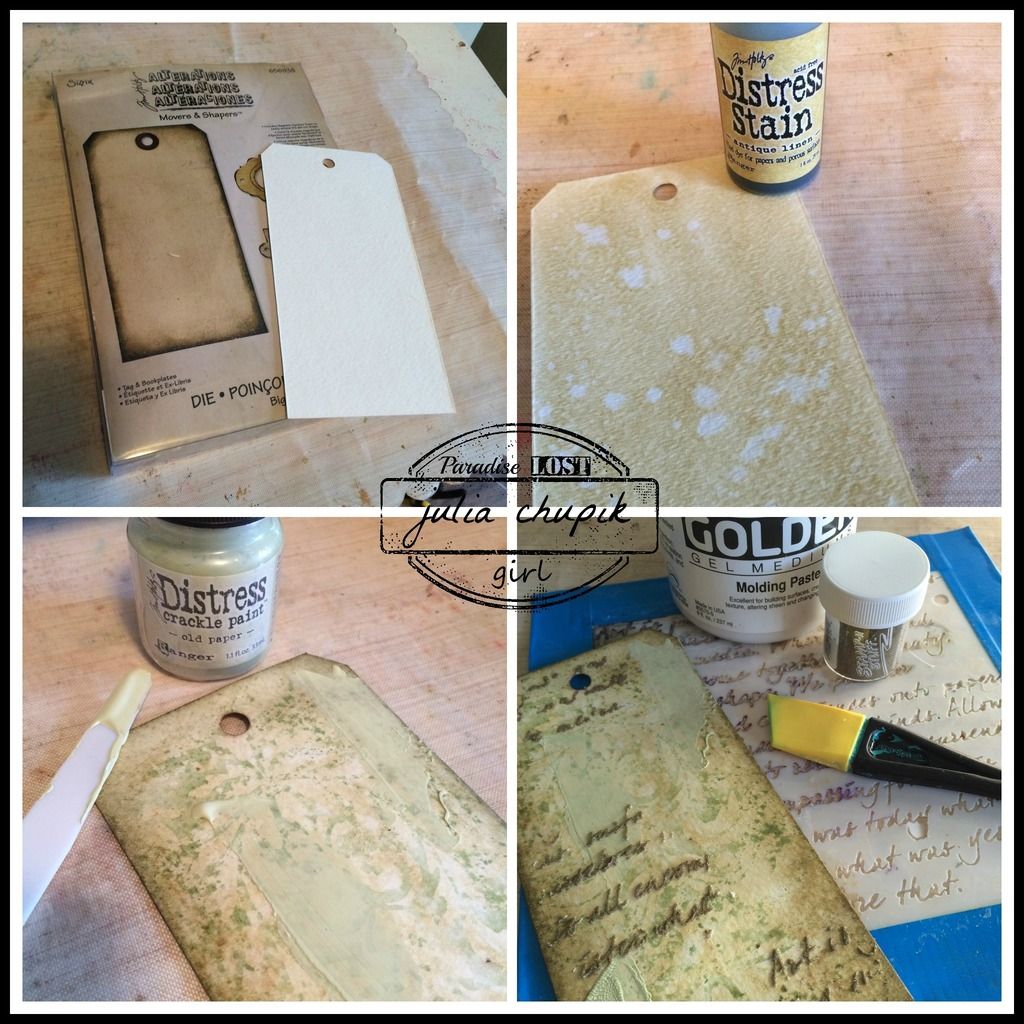
I used 140lb watercolour paper for my tag base and followed Tim's technique remix instructions on his blog.

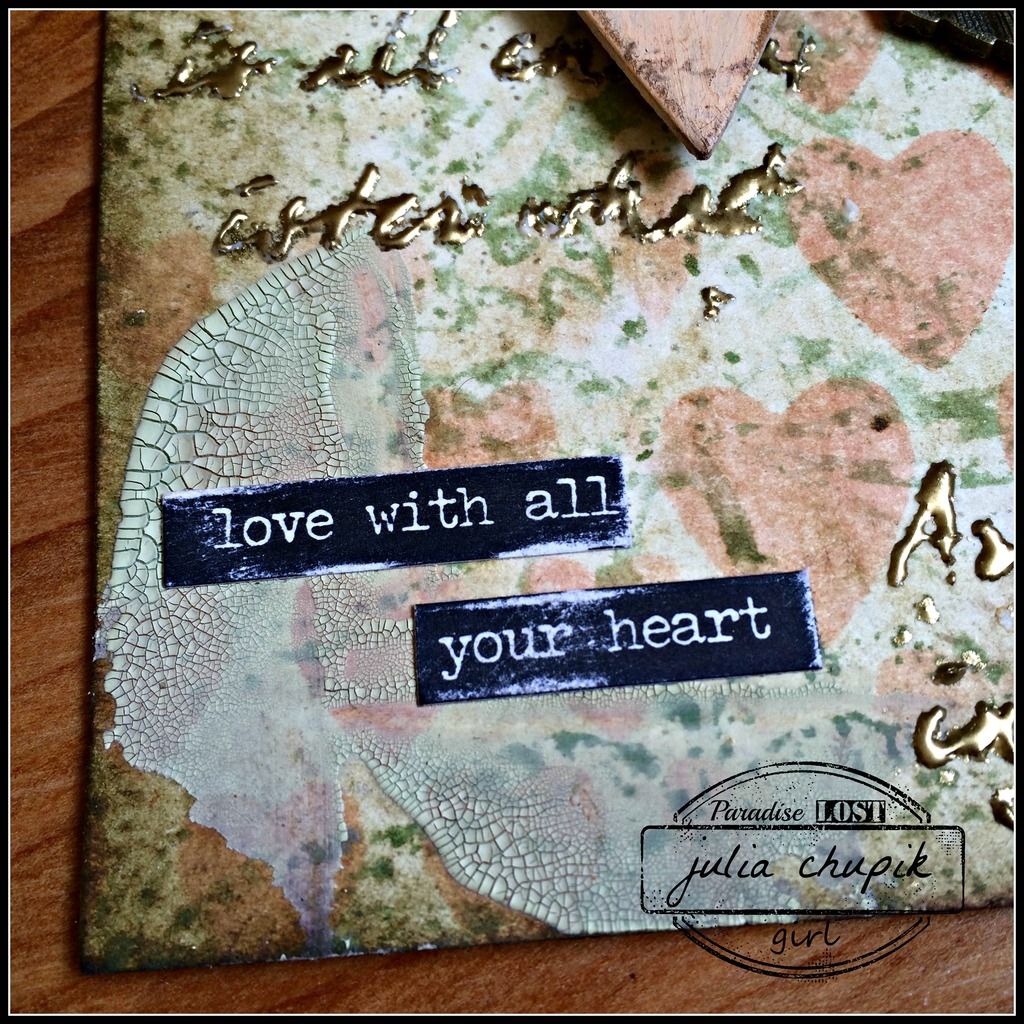
I did add a bit of Old Paper Distress crackle paint with a palette knife in a few spots.

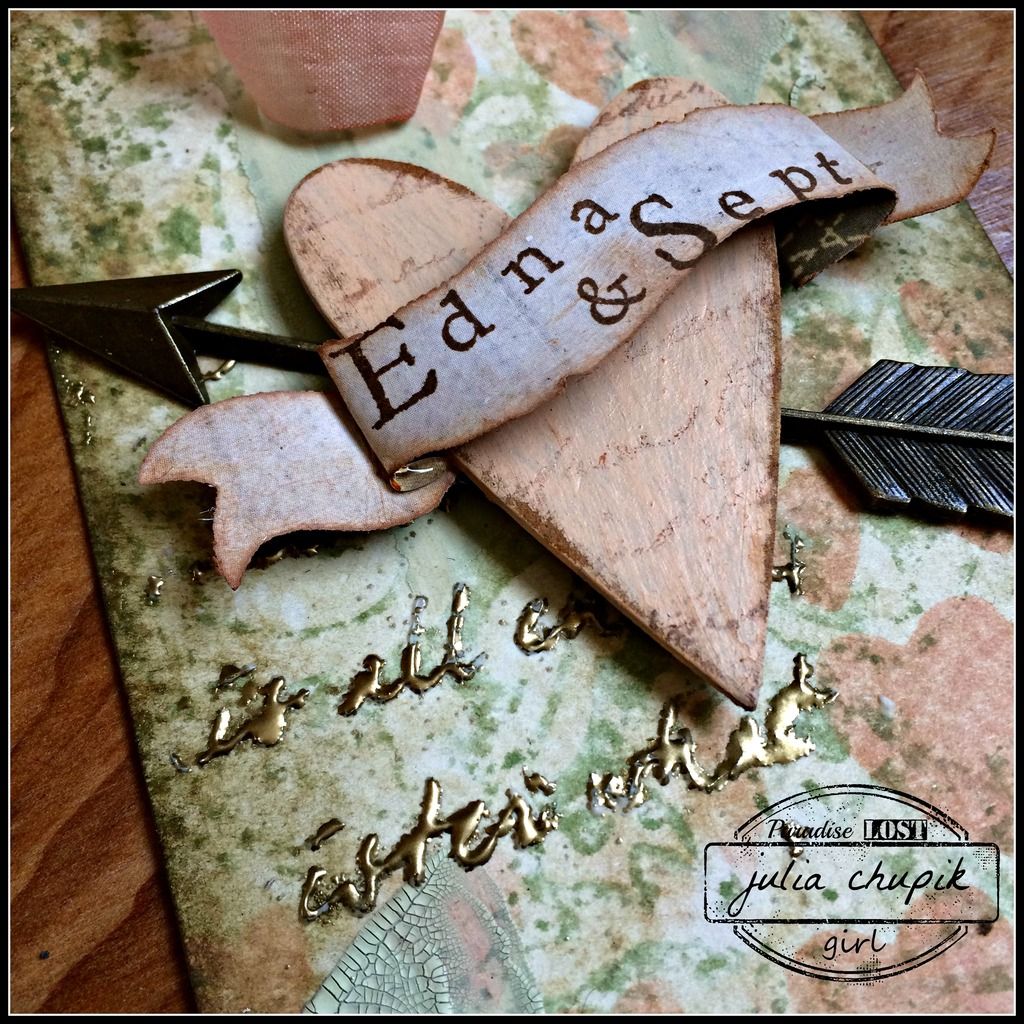
My focal point was a chipboard heart I cut with my Sizzix Heartfelt Die - I used Dried Marigold Distress Paint to colour it. I stamped the names of my great grandparents on a banner diecut that I layered over the heart.

I used the Linked Hearts Charm from Emerald Creek that I embossed with gold embossing powder.

Thanks for dropping by my blog today!

~~stay crafty~~

julia

Challenges Entered:

Thursday, 11 February 2016

Anything Goes - Emerald Creek Dare

It's time for a brand new challenge at Emerald Creek Dares and we want you to showcase your favourite technique, style or products .Whether it's mixed media, cards, scrapbooking or 3D ~ it doesn't matter. Anything goes!

My creation is near & dear to my heart and brings 2 of my passions together.

Paper crafting and genealogy.


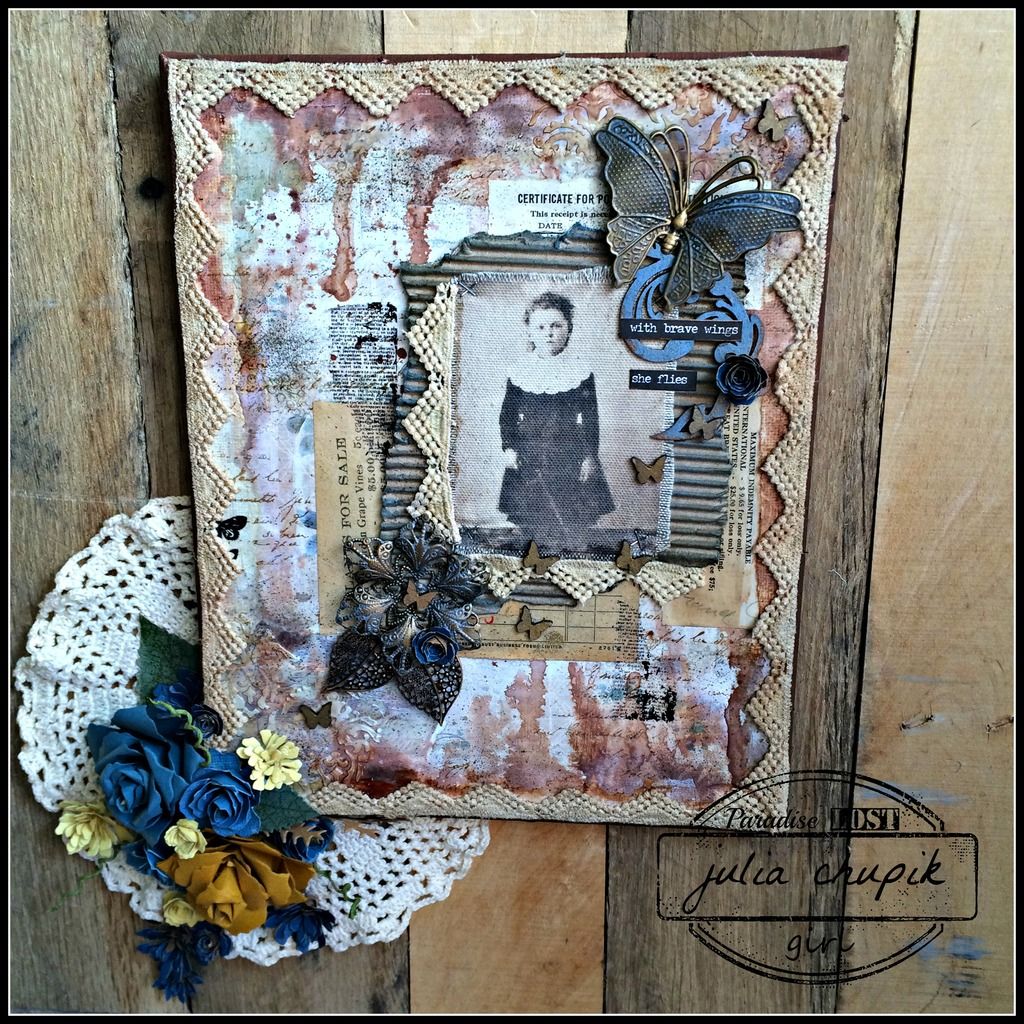
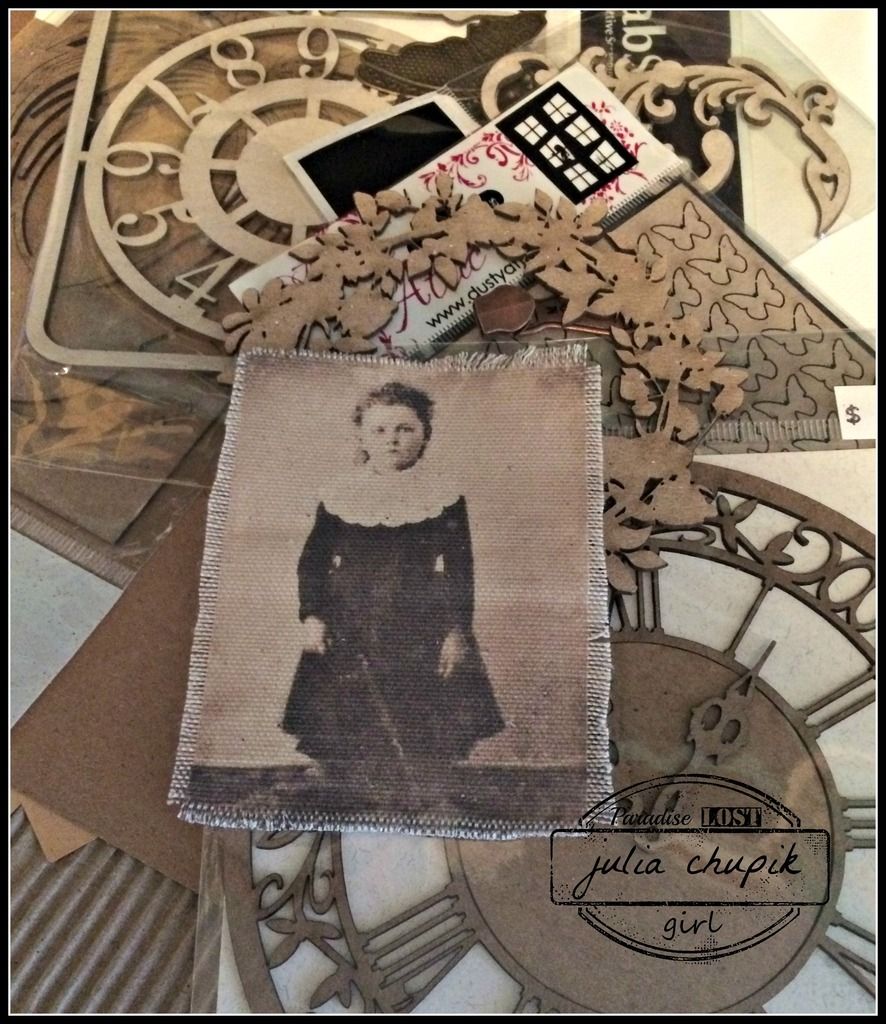
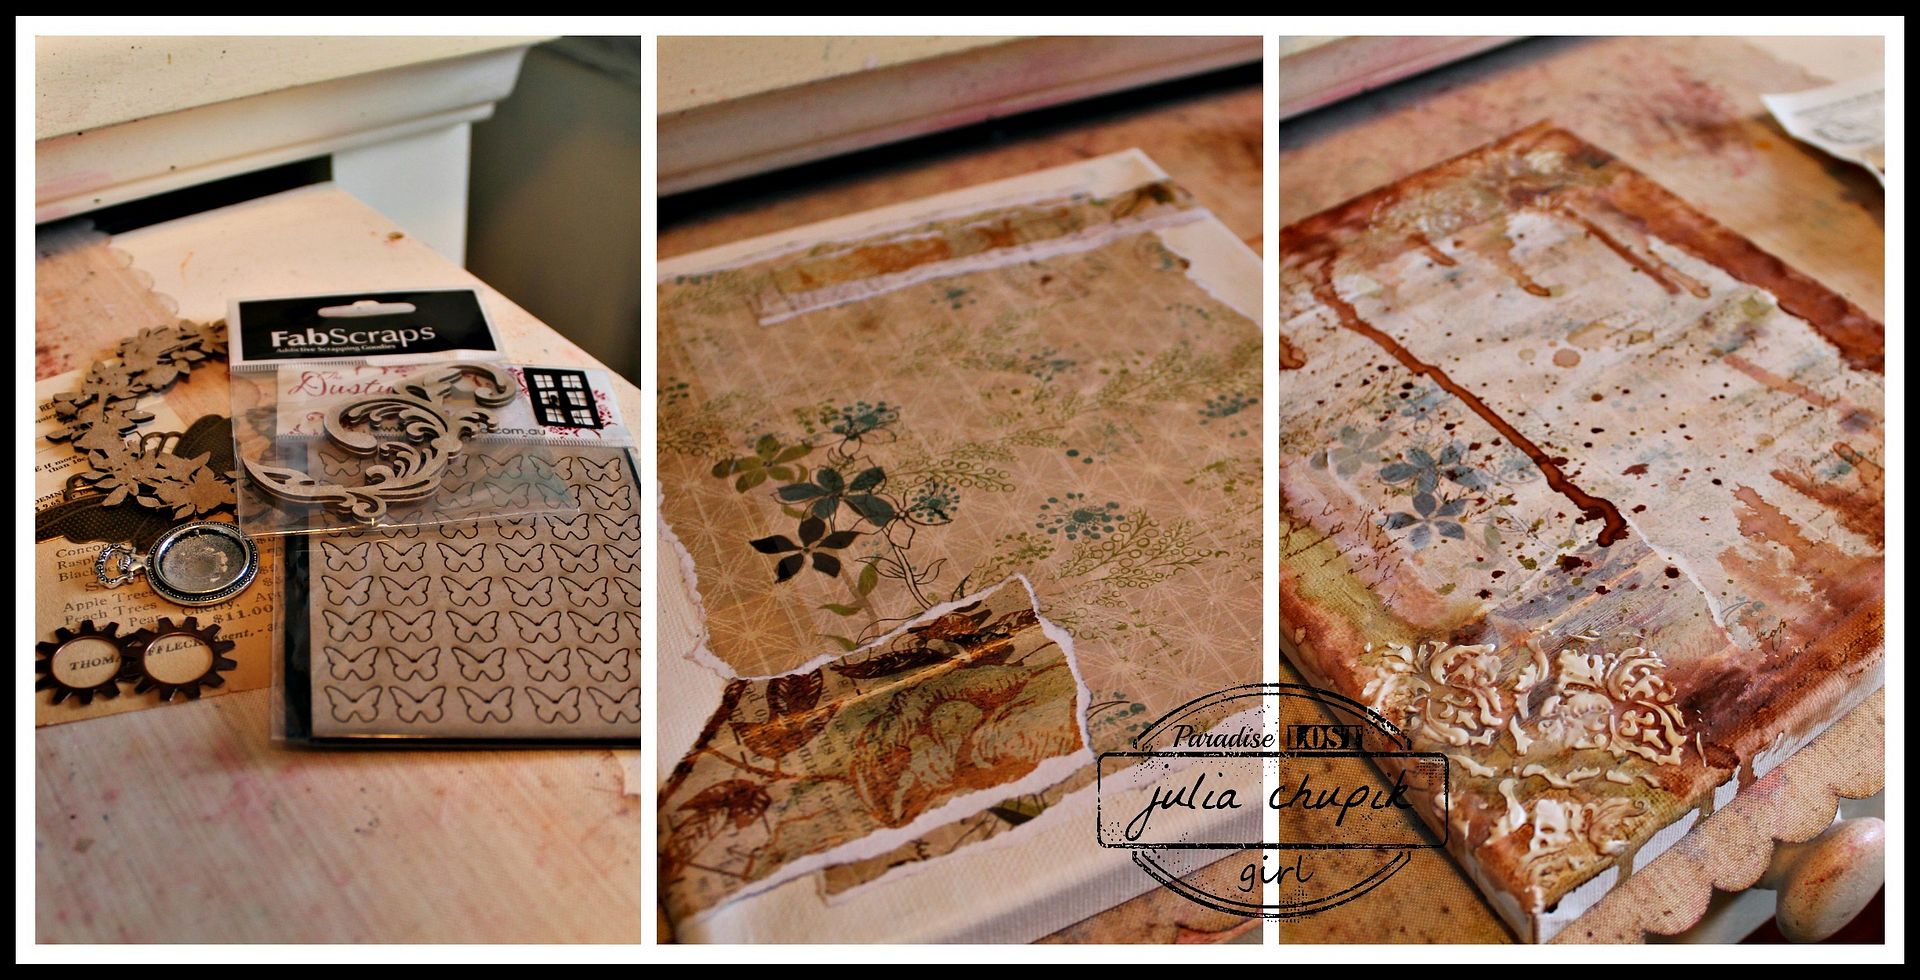
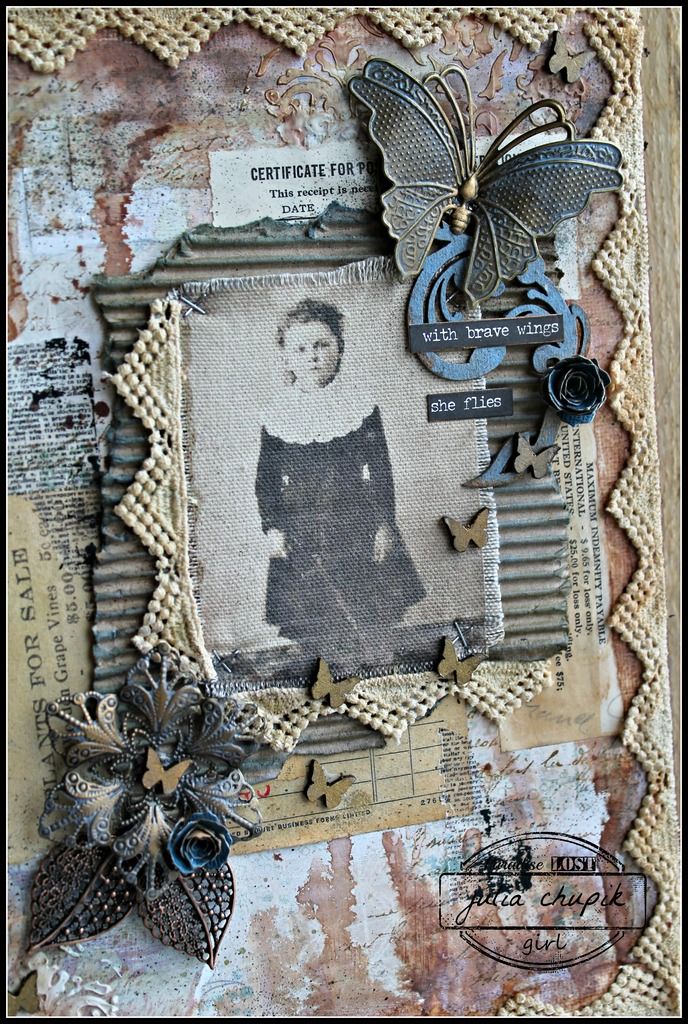
My project today was inspired by a tin type of my paternal great-great grandmother ~ Catherine ~ taken approx 1890. I scanned the tin type into my computer did some editing and then printed it out on some plain canvas that I had in my stash. I collected some other items ~ chipboard, ephemera and an 8x10 canvas.
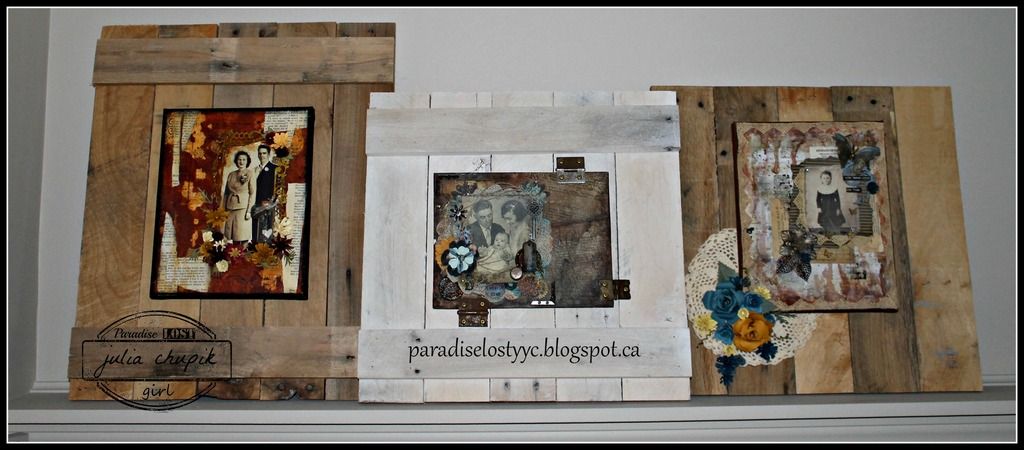

I started by adhering a scrap of patterned paper that I had in my stash to the frame before using matte medium to adhere some old receipts and newsprint. I then sealed the whole thing with matte medium & let the frame dry completely before the next step.


I then started adding Distress Stain in Vintage Photo, Weathered Wood & Old Paper ~ misting with water and letting it drip from the top of the frame. I made sure this was dry before repeating this step from the bottom of frame.
I added some molding paste through a stencil in 2 corners of the frame, some Remnant Rubs in a few places and Ground Espresso Distress Marker with my spritzer.
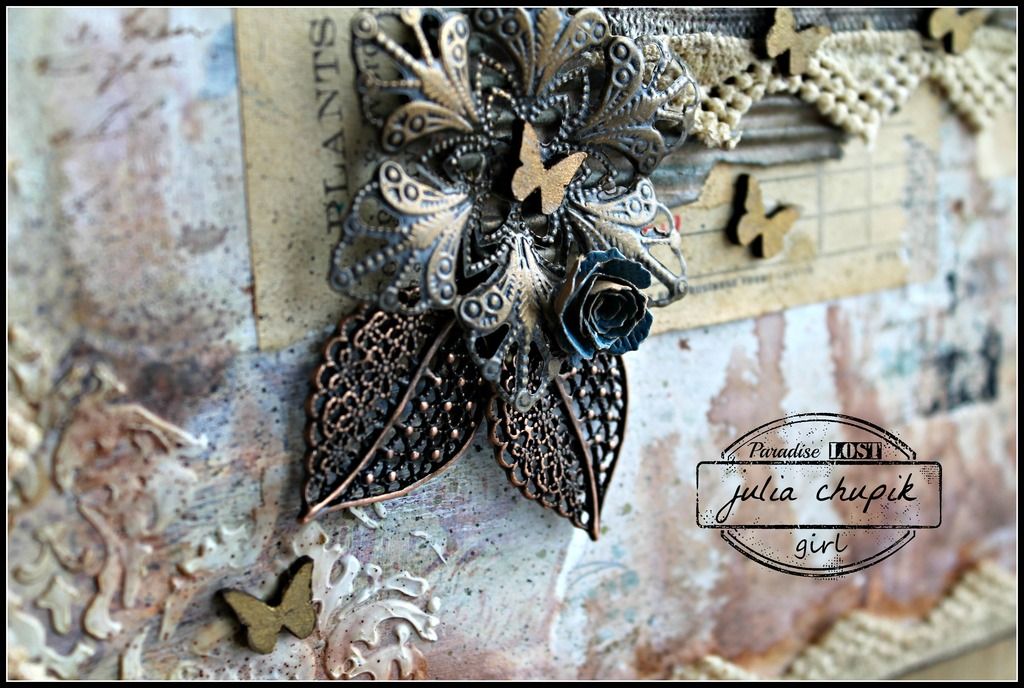
The metal pieces have been painted with Weathered Wood Distress Paint and wiped back when the paint is dry. I then applied some metallic rub-ons. I also used metallic rub-ons on the small chipboard butterflies. 


Check out these amazing Filigree Leaf Charms from Emerald Creek Craft Supplies. The antique metal alloy finish on the charms were perfect the way they were so I didn't have to add anything to them. 


Before adhering my frame to the pallet board backing I placed a vintage lace doily to the wood.
My final step was to make some Tiny Tattered Florals and some bigger flowers with the Tattered Pinecone & Jumbo Tattered Pinecone die from Sizzix.

My family history gallery so far ~ 


Thank you so much for popping by my blog today!

Don't forget to visit the rest of the Emerald Creek Design Team 


Show off your stuff for our Anything Goes Dare
for a chance to win a $25 credit to Emerald Creek Craft Supplies

~stay crafty~

julia

Monday, 8 February 2016

1 Background.4 Cards.Valentine's Day Edition

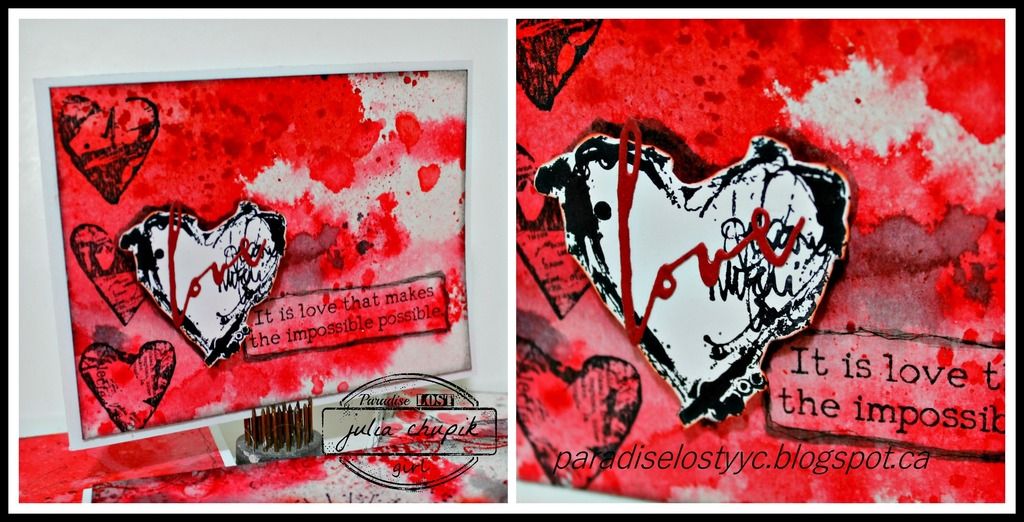
I'm back with another quick background that I made into 4 cards
especially for Valentine's Day.


This one I made especially for my husband - this year will be our 25th Valentine's Day together.
I truly believe that our love has made many impossible situations possible. 

Ok - enough of the sappiness let get on to the craftiness!


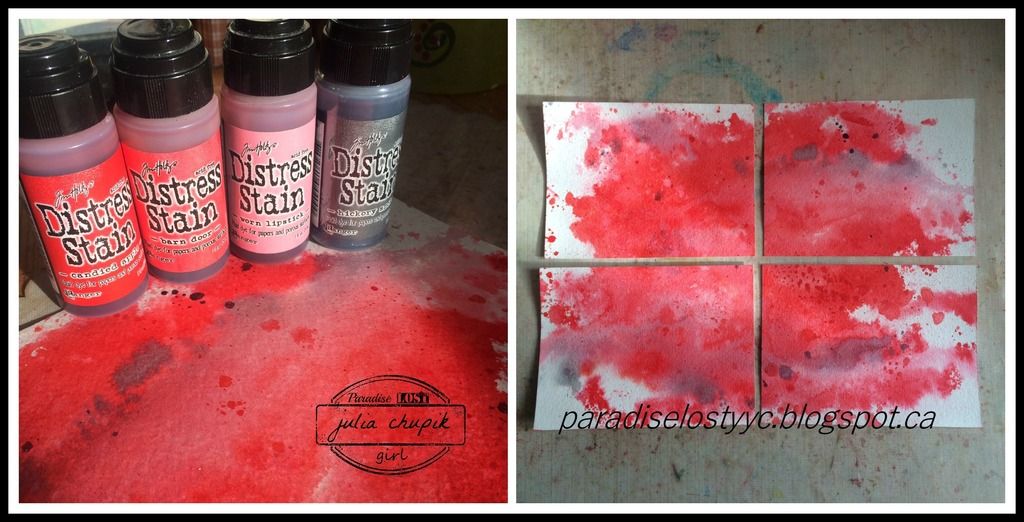
My base is a 9x12 sheet of 140lb cold press watercolour paper that I dragged through 4 Distress Stain Colours that I smooshed on to my splat mat and spritzed with water.
Once I was happy with the result I dried my paper and trimmed it down to 4 card fronts.


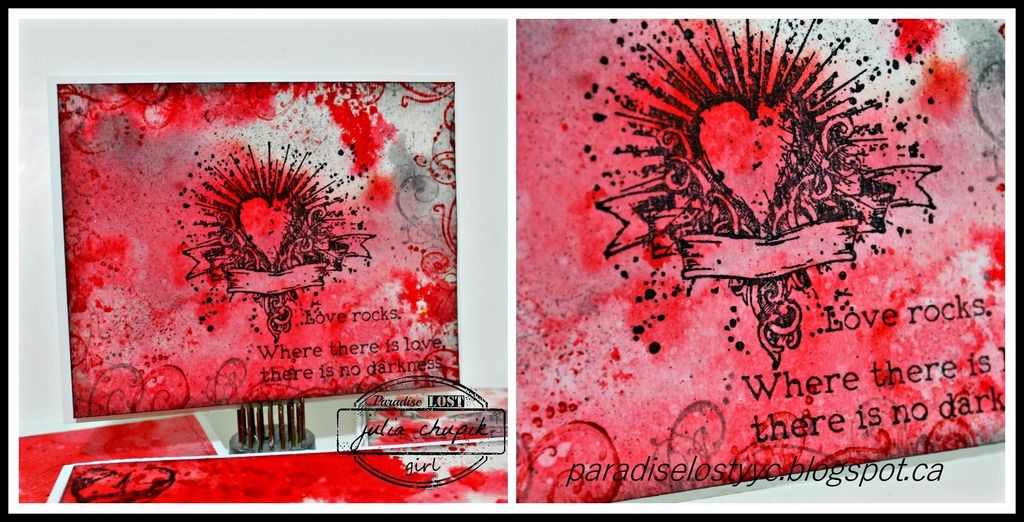
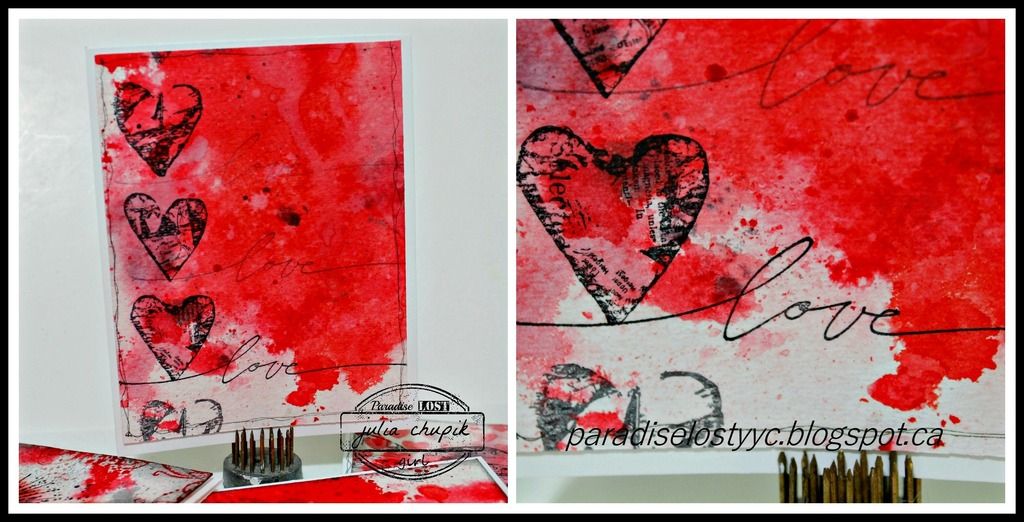
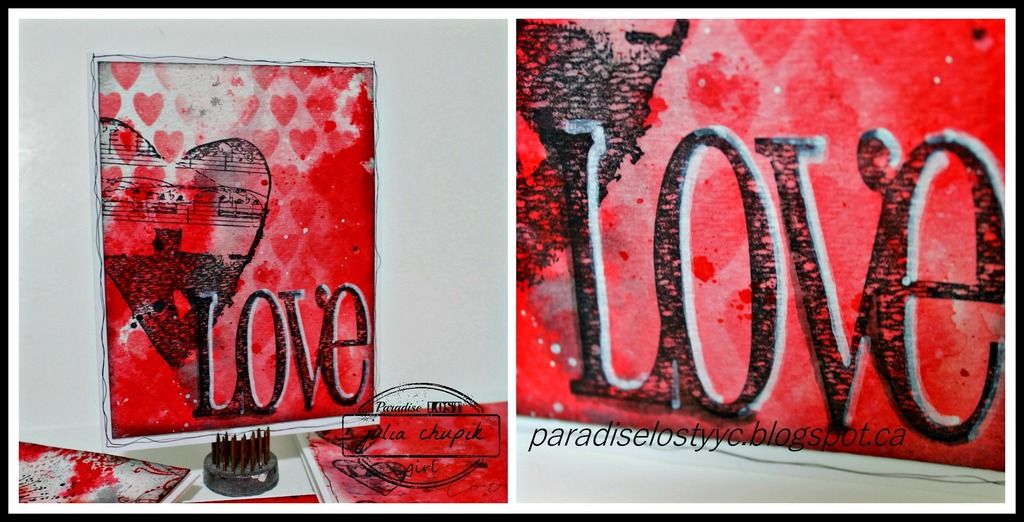
For these 4 cards I used the Collaged Hearts stamp set from Dina Wakely, the Urban Chic stamp set from Tim Holtz/Stampers Anonymous, and the script "Love" stamp from Stampin' Up!.


While rummaging through my stash I found this 'LOVE' stamp - its almost 2" tall and completely awesome! After I stamped it I used a white paint pen to outline one side of the word and then I used my Hickory Smoke Distress Marker on the other side, 
I just love how it makes the word pop off the background.


Thanks so much for visiting my blog today! 

I would like to submit this to the following challenges: