Showing posts with label flower jar. Show all posts

Friday, 24 November 2017

Tim Holtz Tag Swap - #2

I just participated in my 2nd Tim Holtz Tag Swap. 
I designed & created these tags for 2 fellow Tim Holtz Addicts - Sarah & Megan.


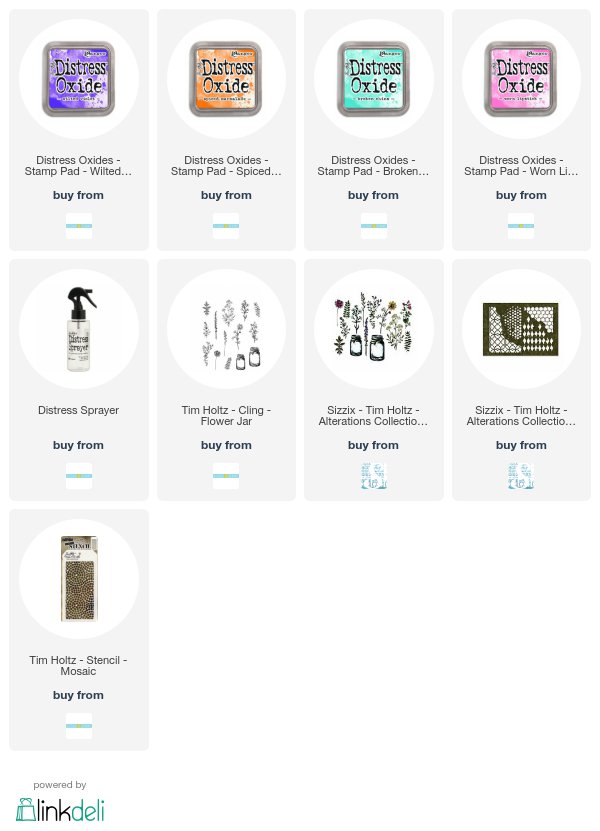
I started with 2 Kraft tags & 4 colours of Distress Oxides ~ 
Worn Lipstick, Broken China, Wilted Violet & Spiced Marmalade.

I applied the Worn Lipstick & Spiced Marmalade inks with an ink blending tool 
& spritzed with some water.

Next step - I applied each colour separately to my craft mat and dipped my tag into in. 
I did this with all four colours.

Next step - I took the 'honeycomb' die from the Mixed Media set from Sizzix & 
die cut some of the edges of my tag. These are going to be the top layer of my tag.

I die cut the main part of my tags as a card. I applied the Worn Lipstick & Spiced Marmalade with a blending tool to the inside of the 'card'. I spritzed one side the 'Blocks' layering stencil with some water then laid it on the card. I let it sit for about 30 seconds before lifting it off and repeating on the other side.

Next step ~ (sorry I forgot to take photos) for the outside of my 'card' I used the same 4 colours of Ditress Oxides & the same techniques used on the first set of tags. I ended with blending Seedless Preserves on the front of one card and Wilted Violet on the front of the other.
I then took the 2 tags I made first and adhered them over the front of the cards.
I also took some of the 'honeycomb' pieces and adhered them on the back of my card.

To create my flowers I blended Distress Oxides on to a piece of smooth white cardstock. I stamped the flowers from the Flower Jar stamp set all over my card stock then used the coordinating die set to cut them out.

I used an x-acto knife to cut a tiny slit in the 'jar', then slide the stems of the flower through and adhered with some tape.

I stamped my sentiment inside my card and adhered a few of the extra flowers below it.

My tag cards were finished and ready to mailed off to new crafty friends.


Saturday, 15 July 2017

Celebrate......Botanicals & Distress Oxides

Hello & welcome!

I'm here to share a card I made to give to my grandma who is turning 90 years young next week.
She is an amazing woman and I am so happy to be able to be with her on her special day.

Here is the finished card


For this card I used the Flower Jar Stamp Set with matching framelits, Distress Oxides, Archival Ink and watercolor paper.

I started by applying my Distress Oxides on to my splat mat (which is actually a bbq mat I bought at the $ store) then I gave these a spritz of water. Next I took my 5"x 5" square of watercolor paper and began creating my background. 

To create an edge or frame for my card I swiped just the edges through the leftover ink on my craft mat. Normally I would use my blending foam applicator to do this but this was a happy accident on one edge. I loved it so much I did the same on the other 3 edges.

Here is the background

I needed something to help ground my focal point to the card so I took a stamp from the Tim Holtz Mixed Media 2 stamp set to create this loose crosshatch on my background.

I used some scraps of watercolor paper that I had on my desk to create the mason jars.
I love my Misti. I get perfect placement and a sharp, crisp stamped image every time.
I used the Flower Jar framelit set to die cut out my jars. Its hard to see in the photo but I also applied some glossy accents to the jars to give them some highlights.

To create my flowers, I first took some scrap watercolor (again!) and applied some Distress Oxides using the same technique as described above. I then stamped my flowers (using my Misti) then die cut these images out using the coordinating framelits.

It was time to stamp my sentiment and assemble my jars. I used pop dots for the jars then used liquid glue to tuck my flowers in behind the jars.
Products used:

Tim Holtz Flower Jar Framelit set from Sizzix
140lb cold press water color paper
Archival Ink - Jet Black