
It's the end of November and my thoughts are turning to all things Christmas.
Cards & gift tags to make, gifts to wrap, meals to plan and all that decorating!
What better way to get into the holiday spirit than to make & decorate a 25 Day Advent Calendar.
Each box is like a tiny piece of art and I love how this one turned out.
I was initially inspired by this package of paper from Carta Bella called Warm & Cozy. Isn't is dreamy! Then I decided to combine it with an 8x8 pad of Yuletide from Tim Holtz.

These advent calendars are handmade - my dad builds the wood box out of MDF and then I make the smaller boxes from chipboard. I have bought the advent calendars available on the market in the past but these are so much more sturdy.
I painted the outside of the box with a mix of bright red and burnt sienna acrylic paint - at about a 2:1 ratio. I didn't mix the paints completely as I wanted the brown of the burnt sienna to be visible as streaks throughout the red.

Each smaller box was painted with Peeled Paint Distress Paint on the outside and a wash of burnt sienna on the inside.
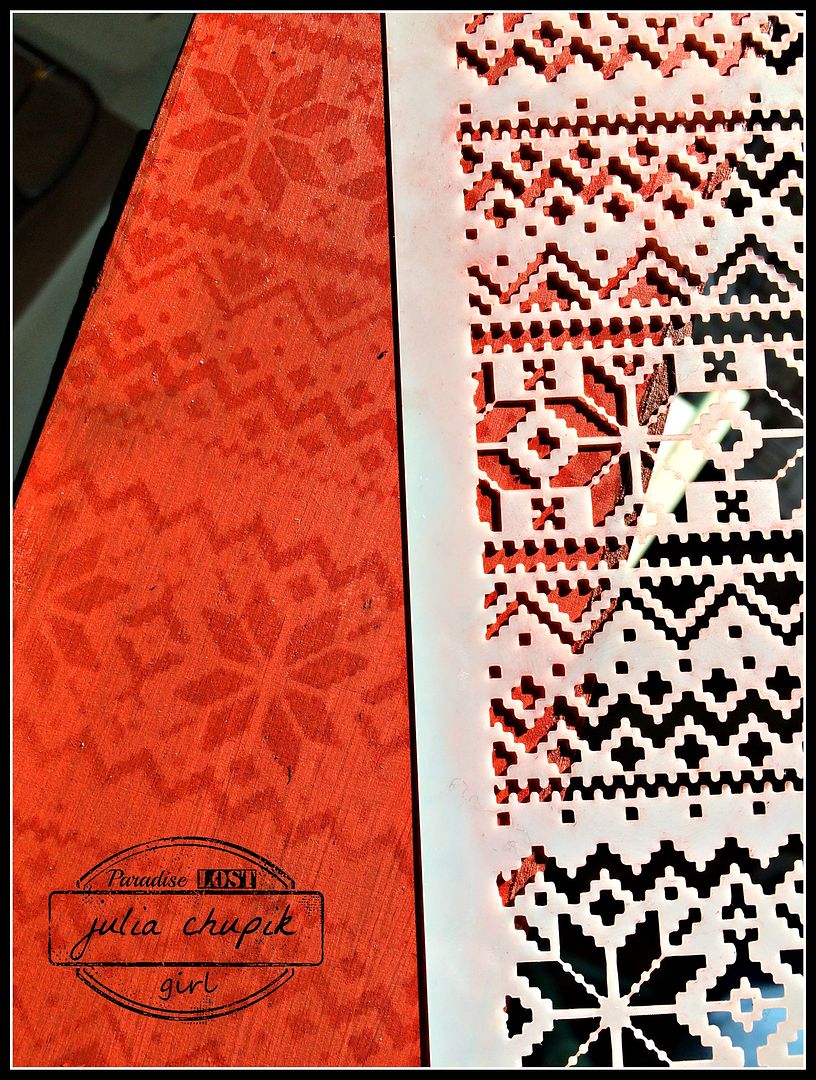
I then used the Holiday Knit Layering Stencil from Tim Holtz and Fired Brick Distress Ink to apply the design on all sides of the MDF box.
I then glued squares of the paper on the front of each box as well as lined the back and bottom sides of the boxes on the inside.
Once I found enough handles & drawers pulls and other bits & bobs it was time to start decorating.
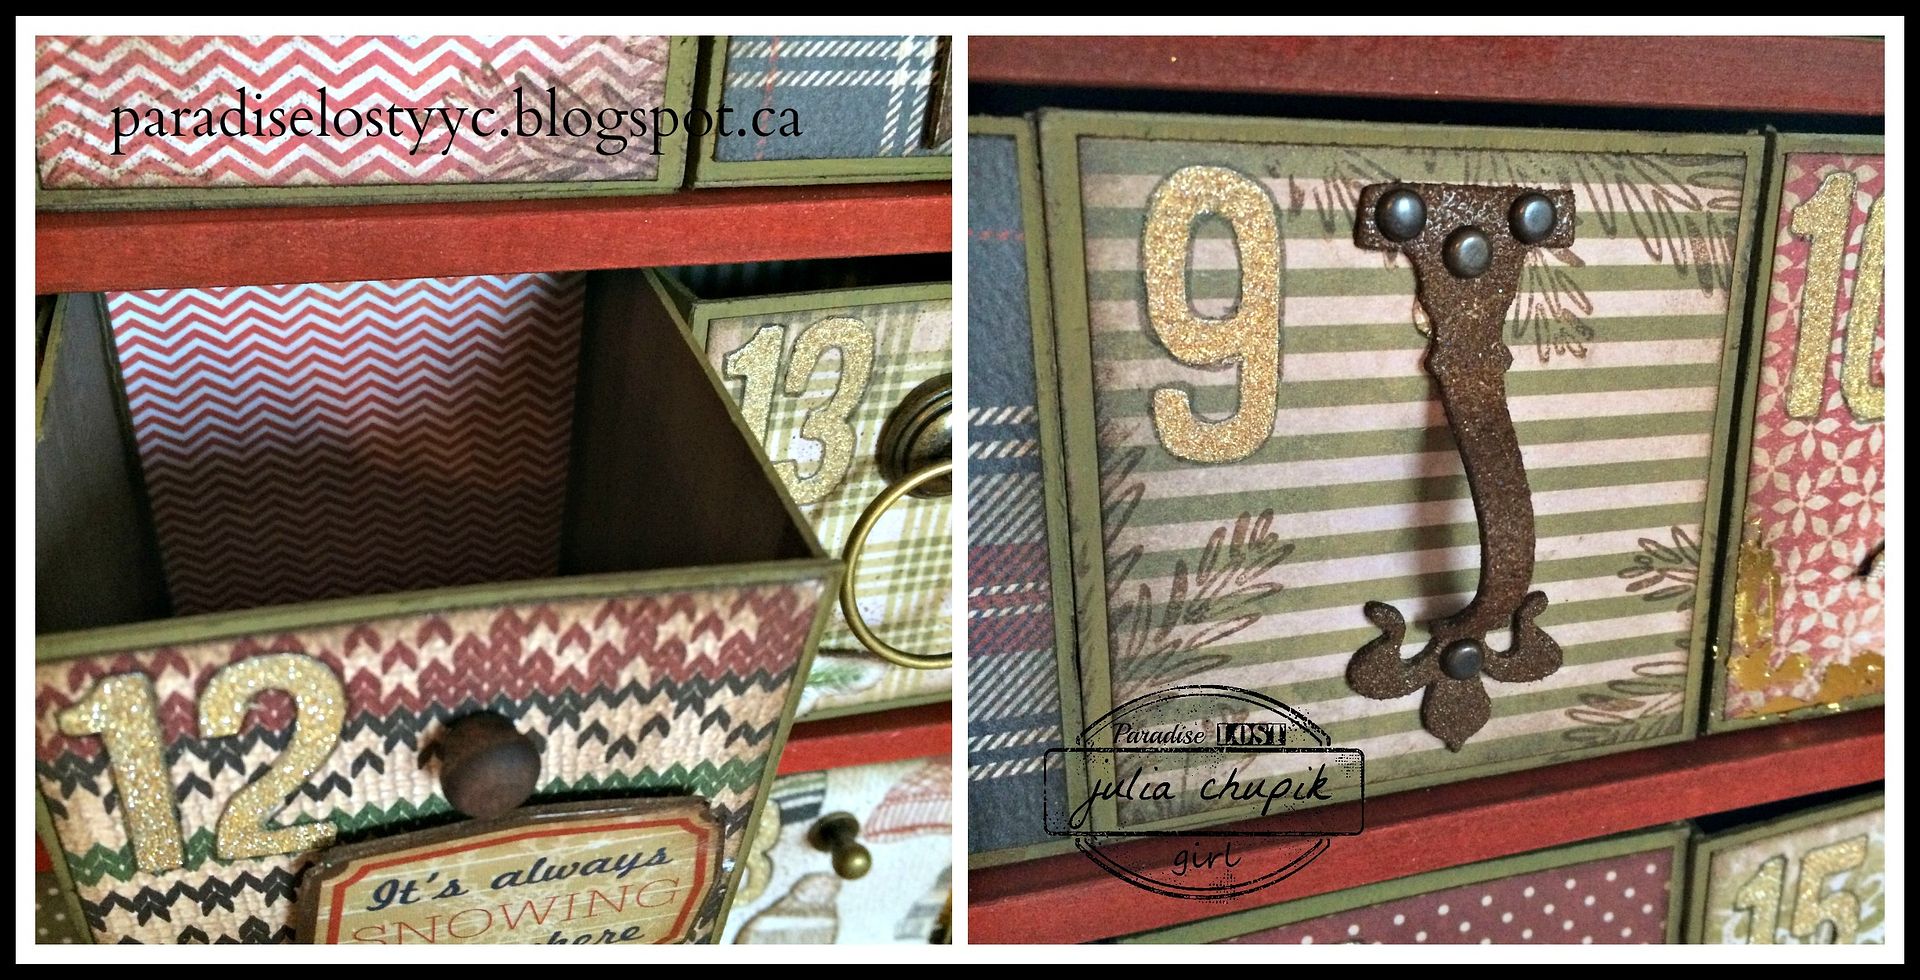
I used the Alphabet thinlit die from Tim Holtz/Sizzix and a sheet of gold adhesive backed deco sheets from Tim Holtz Idea-ology.

I traced around the numbers with my hickory smoke distress marker just to add a bit of shadow.
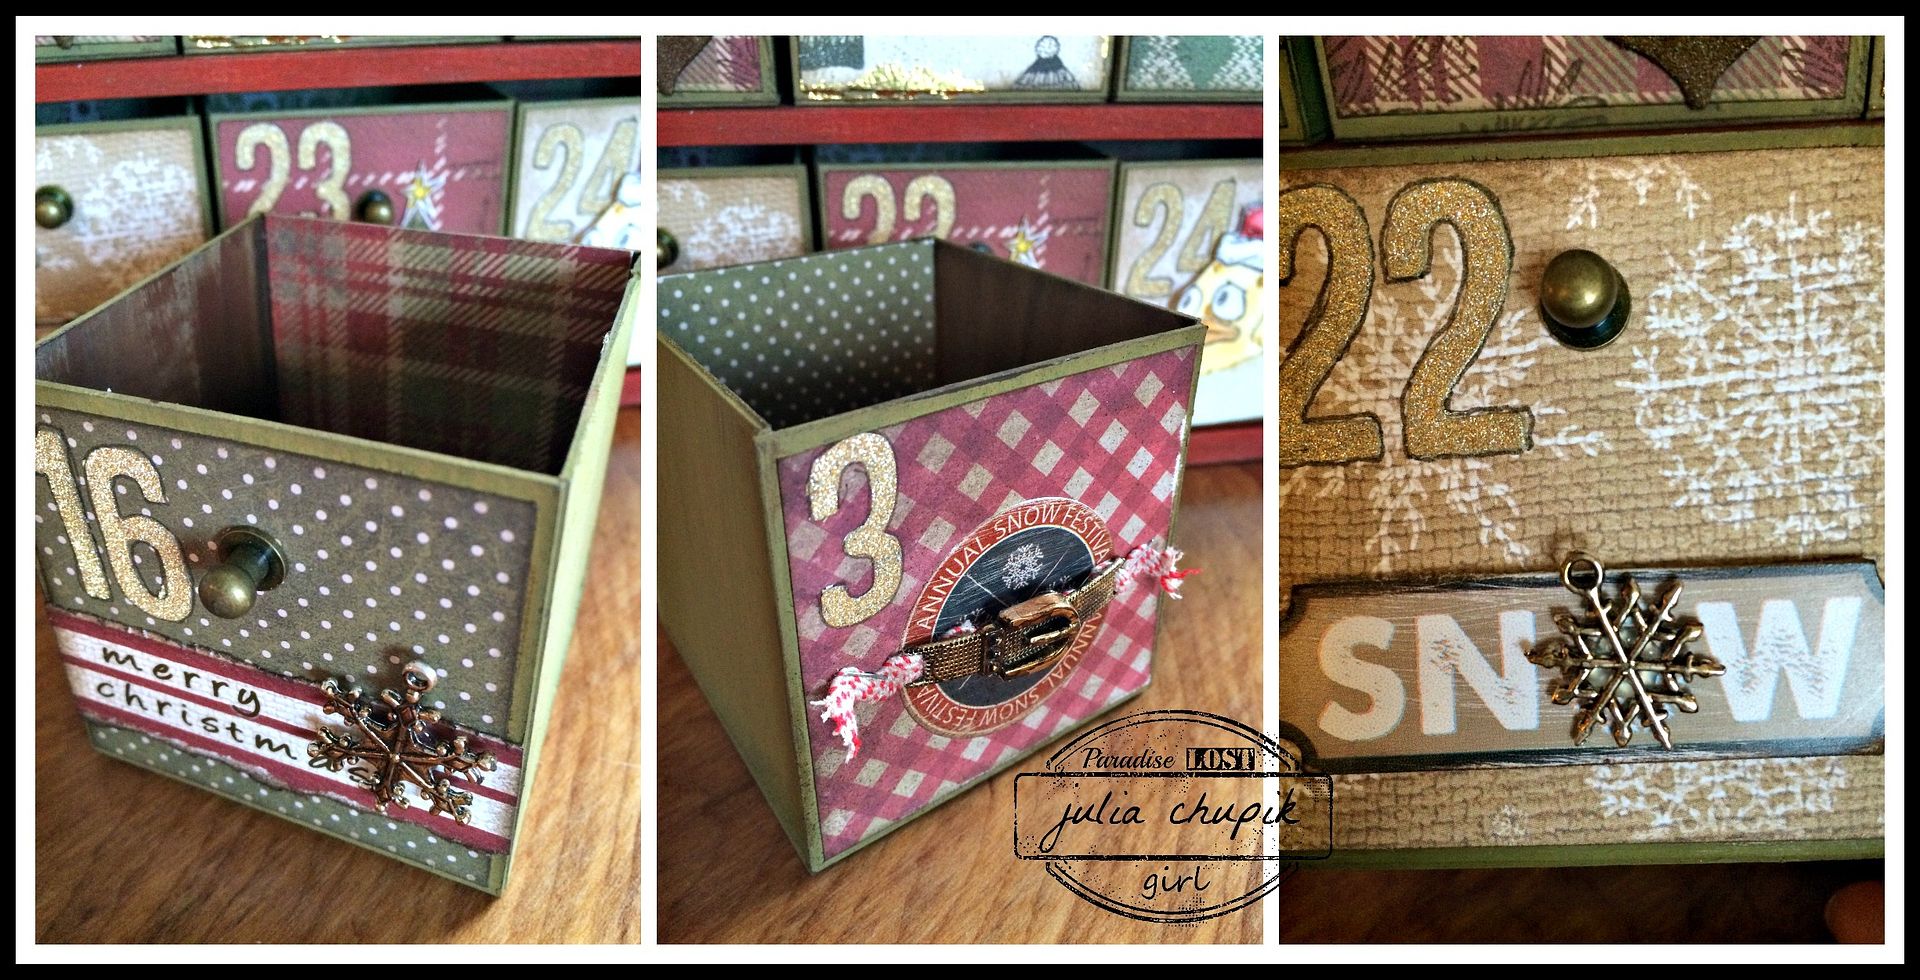
I was so excited to finally use my snowflake charms from Emerald Creek Supplies. These metal alloy charms are gorgeous! I used alcohol inks in various shades of brown to give them a vintagy look.
Check out the Victoria Snowflake Charm & Mini Snowflake Charm.
I also used a Buckle Charm for a drawer pull. It was the perfect size and looked great after I used alcohol inks to add some colour.
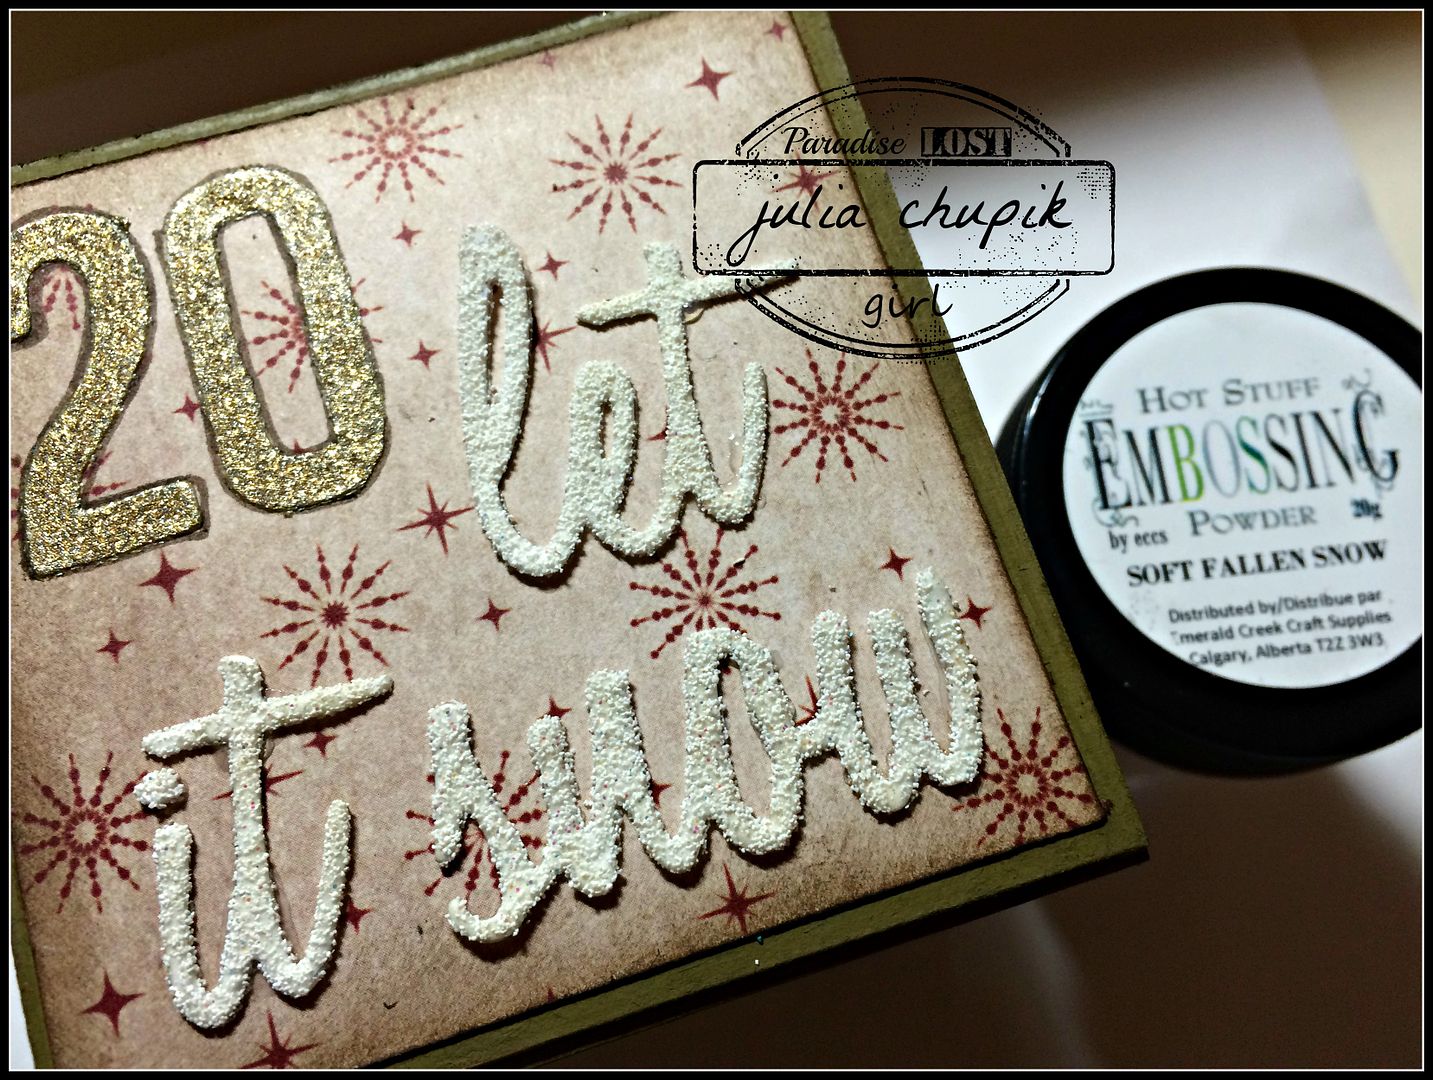
I know I have said it before but I am in love with the Exclusive Line of embossing powders from Emerald Creek Crafts. This time I used the Soft Fallen Snow. I first used it on the words Let It Snow. I just love the texture and the tiny flecks of sparkle is perfect.
I also used the Soft Fallen Snow on the Stacked Snowflakes - I first covered them with Picket Fence Distress Crackle Paint and while it was still wet I sprinkled the embossing over it. I just love the look of it after the paint dried ans cracked. I finish it off I gently inked the edges of the snowflake with Vintage Photo Distress Ink.
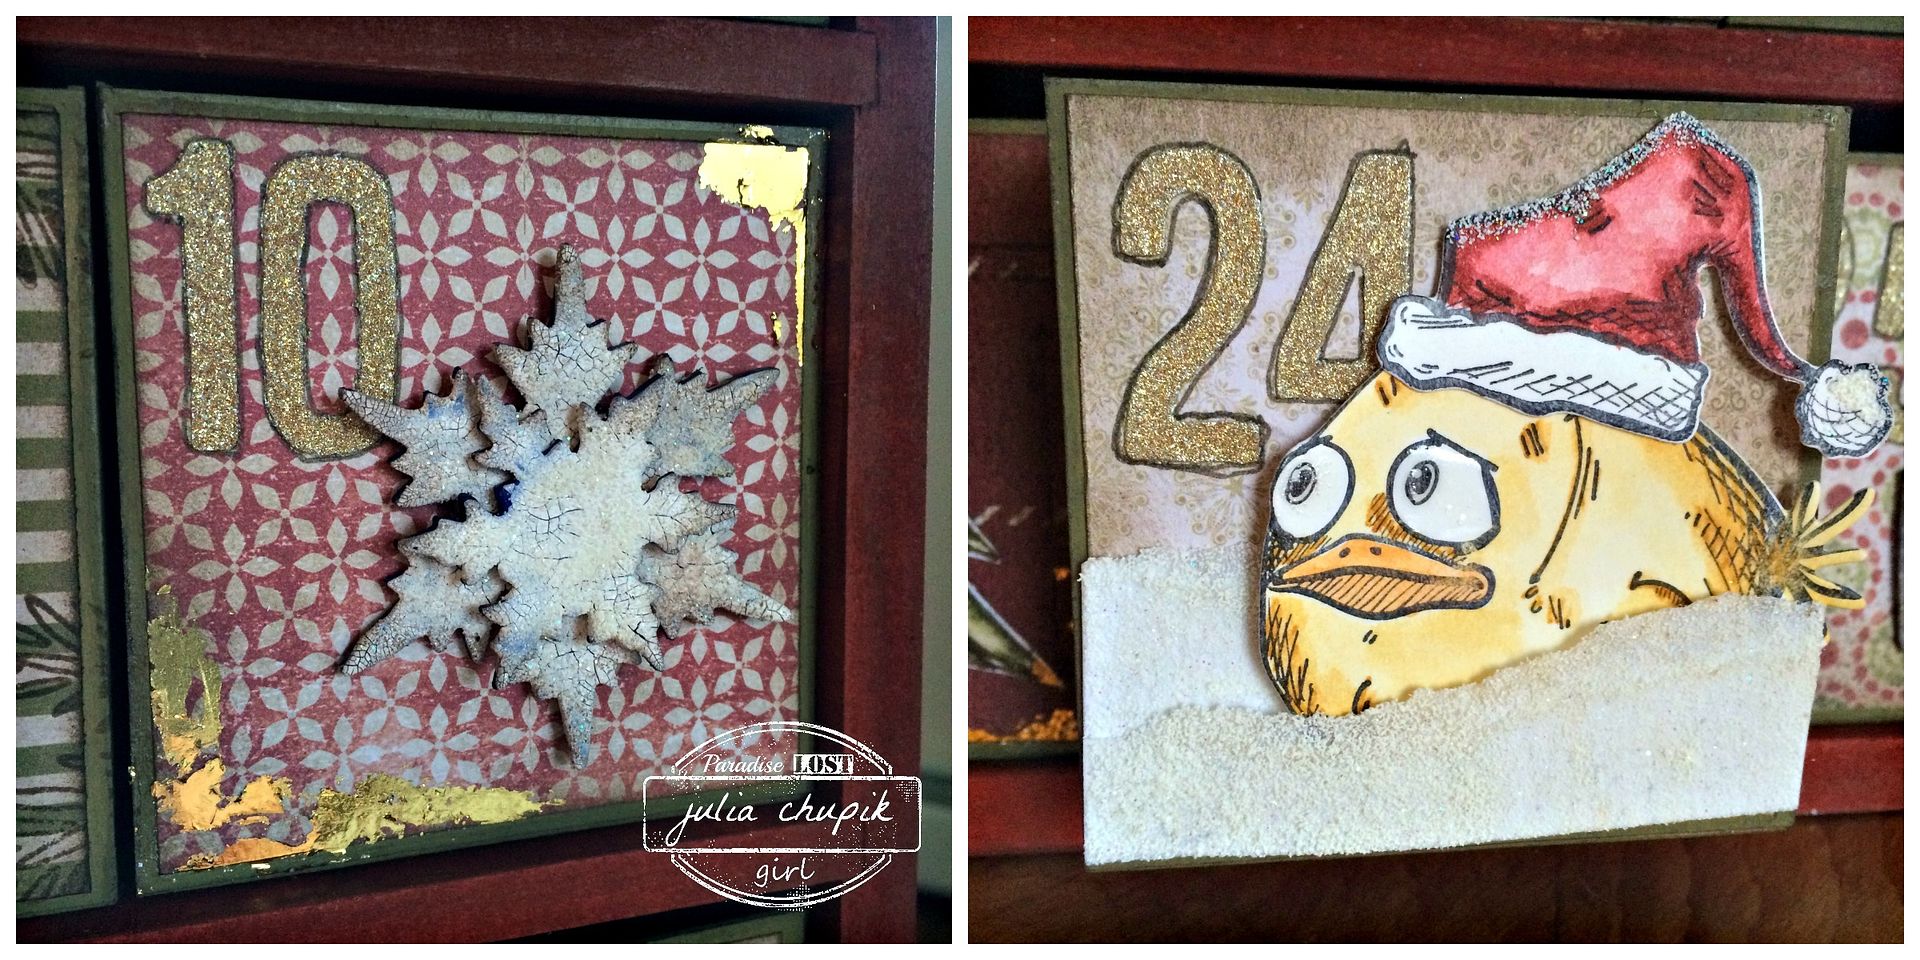
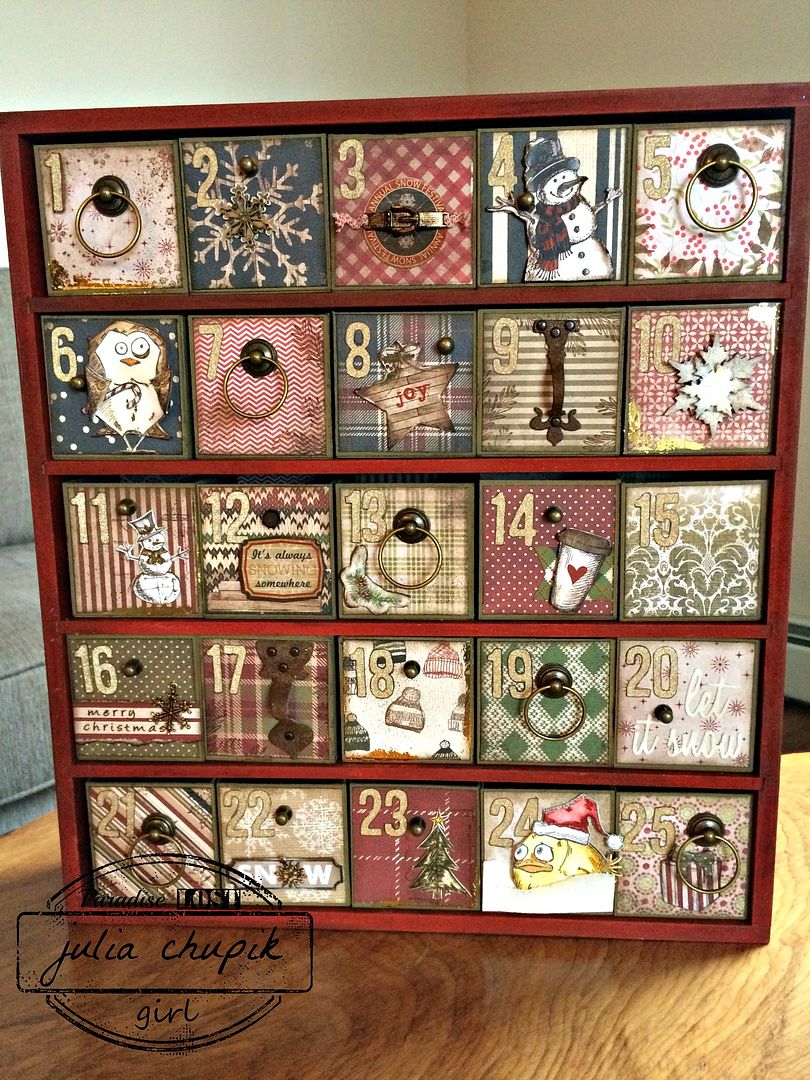
I also used this embossing powder on a couple of scrap pieces of torn white cardstock. This made a nice little 'snowdrift' for my Crazy Bird.
Here is my finished 25 day Advent Calendar - already to go for December 1st.
For more Festive inspiration check out the projects from the rest of the Emerald Creek Design Team
Karon - Karon's Krafty Korner
Diana - missusgmoments
Cathy - Amethyst Dragonfly's Alcove
Katelyn - A Creative Journey
Now that you are feeling festive head on over to the Emerald Creek Dares blog for the new Festive challenge. Share your Festive projects with us for a chance to win a $25 credit to the online store.

Thank you so much for dropping by my blog today!
I appreciate you taking the time and leaving a comment.

This is crazy cool. If you feel like selling the advents in the store let me know because I know I want one now!
ReplyDeleteI am designing a new one in the spring but I have one of this style left. It's yours if you want it. ;)
DeleteOMG Julia - this is truly amazing!!! Love all the elements! Fabulous!
ReplyDeleteThanks so much Karon!
DeleteAmazing calendar! Each box is so perfectly put together and your wee bird is too funny!
ReplyDeleteThanks Nicole!
DeleteLove the calendar!!!
ReplyDeleteThanks Sandy! Where have you been? It's been ages since we hung out!
DeleteOMG I'm in love with your advent calendar! I love all the different pieces you used and the mix of the different paper lines is fantastic!
ReplyDelete-Katelyn
Thanks so much Katelyn! I love making these~they are so much fun!
DeleteMy good golly, Julia! And wow, too! This is like 26 projects in one! So many little details to delight the eyes! I love all your clever ides for drawer pulls and that Let It Snow sentiment just tugs at my heart! Bravo 26 times over! Hugs!
ReplyDeleteI never thought about it like that but I guess you're right! I like to think of each box as a 2 5/8" x 2 5/8" mini canvas. Thanks so much for your lovely comments!
DeleteI love this so much!!! I want to make some for craft fairs next year!! So awesome Julia!!
ReplyDeleteThanks, Cathy! They are quite addictive.
Deletei love advent calendars and yours is perfectly put together!!! i especially love that it was created/made/designed by both you and your dad. that makes it even more special... love all the tiny details that you have shared with us!!
ReplyDeleteThank you so much for your kind comments, Diana!
DeleteOh my gosh Julia, that is fantastic! What a wonderful idea for an advent calendar and the way you have painstakingly decorated each and every box with different papers and embellishments is quite amazing, what a wonderful keepsake for your family to enjoy year after year. Thanks so much for sharing it, Deb xo
ReplyDeleteWhat a delightful advent countdown... great use of the papers, and I just love the detailing - especially the crazy bird stuck in the snowdrift!
ReplyDeleteAlison x
Wow!! This is absolutely beautiful.....so much eye candy in those details! What a great project for this and future years - very special! xx Lynn
ReplyDelete