Showing posts with label Distress Inks. Show all posts

Tuesday, 25 July 2017

Christmas In July - Scrap 'n Stamp Blog Hop

It's beginning to look a lot like Christmas.....in July!
Welcome to my blog and if you have been following the Scrap 'n Stamp Christmas in July Blog Hop you have probably come here from Niki Stone's blog and her amazing project.

Here is my finished card....


The stocking die is gorgeous! It's from Dee's Distinctly and can be your's for FREE with any $50 order at Scrap 'n Stamp! (Free Gift Offer Applies to Canadian Orders Only)

I started with a 4.25" x 5.5" piece of heavy white cardstock & using my foam applicator applied an all over coat of Distress Oxide Antique Linen. Next I took my Holiday Knit Layering Stencil from Tim Holtz & Stampers Anonymous and applied some Distress Ink Candied Apple.

What happened next was a happy accident - I wanted to apply the Candied Apple Distress Ink around the edge of my cardstock but accidentally picked up my Antique Linen Foam Applicator. Ooops....but I loved the way the Antique Linen Oxide softened the Candied Apple Ink. I carried on and then did another layer of Candied Apple over the first layer. 

I heat embossed some Burnt Copper Leaves embossing powder from Emerald Creek
on to my stocking die cut. I then glued the stocking to the red sparkle paper.
I stamped the 'Merry Christmas' with Archival Ink Potting Soil and then adhered the cardstock to my card base. 


Now head over to Karen's blog for even more Christmas In July inspiration.

Be sure to check out the entire lineup of crafters participating in the blog hop:


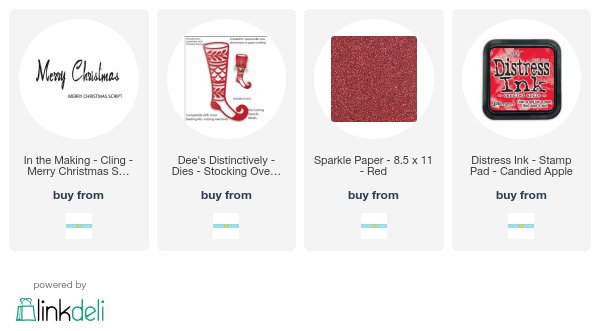
Products used for this project:


Saturday, 1 July 2017

Scrap n' Stamp Canada Day Blog Hop

Happy Canada Day! 
Today we are celebrating Canada's 150th birthday with a special blog hop over on the Scrap 'n Stamp blog, sharing projects featuring the cute new 'Busy Beaver' stamp & die set by Taylored Expressions. Be sure to leave comments along the way because Scrap n' Stamp Canada has some prizes to give away randomly - $150 in gift certificates (3 lucky people will each win a $50 gift certificate) and a Busy Beaver Stamp & Die Set with a bonus maple leaf die. Winners will be randomly chosen and announced on the Scrap N' Stamp blog on Monday!

Here is sneak peek of the finished card - cute, right?

Here is the Busy Beaver Stamp & Die Set I received from Scrap 'n Stamp.
So adorable and check out those sentiments. So funny!

I couldn't create a Canada Day card without using some products from a couple of 
my fave Canadian manufactures. 


After stamping and die cutting my Busy Beaver image I coloured him in with Distress Markers.
His birthday hat is from the Crazy Accessories stamp with matching thinlit die. I love these sets - it makes it so easy to create accents for cards.

My background was created with the help of my Misti.
 I first stamped my circle background stamp (Halftone & Rings - Stampers Anonymous) with Candy Apple Distress Ink two times to get a nice bright red. 
I made a note of where my paper was before removing it from the Misti, giving it a spritz of water and then drying it 

I then placed the paper back on my Misti in the same place and then stamped the same image with Black Versafine Ink. I love this layered look/

The wood pieces from Southern Ridge  were painted with Candy Apple & Picket Fence Distress Paints. 

Now head on over to Karla Yungwirth's blog for even more inspiration and don't forget to leave a comment for your chance to win!

Karla's Blog - Creative Love Affair


Friday, 17 June 2016

Father's Day Cards....for those special men in my life.

I am lucky to have 3 wonderful men in my life that
represent all the best qualities of being a great dad.

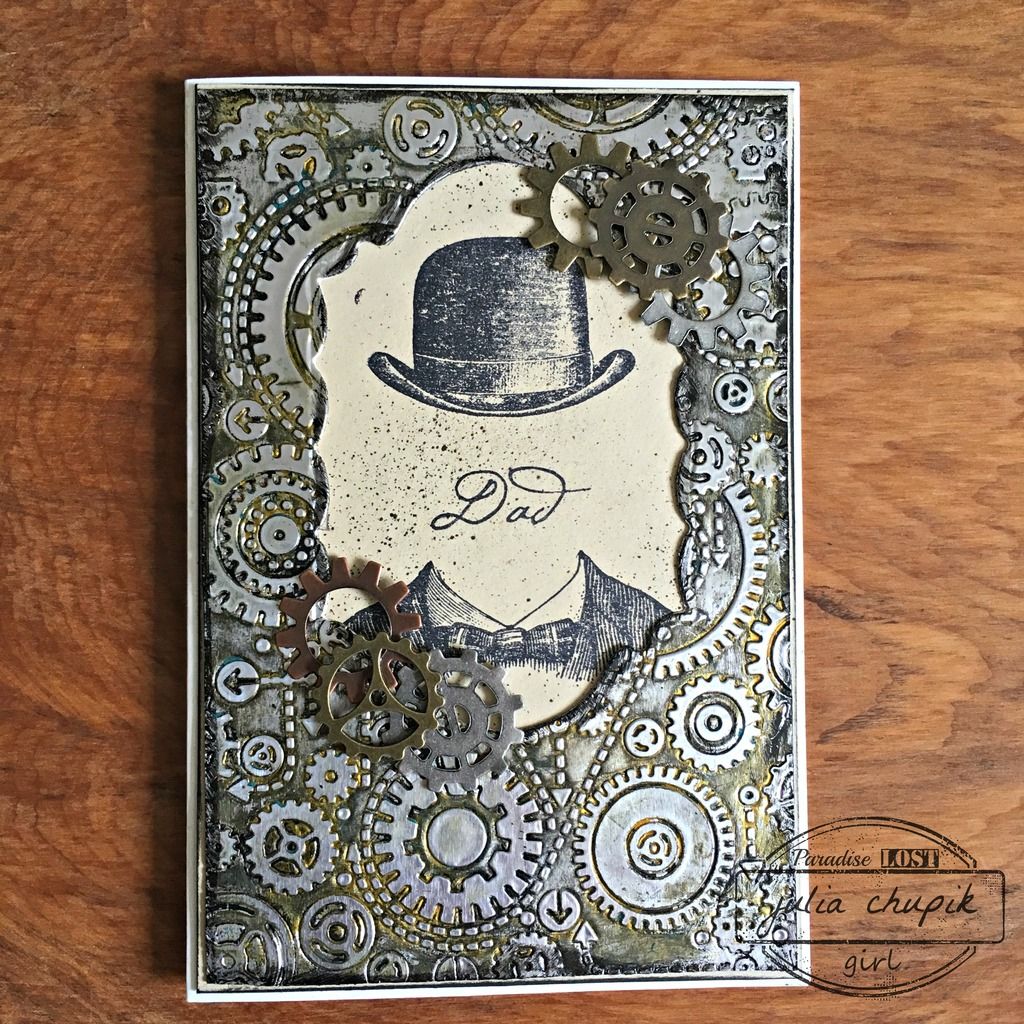
First up - my own dear dad. Living in a house with a
menopausal woman and 2 teenage girls must have been trying
but somehow he survived and still likes all of us. Now, he has 2 amazing son-in-laws so
all the drama we gave him was worth it.
Gears Embossing folder, Foil Paper, alcohol inks, bronze & black paint 

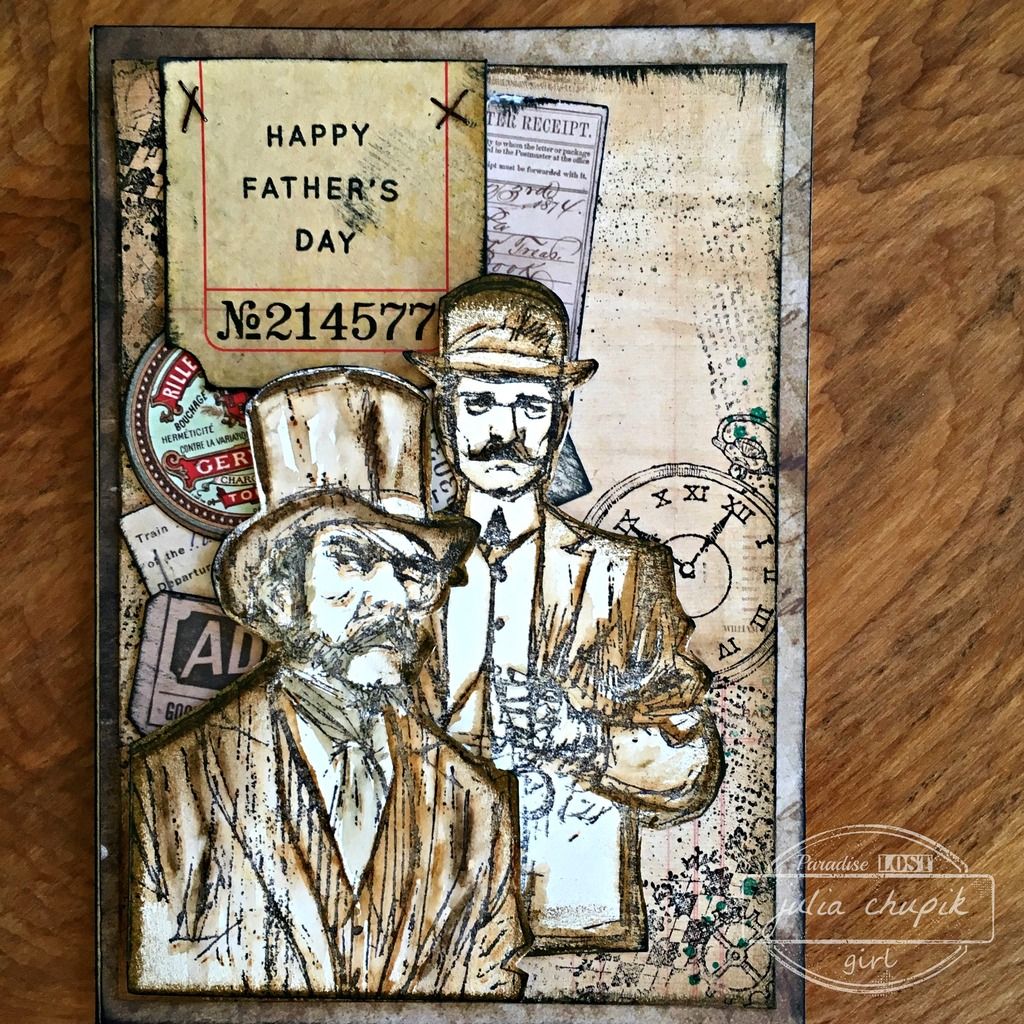
Next up my wonderful father-in-law. He set an amazing example of father & husband 
for his 5 sons. 
Distress Marker Water colour, stamping, ephemera

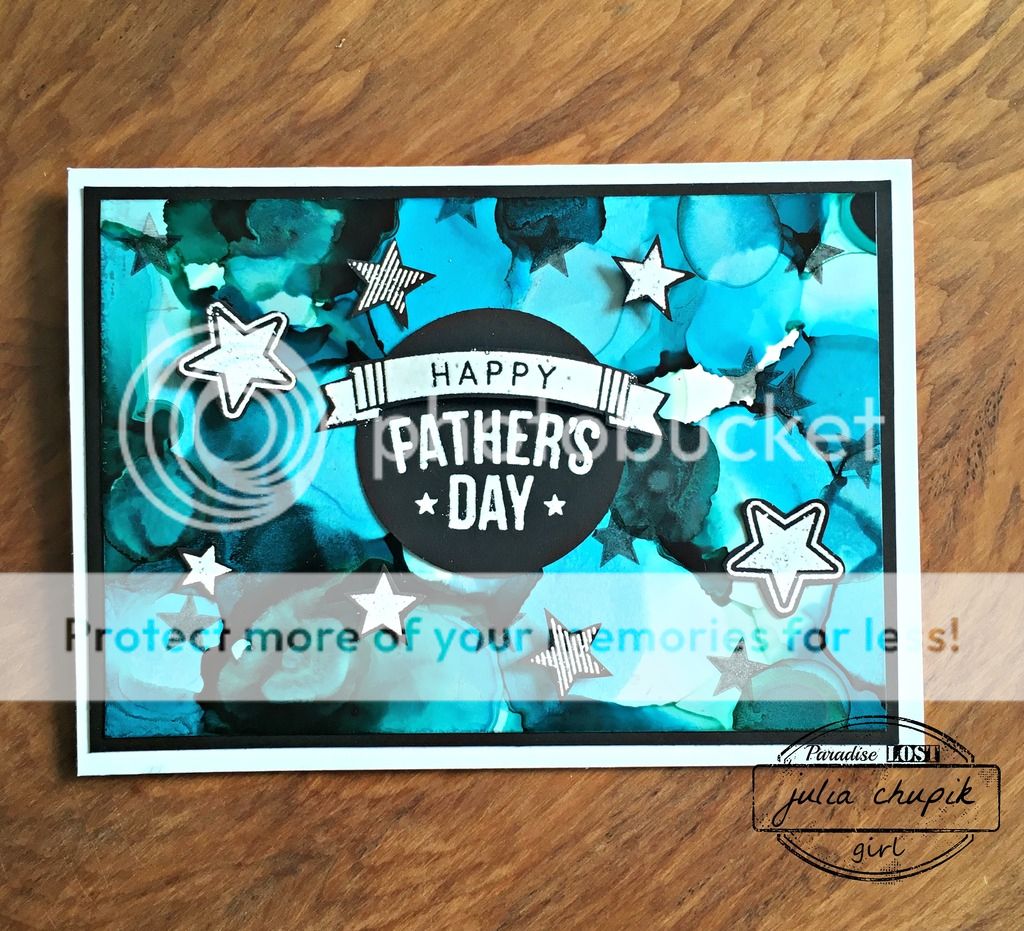
And last but certainly not least my husband and the father of our 2 kids.
For 25 years you have put up with my craziness and for 22 of those 25 years have been
a wonderful father to our 2 kids. Thank you for helping me to not screw them up.
Alcohol Inks on Yupo


Tuesday, 7 June 2016

Summer Of Creative Chemistry - Week 1

Did you hear the exciting news? Tim is introducing a brand new technique series - Creative Chemistry 103. CC103 will begin in August but in the mean time Tim will guide students through
CC101 & CC102 - with brand new challenges & giveaways.
Check out all the exciting details here and join in the fun!

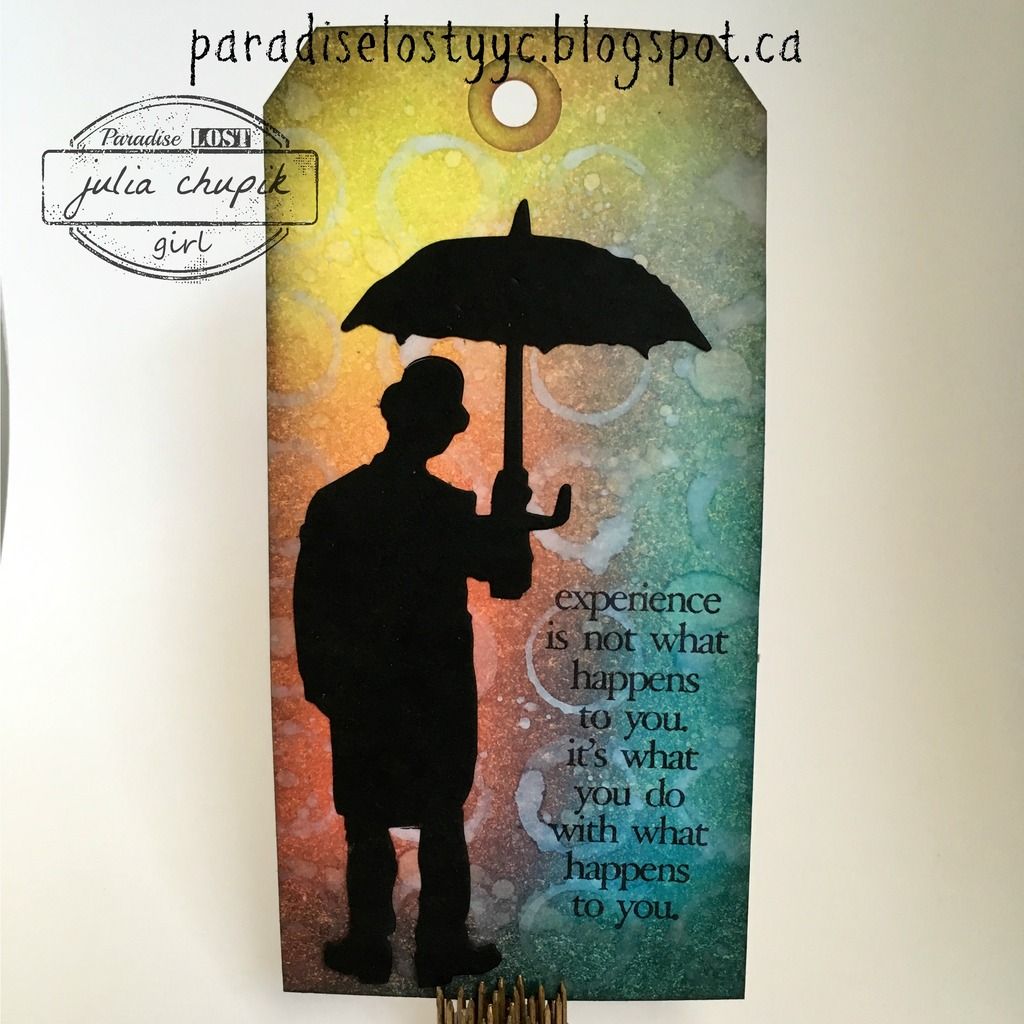
For week one students were challenged to use four or more Distress Inks to create a tag, card or something else using a technique used in class.

I decided to make a tag using 2 of the 3 techniques and 6 Distress Ink colours.

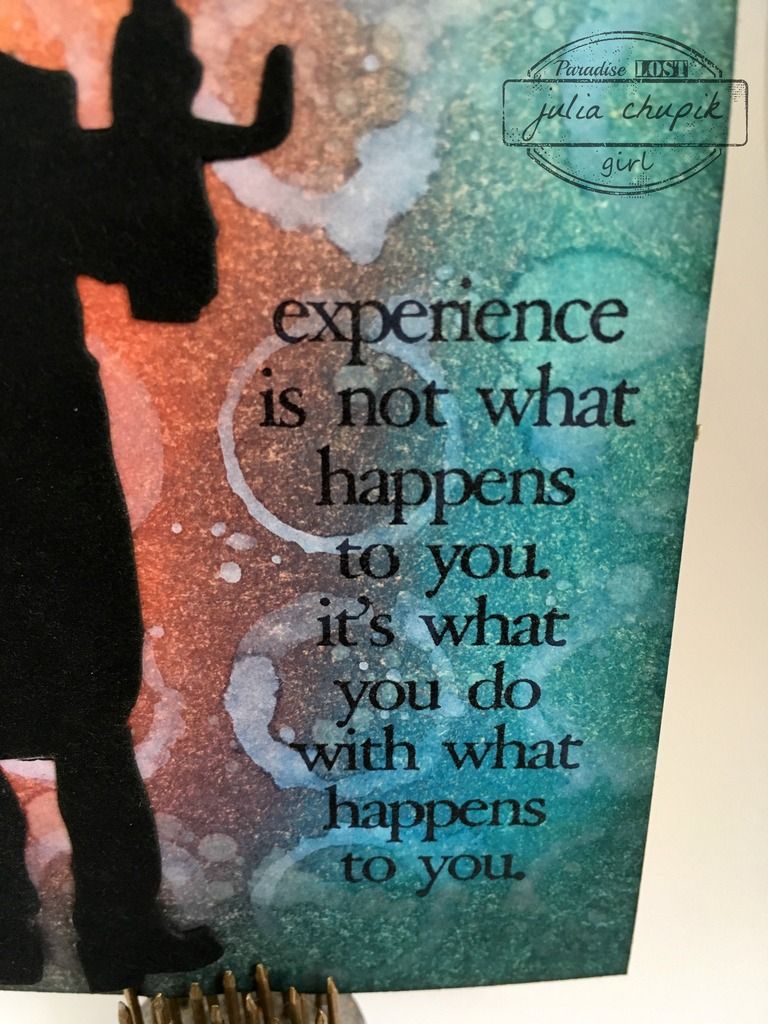
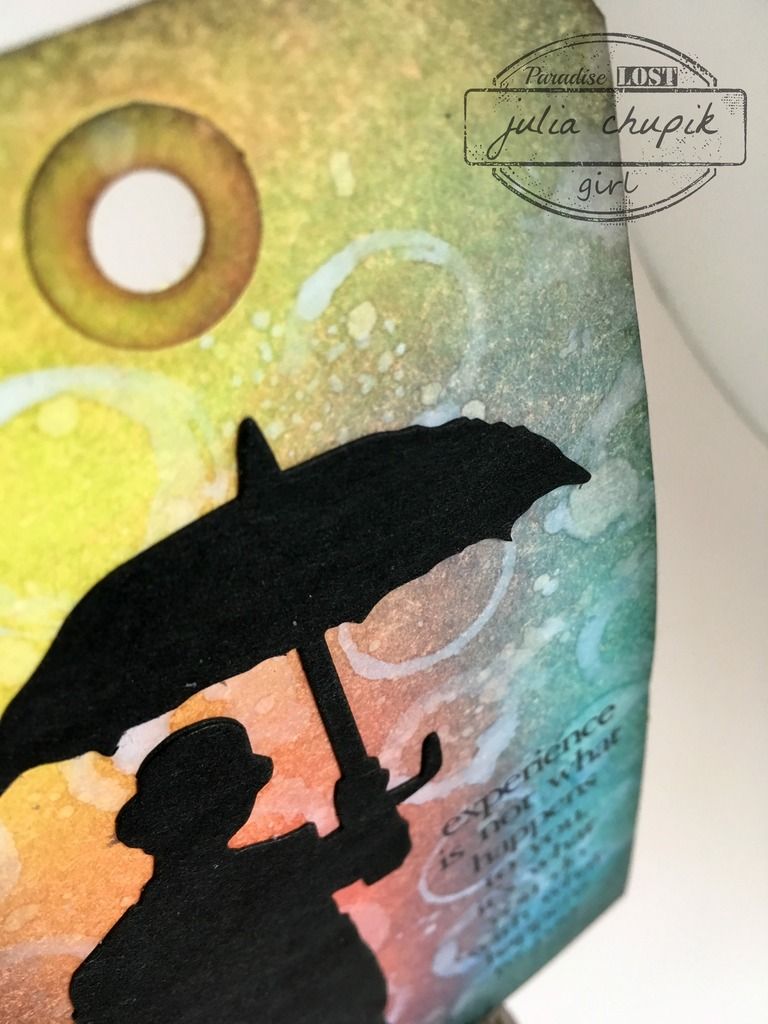
The Distress Inks I used for the Spritz & Flick are Twisted, Abandoned Coral, Salty Ocean and Tumbled Glass. Once I had flicked water over my tag and let it dry then I applied the brush-less watercolor technique. I applied Picket Fence Distress Ink to my Rings background stamp from the Halftone & Rings stamp set from Stampers Anonymous, spritz my stamp with my mister then stamped it on my tag.

I love how this technique turned out over my inked background.
I applied Hickory Smoke Distress Ink with my round blending tool to the edges to finish it off.
Finally adhering a die cut of Umbrella Man and a sentiment stamp from the Stuff To Say set from Stampers Anonymous to complete my week 1 homework.


Submitted to: 


Friday, 27 May 2016

Tim Tag Remix - May Tag #3

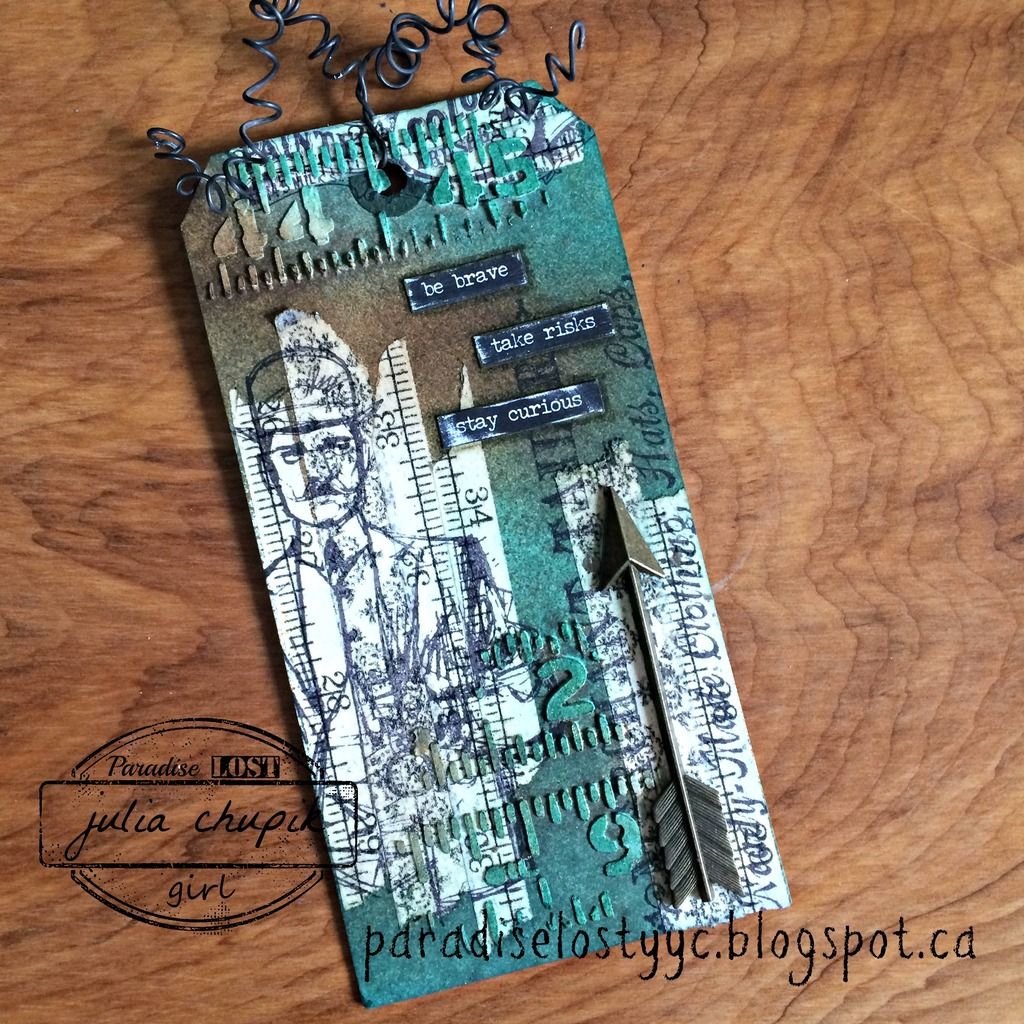
It's Friday and my 3rd and final tag for Tim's May Tag Remix.


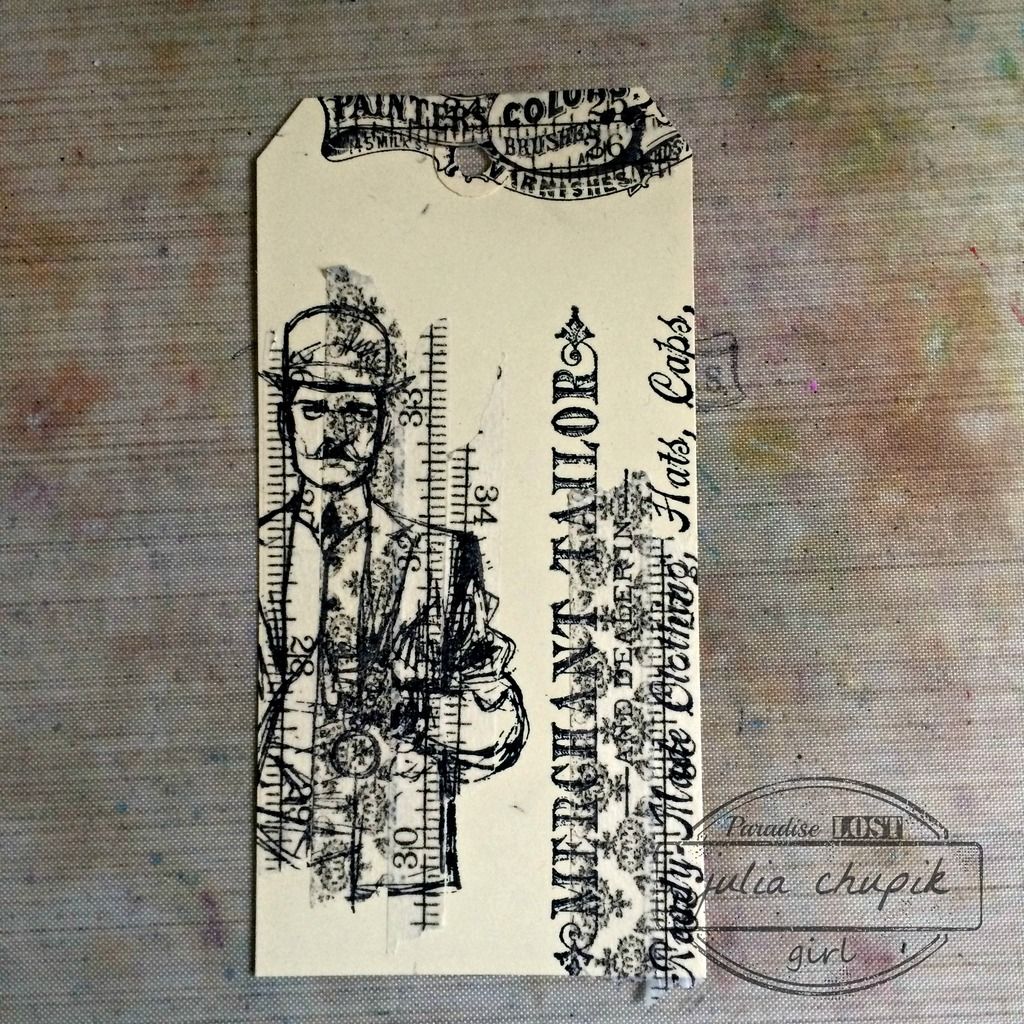
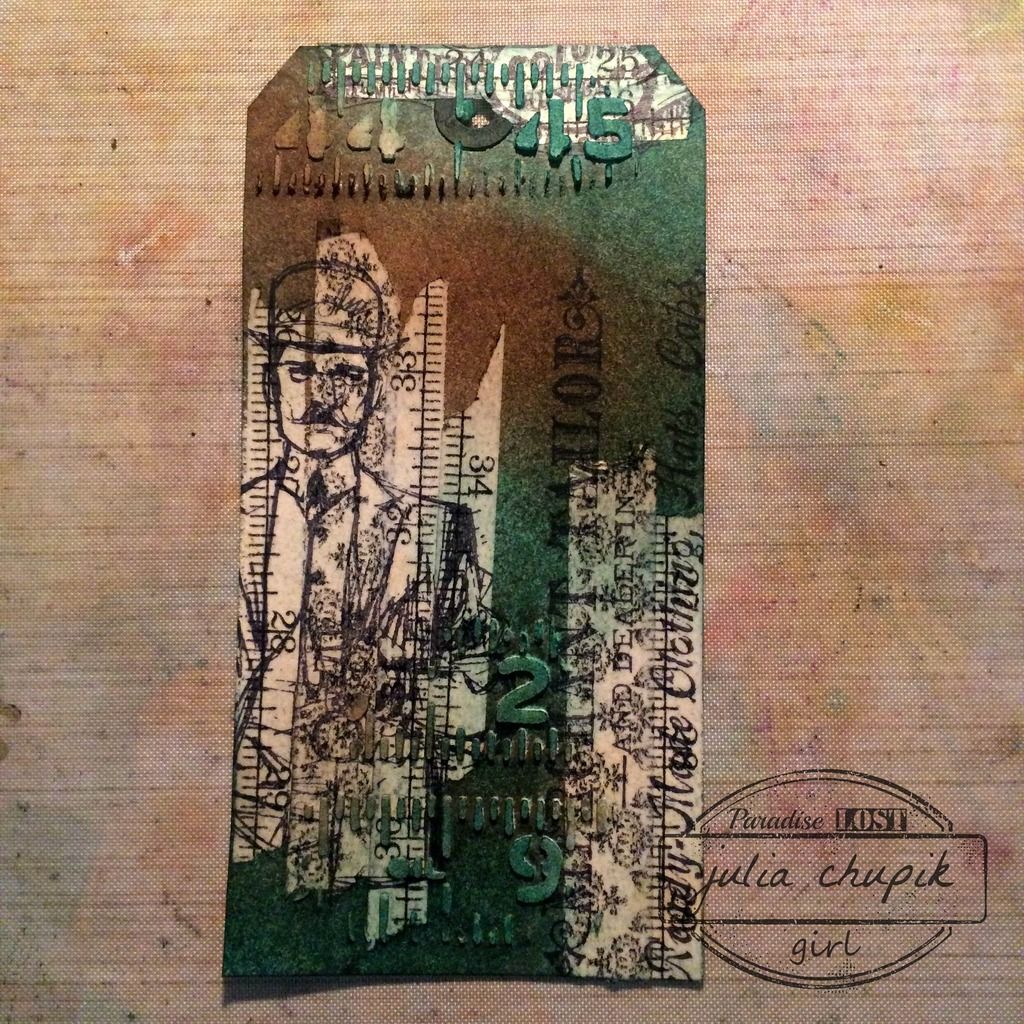
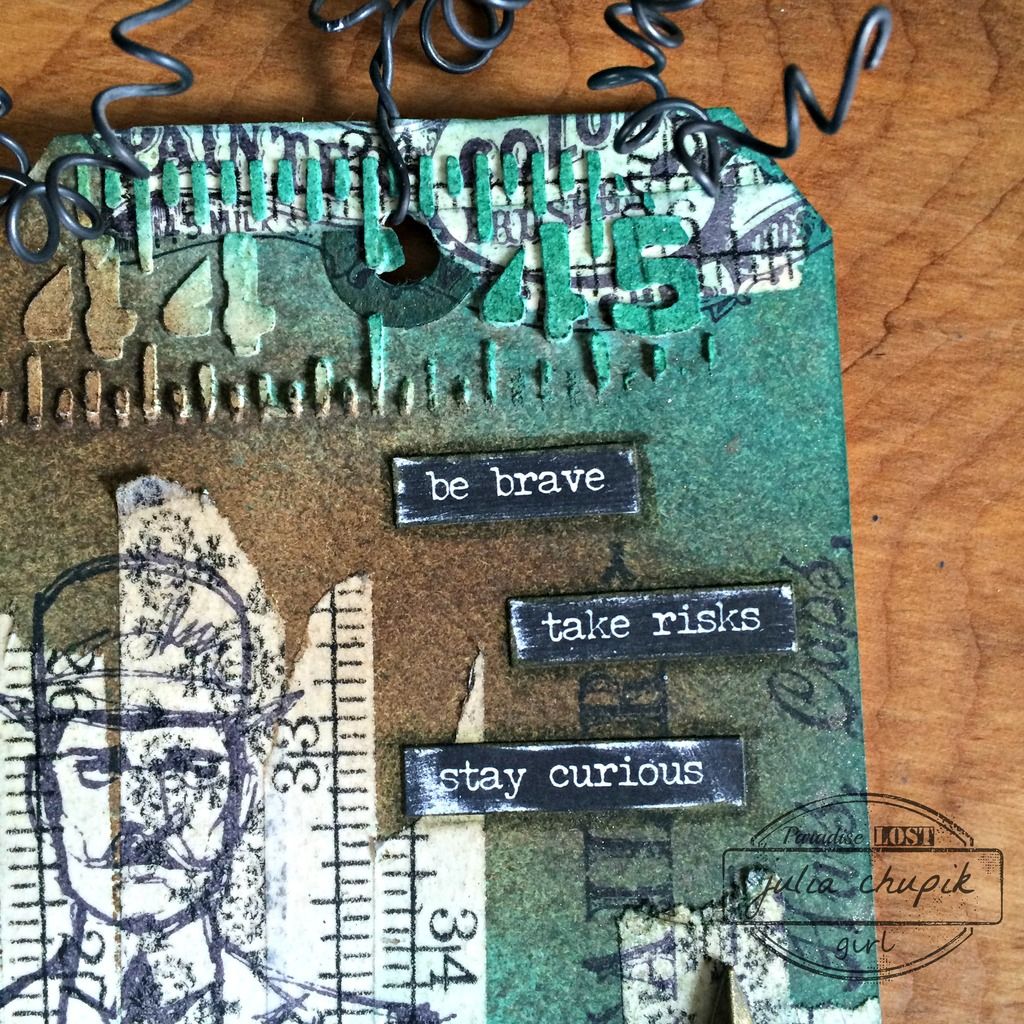
I decided to make a more masculine tag this time. I wanted something that I could give to my dad this Father's Day. Instead of  ribbon I used some wire that I had in my stash.


The Distress Stains & Inks used were Walnut Stain & Forest Moss.
Texture Paste was applied through the Measured layering stemcil &
 a spritzed pewter mica spray as a final layer.


A few small talk stickers and wire to finish it off.


Submitted to:


Monday, 14 December 2015

4 Quick Christmas Cards

Just when I thought I was all caught up & organized I wake up in a cold sweat at 3am this morning and remember 2 people I forgot to mail Christmas cards to. 
Oh no! I had no cards left! 
So I was up early and in my craft room by 7am so I could make more cards
 and get them in the mail by noon.

First up ~ pick a colour scheme
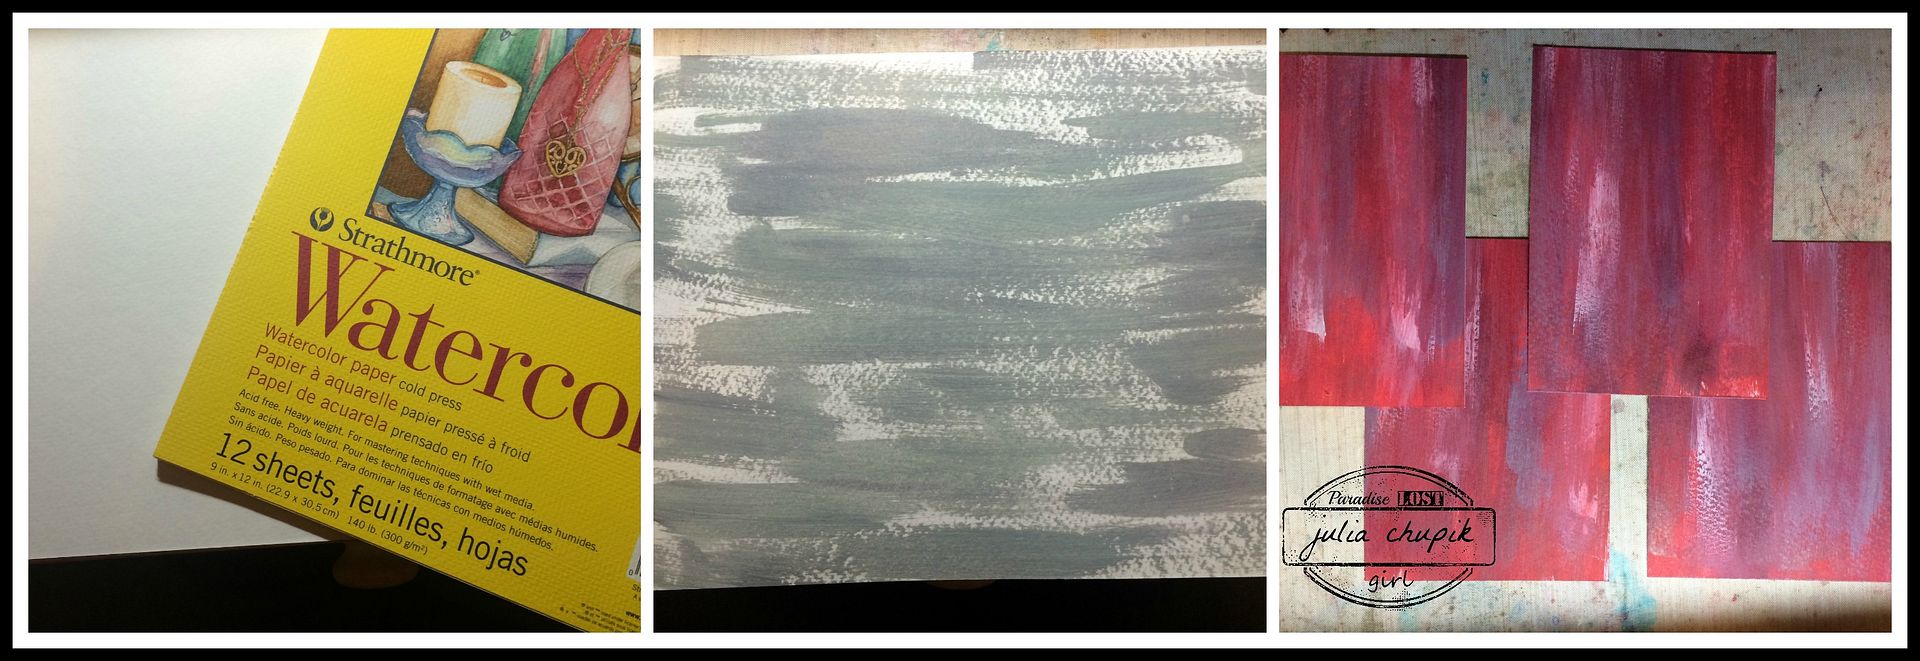
Next I grab a 9"x12"sheet of 140lb cold press watercolour paper & then I began to
apply drops of distress paint and spread them around with a soft brush.
I started with the greys and then the red from lightest to darkesk, using my heat gun to dry the paint before applying more layers.

 I forgot to take more photos of this step as I was so into creating the the layers.
The far left photo shows the watercolour paper trimmed to four 4.25' x 6" card fronts.
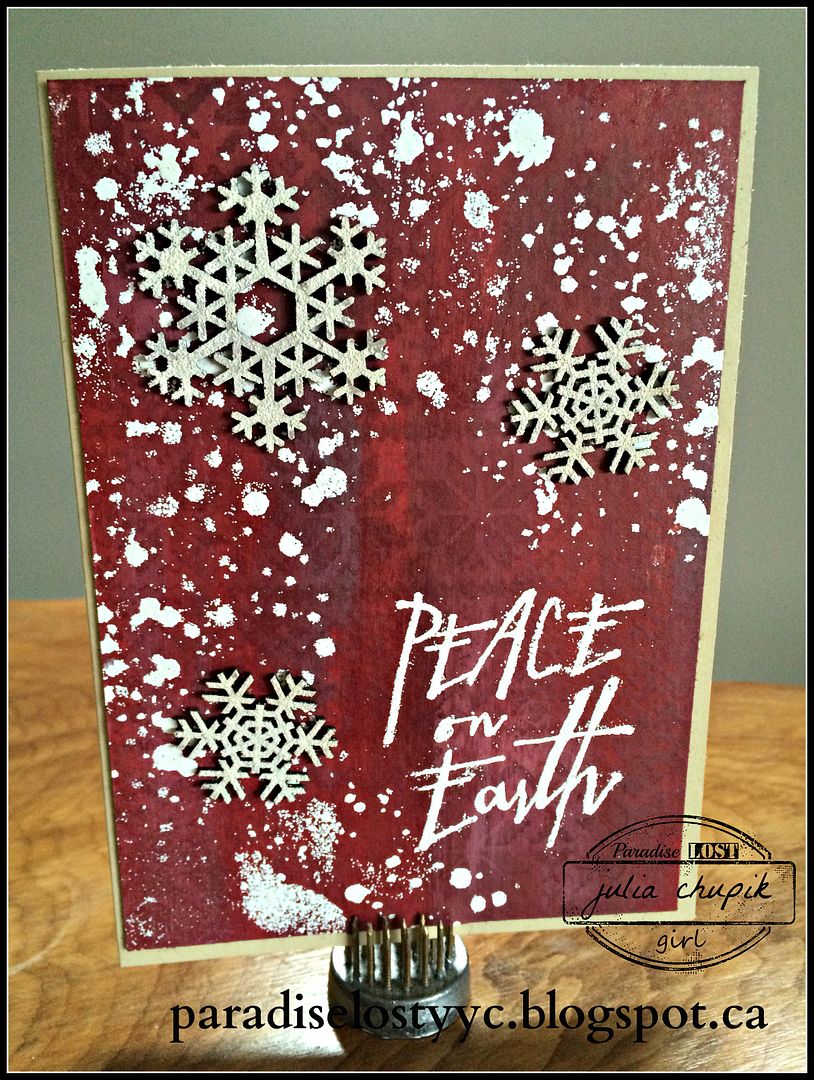
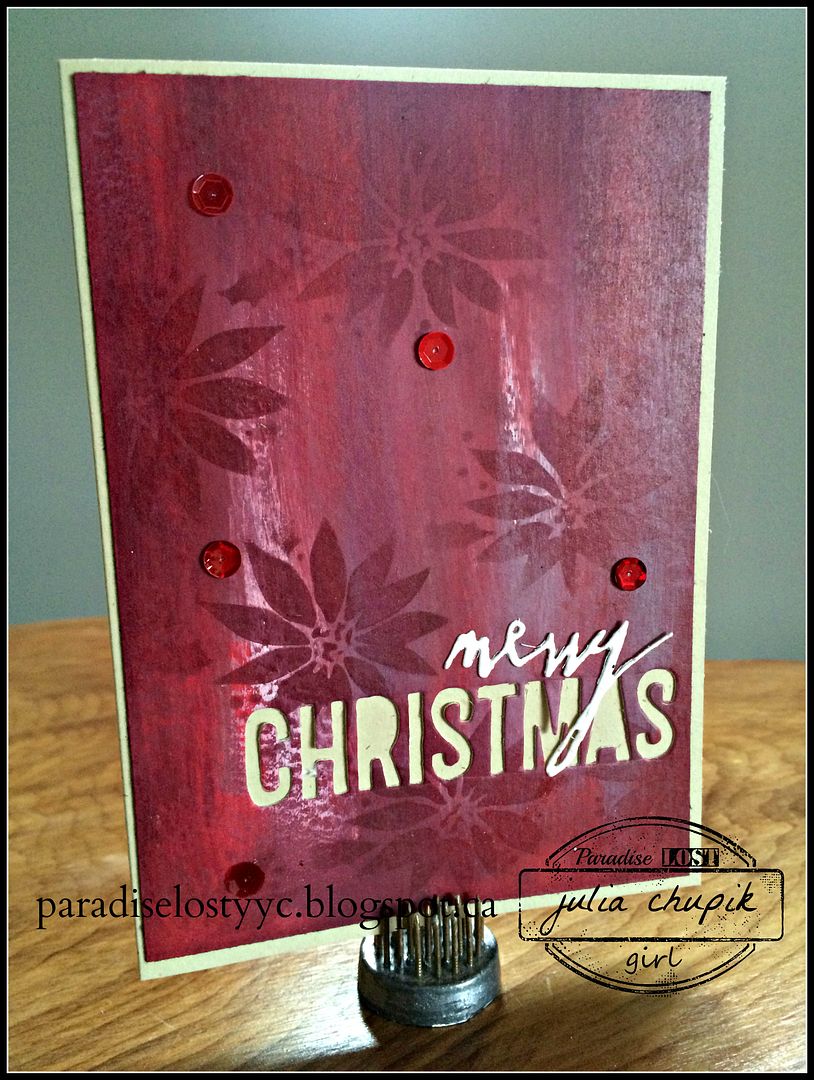
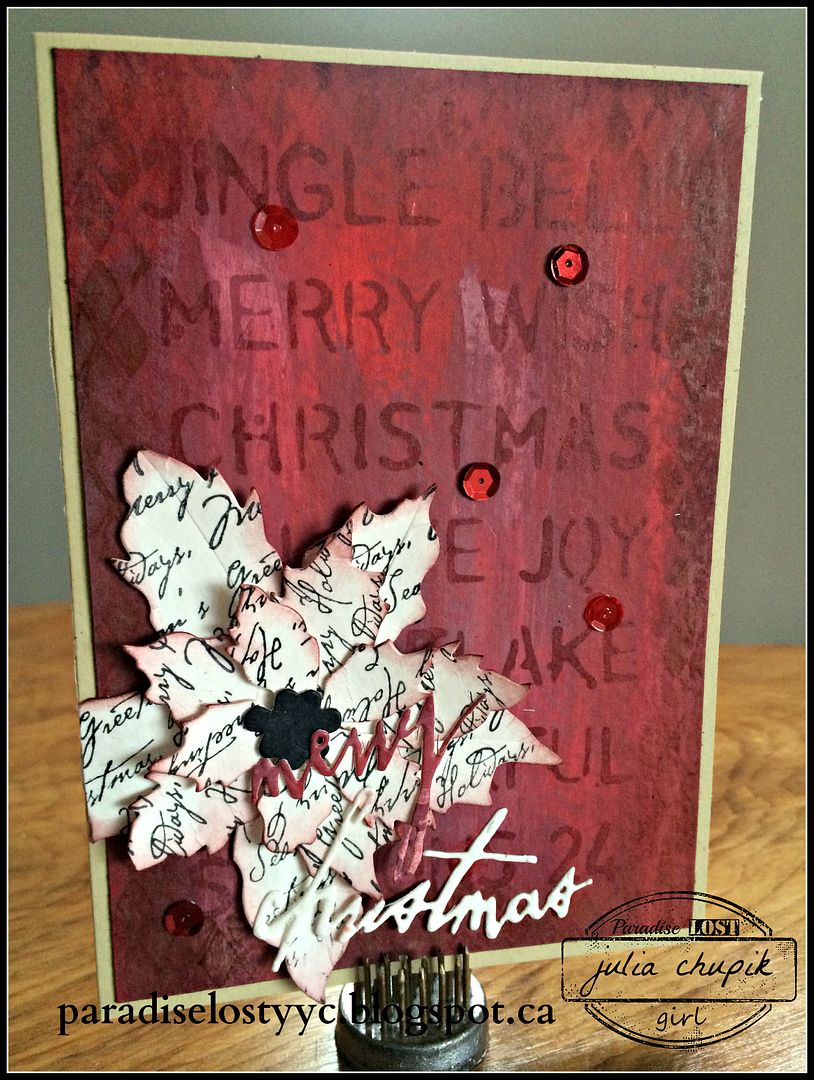
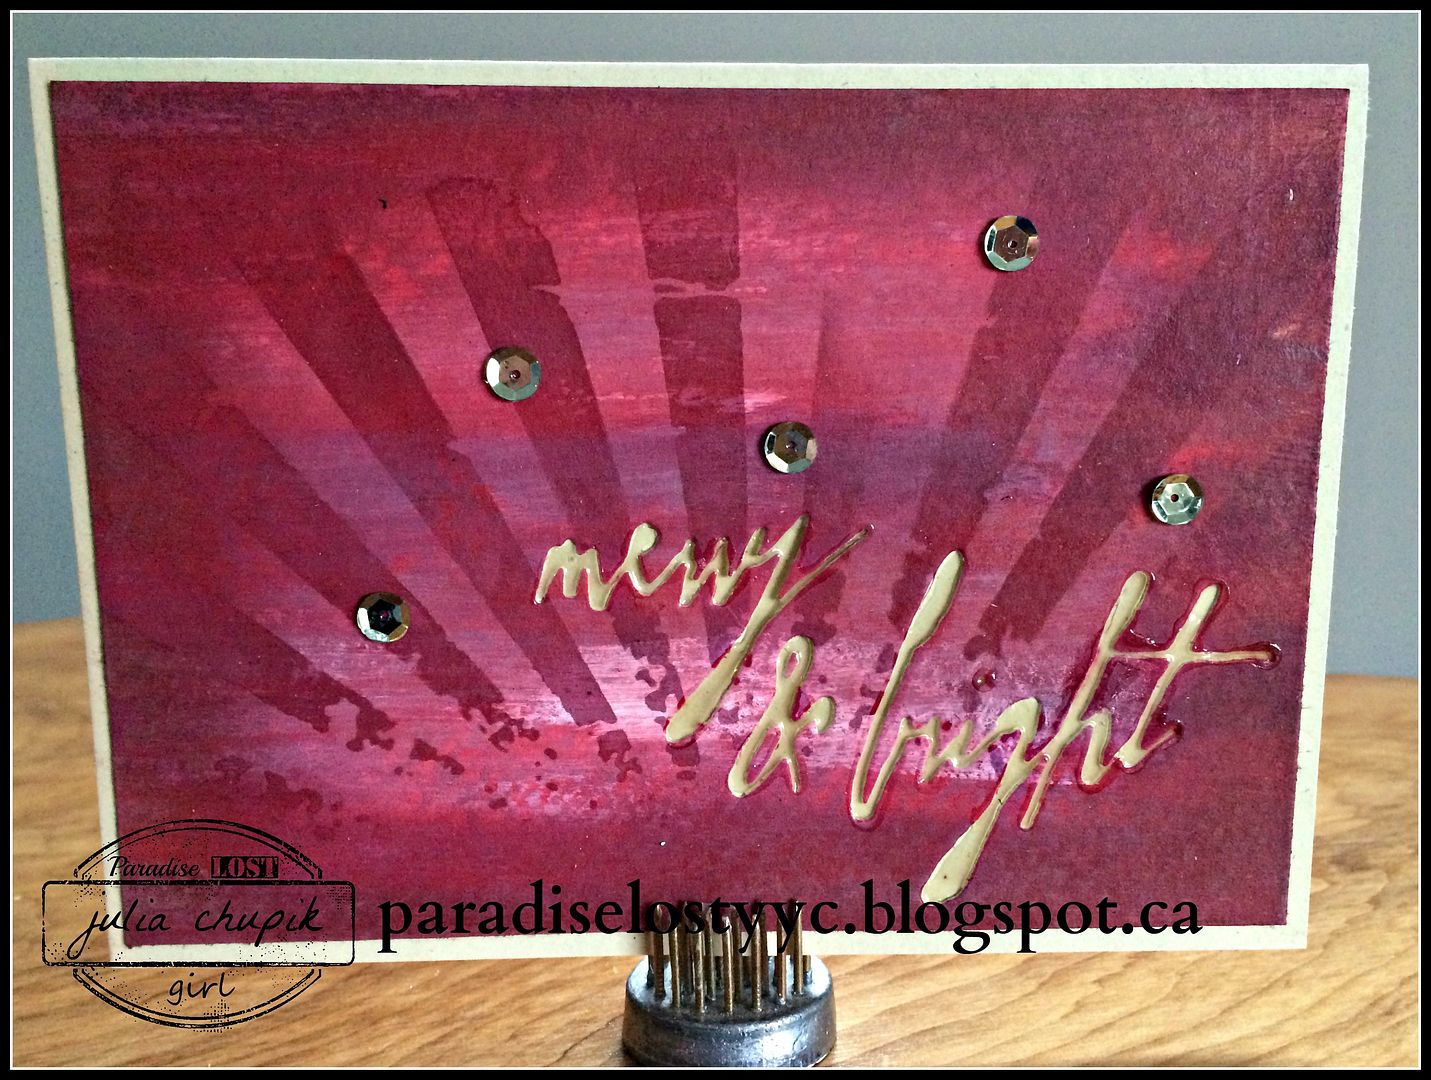
Next I inked the edges with Aged Mahogany Distress Ink & used 4 of my Tim Holtz Layering stencils to add some more depth. It was time to add a few more details using sequins, Sizzix dies, stamping and embossing powders.

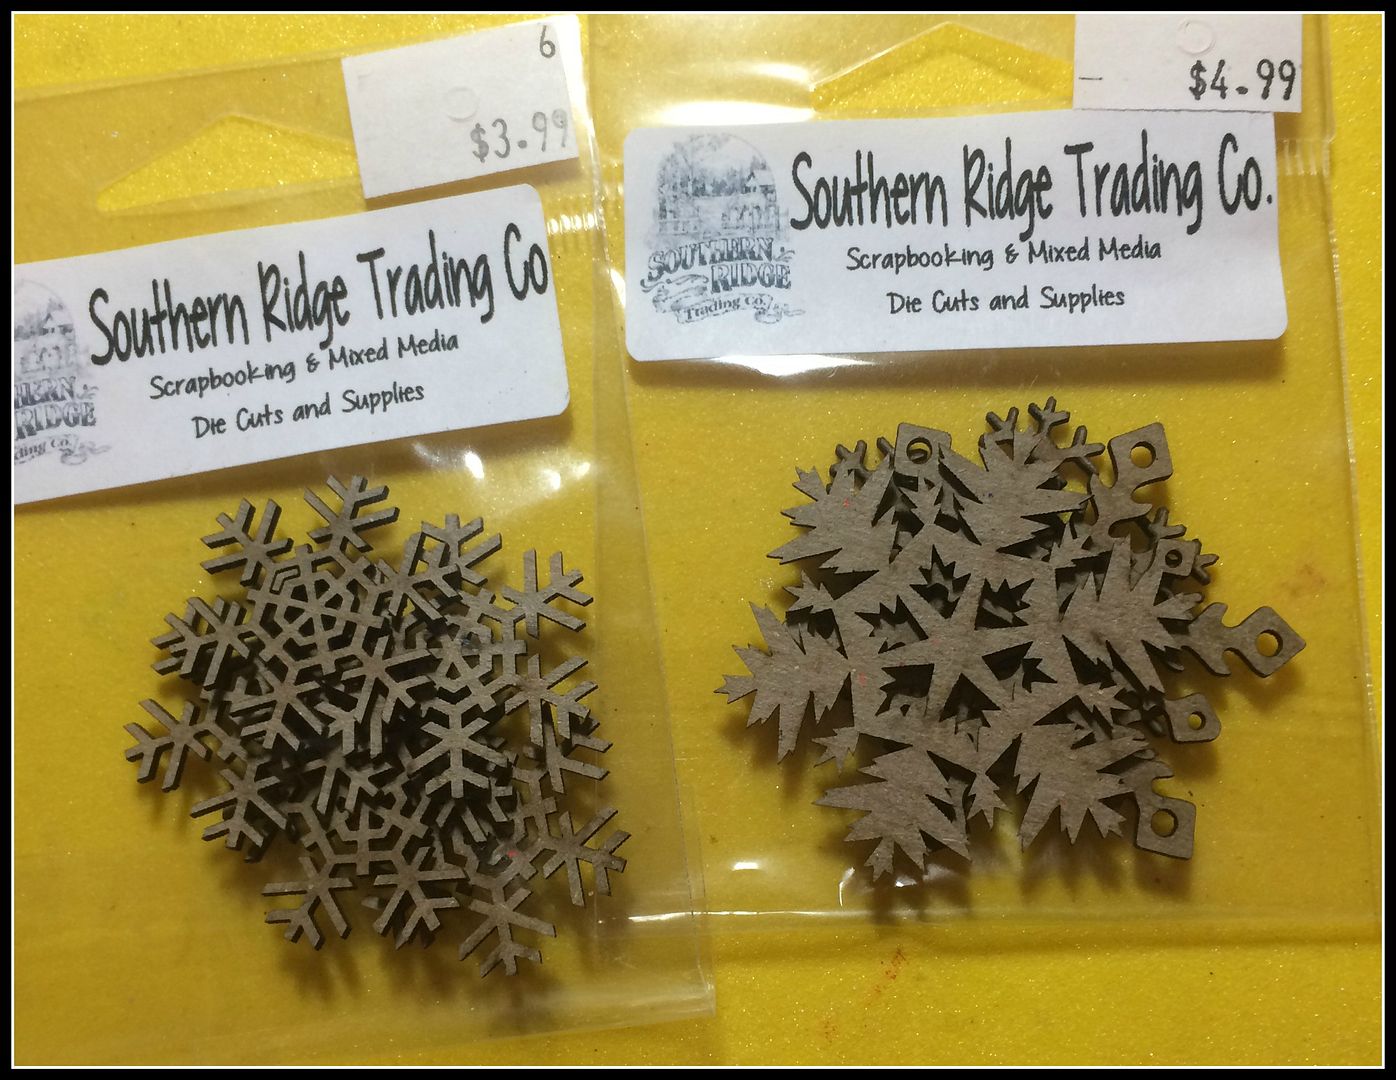
Check out the cool die cut snowflakes from Southern Ridge Trading Co. that I used on this first card.
Amazing right? Check them out for some awesome die cut chipboard images.
I used Picket Frence Ditress paint on these then covered with Soft Fallen Snow embossing powder from Emerald Creek Craft Supplies.


I am happy to report that 2 of these cards made it to the 
post office by noon and I have 2 cards to spare. Just in case. ;)
 Thank you so much for visiting my blog and I hope you have an amazing day!
~~stay crafty~~
http://themixedmediacardchallenge.blogspot.ca/2015/12/mmcc-18-celebration.html

Thursday, 26 November 2015

Christmas Sweater Inspired Advent Calendar - Festive Project for Emerald Creek Design Team

It's the end of November and my thoughts are turning to all things Christmas.
Cards & gift tags to make, gifts to wrap, meals to plan and all that decorating!
What better way to get into the holiday spirit than to make & decorate a 25 Day Advent Calendar.
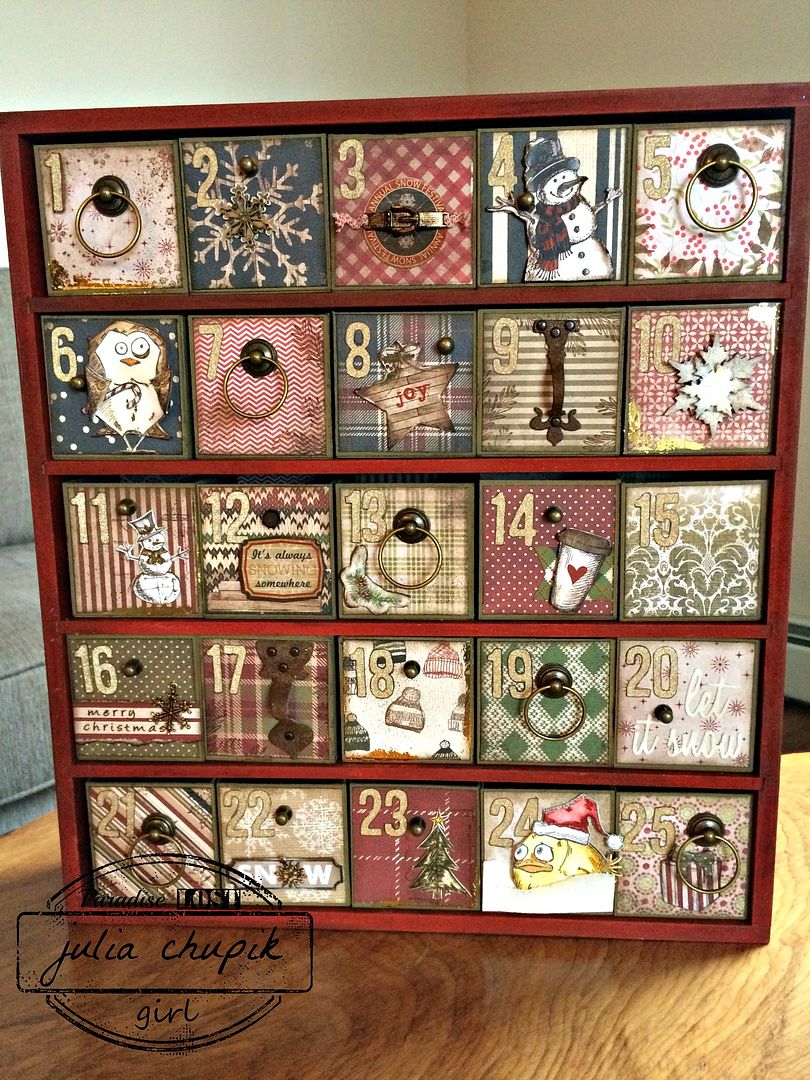
Each box is like a tiny piece of art and I love how this one turned out.

I was initially inspired by this package of paper from Carta Bella called Warm & Cozy. Isn't is dreamy! Then I decided to combine it with an 8x8 pad of Yuletide from Tim Holtz.
These advent calendars are handmade - my dad builds the wood box out of MDF and then I make the smaller boxes from chipboard. I have bought the advent calendars available on the market in the past but these are so much more sturdy.
I painted the outside of the box with a mix of bright red and burnt sienna acrylic paint - at about a 2:1 ratio. I didn't mix the paints completely as I wanted the brown of the burnt sienna to be visible as streaks throughout the red.
Each smaller box was painted with Peeled Paint Distress Paint on the outside and a wash of burnt sienna on the inside.
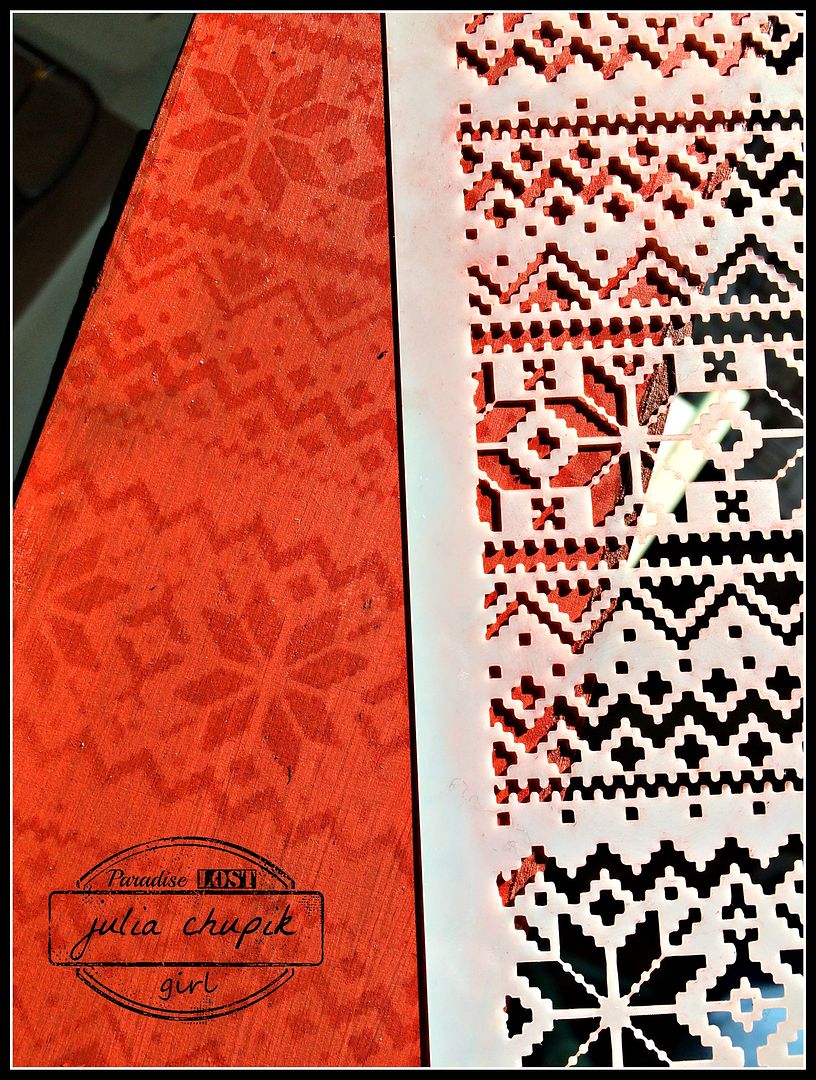
I then used the Holiday Knit Layering Stencil from Tim Holtz and Fired Brick Distress Ink to apply the design on all sides of the MDF box.
I then glued squares of the paper on the front of each box as well as lined the back and bottom sides of the boxes on the inside.
Once I found enough handles & drawers pulls and other bits & bobs it was time to start decorating.

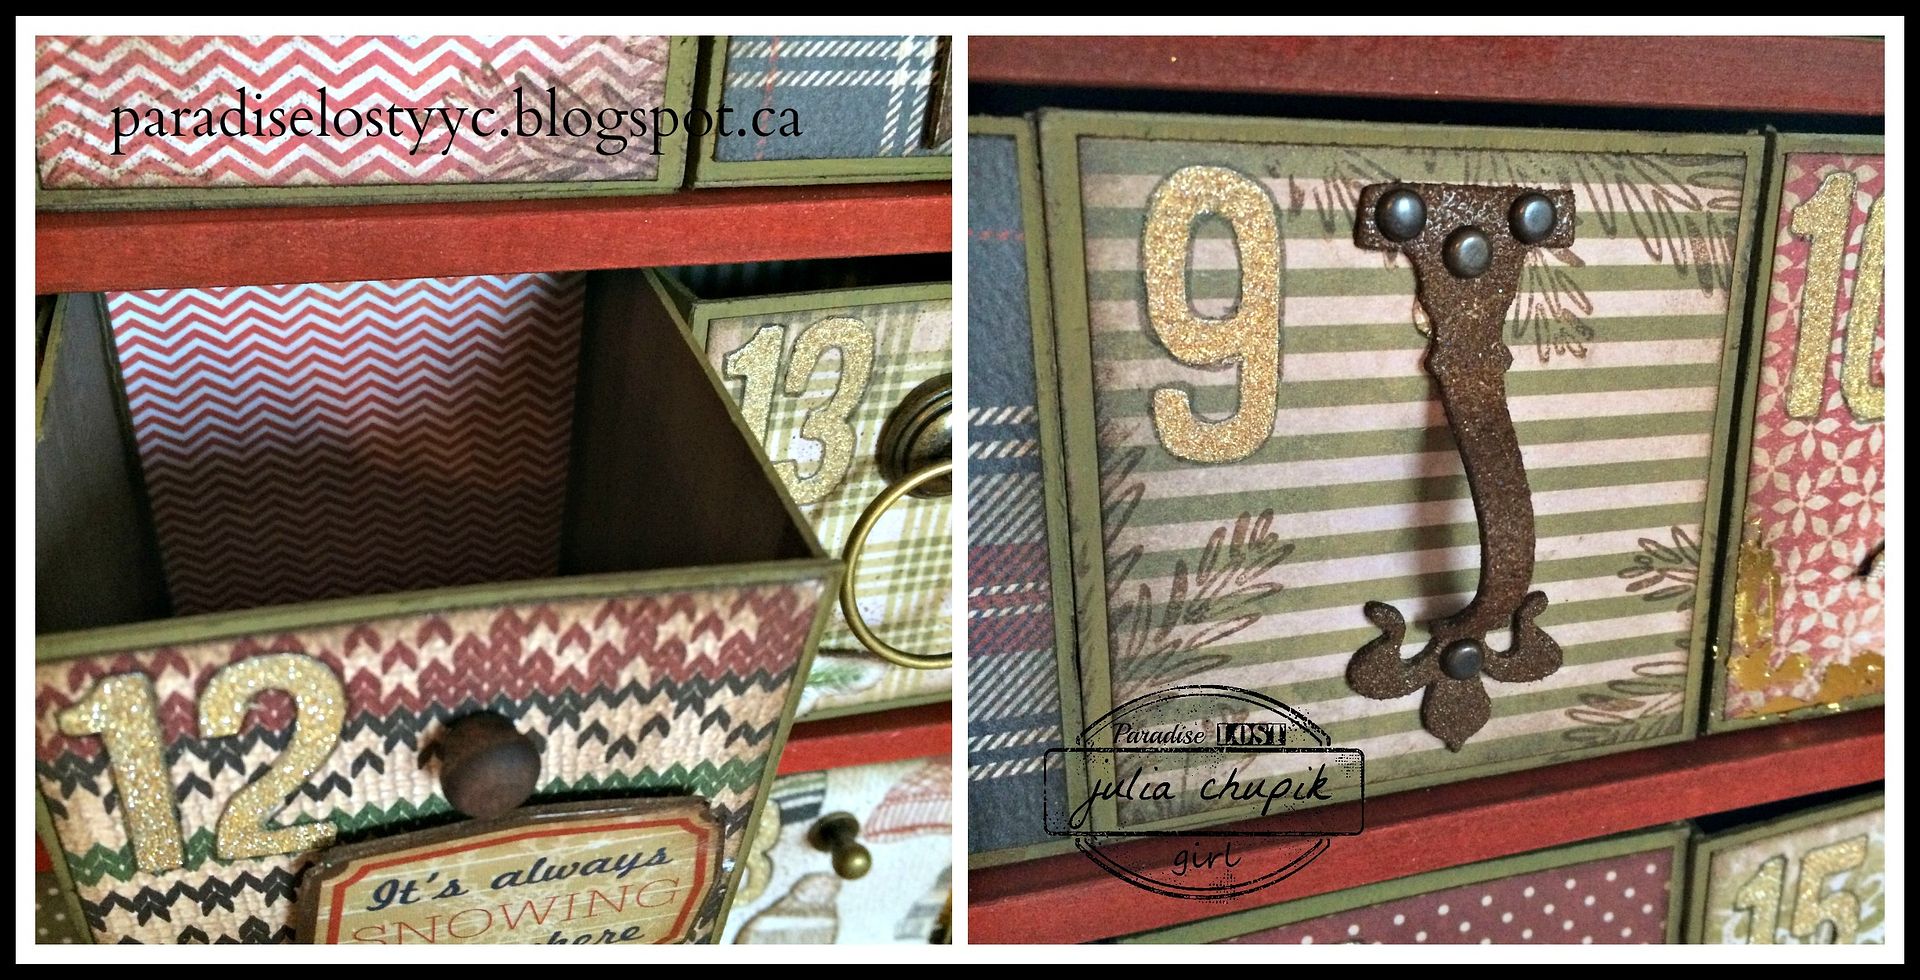
I used the Alphabet thinlit die from Tim Holtz/Sizzix and a sheet of gold adhesive backed deco sheets from Tim Holtz Idea-ology. 
 I traced around the numbers with my hickory smoke distress marker just to add a bit of shadow.


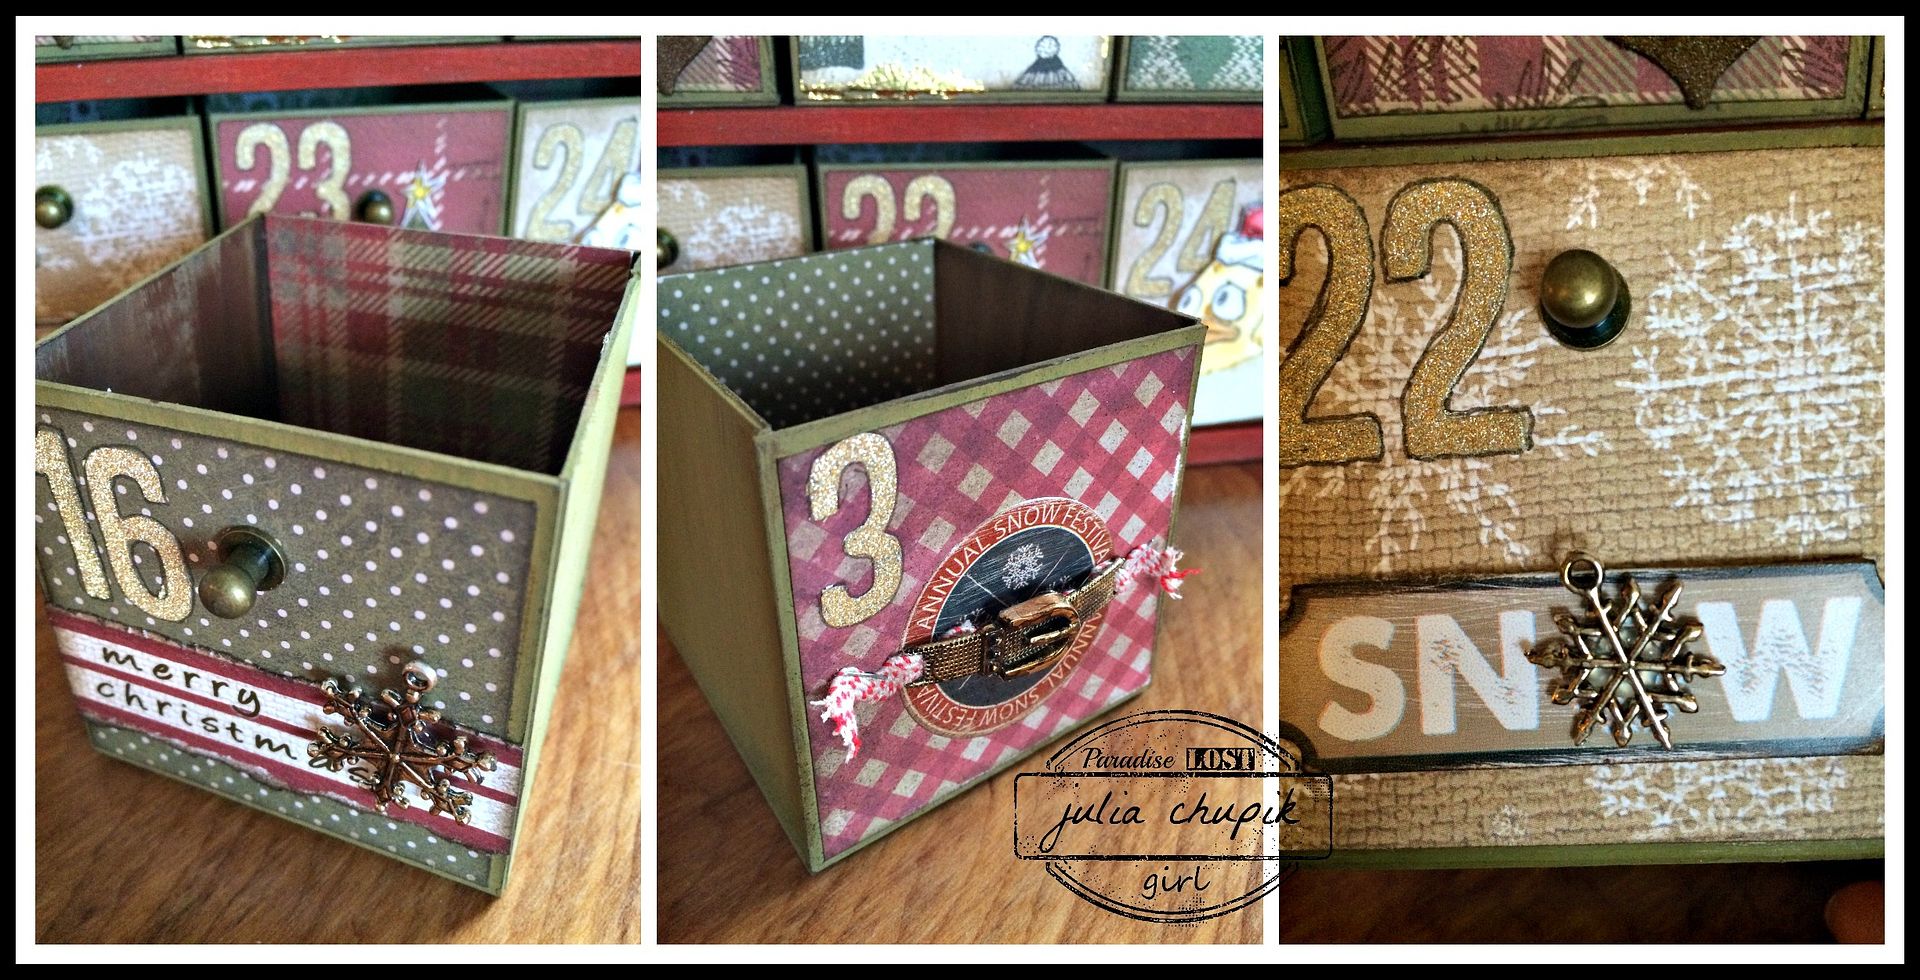
I was so excited to finally use my snowflake charms from Emerald Creek Supplies. These metal alloy charms are gorgeous! I used alcohol inks in various shades of brown to give them a vintagy look.
I also used a Buckle Charm for a drawer pull. It was the perfect size and looked great after I used alcohol inks to add some colour.
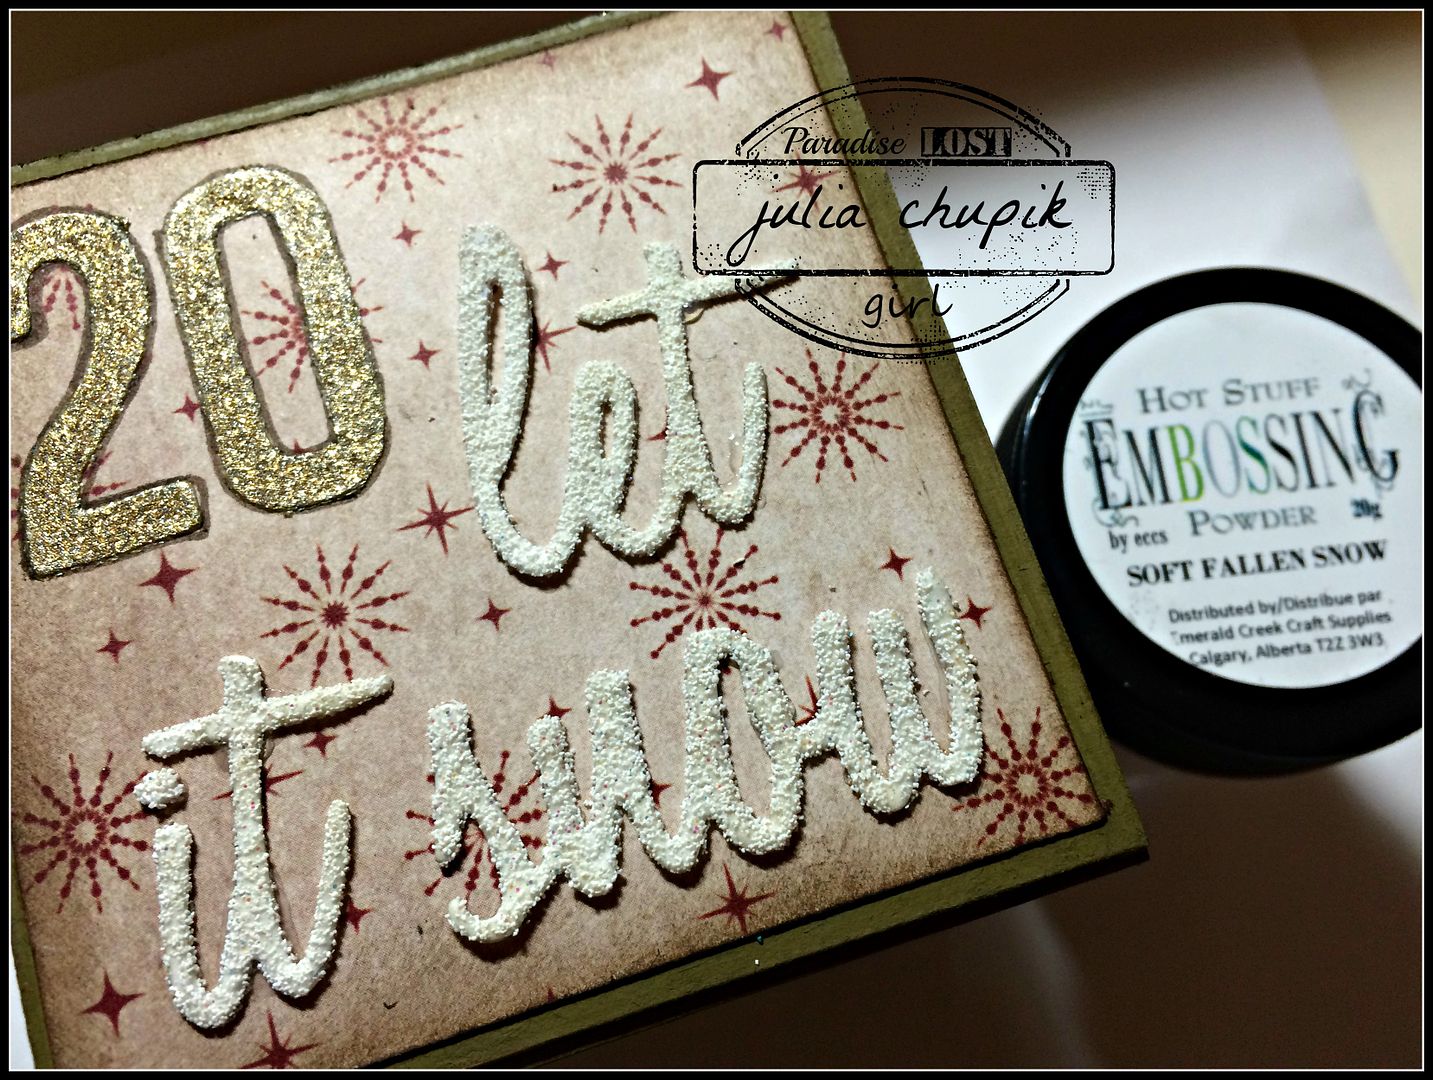
I know I have said it before but I am in love with the Exclusive Line of embossing powders from Emerald Creek Crafts. This time I used the Soft Fallen Snow. I first used it on the words Let It Snow. I just love the texture and the tiny flecks of sparkle is perfect.
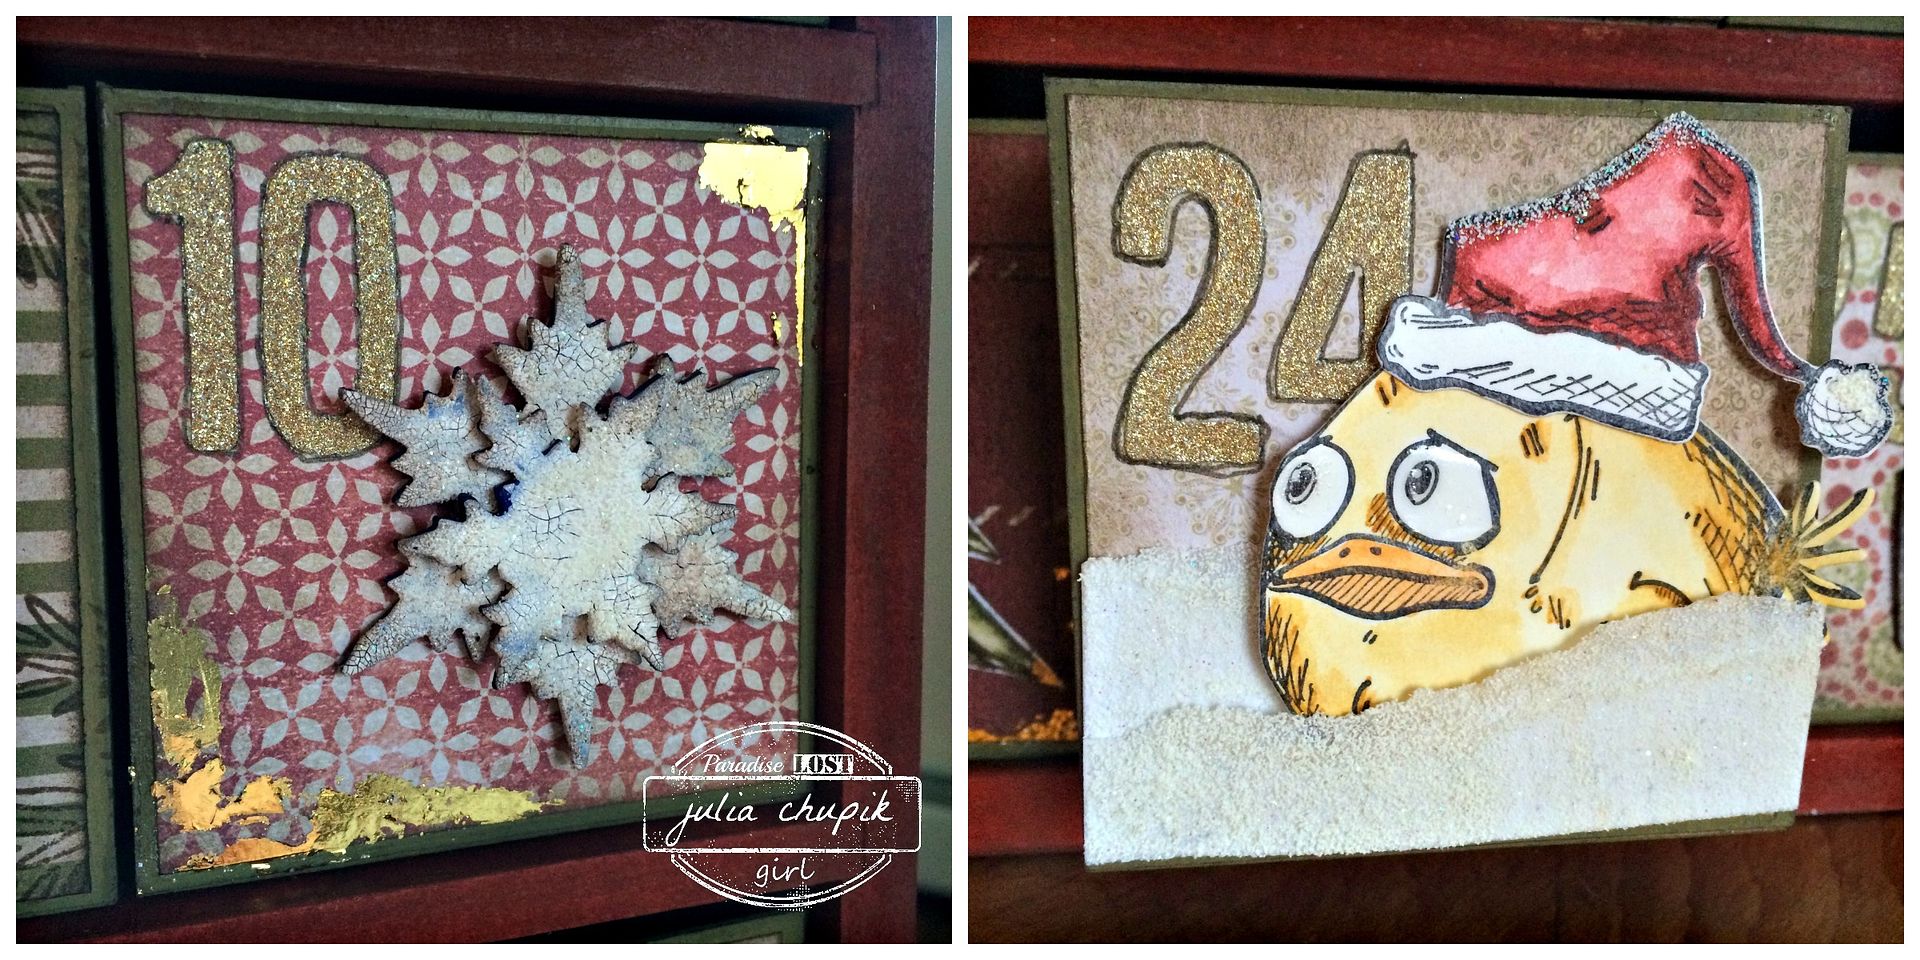
 I also used the Soft Fallen Snow on the Stacked Snowflakes - I first covered them with Picket Fence Distress Crackle Paint and while it was still wet I sprinkled the embossing over it. I just love the look of it after the paint dried ans cracked. I finish it off I gently inked the edges of the snowflake with Vintage Photo Distress Ink.
I also used this embossing powder on a couple of scrap pieces of torn white cardstock.  This made a nice little 'snowdrift' for my Crazy Bird.

Here is my finished 25 day Advent Calendar - already to go for December 1st.


 For more Festive inspiration check out the projects from the rest of the Emerald Creek Design Team

Karon - Karon's Krafty Korner
Diana - missusgmoments
Cathy - Amethyst Dragonfly's Alcove 
Katelyn - A Creative Journey

Now that you are feeling festive head on over to the Emerald Creek Dares blog for the new Festive challenge. Share your Festive projects with us for a chance to win a $25 credit to the online store.

http://www.emeraldcreek.ca/


Thank you so much for dropping by my blog today!
I appreciate you taking the time and leaving a comment.

Wednesday, 18 November 2015

My Tim Tag ~ November 2015

It's beginning to look a lot like Christmas.....or winter at least and I am ready to take on Tim's tag for November. Check out his tag tutorial here. 

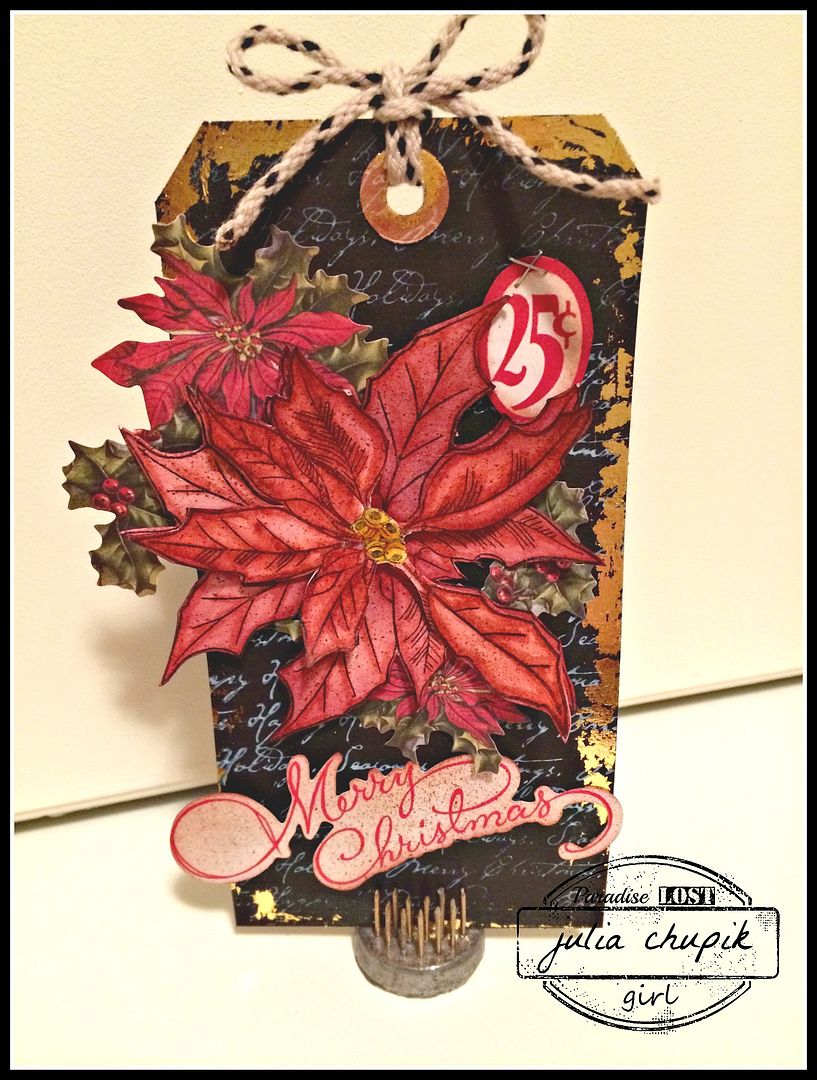
I decided to take my tag in more of Christmas theme but using some of Tim's techniques.

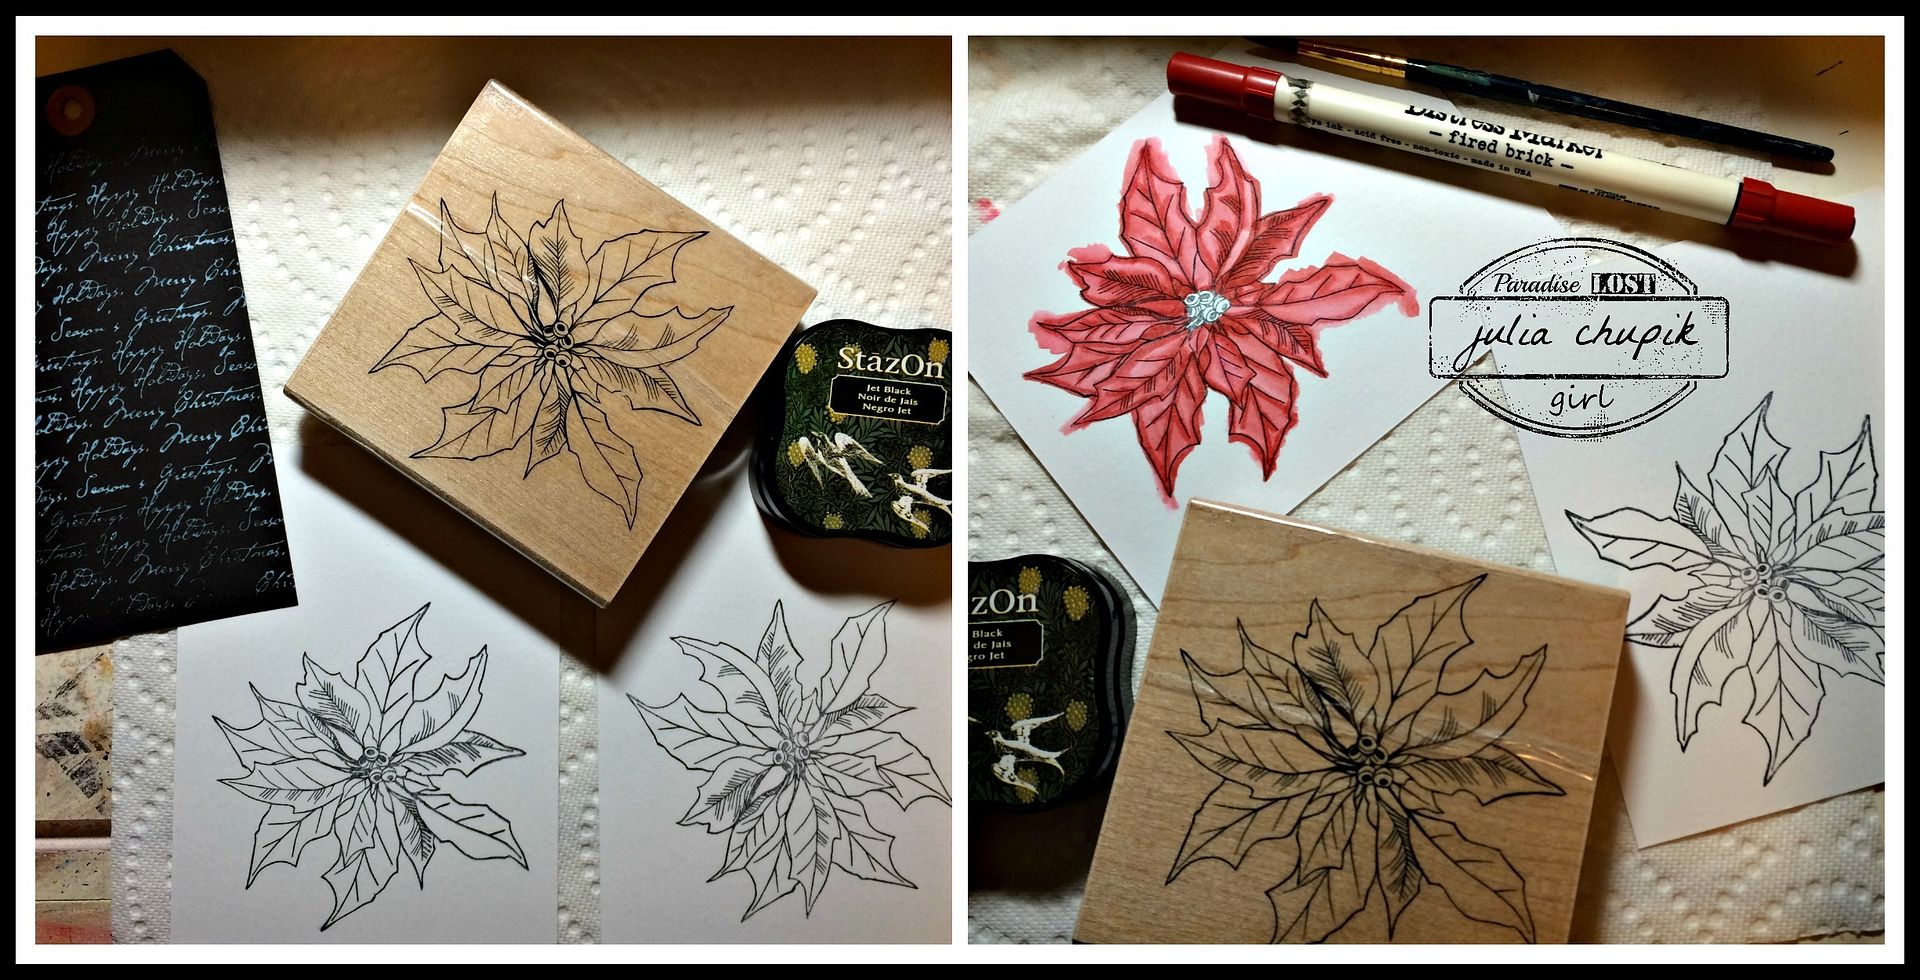
Off I flew to my tickle trunk of Christmas stamps to look for some oldies but goodies.
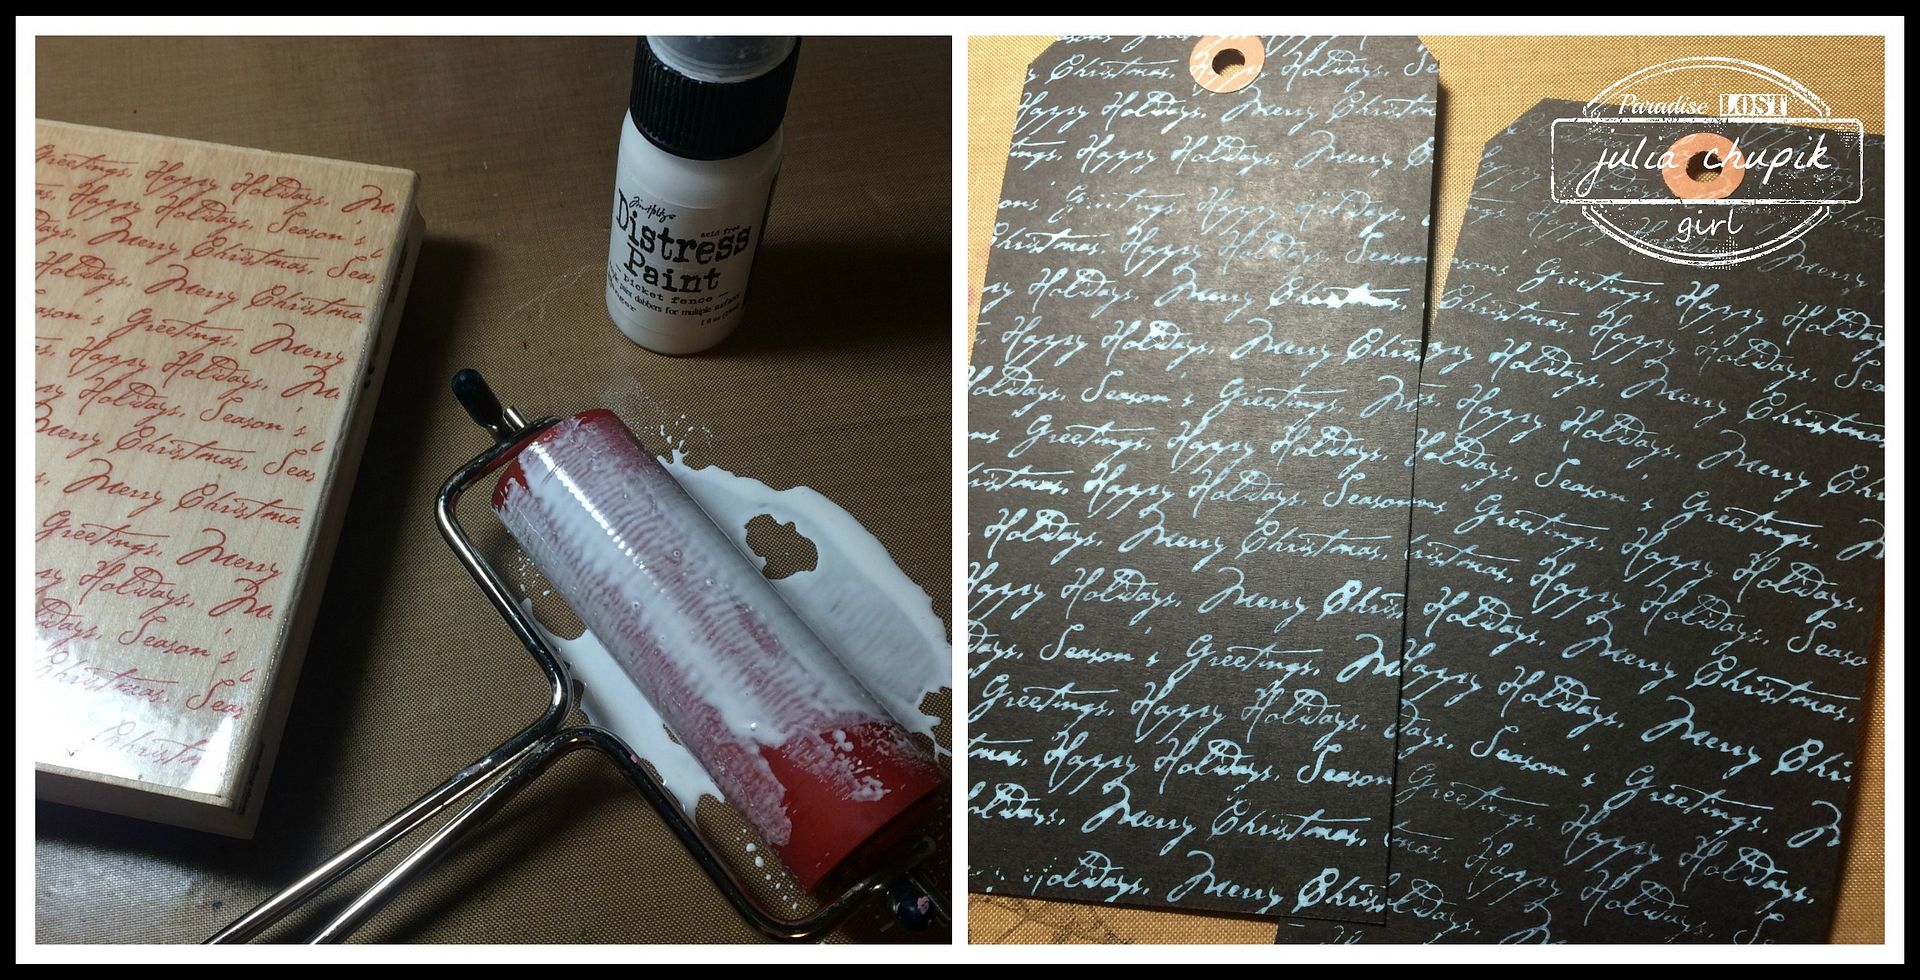
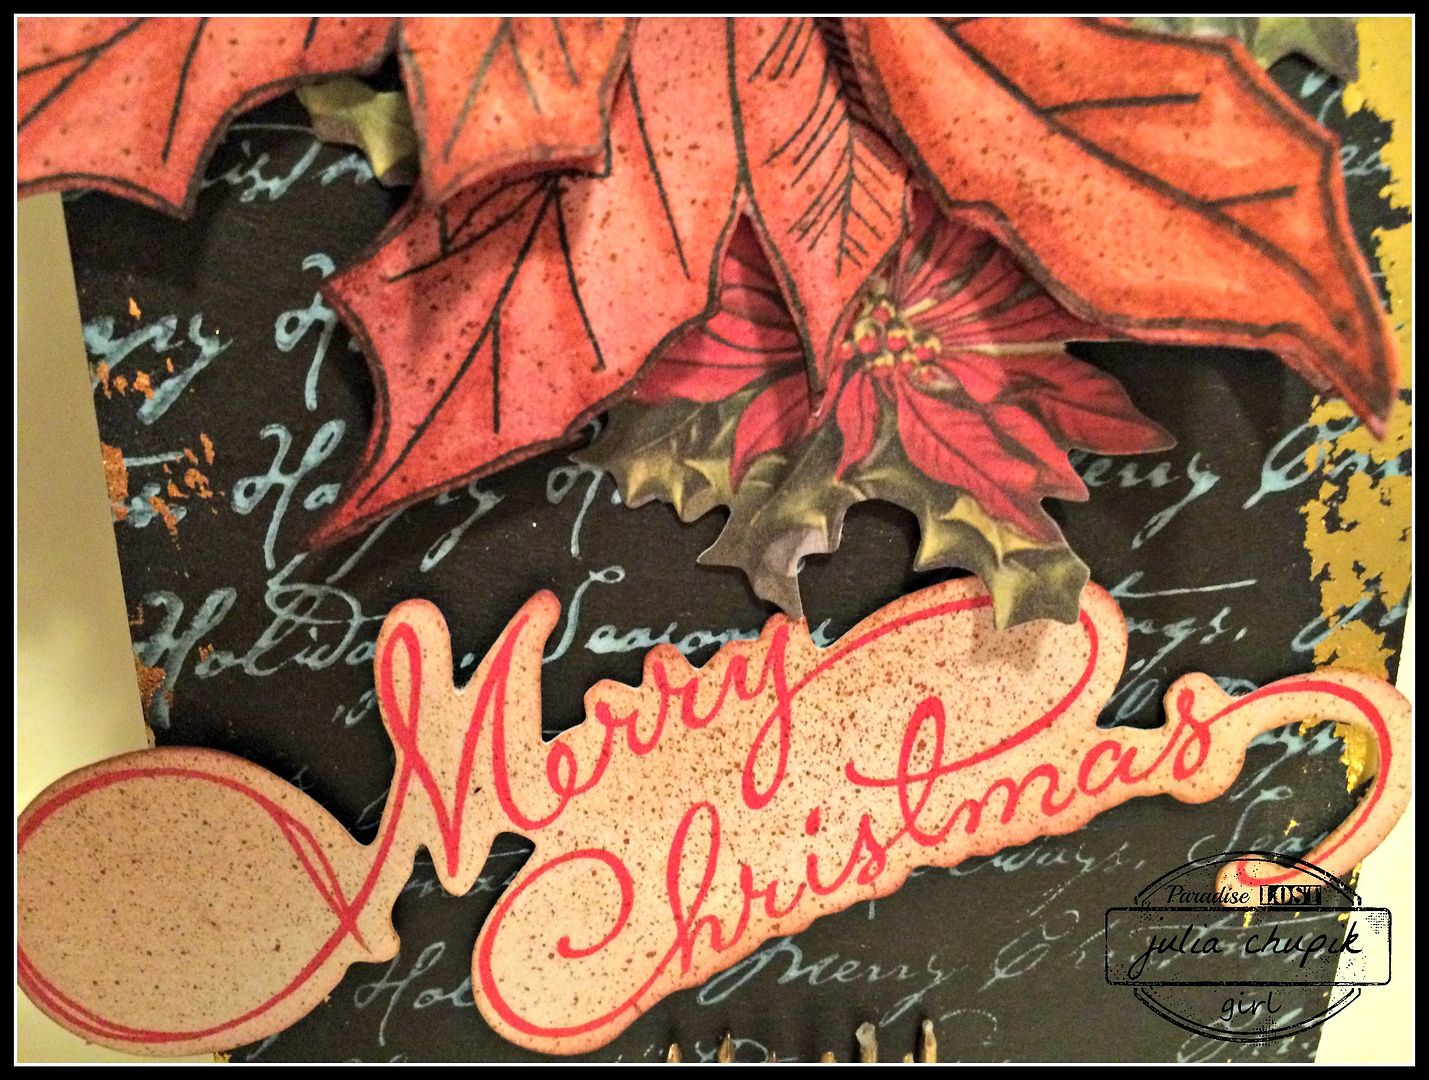
I found one from Rubber Stampede called "Sayings" that I have had forever but haven't used in a few years. It would be perfect for the background technique on a black tag.


Next I found a poinsettia stamp from Penny Black called "Warm Wishes".
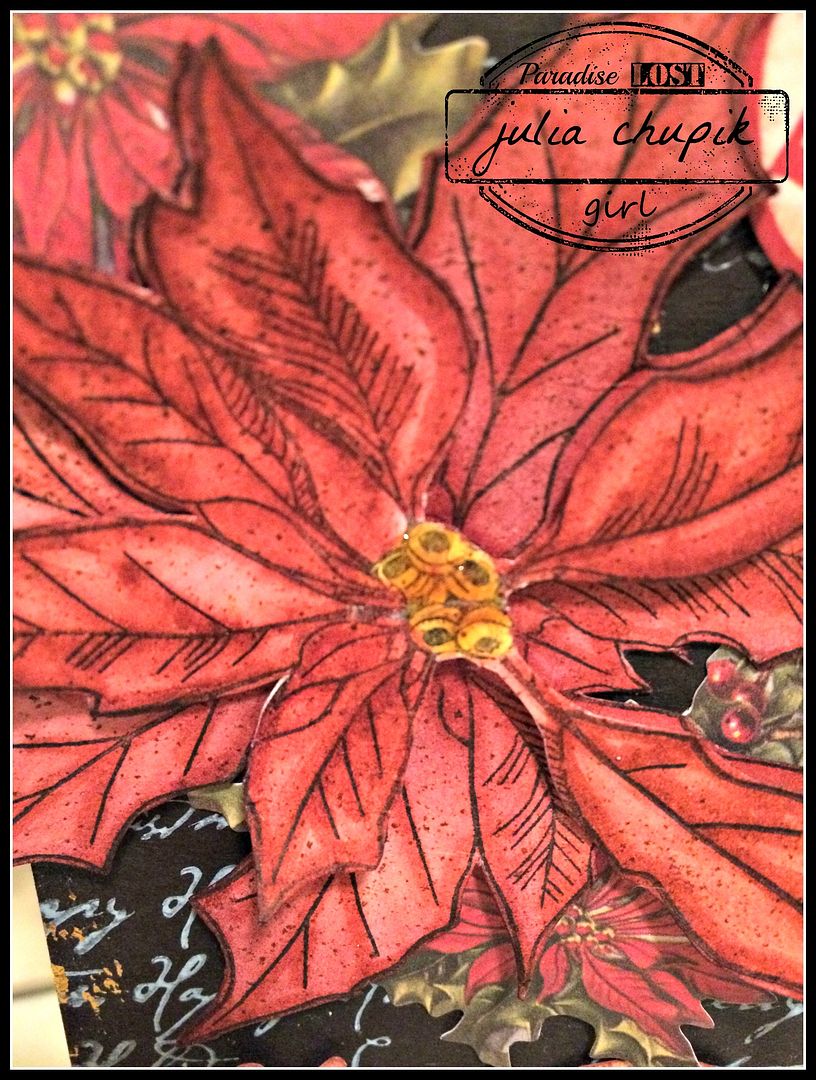
I decided to stamp 2 images on watercolour paper with Staz-on & using my Fired Brick Distress Marker and a watercolour brush to add the colour.


I fussy cut one poinsettia as it was then fussy cut only the centre leaves of the other so I could layer them with a foam square. I gently curled the leaves before gluing it to my tag.  I love the dimensional look it gives.

I should mention that before I adhered the flower to the tag I burnished some gold foil to the edges of my tag like Tim did in his tutorial.


I added a few bits from the Christmas Ephemera pack from Tim Holtz Idea-ology and used my spritzer tool & vintage photo Distress marker to add some details over the entire tag.

Thank you so much for dropping by my blog today!
I really appreciate your visit & comments.

~~ stay crafty~~

***don't forget to pop by the Emerald Creek Dares blog***
Enter your 'Remembrance' projects for a chance to win a $25 credit to the online store.
http://blog.emeraldcreek.ca/2015/11/remember-fallen.html