I love watercolour and have made a lot of cards using watercolour techniques
but I recently became completely obsessed with a no-line watercolour
technique I saw on Scraps & Stamps.
You can check out Nicole's blog post about no-line watercolouring here.
Nicole uses a combo if Distress Ink & Peerless Transparent Watercolours.
Her finished project is gorgeous but it got me thinking - why couldn't I just stamp the image using Distress Inks and then blend the ink with my detailed watercolour pen?
Easy peasy lemon squeezy.
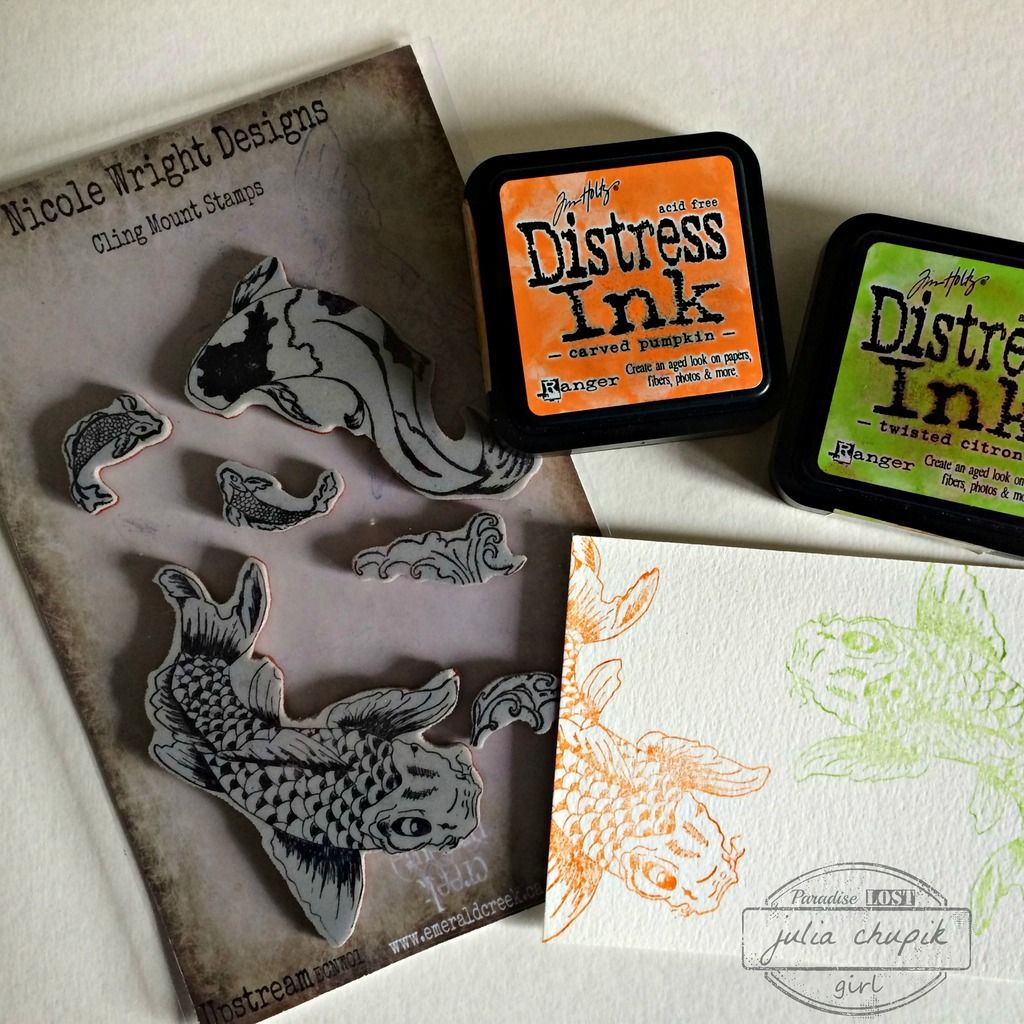
I stamped the koi image from the Nicole Wright Designs Upstream stamp set
on to 140lb cold-pressed watercolour paper using Twisted Citron & Carved Pumpkin
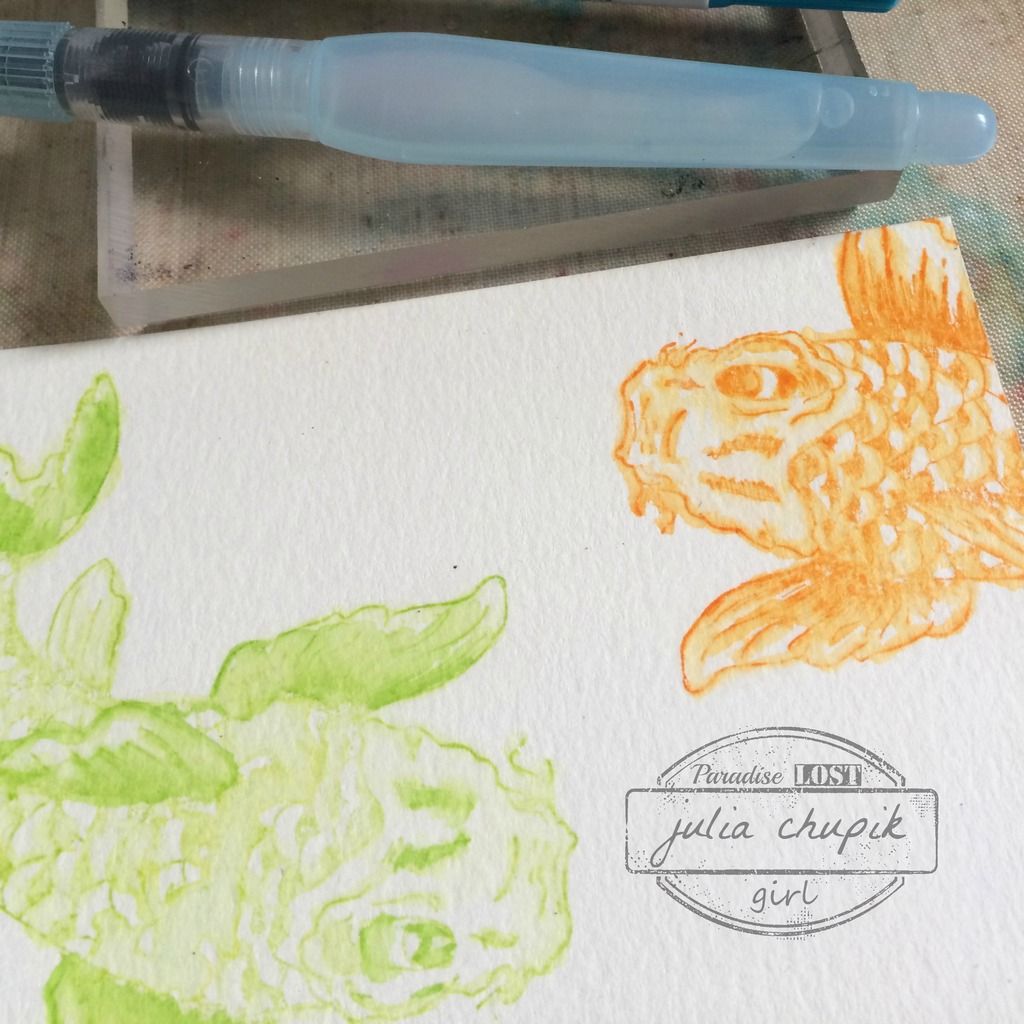
Distress Ink Pads. Now it was time to grab the water brush and start blending.
It doesn't take much to get a beautiful watercolour effect and it's oh so simple & quick.
To get a bit more definition I took my Distress Markers in the same colours and added more colour to the fins before blending with water..
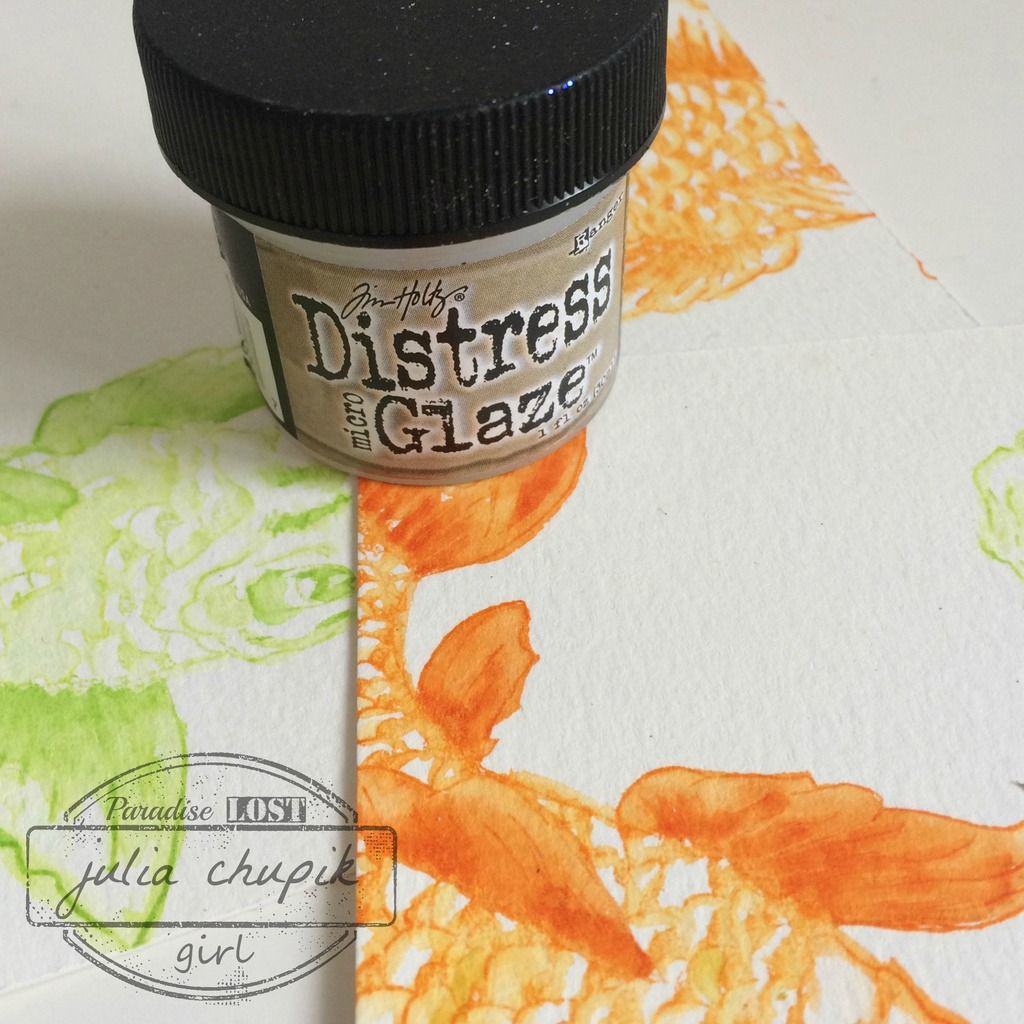
To protect my images before the next step I applied a layer of Distress Micro Glaze.
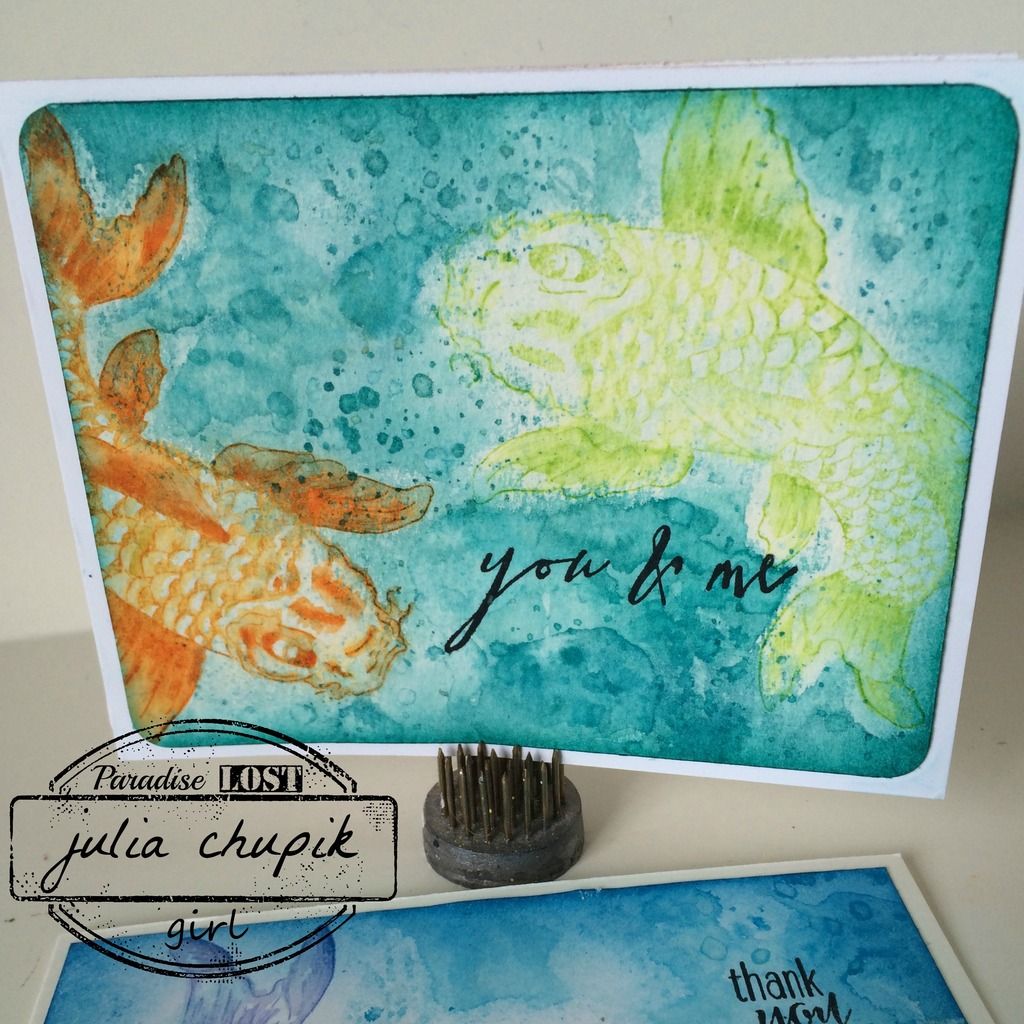
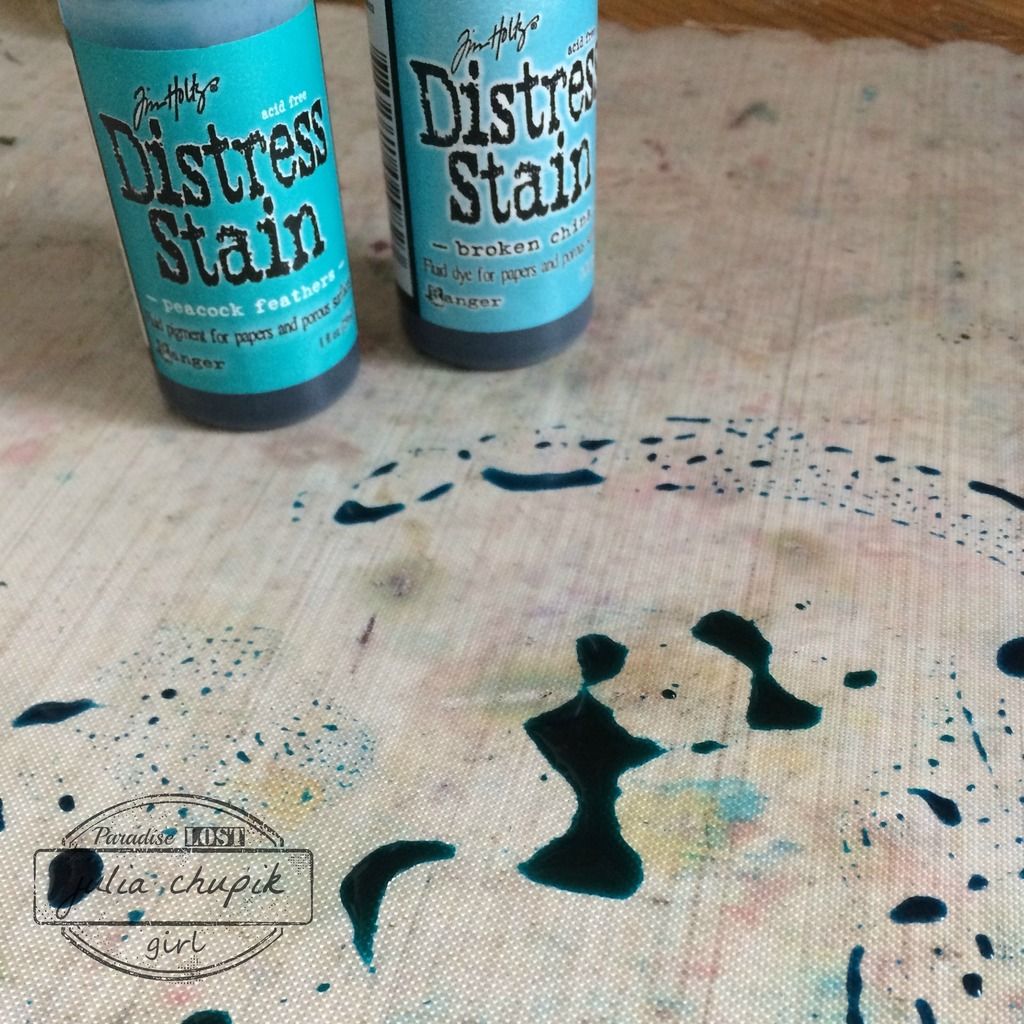
The final step was to swipe the paper through some Distress Stain for a water effect.
My completed card - I love the water droplets made with the stain.
Here is another card made using the same steps but this time when I applied the
Distress Micro Glaze I made sure to spread it a bit past the image. I wanted to have more a 'halo' effect when I applied the stain layer.
Thank you so much for visiting my blog today!
~~stay crafty~~
julia
but I recently became completely obsessed with a no-line watercolour
technique I saw on Scraps & Stamps.
You can check out Nicole's blog post about no-line watercolouring here.
Nicole uses a combo if Distress Ink & Peerless Transparent Watercolours.
Her finished project is gorgeous but it got me thinking - why couldn't I just stamp the image using Distress Inks and then blend the ink with my detailed watercolour pen?
Easy peasy lemon squeezy.
I stamped the koi image from the Nicole Wright Designs Upstream stamp set
on to 140lb cold-pressed watercolour paper using Twisted Citron & Carved Pumpkin
Distress Ink Pads. Now it was time to grab the water brush and start blending.
To get a bit more definition I took my Distress Markers in the same colours and added more colour to the fins before blending with water..
To protect my images before the next step I applied a layer of Distress Micro Glaze.
The final step was to swipe the paper through some Distress Stain for a water effect.
My completed card - I love the water droplets made with the stain.
Here is another card made using the same steps but this time when I applied the
Distress Micro Glaze I made sure to spread it a bit past the image. I wanted to have more a 'halo' effect when I applied the stain layer.
Thank you so much for visiting my blog today!
~~stay crafty~~
julia


Oh wow I love this! I really need to try this technique! The Koi look amazing and watery as if you care looking into a pond. Love it!
ReplyDeleteThanks! It's a wonderful technique and so easy! and I think it works fantastic with your Koi stamp.
DeleteI love the koi stamp set by Nicole Wright Design, and what you did with them is amazing!! Love it!
ReplyDeleteBeautiful watercolor effects and you have just sold me on those Koi stamps!
ReplyDelete