Showing posts with label Distress Stains. Show all posts

Monday, 11 December 2017

Letterpress Christmas - Altered Decor

Hello and happy Monday!

I'm sharing a set of altered letterpress words that I bought from the local $ store.
They were plain wood when I bought them but I stained, painted and distressed them to get some wonderful new pieces to add to my holiday decor.

I also have a Youtube video so you can watch me create these.

Products Used:
(This blog uses affiliate links that earn me a small commission at no extra cost to you. 
Thank you for your support)

Wednesday, 18 October 2017

Tim Holtz Tag Swap

Hello my crafty friend!
I was fortunate enough to get in on a worldwide Tag Swap for
 Tim Holtz Addicts earlier this month. 
I was matched up with 2 lovely & super talented artists ~ 
Juli (from Florida) and Kathryn (from the UK). Now that they have
received their tags I can finally share them.

These tags involved a lot of layers so bear with me - 

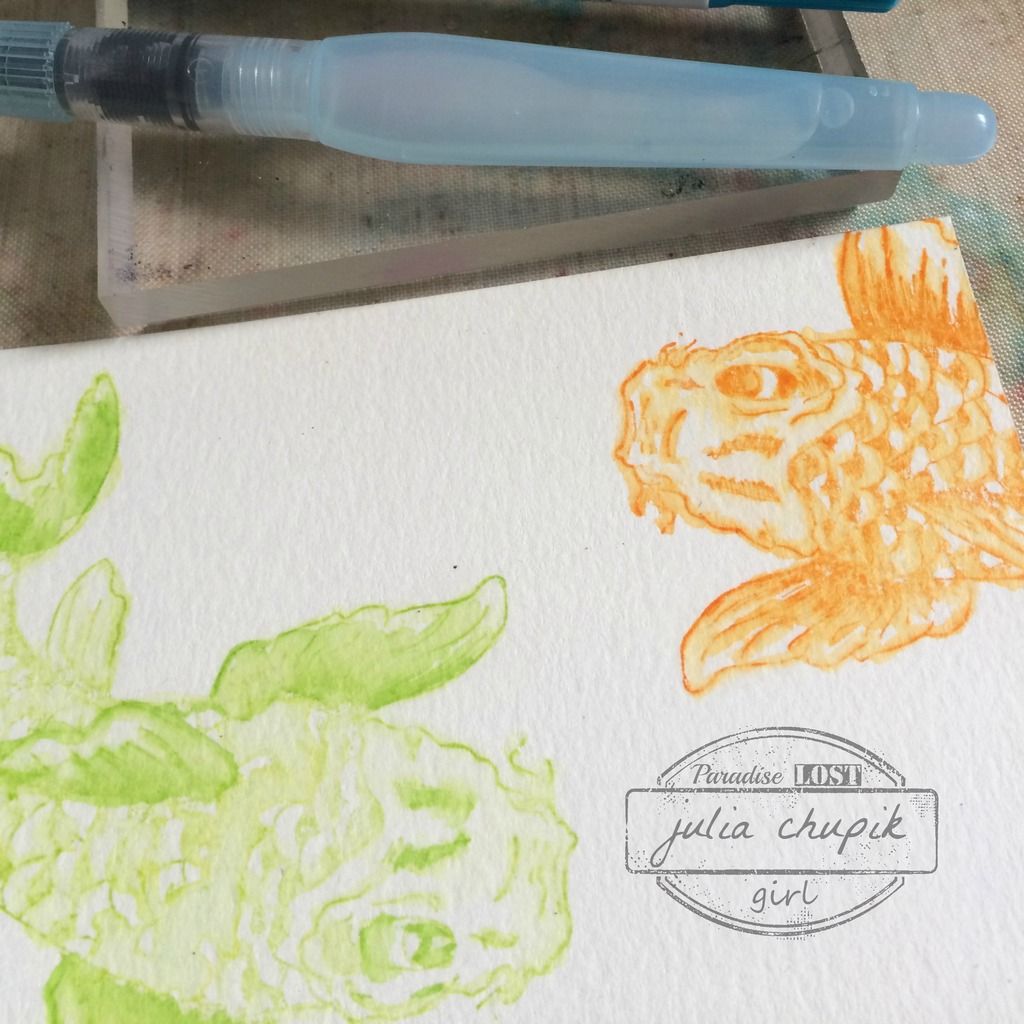
I started with 2 - #5 tags from Ranger. I used the smoosh technique to apply Distress Stains - Squeezed Lemonade & Ripe Persimmon.
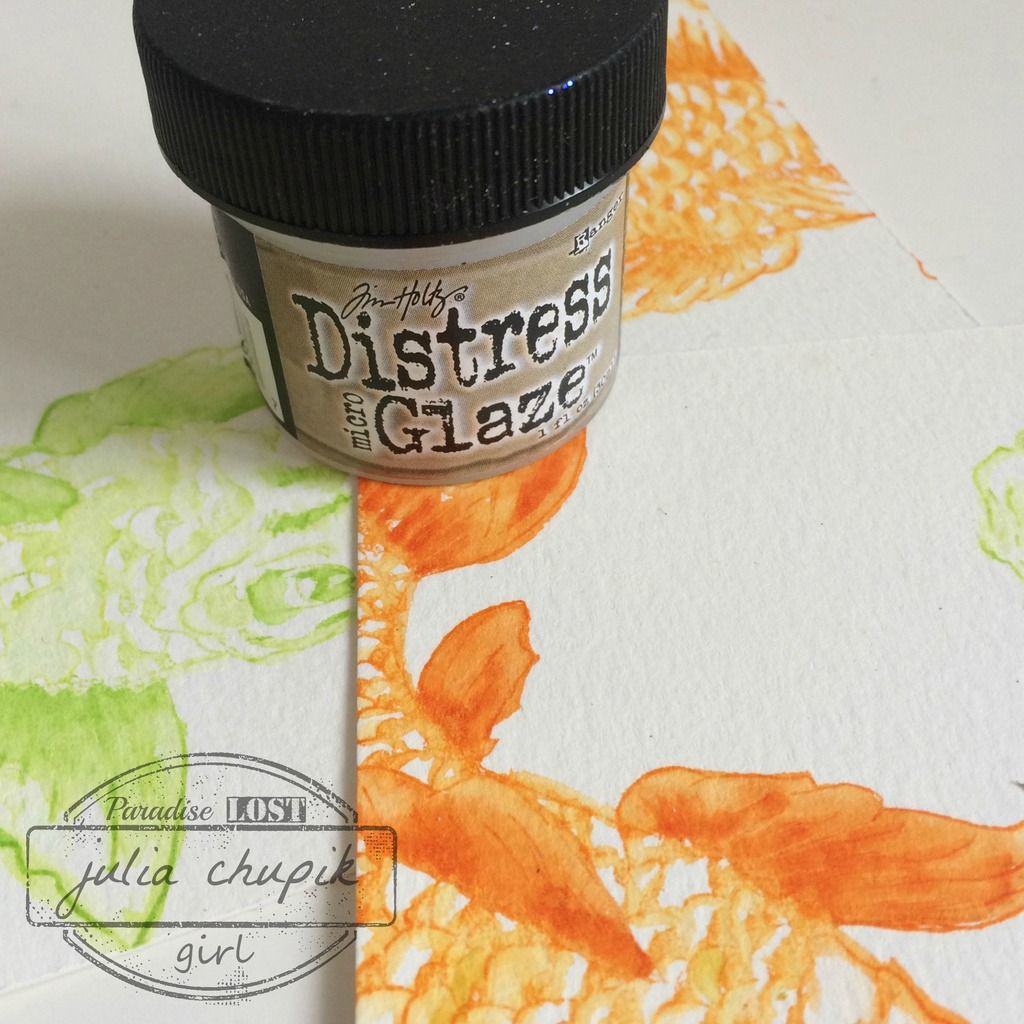
Next I started applying Distress Oxides - 
Fossilized Amber Distress Oxide

Wild Honey Distress Oxide

Fired Brick Distress Oxide

Peeled Paint Distress Oxide

Walnut Stain Distress Oxide

I was happy with my tags but wanted to add some more green to one and orange to the other.

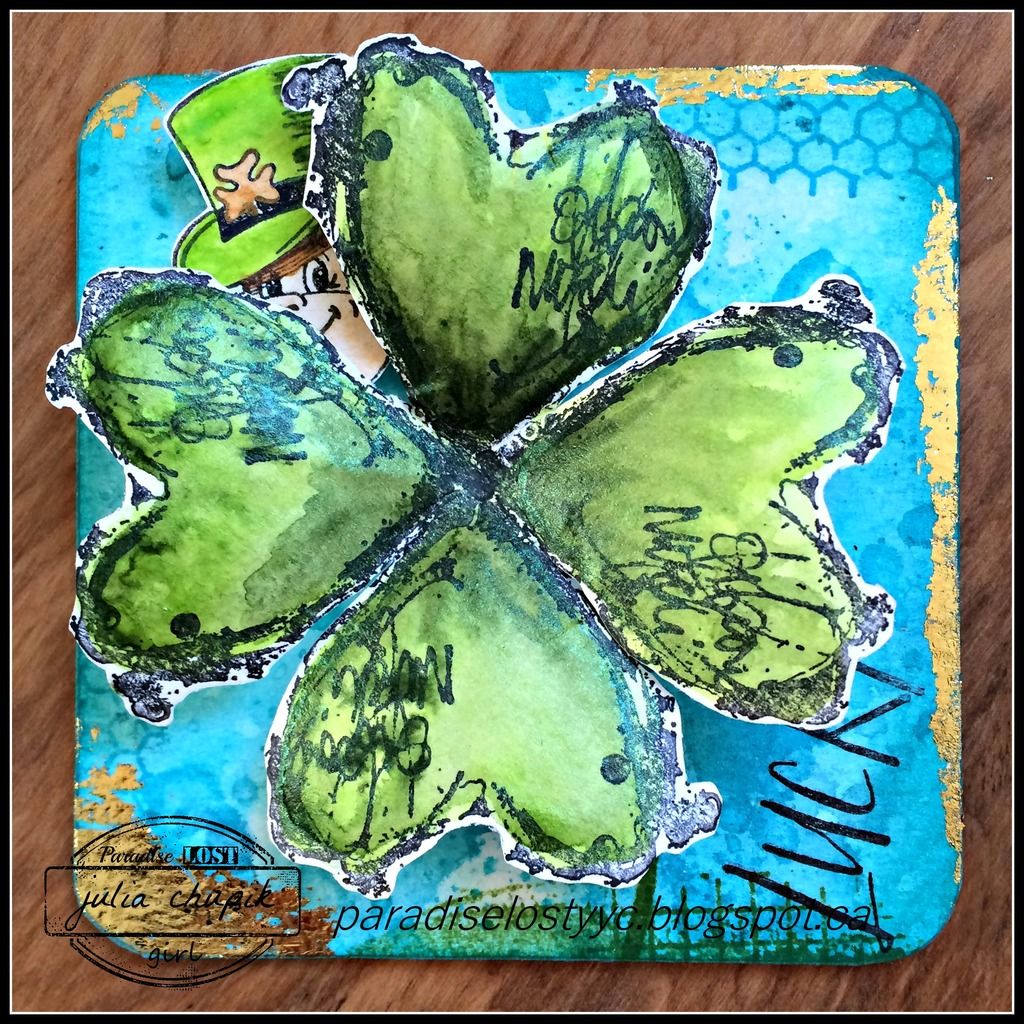
On this tag I added some Lucky Clover Distress Oxide.

On this tag  added some Spiced Marmalade Distress Oxide.

Next I took my Fall Leaves Mini Layering Stencil and used my blending foam applicator and applied Wild Honey Distress Oxide and then added a bit of Vintage Photo Distress Oxide.

Once my tags were completely dry I added some Distress Grit Paste through the Lost & Found Mini Stencil from Set #1.

I let the grit paste dry for a couple of hours before finishing my tags. I added a bit of script stamping with Orange Blossom Archival Ink & tinted some crinkle ribbon with Twisted Citron Distress Oxide.

To complete my tags I chose some paper dolls from Tim Holtz Idea-ology and used Distress Markers to tint them & a phrase from the Chit Chat collection.
My tags were done and ready to be mailed off to their new home and into the hands of some new friends. Everyone loves Happy Mail!
Products used to create this project:


Tuesday, 22 March 2016

Distress Ink & Watercolour - My Current Obsession

I love watercolour and have made a lot of cards using watercolour techniques
but I recently became completely obsessed with a no-line watercolour
technique I saw on Scraps & Stamps.
You can check out Nicole's blog post about no-line watercolouring here.


Nicole uses a combo if Distress Ink & Peerless  Transparent Watercolours.
Her finished project is gorgeous but it got me thinking - why couldn't I just stamp the image using Distress Inks and then blend the ink with my detailed watercolour pen?
Easy peasy lemon squeezy.

I stamped the koi image from the Nicole Wright Designs Upstream stamp set
on to 140lb cold-pressed watercolour paper using Twisted Citron & Carved Pumpkin
 Distress Ink Pads. Now it was time to grab the water brush and start blending.


It doesn't take much to get a beautiful watercolour effect and it's oh so simple & quick.
To get a bit more definition I took my Distress Markers in the same colours and added more colour to the fins before blending with water..

To protect my images before the next step I applied a layer of Distress Micro Glaze.

The final step was to swipe the paper through some Distress Stain for a water effect.

My completed card - I love the water droplets made with the stain.

Here is another card made using the same steps but this time when I applied the
Distress Micro Glaze I made sure to spread it a bit past the image. I wanted to have more a 'halo' effect when I applied the stain layer.

Thank you so much for visiting my blog today!

~~stay crafty~~

julia


Thursday, 25 February 2016

Lucky Clover - Emerald Creek Dare

It's time for a new Dare at Emerald Creek!

This time we want you to think Irish, greens, lucky clover, pot o'gold & leprechauns.

My project is a 4x4 canvas ~ made using watercolour paper and chipboard.
I added a sheet of thin magnet to the back and now it has a new home on the side of my fridge.
Just a little something to remind me of how lucky I really am.

I started with my 4x4 piece of 140lb cold press watercolour paper and 3
shades of blue Distress Stain - Tumbled Glass, Broken China & Peacock Feathers.
I smooshed all 3 colours of stain onto my splat mat before dragging my watercolour paper through it several time, drying the paper with my heat gun in between.

Once I was happy with it I adhered the watercolour paper to my chipboard base and inked the edges with Tumbled Glass Distress Ink. I added some random stamping around the edges and some gold transfer foil.

Next I started working on my focal point ~ I used the medium sized heart stamp from the Dina Wakely Collaged Heart stamp set & Staz-On ink pad to create my 4-leaf clover on watercolour paper.
I decided to use Twinkling H20 Shimmer paints to colour my clover. I haven't used my Twinkling H20's is forever and loved the shimmery look my clover ended up with!
I fussy cut my clover out before using the blunt end of my Sizzix quilling tool to 'shape' my clover leaves.

I used the Paddy stamp from Emerald Creek. I coloured him with Twinkling H20's as well before cutting him out. I just love how he is peeking out from behind the cloverleaf.

Thank you for dropping by my blog today and I hope my project has you feeling lucky.
Visit the rest of the Design Team Blogs for more Lucky Clover Dare Inspiration
and share your project with us at Emerald Creek Dares


Products used:

Emerald Creek Stamp


Distress Stain: Tumbled Glass, Broken China Peacock Feathers
Watercolour Paper
Dina Wakely Collaged Hearts Stamp set
Twinkling H20's 

Thursday, 11 February 2016

Anything Goes - Emerald Creek Dare

It's time for a brand new challenge at Emerald Creek Dares and we want you to showcase your favourite technique, style or products .Whether it's mixed media, cards, scrapbooking or 3D ~ it doesn't matter. Anything goes!

My creation is near & dear to my heart and brings 2 of my passions together.

Paper crafting and genealogy.


My project today was inspired by a tin type of my paternal great-great grandmother ~ Catherine ~ taken approx 1890. I scanned the tin type into my computer did some editing and then printed it out on some plain canvas that I had in my stash. I collected some other items ~ chipboard, ephemera and an 8x10 canvas.


I started by adhering a scrap of patterned paper that I had in my stash to the frame before using matte medium to adhere some old receipts and newsprint. I then sealed the whole thing with matte medium & let the frame dry completely before the next step.


I then started adding Distress Stain in Vintage Photo, Weathered Wood & Old Paper ~ misting with water and letting it drip from the top of the frame. I made sure this was dry before repeating this step from the bottom of frame.
I added some molding paste through a stencil in 2 corners of the frame, some Remnant Rubs in a few places and Ground Espresso Distress Marker with my spritzer.
The metal pieces have been painted with Weathered Wood Distress Paint and wiped back when the paint is dry. I then applied some metallic rub-ons. I also used metallic rub-ons on the small chipboard butterflies. 


Check out these amazing Filigree Leaf Charms from Emerald Creek Craft Supplies. The antique metal alloy finish on the charms were perfect the way they were so I didn't have to add anything to them. 


Before adhering my frame to the pallet board backing I placed a vintage lace doily to the wood.
My final step was to make some Tiny Tattered Florals and some bigger flowers with the Tattered Pinecone & Jumbo Tattered Pinecone die from Sizzix.

My family history gallery so far ~ 


Thank you so much for popping by my blog today!

Don't forget to visit the rest of the Emerald Creek Design Team 


Show off your stuff for our Anything Goes Dare
for a chance to win a $25 credit to Emerald Creek Craft Supplies

~stay crafty~

julia