Showing posts with label Christmas. Show all posts

Monday, 11 December 2017

Letterpress Christmas - Altered Decor

Hello and happy Monday!

I'm sharing a set of altered letterpress words that I bought from the local $ store.
They were plain wood when I bought them but I stained, painted and distressed them to get some wonderful new pieces to add to my holiday decor.

I also have a Youtube video so you can watch me create these.

Products Used:
(This blog uses affiliate links that earn me a small commission at no extra cost to you. 
Thank you for your support)

Thursday, 30 November 2017

So many snowflakes.....more Christmas cards!

I'm back with another post about my Christmas card making for 2017.
Here is the finished set of cards - I only needed 4 but I was having so much fun blending, stamping and heat embossing I just kept going!

The Swirly Snowflake stamps and coordinating die are brilliant. I love the details in the stamped images and the dies are fabulous for those of us who dislike fussy cutting.

  I started by choosing some Distress Oxides in purple and blue tones.
Foe these cards I used Wilted Violet, Seedless Preserves, Salty Ocean,
Peacock Feathers, Faded Jeans and Black Soot.
 These inks blend so beautifully and leave such a gorgeous matte, chalky finish.
I inked the edges of my background with the Faded Jeans to frame the edge.

I gave each background a spritz & flick of water then gave then a quick blast from my heat gun to dry them before stamping some swirly snowflakes with Champagne Versamark. I love the sparkly watermark this makes over the Oxides.

To create my snowflake focal point I used my Tim Holtz stamping platform.
I applied 2-4 different colours of ink om my stamp, gave it a quick spritz of water them stamped it.
 I then cleaned off my stamp without removing it from the platform, inked it with my Ranger Emboss-It dauber then stamped my image again. I then heat embossed it with clear embossing powder.
I die cut out my snowflakes and adhered them to the backgrounds with an action wobble.
I added a sentiment then adhered them to my card base. I now have another set of
cards ready to be mailed out.
Products Used:
The blog contains affiliate links that earn me a small commission at no extra cost to you. 
Thank you for your support!

Card backgrounds and bases were made using
Creative Scrapbooker Superstock


Tuesday, 28 November 2017

Festive Tree - Christmas Card

Hello! I have been busy making Christmas cards so I can get them in the mail by Dec 1. 
This week I will posting some these cards.

These first 2 cards were made using the NEW Tim Holtz Watercolor Tree 
Stamp from Stampers Anonymous. 

This set is a layered stamp - the base layer is stamped with Peeled Paint Distress Ink.
The next layer was stamped with Forest Moss. These trees were stamped on to the 'label' paper from last years Christmas Paper Stash pack from Tim Holtz Idea-ology.

I stamped the star with Fossilized Amber Distress Ink. The decorations were stamped with Ranger Emboss-It then embossed with Candy Red Embossing Powder from Emerald Creek Craft Supplies.

I trimmed out the tree image, layered this over some Distress cardstock and then adhered to a piece of pattern paper from the 2017 Christmas Paper Stash from Tim Holtz Idea-ology. This is an 8x8 paper pack and I love using these for cardmaking.


Products Used:
(This blog contains affiliate links. Any purchases made using my affiiate links earns me a small commision at no extra cost to you. Thank you for your support!)

Emerald Creek Craft Supplies:


Wednesday, 22 November 2017

Merry & Bright Etcetera Tag

Welcome back my lovely crafty friends!

It's beginning to feel a lot like Christmas around here. I took a break from cardmaking and made this decor item using a medium Etcetera tag.

~ The finished project ~

I began with a medium Etcetera Tag and the Christmas Paper Stash.

I chose several different patterns of paper and trimmed them down to make a patchwork on my tag. I used matte medium to adhere my paper to the tag & trimmed off the excess. I then used my sanding block to distress the edges and peel off bits of the paper. 

I used my Distress Crayons - Black Soot, Vintage Photo & Walnut Stain - to go around the edges, of the tag and the pieces of paper.

Next I added some Antiqued Bronze Distress Crayon - this added just a bit of shimmer.

To complete my tag - I added some Festive Paper Dolls, Christmas Quote Chips, 
Christmas Clippings Stickers, 


Products Used:


Thursday, 16 November 2017

Merry Christmas!

It's the most wonderful time of the year and I have just started my Christmas cards.
It's time to power through and get them in the mail by Dec 1.

Here is the completed card - it's a 5 1/4" x 5 1/4" square card.

I started with a 5"x 5" square piece of Superstock - this is a fabulous cardstock 
from Creative Scrapbooker Magazine.
I tacked this down to piece of chipboard with washi tape.
I then taped down a piece of torn copy paper across my cardstock.

 I wanted to create a wintery sky for my card background and decided to use
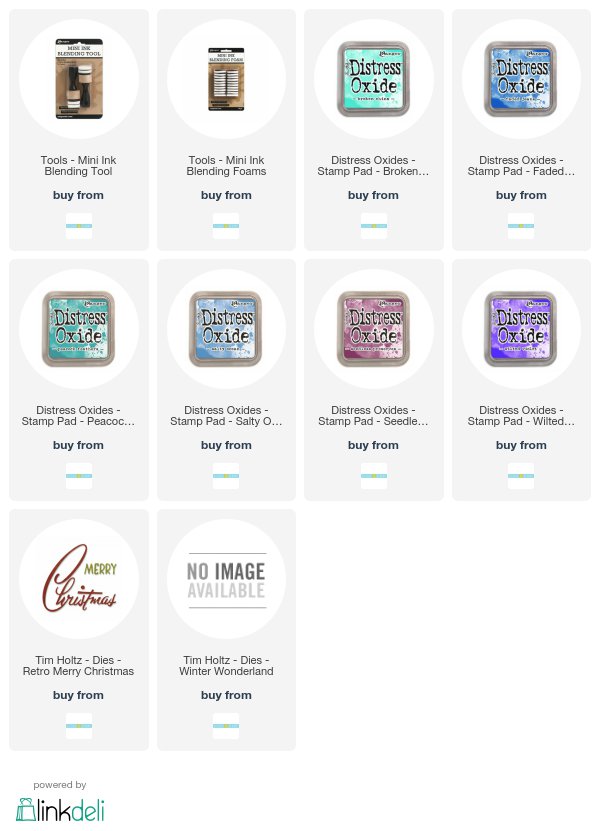
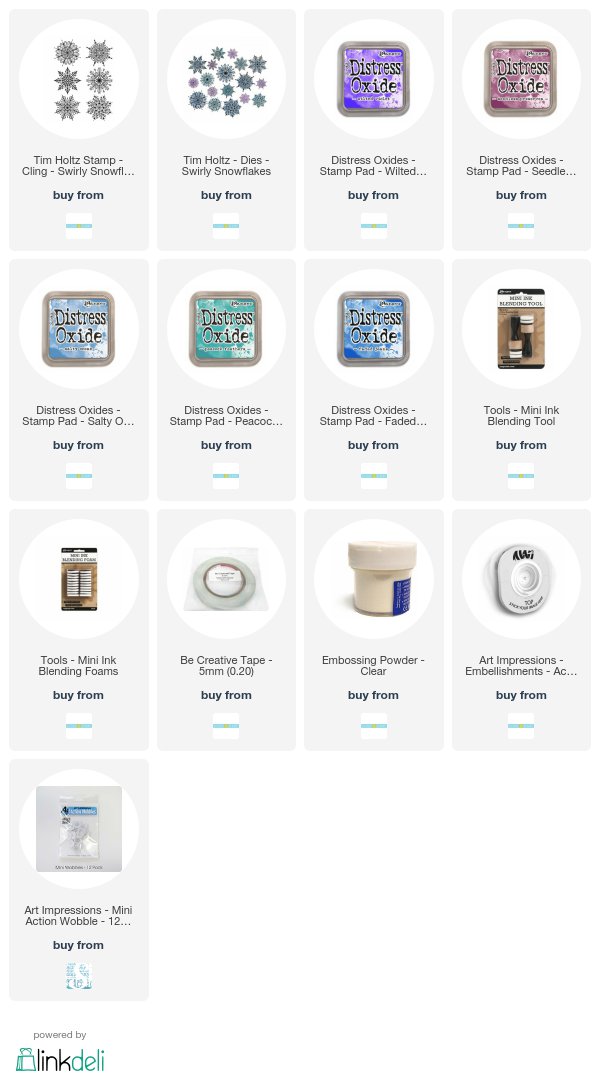
Distress Oxides. I love the soft chalky look of these inks.
The colours I used Broken China; Salty Ocean; Peacock Feathers;
Wilted Violet; Seedless Preserves and Faded Jeans.

I removed the copy paper and had a lovely winter sky over a snowy ground cover.
Next I used the "snowfall" die from the Winter Wonderland die set.

I die cut the deers from the Winter Wonderland die set with Seedless Preserves Kraft cardstock & the Retro Merry Christmas die with silver Deco Sheet.

I assemble my card for a perfectly wintery Christmas card.
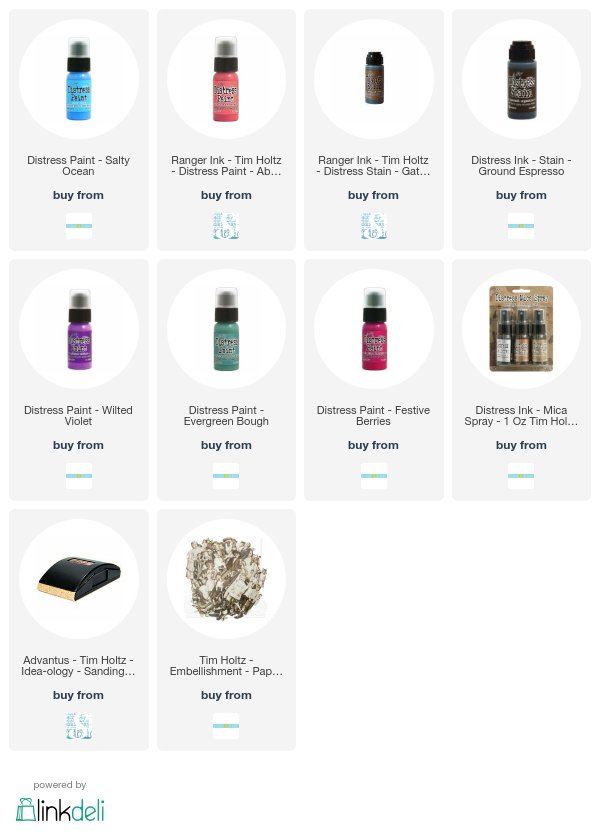
Products Used:
(this blog contains affiliate links)


Tuesday, 25 July 2017

Christmas In July - Scrap 'n Stamp Blog Hop

It's beginning to look a lot like Christmas.....in July!
Welcome to my blog and if you have been following the Scrap 'n Stamp Christmas in July Blog Hop you have probably come here from Niki Stone's blog and her amazing project.

Here is my finished card....


The stocking die is gorgeous! It's from Dee's Distinctly and can be your's for FREE with any $50 order at Scrap 'n Stamp! (Free Gift Offer Applies to Canadian Orders Only)

I started with a 4.25" x 5.5" piece of heavy white cardstock & using my foam applicator applied an all over coat of Distress Oxide Antique Linen. Next I took my Holiday Knit Layering Stencil from Tim Holtz & Stampers Anonymous and applied some Distress Ink Candied Apple.

What happened next was a happy accident - I wanted to apply the Candied Apple Distress Ink around the edge of my cardstock but accidentally picked up my Antique Linen Foam Applicator. Ooops....but I loved the way the Antique Linen Oxide softened the Candied Apple Ink. I carried on and then did another layer of Candied Apple over the first layer. 

I heat embossed some Burnt Copper Leaves embossing powder from Emerald Creek
on to my stocking die cut. I then glued the stocking to the red sparkle paper.
I stamped the 'Merry Christmas' with Archival Ink Potting Soil and then adhered the cardstock to my card base. 


Now head over to Karen's blog for even more Christmas In July inspiration.

Be sure to check out the entire lineup of crafters participating in the blog hop:


Products used for this project: