Showing posts with label Emerald Creek Craft Supplies. Show all posts

Friday, 19 January 2018

3 Cards using Baked Texture Embossing Powders

Hello again! Today is day #2 of my January 2018 Kit reveal for Scrap Shotz.

I have 3 cards to share with you today including a step-by-step video tutorial.

Click below to watch the video tutorial.


A full list of supplies and more photos can be found over on the Scrap Shotz Blog.


Monday, 18 December 2017

The Perfect Blend

Ah, the delicious smell of coffee when heating embossing powder. 
Wait. What?
Yes, you heard me right. Kim, the creative genius behind the embossing powders of Emerald Creek Craft Supplies has brought together a perfect blend of gorgeous java colored embossing powder and the yummy scent of fresh brewed coffee. She's has called it Just Java and it's addictive. This embossing powder will be available on January 20th. Ask your local retailer to carry it or order it directly from Emerald Creek.

I recently created a card for a friend who shares my love for a great cup of coffee and I couldn't resist using this Just Java embossing powder.


To see how I created this card you can check out the video on YouTube
Products Used:
This blog uses affiliate links that earn me a small commission at no extra cost to you

Just Java Embossing Powder - available January 20, 2018

Creative Scrapbooker Magazine:

Stampin' Up!
Perfect Blend Stamp Set


Thursday, 14 December 2017

Emerald Creek Craft Supplies & Stencil Girl Blog Hop

Hello blog friends!
Today I am very excited to be participating in a blog hop with 
One lucky winner will receive a $25 Gift Certificate to StencilGirl Products
AND a $25 Gift Certificate to Emerald Creek!
Enter to win by leaving a comment below.
Then be sure to visit the other blogs in the hop and comment to win.
The more blogs you comment on, the more chances you have to WIN!
One winner will be chosen at random from all blog comments!
(One comment per blog please.)
You have until Tuesday, December 19th at 11:59PM Central Time to leave your comments.
Winner will be announced on
StencilGirl's Facebook page on Wednesday, December 20th.

Now lets get to my project.
I created an art journal page - there are lots of layers and yummy textures.

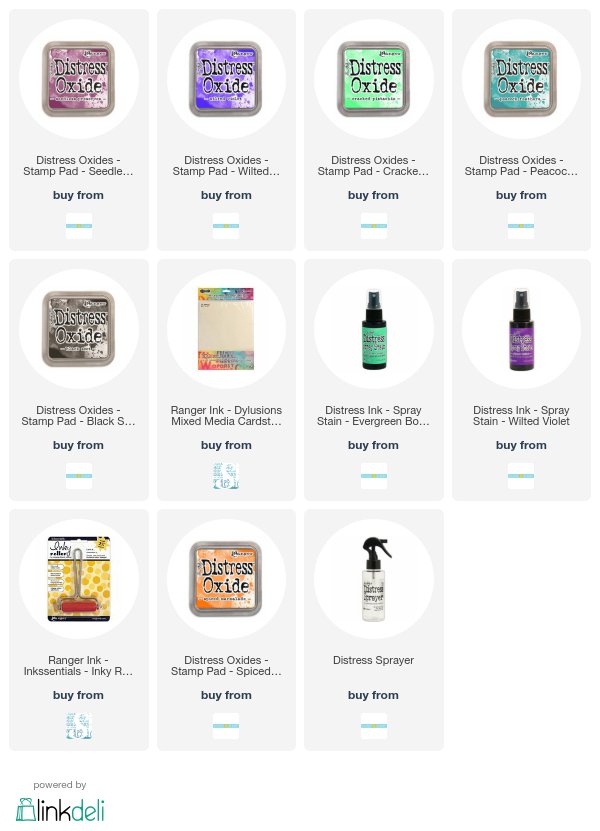
I started with a sheet of kraft mixed media paper from the Dylusions Large Journal and sprayed Distress Spray Stain through the Be Free stencil.

Next I added some torn paper pieces from an old book. I adhered these with matte medium & dried it completely before moving on to the next layer.

My next step was to add some acrylic paint with a brayer - leaving some white space.

After making sure the paint was dry I added molding paste through the Corrugated Lines 
& Urban Insiders stencils. I left this to dry on it own. I love how the Distress Stains seep up through the paste as it dries.

After the molding paste was completely dry I added some gesso by dry brushing on - just in random spots. I them brayered on some purple acrylic paint over the molding paste to highlight it a bit.
To create my focal point I applied some Black Soot Distress Oxide through the Swallows stencils on to a piece of white cardstock. I then cut these out to use on my journal page.

I then pressed my Spiced Marmalade Distress Oxide pad across the Urban Insiders stencil, spritzed with some water then laid it over cardstock. I did this a few times because I wasn't sure how many I wanted to use. Once these were dry I tore them out and inked the edges.

I used the Be Free stencil for the main part of my page.
First I fixed the stencil to a piece of cardstock then applied some Distress Oxide through the stencil with a blending tool. 

Next I used the mask of the stencil to add Black Soot Distress Oxide for the letters.
To fill in the white spaces left by the stencil I used my water brush. I then trimmed this out.

Now back to my page - I sprinkled some Burnt Copper Leaves embossing powders randomly over the page and heated it from underneath.
Next I assembled the pieces of my focal point and adhered them with white glue.

One last step to finish page - I added some Wilted Violet & Black Soot Distress Oxide to the edges.
My page is now complete and ready to be added to my art journal.

Be sure to check out the designers from Day 1 of our blog hop and leave 
your comments for a chance to win the giveaway!
December 13


December 14
Julia Chupik ------> you're here!
Check back tomorrow for inspiration from these fabulous designers

December 15

Products Used:
(This blog uses affiliate links that earn me a small commission at no extra cost to you. Thank you for your support!)

Emerald Creek Craft Supplies:


Tuesday, 28 November 2017

Festive Tree - Christmas Card

Hello! I have been busy making Christmas cards so I can get them in the mail by Dec 1. 
This week I will posting some these cards.

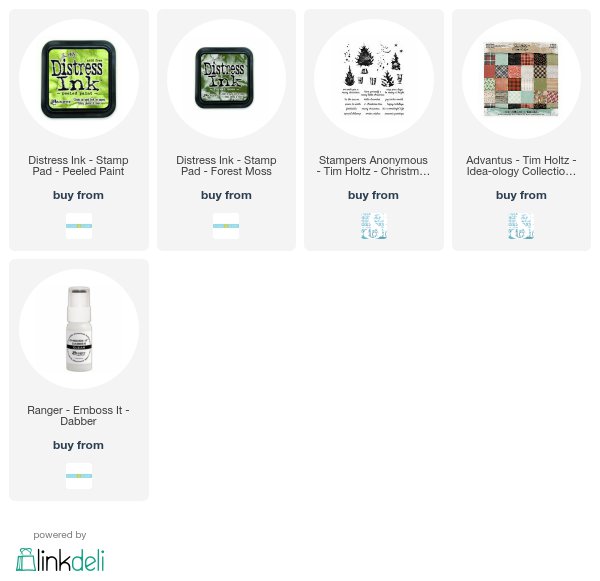
These first 2 cards were made using the NEW Tim Holtz Watercolor Tree 
Stamp from Stampers Anonymous. 

This set is a layered stamp - the base layer is stamped with Peeled Paint Distress Ink.
The next layer was stamped with Forest Moss. These trees were stamped on to the 'label' paper from last years Christmas Paper Stash pack from Tim Holtz Idea-ology.

I stamped the star with Fossilized Amber Distress Ink. The decorations were stamped with Ranger Emboss-It then embossed with Candy Red Embossing Powder from Emerald Creek Craft Supplies.

I trimmed out the tree image, layered this over some Distress cardstock and then adhered to a piece of pattern paper from the 2017 Christmas Paper Stash from Tim Holtz Idea-ology. This is an 8x8 paper pack and I love using these for cardmaking.


Products Used:
(This blog contains affiliate links. Any purchases made using my affiiate links earns me a small commision at no extra cost to you. Thank you for your support!)

Emerald Creek Craft Supplies:


Saturday, 7 October 2017

World Cardmaking Day 2017

Hello and welcome to my blog!
Today is World Cardmaking Day and I decided to participate.

I recently purchased this beautiful background stamp from Scrap Shotz.
 It's called Magnolia Fields and it's from The Ton Couture Cling Stamps

 I started by stamping my image on cold press water colour paper with Versamark Ink.
I embossed it with Pastel Lilac Embossing Powder from Emerald Creek Craft Supplies.

To  color my image I used Ken Oliver Color Bursts in Orchid, Lime Green and Ultramarine Blue.

I used my Tim Holtz/Sizzix Stitched Rectangle Die and cut out a portion of my stamped image. I adhered this to a piece of dark purple cardstock then attached this to my folded cardstock base.

My sentiment was stamped on a piece of scrap watercolor paper.

Products used:

The Ton Background Stamp - Magnolia Fields
Ken Oliver Color Burst: Orchid, Lime Green, Ultramarine Blue
Emerald Creek Craft Supplies Pastel Lilac Embossing Powders
Tim Holtz/Sizix Stitched Rectangles Die

Tuesday, 25 July 2017

Christmas In July - Scrap 'n Stamp Blog Hop

It's beginning to look a lot like Christmas.....in July!
Welcome to my blog and if you have been following the Scrap 'n Stamp Christmas in July Blog Hop you have probably come here from Niki Stone's blog and her amazing project.

Here is my finished card....


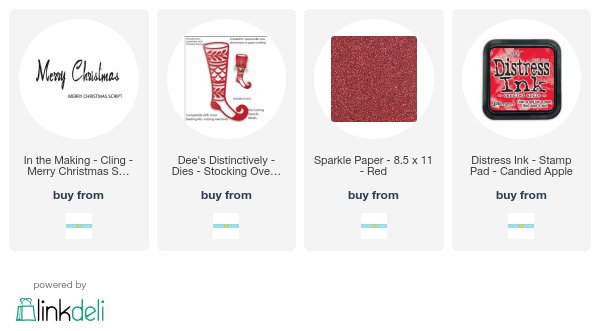
The stocking die is gorgeous! It's from Dee's Distinctly and can be your's for FREE with any $50 order at Scrap 'n Stamp! (Free Gift Offer Applies to Canadian Orders Only)

I started with a 4.25" x 5.5" piece of heavy white cardstock & using my foam applicator applied an all over coat of Distress Oxide Antique Linen. Next I took my Holiday Knit Layering Stencil from Tim Holtz & Stampers Anonymous and applied some Distress Ink Candied Apple.

What happened next was a happy accident - I wanted to apply the Candied Apple Distress Ink around the edge of my cardstock but accidentally picked up my Antique Linen Foam Applicator. Ooops....but I loved the way the Antique Linen Oxide softened the Candied Apple Ink. I carried on and then did another layer of Candied Apple over the first layer. 

I heat embossed some Burnt Copper Leaves embossing powder from Emerald Creek
on to my stocking die cut. I then glued the stocking to the red sparkle paper.
I stamped the 'Merry Christmas' with Archival Ink Potting Soil and then adhered the cardstock to my card base. 


Now head over to Karen's blog for even more Christmas In July inspiration.

Be sure to check out the entire lineup of crafters participating in the blog hop:


Products used for this project:


Saturday, 1 July 2017

Scrap n' Stamp Canada Day Blog Hop

Happy Canada Day! 
Today we are celebrating Canada's 150th birthday with a special blog hop over on the Scrap 'n Stamp blog, sharing projects featuring the cute new 'Busy Beaver' stamp & die set by Taylored Expressions. Be sure to leave comments along the way because Scrap n' Stamp Canada has some prizes to give away randomly - $150 in gift certificates (3 lucky people will each win a $50 gift certificate) and a Busy Beaver Stamp & Die Set with a bonus maple leaf die. Winners will be randomly chosen and announced on the Scrap N' Stamp blog on Monday!

Here is sneak peek of the finished card - cute, right?

Here is the Busy Beaver Stamp & Die Set I received from Scrap 'n Stamp.
So adorable and check out those sentiments. So funny!

I couldn't create a Canada Day card without using some products from a couple of 
my fave Canadian manufactures. 


After stamping and die cutting my Busy Beaver image I coloured him in with Distress Markers.
His birthday hat is from the Crazy Accessories stamp with matching thinlit die. I love these sets - it makes it so easy to create accents for cards.

My background was created with the help of my Misti.
 I first stamped my circle background stamp (Halftone & Rings - Stampers Anonymous) with Candy Apple Distress Ink two times to get a nice bright red. 
I made a note of where my paper was before removing it from the Misti, giving it a spritz of water and then drying it 

I then placed the paper back on my Misti in the same place and then stamped the same image with Black Versafine Ink. I love this layered look/

The wood pieces from Southern Ridge  were painted with Candy Apple & Picket Fence Distress Paints. 

Now head on over to Karla Yungwirth's blog for even more inspiration and don't forget to leave a comment for your chance to win!

Karla's Blog - Creative Love Affair