Showing posts with label Scrap 'n Stamp. Show all posts

Saturday, 24 March 2018

Easter Treat Trinket Box - Scrap 'n Stamp Designer Challenge

Hello and welcome back!

It is time for another designer challenge at Scrap 'n Stamp.
This month the team was challenged to use one of the new  Side Order sets from Tim Holtz/ Sizzix.
If you are following along the blog hop you should have come here from Nancy's blog and her fabulous project. 

I chose to use the Springtime set and decided to pair it with the Eilleen Hull Trinket Box Die to make a sweet-filled place setting for Easter dinner.

Distress Oxides on glossy paper made for a fabulous spring background for my trinket box.

The bunny, bow & script word from the Springtime Side-Order set
are super cute and look fabulous with some green velvet rick rack I had in my stash

The trinket box makes a great little treat box for dinner. Who doesn't like candy easter eggs?!?!

Check out the process video below:


Now head over to Karen's blog to see what amazing inspiration she has in store for you.

Julia Chupik ----> you're here!
Karen Warner

Products Used:

Eileen Hull Trinket Box Die

Distress Oxides:


Saturday, 3 February 2018

Getting Fab with Foil - Scrap 'n Stamp Designer Challenge

It's time for another Designer Challenge at Scrap 'n Stamp.
If you are following along the blog hop then you have come here from Tara's post at the Scrap 'n Stamp Blog. This month the designers were challenged to use Ranger Foil Sheets.
Full disclosure - I haven't used these foil sheets very much so there was a lot of trial & error in creating these cards. I'm sure there are better ways to transfer the foil but I'm pretty happy with these results. I hope you do too.

~Here are the completed cards~

I applied the foil on the background and on my focal point.

I used sticky embossing powder to transfer the foil to my stamped images. The sticky embossing powder didn't give me a perfect transferred image but I sort of liked the result.

Using a bone folder helped to transfer the foil to the sticky embossing folder.

The Sketched Layered Fronds stamp from Dina Wakley Media was fun to use for this technique. The top layer left a fabulous foiled outline to the solid base stamp.

Watch the step-by-step video I made to see how I created these cards from beginning to end.

Be sure to check out the other designers blog for more Fab With Foil inspiration.  Be sure to leave comments at all the stops along the way and you could win a pack of  Ranger Foil Sheets!

Julia Chupik -------> You're here!


Products Used:


Saturday, 9 December 2017

Bright Lights Blog Hop - Scrap 'n Stamp Designer Challenge

Hello & welcome! You should have arrived here from Tara's post on the Scrap 'n Stamp blog.
Be sure to visit each blog on the hop and leave a comment for a chance to win a Lawn Fawn die from this months new release. Let's get hoppin'.

This month we were given the challenge of using the Lawn Fawn String of Lights die set.

- Here is my finished card -

I started with a piece of white cardstock that was 4 7/8" x 4 7/8". I took the 'string' part of the die set and placed it across the cardstock like in the photo below. I put it through my Big Shot and then removed the 'string' part. This left me with
I cut out the top layer of my balloon in red glitter paper, the bottom layer of the balloon in white cardstock, the string and lightbulb base in gold glitter paper.
I inserted the gold glitter string between the two pieces of the cardstock from step one and adhered with some doubled sided tape. I then flipped it back over and stamped my sentiment.

I then adhered my lightbulbs down along the gold string. 
Next I adhered my white cardstock to a piece of 5 1/8" x 5 1/8" black cardstock.
I added some Tarnished Brass Distress Crayon to the edge and Barn Door Distress Crayon around the lightbulb with a detailer water brush.


Julia Chupik - that's me!

Products Used:
(I use affiliate links on my blog. These links earn me a small commission at no 
extra cost to you. Thank you for your support)


Tuesday, 14 November 2017

Designer Challenge: Distress To Impress

Hello, my crafty friends!
It's time for another designer challenge from

This month the designers were given Distress Crayons Set 9 to create and inspire with.
Until the end of the month all sets of Distress Crayons will be 25% at Scrap 'n Stamp so its a great time to try them out or to complete your collection.
Be sure to leave a comment on my blog for a chance to win a set of Distress Crayons. Increase your chances of winning by visiting all the designers blogs and leaving some love.

Here is my finished project:

I started by gathering up my Distress Crayons, a couple of tags (covered in white gesso) 
and a couple of stencils. These stencils are the Autumn layering stencils from Tim Holtz. 
I used both the large and mini sizes.


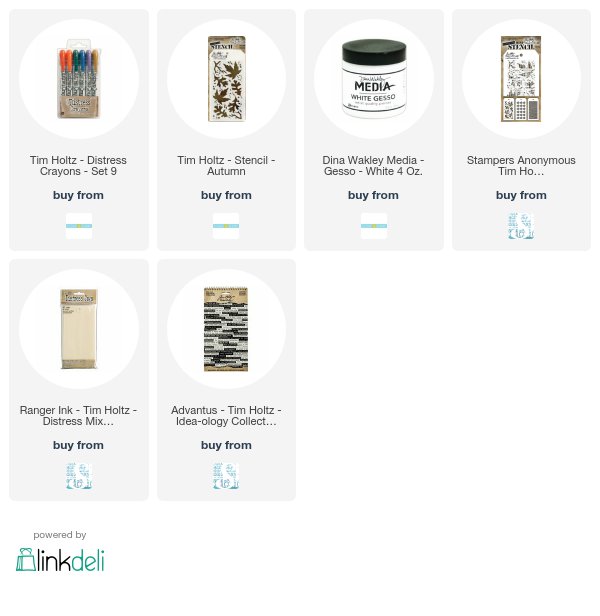
Distress Crayons Set #9 includes these colours: Barn Door, Ripe Persimmon, Pine Needles, Faded Jeans, Dusty Concord & Brushed Corduroy.
I started by scribbling Dusty Concord, Ripe Persimmon, & Brushed Corduroy randomly over my gesso covered tag. I find the colours blend best over gesso. I sprayed some water on my spalt mat and used my finger to blend the colours on my tag.

Next I took the large Autumn tag and with a baby wipe removed some of the crayon.

I repeated this technique with the mini Autumn stencil.

For my second tag - I used the same colours of Distress Crayons and stencils bu changed my technique. This time I used a blending tool and a slightly damp blending foam to apply the crayon through the stencil. Again this tag has been covered with white gesso. 

These were both tags at this point - one very bold & the other very subtle.

Before continuing I finished the edges of the tag with Distress Crayons - Dusty Concord on this one an Ripe Persimmon on the other (sorry, no pic)

I used my Bird Crazy & Crazy Dog stamp & die set for my focal points & coloured them in with a water brush pen and Distress Crayons. 

 I used the coordinating dies and cut out my images in black fun foam.
This game my stamped images a bit of dimension when adhered to my tag.

For my foliage I created a third tag using the distress crayons & the Bubbles Mini Stencil.
I used the small smallest dies from the Fall Foliage die set to cut out a bunch of leaves.

After adhering the leaves and stamped image to my tag I finished it off with a Small Talk sticker from the occasions pack.

Thank you so much for stopping by my blog today! Now head over to Karen's blog for even more Distress Crayon Inspiration.
Don't forget to leave a comment - you could win a set of Distress Crayons from

Design Team:

Julia Chupik (you're here!)


Products Used:
(This blog post contains affiliate links)

Friday, 13 October 2017

Freaky Friday Blog Hop - Scrap 'n Stamp

Witches and Goblins and Ghosts! Oh My!
It's Friday the 13th and I am joining  a spooktacular blog hop with Scrap 'n Stamp.

This month was team was asked to create a project using the new Paper Doll Pack - Ancestors from Tim Holtz Idea-ology. I love using the paper dolls! These are so much and can be used in so many different ways.

I chose to make a Halloween themed journal using the Sizzix Scoreboard XL Journal Die from Eileen Hull. I paired this with Graphic 45 - An Eerie Tale Paper pad and of course my Ancestors. I have named this witchy pair - Prudence and Winifred.

I made 4 booklet inserts using plain copy paper and Graphic 45 pattern paper for the covers.

I decided to decorate the cover of each booklet. Every good witch needs to keep track of her potions, spells, poisons and pumpkin pie recipes, right?

I used the Twisted Edge die and Distress Cardstock; scrap paper from the Graphic 45 Eerie Tale pack for the labels.
 
I had to include some more Ancestral Paper Dolls for the covers too.
I added a skull rub-on to the face of the boy on the Poison booklet.

Here is the finished journal with a few added metal charms from my stash.


Be sure to check our all the other ghoulish creations from the rest of the team:


Below are a list of the affiliate links for the products used in this project:


Friday, 8 September 2017

Stamptember Blog Hop with Scrap 'N Stamp

Welcome back! I am so excited to be back as a guest designer for 
Scrap N Stamp's September Blog Hop.

This month Scrap N Stamp is featuring
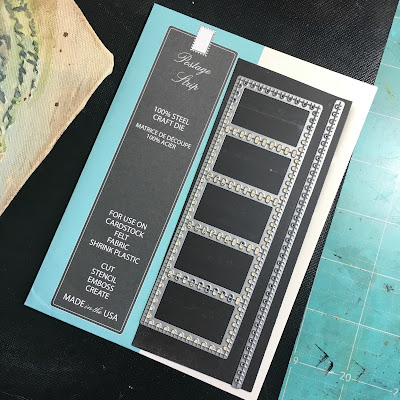
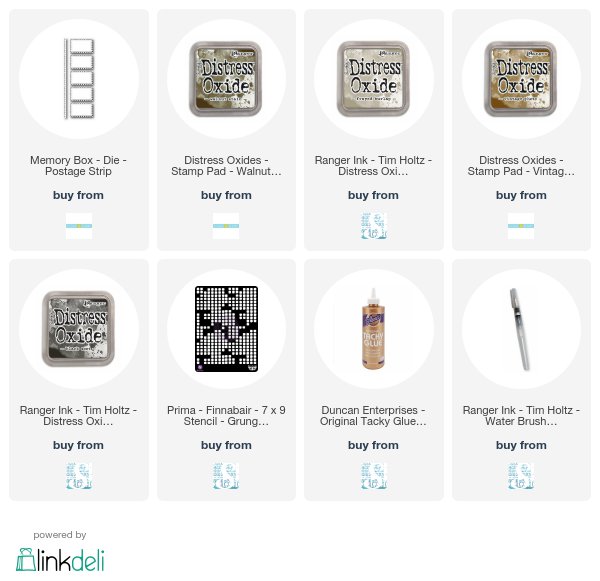
The Postage Strip Die from Memory Box.
This is such a fabulous and versatile die that can be used in so many ways!

Here is my finished project - a vintage photo inspired 5 sided frame.

The 5-sided frame came from a project my dad was working on. I knew I would use it some day but was waiting for inspiration. To make the insert for the frame I first took a piece of 12x12 chipboard and cut it to fit my frame. I then used natural canvas and Aileens Tacky Glue to adhere it to the chipboard. This took a couple of days to dry completely.
Once it was dry, I applied a layer of white gesso to seal the canvas.

Next I took a couple of stencils: Prima Grungy Grid and Stencil Girl Encouraging Scribbles and used these with  molding paste to create my focal point.
I painted the entire surface with vintage white acrylic paint once the molding paste was dry.

To start adding some colour to my canvas, I took some cheap acrylic paint I bought at the dollar store in blues, greens and browns. I added the blue and green paints with a brush then sprayed them water, letting the drip over my stenciled images. Next I added the brown by dry brushing along the edges and splattering some across the canvas.

The help the raised parts stand out a little more I used some Distress Oxides: Frayed Burlap; Walnut Stain; Vintage Photo and Black Soot. I 'painted' the Oxides over the stenciled areas to help them pop off the background. 

Next I collected some ephemera: vintage photos,  post card, book page, ration stamps, lace doily and a Wildflower Bouquet chipboard die from Southern Ridge Trading Co.
I used the Postage Strip die from Memory Box to die cut out 6 pieces from my vintage postcard and painted the Wildflower Bouquet die with some black acrylic paint.

 I began to assemble these pieces into my focal point. Before using the postage stamp die cut I did use some Distress Oxides to grunge them up a bit. After I got everything adhered down I decided that the black Wildflower Bouquet was a bit much - so I gently dry brushed some light brown acrylic paint over it It was just enough to help the flower die blend a bit into the background.

Here is my finished project again.
Check out some more inspiration from the
Guest Designer Team.