Showing posts with label Mixed Media. Show all posts

Wednesday, 25 April 2018

Welcome back! 
We are getting to the end of April and that means there is just a few  more days of Fur Babies inspiration to come. *insert sad face here* I know I have really enjoyed creating with this wonderful collection and seeing all the fantastic inspiration from the rest of the DT. 

The good news is another lovely collection is going to be unveiled next week! EEEEk! 

For my final Fur Babies project I have another 12x12 layout featuring my parents dog, Winston.
He is pretty adorable, crooked teeth and all.

Here is a sneak peek.
 For more details, photos and a list of products used you can head over to the Wild Whisper Blog.

Don't forget to use the promo code DTJulia for 10% when shopping at the online store.

Have you joined the Wild Whisper Community on Facebook?
Check it out for inspiration, sneak peeks of upcoming releases and to share your Wild Whisper creations. 


Wednesday, 28 February 2018

Be Confident - Scrap Shotz Design Team

 Welcome back! I am on the Scrap Shotz blog today sharing some more Amelia Rose love.

I created a mixed media reverse canvas - a home decor item I made for my daughter..
 The Amelia Rose Collection is so lovely - a fantastic blend of femininity & grunge. 
Check out more details and step-by-step photos on the Scrap Shotz Blog.

Tuesday, 20 February 2018

Celebrate Love - Mixed Media Layout for Scrap Shotz Design Team

Hello!

I am over on Scrap Shotz Snap Shotz Blog today sharing a 12x12 layout I made using products from the Prima Marketing - Amelia Rose Deluxe Kit

This is a special kit that is not part of the regular monthly kit subscription.

Check out the Scrap Shotz blog for a full list of products used and a link to the process video.

Thanks for stopping by....now head over to Scrap Shotz to see the full reveal of my mixed media layout.


Wednesday, 7 February 2018

Life Is Good - Mixed Media Layout designed for Wild Whisper Designs

Hello & Welcome!

Today I am over at the Wild Whisper Designs blog sharing a 12x12 layout I designed using the new release - Classic Woodgrain paper pack.


 Here are a couple sneak peeks at my layout.

Head over to the Wild Whisper blog to get all the details, a link to the step-by-step tutorial video and a list of the products used.


Thursday, 1 February 2018

4X4 Mixed Media Canvas for CCB Creative Crew.

Hello and welcome to my first ever project for Canvas Corp Brands.
Each member of  design team was sent a 4x4 burlap canvas with our first box of goodies and asked to create a piece that reflects their personal style.

~Here is my finished canvas~
I have included a complete list of products I used at the bottom of the post.

My personal style - that a tough one for me describe when asked.
I have so many interests that I don't know if I can describe my style in one or two words like vintage, eclectic, modern, grungy, whimsical.

Most of what I create is intuitive. I usually have no real plan when I start except maybe a quote that I may or may include in my art. I'll play with colours and textures - create a layer and see what ideas that inspires. This could explain why I have so many mixed media pieces and art journal pages that are unfinished. I am just waiting for the inspiration.
Does anyone else struggle with discovering your personal style? Don't worry about defining your art. Just create for the sake of creating.


Watch the step-by-step video below


Products used:

Wednesday, 3 January 2018

New Year Resolution 2 - Celebration File & Card Storage.

Welcome back my crafty friends!
My last post was all about taking a moment each day to write down one thing I am grateful for. 
Today's project is about a resolution that I have made every January for the last 3 years (at least) and have never followed through with. I am hoping that this Celebrate File & card storage will help me.
I love to make cards but I am terrible at mailing them out in time. Horrible actually.

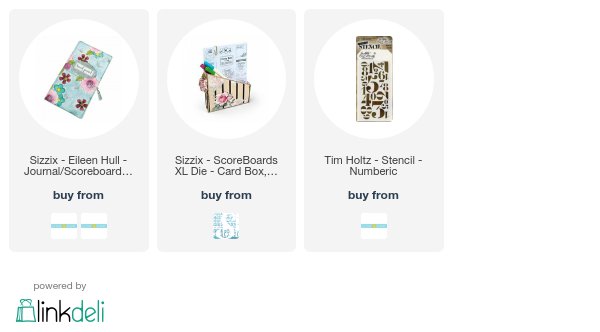
I used the Eileen Hull Travel Journal (661906) and Card Box, Planner Storage & Organizer (662361) dies to make my organizer.


~ Here is my finished organizer ~

Now I had to creative because the assembled card box is wider than the finished journal die. To solve this I left the first cut of the front and back of the journal whole and did not bend the spine on the score line. I made 2 extra cuts of the spine to attach to the front and back of the journal.
 If that doesn't make sense then please watch the video - that may explain it better.

I made some monthly inserts for my card box that list the dates of birthdays and anniversaries for the entire year. I love that I can look ahead make a card and then store it in the box until its time to pop it in the post. I'm keeping my fingers crossed that this will keep be organized & motivated to get cards in the mail. 

Click below to watch my tutorial video for this project.
Products Used:
(This blog contains affiliate links that earn me a small commission when used to make purchases. This does not cost you any extra. Thank you for your support!)

Thursday, 14 December 2017

Emerald Creek Craft Supplies & Stencil Girl Blog Hop

Hello blog friends!
Today I am very excited to be participating in a blog hop with 
One lucky winner will receive a $25 Gift Certificate to StencilGirl Products
AND a $25 Gift Certificate to Emerald Creek!
Enter to win by leaving a comment below.
Then be sure to visit the other blogs in the hop and comment to win.
The more blogs you comment on, the more chances you have to WIN!
One winner will be chosen at random from all blog comments!
(One comment per blog please.)
You have until Tuesday, December 19th at 11:59PM Central Time to leave your comments.
Winner will be announced on
StencilGirl's Facebook page on Wednesday, December 20th.

Now lets get to my project.
I created an art journal page - there are lots of layers and yummy textures.

I started with a sheet of kraft mixed media paper from the Dylusions Large Journal and sprayed Distress Spray Stain through the Be Free stencil.

Next I added some torn paper pieces from an old book. I adhered these with matte medium & dried it completely before moving on to the next layer.

My next step was to add some acrylic paint with a brayer - leaving some white space.

After making sure the paint was dry I added molding paste through the Corrugated Lines 
& Urban Insiders stencils. I left this to dry on it own. I love how the Distress Stains seep up through the paste as it dries.

After the molding paste was completely dry I added some gesso by dry brushing on - just in random spots. I them brayered on some purple acrylic paint over the molding paste to highlight it a bit.
To create my focal point I applied some Black Soot Distress Oxide through the Swallows stencils on to a piece of white cardstock. I then cut these out to use on my journal page.

I then pressed my Spiced Marmalade Distress Oxide pad across the Urban Insiders stencil, spritzed with some water then laid it over cardstock. I did this a few times because I wasn't sure how many I wanted to use. Once these were dry I tore them out and inked the edges.

I used the Be Free stencil for the main part of my page.
First I fixed the stencil to a piece of cardstock then applied some Distress Oxide through the stencil with a blending tool. 

Next I used the mask of the stencil to add Black Soot Distress Oxide for the letters.
To fill in the white spaces left by the stencil I used my water brush. I then trimmed this out.

Now back to my page - I sprinkled some Burnt Copper Leaves embossing powders randomly over the page and heated it from underneath.
Next I assembled the pieces of my focal point and adhered them with white glue.

One last step to finish page - I added some Wilted Violet & Black Soot Distress Oxide to the edges.
My page is now complete and ready to be added to my art journal.

Be sure to check out the designers from Day 1 of our blog hop and leave 
your comments for a chance to win the giveaway!
December 13


December 14
Julia Chupik ------> you're here!
Check back tomorrow for inspiration from these fabulous designers

December 15

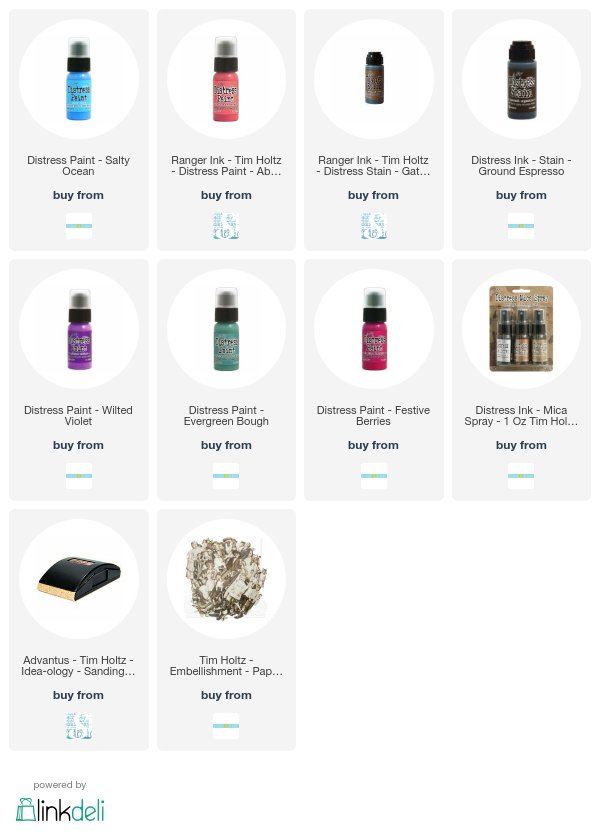
Products Used:
(This blog uses affiliate links that earn me a small commission at no extra cost to you. Thank you for your support!)

Emerald Creek Craft Supplies:


Monday, 11 December 2017

Letterpress Christmas - Altered Decor

Hello and happy Monday!

I'm sharing a set of altered letterpress words that I bought from the local $ store.
They were plain wood when I bought them but I stained, painted and distressed them to get some wonderful new pieces to add to my holiday decor.

I also have a Youtube video so you can watch me create these.

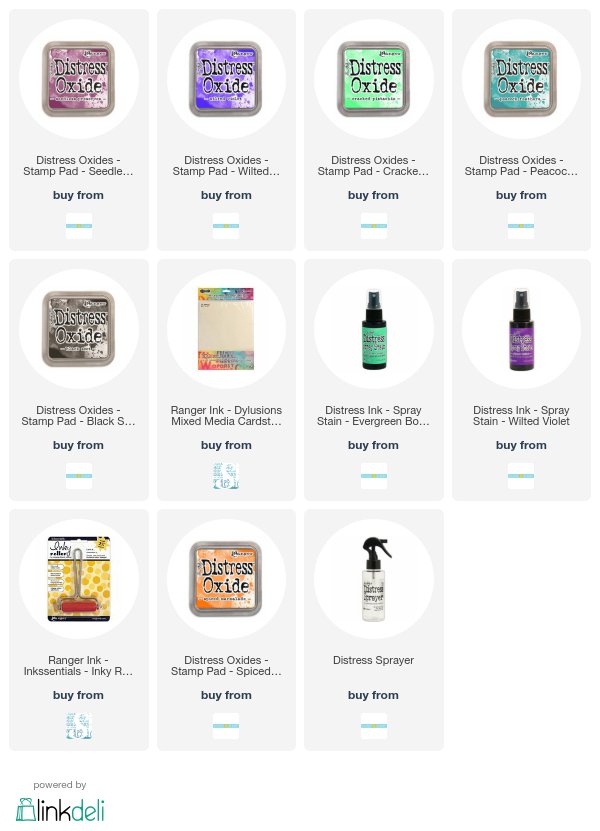
Products Used:
(This blog uses affiliate links that earn me a small commission at no extra cost to you. 
Thank you for your support)