Showing posts with label Metal. Show all posts

Friday, 15 January 2016

Red & Black and Altered All Over....

Over the holidays, I went to the my local liquor store and was told I was getting a free
gift with my purchase. Oooooo.....free stuff!

I opened up my free gift when I got home and was stumped.
I had no idea what it was. I almost tossed it into the trash (as I am trying to curb
by hoarding ways.) when my son came into the room and dropped his phone
into the slot. It was a smartphone amplifier and it must be altered! With all the "Something New" Challenges out there I thought this was the perfect project to get started with!
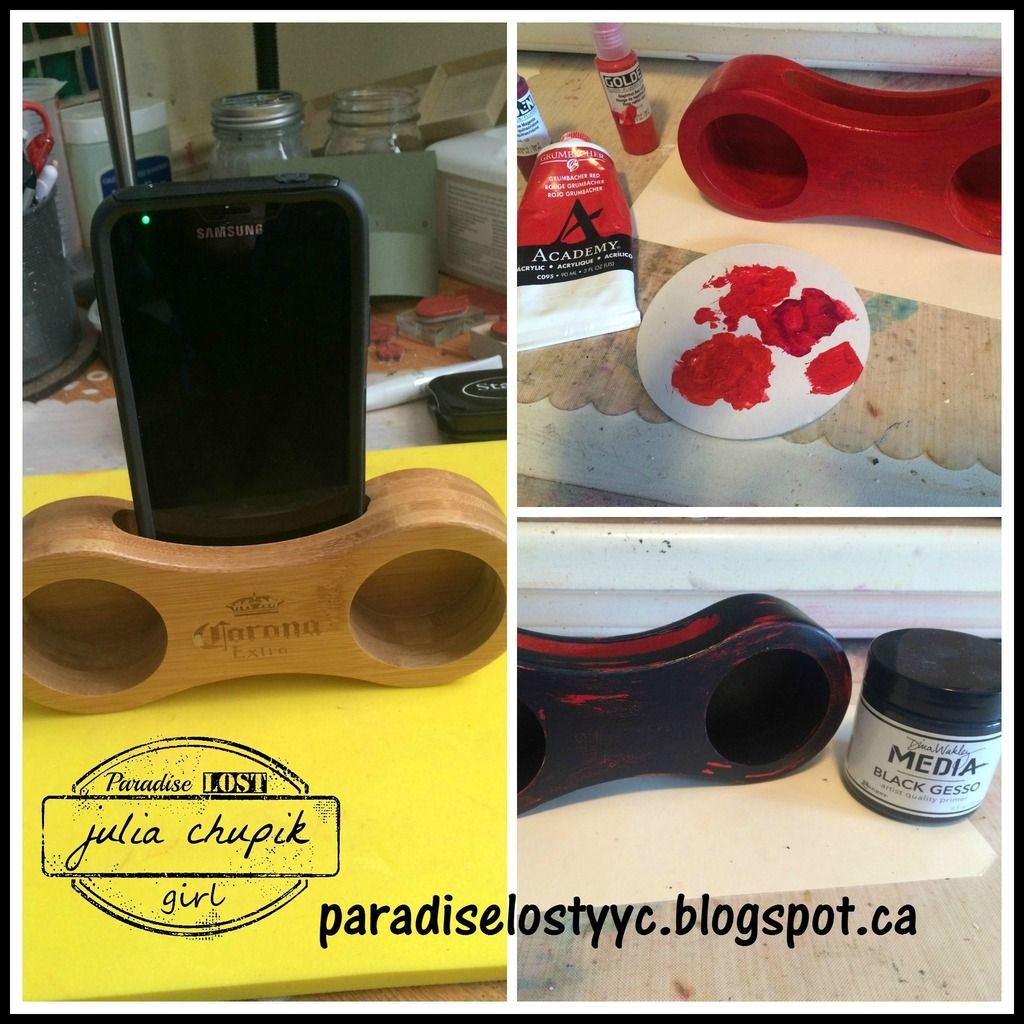
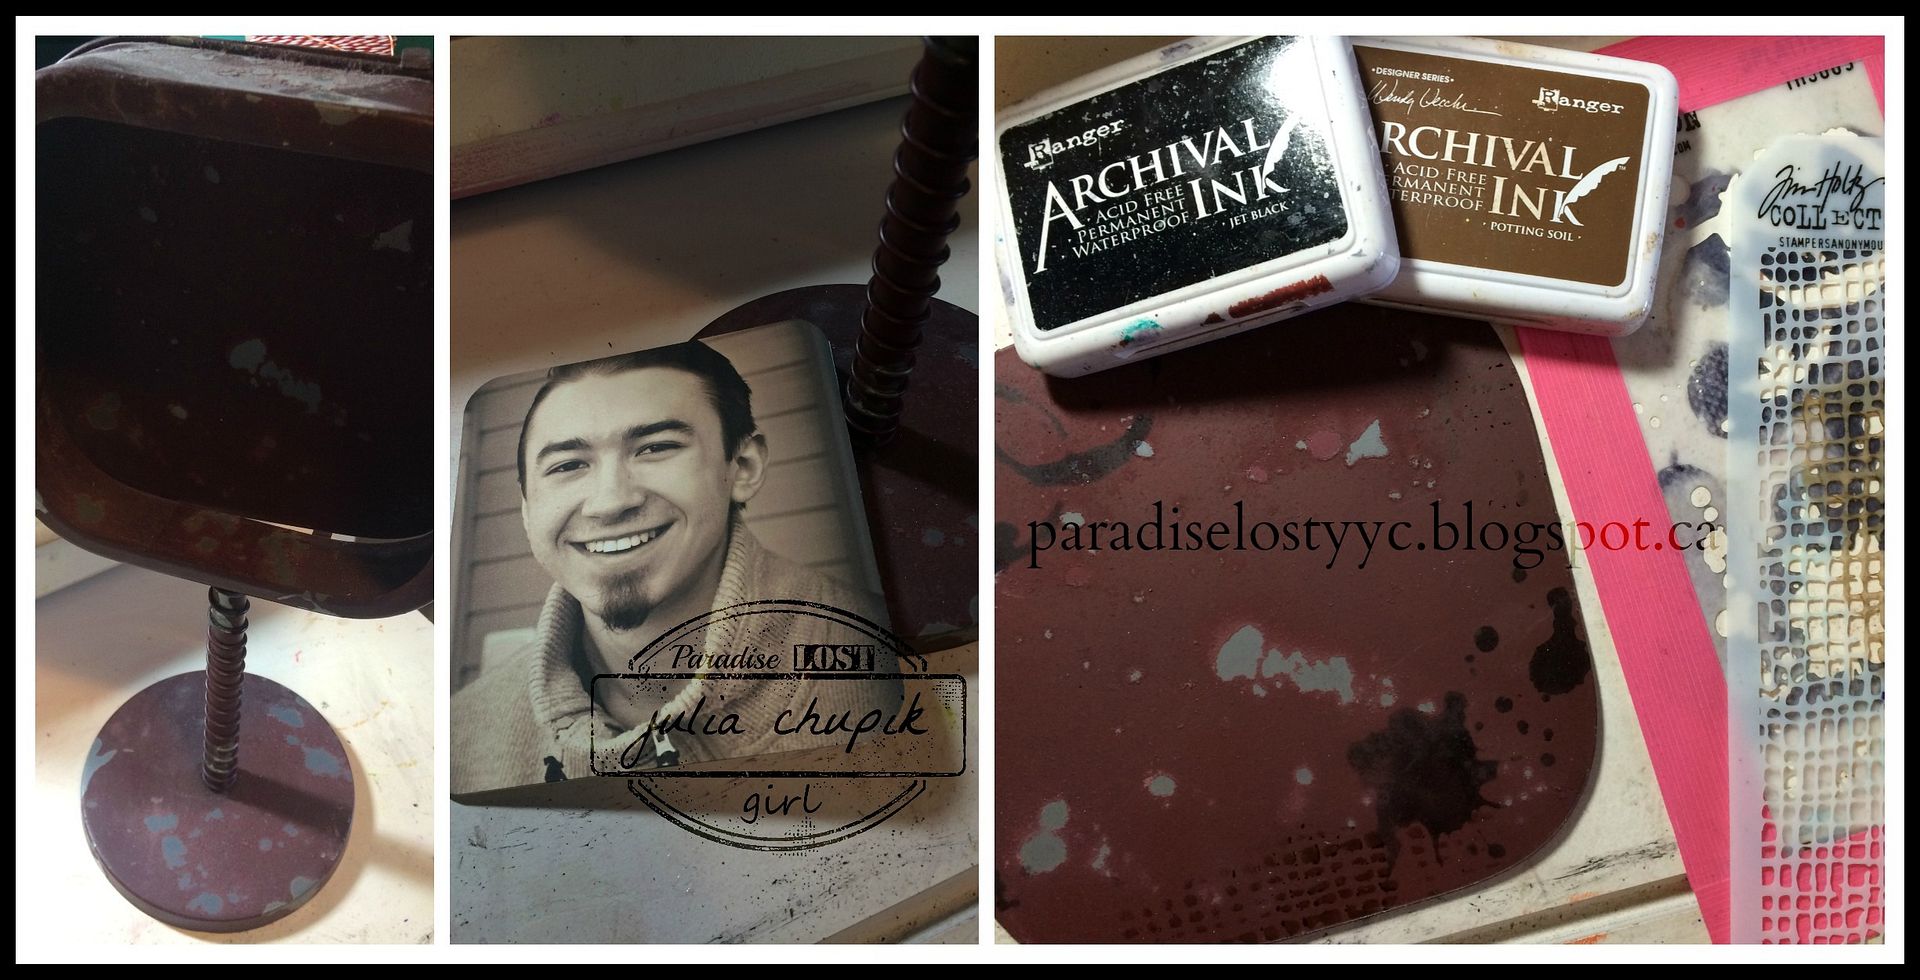
First step ~ I sanded it to remove the shiny finish.
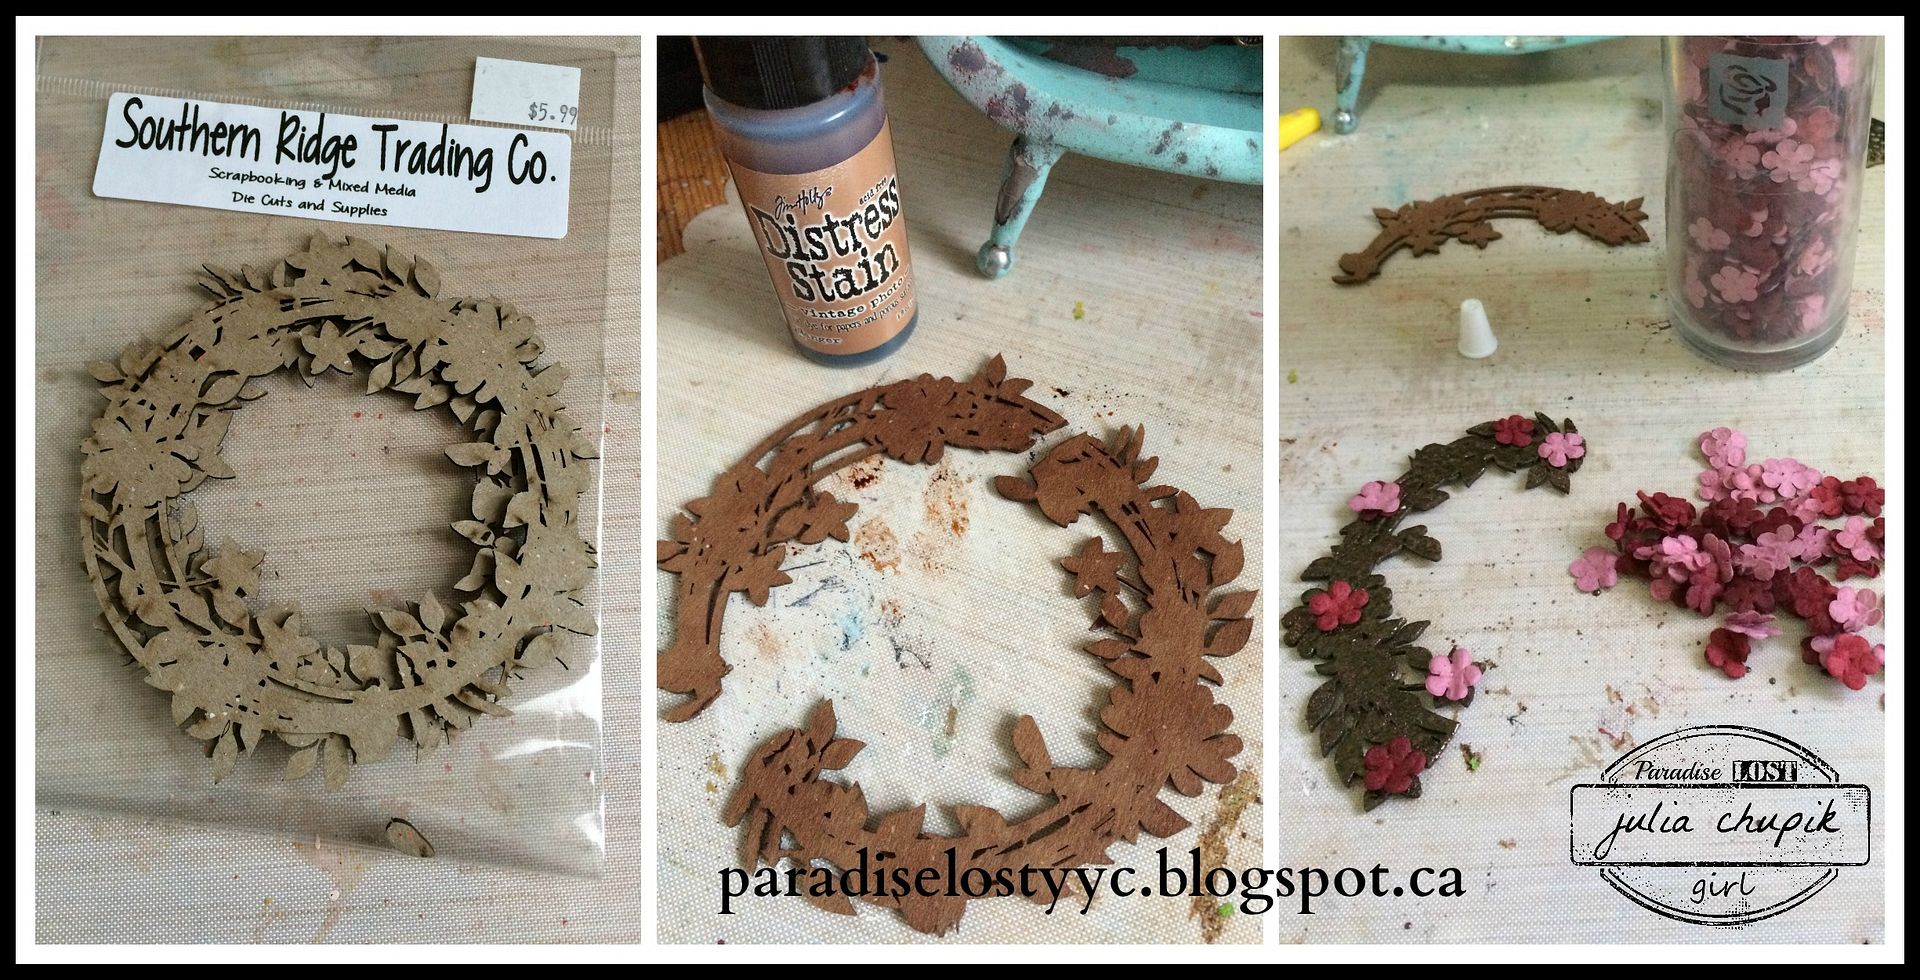
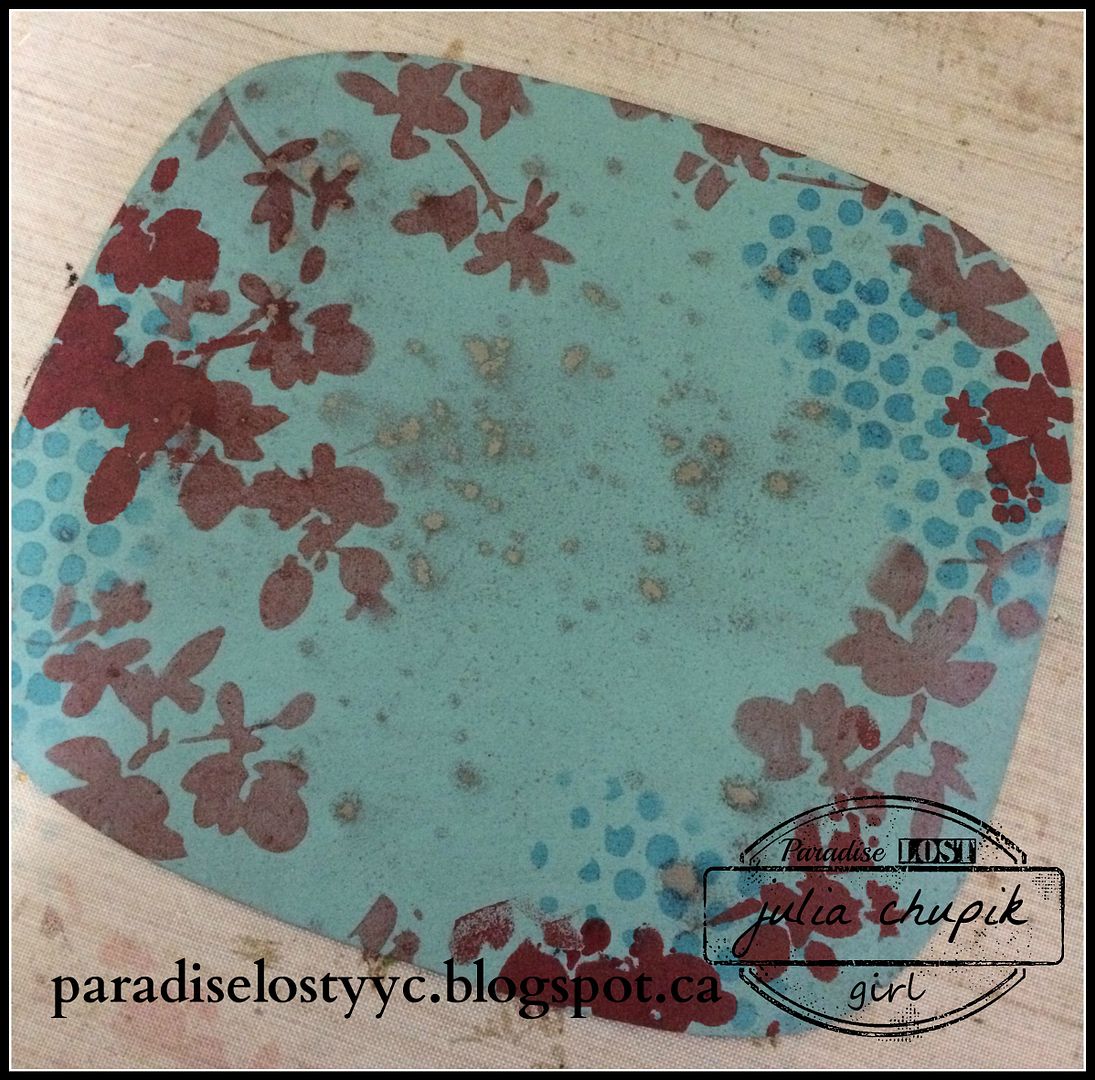
Next step was to paint on 3 shades of red. Lightest shade first, then the next 2 shades were randomly painted on.
After that layer was completely dry I painted on one coat of black gesso. I used my heat gun to only dry it until it turned matte then used a baby wipe removed some of the gesso to reveal the red underneath. 
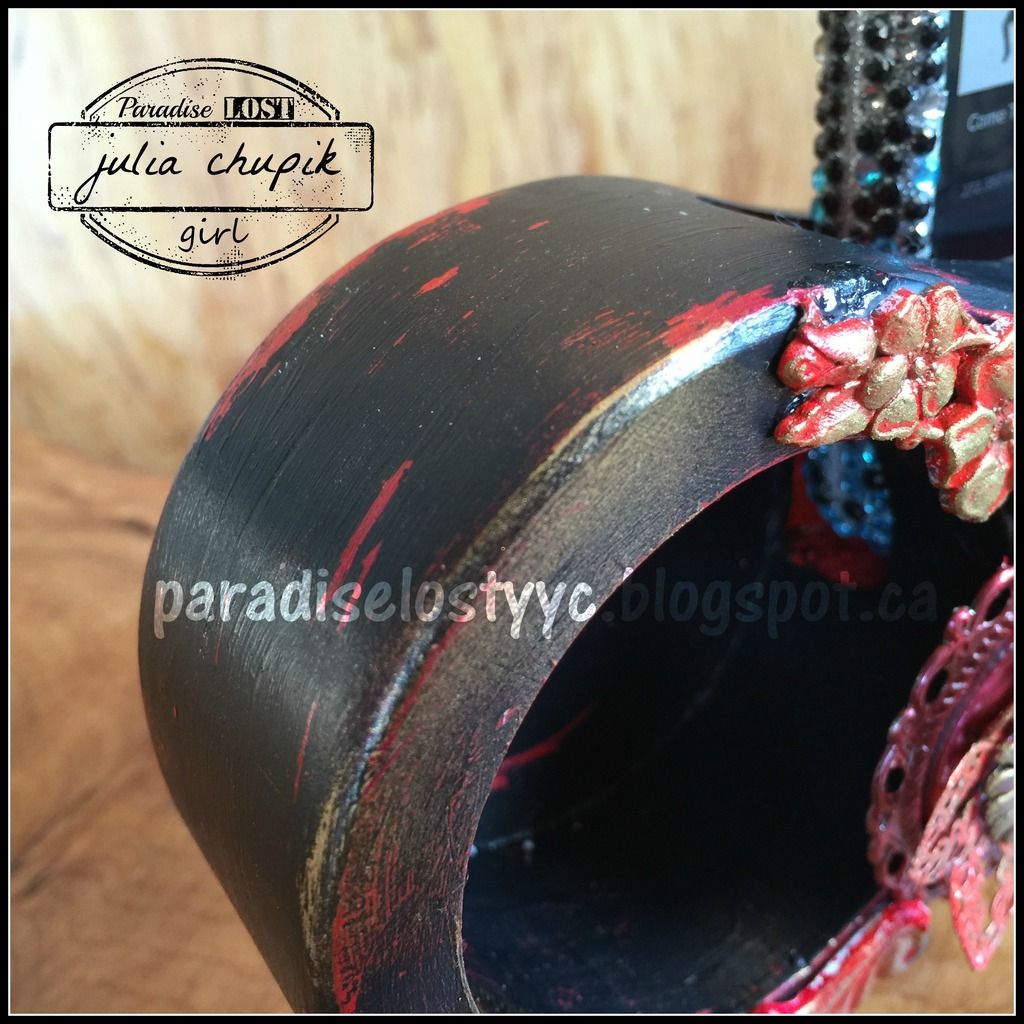
I love the aged look it gives it. I added some gold metallic rub-ons as well.
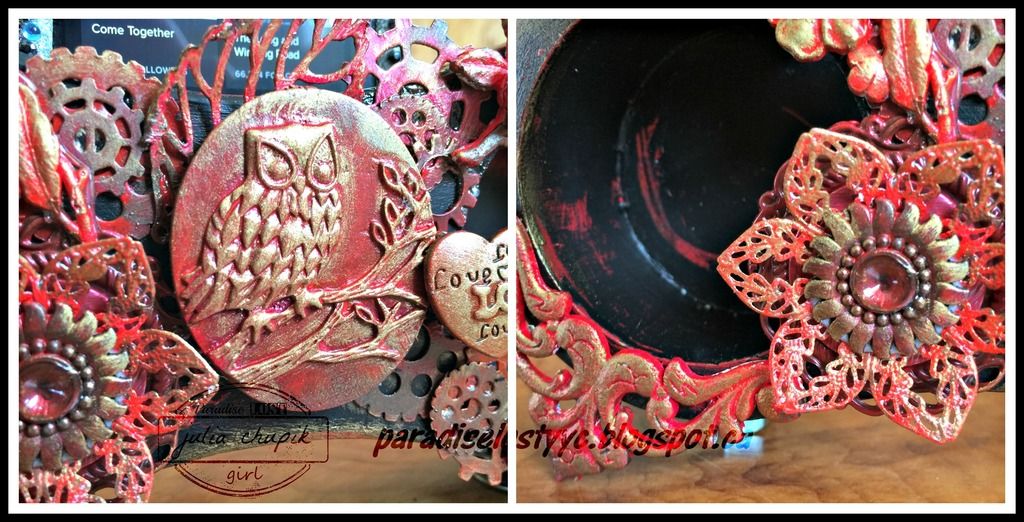
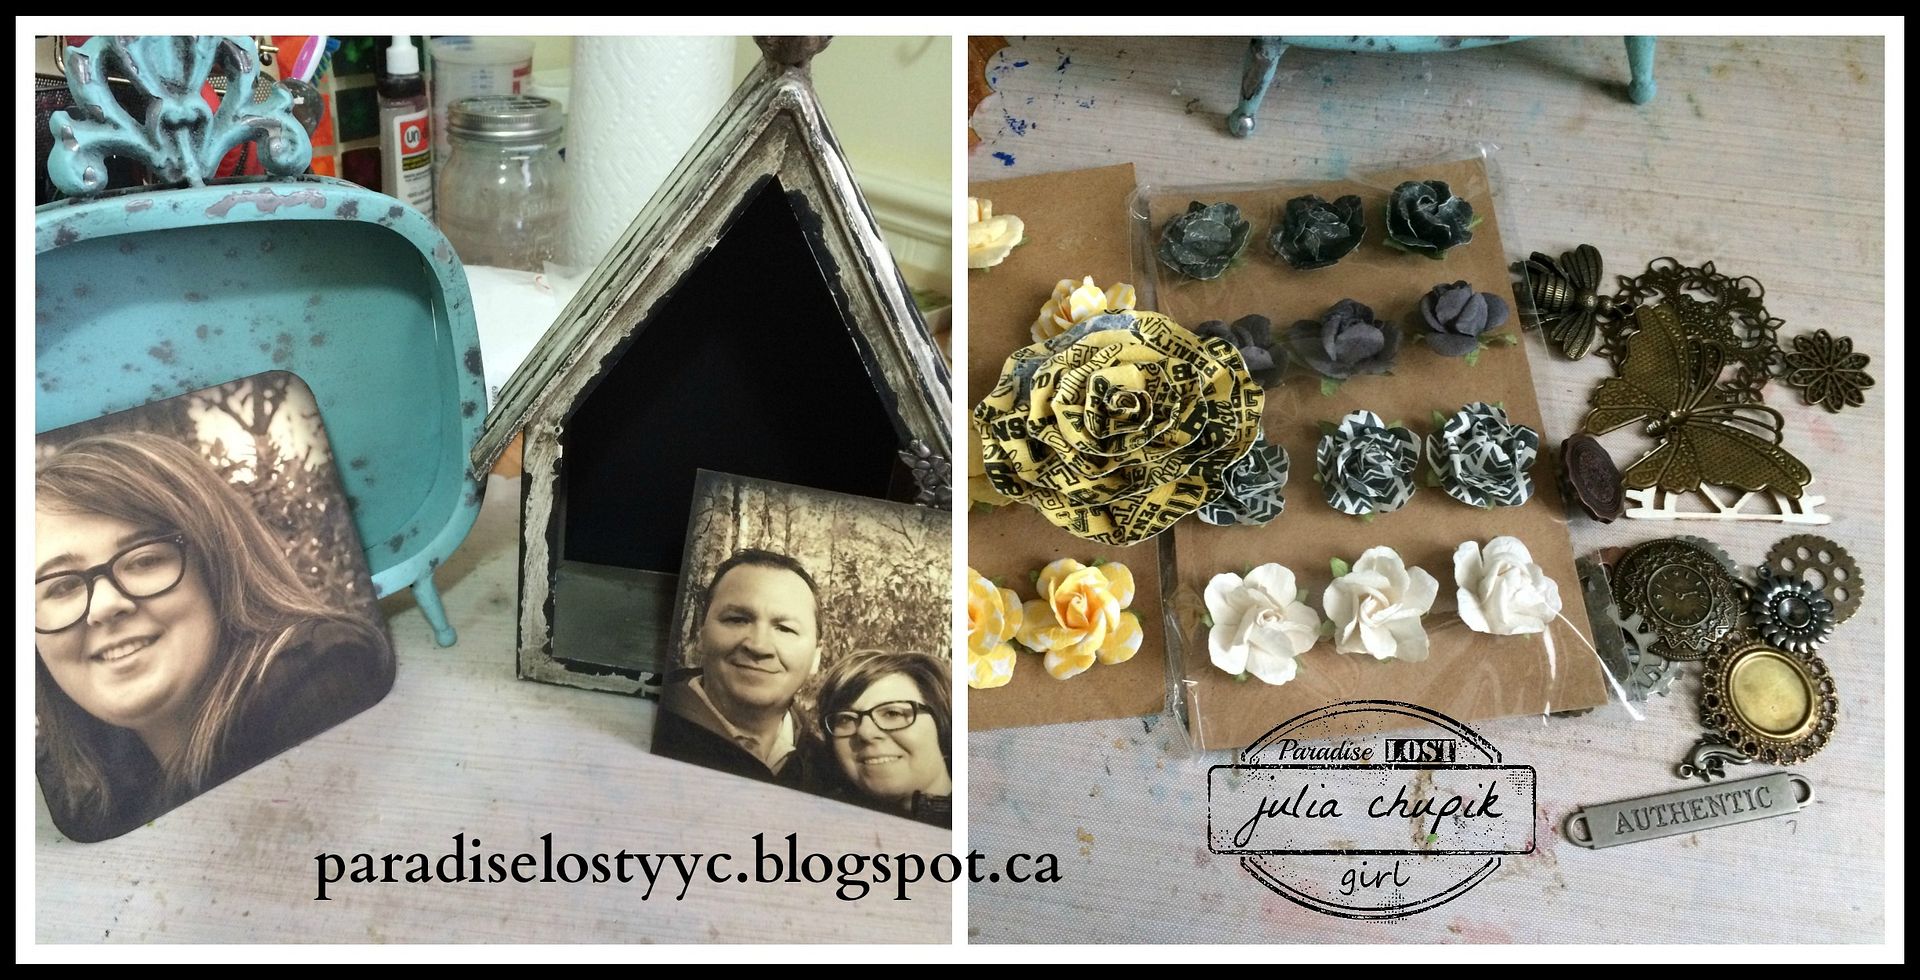
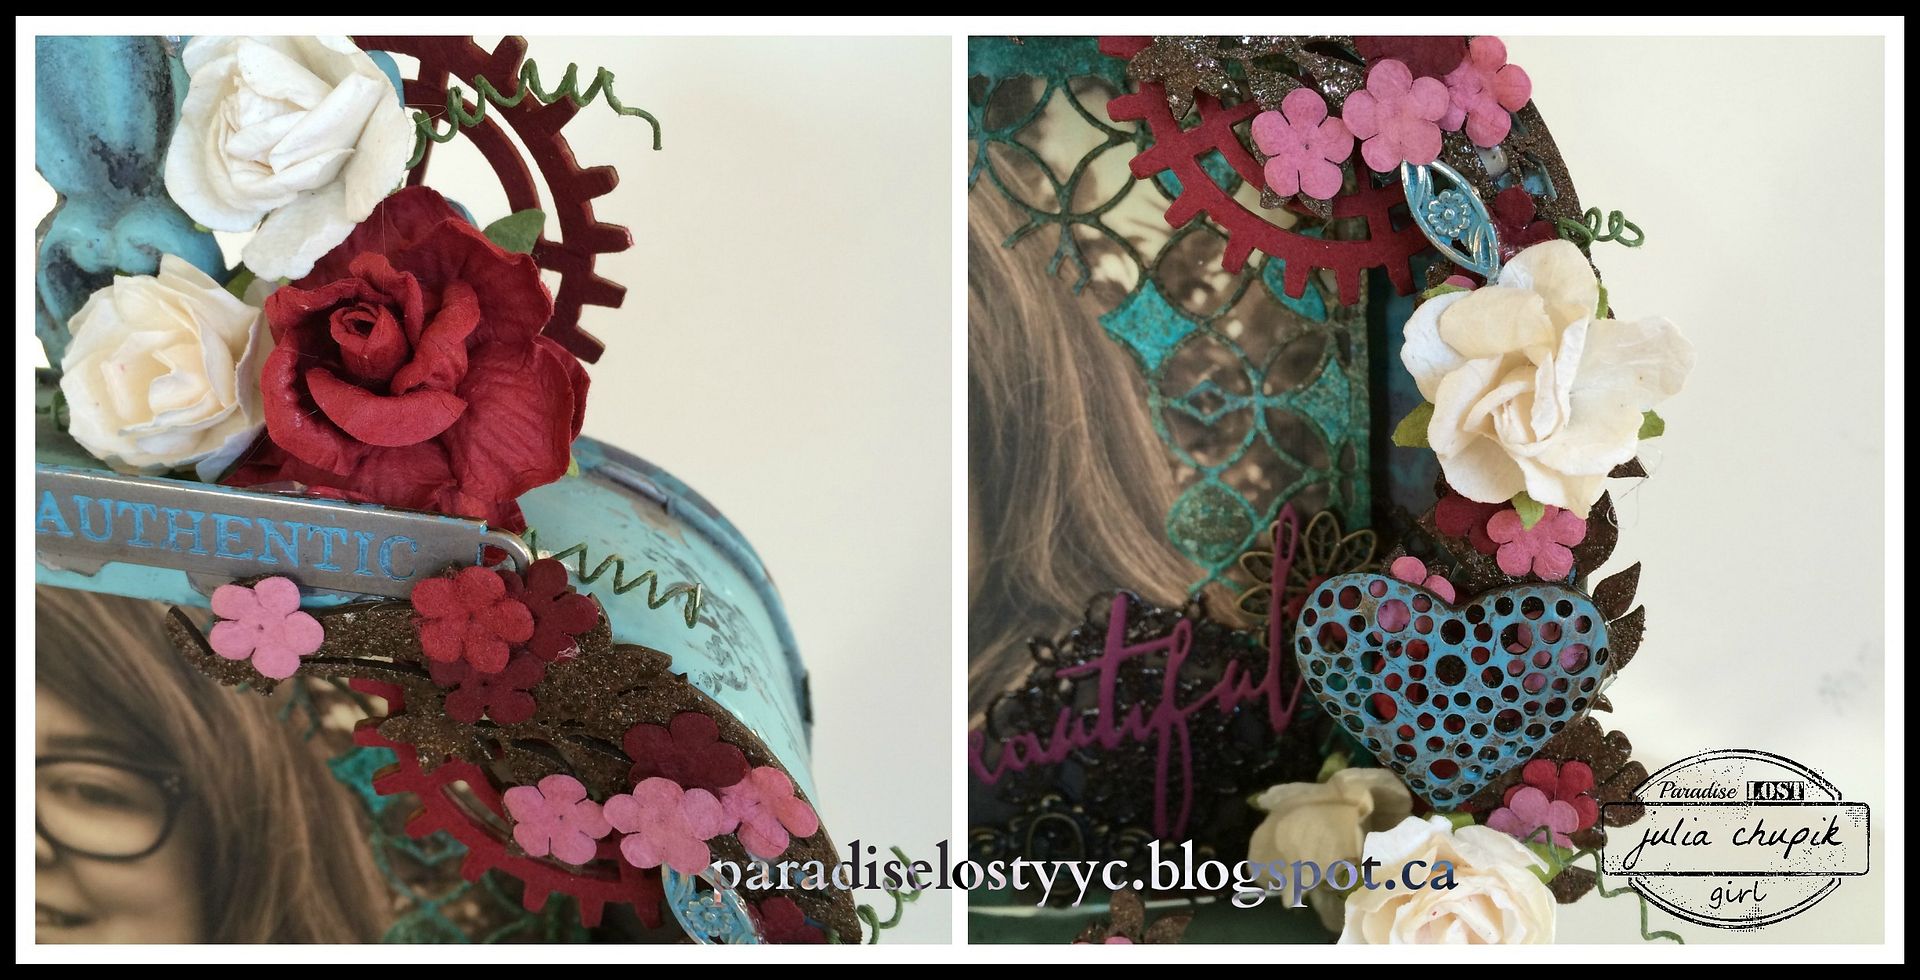
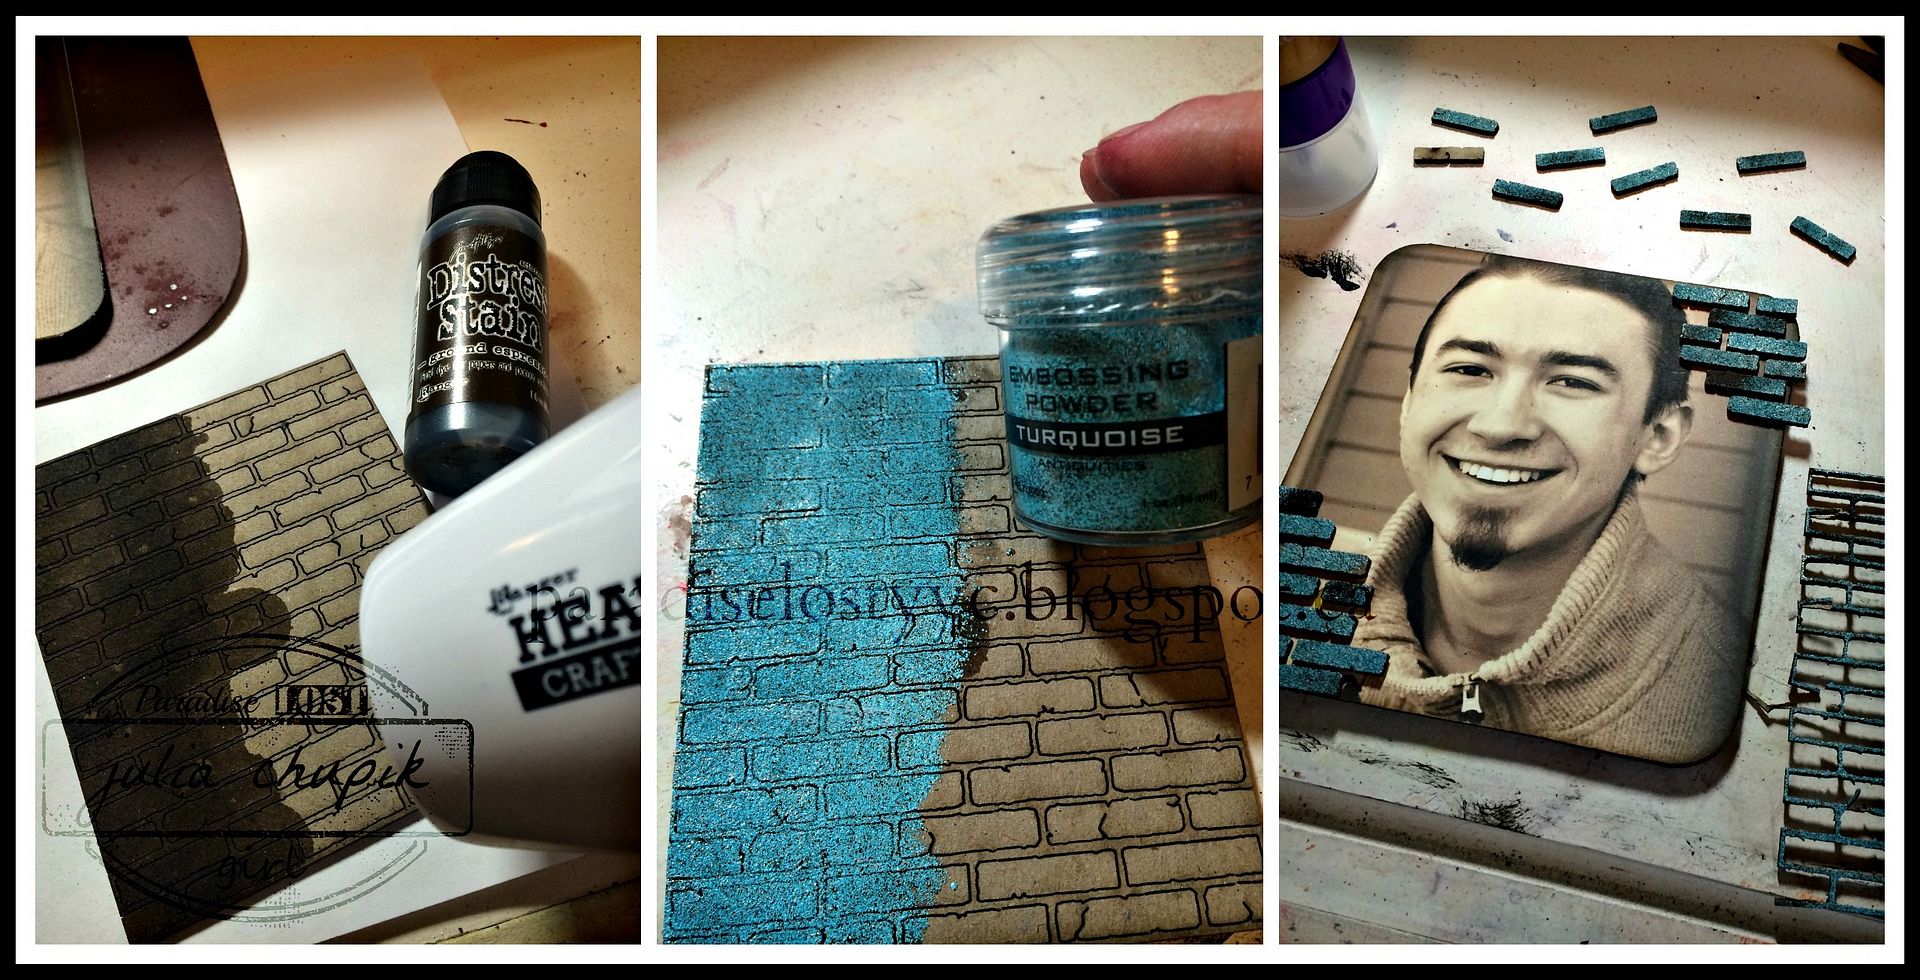
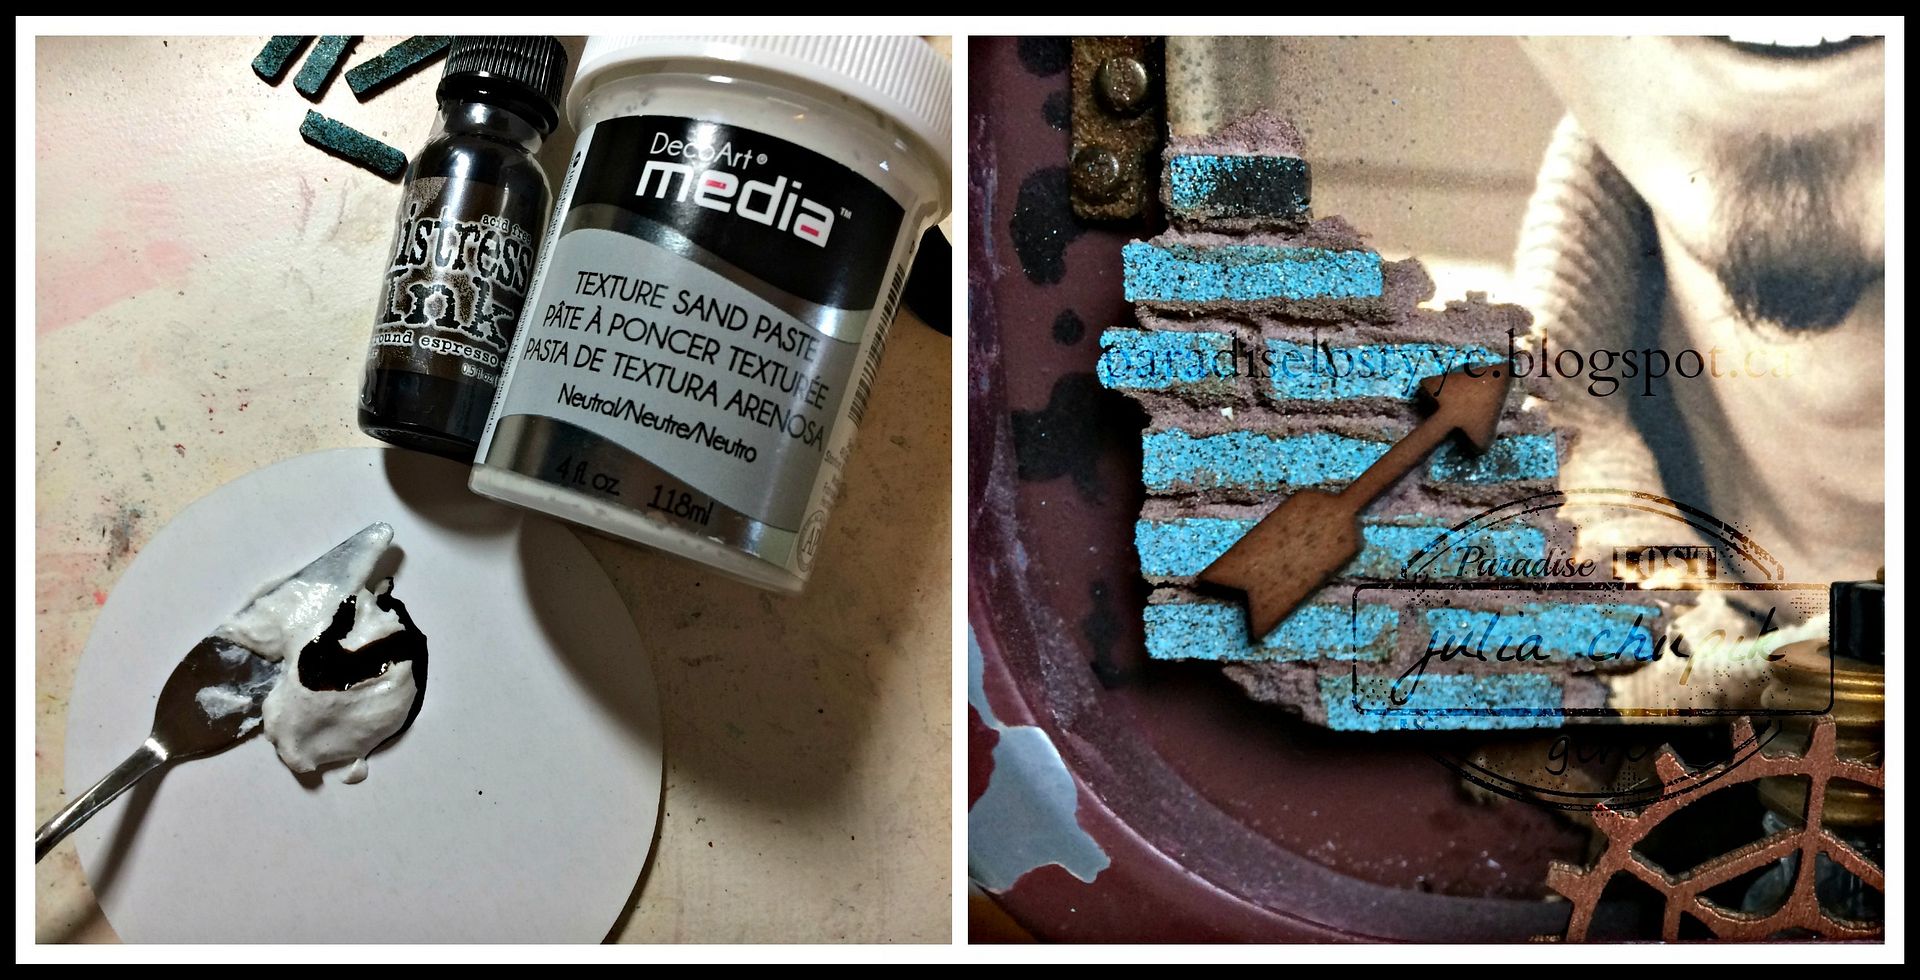
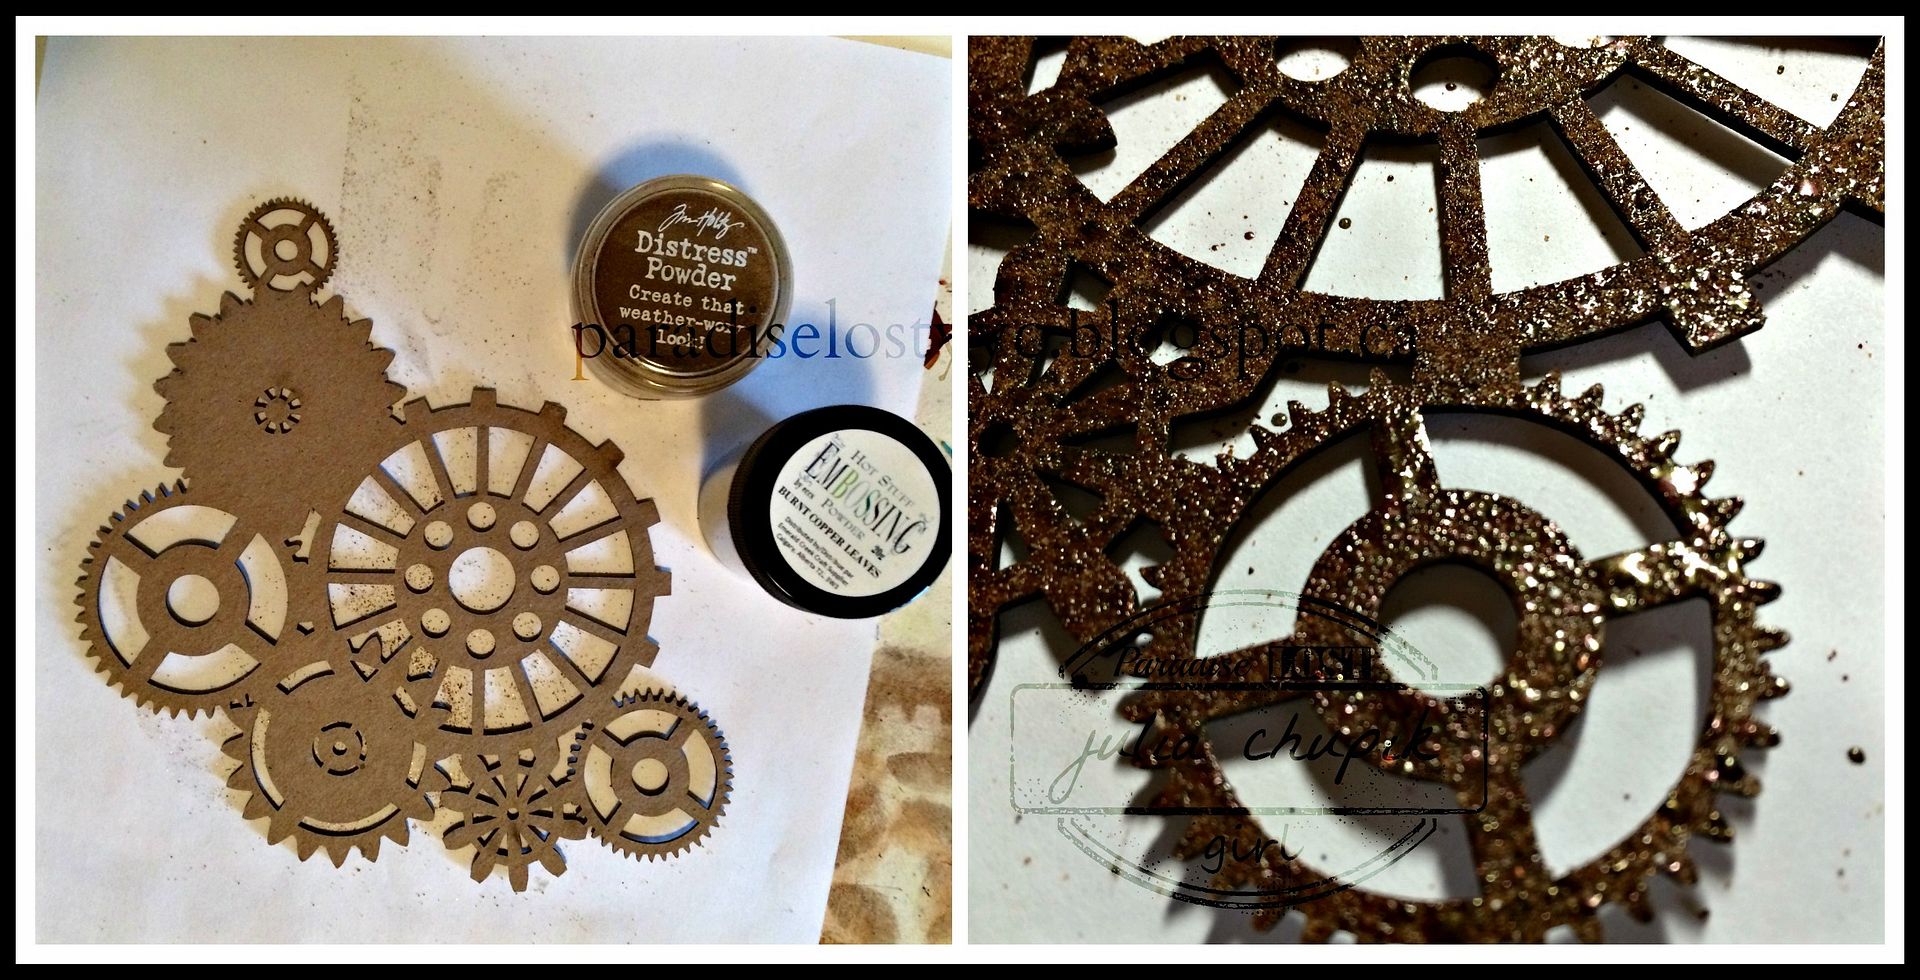
All my metal embellishments were painted before I adhered them to the wood base with 3D gloss gel.
I used metallic rub-ons to highlight the details on the metal pieces.
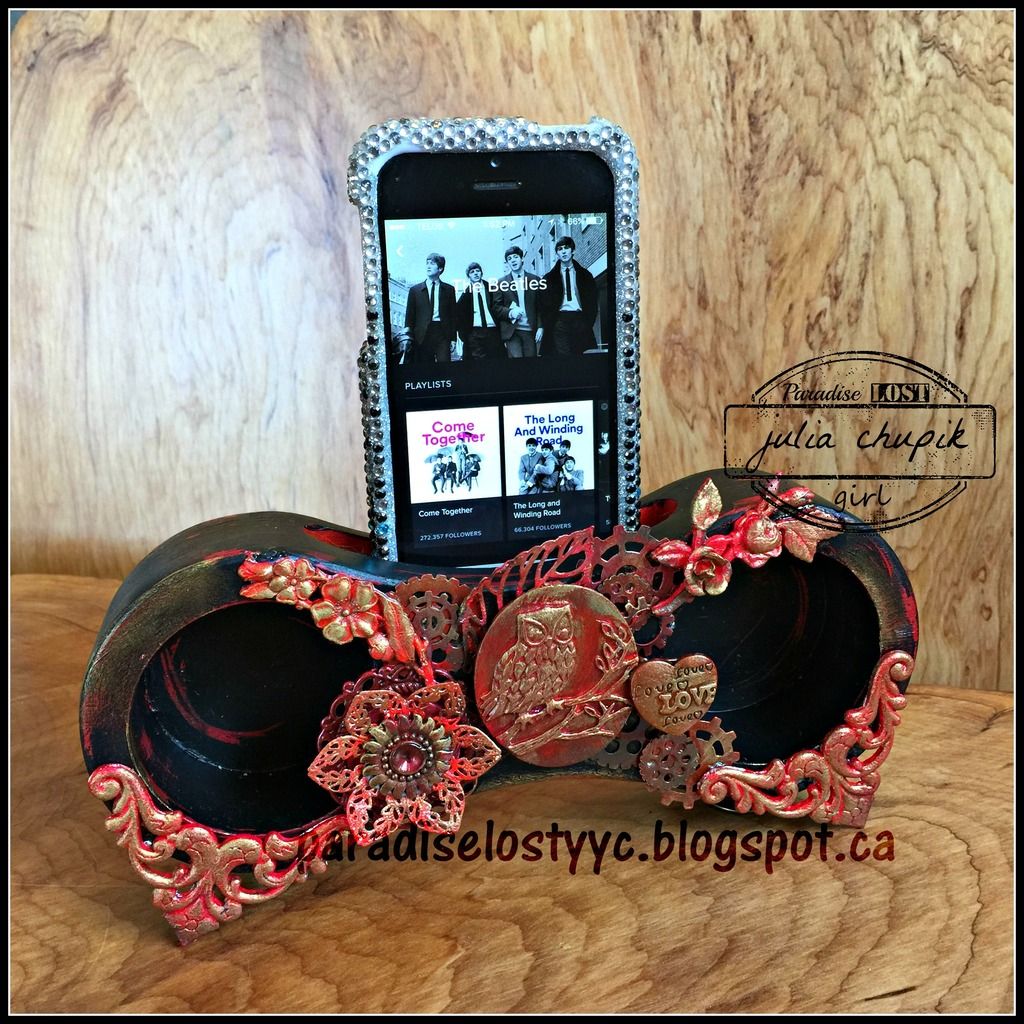
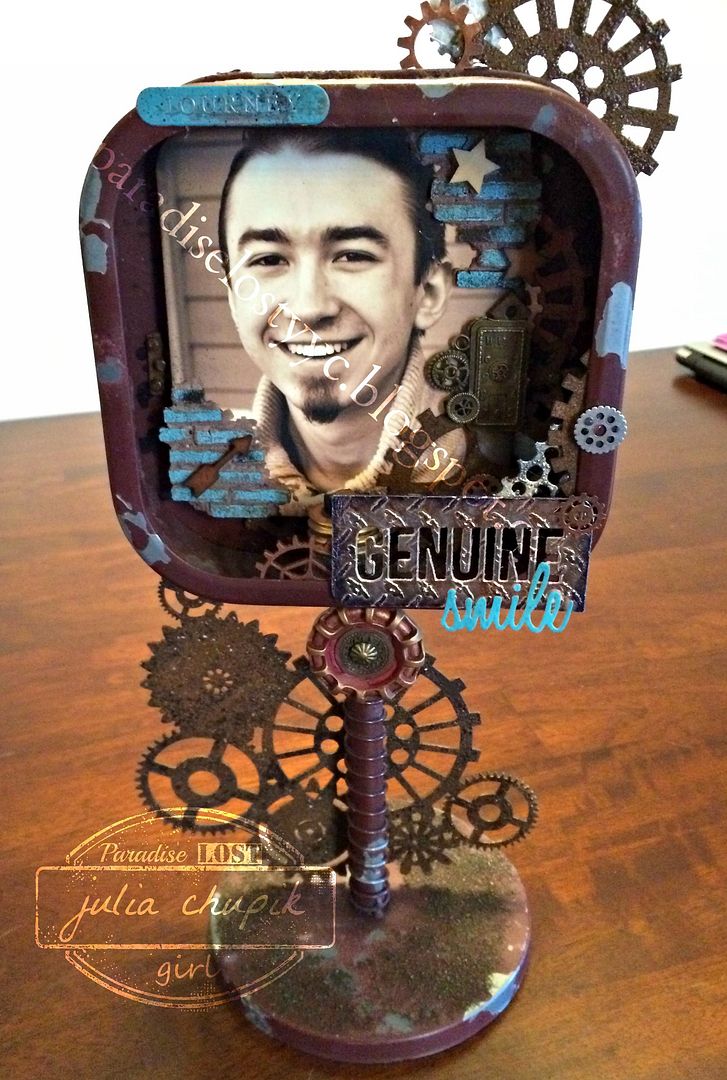
Here is my brand new iPhone amplifier! Perfect for playing tunes while being crafty!

Have a wonderful day everyone & thank you so much for visiting my blog today!

Be sure to visit the Emerald Creek Dares blog and join our 
We are on out way....NEW Adventures Challenge
for a chance to win a $25 credit to use at 
Emerald Creek Craft Supplies


~~stay crafty~~


Monday, 30 November 2015

Authentic Beauty....DeStash #3

It's time for more de-stashing and this week it's all about those teeny, tiny Prima flowers that came in those amazing milk bottles. I didn't physically count how many of those little suckers were in the bottle but I guesstimate around a million. Yes, it was definitely time to start using those.

I am also using #2 of the 3 metal frames from Prima. When I first bought this frame I knew I wanted to use it to feature a photo of my daughter, Breanna. I then went through  my stash of flowers & metals bits and made sure my hot glue gun was plugged in.
I also grabbed this brand new die cut from Southern Ridge Trading Company.
 It's so beautiful as a wreath but I needed it to frame the outer edge of my frame so I cut it apart.
I then stained it, and applied some my favourite Hot Stuff Embossing Powders from Emerald Creek Craft Supplies. I used mostly Burnt Coppers Leaves  with just a sprinkling of Oil Rubbed Bronze.
I then started gluing on those teeny Prima flowers. And I kept gluing. And gluing. I still have a tonne of those suckers left.
 Just before starting to assemble my frame I stenciled the removable back 
with inks and paint just to add a bit more depth.
I used a lot of little bits of bobs including a few Flower Link Charms from Emerald Creek. 

Here is finished frame.

Thank you so much for visiting my blog today!
~~stay crafty~~

Wednesday, 4 November 2015

Genuine Smile......Operation Destash #1

**Since downsizing to a condo I realized that I need to curb my hoarding tendencies and begin using my stash - Today is day 1. Let Operation DeStash begin! Everything I used for this project was stuff I had on hand and some things I have had for years.**
My husband and I became 'empty-nesters' a couple of months ago and I'm still getting used to not seeing them for weeks at a time. I'm happy that they are happy, independent adults off following their dreams but they will always be my babies.
I was recently going through my stash and found these Altered Metal Frames from Prima and decided that they would make fabulous projects to showcase photos of my kids.
Today's project is all about my son, Daylen, and his genuine smile. 


I started out by removing the back of the frames and adding some stenciling with Ranger Archival Ink & Splatters and Burlap Layering stencils from Tim Holtz.
Another stash find was this mini brick wall chipboard from Dusty Attic.


After a layer of Ground Espresso Distress Stain, I applied some Turquoise Embossing Powder from Ranger. After setting this with my heat gun and letting it cool I gently rubbed the embossing powders to reveal the edges. I then glued the bricks down with Tacky Glue making sure to leaves spaces in between.
Bricks need mortar - so I made some using Texture Sand Paste from Deco Art Media and a couple of drops of Ground Espresso Distress Ink. I used a tiny spatula to spread this between the chipboard bricks.I love how this turned out!  


I definitely was going for a Steampunk feel to this project and as luck may have it I have A LOT of gears in my stash. Metal gears, wood gears, chipboard gears.....so many gears!


I wanted a grungy, rusty feel to this gear set so I decided to combine some Vintage Photo Distress Powder with some Burnt Copper Leaves Embossing Powder from Emerald Creek Craft Supplies.
I was absolutely thrilled with the end result - the perfect mix of rust and grunge!
I wish I knew who made this gear set - I checked a few sites but can't find it. Let me know if you recognize it!
The sentiment was embossed foil paper die cut with the word Genuine from the Friend Block Thinlit set and the word 'Smile' from the Friend Script thinlit set. I love this set because it so versatile. I have used it for many different projects & cards.

 Assembling this project was a lot of fun.  I found so many cool charms, gears & do-dads in my stash that worked so well!
Operation DeStash is well underway.


 Thank you so much for visiting my blog today!

 Challenges Entered: