Showing posts with label Emerald Creek Design Team. Show all posts

Thursday, 21 April 2016

Emerald Creek Dares - It's A Charmed Life

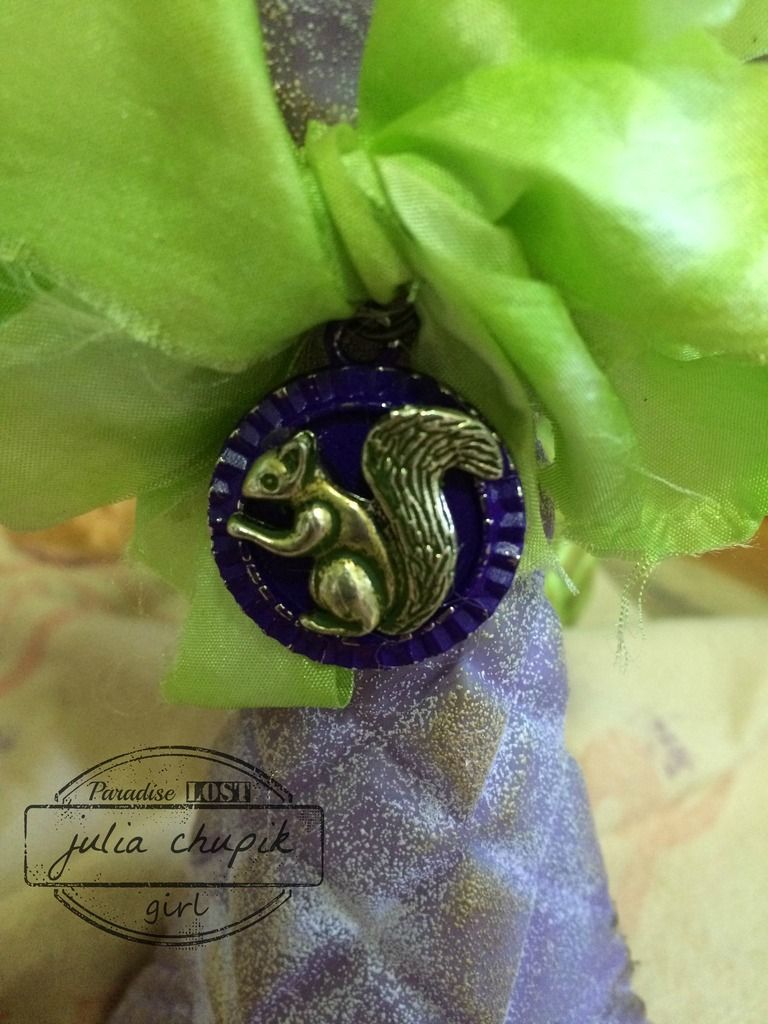
It's time for the next challenge at Emerald Creek Dares - and this one features the wonderful charms from Emerald Creek Craft Supplies. Kim has a fantastic selection of charms available at her online store. 

This will be my final Design Team post for Emerald Creek ~ I have enjoyed working with Kim & her amazing line of embossing powders, charms & stamps over the last 8 months. Check out the Design Team Call on the Emerald Creek Dares blog if you would like to join this fabulous Canadian design team!

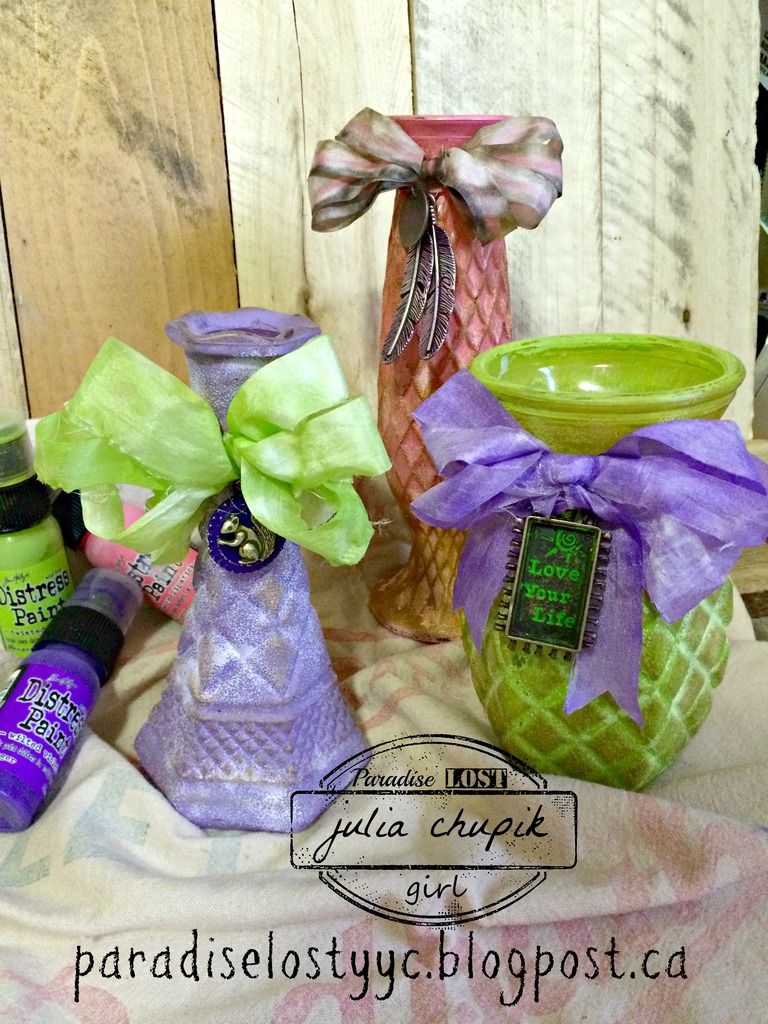
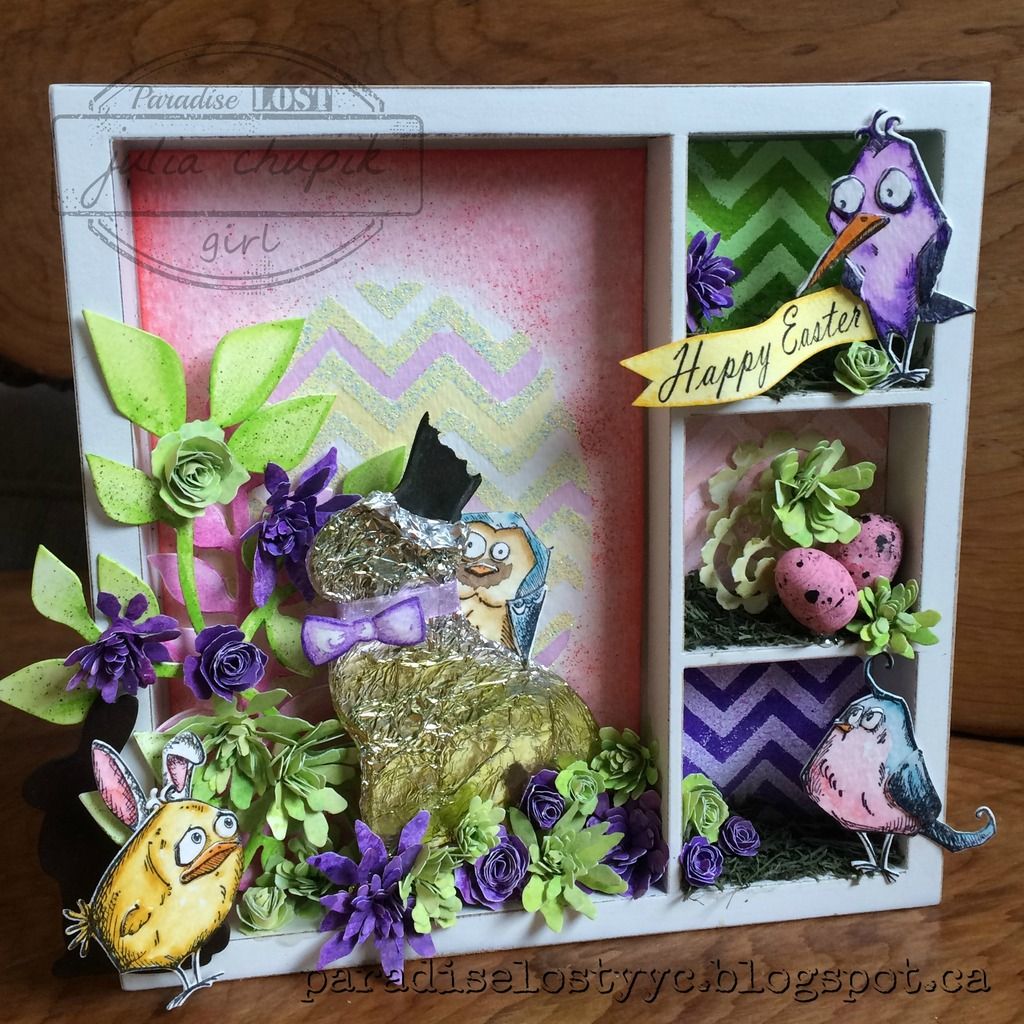
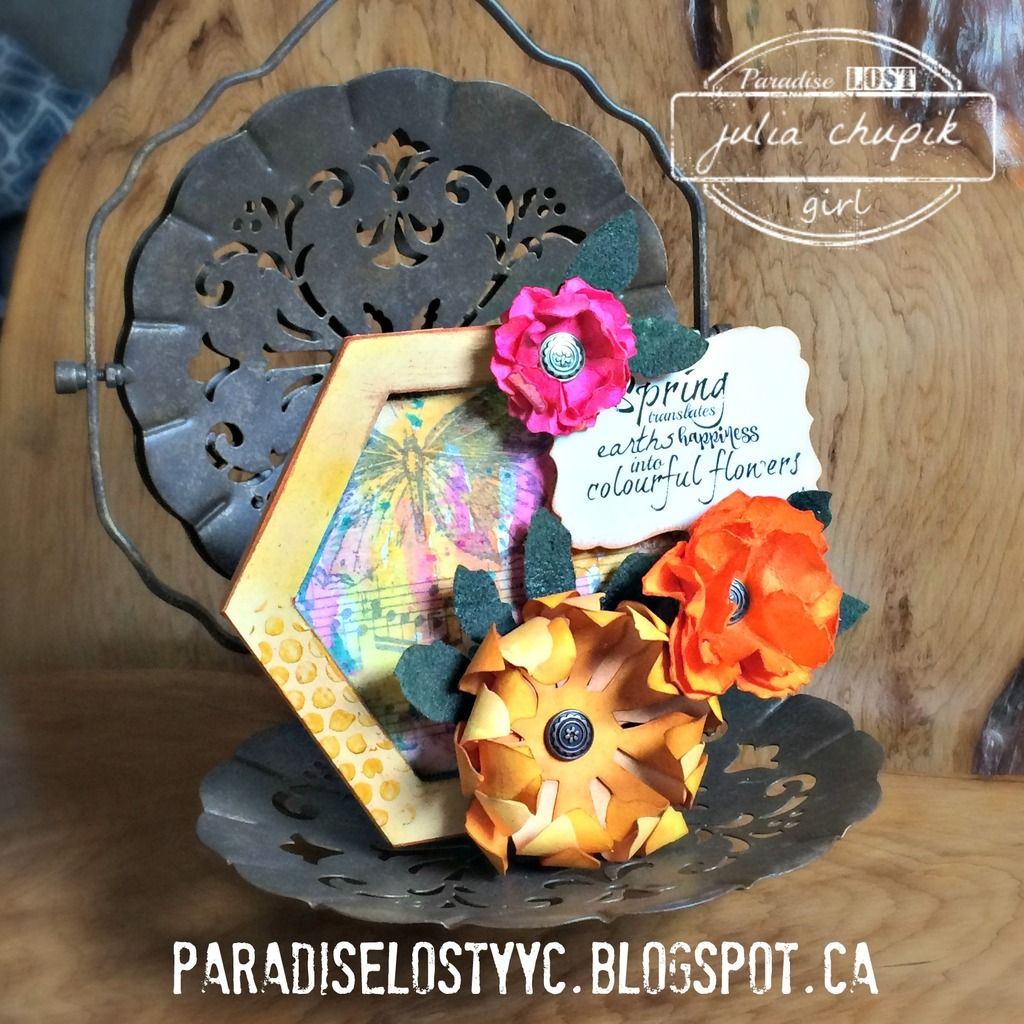
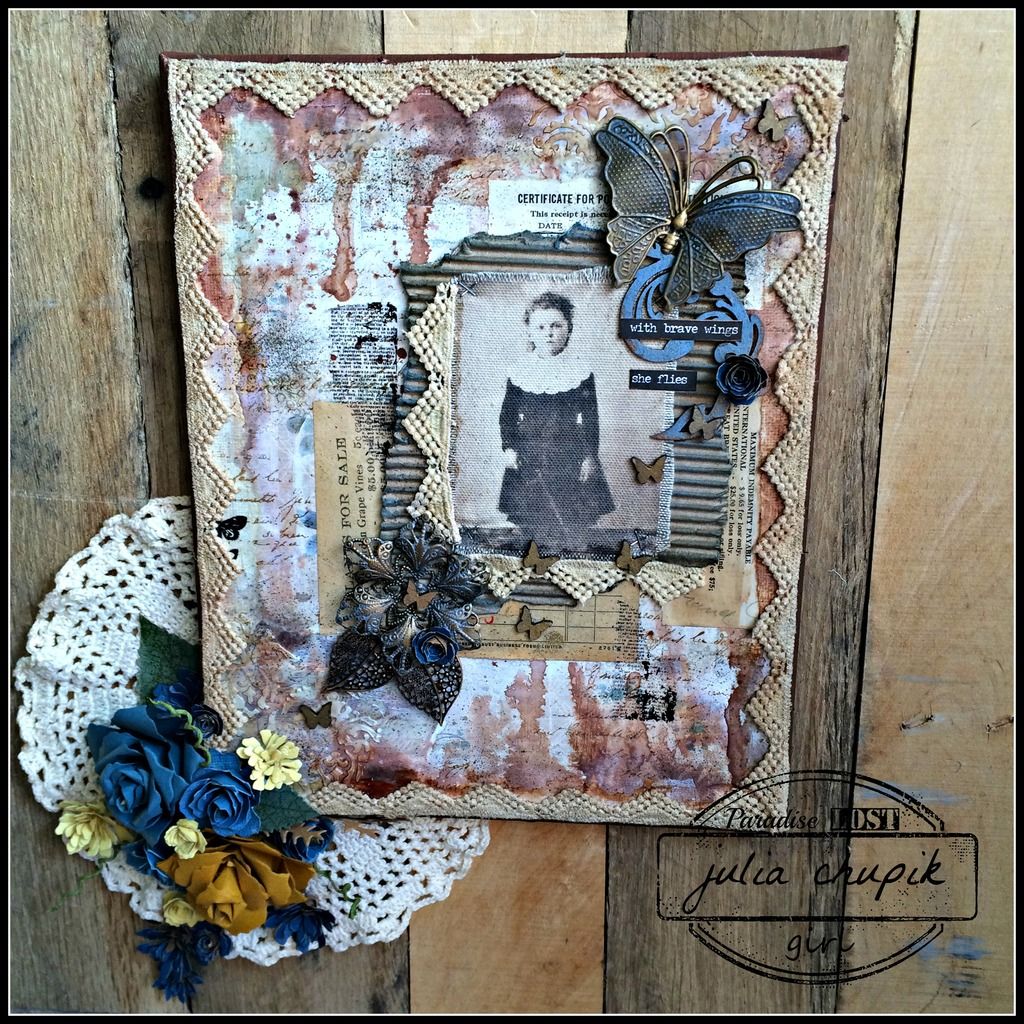
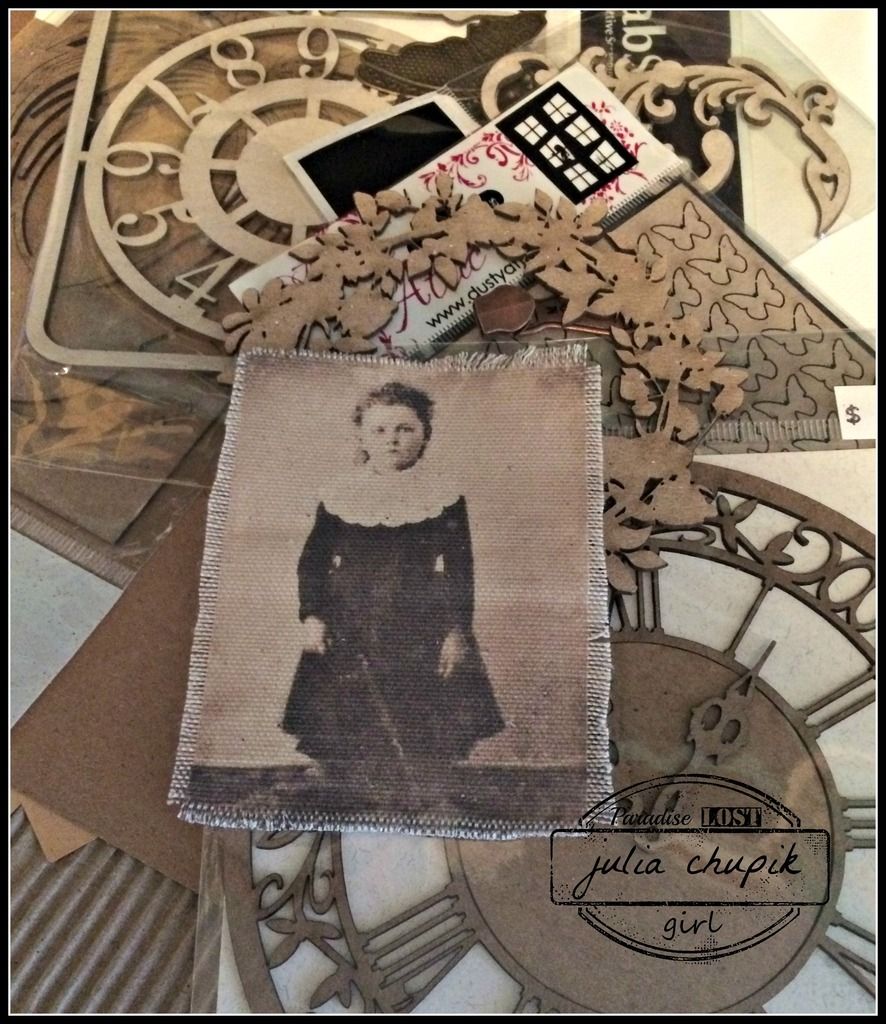
Now on to my project - I created a vintage look canvas.
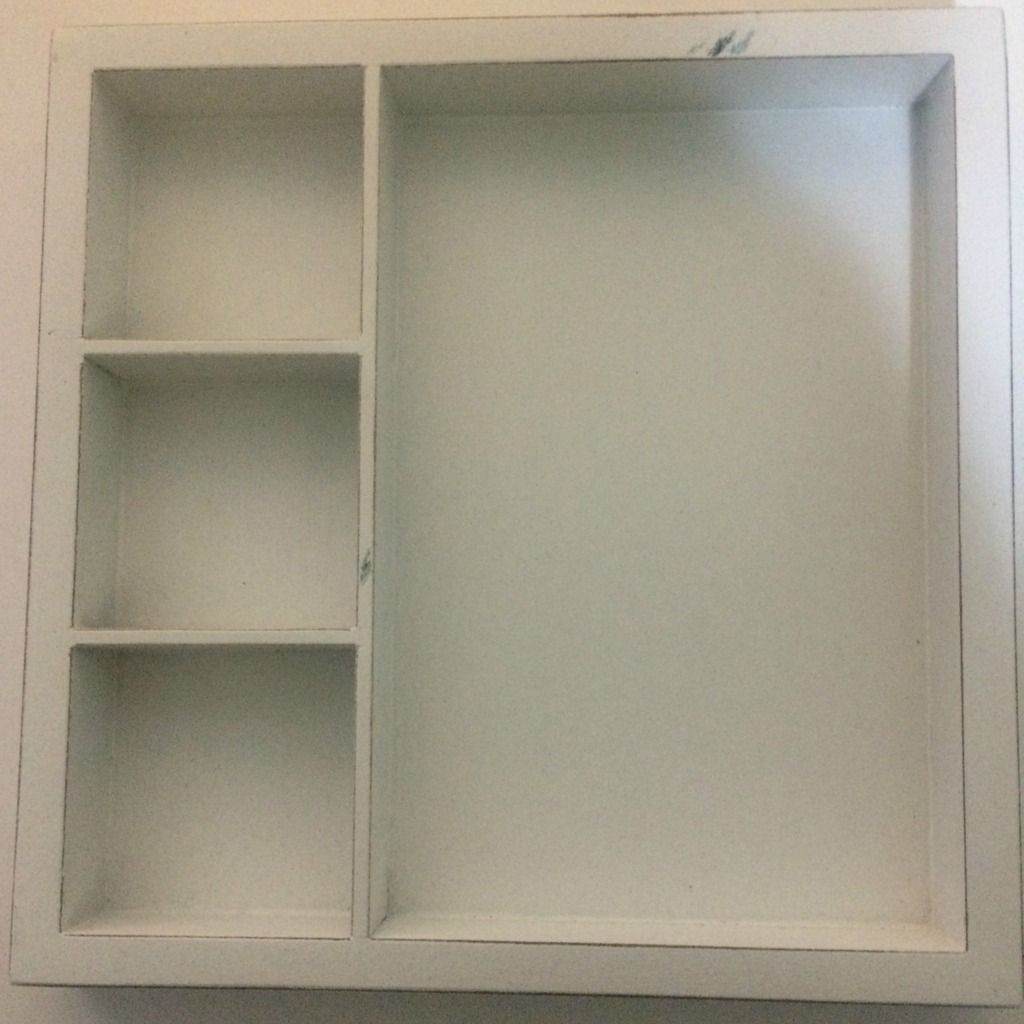
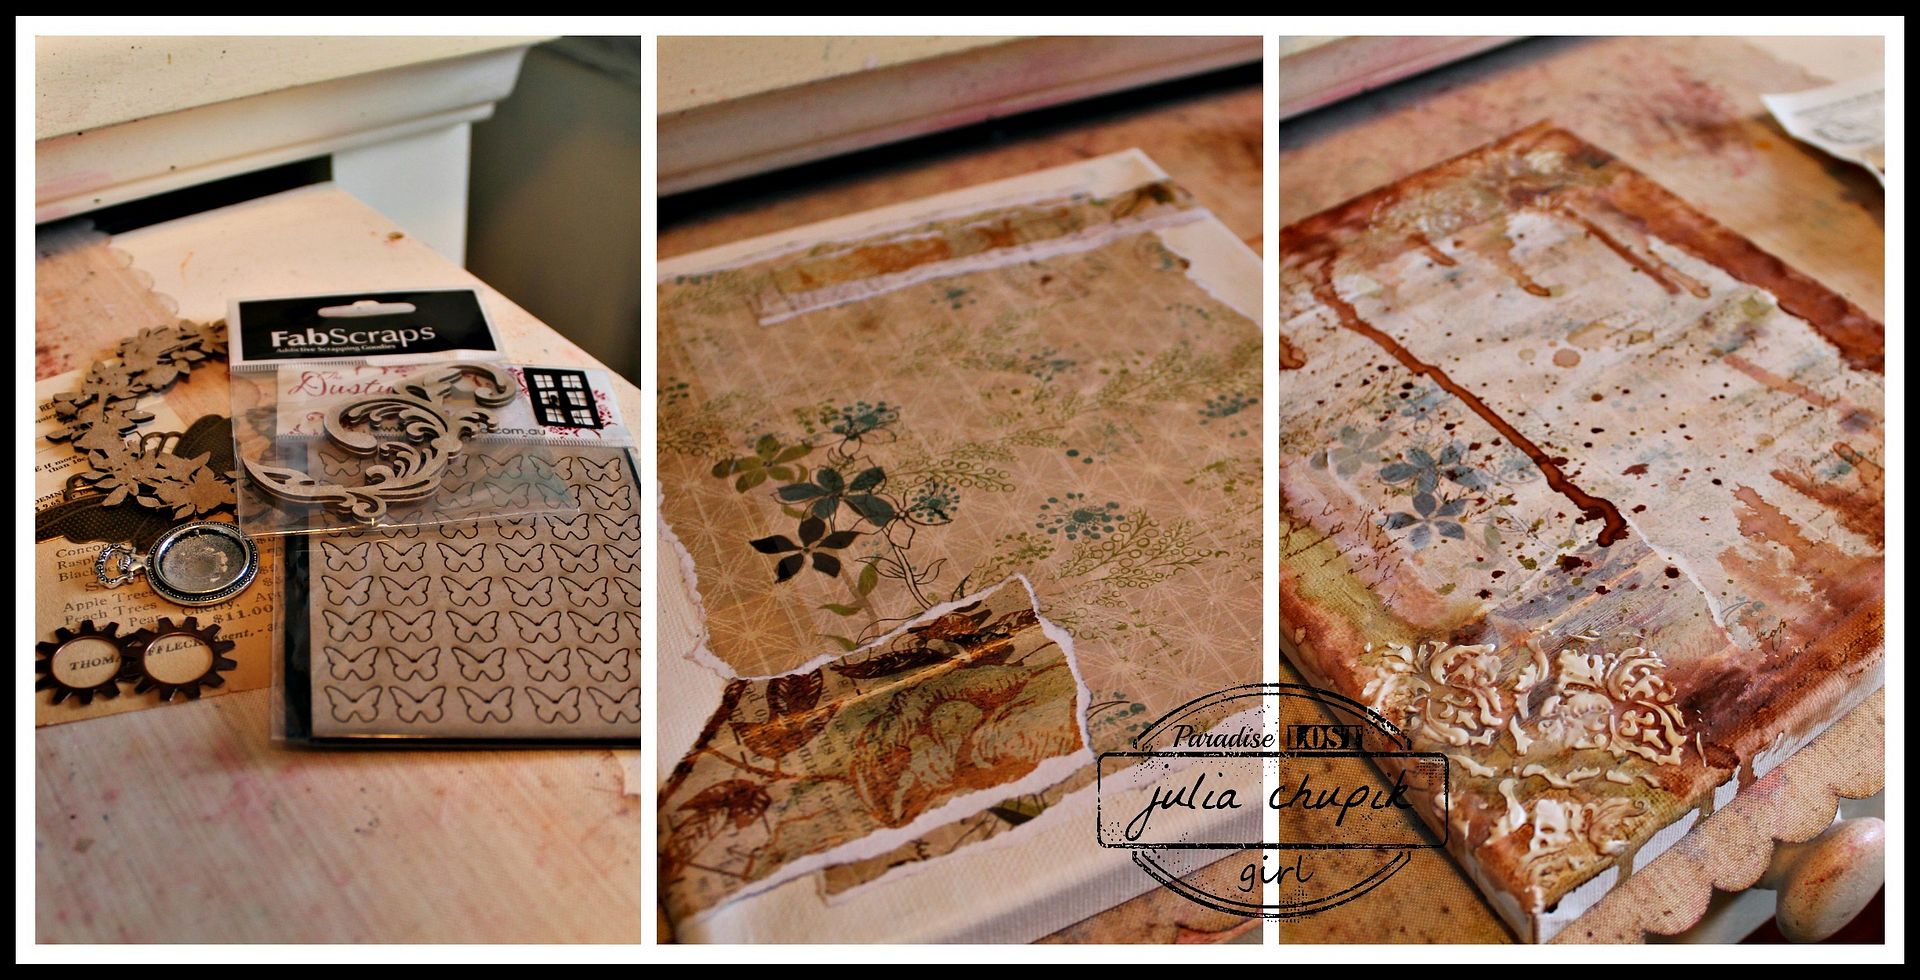
I started with a flat 8x10 canvas and using matte medium glued down scraps of patterned paper from the Emporium Of Curosities Mixed Media Paper Pack from IndigoBlu.
Next I applied molding paste through the Flourish & Harlequin Layering stencils form Tim Holtz/Sizzix. I also applied DecoArt Crackle Paste with a palette knife.
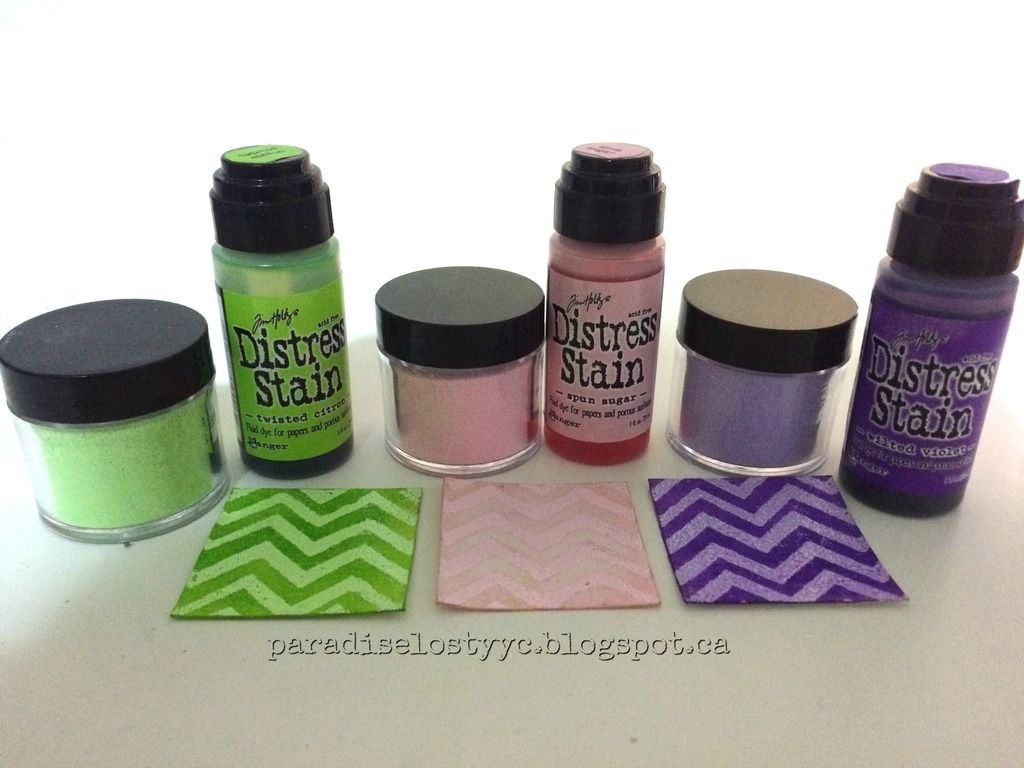
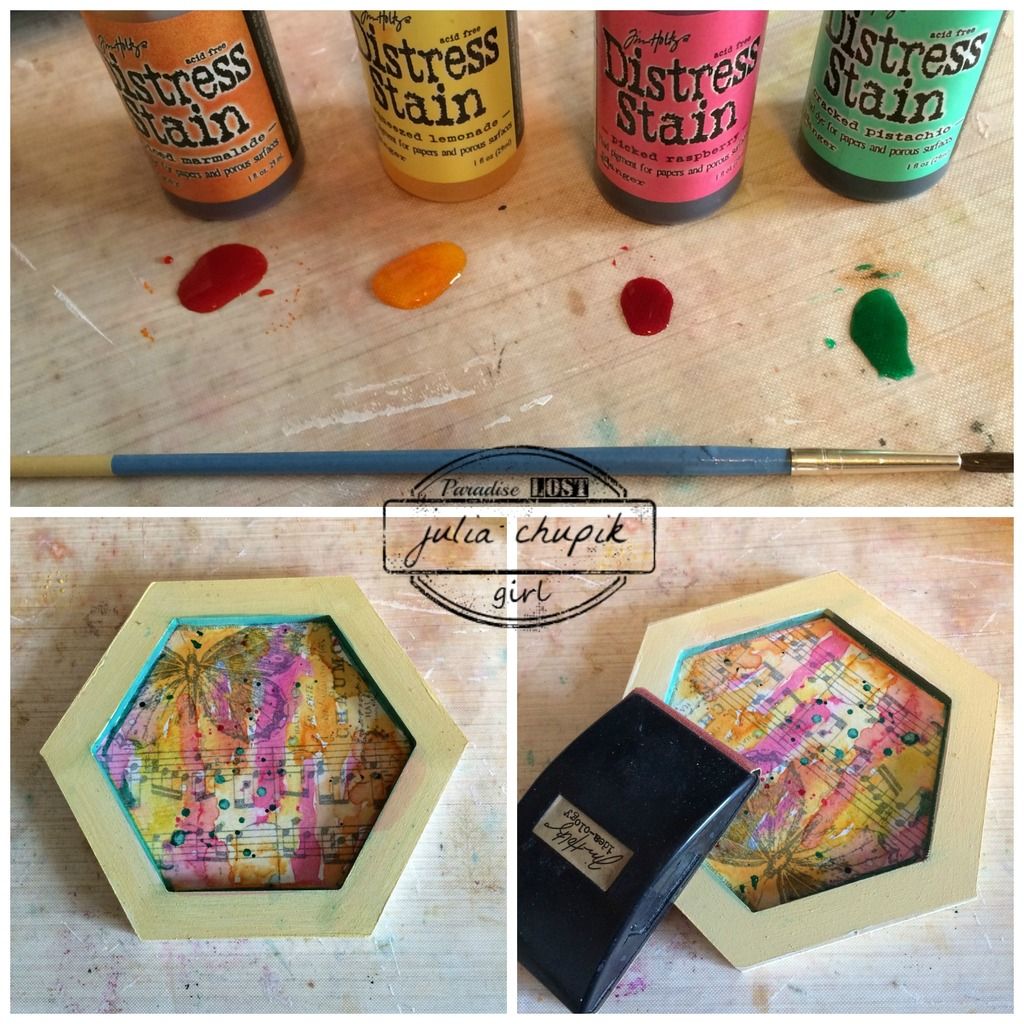
After my canvas was completely dry I sprayed it with Dylusions Ink Sprays - Ground Coffee & Postbox Red. 
Still using the Emporium Of Curiosities Paper Pack from IndigoBlu, I placed paper pieces that I inked and distressed. This was going to begin forming my centre focal point.
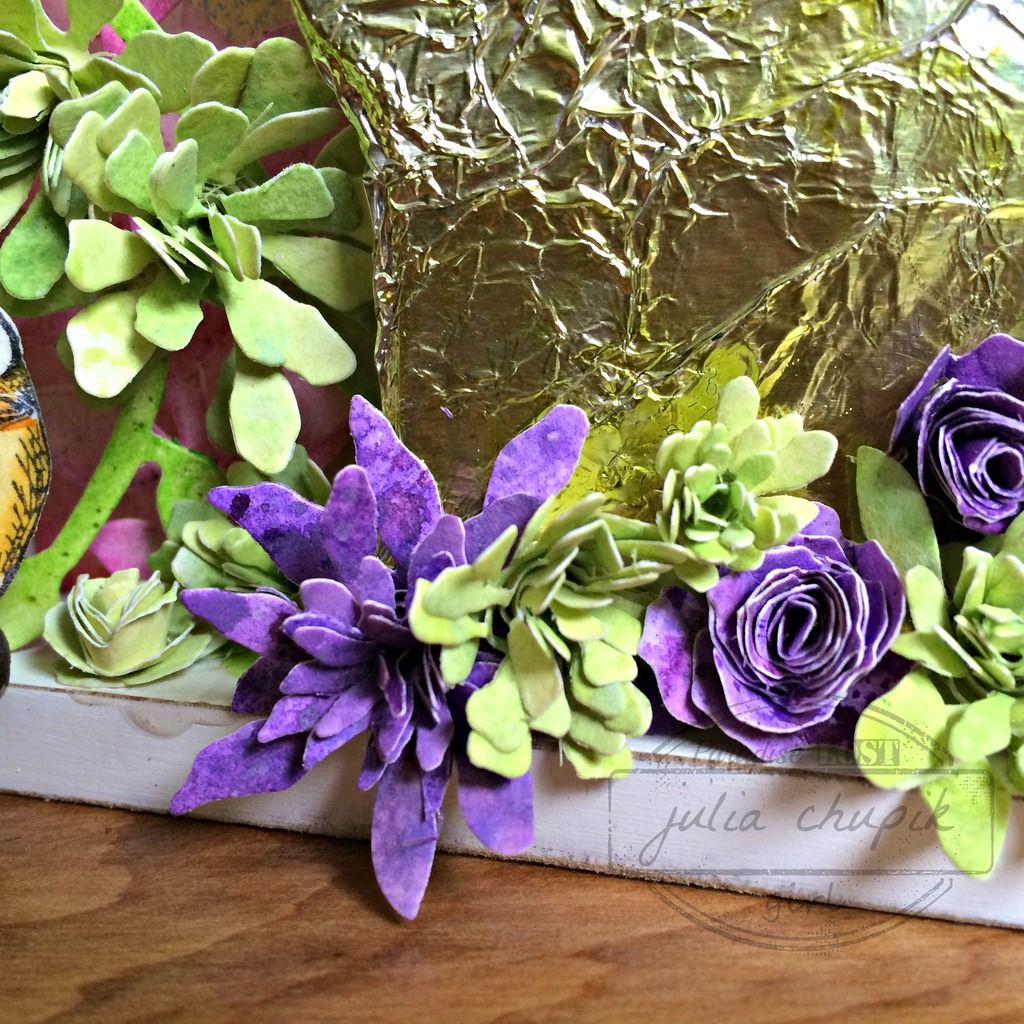
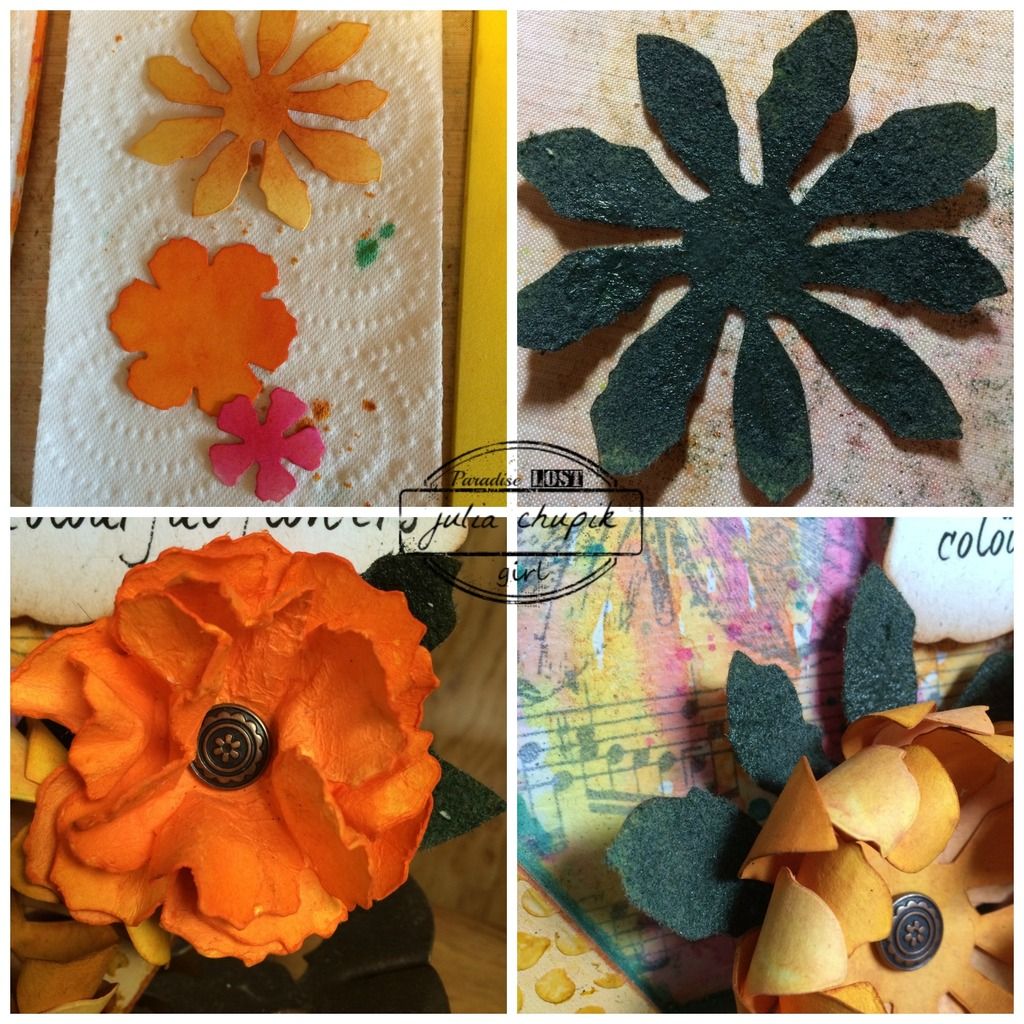
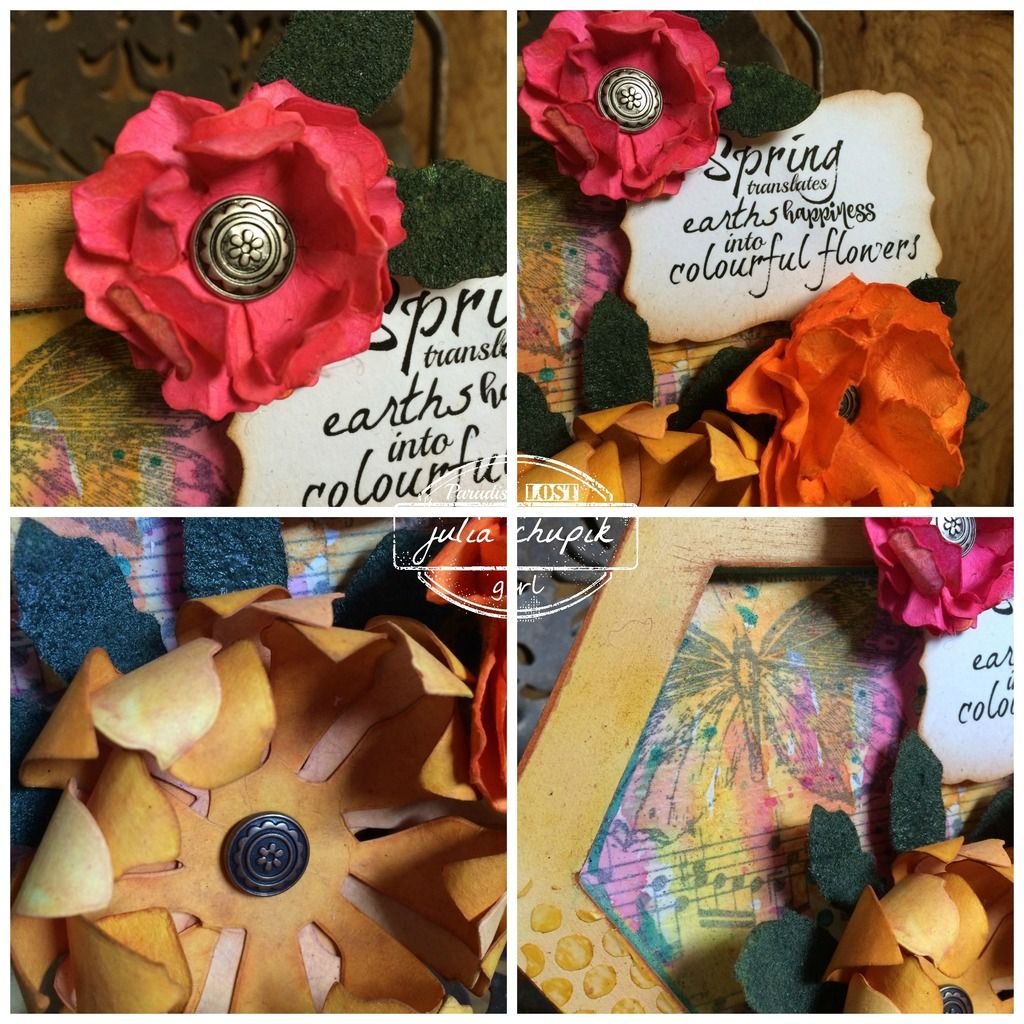
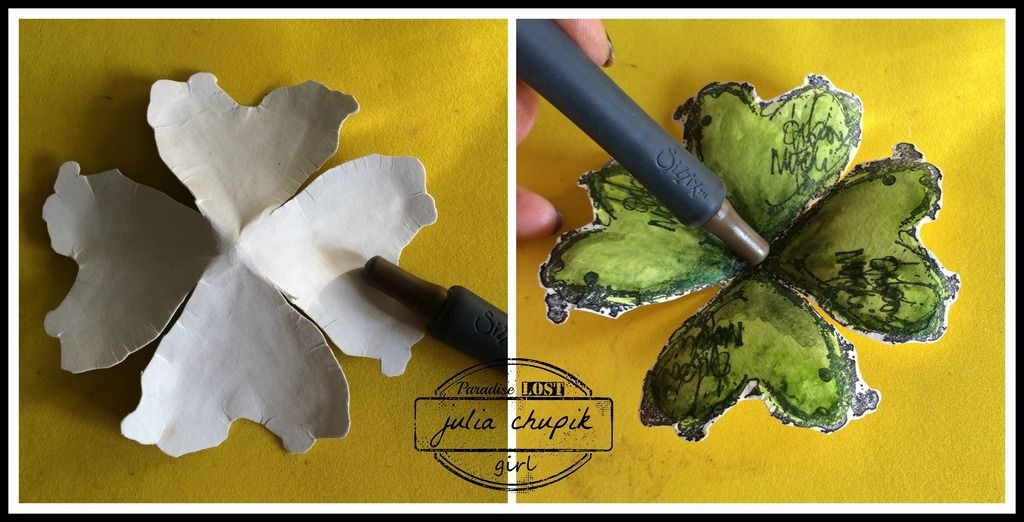
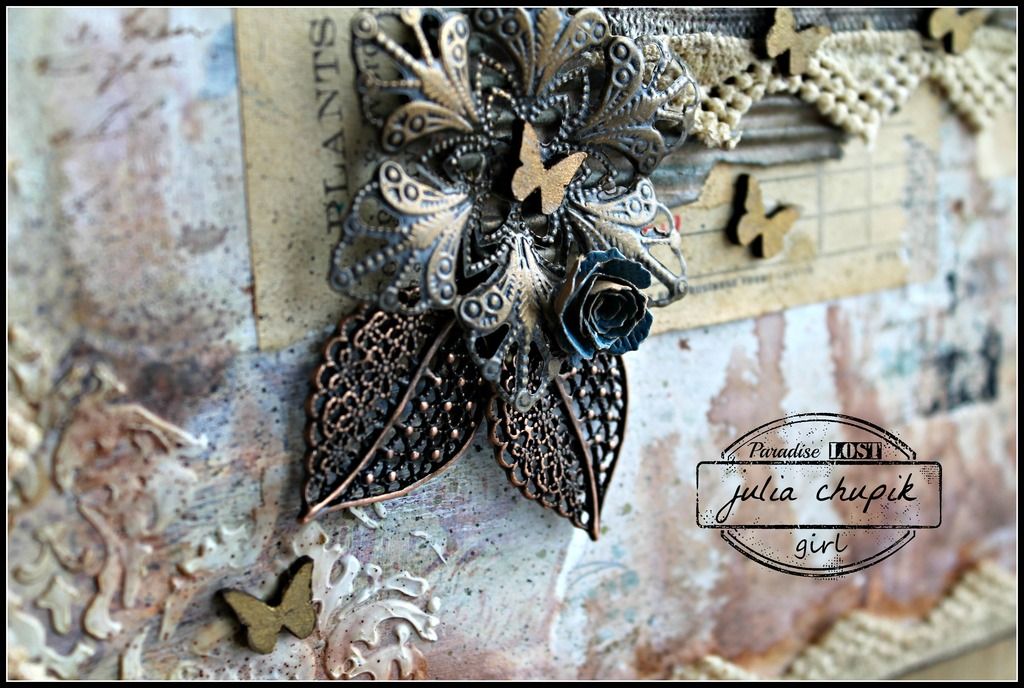
The flowers were made using paper from the same paper pack and the Jumbo Tattered Foral die from Sizzix. Each flower is made of 6 layers of paper that I sprayed with water and scrunched up before fixing together with a brad.
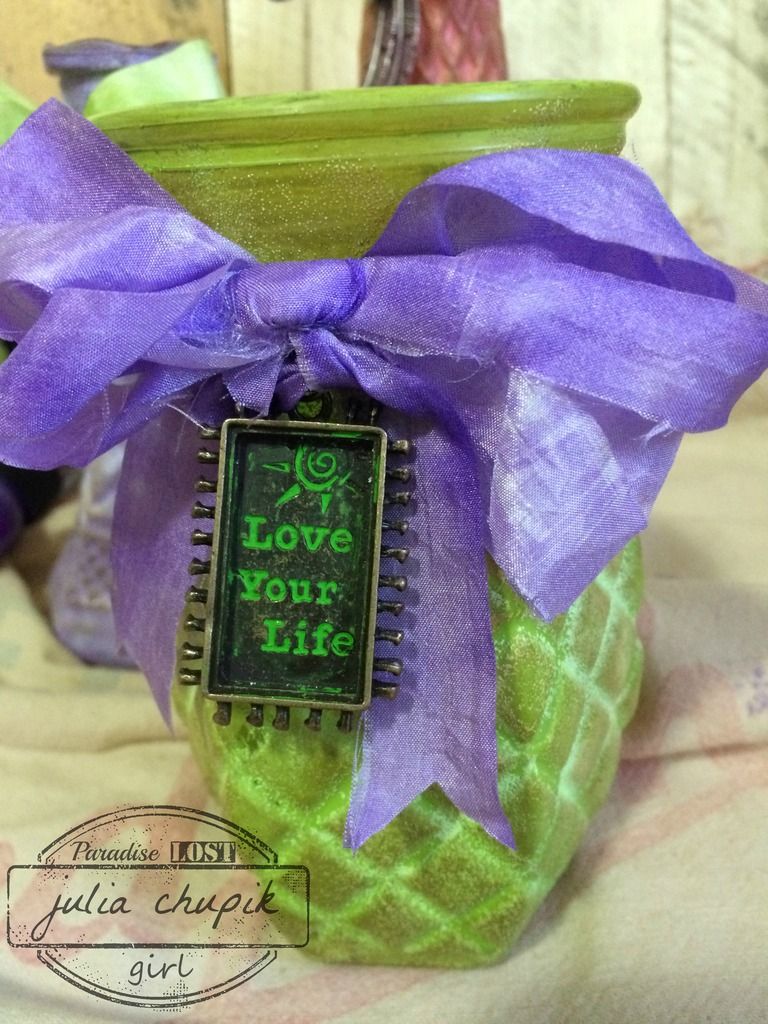
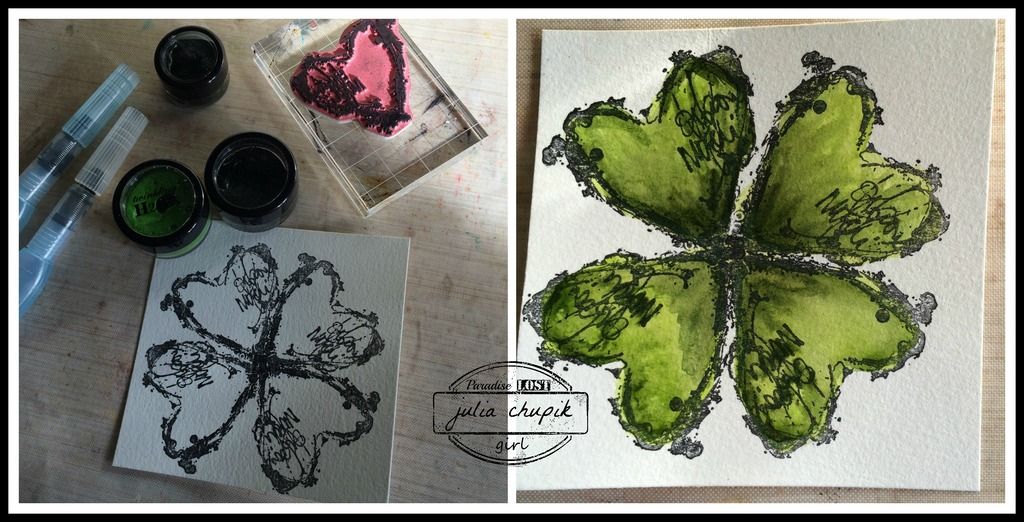
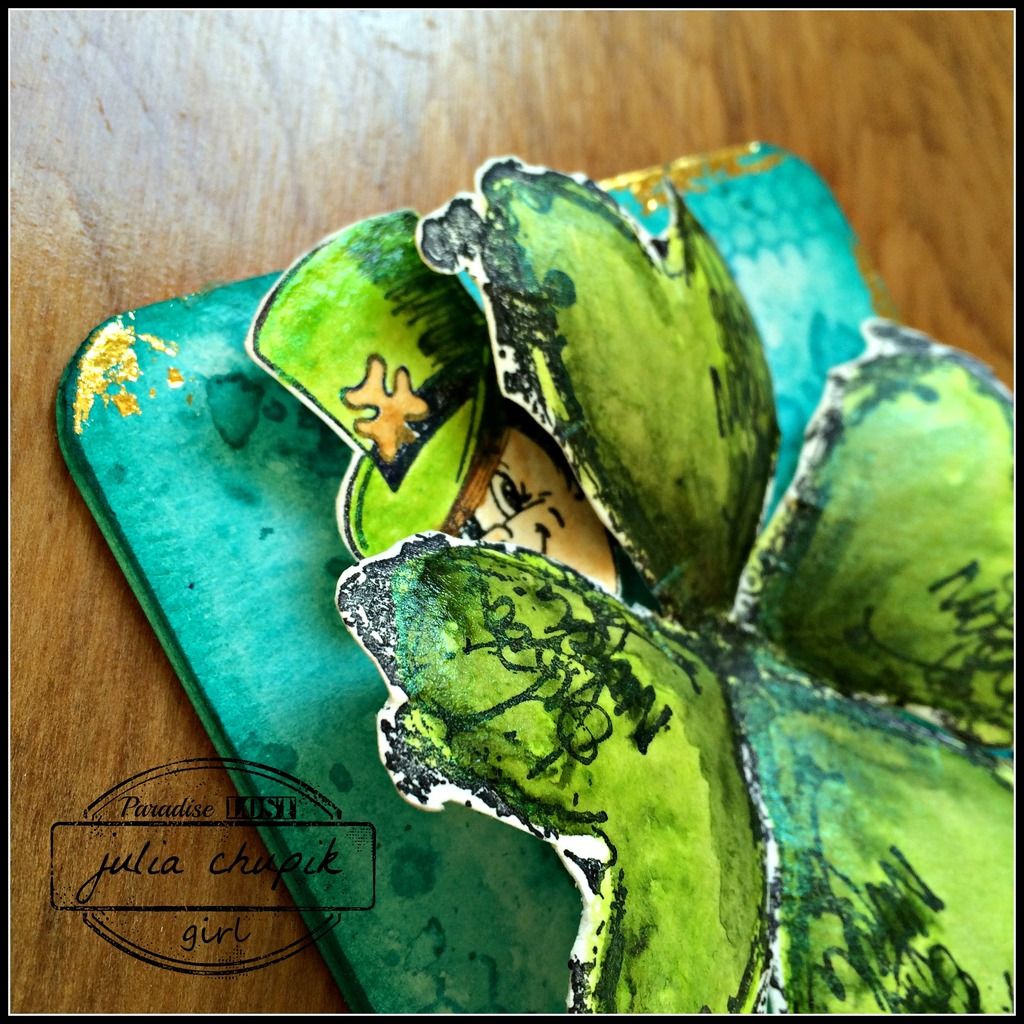
The greenery is chipboard cut from the Garden Greens Die from Sizzix. I painted it with Peeled Paint Distress Paint. I then randomly stamped  a script stamp over the painted chipboard before covering  the pieces with the new Crazing Collage Medium from Ranger. I absolutely love the crackle finish the crazing medium leaves when it dries.
To add a bit more grunge I added some Burnt Copper Leaves Embossing Powder by first 'painting' on some matte medium over the edges of my canvas then sprinkling on the embossing powder. I let the this dry before heat embossing the powder.
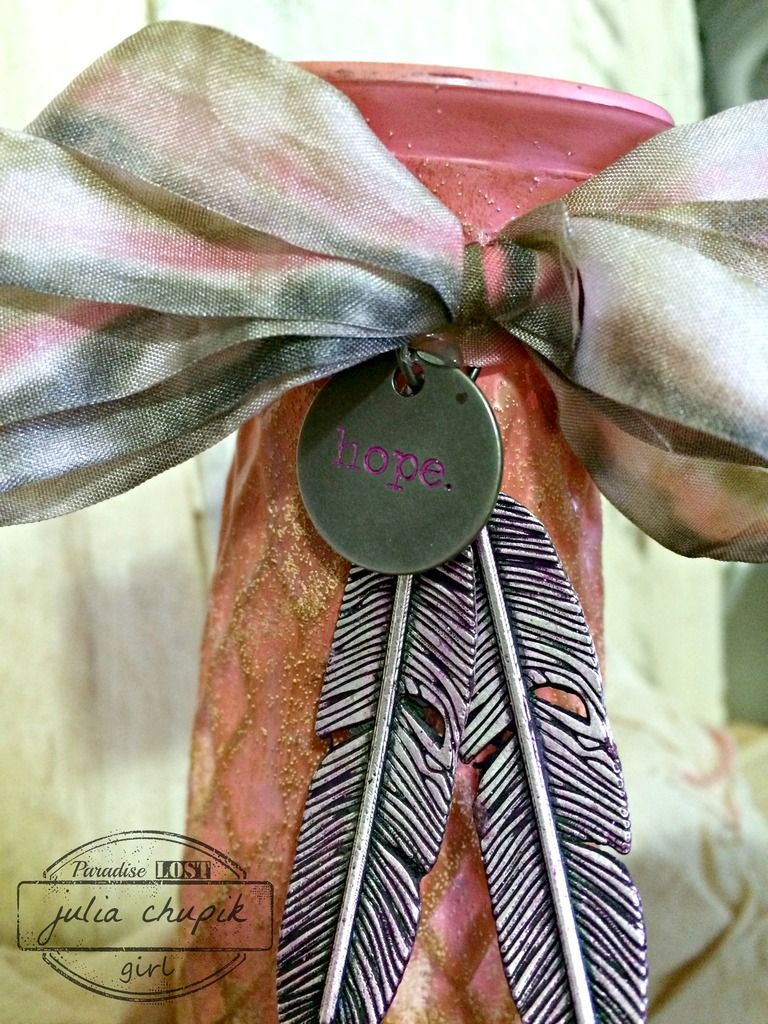
A couple of Copper Filligree Leaf Charms from Emerald Creek perfectly finished off my floral focal point. A couple of vintage photos added to my canvas and I was done!

Now check out the rest of the design team projects for some more amazing inspiration then head over to the blog to share your 'Charming' projects with us for a chance to win!


Products used:

Emporium Of Curiosities Mixed Media Paper Pack - IndigoBlu
DecoArt Crackle Paste
Crazing College Medium - Ranger
Molding Paste
Layering Stencils - Harlequin, Flourish
Doily Die - Sizzix
Jumbo Tattered Florals Die - Sizzix
Garden Greens Die - Sizzix
Dylusions Ink Sprays - Ground Coffee, PostBox Red
8x10 canvas - Dollar Store


Thursday, 7 April 2016

Emerald Creek Dares - Anything Goes

It's time for another challenge from Emerald Creek Dares and this time it is Anything Goes!

This month I chose to upcycle some glass vases I found at the thrift store ($1 each!). These will be perfect to hold some cuttings from garden. My tulips, lilies & poppies are already starting to pop up so I hope the snow stays away!

On to my project....
So pretty and so simple to do!

First I gave the vases a quick clean up as they were quite dusty from being stored in the garage.
Next up I painted each vase then while the paint was still wet I sprinkled with a selection of pastel embossing powders from Emerald Creek.
Distress Paint Worn Lipstick & Emerald Creek Pastel Pink Embossing Powder

Left - Distress Paint Twisted Citron & Emerald Creek Pastel Green Embossing Powder
Right - Distress Paint Dusty Concord & Emerald Creek Pastel Lilac Embossing Powder

I left the vases to dry on their own before using my heat gun to heat set the embossing powders.
After the heat setting the embossing powders, I took an ink blending tool and applied Potting Soil Archival Ink all over the vases to highlight the beautiful details.

I dyed some crinkle ribbon for each vase using the coordinating Distress Stains and added some charms for a finishing touch.

& Tim Holtz Idea-ology Typed Token

I used Distress Crayons to add some colour to each charm. These work especially well 
on the Typed Tokens.


Charms - Prize Cameo Charm & Squirrel Charm (both from Emerald Creek) 

I painted the cameo charm with Wilted Violet Distress Paint and wiped away some the paint after it was dry. I used the Peeled Paint Distress Crayon on the squirrel.


Charm - Love Your Life Frame 

I found this charm in my stash and used Distress Crayon to highlight the words.

These were so much fun to make and I can't wait to fill them with some fresh flowers!
Products used for this project:

Distress Paints - Worn Lipstick, Twisted Citron, Dusty Concord, Wilted Violet.
Ranger Archival Ink - Potting Soil
Tim Holtz Idea-ology Typed Tokens - hope
Crinkle Ribbon
Vases - Thrift Store 

Thank you so much for visiting my blog today. 
Now it;s time to visit the rest of the Emerald Creek Design Team Blogs and get even more inspiration before you show off your Anything Goes project at the Emerald Creek Dares blog. I can't wait to see your amazing creations!


& Special Guest Blogger


Thursday, 24 March 2016

Emerald Creek Dare - Easter Hunt

It's time for another challenge at Emerald Creek Dares
and this time we are celebrating Easter and the Easter Egg Hunt.

Show off how you celebrate Easter at Emerald Creek Dares for a chance to win
a $25 credit to the Emerald Creek online store.

My family of Crazy Birds and the Easter Egg Hunt

I started with a small square box that I had in my box. It needed very little prep as it was already white but I did take my small sanding block to the edges to distress it just a bit.

I started by making my background for the small squares. I trimmed some watercolour paper to fit each space and sponged Versamark over my Chevron Layering Stencil from Tim Holtz before applying Emerald Creek pastel embossing powder in 3 different colours - green, lilac & pink.
I finished these off with some Distress Stains in coordinating colours.


The background for the large box was made using watercolour as well but this time I used a large oval stencil that I thought could pass for an Easter Egg. Again I sponged Versamark through the Chevron Layering Stencil and this time used the Easter Parade embossing powder from Emerald Creek - its just one of a whole line of  Festive Glitters. I love them all! 

I received my Distress Crayons this week and was so excited to use them with this project. I have a lot to learn about them but had fun playing around with some watercolour techniques on my bunnies & floral embellishments.


For my flowers I used 98 lb watercolour paper that I dragged through Distress Stains & Picket Fence Distress Paint that I applied to my craft mat. The Picket Fence give the stains a gorgeous pastel feel. I then use my set of Tiny Tattered Florals die set to cut out a bunch of flowers.
Here is a close up photo of the finished flowers ~

And close-ups of those Crazy Easter Egg Hunting Birds. One of those rascals couldn't resist a nibble of  the chocolate bunny ears.

Thank you for visiting my blog today! 
I wish each of you a very Happy Easter and may your long weekend be filled with love, happiness & joyful celebration with family & friends.

Be sure to check out more Easter inspiration from the rest of the Emerald Creek Design Team
then visit the Emerald Creek Dare blog to share your creation with us.


Emerald Creek Craft Supplies
products used:

Stamp:

Embossing Powders:


Thursday, 10 March 2016

Emerald Creek Dare - Ring In Spring

It's time for another challenge at Emerald Creek Dares!
Show us your Spring-themed projects - think bright & colourful. We want to see your cards, canvases, art journal pages, scrapbook layouts or home decor.


My project is a hexagon frame from Kaiser Craft. 
I prepped the frame pieces first with a coat of gesso then using matte medium applied Tim Holtz tissue paper. I applied another coat of matte medium over the top of the tissue paper. Once everythig was dry I assembled the frame pieces then gave the entire thing another light coat of gesso.
I used Tim Holtz Distress Stains in Spiced Marmalde, Squeezed Lemonade, Picked Raspberry & Cracked Pistachio to colour my background. I first applied small pools of the stains on to my splat mat and then used a small brush to apply small amounts over the tissue paper. 
I painted the outside of the frame with Scattered Straw Distress paint and distressed the edges with sandpaper. To further deepen the colour of the frame I used my ink blending tool to apply Rusty Hinge Distress Ink over the frame.
I used my Jumbo Tattered Floral die from Sizzix to make my focal point. What better way to signify Spring than some big colourful flowers! I die cut my flowers out of 140lb cold-pressed watercolour paper and coloured them with Distress Stains. While the paper was still wet I shape the flowers by curling the petals around my fingers. I then let the flowers dry naturally before layering 4 dies together and securing them with a Flower Wheel Brad from Emerald Creek.
The leaves were made with by applying Vintage Ivy Embossing Powder from Emerald Creek.
I love this embossing powder ~ after its heat set it leaves a soft, velvety texture.
I found this sentiment on Pinterest and thought it was perfect for this project.


Here is my finished project ~ a little bit of Spring inspiration to enjoy while I wait for the snow melt.


Thank you for visiting my blog today! Now head over the rest of the Emerald Creek DT
blogs for more Ring In Spring inspiration.

Claudia Neubacher
Shilpa
Katelyn
Diana
Cathy Potosky
Pam Bray

Head on over to Emerald Creek Dares to show us your Spring projects for a chance
to win a $25 credit to the Emerald Creek online store.


Thursday, 25 February 2016

Lucky Clover - Emerald Creek Dare

It's time for a new Dare at Emerald Creek!

This time we want you to think Irish, greens, lucky clover, pot o'gold & leprechauns.

My project is a 4x4 canvas ~ made using watercolour paper and chipboard.
I added a sheet of thin magnet to the back and now it has a new home on the side of my fridge.
Just a little something to remind me of how lucky I really am.

I started with my 4x4 piece of 140lb cold press watercolour paper and 3
shades of blue Distress Stain - Tumbled Glass, Broken China & Peacock Feathers.
I smooshed all 3 colours of stain onto my splat mat before dragging my watercolour paper through it several time, drying the paper with my heat gun in between.

Once I was happy with it I adhered the watercolour paper to my chipboard base and inked the edges with Tumbled Glass Distress Ink. I added some random stamping around the edges and some gold transfer foil.

Next I started working on my focal point ~ I used the medium sized heart stamp from the Dina Wakely Collaged Heart stamp set & Staz-On ink pad to create my 4-leaf clover on watercolour paper.
I decided to use Twinkling H20 Shimmer paints to colour my clover. I haven't used my Twinkling H20's is forever and loved the shimmery look my clover ended up with!
I fussy cut my clover out before using the blunt end of my Sizzix quilling tool to 'shape' my clover leaves.

I used the Paddy stamp from Emerald Creek. I coloured him with Twinkling H20's as well before cutting him out. I just love how he is peeking out from behind the cloverleaf.

Thank you for dropping by my blog today and I hope my project has you feeling lucky.
Visit the rest of the Design Team Blogs for more Lucky Clover Dare Inspiration
and share your project with us at Emerald Creek Dares


Products used:

Emerald Creek Stamp


Distress Stain: Tumbled Glass, Broken China Peacock Feathers
Watercolour Paper
Dina Wakely Collaged Hearts Stamp set
Twinkling H20's 

Thursday, 11 February 2016

Anything Goes - Emerald Creek Dare

It's time for a brand new challenge at Emerald Creek Dares and we want you to showcase your favourite technique, style or products .Whether it's mixed media, cards, scrapbooking or 3D ~ it doesn't matter. Anything goes!

My creation is near & dear to my heart and brings 2 of my passions together.

Paper crafting and genealogy.


My project today was inspired by a tin type of my paternal great-great grandmother ~ Catherine ~ taken approx 1890. I scanned the tin type into my computer did some editing and then printed it out on some plain canvas that I had in my stash. I collected some other items ~ chipboard, ephemera and an 8x10 canvas.


I started by adhering a scrap of patterned paper that I had in my stash to the frame before using matte medium to adhere some old receipts and newsprint. I then sealed the whole thing with matte medium & let the frame dry completely before the next step.


I then started adding Distress Stain in Vintage Photo, Weathered Wood & Old Paper ~ misting with water and letting it drip from the top of the frame. I made sure this was dry before repeating this step from the bottom of frame.
I added some molding paste through a stencil in 2 corners of the frame, some Remnant Rubs in a few places and Ground Espresso Distress Marker with my spritzer.
The metal pieces have been painted with Weathered Wood Distress Paint and wiped back when the paint is dry. I then applied some metallic rub-ons. I also used metallic rub-ons on the small chipboard butterflies. 


Check out these amazing Filigree Leaf Charms from Emerald Creek Craft Supplies. The antique metal alloy finish on the charms were perfect the way they were so I didn't have to add anything to them. 


Before adhering my frame to the pallet board backing I placed a vintage lace doily to the wood.
My final step was to make some Tiny Tattered Florals and some bigger flowers with the Tattered Pinecone & Jumbo Tattered Pinecone die from Sizzix.

My family history gallery so far ~ 


Thank you so much for popping by my blog today!

Don't forget to visit the rest of the Emerald Creek Design Team 


Show off your stuff for our Anything Goes Dare
for a chance to win a $25 credit to Emerald Creek Craft Supplies

~stay crafty~

julia

Tuesday, 26 January 2016

I {Heart} You

I {heart} you! Yes, you! 

I have been blogging for almost 11 months and what started out as a terrifying experience has become one of the most rewarding experiences in my crafty world.


I have you to thank for that! 

Every person who has visited my blog, commented & shared has made me 
feel a little more confident & a whole lot more inspired!

So this is for you......

~stay crafty~

julia