Showing posts with label Charms. Show all posts

Thursday, 7 April 2016

Emerald Creek Dares - Anything Goes

It's time for another challenge from Emerald Creek Dares and this time it is Anything Goes!

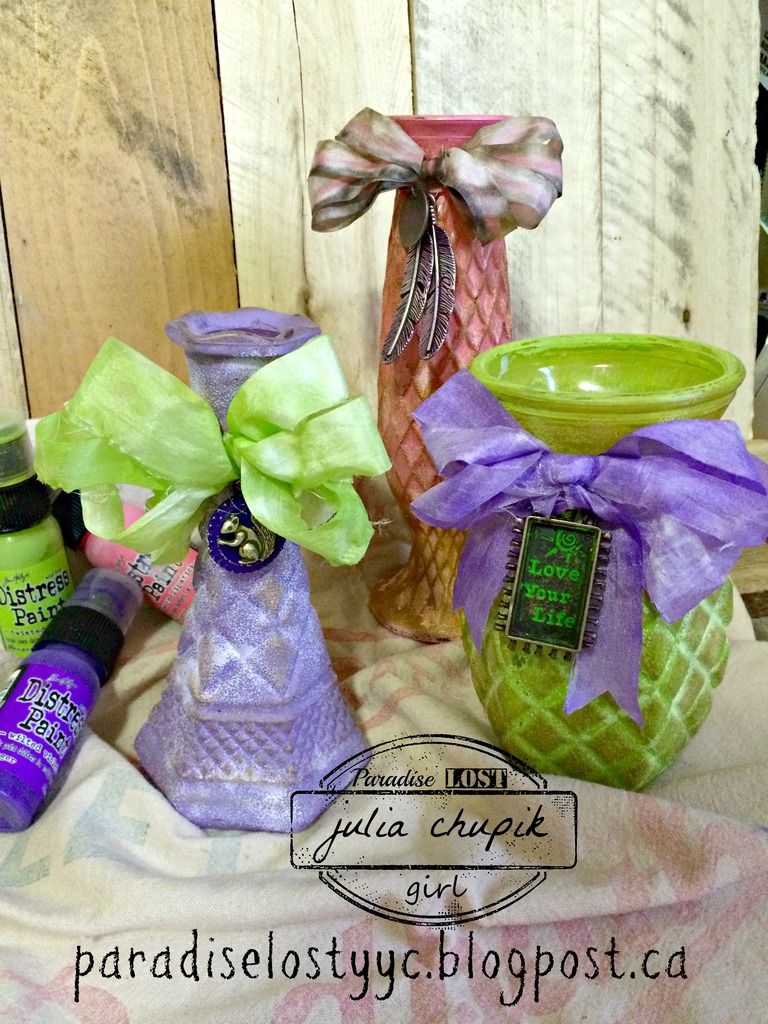
This month I chose to upcycle some glass vases I found at the thrift store ($1 each!). These will be perfect to hold some cuttings from garden. My tulips, lilies & poppies are already starting to pop up so I hope the snow stays away!

On to my project....
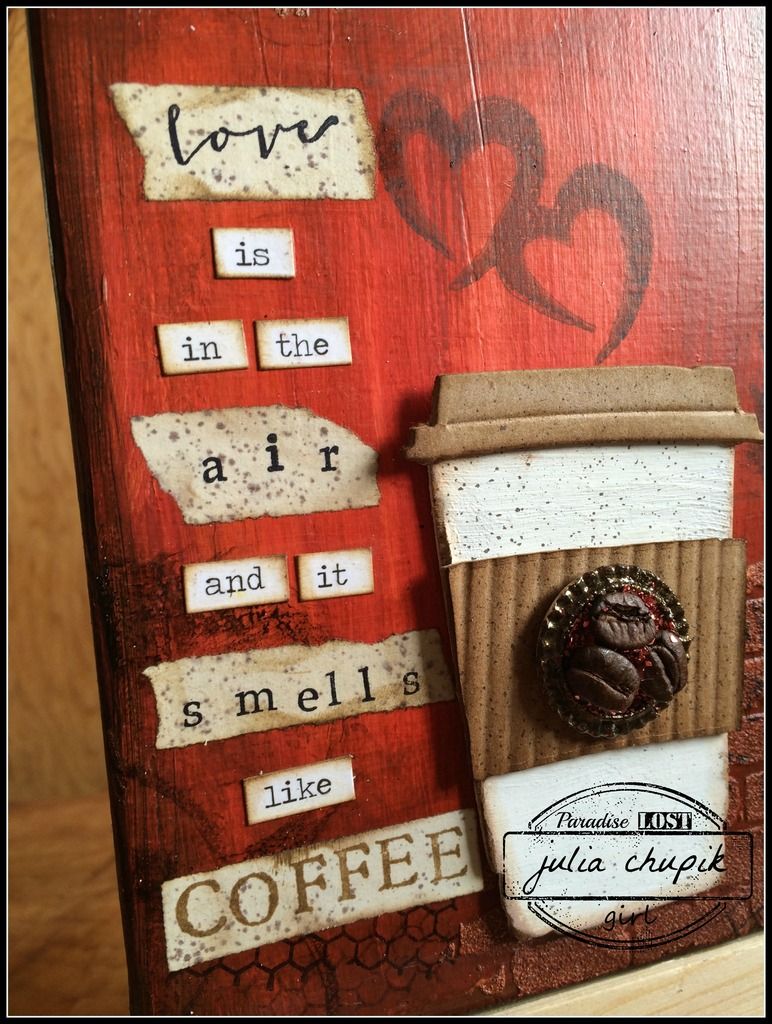
So pretty and so simple to do!

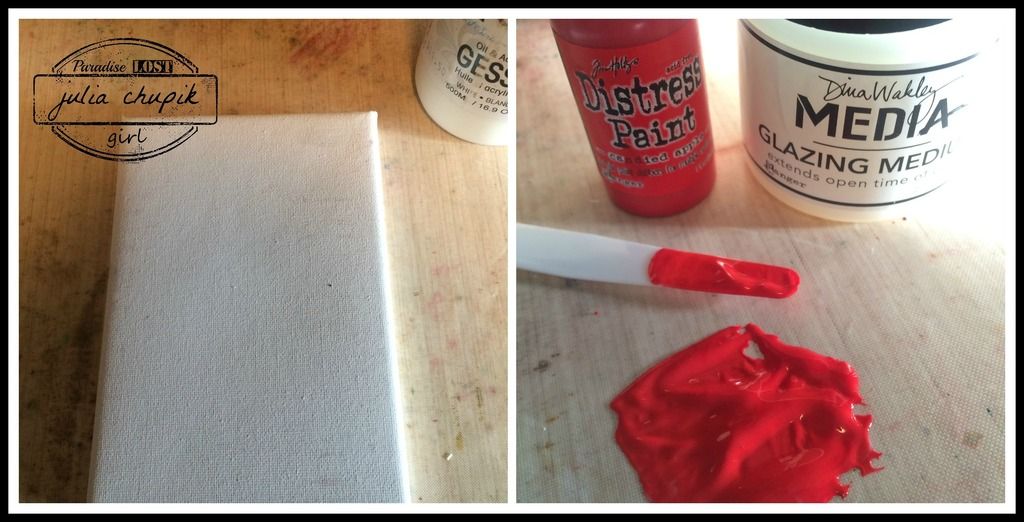
First I gave the vases a quick clean up as they were quite dusty from being stored in the garage.
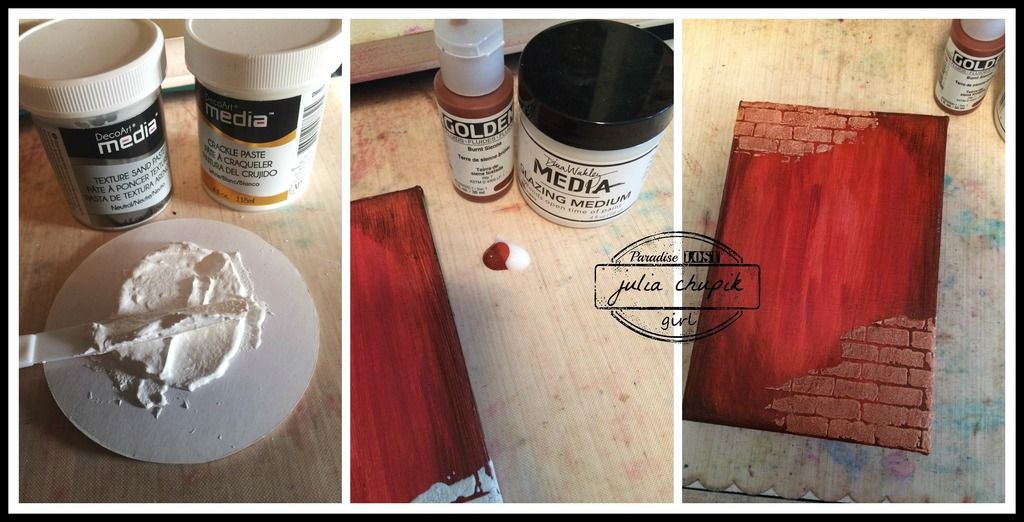
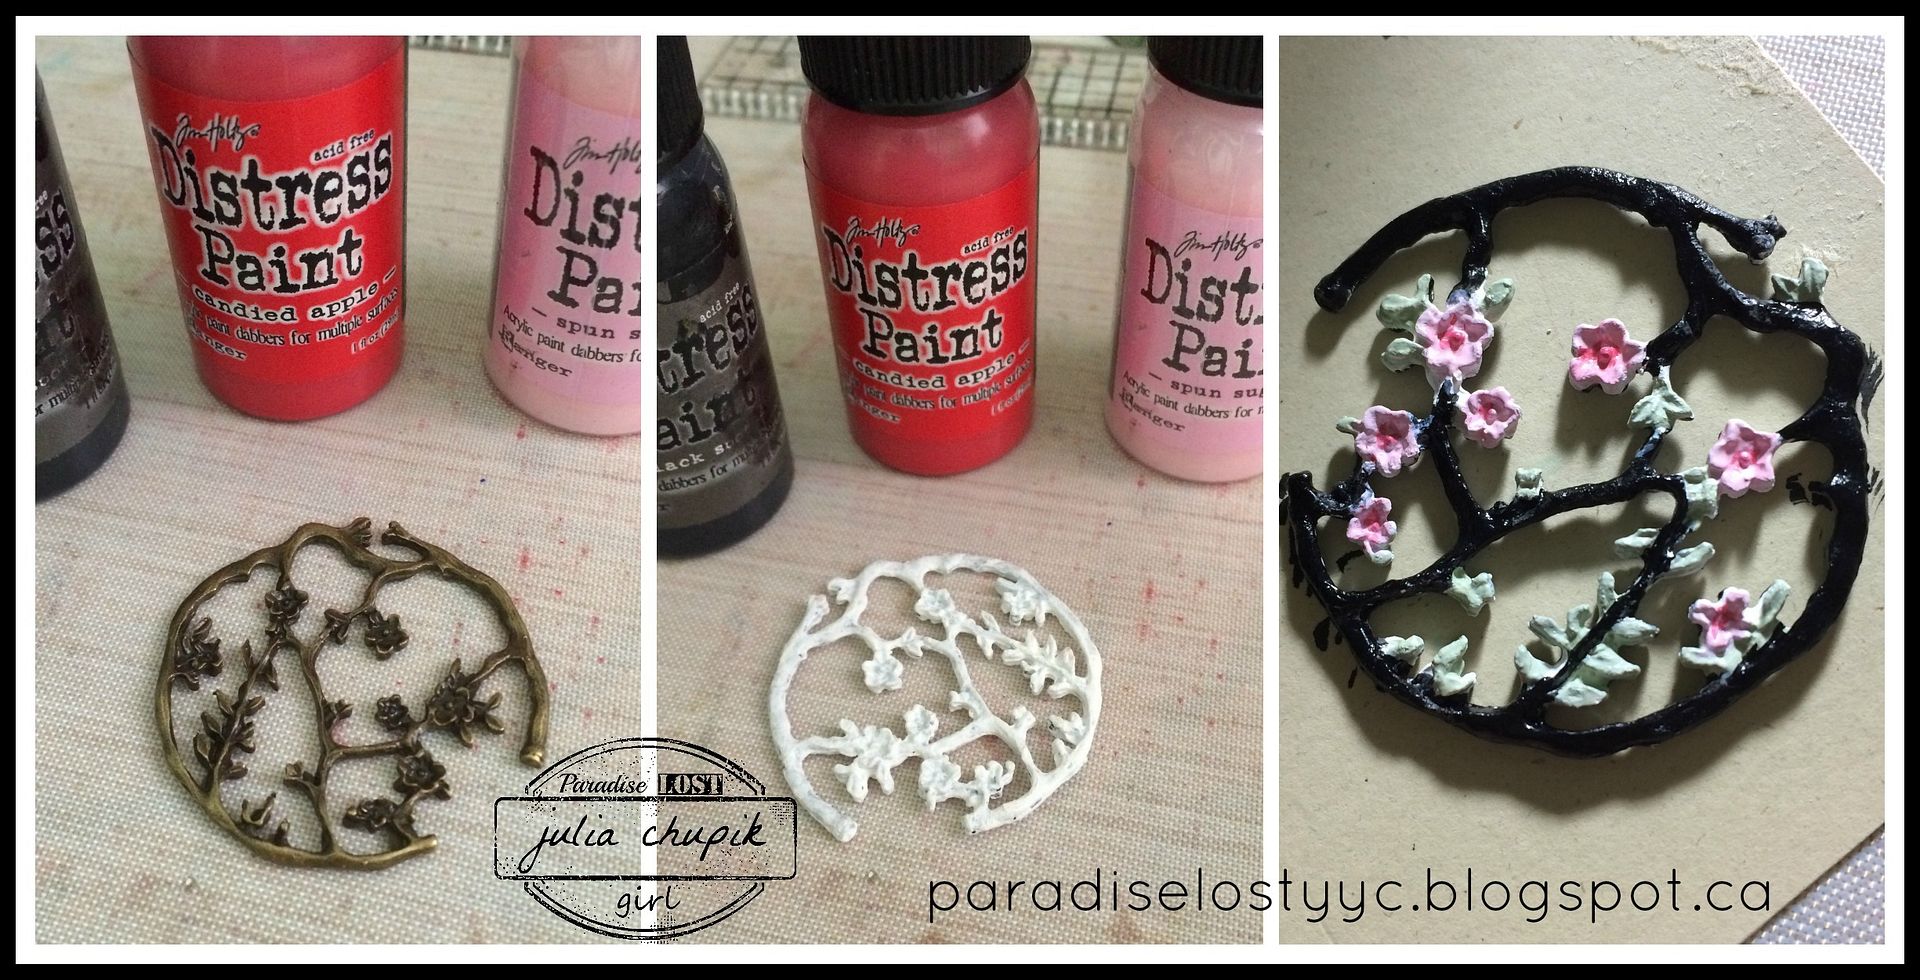
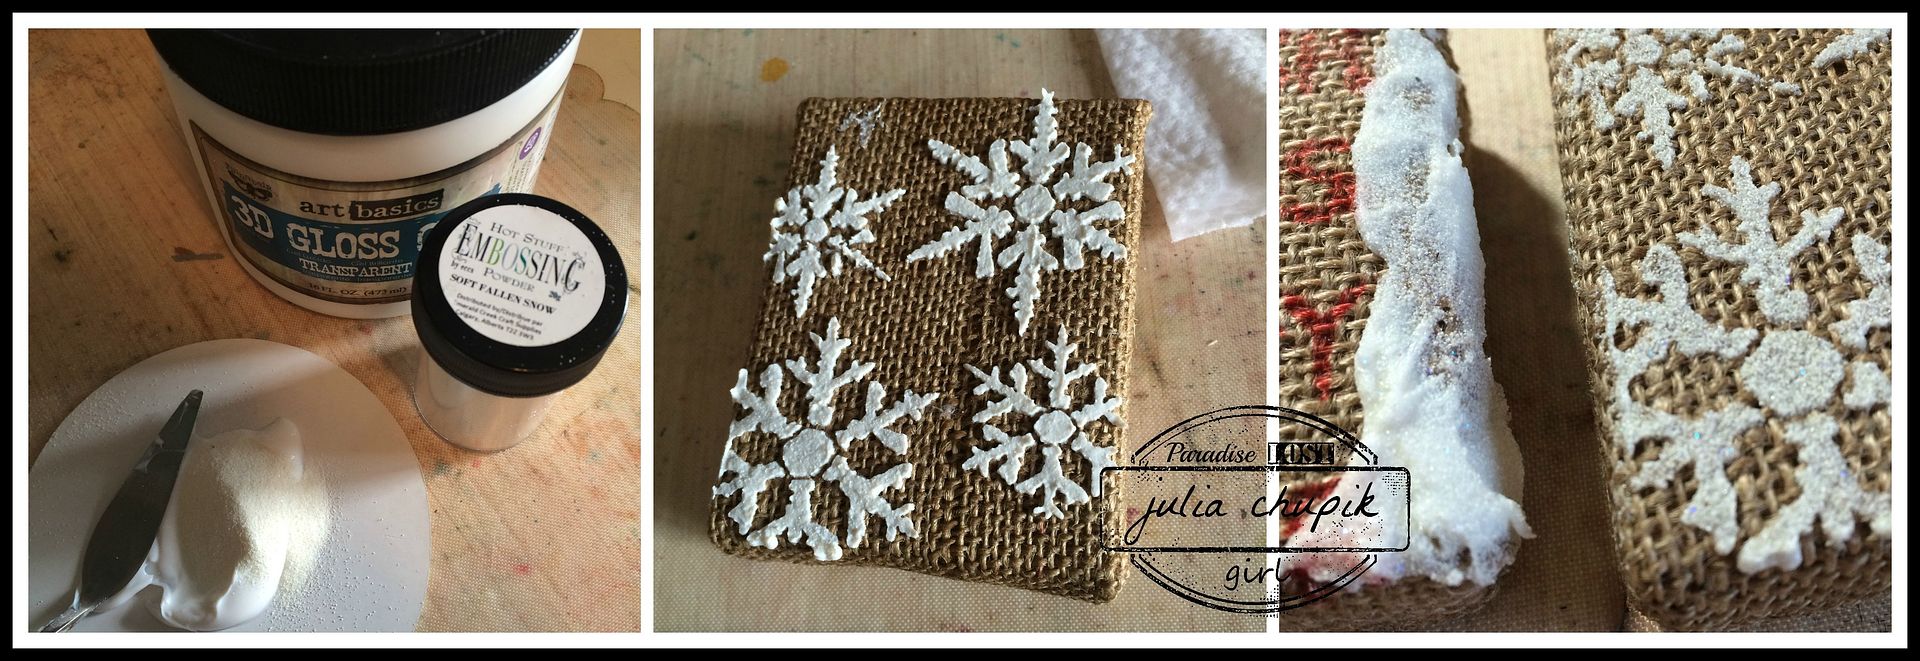
Next up I painted each vase then while the paint was still wet I sprinkled with a selection of pastel embossing powders from Emerald Creek.
Distress Paint Worn Lipstick & Emerald Creek Pastel Pink Embossing Powder

Left - Distress Paint Twisted Citron & Emerald Creek Pastel Green Embossing Powder
Right - Distress Paint Dusty Concord & Emerald Creek Pastel Lilac Embossing Powder

I left the vases to dry on their own before using my heat gun to heat set the embossing powders.
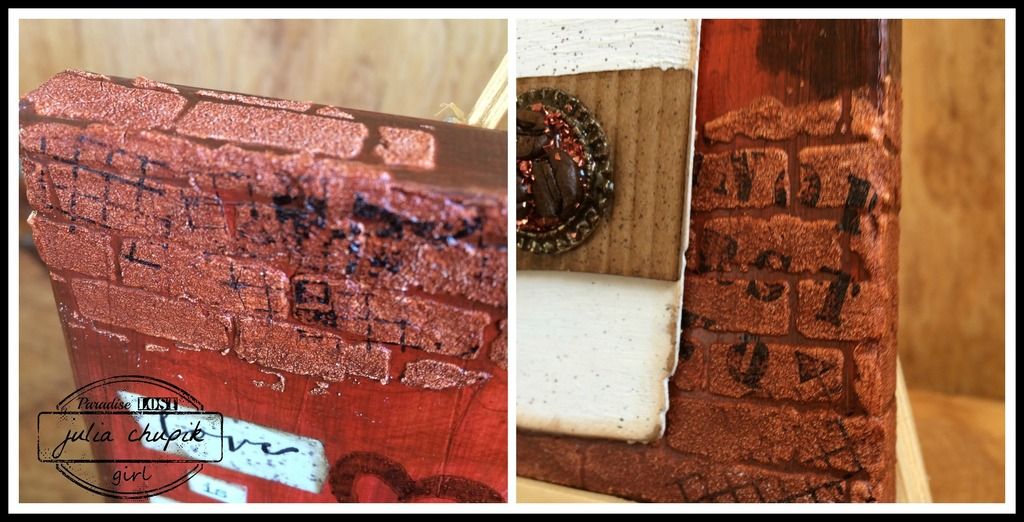
After the heat setting the embossing powders, I took an ink blending tool and applied Potting Soil Archival Ink all over the vases to highlight the beautiful details.

I dyed some crinkle ribbon for each vase using the coordinating Distress Stains and added some charms for a finishing touch.
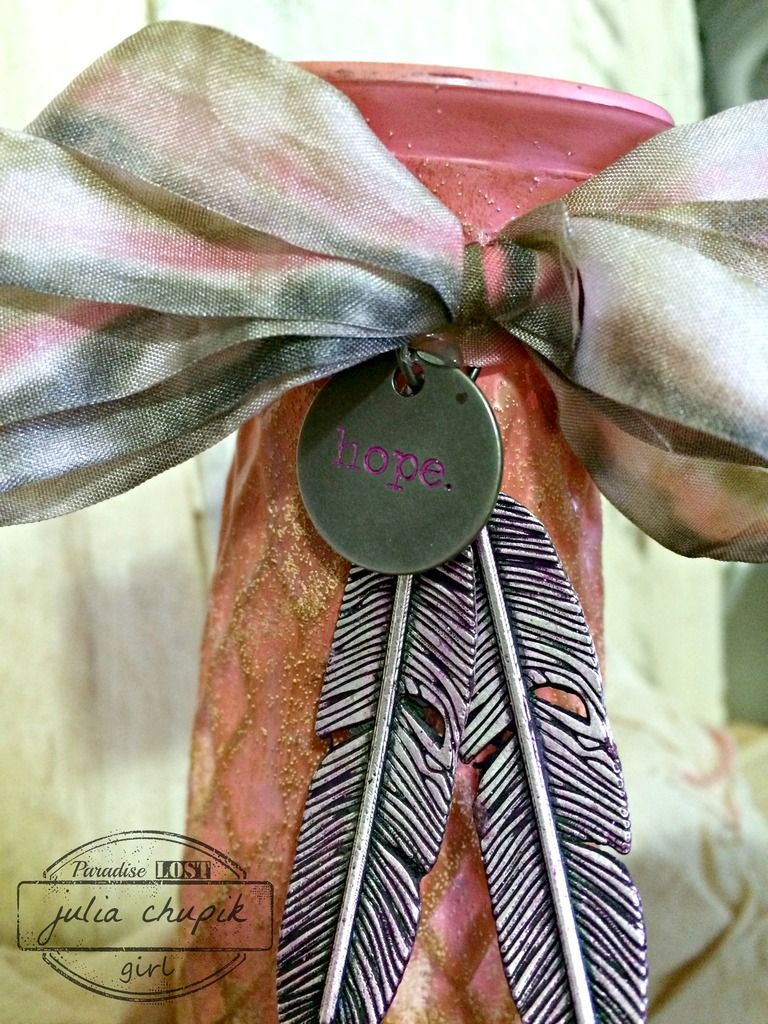
& Tim Holtz Idea-ology Typed Token

I used Distress Crayons to add some colour to each charm. These work especially well 
on the Typed Tokens.


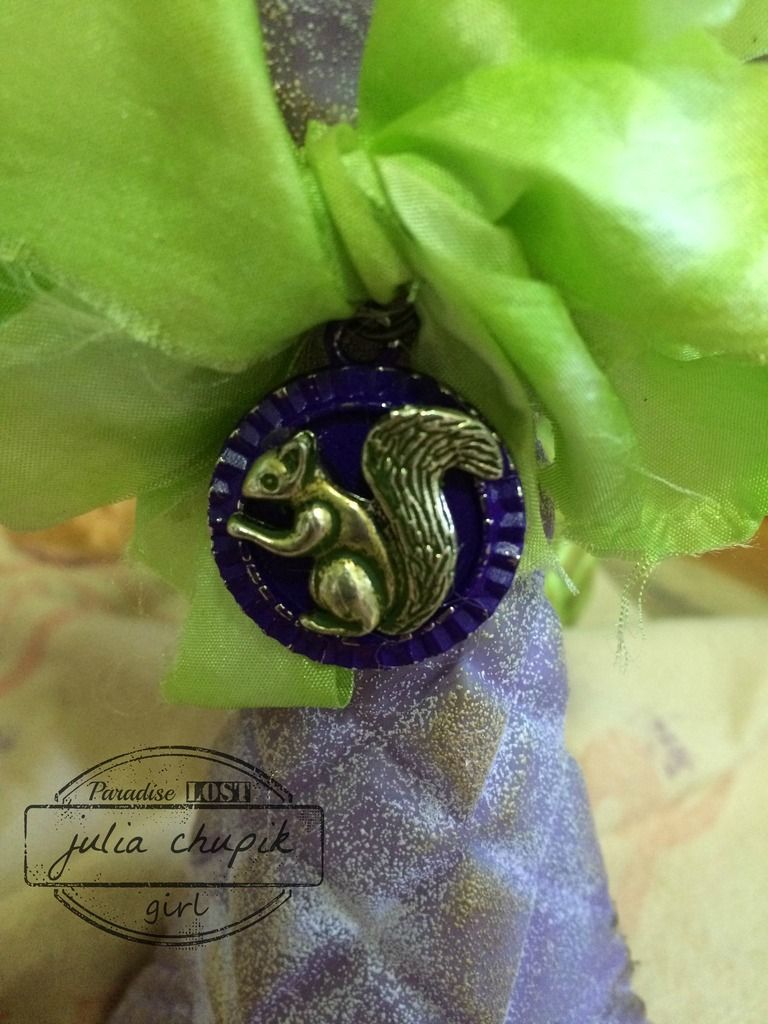
Charms - Prize Cameo Charm & Squirrel Charm (both from Emerald Creek) 

I painted the cameo charm with Wilted Violet Distress Paint and wiped away some the paint after it was dry. I used the Peeled Paint Distress Crayon on the squirrel.


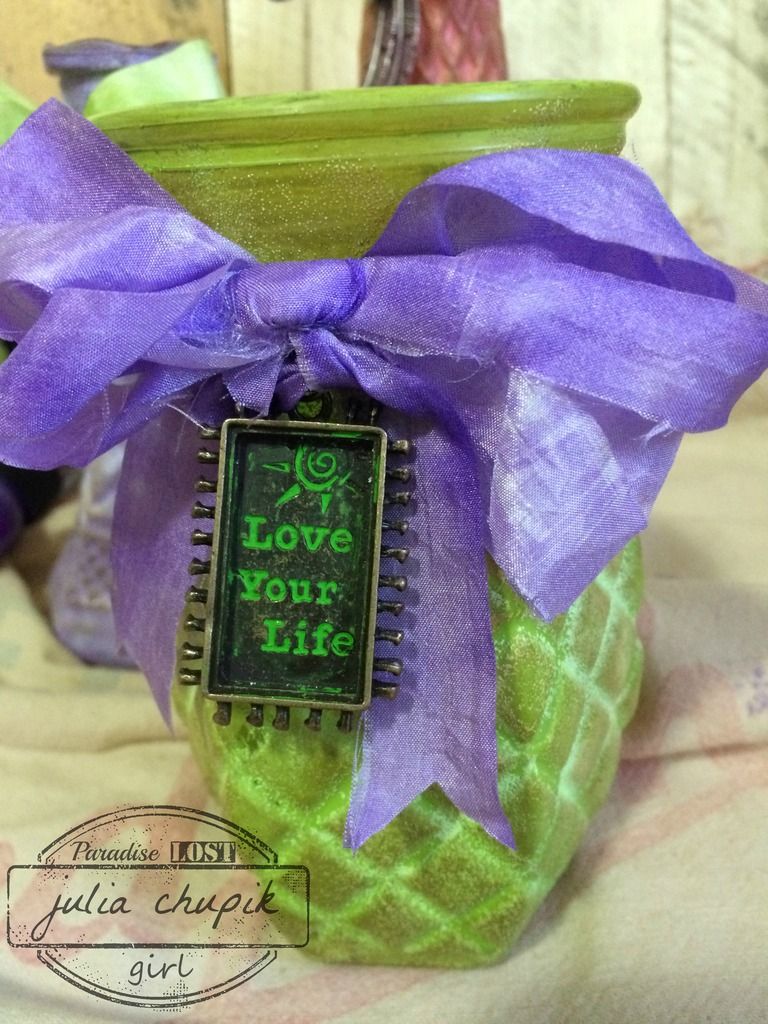
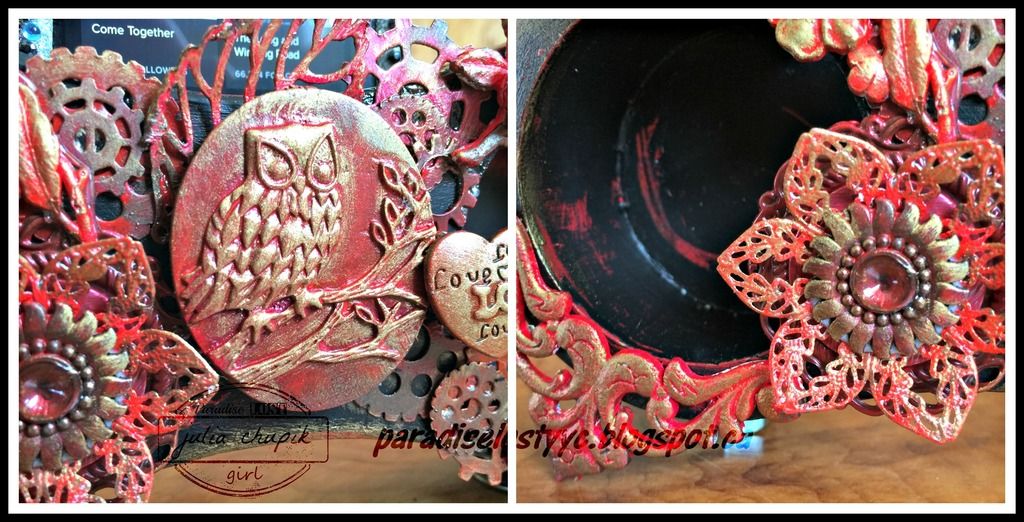
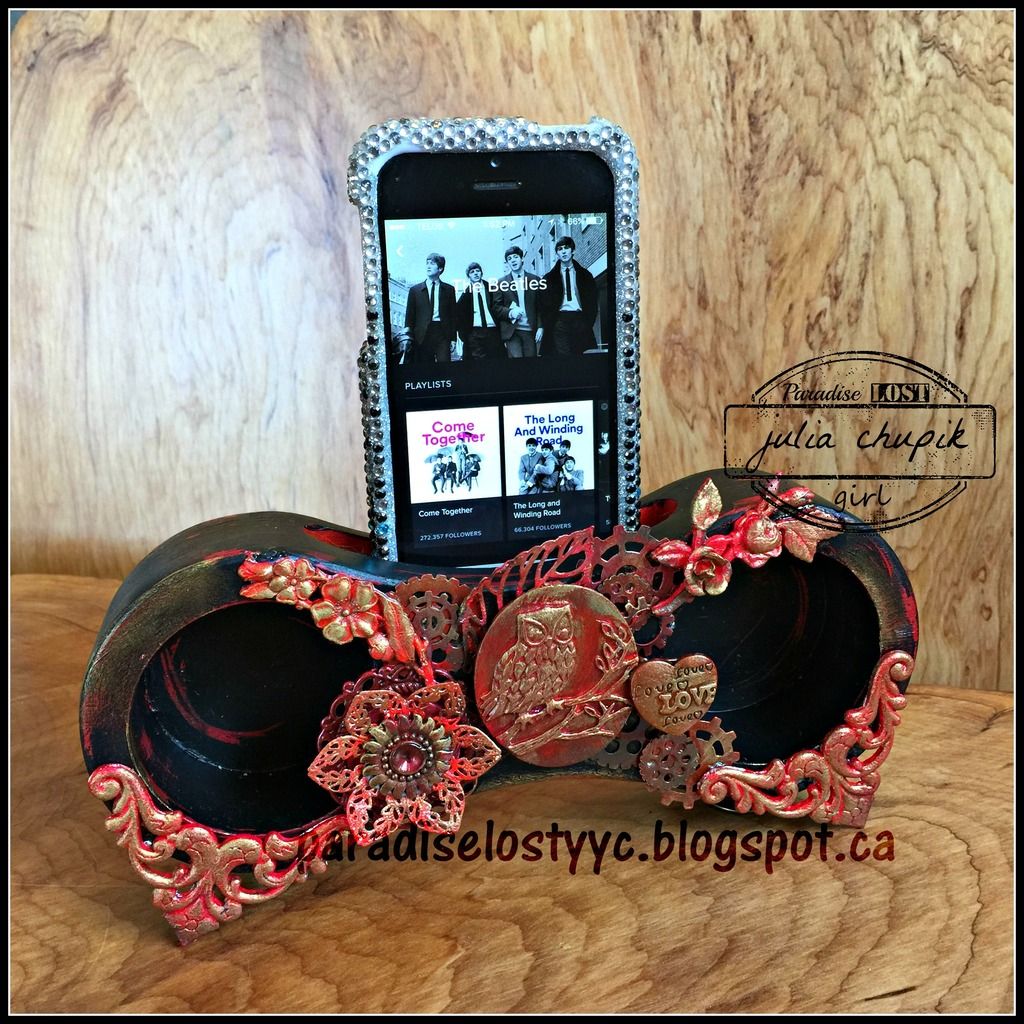
Charm - Love Your Life Frame 

I found this charm in my stash and used Distress Crayon to highlight the words.

These were so much fun to make and I can't wait to fill them with some fresh flowers!
Products used for this project:

Distress Paints - Worn Lipstick, Twisted Citron, Dusty Concord, Wilted Violet.
Ranger Archival Ink - Potting Soil
Tim Holtz Idea-ology Typed Tokens - hope
Crinkle Ribbon
Vases - Thrift Store 

Thank you so much for visiting my blog today. 
Now it;s time to visit the rest of the Emerald Creek Design Team Blogs and get even more inspiration before you show off your Anything Goes project at the Emerald Creek Dares blog. I can't wait to see your amazing creations!


& Special Guest Blogger


Thursday, 21 January 2016

Love is {NOT} in the air......Emerald Creek Dare

It is time for a new challenge at Emerald Creek Dares and this time
the team was challenged to create Valentine's ~ For All The Single People. Sort of Valentine's Day themed but not necessarily filled with all the mushy romance if that's not your thing. Quite a challenge since I have not been single for 25+ years. So as I pondered this challenge while enjoying a Venti Pike Place it came to me - I LOVE COFFEE!

I decided to do a small 5x7 canvas ~ this is one of series of canvases that will be hot beverage themed and displayed above my coffee/tea corner in my kitchen.
Let's get started.....


I started by mixing some Dina Wakely Glazing Medium with a bit of Candied Apple Distress Paint.
I appled this to my canvas with a pallet knife and my fingers. While this layer was still wet I added a couple of drops Fired Brick Distress Paint to my red glaze mixture and using my pallet knife added this colour to my canvas. Lastly, I added a couple of drops of Aged Mahogany to my glaze and using my fingers added some to my canvas.


I next made a mixture of Crackle Paste and Texture Sand Paste (both from DecoArt Media) to use with my Tim Holtz Brick Stencil. My mixture was probably 50/50 but if I was to try this again I will definitely make sure that I went heavier on the Crackle Paste so the cracks would be more visible.

After I let the paste dry completely, I applied a mixture of Golden Fluid Acrylic Burnt Sienna & Glazing Medium to the entire canvas. while this was still wet I used a baby wipe to wipe back some of the colour. I applied more of this mixture to the bricks 2 more times until I got the colour I liked.


I then added some stamping to my canvas using Archival Ink in Black & Potting Soil. I love how the stamping on the bricks looks like graffiti.

I used my Fresh Brewed Die from Tim Holtz/Sizzix for my main focal point.
I cut it from chipboard, painted with Picket Fence Distress Paint and gently sanded the edges before spritzing with Ground Espresso Distress Marker.
The sentiment was one I found on Pinterest and I used a combination of Chit Chat stickers & stamping on paper.


I used my Interlaced Hearts Stamp from Emerald Creek as the steam coming from my coffee cup.
Mmmmmm........coffee. ;)
A Prize Cameo Charm, also from Emerald Creek, was perfect for the the front of the cup.
I added some Burnt Copper Leaves Embossing Powder to the outer edge of the charm before filling the centre with glossy accents, 3 coffee beans and some red glitter.


Thank you so much for dropping by my blog today!
Be sure to visit the rest of Emerald Creek DT blogs for more
 "Valentine's ~ For All The Single People" inspiration
and enter our challenge at Emerald Creek Dares for a chance to win
a $25 online store credit!

Emerald Creek Design Team

Karon
Diana
Katelyn
Cathy
Claudia
Shilpa


~stay crafty~

julia


Challenges Entered 
Simon Says Monday Challenge: love is in the air

Friday, 15 January 2016

Red & Black and Altered All Over....

Over the holidays, I went to the my local liquor store and was told I was getting a free
gift with my purchase. Oooooo.....free stuff!

I opened up my free gift when I got home and was stumped.
I had no idea what it was. I almost tossed it into the trash (as I am trying to curb
by hoarding ways.) when my son came into the room and dropped his phone
into the slot. It was a smartphone amplifier and it must be altered! With all the "Something New" Challenges out there I thought this was the perfect project to get started with!
First step ~ I sanded it to remove the shiny finish.
Next step was to paint on 3 shades of red. Lightest shade first, then the next 2 shades were randomly painted on.
After that layer was completely dry I painted on one coat of black gesso. I used my heat gun to only dry it until it turned matte then used a baby wipe removed some of the gesso to reveal the red underneath. 
I love the aged look it gives it. I added some gold metallic rub-ons as well.
All my metal embellishments were painted before I adhered them to the wood base with 3D gloss gel.
I used metallic rub-ons to highlight the details on the metal pieces.
Here is my brand new iPhone amplifier! Perfect for playing tunes while being crafty!

Have a wonderful day everyone & thank you so much for visiting my blog today!

Be sure to visit the Emerald Creek Dares blog and join our 
We are on out way....NEW Adventures Challenge
for a chance to win a $25 credit to use at 
Emerald Creek Craft Supplies


~~stay crafty~~


Tuesday, 12 January 2016

Cherry Blossom Tag - CHA....We are on our way with Emerald Creek Crafts!

Today is my last CHA project for Emerald Creek Crafts!

I love charms and the new releases are amazing ~ the cherry blossoms
round charm is a new favourite!


One of the new charms available from Emerald Creek is this gorgeous
 round Cherry Blossom . I decided to use my Distress Paints to add some colour
but in the end I decided that the black was a bit too harsh. I decided to save this charm for another project but painted up another one - this time only adding colour to the flowers & leaves.


The Branch Tree die from Sizzix is 3 layers of watercolour paper all sandwiched together then painted with Ranger Gold acrylic paint using a foam makeup applicator.


Here is a closeup of the texture of the tree & the painted charm.


Thank you for dropping in and checking out my CHA projects for
 Emerald Creek Craft Supplies.

~~stay crafty~~

julia


Be sure to visit the rest of the Emerald Creek DT blogs for more exciting CHA projects!

Karon Hughes

Come join us over at the Emerald Creek Dares blog and share in our NEW Adventure!
We want to see what you are making with your NEW Christmas presents,NEW purchases, NEW techniques, NEW CHA stuff even if you are one of the lucky few to have yours right away.


Thursday, 17 December 2015

Merry Christmas & Happy Holidays from Paradise Lost & the Emerald Creek Design Team

2015 is quickly coming to an end and what a year it has been for me!
If someone had told me a year ago that I would be living in Edmonton, Alberta,  have my own blog and be on a design tem I would thought they were crazy! 
But here I am and I am so happy! 
I hope, that no matter how you spend this holiday season, you are able to spend time with your family & friends making memories! I really appreciate each and every single of you that follow or visit my blog ~ you bring crafty inspiration into my life and I am forever grateful!

Now on to my Holiday project for Emerald Creek Craft Supplies.
This project is a bit of a de-stash project, with  a whole lot of Sizzix dies, Tim Holtz Idea-ology and my favourite charms & embossing powders from Emerald Creek.
 I used a 6 frame shadow box from KaiserCraft that I had in my stash. The 'Merry Christmas' sign sitting on top is also a KaiserCraft and a long time lurker in my stash.
Let's take a closer look at each box and some of the techniques I used.


Oh! Look! More KaiserCraft! I decided that these wood veneer 'ornaments' would make a great base for a wreath. I first used Barn Door & Lucky Clover Distress Stains to add colour before using Walnut Stain Ink to tone down the bright colours. Festive Foliage die set was used for the wreath and I added a few Pinecone charms from Emerald Creek Craft Supplies.


I bought a set of Tim Holtz Holiday LetterPress just for this project. I added some Distress Paint before dipping my letters in Distress Crackle Clear Rock Candy. I just love the look of this stuff when it dries!

I just love bottle brush trees. I usually will tint my trees with Distress Stain but for this project I decided to leave them natural. Except in the next frame - I decided to add some Soft Fallen Snow Embossing Powder from Emerald Creek Craft Supplies to the tips to give my tree a frosty feel.
make the perfect decoration for my mini tree. I added some Poppy Red alcohol ink from Ranger for a bit of colour.
The burlap panel is hard to see in the background but here is another photo of it while I was working on it. I used some Soft Fallen Snow embossing powder mixed with transparent 3D gel to add a snow texture to the edges of this panel. I used the same mixture with my snowflake layering stencil.


Here is the snowflake panel used in another frame with some stacked snowflakes dies and Snowflake charms from Emerald Creek
I couldn't resist using a few Found Relatives for this Holiday project & Festive Ephemera
 from Tim Holtz.

Thank you so much for visiting my blog today and I wish you and your loved one an very Merry Christmas and a happy holiday!

Please take some time to visit the rest of the Emerald Creek Design Team for more holiday inspiration.
Check out the new challenge at the Emerald Creek Challenge blog 
for a chance to win a $25 credit to the online store
http://blog.emeraldcreek.ca/
 

Friday, 25 September 2015

Live Your Dreams......

My son's birthday was last weekend and since he is off at college
there is no better gift than gift cards for coffee shops, the local grocery store, 
gas for his car & clothing stores. 

There is no cooler way to give a bunch gift cards than in an Eileen Hull 3D Square Box. 
I love this die! I have used it often to make a gift box, a storage box for small doo-dads and even a box for a custom made advent calendar.

This project was all about my son so it had to be manly, gritty & grungy.

This box has it all - The Time Travellers from Tim Holtz & Stampers Anonymous, tinted sand texture paste from DecoArt Media, lots of Distress Inks and a few bits and bobs from my stash. 
My favorite part is the Edison Bulb Charm from Emerald Creek Crafts .


 I made matching gift card holders from card stock to put in the box. I love the look of the torn notebook edge that fold over and is secured behind a brad.

Don't forget to check out the Emerald Creek Dares blog for this months challenge and for your chance to win a $25 gift certificate to their online store!

http://blog.emeraldcreek.ca/2015/09/we-dare-you-to-enter-80s-re-purposed.html
http://www.emeraldcreek.ca/


Have a wonderful weekend and thanks so much for stopping by my blog today.