Showing posts with label Art Journal. Show all posts

Thursday, 15 March 2018

Distress Oxides + Glossy Paper + Art Journal

Welcome back!

Today I have an art journal page to share with you.

This page was inspired by the mermaid stamp from the new Wild Whimsy collection

I started by stamping the mermaid image on to water color paper. I colored the image in with
Distress Markers and then fussy cut it out.


The background is Distress Oxides, molding paste & stamping.

The circles were made with glossy paper that I applied Distress Oxides to and then
shined up with Micro Glaze.

Check out the video below to see a process video on how I created
the background of my journal page.


Make sure to check out the Wild Whisper blog all month long to see some amazing inspiration from the design team.


Products Used:

Wild Whimsy Stamp Set - Wild Whisper

Distress Oxide Ink:
Wilted Violet
Salty Ocean
Walnut Stain

Distress Micro Glaze

Tim Holtz Layering Stencil:
Mosaic

Tim Holtz Idea-ology:
Small Talk

Ranger Ink:
Glossy Paper

Molding Paste

Gesso


Sunday, 24 December 2017

Merry Christmas & Happy New Year!

I just wanted to take a few minutes to wish all of you a very 
Merry Christmas & a happy, healthy & crafty 2018.

I have an art journal page page I created to celebrate the season -
 I used the Home For The Holidays Paper Pack from Wild Whisper Designs.

I absolutely love the pattern paper from Wild Whisper. It's heavy weight makes it
durable for mixed media which I love. Each pack come with 6 sheets of double sided paper and the designs are fresh and unique.
Look below for a complete list of products I used to create this page.


Click below to watch how I created this page:

Watch for more inspiration from me for Wild Whisper as I will joining their 2018 Design Team.


Products Used:
(This blog uses affiliate links that earn me a small commission at not extra cost to you)

Wild Whisper Designs:
Home For The Holidays Paper Pack

Home For The Holidays Stamp Set

Thursday, 14 December 2017

Emerald Creek Craft Supplies & Stencil Girl Blog Hop

Hello blog friends!
Today I am very excited to be participating in a blog hop with 
One lucky winner will receive a $25 Gift Certificate to StencilGirl Products
AND a $25 Gift Certificate to Emerald Creek!
Enter to win by leaving a comment below.
Then be sure to visit the other blogs in the hop and comment to win.
The more blogs you comment on, the more chances you have to WIN!
One winner will be chosen at random from all blog comments!
(One comment per blog please.)
You have until Tuesday, December 19th at 11:59PM Central Time to leave your comments.
Winner will be announced on
StencilGirl's Facebook page on Wednesday, December 20th.

Now lets get to my project.
I created an art journal page - there are lots of layers and yummy textures.

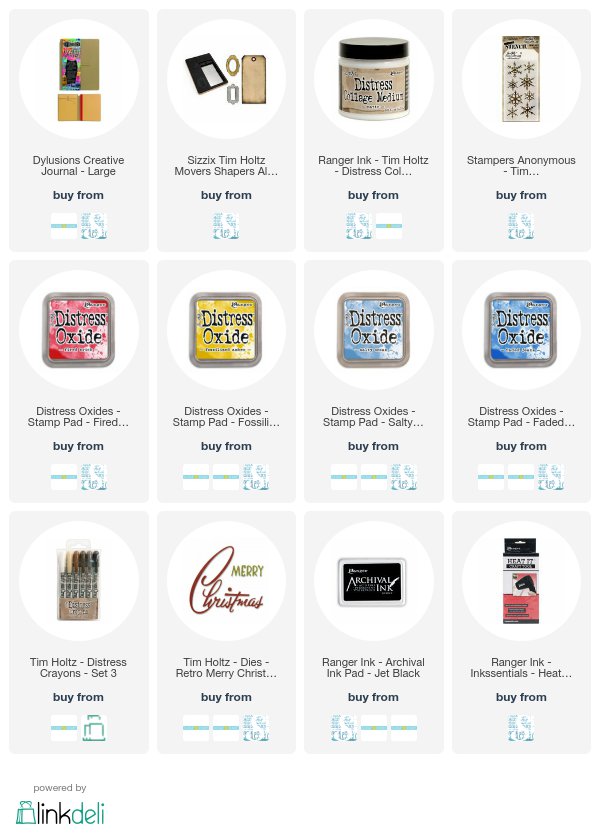
I started with a sheet of kraft mixed media paper from the Dylusions Large Journal and sprayed Distress Spray Stain through the Be Free stencil.

Next I added some torn paper pieces from an old book. I adhered these with matte medium & dried it completely before moving on to the next layer.

My next step was to add some acrylic paint with a brayer - leaving some white space.

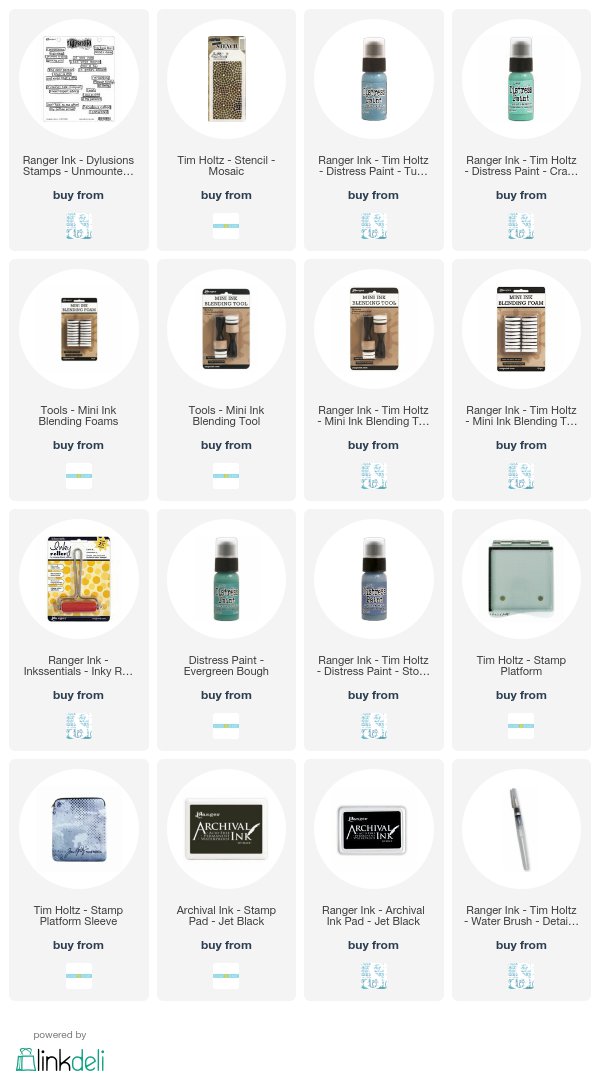
After making sure the paint was dry I added molding paste through the Corrugated Lines 
& Urban Insiders stencils. I left this to dry on it own. I love how the Distress Stains seep up through the paste as it dries.

After the molding paste was completely dry I added some gesso by dry brushing on - just in random spots. I them brayered on some purple acrylic paint over the molding paste to highlight it a bit.
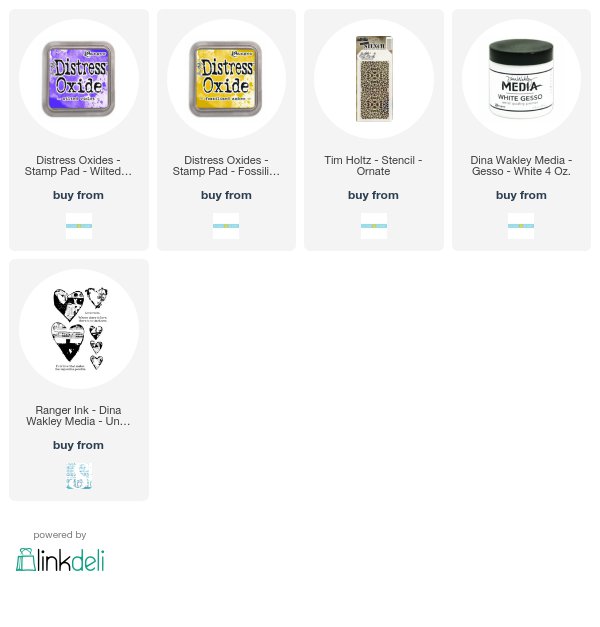
To create my focal point I applied some Black Soot Distress Oxide through the Swallows stencils on to a piece of white cardstock. I then cut these out to use on my journal page.

I then pressed my Spiced Marmalade Distress Oxide pad across the Urban Insiders stencil, spritzed with some water then laid it over cardstock. I did this a few times because I wasn't sure how many I wanted to use. Once these were dry I tore them out and inked the edges.

I used the Be Free stencil for the main part of my page.
First I fixed the stencil to a piece of cardstock then applied some Distress Oxide through the stencil with a blending tool. 

Next I used the mask of the stencil to add Black Soot Distress Oxide for the letters.
To fill in the white spaces left by the stencil I used my water brush. I then trimmed this out.

Now back to my page - I sprinkled some Burnt Copper Leaves embossing powders randomly over the page and heated it from underneath.
Next I assembled the pieces of my focal point and adhered them with white glue.

One last step to finish page - I added some Wilted Violet & Black Soot Distress Oxide to the edges.
My page is now complete and ready to be added to my art journal.

Be sure to check out the designers from Day 1 of our blog hop and leave 
your comments for a chance to win the giveaway!
December 13


December 14
Julia Chupik ------> you're here!
Check back tomorrow for inspiration from these fabulous designers

December 15

Products Used:
(This blog uses affiliate links that earn me a small commission at no extra cost to you. Thank you for your support!)

Emerald Creek Craft Supplies:


Saturday, 18 November 2017

Art Journal - I'm Working

Hi! Today I am sharing a layout I created in my art journal.
I was very much inspired by the art journal style of  Vicky Papaioannou & the
online class she taught for Wanderlust 2017. 

 Here is my finished layout - 

I created these pages on the inside cover of my altered calculus textbook.
I started by first painting the pages with gesso. Once this layer was dry I added my stenciling

I started by applying Distress Paint - Cracked Pistachio & Tumbled Glass - with a blending tool & slightly damp foam.  My next layer was the same paints but this time applied with a brayer.

Here are my pages up until this point. The brayered paint gives a subtle highlight
 to the stenciled areas.

My next step was to apply 2 more darker colours of Distress Paint - Stormy Sky 
& Evergreen Bough - with the brayer.

I added some script stamping with Archival Ink - Hydrangea.

To finish off my background  I added some white & black splatters.

I used my Tim Holtz stamping platform to stamp my images with Archival Ink - Jet Black.

I then coloured them in with watercolour paints and waterbrush pens.

My stamped images are Peacock Girl & Magic Maker from Viva Las VegaStamps.
The quote stamp is from the Dylusions "Fabulous Called" set from Stampers Anonymous.
I used matte medium to adhere them to my page.

Products Used:
(this blog contains affiliate links)


Monday, 16 October 2017

A Gentle Heart Art Journal Page

Welcome my friend! I am so glad you decided to visit today.
I would like to share an art journal page that I created using some new stamps from 
Viva Las VegaStamps.

I started with a page spread in my calculus journal. These pages had already had a light coat of gesso applied. First I took the Tim Holtz Ornate Layering Stencil and pressed my Fossilized Amber Distress Oxide ink pad over it, sprayed it with a bit of water then pressed it to my page. I repeated this step with Wilted Violet Distress Oxide Ink. I also added some additional stamping in the corners with some texture stamps & Archival Inks in Potting Soil & Fern Green.


I stamped my images on cold press water colour paper with Archival Ink - Jet Black. I used my Tim Holtz Stamp Platform to get the best stamped images. 

Once I had them stamped I used my Distress Markers to colour them in. I fussy cut them out and adhered them to my pages.

I used a piece of black thread for the balloon string and added the shadow to the girl with my Hickory Smoke Distress Marker.

Products Used: