Hello blog friends!
Today I am very excited to be participating in a blog hop with
One lucky winner will receive a $25 Gift Certificate to StencilGirl Products
AND a $25 Gift Certificate to Emerald Creek!
Enter to win by leaving a comment below.
Then be sure to visit the other blogs in the hop and comment to win.
The more blogs you comment on, the more chances you have to WIN!
One winner will be chosen at random from all blog comments!
(One comment per blog please.)
(One comment per blog please.)
You have until Tuesday, December 19th at 11:59PM Central Time to leave your comments.
Now lets get to my project.
I created an art journal page - there are lots of layers and yummy textures.
I started with a sheet of kraft mixed media paper from the Dylusions Large Journal and sprayed Distress Spray Stain through the Be Free stencil.
Next I added some torn paper pieces from an old book. I adhered these with matte medium & dried it completely before moving on to the next layer.
My next step was to add some acrylic paint with a brayer - leaving some white space.
After making sure the paint was dry I added molding paste through the Corrugated Lines
& Urban Insiders stencils. I left this to dry on it own. I love how the Distress Stains seep up through the paste as it dries.
After the molding paste was completely dry I added some gesso by dry brushing on - just in random spots. I them brayered on some purple acrylic paint over the molding paste to highlight it a bit.
To create my focal point I applied some Black Soot Distress Oxide through the Swallows stencils on to a piece of white cardstock. I then cut these out to use on my journal page.
I then pressed my Spiced Marmalade Distress Oxide pad across the Urban Insiders stencil, spritzed with some water then laid it over cardstock. I did this a few times because I wasn't sure how many I wanted to use. Once these were dry I tore them out and inked the edges.
I used the Be Free stencil for the main part of my page.
First I fixed the stencil to a piece of cardstock then applied some Distress Oxide through the stencil with a blending tool.
Next I used the mask of the stencil to add Black Soot Distress Oxide for the letters.
To fill in the white spaces left by the stencil I used my water brush. I then trimmed this out.
Now back to my page - I sprinkled some Burnt Copper Leaves embossing powders randomly over the page and heated it from underneath.
Next I assembled the pieces of my focal point and adhered them with white glue.
One last step to finish page - I added some Wilted Violet & Black Soot Distress Oxide to the edges.
My page is now complete and ready to be added to my art journal.
Be sure to check out the designers from Day 1 of our blog hop and leave
your comments for a chance to win the giveaway!
December 13
December 14
Julia Chupik ------> you're here!
Check back tomorrow for inspiration from these fabulous designers
December 15
December 15
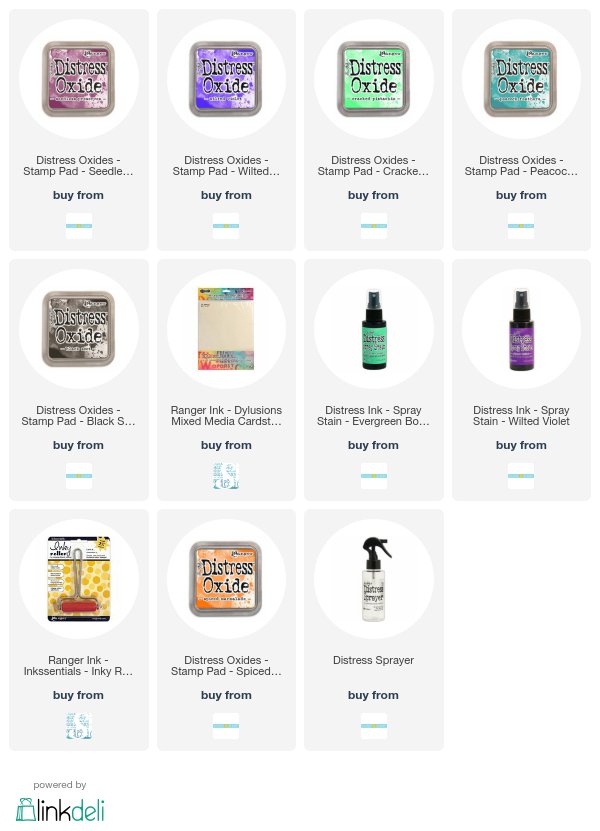
Products Used:
(This blog uses affiliate links that earn me a small commission at no extra cost to you. Thank you for your support!)
Emerald Creek Craft Supplies:


