Showing posts with label Die Cut. Show all posts

Friday, 19 August 2016

Technique Remix Time - August

I can't believe it's been a month since my last blog post! It's been a great summer but now it's time to get back in the craft room. Before I start working on Creative Chemistry 103 I wanted to get my tag for Tim's Technique Remix Challenge for August done. 

Check out Tim Holtz's Tag here.

Here is my take - I decided to go for a shabby garden look.

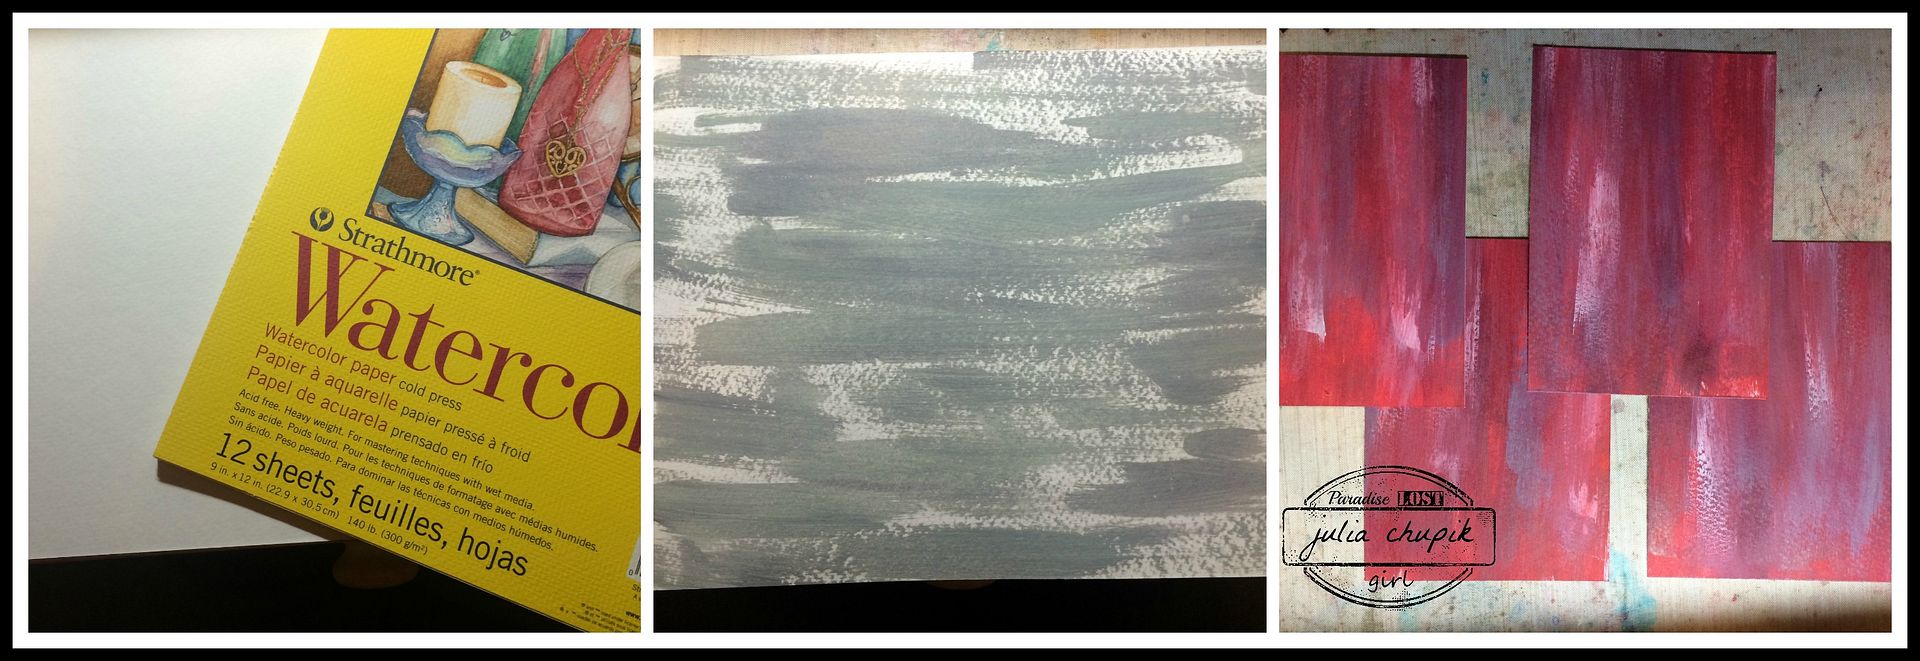
Before I did the Brayered Stain technique I stamped an image from the Mixed Media 2 stamp set from Stampers Anonymous. I used Old Paper Distress Paint to stamp it on to my tag.

I chose 3 Distress Stains to brayer on to my tag next - Victorian Velvet, Bundled Sage & Spun Sugar.

I just love how the Distress Paint stamped image resists the stain.

Before adding my elements I used my round blending tool to add some Bundled Sage Distress Ink to my tag. I forgot to take a photo of that step.

I used the Lattice Framework Die for the next technique. I die cut using chipboard for the main part and some pattern paper, cork & canvas for the insets. 


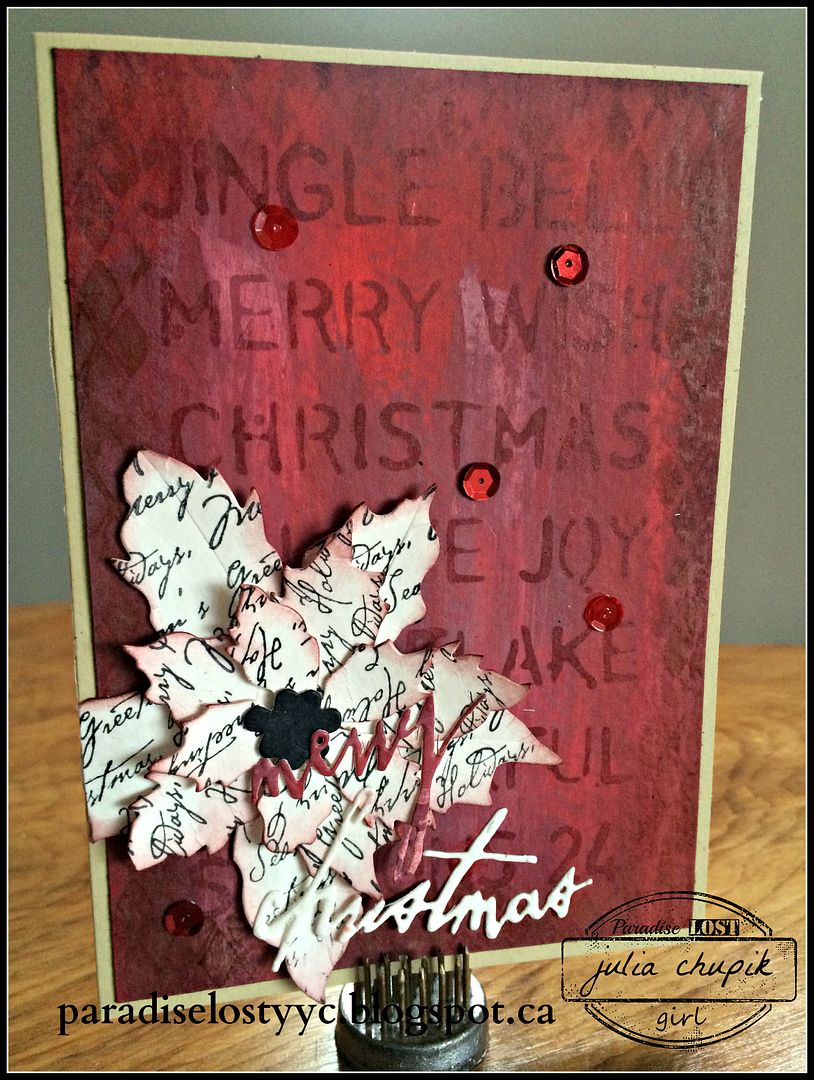
My flowers were made by layering two die cuts (one cardstock & one patterned paper) from the Tiny Tattered Florals set. I like the fuller look of the flower that this gives me.

I adhered a sentiment from the Casual Talk sticker pack before layering my Tint Tattered Floral over some Garden Greens die cut.

The theme for my take was inspired by the Shabby Garden Mood Board over at the Anything But Cute challenge blog. The mood board reminded of my grandma's garden on the farm but especially her lovely pink roses. 


Challenges Entered:


Monday, 14 December 2015

4 Quick Christmas Cards

Just when I thought I was all caught up & organized I wake up in a cold sweat at 3am this morning and remember 2 people I forgot to mail Christmas cards to. 
Oh no! I had no cards left! 
So I was up early and in my craft room by 7am so I could make more cards
 and get them in the mail by noon.

First up ~ pick a colour scheme
Next I grab a 9"x12"sheet of 140lb cold press watercolour paper & then I began to
apply drops of distress paint and spread them around with a soft brush.
I started with the greys and then the red from lightest to darkesk, using my heat gun to dry the paint before applying more layers.

 I forgot to take more photos of this step as I was so into creating the the layers.
The far left photo shows the watercolour paper trimmed to four 4.25' x 6" card fronts.
Next I inked the edges with Aged Mahogany Distress Ink & used 4 of my Tim Holtz Layering stencils to add some more depth. It was time to add a few more details using sequins, Sizzix dies, stamping and embossing powders.

Check out the cool die cut snowflakes from Southern Ridge Trading Co. that I used on this first card.
Amazing right? Check them out for some awesome die cut chipboard images.
I used Picket Frence Ditress paint on these then covered with Soft Fallen Snow embossing powder from Emerald Creek Craft Supplies.


I am happy to report that 2 of these cards made it to the 
post office by noon and I have 2 cards to spare. Just in case. ;)
 Thank you so much for visiting my blog and I hope you have an amazing day!
~~stay crafty~~
http://themixedmediacardchallenge.blogspot.ca/2015/12/mmcc-18-celebration.html

Tuesday, 20 October 2015

Peaceful Wreath

Saturday night was the first Paradise Lost One Day Crop of Fall 2015 and it was fabulous!
It was great to catch up with friends and to make some new friends.
Thank you to all the lovely ladies who attended!

 In the end, I wasn't really as productive as I had planned on being.
12 hours later and I had 6 Christmas cards.
I am so thankful to Heather for bringing her Peaceful Wreath stamp set from Stampin' Up!
I used Fired Brick, Twisted Citron & Peeled Paint to colour in the stamped image of Peaceful Wreath.
I don't use sequins a lot but they worked really well with the dot embossed card base.
and added a wee bit of bling.

I'm starting to feel festive and inspired to make more Christmas themed projects!

Thanks for visiting my blog today!