Showing posts with label Tag. Show all posts

Tuesday, 14 November 2017

Designer Challenge: Distress To Impress

Hello, my crafty friends!
It's time for another designer challenge from

This month the designers were given Distress Crayons Set 9 to create and inspire with.
Until the end of the month all sets of Distress Crayons will be 25% at Scrap 'n Stamp so its a great time to try them out or to complete your collection.
Be sure to leave a comment on my blog for a chance to win a set of Distress Crayons. Increase your chances of winning by visiting all the designers blogs and leaving some love.

Here is my finished project:

I started by gathering up my Distress Crayons, a couple of tags (covered in white gesso) 
and a couple of stencils. These stencils are the Autumn layering stencils from Tim Holtz. 
I used both the large and mini sizes.


Distress Crayons Set #9 includes these colours: Barn Door, Ripe Persimmon, Pine Needles, Faded Jeans, Dusty Concord & Brushed Corduroy.
I started by scribbling Dusty Concord, Ripe Persimmon, & Brushed Corduroy randomly over my gesso covered tag. I find the colours blend best over gesso. I sprayed some water on my spalt mat and used my finger to blend the colours on my tag.

Next I took the large Autumn tag and with a baby wipe removed some of the crayon.

I repeated this technique with the mini Autumn stencil.

For my second tag - I used the same colours of Distress Crayons and stencils bu changed my technique. This time I used a blending tool and a slightly damp blending foam to apply the crayon through the stencil. Again this tag has been covered with white gesso. 

These were both tags at this point - one very bold & the other very subtle.

Before continuing I finished the edges of the tag with Distress Crayons - Dusty Concord on this one an Ripe Persimmon on the other (sorry, no pic)

I used my Bird Crazy & Crazy Dog stamp & die set for my focal points & coloured them in with a water brush pen and Distress Crayons. 

 I used the coordinating dies and cut out my images in black fun foam.
This game my stamped images a bit of dimension when adhered to my tag.

For my foliage I created a third tag using the distress crayons & the Bubbles Mini Stencil.
I used the small smallest dies from the Fall Foliage die set to cut out a bunch of leaves.

After adhering the leaves and stamped image to my tag I finished it off with a Small Talk sticker from the occasions pack.

Thank you so much for stopping by my blog today! Now head over to Karen's blog for even more Distress Crayon Inspiration.
Don't forget to leave a comment - you could win a set of Distress Crayons from

Design Team:

Julia Chupik (you're here!)


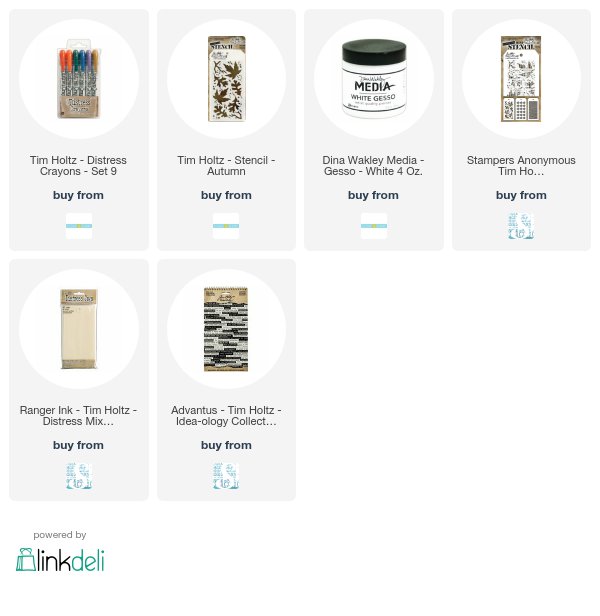
Products Used:
(This blog post contains affiliate links)

Friday, 27 October 2017

Scrap Shotz Projects - My Favorite Things & Simple Stories products

Hi everyone!

I am on the 
blog today sharing some projects I mad using products available at the online store.


Head on over to the Scrap Shotz blog for more photos and a list of the products used.


Wednesday, 18 October 2017

Tim Holtz Tag Swap

Hello my crafty friend!
I was fortunate enough to get in on a worldwide Tag Swap for
 Tim Holtz Addicts earlier this month. 
I was matched up with 2 lovely & super talented artists ~ 
Juli (from Florida) and Kathryn (from the UK). Now that they have
received their tags I can finally share them.

These tags involved a lot of layers so bear with me - 

I started with 2 - #5 tags from Ranger. I used the smoosh technique to apply Distress Stains - Squeezed Lemonade & Ripe Persimmon.
Next I started applying Distress Oxides - 
Fossilized Amber Distress Oxide

Wild Honey Distress Oxide

Fired Brick Distress Oxide

Peeled Paint Distress Oxide

Walnut Stain Distress Oxide

I was happy with my tags but wanted to add some more green to one and orange to the other.

On this tag I added some Lucky Clover Distress Oxide.

On this tag  added some Spiced Marmalade Distress Oxide.

Next I took my Fall Leaves Mini Layering Stencil and used my blending foam applicator and applied Wild Honey Distress Oxide and then added a bit of Vintage Photo Distress Oxide.

Once my tags were completely dry I added some Distress Grit Paste through the Lost & Found Mini Stencil from Set #1.

I let the grit paste dry for a couple of hours before finishing my tags. I added a bit of script stamping with Orange Blossom Archival Ink & tinted some crinkle ribbon with Twisted Citron Distress Oxide.

To complete my tags I chose some paper dolls from Tim Holtz Idea-ology and used Distress Markers to tint them & a phrase from the Chit Chat collection.
My tags were done and ready to be mailed off to their new home and into the hands of some new friends. Everyone loves Happy Mail!
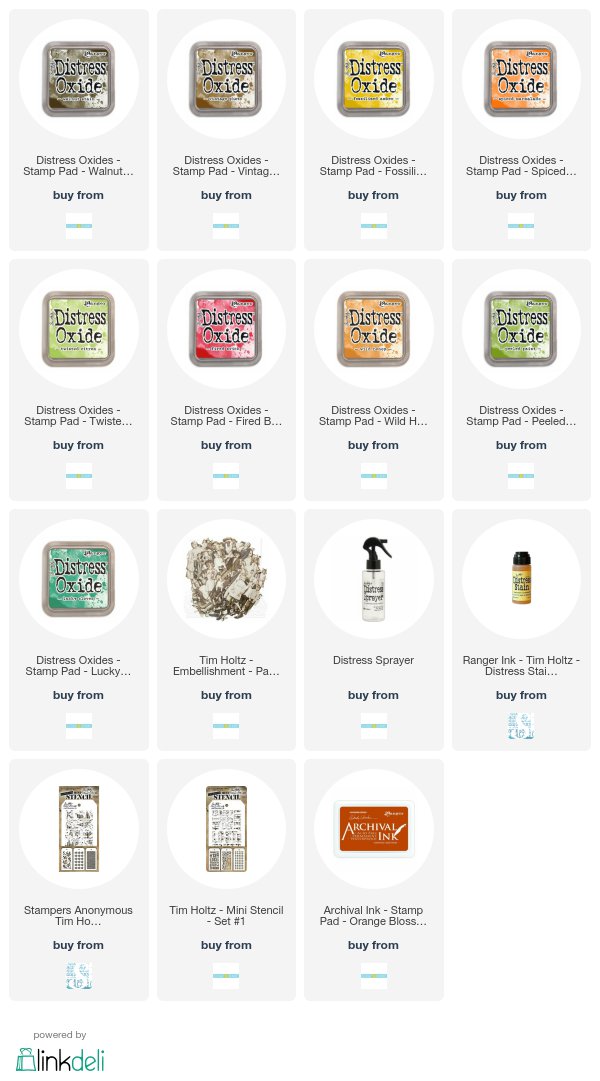
Products used to create this project:


Thursday, 4 May 2017

My Paper Doll Family

Hello & welcome back!

I'm here to share yet another Etc tag. I love these! LOVE!


Here is one I made using the medium size tag -
click on the photo to see more details and close-up photos.


The tag I have to share with you today is using the large Etcetera Tag.
The first thing I did was paint my tag with white gesso then set it aside while I 
worked on my focal point piece.


I started with a Tim Holtz Idea-ology Cabinet Card frame. I carefully opened it up and removed the front frame part from the back.

I used the smoosh technique to add some Distress Oxides ink to the inside of the back piece.
(not shown in photo - I smooshed the front frame into the left over ink to add some splotches to it)

Then used some Distress Ink & the Ornate Layering stencil with the stencil monoprint technique to add some interest over the Distress Oxide.

I added my Paper Doll parents to the background with some foam dots then added the frame
 with 2 layers of foam tape. To finish off the edges of my frame I cut strips off the packaging insert from a layering stencil and adhered them with tacky tape.


The gesso is now dry on the tag so its time to start adding my paint. I chose to use Pomegranate Seed & Black Marble Dylusions Paint for this. First I applied the Pomegranate Seed with a
dry brush. I then applied the black with a brayer. Once the paint was dry I used a sanding
block to distress the edges a bit.

Taking the same Ornate Stencil that I used on my cabinet card frame, I applied the some Picket Fence Distress Ink in a few spots on the tag. I also added some script stamping with black Archival Ink.

My next step was to mix some Distress grit paste with some Peeled Paint Distress Oxide.
I applied this through the Floral Layering Stencil on to the tag. Once the green grit paste dried I decided to add another layer of grit paste in a contrasting colour - this was Worn Lipstick Distress Oxide ink.

I assembled my focal point with my 3D cabinet card frame and various pieces of ephemera from my stash. 

I still wasn't happy with the edge of my cabinet card frame so I added some 
jute twine with a bit of hot glue. 

I used a couple of metal embellishments that I found in stash to cover the hole in the tag.

My finished tag -