It's the end of November and my thoughts are turning to all things Christmas.
Cards & gift tags to make, gifts to wrap, meals to plan and all that decorating!
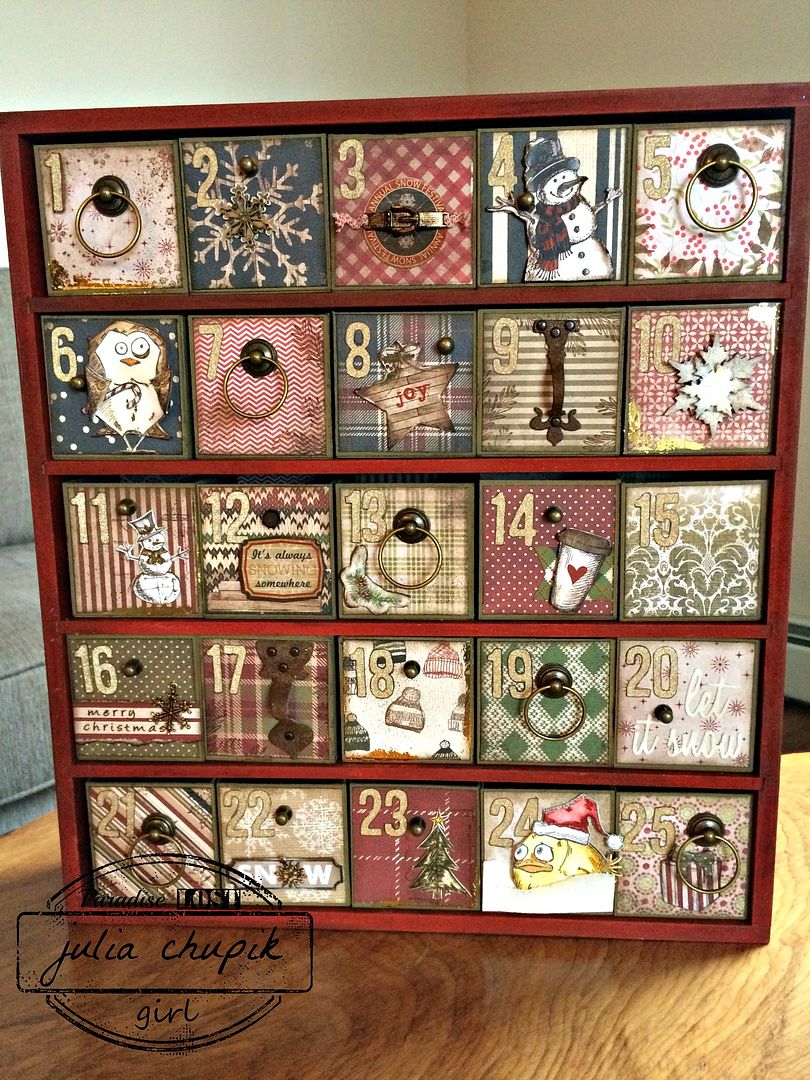
What better way to get into the holiday spirit than to make & decorate a 25 Day Advent Calendar.
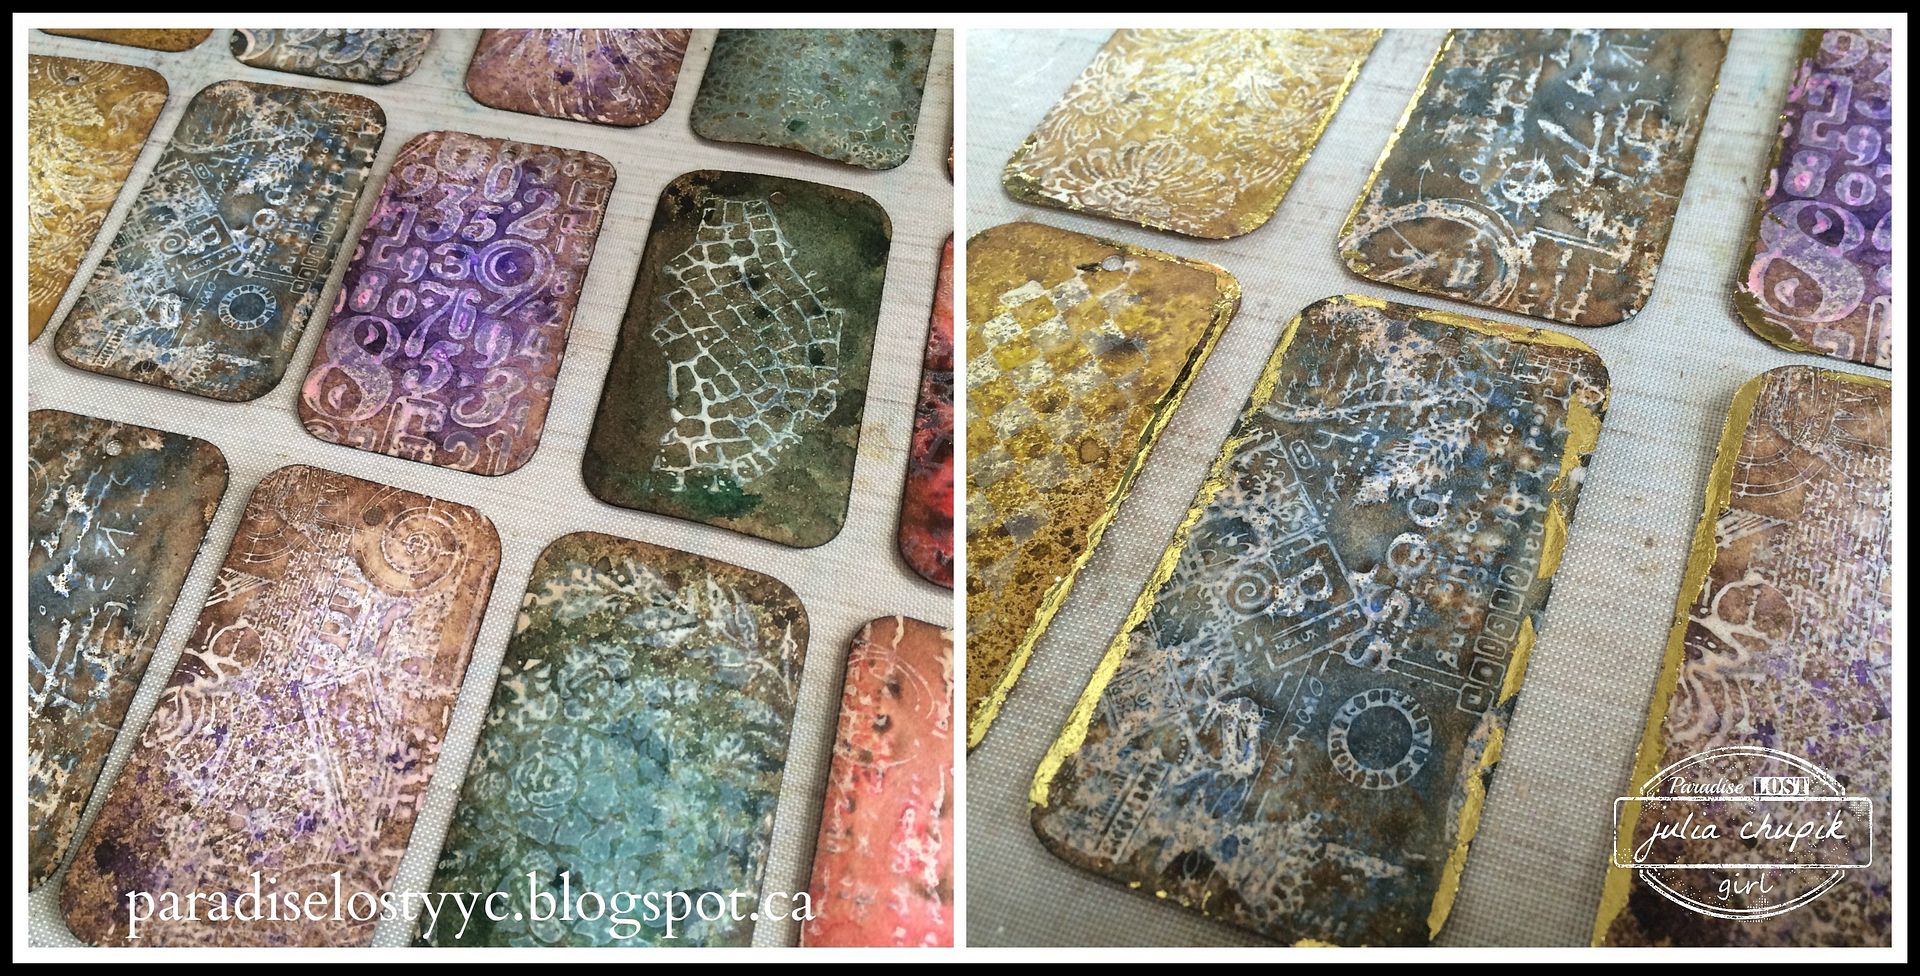
Each box is like a tiny piece of art and I love how this one turned out.
I was initially inspired by this package of paper from Carta Bella called Warm & Cozy. Isn't is dreamy! Then I decided to combine it with an 8x8 pad of Yuletide from Tim Holtz.
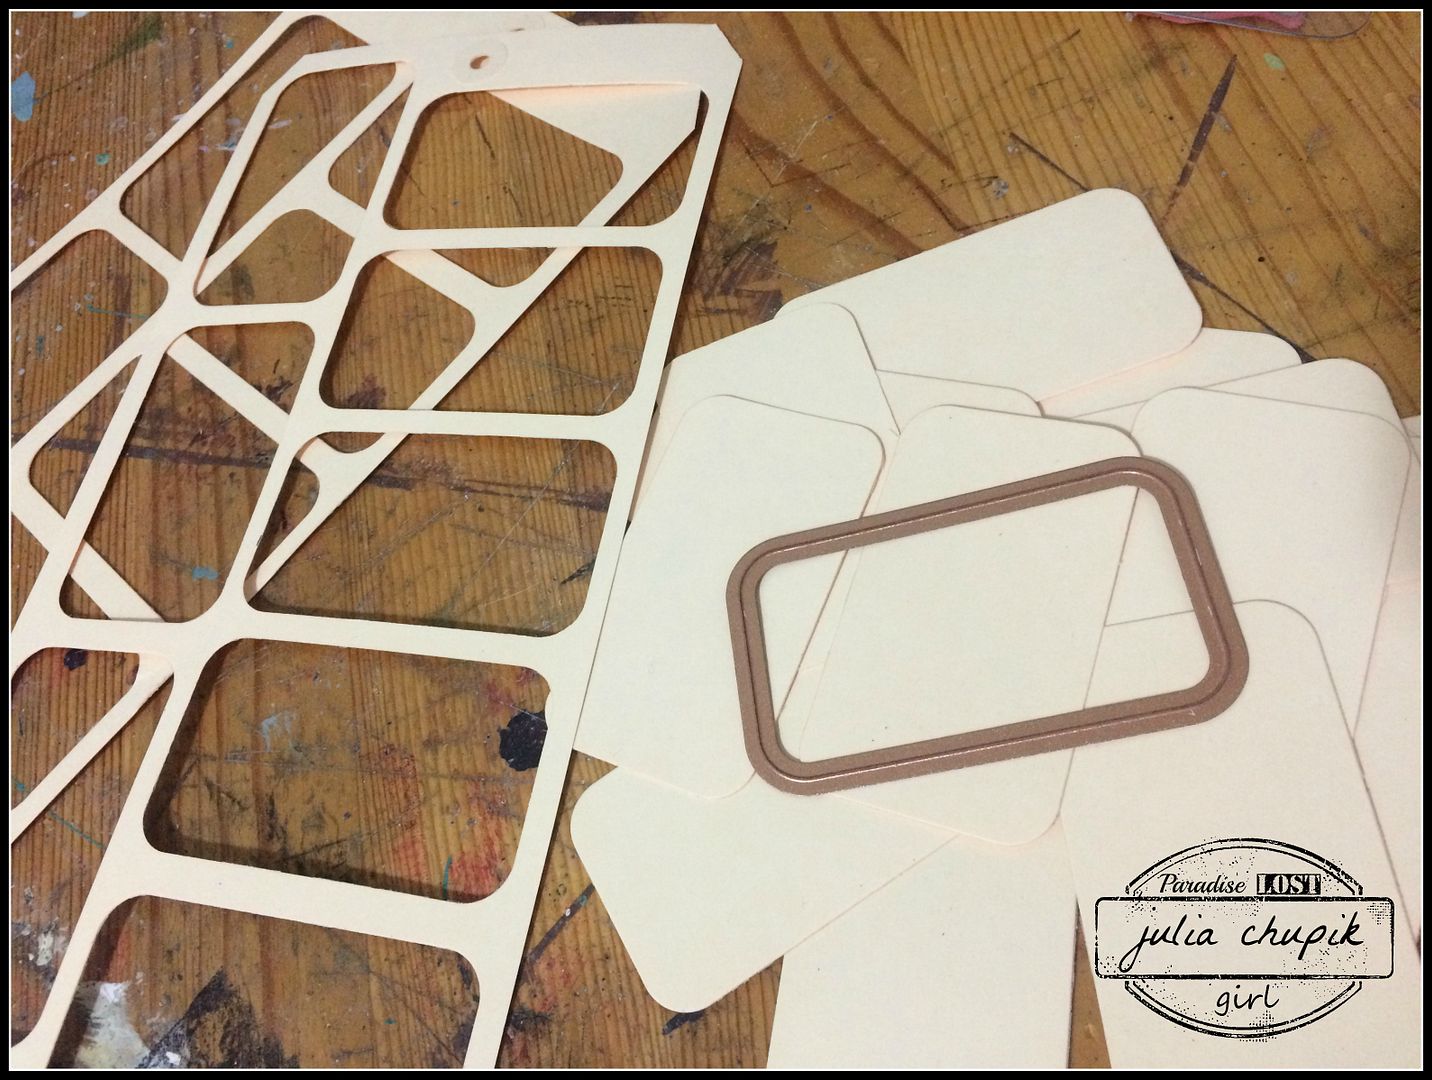
These advent calendars are handmade - my dad builds the wood box out of MDF and then I make the smaller boxes from chipboard. I have bought the advent calendars available on the market in the past but these are so much more sturdy.
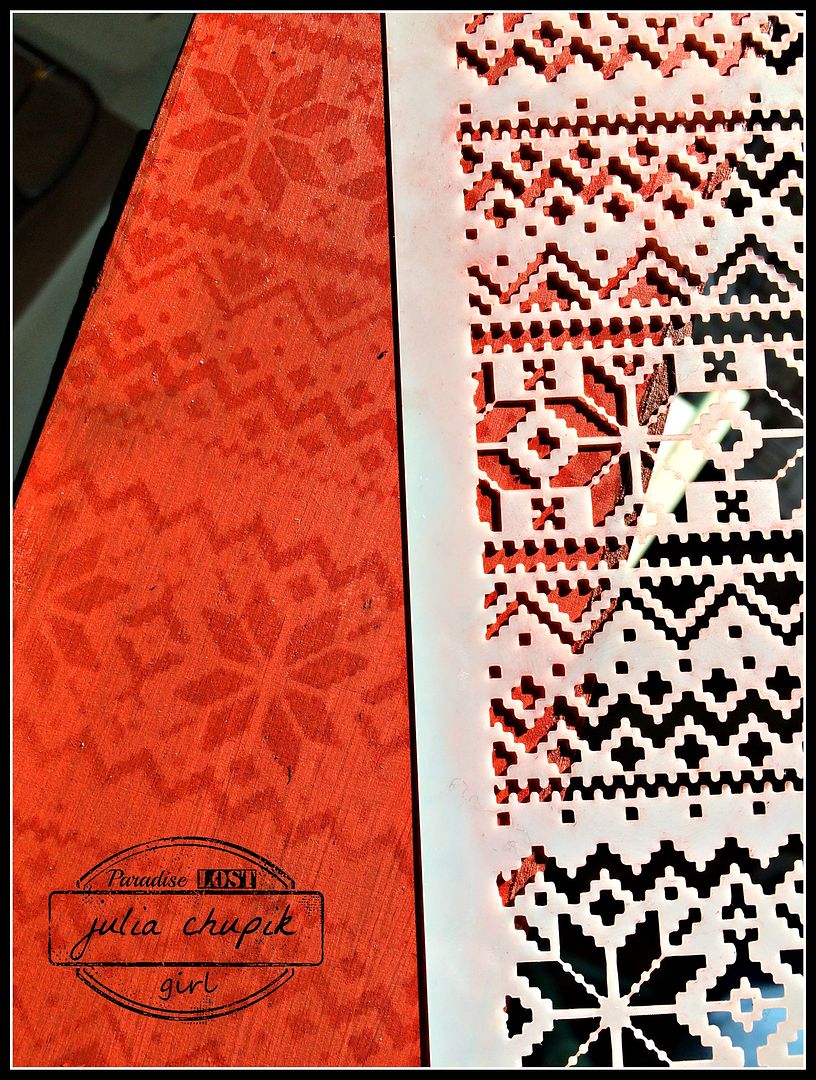
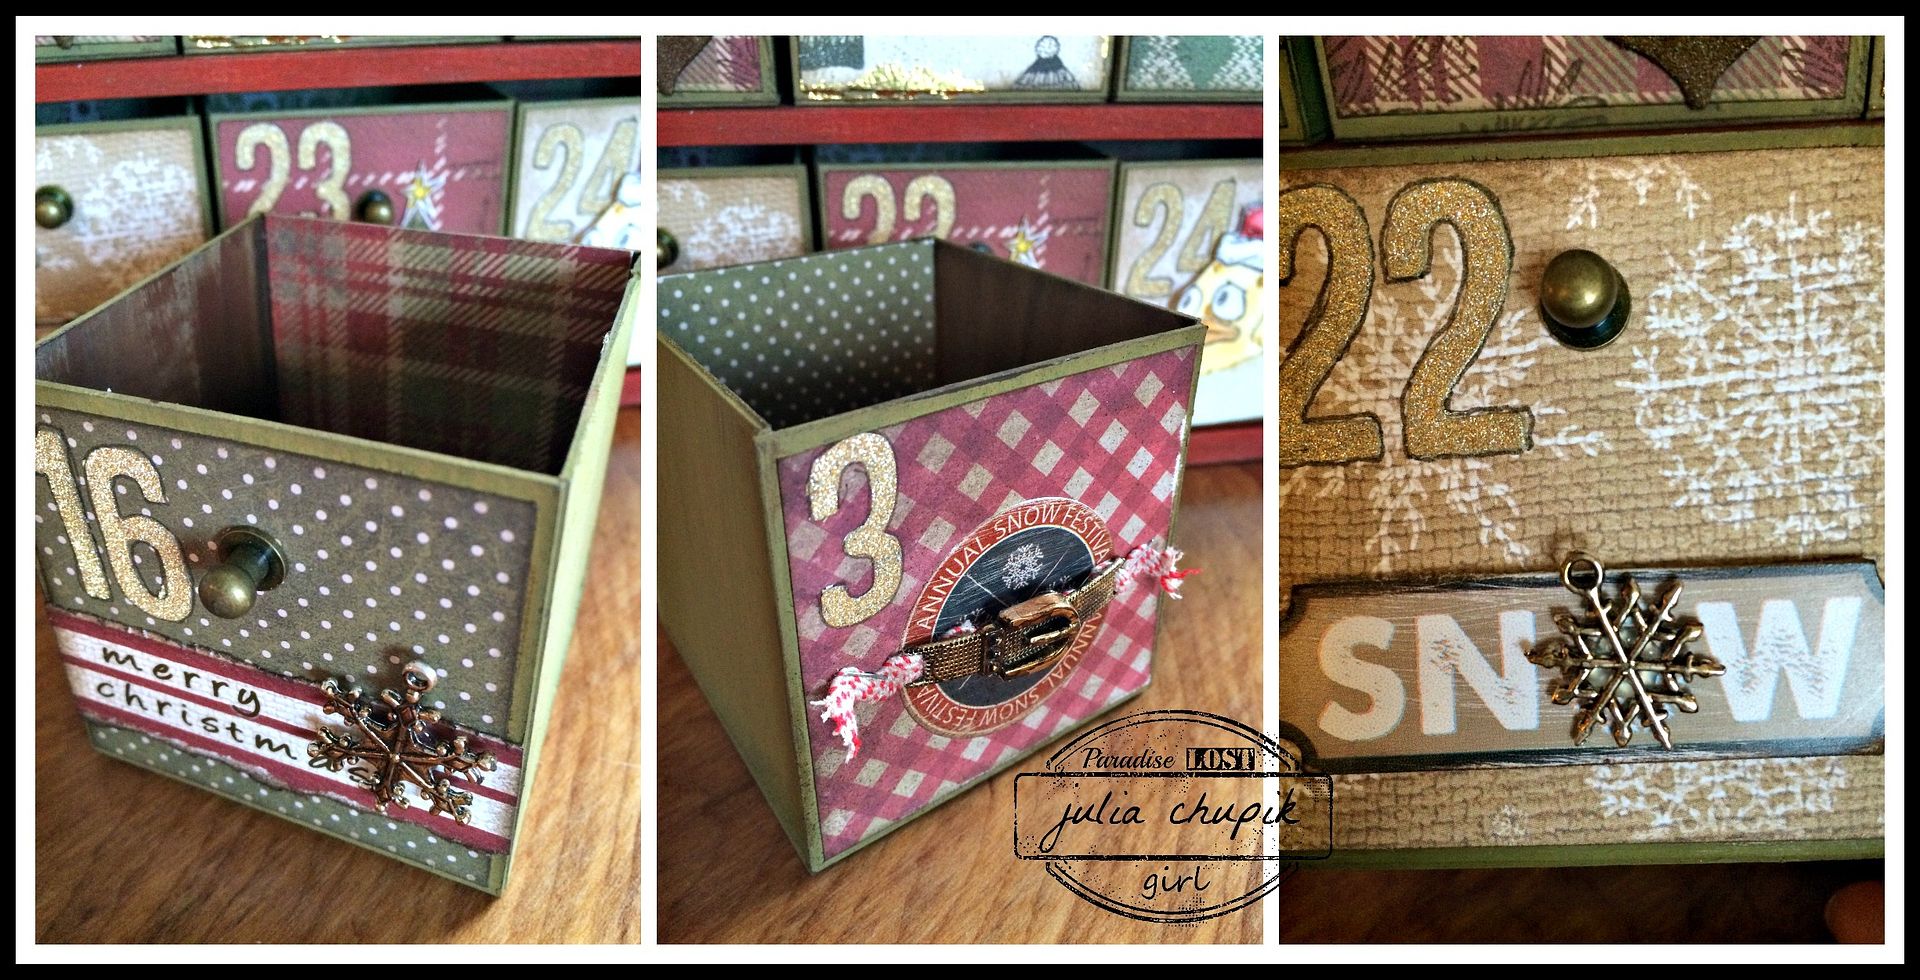
I painted the outside of the box with a mix of bright red and burnt sienna acrylic paint - at about a 2:1 ratio. I didn't mix the paints completely as I wanted the brown of the burnt sienna to be visible as streaks throughout the red.
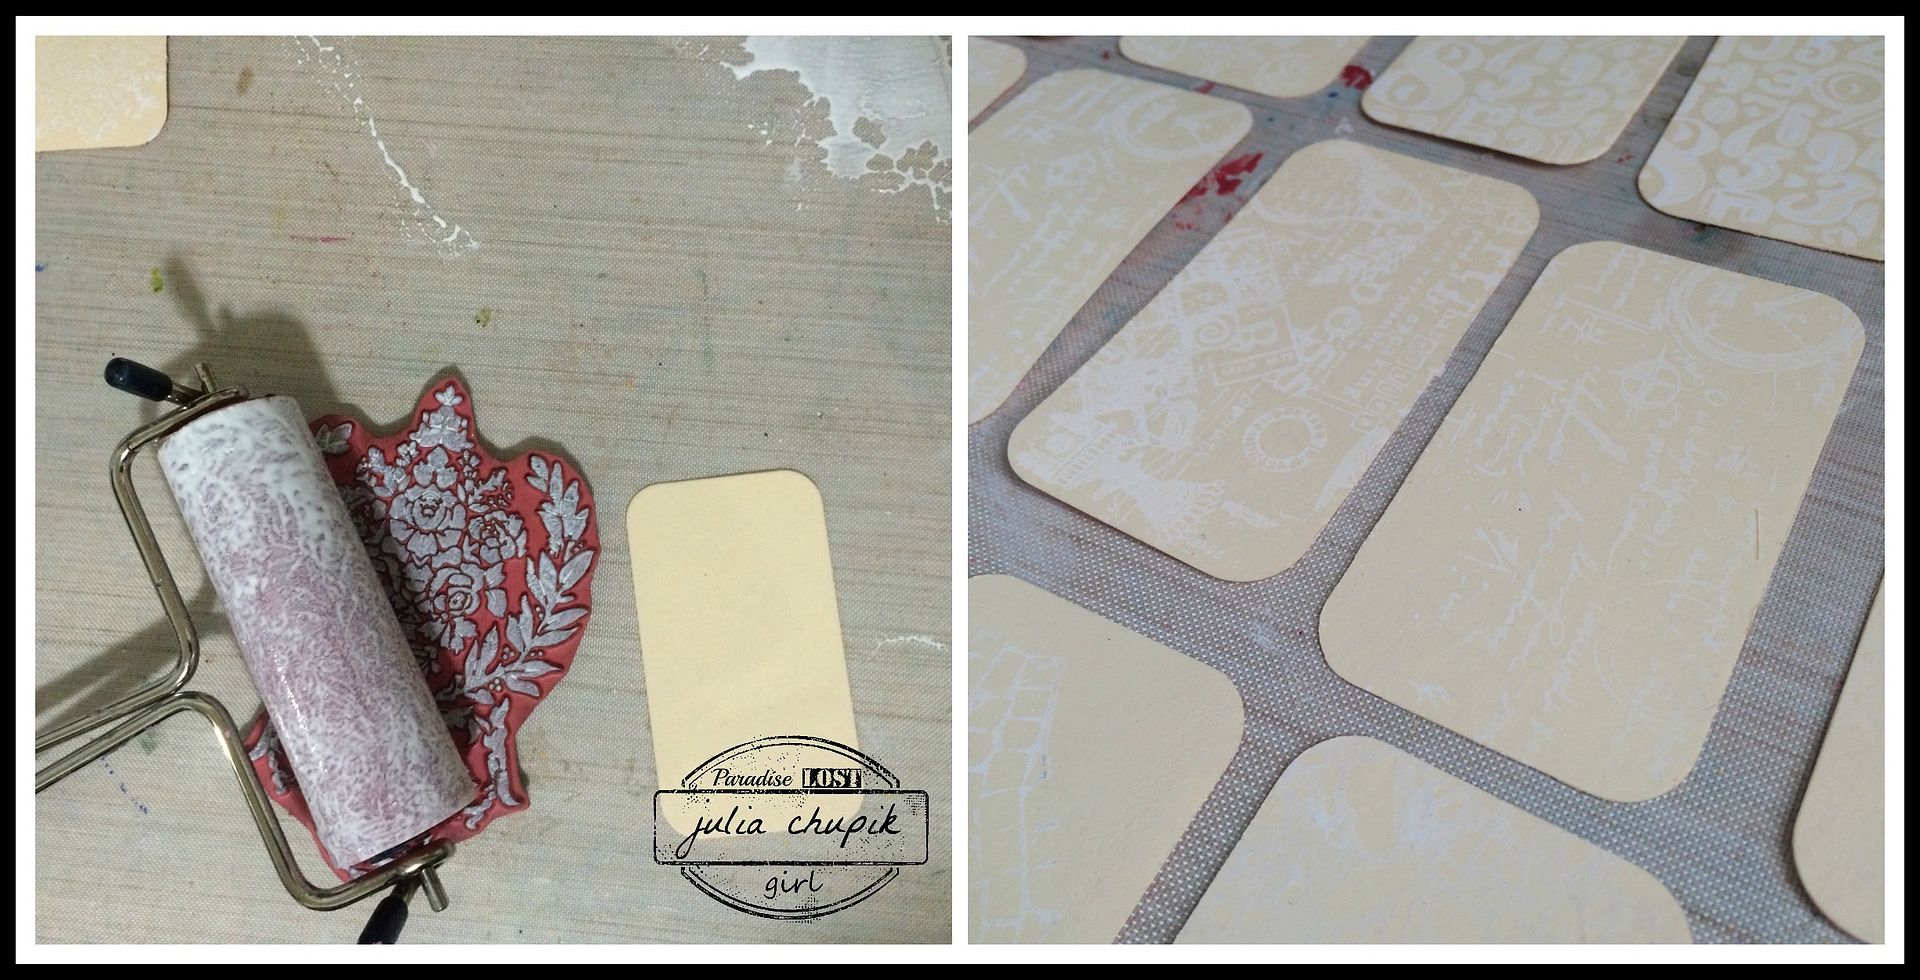
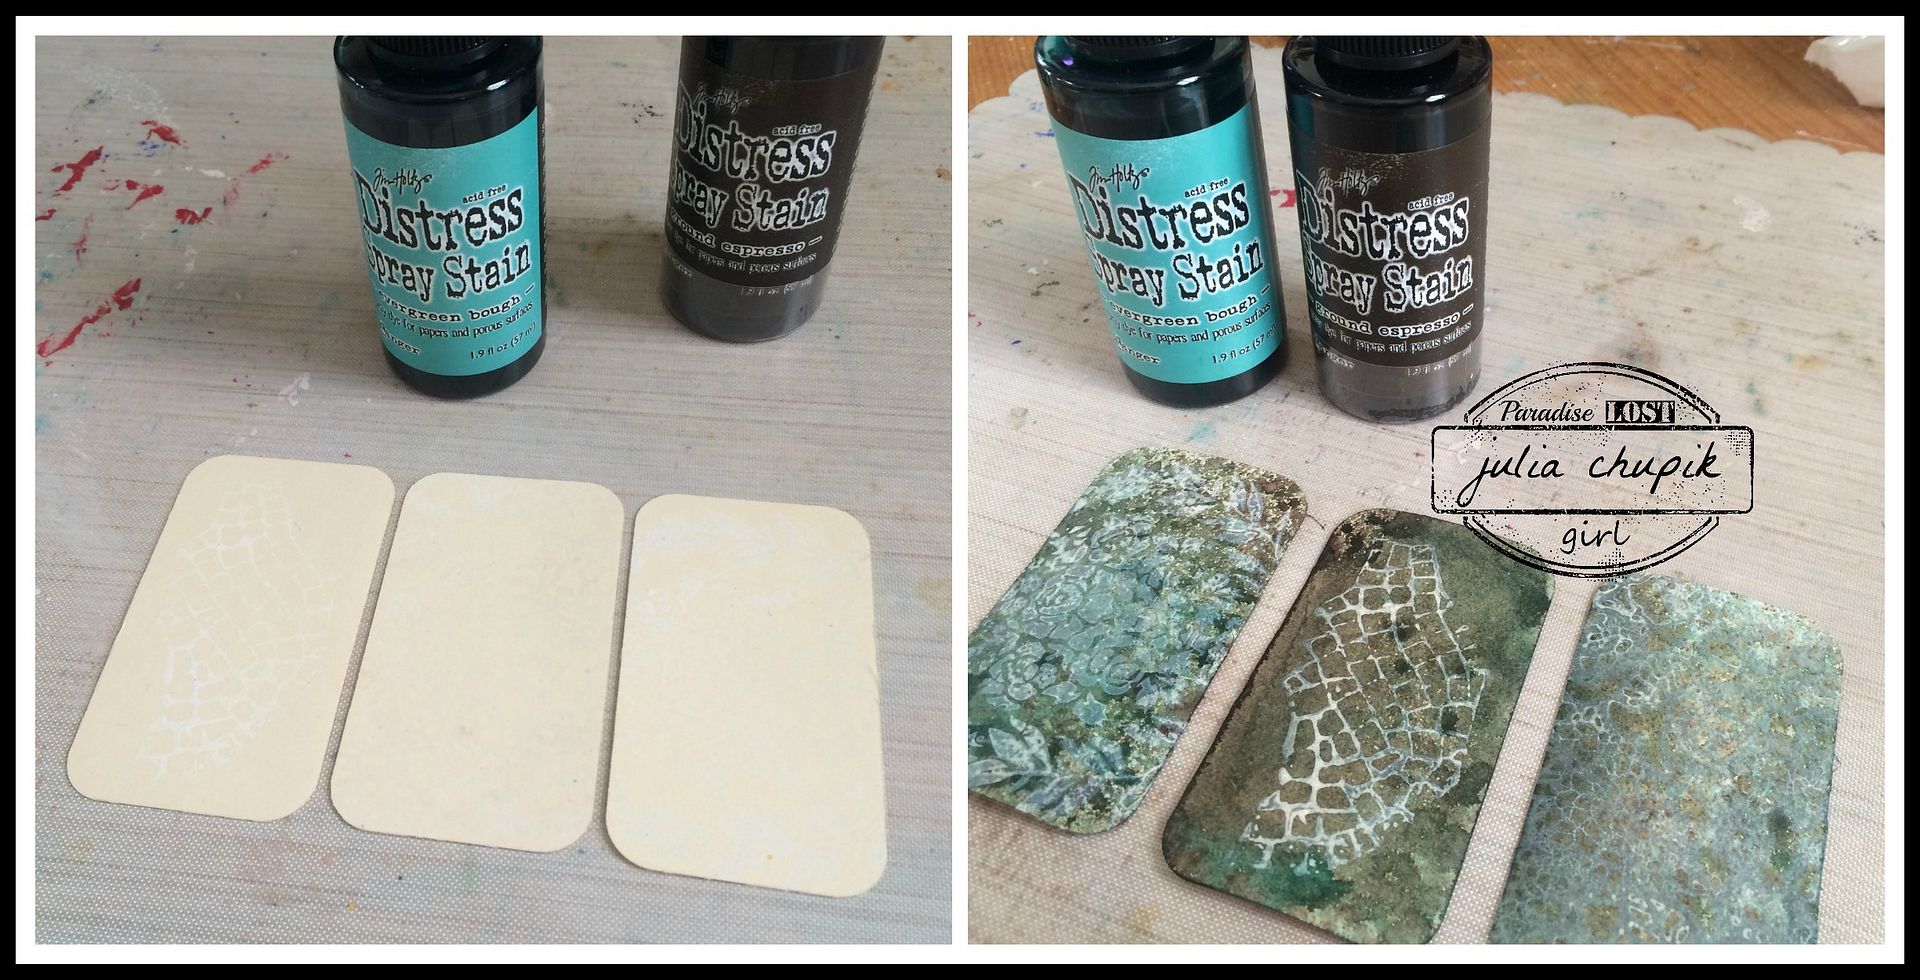
Each smaller box was painted with Peeled Paint Distress Paint on the outside and a wash of burnt sienna on the inside.
I then used the Holiday Knit Layering Stencil from Tim Holtz and Fired Brick Distress Ink to apply the design on all sides of the MDF box.
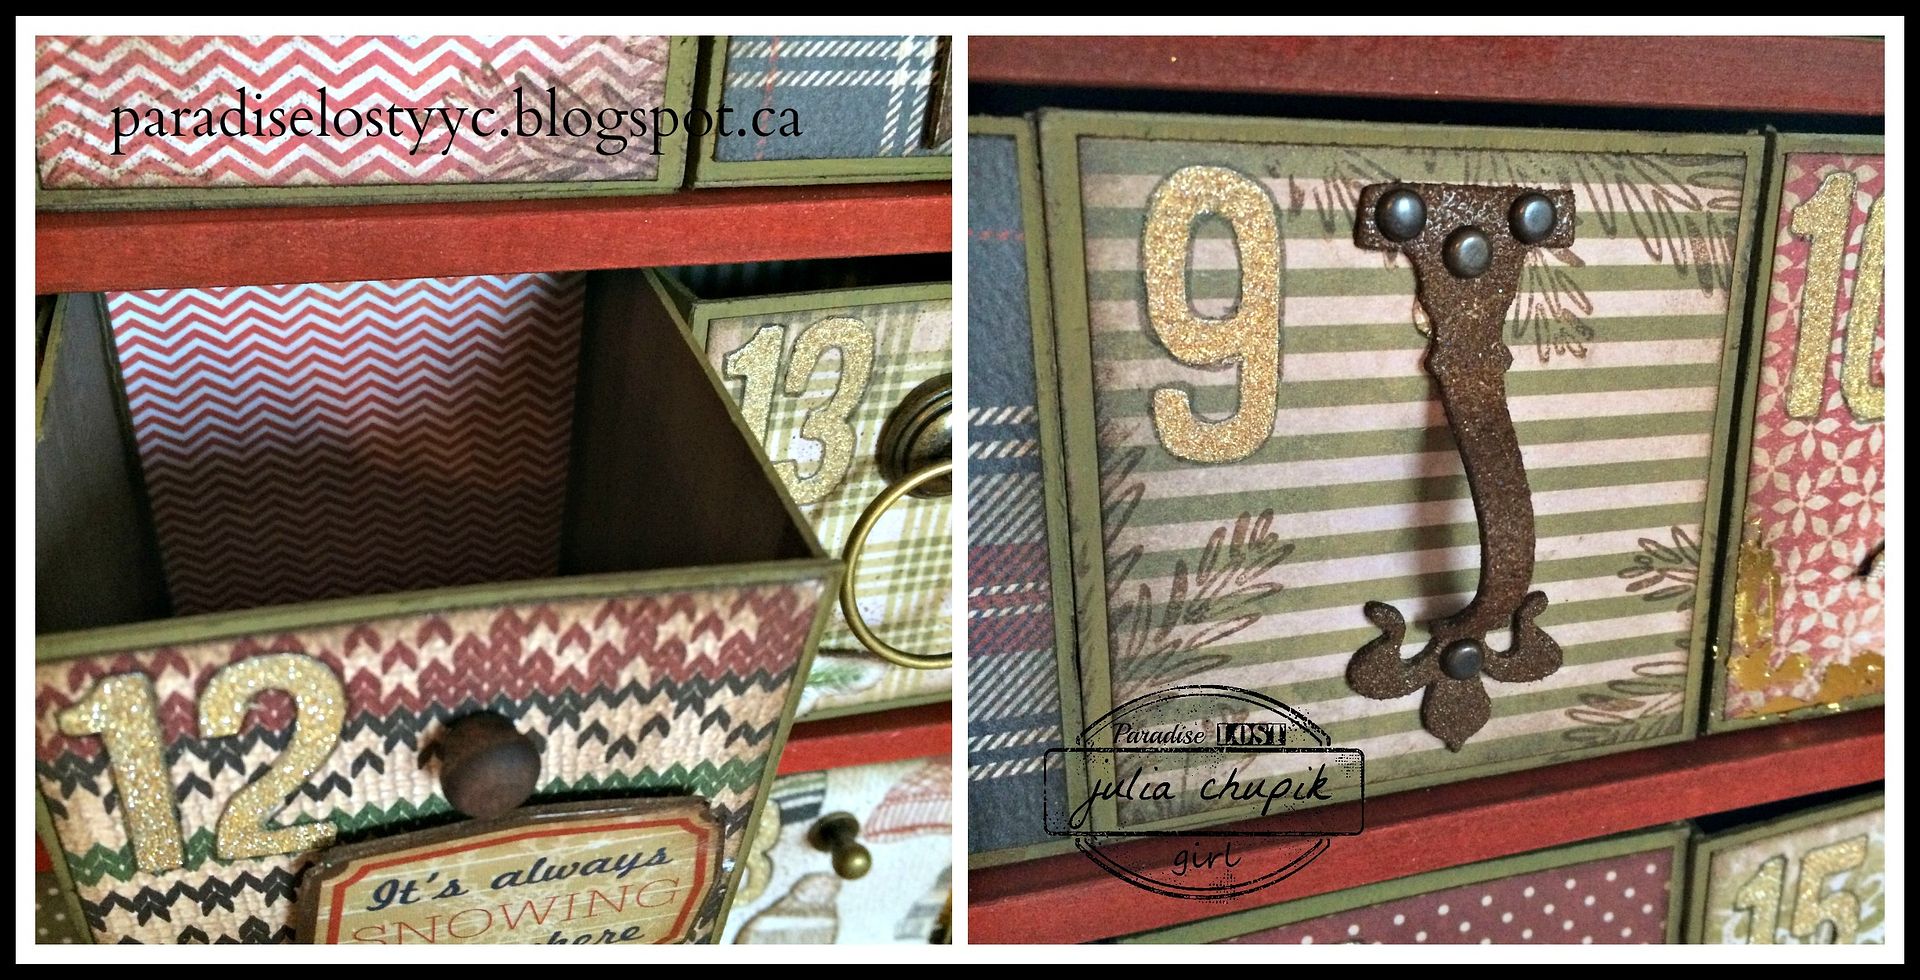
I then glued squares of the paper on the front of each box as well as lined the back and bottom sides of the boxes on the inside.
Once I found enough handles & drawers pulls and other bits & bobs it was time to start decorating.
I used the Alphabet thinlit die from Tim Holtz/Sizzix and a sheet of gold adhesive backed deco sheets from Tim Holtz Idea-ology.
I traced around the numbers with my hickory smoke distress marker just to add a bit of shadow.
I was so excited to finally use my snowflake charms from
Emerald Creek Supplies. These metal alloy charms are gorgeous! I used alcohol inks in various shades of brown to give them a vintagy look.
I also used a
Buckle Charm for a drawer pull. It was the perfect size and looked great after I used alcohol inks to add some colour.
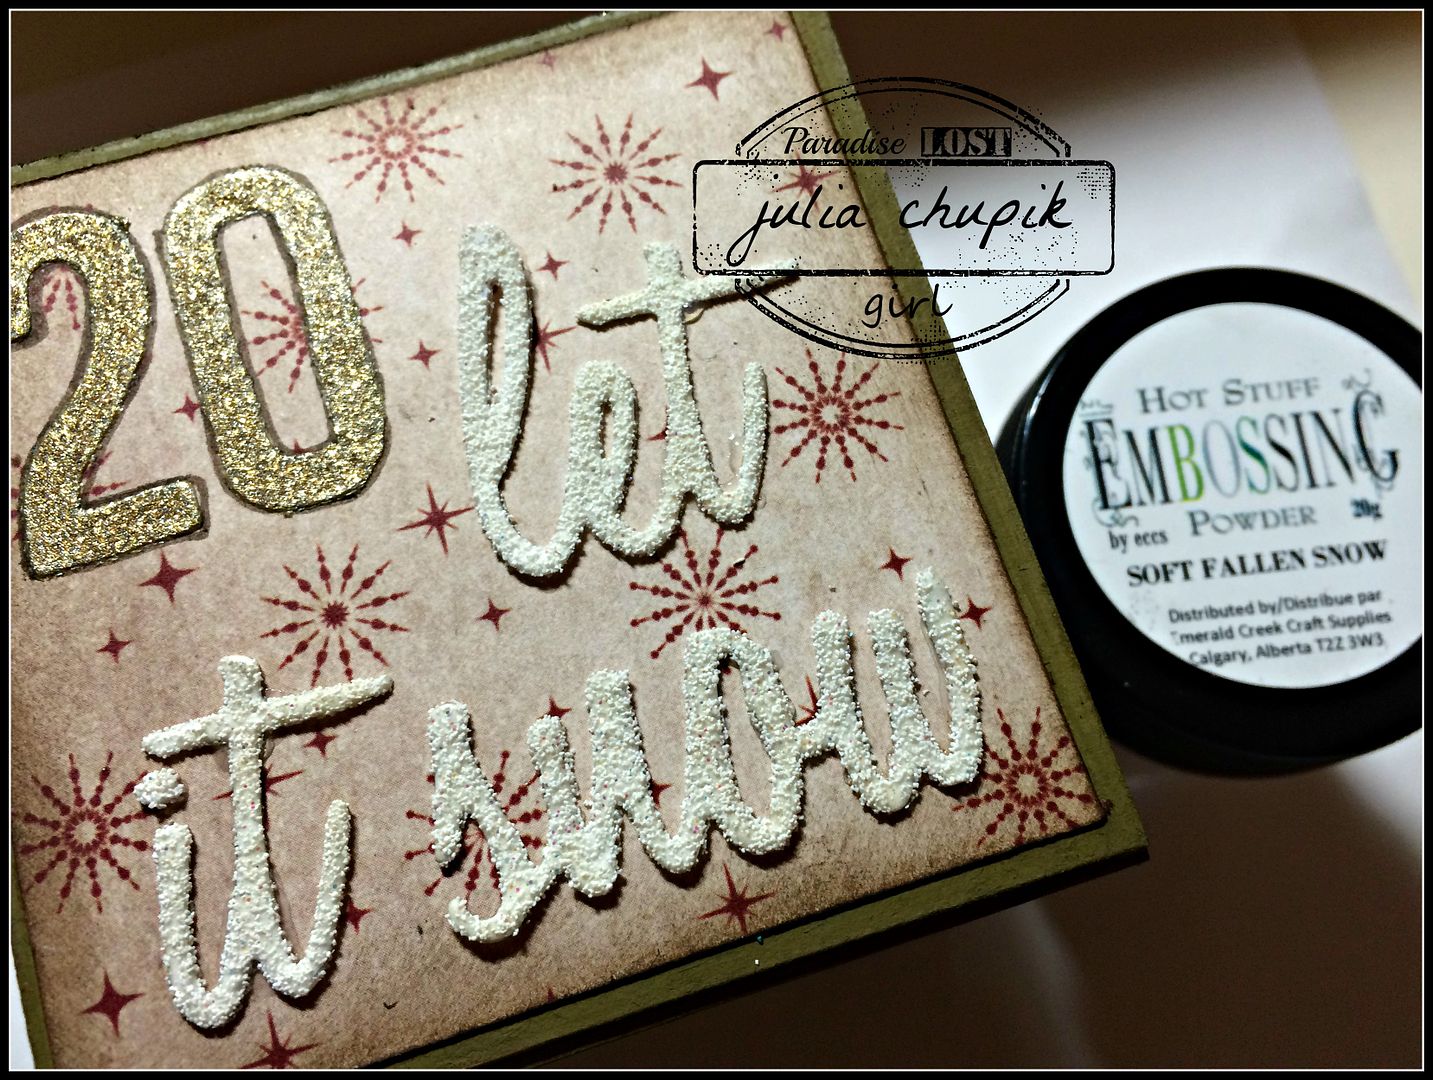
I know I have said it before but I am in love with the Exclusive Line of embossing powders from Emerald Creek Crafts. This time I used the Soft Fallen Snow. I first used it on the words Let It Snow. I just love the texture and the tiny flecks of sparkle is perfect.
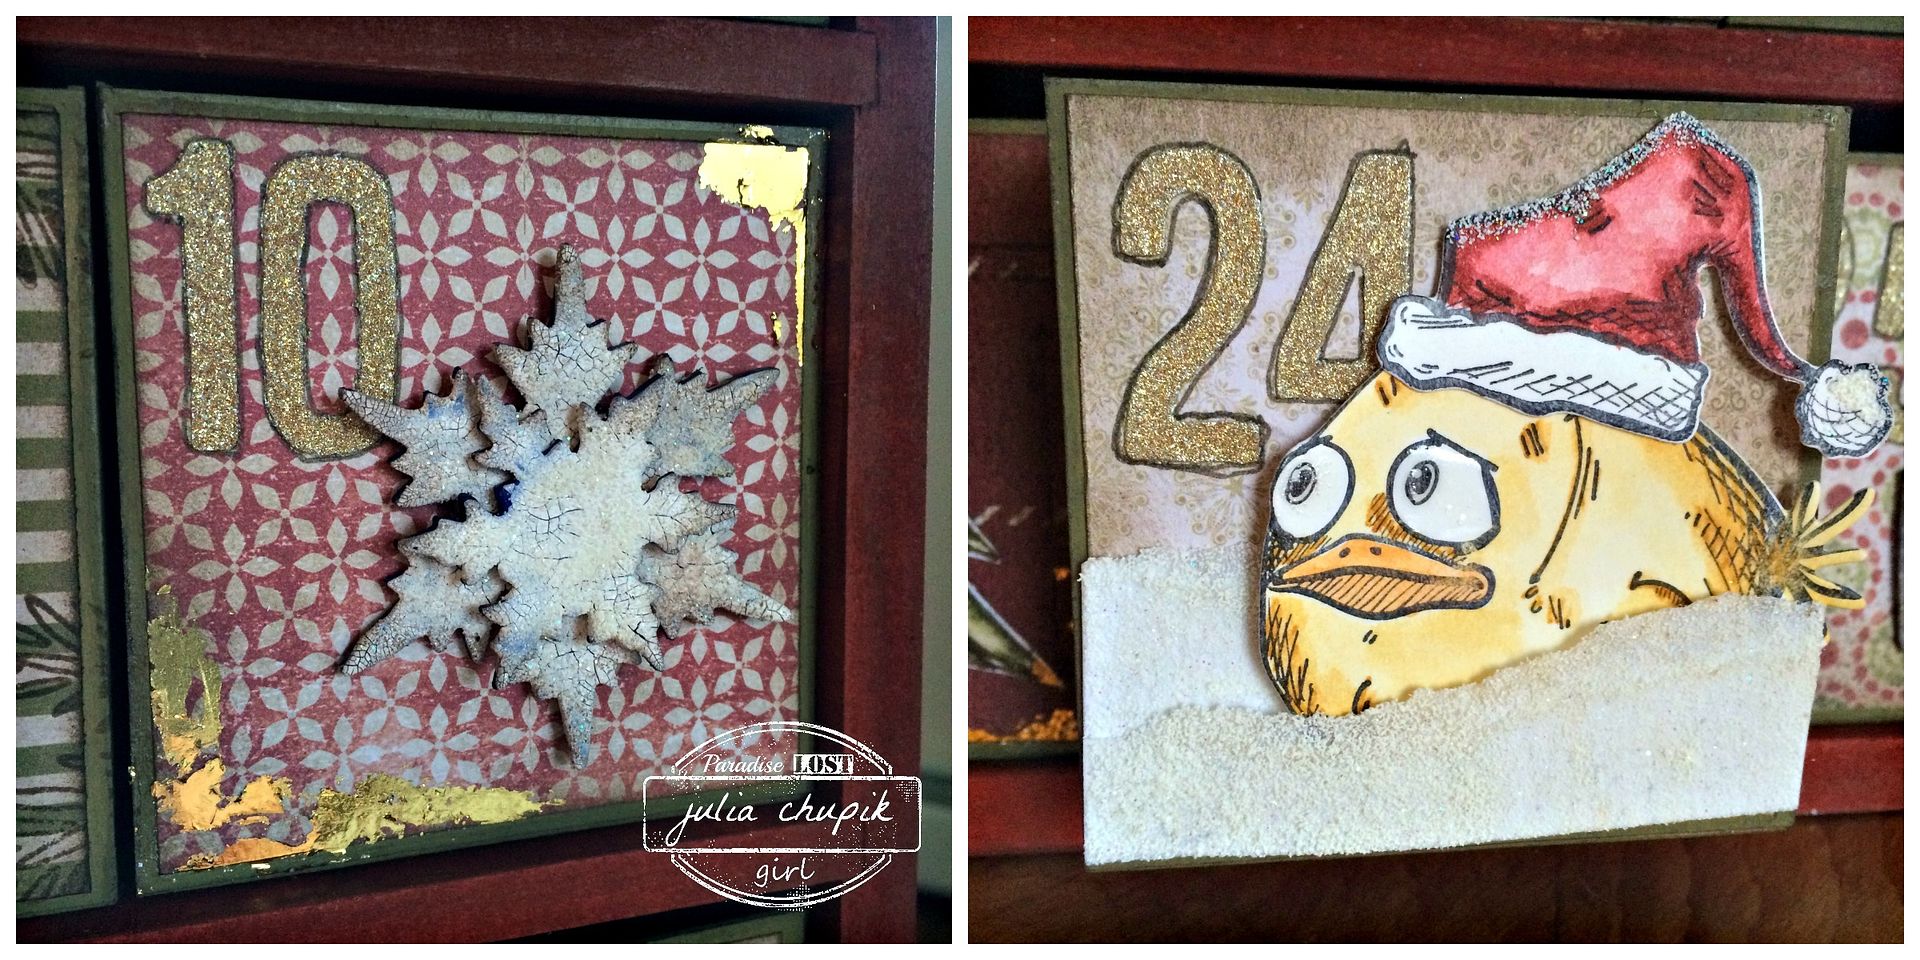
I also used the Soft Fallen Snow on the Stacked Snowflakes - I first covered them with Picket Fence Distress Crackle Paint and while it was still wet I sprinkled the embossing over it. I just love the look of it after the paint dried ans cracked. I finish it off I gently inked the edges of the snowflake with Vintage Photo Distress Ink.
I also used this embossing powder on a couple of scrap pieces of torn white cardstock. This made a nice little 'snowdrift' for my Crazy Bird.
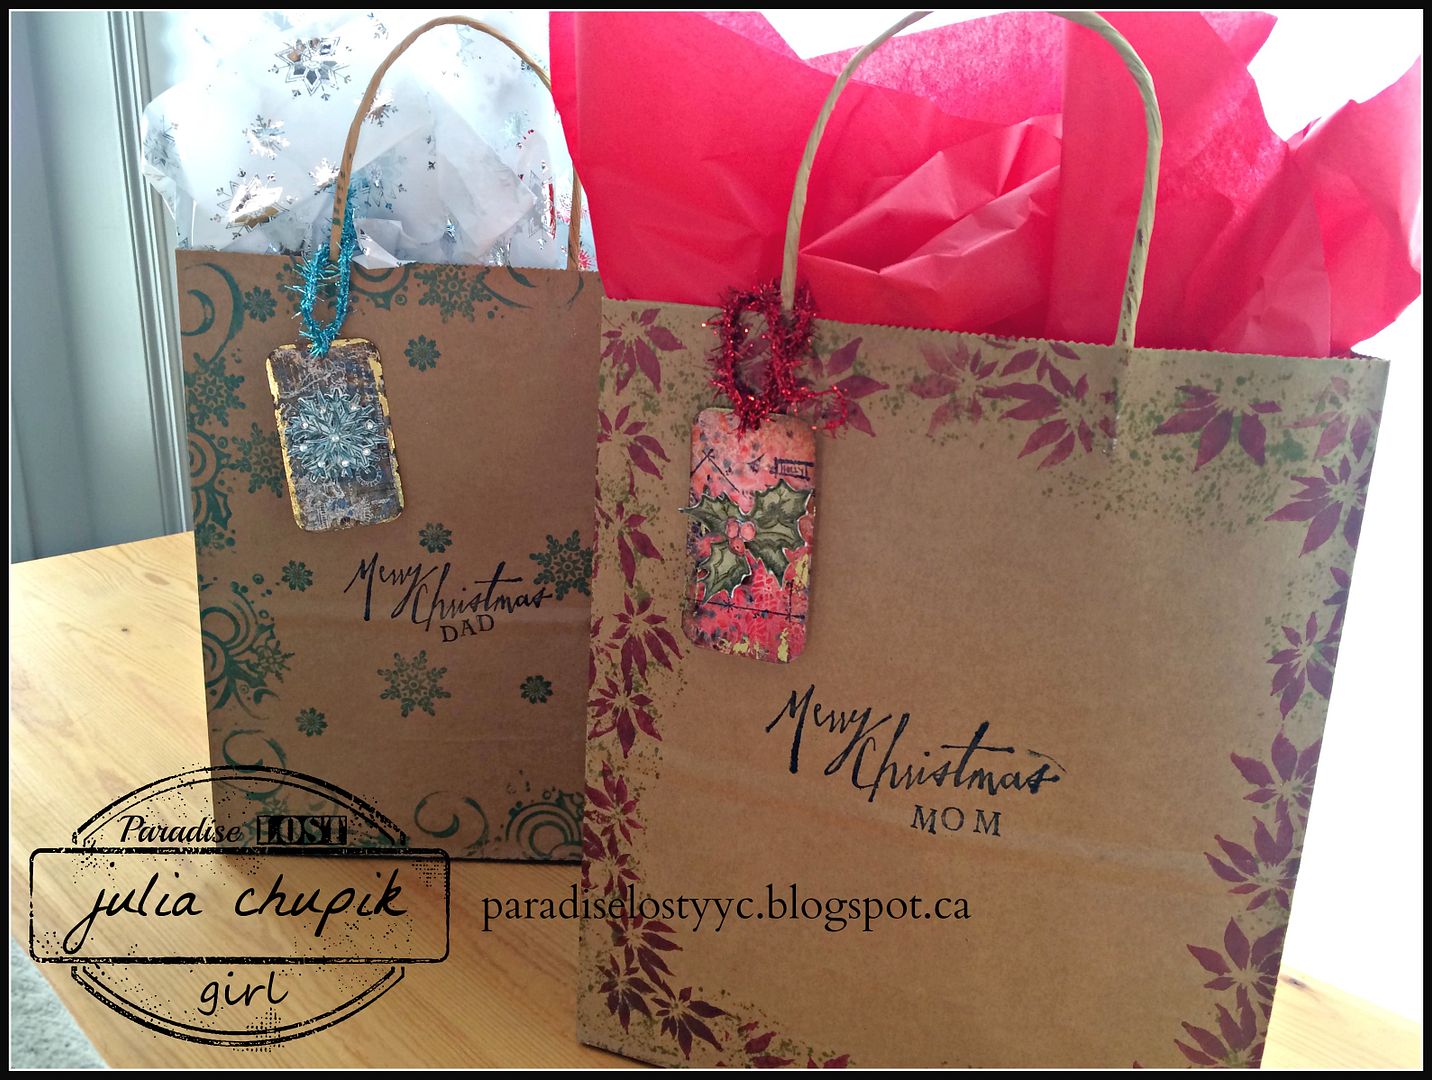
Here is my finished 25 day Advent Calendar - already to go for December 1st.
For more Festive inspiration check out the projects from the rest of the Emerald Creek Design Team
Karon -
Karon's Krafty Korner
Diana -
missusgmoments
Cathy -
Amethyst Dragonfly's Alcove
Katelyn - A Creative Journey
Now that you are feeling festive head on over to the Emerald Creek Dares blog for the new Festive challenge. Share your Festive projects with us for a chance to win a $25 credit to the online store.
Thank you so much for dropping by my blog today!
I appreciate you taking the time and leaving a comment.