Tuesday, 26 January 2016

I {Heart} You

I {heart} you! Yes, you! 

I have been blogging for almost 11 months and what started out as a terrifying experience has become one of the most rewarding experiences in my crafty world.


I have you to thank for that! 

Every person who has visited my blog, commented & shared has made me 
feel a little more confident & a whole lot more inspired!

So this is for you......

~stay crafty~

julia

Thursday, 21 January 2016

Love is {NOT} in the air......Emerald Creek Dare

It is time for a new challenge at Emerald Creek Dares and this time
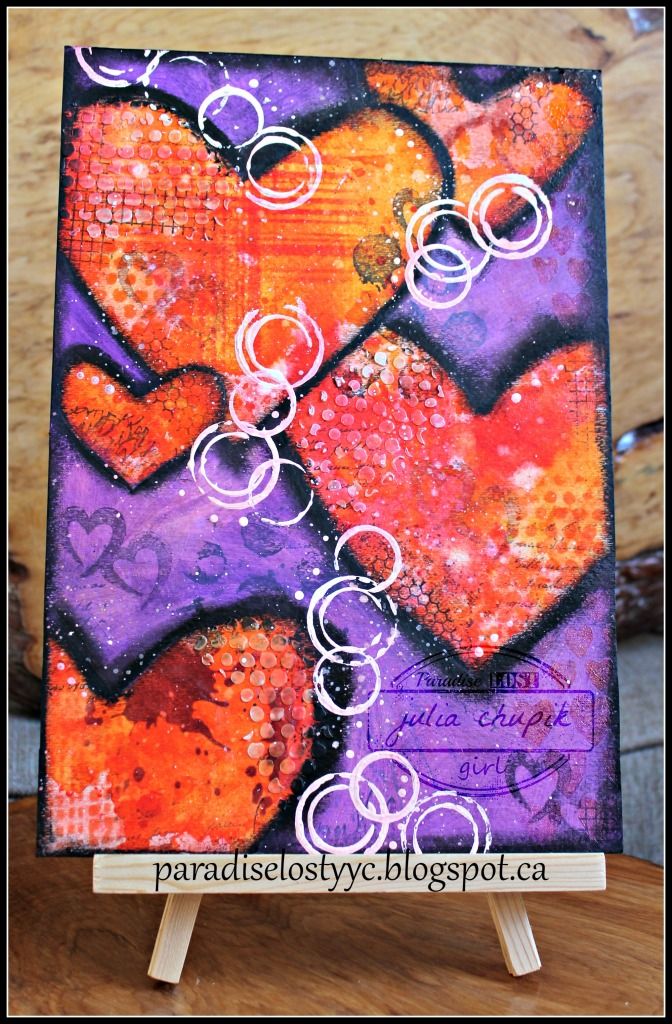
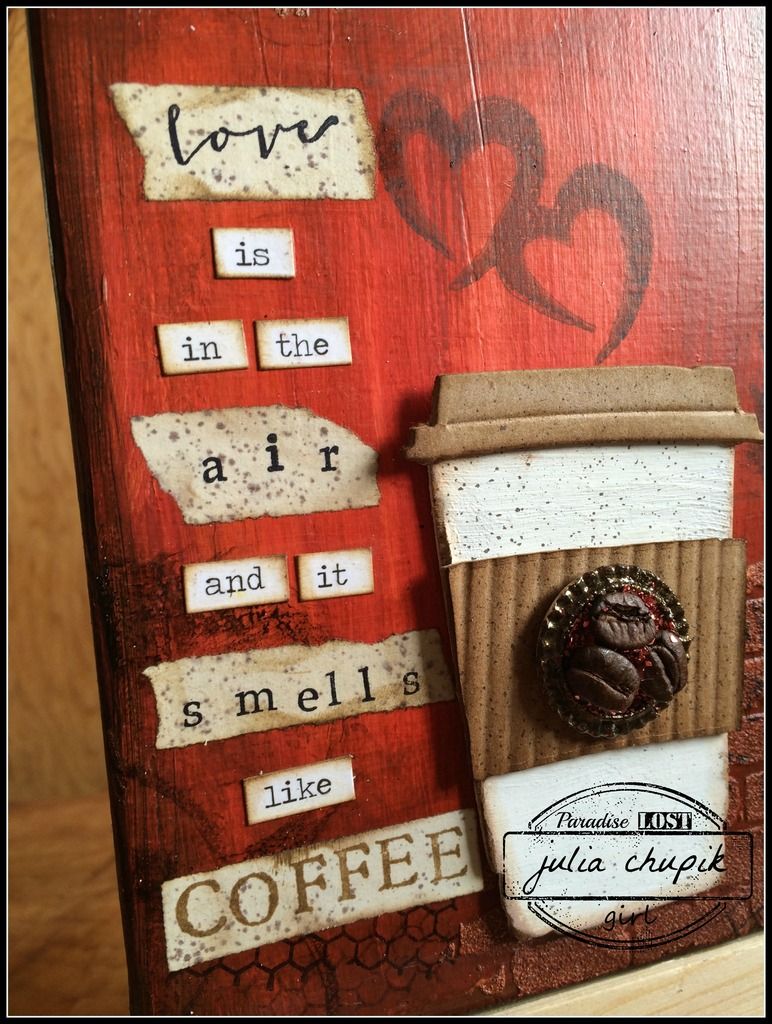
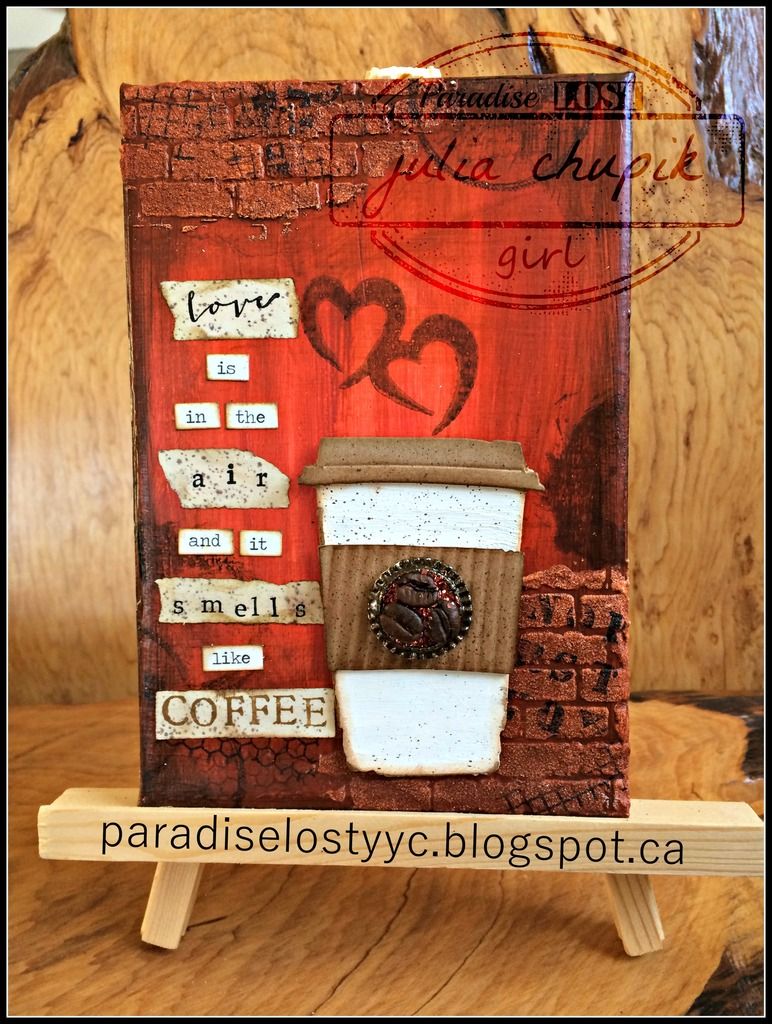
the team was challenged to create Valentine's ~ For All The Single People. Sort of Valentine's Day themed but not necessarily filled with all the mushy romance if that's not your thing. Quite a challenge since I have not been single for 25+ years. So as I pondered this challenge while enjoying a Venti Pike Place it came to me - I LOVE COFFEE!

I decided to do a small 5x7 canvas ~ this is one of series of canvases that will be hot beverage themed and displayed above my coffee/tea corner in my kitchen.
Let's get started.....


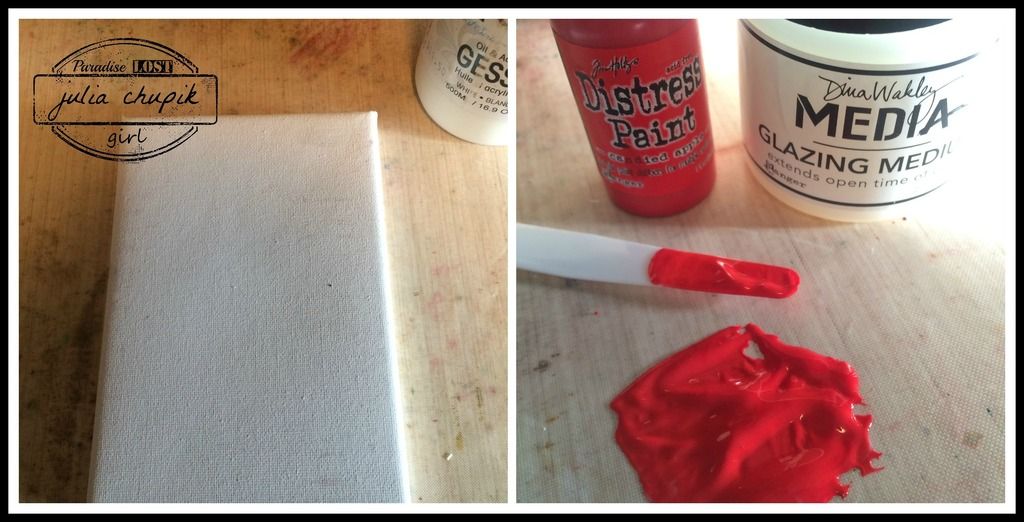
I started by mixing some Dina Wakely Glazing Medium with a bit of Candied Apple Distress Paint.
I appled this to my canvas with a pallet knife and my fingers. While this layer was still wet I added a couple of drops Fired Brick Distress Paint to my red glaze mixture and using my pallet knife added this colour to my canvas. Lastly, I added a couple of drops of Aged Mahogany to my glaze and using my fingers added some to my canvas.


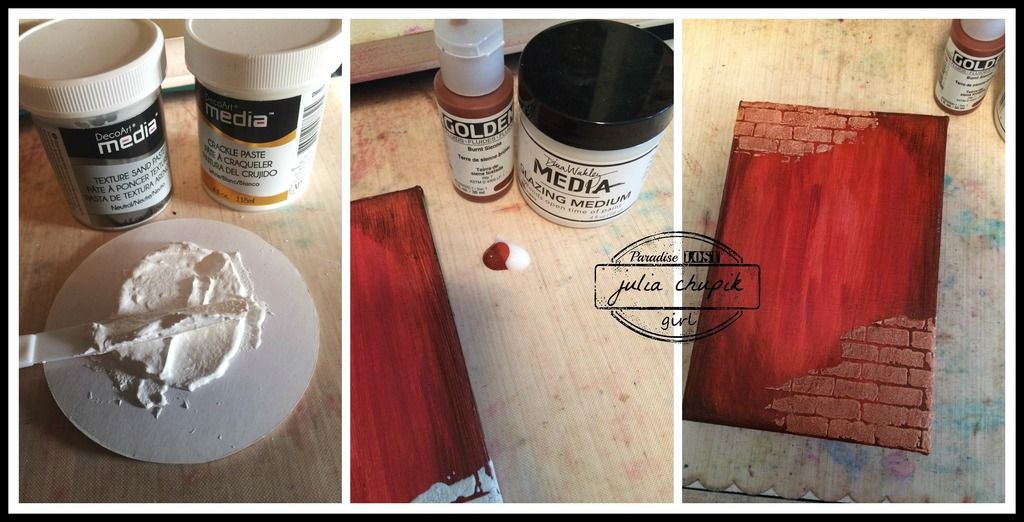
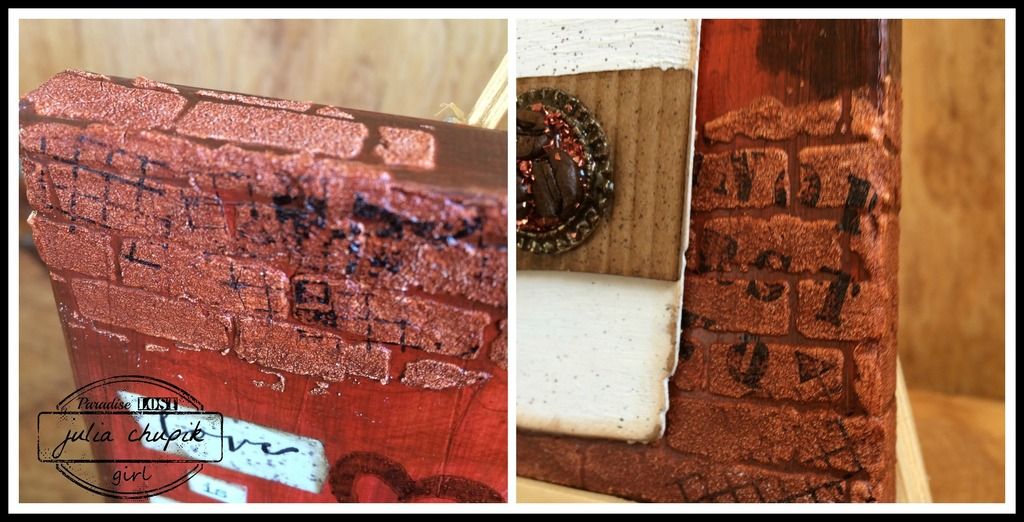
I next made a mixture of Crackle Paste and Texture Sand Paste (both from DecoArt Media) to use with my Tim Holtz Brick Stencil. My mixture was probably 50/50 but if I was to try this again I will definitely make sure that I went heavier on the Crackle Paste so the cracks would be more visible.

After I let the paste dry completely, I applied a mixture of Golden Fluid Acrylic Burnt Sienna & Glazing Medium to the entire canvas. while this was still wet I used a baby wipe to wipe back some of the colour. I applied more of this mixture to the bricks 2 more times until I got the colour I liked.


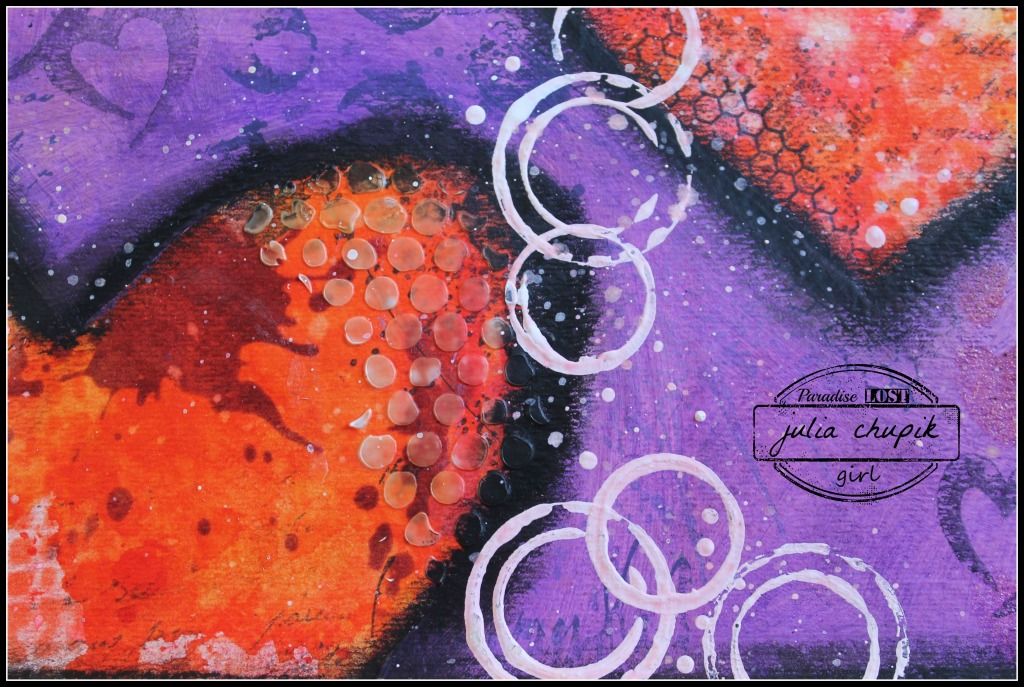
I then added some stamping to my canvas using Archival Ink in Black & Potting Soil. I love how the stamping on the bricks looks like graffiti.

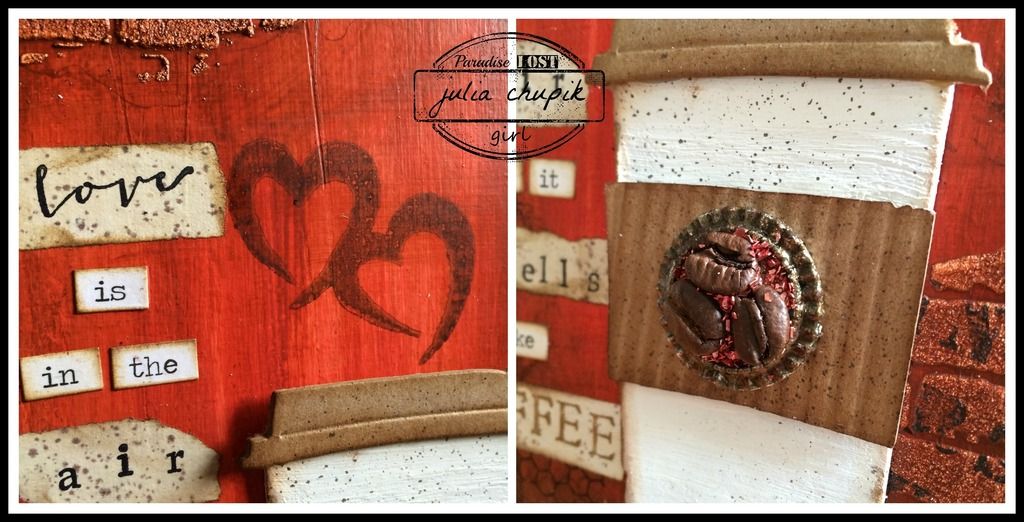
I used my Fresh Brewed Die from Tim Holtz/Sizzix for my main focal point.
I cut it from chipboard, painted with Picket Fence Distress Paint and gently sanded the edges before spritzing with Ground Espresso Distress Marker.
The sentiment was one I found on Pinterest and I used a combination of Chit Chat stickers & stamping on paper.


I used my Interlaced Hearts Stamp from Emerald Creek as the steam coming from my coffee cup.
Mmmmmm........coffee. ;)
A Prize Cameo Charm, also from Emerald Creek, was perfect for the the front of the cup.
I added some Burnt Copper Leaves Embossing Powder to the outer edge of the charm before filling the centre with glossy accents, 3 coffee beans and some red glitter.


Thank you so much for dropping by my blog today!
Be sure to visit the rest of Emerald Creek DT blogs for more
 "Valentine's ~ For All The Single People" inspiration
and enter our challenge at Emerald Creek Dares for a chance to win
a $25 online store credit!

Emerald Creek Design Team

Karon
Diana
Katelyn
Cathy
Claudia
Shilpa


~stay crafty~

julia


Challenges Entered 
Simon Says Monday Challenge: love is in the air

Friday, 15 January 2016

Red & Black and Altered All Over....

Over the holidays, I went to the my local liquor store and was told I was getting a free
gift with my purchase. Oooooo.....free stuff!

I opened up my free gift when I got home and was stumped.
I had no idea what it was. I almost tossed it into the trash (as I am trying to curb
by hoarding ways.) when my son came into the room and dropped his phone
into the slot. It was a smartphone amplifier and it must be altered! With all the "Something New" Challenges out there I thought this was the perfect project to get started with!
First step ~ I sanded it to remove the shiny finish.
Next step was to paint on 3 shades of red. Lightest shade first, then the next 2 shades were randomly painted on.
After that layer was completely dry I painted on one coat of black gesso. I used my heat gun to only dry it until it turned matte then used a baby wipe removed some of the gesso to reveal the red underneath. 
I love the aged look it gives it. I added some gold metallic rub-ons as well.
All my metal embellishments were painted before I adhered them to the wood base with 3D gloss gel.
I used metallic rub-ons to highlight the details on the metal pieces.
Here is my brand new iPhone amplifier! Perfect for playing tunes while being crafty!

Have a wonderful day everyone & thank you so much for visiting my blog today!

Be sure to visit the Emerald Creek Dares blog and join our 
We are on out way....NEW Adventures Challenge
for a chance to win a $25 credit to use at 
Emerald Creek Craft Supplies


~~stay crafty~~