Showing posts with label Gesso. Show all posts

Monday, 16 October 2017

A Gentle Heart Art Journal Page

Welcome my friend! I am so glad you decided to visit today.
I would like to share an art journal page that I created using some new stamps from 
Viva Las VegaStamps.

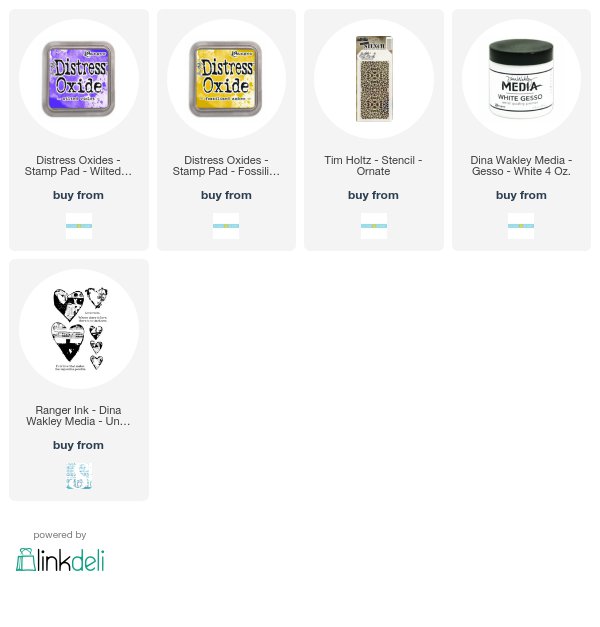
I started with a page spread in my calculus journal. These pages had already had a light coat of gesso applied. First I took the Tim Holtz Ornate Layering Stencil and pressed my Fossilized Amber Distress Oxide ink pad over it, sprayed it with a bit of water then pressed it to my page. I repeated this step with Wilted Violet Distress Oxide Ink. I also added some additional stamping in the corners with some texture stamps & Archival Inks in Potting Soil & Fern Green.


I stamped my images on cold press water colour paper with Archival Ink - Jet Black. I used my Tim Holtz Stamp Platform to get the best stamped images. 

Once I had them stamped I used my Distress Markers to colour them in. I fussy cut them out and adhered them to my pages.

I used a piece of black thread for the balloon string and added the shadow to the girl with my Hickory Smoke Distress Marker.

Products Used:


Tuesday, 18 April 2017

Art Journal....Be Brave & Create Art

Welcome to my blog! A place where I share my creations - art journals, scrapbooking, cardmaking and mixed media. I hope you enjoy your stay and visit often. Leave me a comment so I can visit your blog. I love making new crafty friends and being inspired.

Today I am going to share a journal page I just completed in my calculus textbook. 

Once a month I co-host a local crop for a lovely group of ladies. It's a lot of fun but I usually don't get a lot done except backgrounds in my art journal. This is how this journal page started and then sat unfinished for about month until this past week when inspiration hit.

My journal pages where prepped with a light coat of gesso. Once this was dry I took some Distress Paint - Gathered Twigs, Tea Dye & Scattered Straw - and dripped some of each colour on the right side page. I then closed the book, gently pressed down on it then opened it up again.

 Overall, I was pretty happy with how it turned out but to add another I pressed some Vintage Photo Distress Oxide on to my craft mat the smooshed my journal into it. I spritzed some water on my pages to activate the oxidation effect then dried my pages with my heat tool.

The Splash Layering Stencil from Tim Holtz/Stampers Anonymous is a new fave. I decided to do the stencil monoprint technique with Distress Oxide - Worn Lipstick. I pressed my oxide ink pad directly on my stencil. Then gave it a spritz of water before turning it over on to my pages.

I repeated this few times over both pages and then repeated it a few more times with Cracked Pistachio Distress Oxide.


Next I took my ink blending tool and applied some Walnut Stain Distress Ink along the edges and did some spritz & flick with water. I quick dry and that is how this page stayed for weeks.


I wish I would have taken photos of what I did next - but hopefully I can described it well enough to still inspire you.


I began by collecting a few items to add circles with gesso to my page....I used bottle top, empty medicine bottle and a round piece of dense foam. I dipped each in white gesso to add random circle on my pages. Next I took my set of Brights Distress Crayons and added some colour to my circles.

Next I took a paint brush and lightly dry brushed some white gesso around the circles the into the centre of the page. This really helped the circles to stand out.
Once the gesson had completely dried I took my black Sharpie and roughly doodled around the circles.

I used my Black Soot Distress Crayon to darken the edges and around the circles before adding some script stamping. Finally I added this little dapper guy from my pack of Paper Dolls from Tim Holtz Idea-ology line. I love these paper dolls! I glued some Quote Chips to the opposite page and this journal page was done.


Wednesday, 22 March 2017

Rooted Love

Hello friends!
Have you heard about Wild Whisper? They are Canadian company that designs paper collections for crafters. They also carry coordinating boutique items for their collections including stamps sets, wood veneer, sequins, chipboard, cork & embossing powders. 

I recently bought the Rooted Love paper collection and journal cards from the lovely ladies at Wild Whisper and could NOT wait before I got creative with it.

I chose a medium Etcetera thickboard tag from Stampers Anonymous & the large bride & groom from the Tim Holtz Idea-ology Paper Dolls collection.

I started by painting some gesso over the tag then applying some molding paste through the Heartstruck Layering Stencil from Stampers Anonymous.

Next I began applying Distress Oxides in Fossilized Amber, Peeled Paint, Faded Jeans & Worn Lipstick with a water pen & Distress Stain in Aged Mahogany.

 I gathered up a few journal cards from the Rooted Love collection and grunged them up with Distress inks & oxides.
I trimmed up some of the journal cards so that the images were isolated before I grunged them up.
Lastly I added the happy couple from the paper dolls. 

Here is a close up of the tag showing the Distress Oxides & Stains.

Here's another close-up of the stenciled image and the Oxides & Stains.

The finished tag - Rooted Love: Two People, Two Lifetimes, One Love.


Wednesday, 8 March 2017

Distress Oxide + Art Journal

Welcome to my blog! 
Today I have an art journal page to share with you - using Distress Oxide Inks.
These pages are in an old Calculus Textbook from the 1950's that I made into a journal.

I first prepped my pages by  applying  a light layer of gesso.
Next I used molding paste with a Carabelle Studio stencil.

Once the molding paste was completely dry I started to apply my Distress Oxides.
I first put some Vintage Photo Distress Oxide ink on my craft sheet then used my water brush to loosely and liberally apply the colour over parts of the stenciled image.

I sprayed the ink while at the same time drying it with my heat tool. I did the same technique again but this time with Faded Jeans Distress Oxide Ink.

I used up the leftover ink from my craft sheet by splattering it over the pages.
Lastly I added the Creativity Quote stamp from Darkroom Door.


This was a pretty quick and fun journal page to do and I love the way the Distress Oxides turned out.


Tuesday, 28 February 2017

Garth Brooks - 2 page layout

Hello & welcome to my blog!

I have a 2-page layout to share with you today. I was lucky enough to see
Garth Brooks at one of his 9 concerts he had in Edmonton, Alberta this month.
It was amazing and I knew I had to scrapbook it asap.


I found these great pattern papers at Treasured Memories in Edmonton and knew they would be perfect. Treasured Memories has an exclusive line of pattern papers that they manufacture and these are from that collection.


I started by mixing some Distress Grit-Paste with some black gesso. Then I applied this through the Tim Holtz bubble mini layering stencil. After this dried I added some stamping & paint splatters. I took my ink blending tool and applied some black Dylusions paint to the edge of the paper.

My layered focal point was made with some old sheet music, twine, stickers and paper scraps that I had in my stash.


The second page of my 2-page layout was created with pretty much the same techniques as I used on page 1 except there are more photos.


I love how these pages turned out and they will be a great way to remember
our amazing evening with Garth.


Wednesday, 23 November 2016

Grandma's Roses

Hello! Today I am here to share a layout I made featuring a photo of my 
Grandma when she was a teenager.

I bought this sheet of paper from Treasured Memories during the Great Canadian Scrapbook Carnival in September. It is part of their exclusive dark edged paper line.

I also used some Fancy Frame chipboard and some tiny paper roses from Southern Ridge Trading Co.

First I coated the paper with matte medium. Once that was dry I applied a coat of clear gesso over the entire surface. (not shown). While I waited for this to dry I prepped my chipboard frames.

I began by painting the frames with two coats of Victorian Velvet Distress paint.

Next I tapped my Clear Embossing Ink pad over the surface of each frame and covered with Burnt Copper Leaves Embossing Powder from Emerald Creek Craft Supplies. Before heating the embossing powders I rubbed off some of it off so it exposed some of the pink paint underneath.

Next I took some of my white gesso and applied some on over a portion of my paper
 using a palette knife.

After the gesso had dried I applied some Distress Crazing Medium over the gesso. 
My next step here was to take some Distress paints in browns, grey and black and use my finger to apply it over the cracks left by the crazy medium.

Next I took a background stamp, some embossing ink & some Distress Powder in Aged Mahogany to add another texture over the focal area.


Just before assembling my focal point I decided to splatter some paint over the background too.