Wednesday, 29 April 2015

Lotus on Canvas

I am always looking for new and messy mixed media techniques to try so when I discovered the wonderful world of Andy Skinner I got very excited!
My dear friend and wonderfully creative enabler, Nicole aka Canadian Nickel Scrap'n, recently started using the Mixed Media line of product from Deco Arts. Lucky girl! I have yet to find a Canadian retailer that sells it. *insert sad face here*. (If you know of where it can found in Canada - let me know!)
Shortly after ooooooohing & aaaaaaaaahing over all the yummy products she was sent I went to the Deco Arts blog and discovered the amazing Andy Skinner! Check out his blog, You Tube Channel & Pinterest for amazing crafty inspiration.

Yesterday I watched Andy's Media Media Background on YouTube and I just had to try them out.
I don't have any of the Deco Art products that Andy uses in his video but I didn't let that stop me! 
I started with a couple of 8"x10" canvases that I picked up at the dollar store. One I had used previously to try a photo transfer technique that didn't quite work out as planned so I just covered it in a couple layers of gesso. 
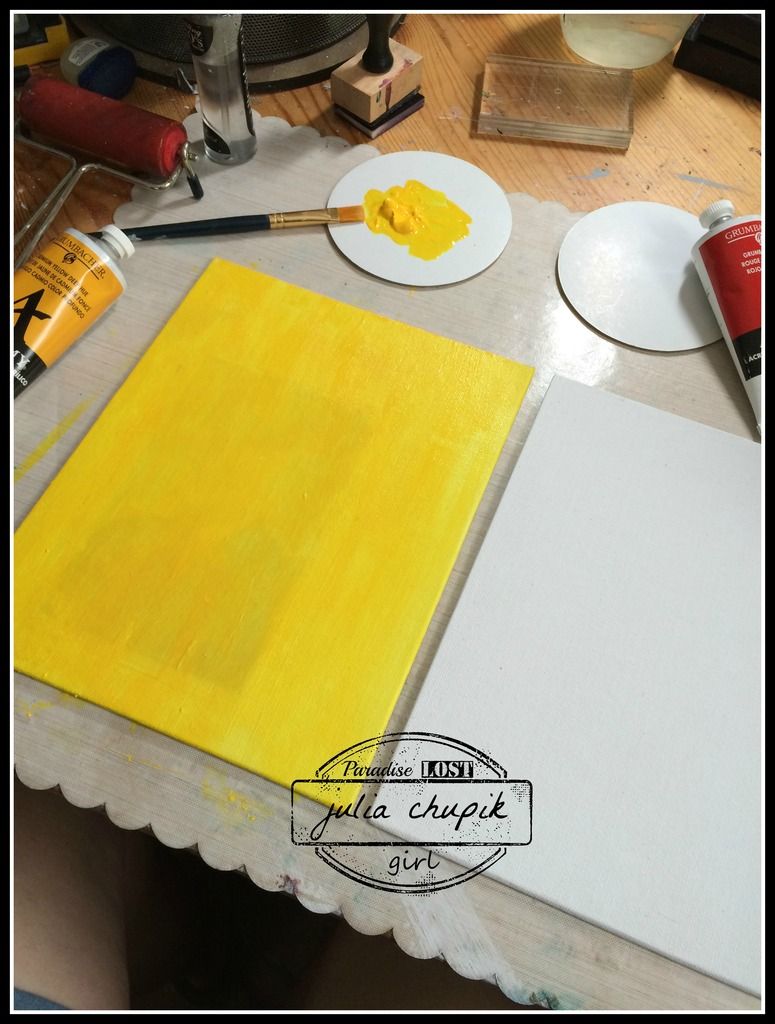
Acrylic & Alcohol Layer
I used Grumbacher Academy Acrylic paint for all my paint colours. This layer was cadmium yellow deep. I painted both canvases then used rubbing alcohol as suggested by Andy. The effect wasn't quite the same as shown in the video but after rolling my paper towel over the alcohol it did leave me with a cool effect. (sorry - forgot to take a photo) 
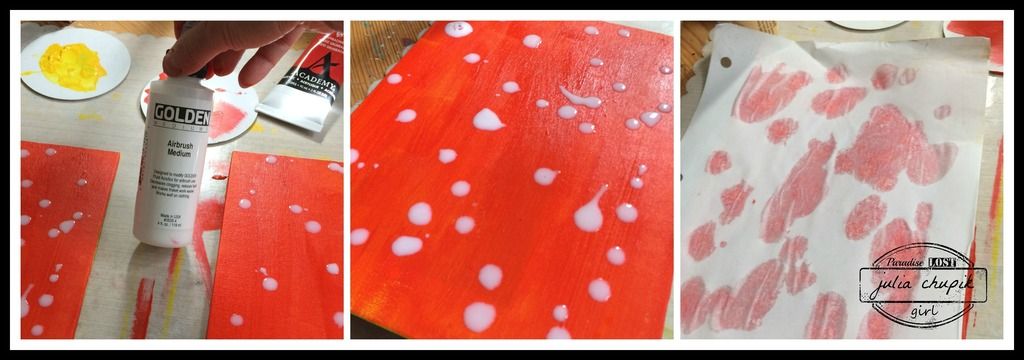
Splash Technique Layer
 This layer was Grumbacher Red and since I didn't have the Deco Art Easy Float I needed to get creative. In his tutorial, Andy suggested water as an alternative but I looked around and saw my bottle of airbrush medium and decided to try that. I splattered that onto the canvas, let it sit for a moments then placed a sheet of paper over top and gently rubbed. This lefted the airbrush medium off the canvas, leaving exposed areas of the first layer. I liked the effect but probably won't use the airbrush medium again.
I won't go into detail for the stamping as Andy does explain that in the video. The next 2 layers used a medium to cover up parts of the canvas that you want to remain exposed. I used petroleum jelly and it worked really well. I did 2 layers using this technique - first with a layer of yellow green acrylic paint, followed by a layer of turquoise green. 
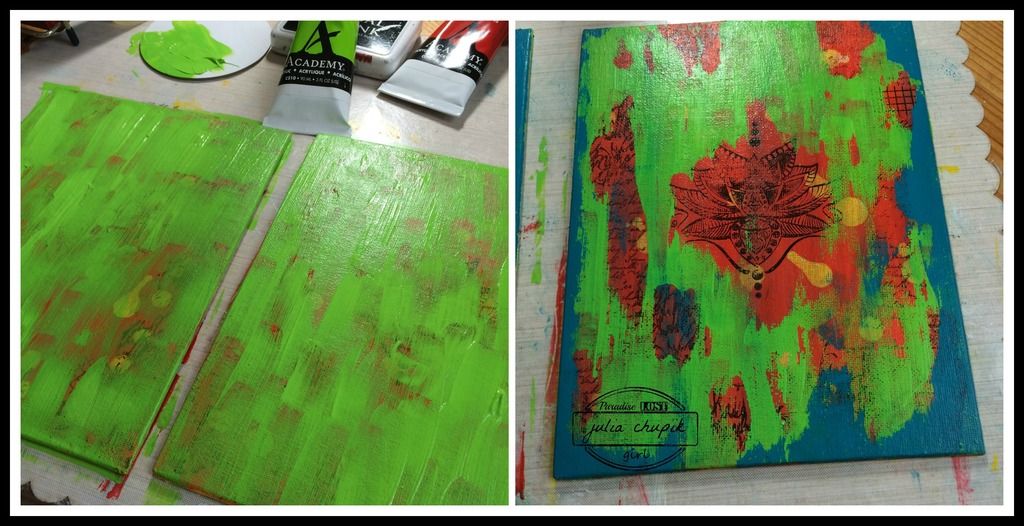
Paint & Petroleum jelly layer

The next technique was probably my favorite and one that I can see myself using over & over.
The torn paper technique used titanium white paint & stamped images with archival ink.
Again, petroleum jelly was used to cover up the parts of the canvas that you want to be exposed later on. 
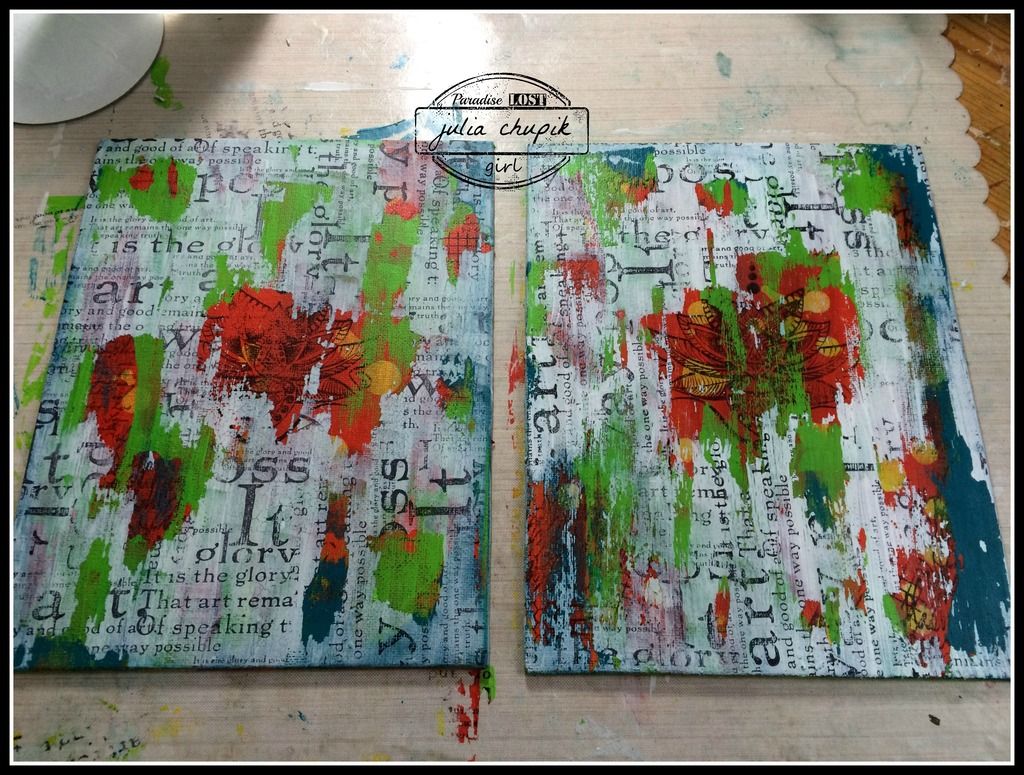
Torn Paper Technique
I wish I had covered up more of the canvas with petroleum jelly so that more of the lotus image showed through but it is all about learning. Over all I am very happy with the results and plan on using these techniques in the future.

Here is the finished canvas. I used a black oil pastel around the edges to give it more of a 'framed' look.

Thank so much for looking! I appreciate your comments, feedback & suggestions!
Have a wonderful day & stay crafty!

~~julia~~

p.s. the Lotus stamp is from Limor Webber Designs

Saturday, 25 April 2015

beautiful.....April Tag

I bought the Stampers Anonymous Perspective stamp set from Paper Pastimes this week & I knew immediately that it would perfect for the April Tag challenge from Tim Holtz.
This tag was fun to make...I love how the background turned out. 
I chose Abandoned Coral, Cracked Pistachio & Mustard Seed for my butterfly color palette. The distress markers are so nice to work with on watercolor paper. 
I love this quote from the Perspective stamp set. I used Frayed Burlap to stamp it on the tag. 
Of course I had to use my fave color at the moment for the crinkle ribbon and spritzed it with a little bit of Frayed Burlap for a little more depth.
This was my first ever Tim Tag and it certainly won't be my last! Thanks for looking!
Challenges......
Tim Holtz April Tag
Inspiration Emporium  Anything Goes

Tuesday, 21 April 2015

Change is good....part 2

Right now my life is all about embracing change. 
Change is not something that comes naturally to me. 
So moving to a new city, making new friends & transitioning to a much smaller craft space is going to be a challenge.
My amazing, ever patient husband knows that my craft room is my 'happy place' so when we are searching for our new place next week that is going to be right at the top of the priority list. 
Yes, he is awesome.....and yes, I am very lucky. 

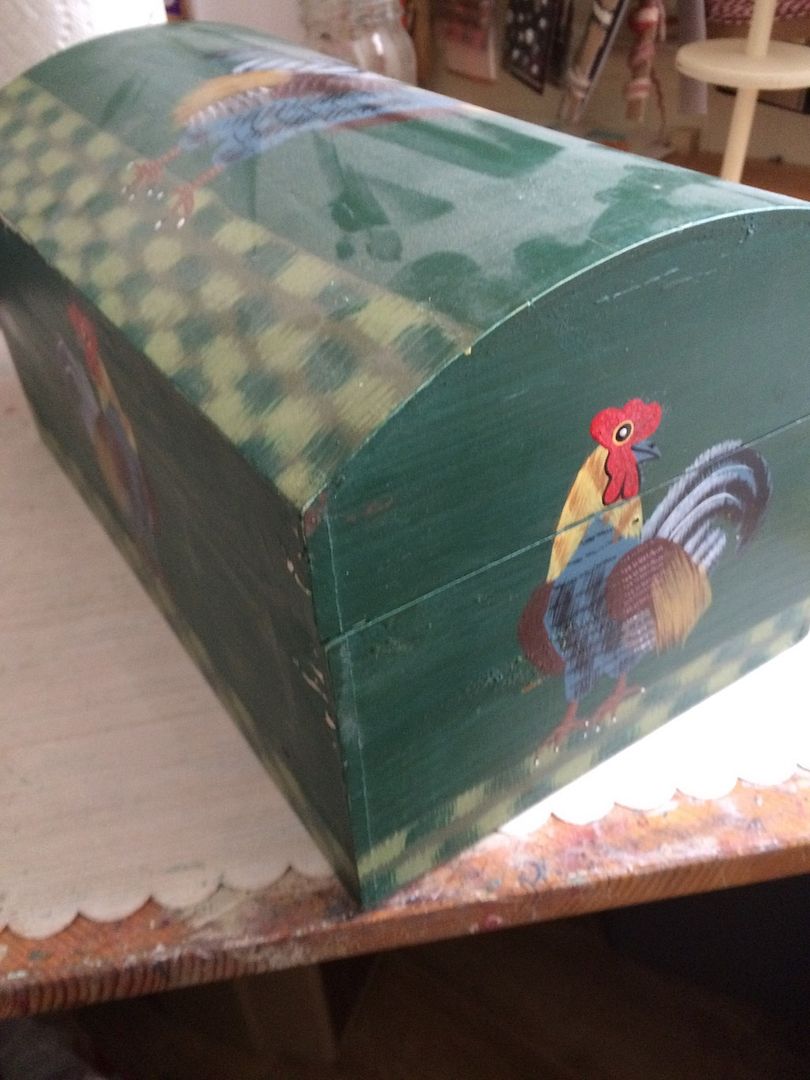
Since we will be moving into a condo, I am going to have to get very creative with my new space as it will have to double as a guest bedroom. I have been searching for different ways that I can store supplies. Remember that ugly rooster box? No?
Well, here it is again.....
It was quite a sight to behold. I was a little sad covering it gesso.
Just kidding! 

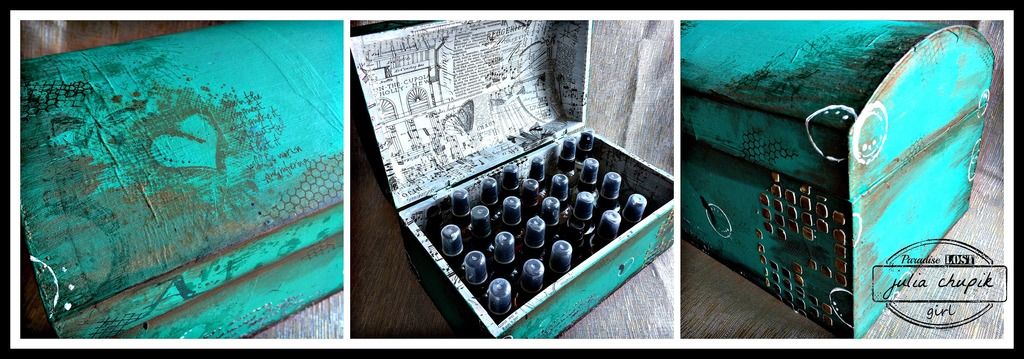
I gesso-ed, painted, stamped & stenciled away and now I have a perfect storage box for my sprays.

Thanks for looking!

~~ stay crafty ~~

julia

Thursday, 16 April 2015

Change is good.....

The last 2 weeks have been filled with ups & downs, pros & cons, laughter & worry but in the end I have to embrace the changes coming my way.
A couple of weeks ago my husband was offered a promotion that would require us to leave the city we have lived in for the majority of our lives and move 3 hours north. I know, I know....its only 3 hours! I could come back every week to see my family, friends & hang out with my crafty peeps.
Which I will probably do.....A LOT!

Deep Breath. Change is good and thank goodness there are a lot of fabulous paper craft stores in the city where I am moving too! Hello Treasured Memories, Scrap & Bean & Urban Scrapbook! You are going to be my new bestest friends!

Changes. I am a crafter. With a craft room. With lots of crafty things in a lot of crafty storage containers. Our new place will be a condo. Much smaller. Leaving me with a much, much smaller craft space. Changes.

I'm going to need to be very creative with storage options that are functional, economical & most important of all, nice to look at. 

I found this in my garage. 

Why I have it & what I was originally going to do with it has long been forgotten but I think it would make a cool little storage box. Changes.

So long little rooster box ~ It's time to become a beautiful butterfly.

Stay tuned for the storage box reveal! 

p.s. for those of you who are wondering what is going to become of Paradise Lost Crops...fear not! Heather & I will be back in the fall with one day crops. You can't get rid of me that easily! 

~~stay crafty~~

julia


Tuesday, 7 April 2015

I just wanted to share a new website with you. I have been following Einat Kessler on Facebook for a long time. Her mixed media projects have been very inspirational for me but Einat is more than just a mixed media artist. She is also a very talented paper & scrapbook designer, altering enthusiast & class instructor.

This is the link to her new brand new website - check her out!


Thursday, 2 April 2015

Happy Easter!


Heather & I just wanted to take a moment to wish all of our crafty friends a very Happy Easter!
We hope you have a wonderful weekend filled with friends, family, food & especially making memories!

I would like to give Tash from Flower Chix a very special thank you
for making these amazing spring bouquets for my mason jar floral centrepiece.
They are going to look great on my dinner table!

Check out Flower Chix on facebook or the web


Wednesday, 1 April 2015

Watering Can Bouquet

I was out thrifting with my fave person Nicole (AKA Canadian Nickel Scrapn') and spotted this super cute mini watering can for only $2! Look at it! How could I not buy it?

So I brought it home and added some alcohol inks. Perfection! I fell even more in love with it!
I knew it would be perfect for a cute & colourful floral display so I made a bunch of die cuts with my Sizzix Jumbo Tattered Pinecone & Jumbo Tattered Florals dies.
Now to choose my colours....so many choices! Of course I had to go with my fave new colours...Cracked Pistachio & Abandoned Coral. Beautiful! Ripe Persimmon & Salty Ocean round out a perfect palette of spring floral colours.
Just look at all those delicious colours! So bright & cheery. Time to assemble my floral display and finished off with a wired green gingham ribbon from May Arts.
I'm already for Spring to arrive in Canada!


Thanks for looking!

Stay Crafty! ~~~julia~~~