Showing posts with label Canvas. Show all posts

Thursday, 14 July 2016

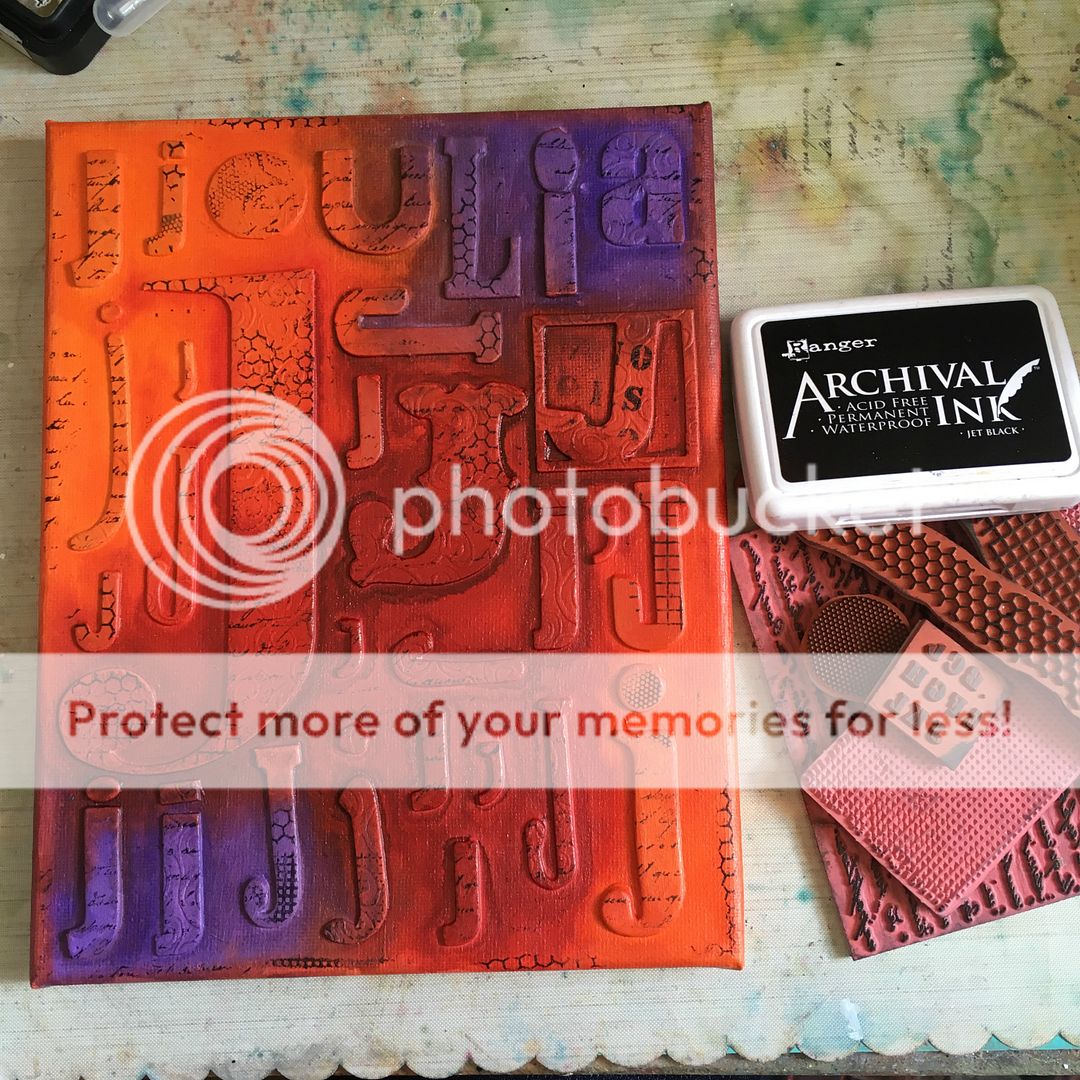
All The J's - any my final canvas in my family series

Well, this series of canvases have been a lot of fun to make.
It has also helped me use up A LOT of chipboard letters I have been hoarding in my stash.

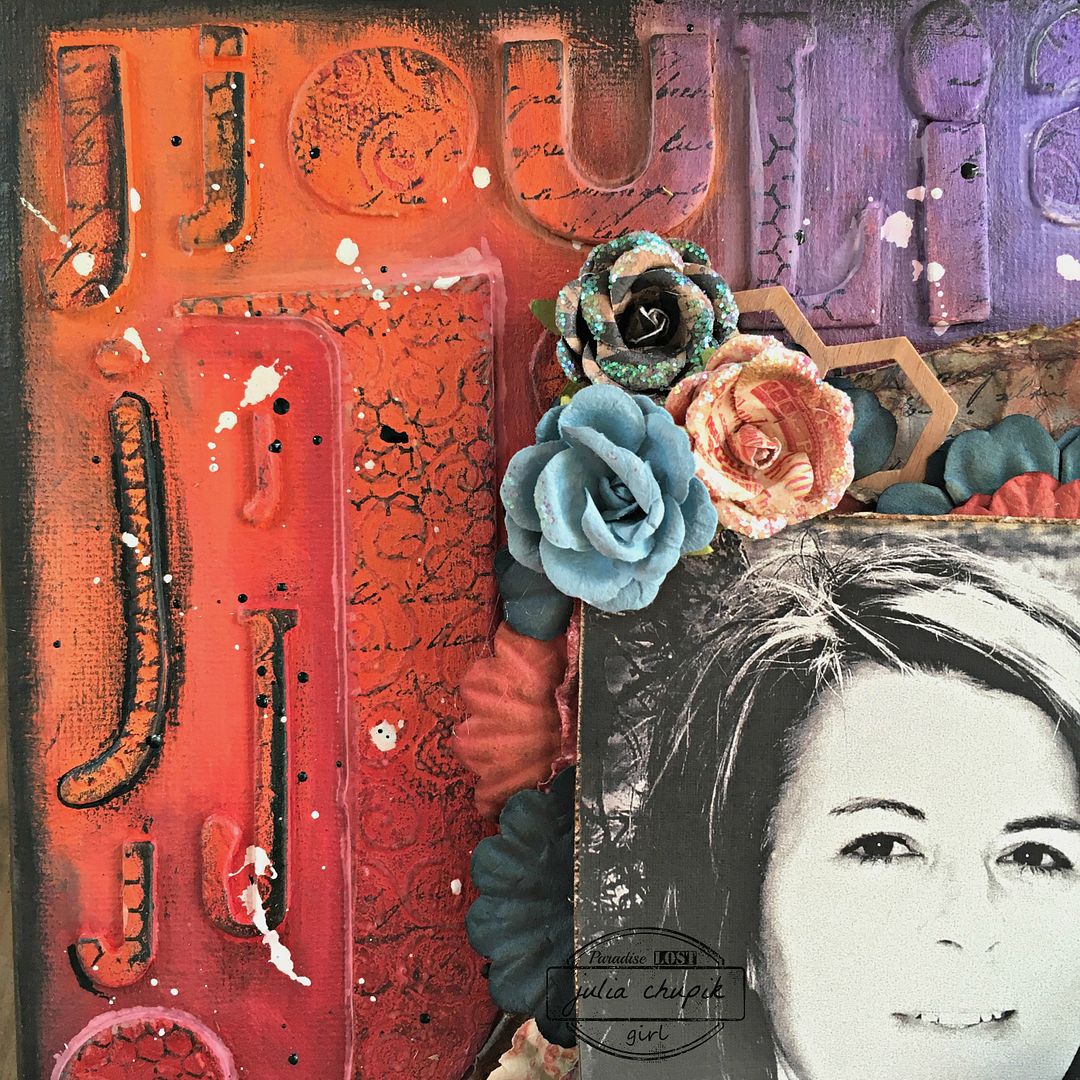
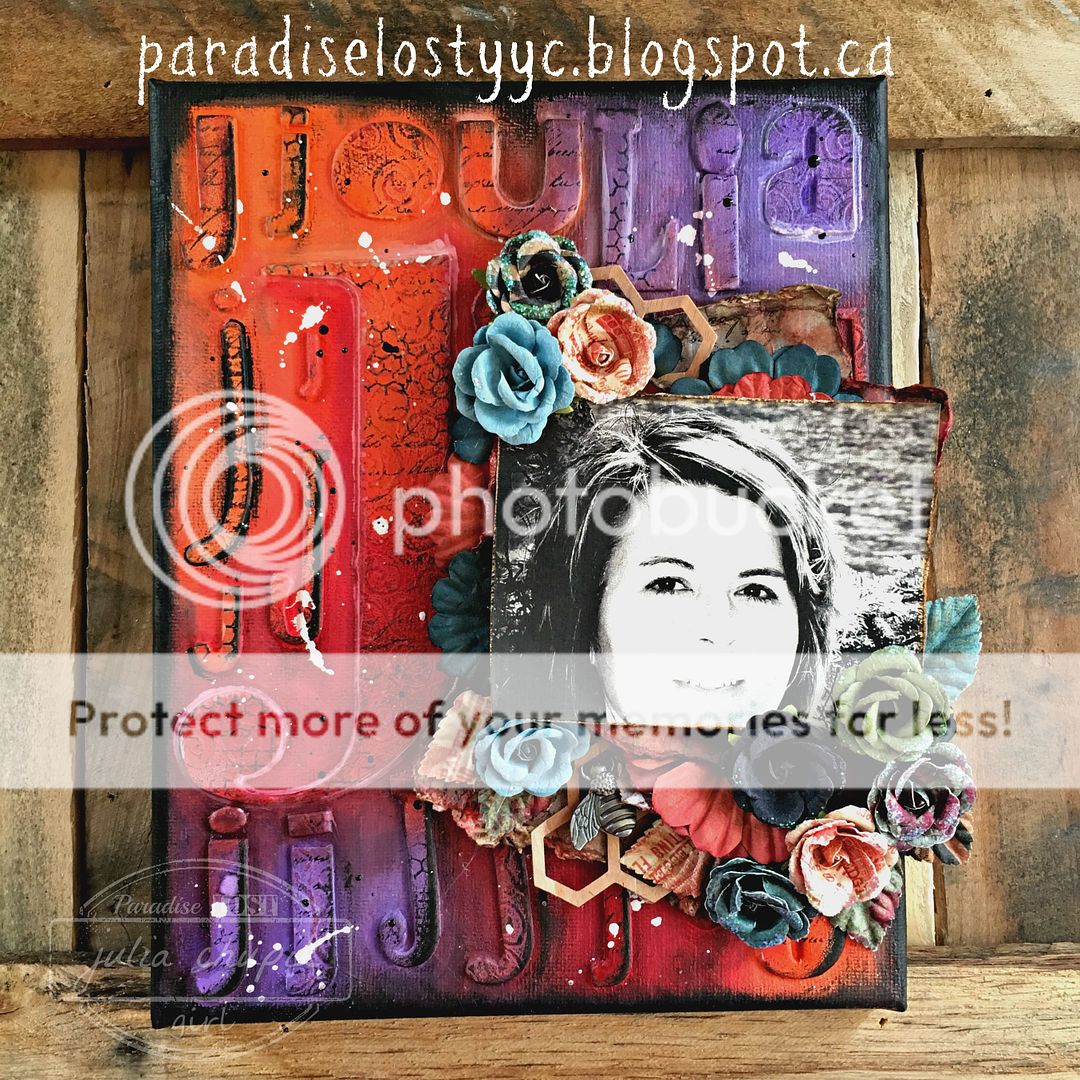
This canvas features a recent photo of myself that my husband took during our last trip out to 
Lake Louise, Alberta.

Before we get to the process photos here is the finished canvas ~

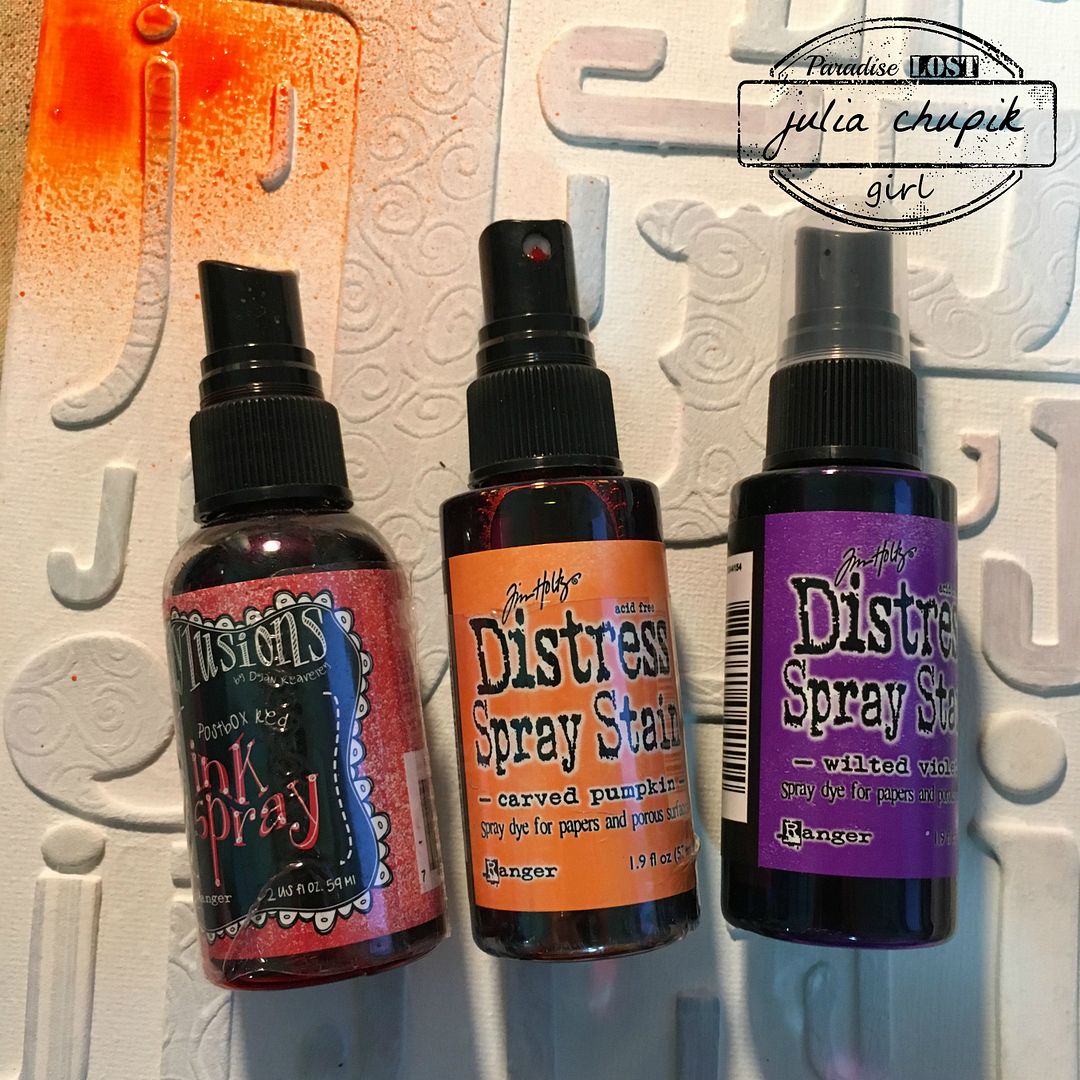
For this canvas I used Dylusions Ink Spray in Postbox Red and Distress Spray Stain in Carved Pumpkin & Wilted Violet.

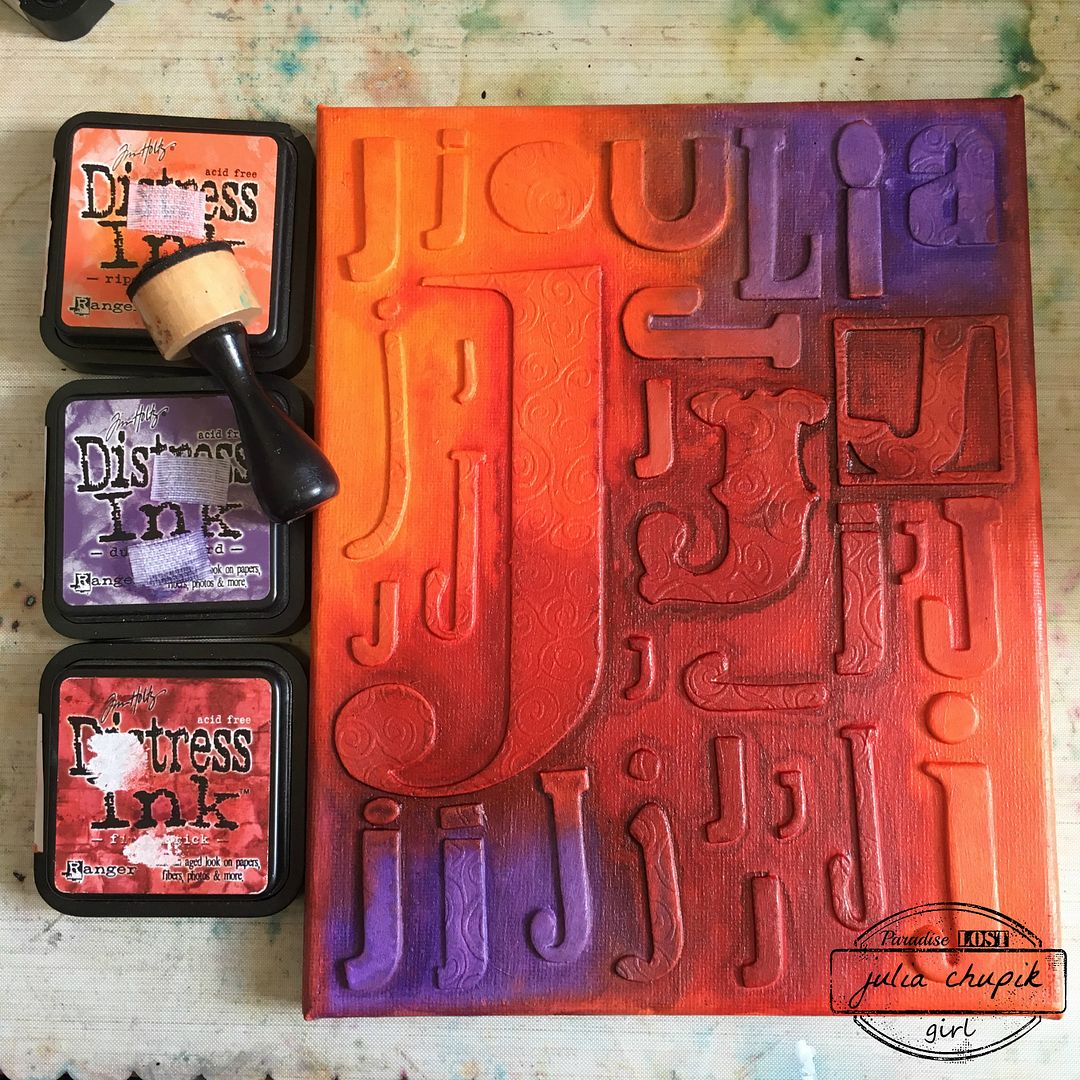
Once I was done with the sprays and dried the entire canvas with my heat tool - I starting applying Distress Ink with a blending tool.

Next, it was time to apply some texture stamps with Archival Ink.

At this point, I took a small paint brush and gesso and painted the entire background leaving the letters. It helped blend the background colours and make the letter pop.
Unfortunately, I forgot to take a photo. Ooops.

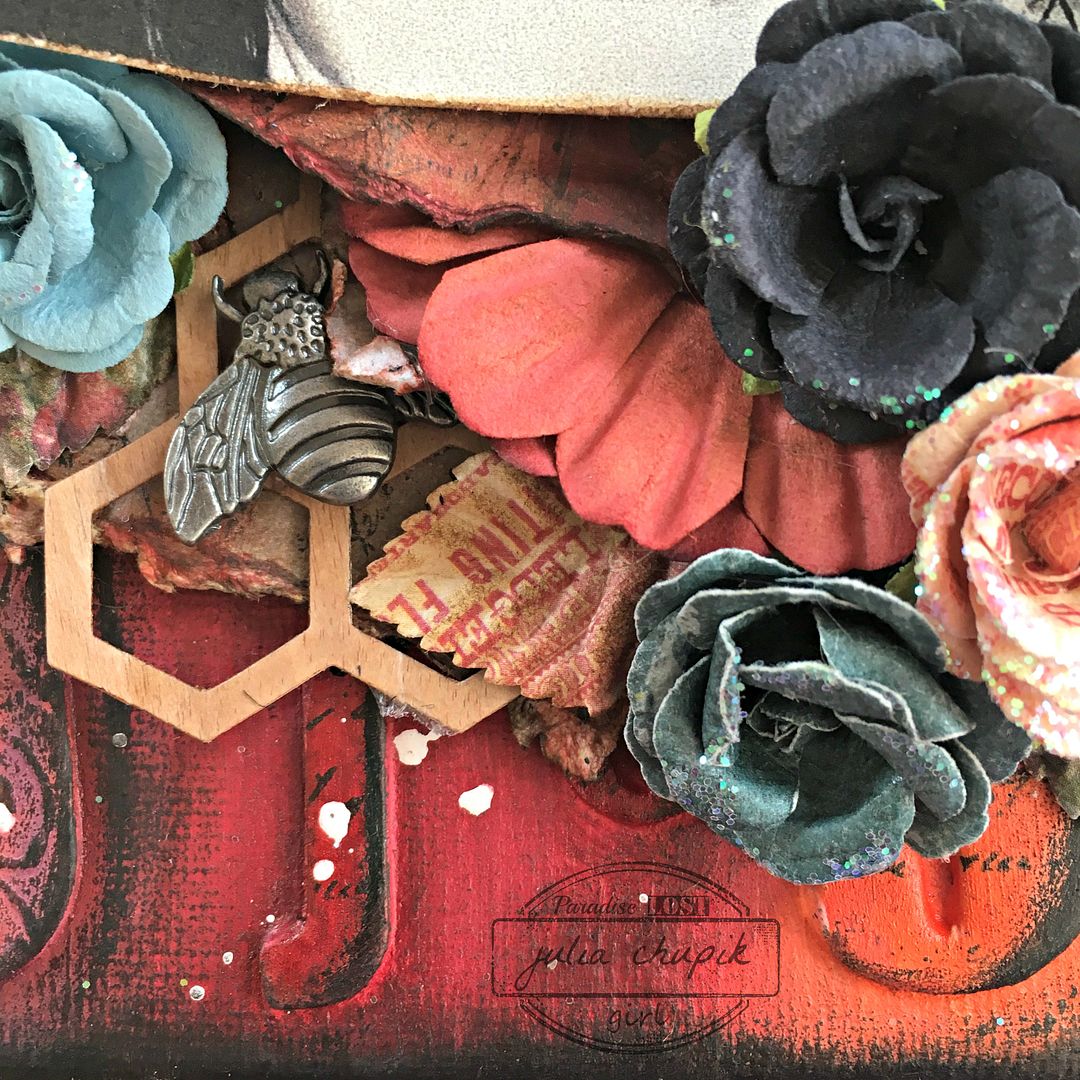
My focal point consisted of paper and flowers from the Prima Stationers Desk line.
They worked perfectly with the canvas. The metal bee embellishment was another stash find.


Friday, 8 July 2016

All The G's - another letter canvas.

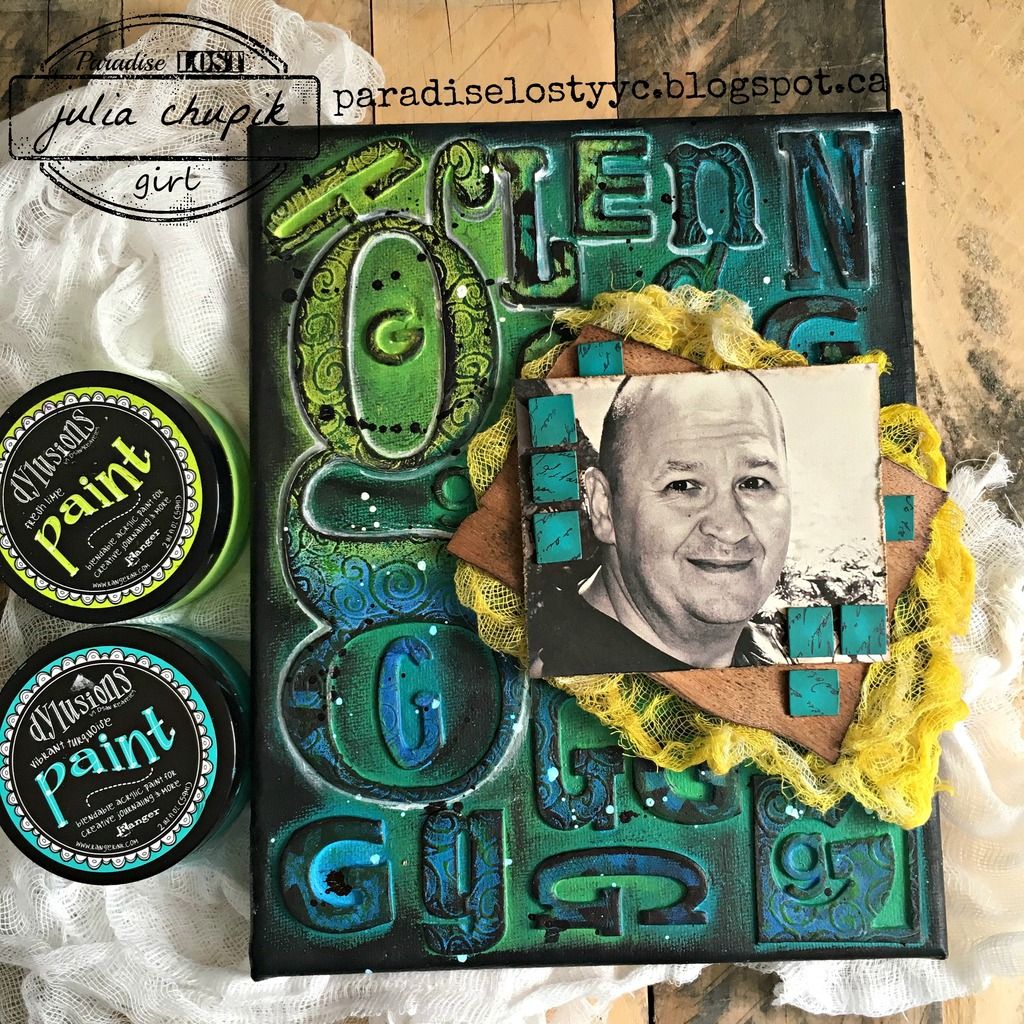
I'm back with another chipboard letter canvas - this time it's all the G's - and features a recent photo of my husband Glenn. 

Here is the finished canvas ~

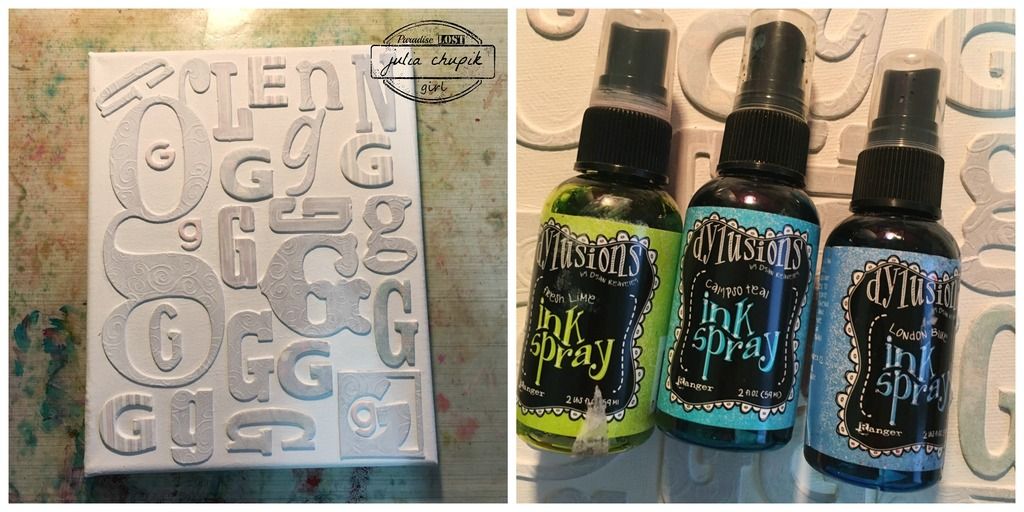
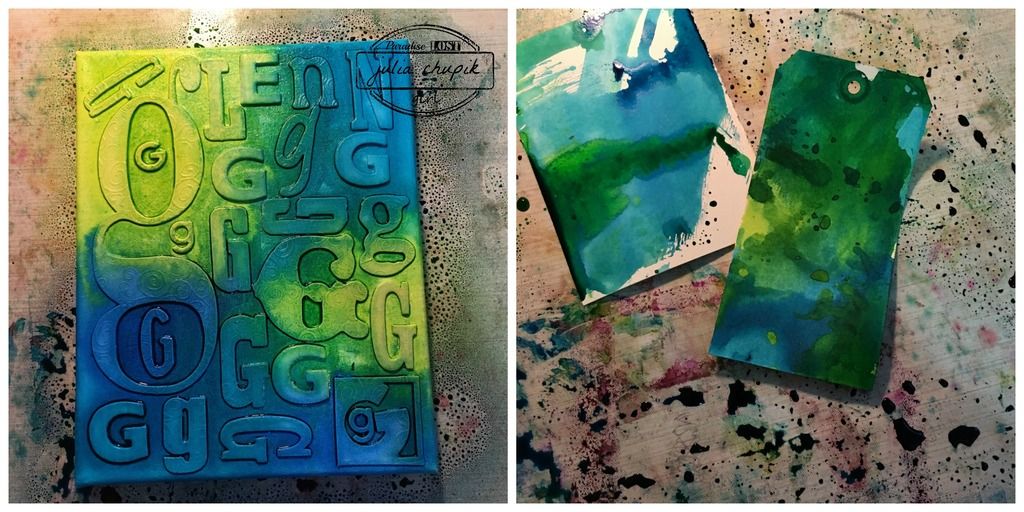
As with my other canvases - I started with a plain 8x10 canvas that I adhered every single chipboard 'g' that I could find in my stash. I used every single one! Once the matte medium was dry I covered the entire canvas in gesso.  
After the gesso was completely dry I began spraying my canvas with Dylusions Ink Sprays ~ Fresh Lime, Calypso Teal & London Blue.
I couldn't let all the awesome colour go to waste so I grabbed a couple of tags and my art journal to soak it all up for future projects.

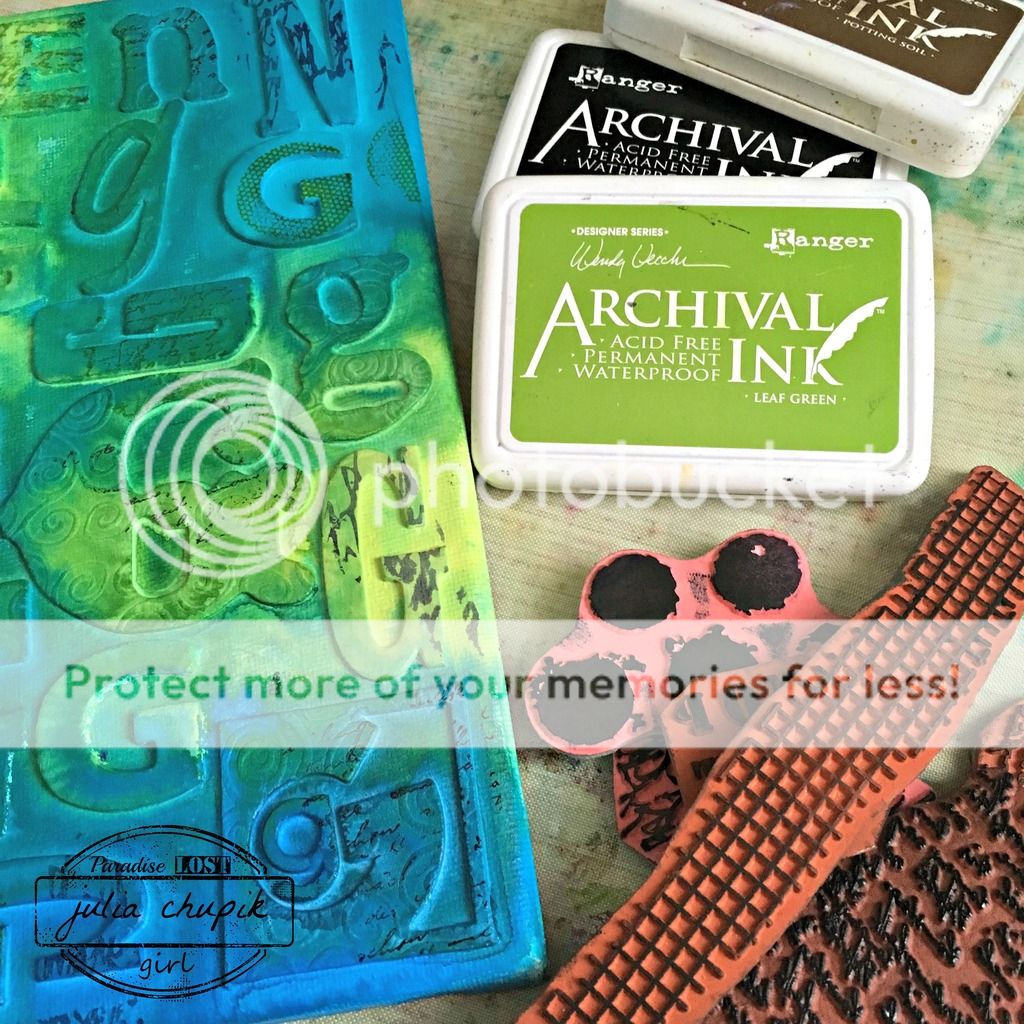
Next I added some stamping using some of my favourite texture stamps and Archival Ink in Jet Black, Leaf Green & Potting Soil.

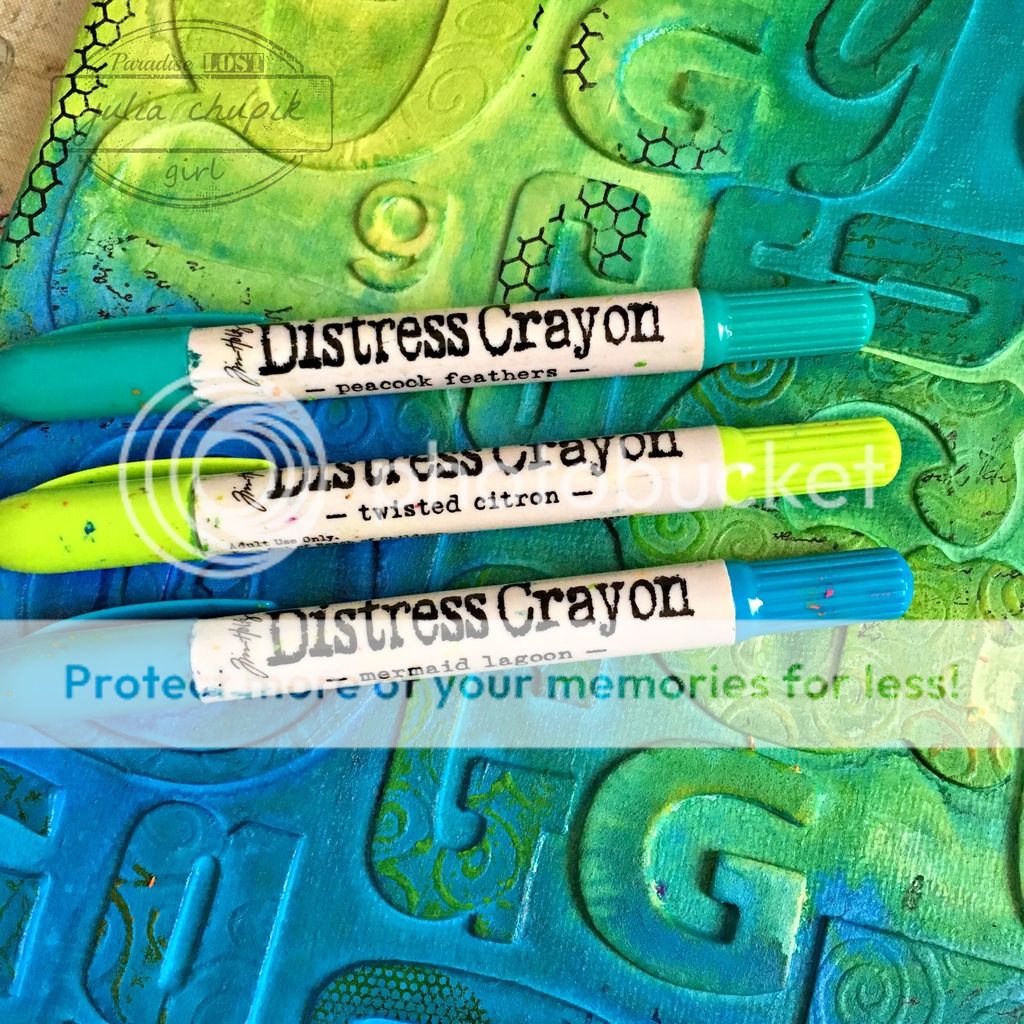
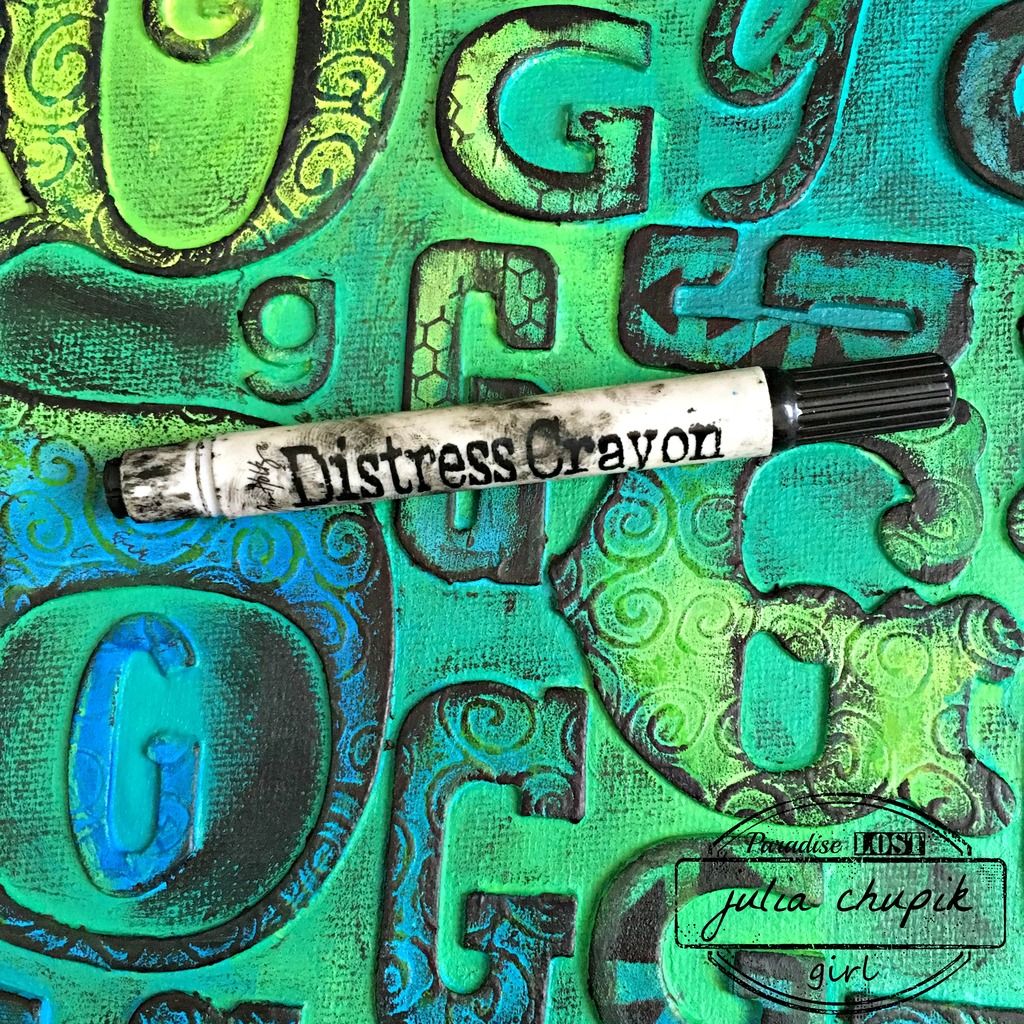
I grabbed my Distress Crayons next and used them to apply some highlights to the embossed textures on some the letters.

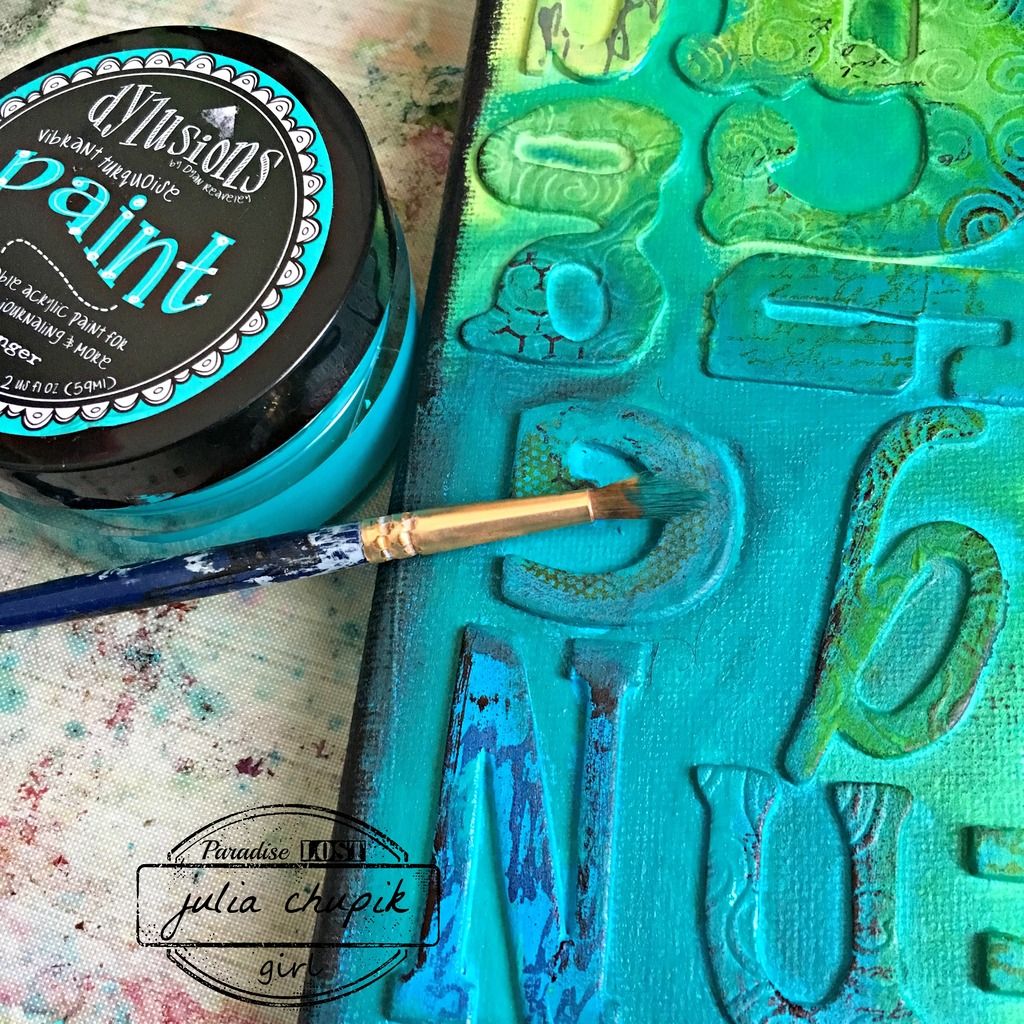
I even out the background & to help the letters pop, I painted around the letters with Dylusions Paint ~ Fresh Lime & Vibrant Turquoise. I love Dylusions Paints - they are so lush and smooth!


Next up - my trusty Black Distress Crayon to dirty things up a bit.

I used my white Sharpie paint pen to add highlights around the letters of his name and a few added splotches of paint in white and black to finish it off before adding the focal point.


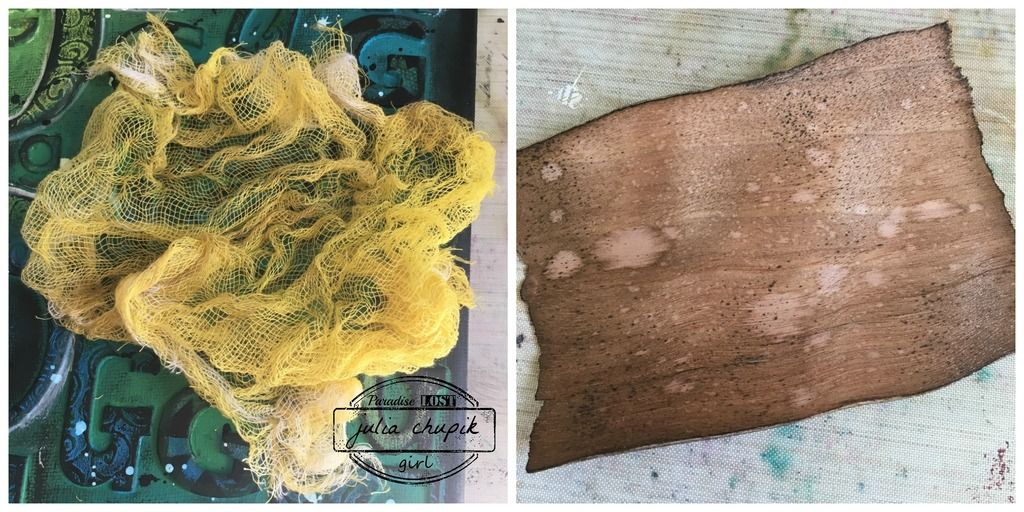
To anchor my photo to the canvas I took some cheese cloth and rolled it in some Squeezed Lemonade Distress Stain. To grunge it up I rubbed my Walnut Stain Distress Ink Pad over it.
my next layer is a piece of wood veneer paper from MME that I have had in my stash for quite sometime. I used Walnut Stain Distress Ink & my blending tool to add some colour then the spritz & flick technique to remove some colour and to add interest.

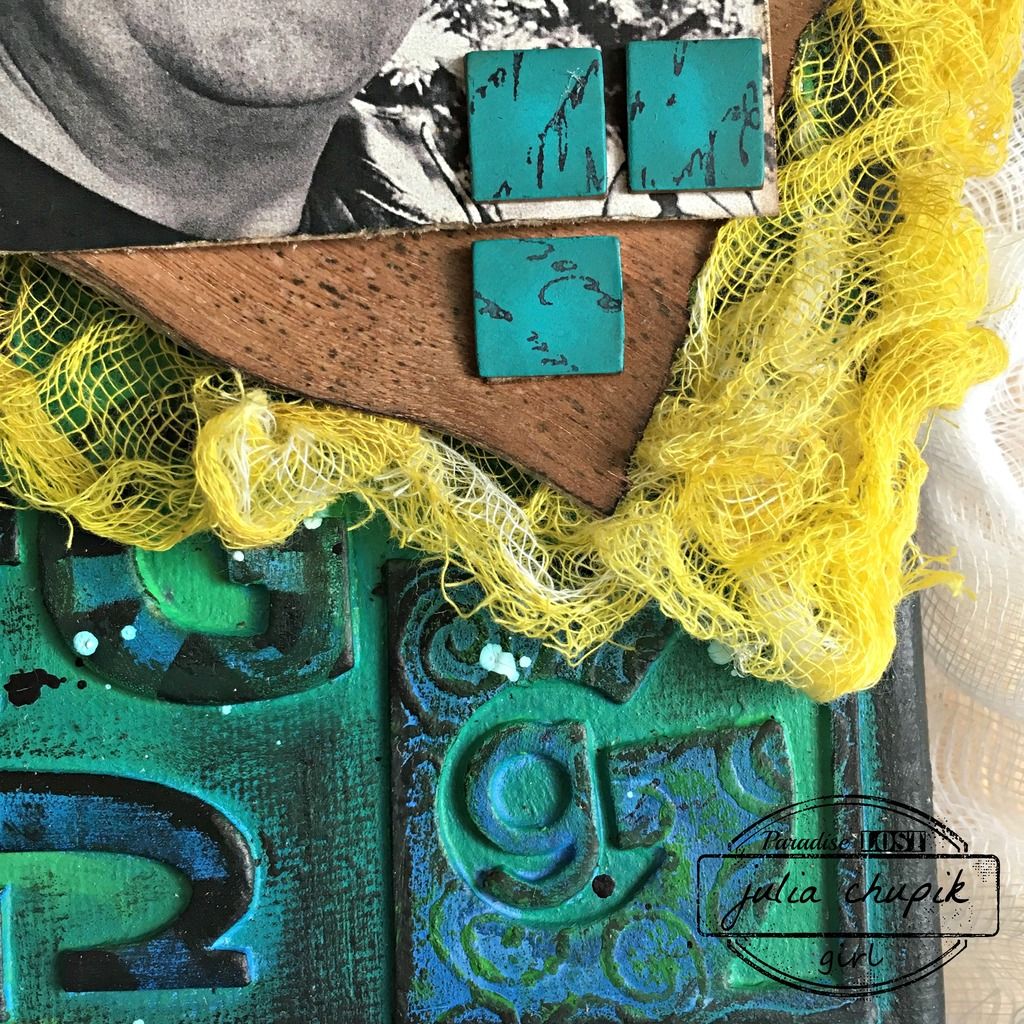
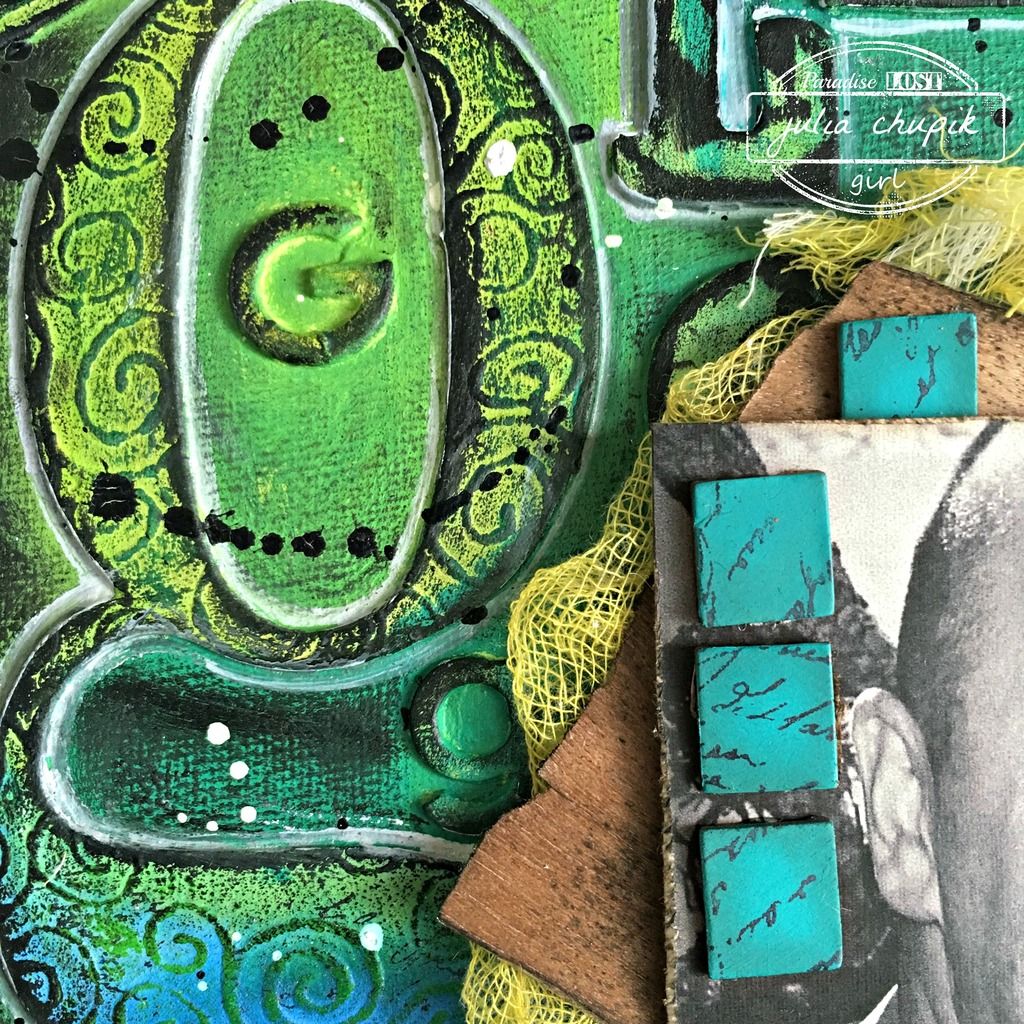
Here is a close up of the layers ~

And another one of the canvas ~ 

~Finished canvas~


Monday, 6 June 2016

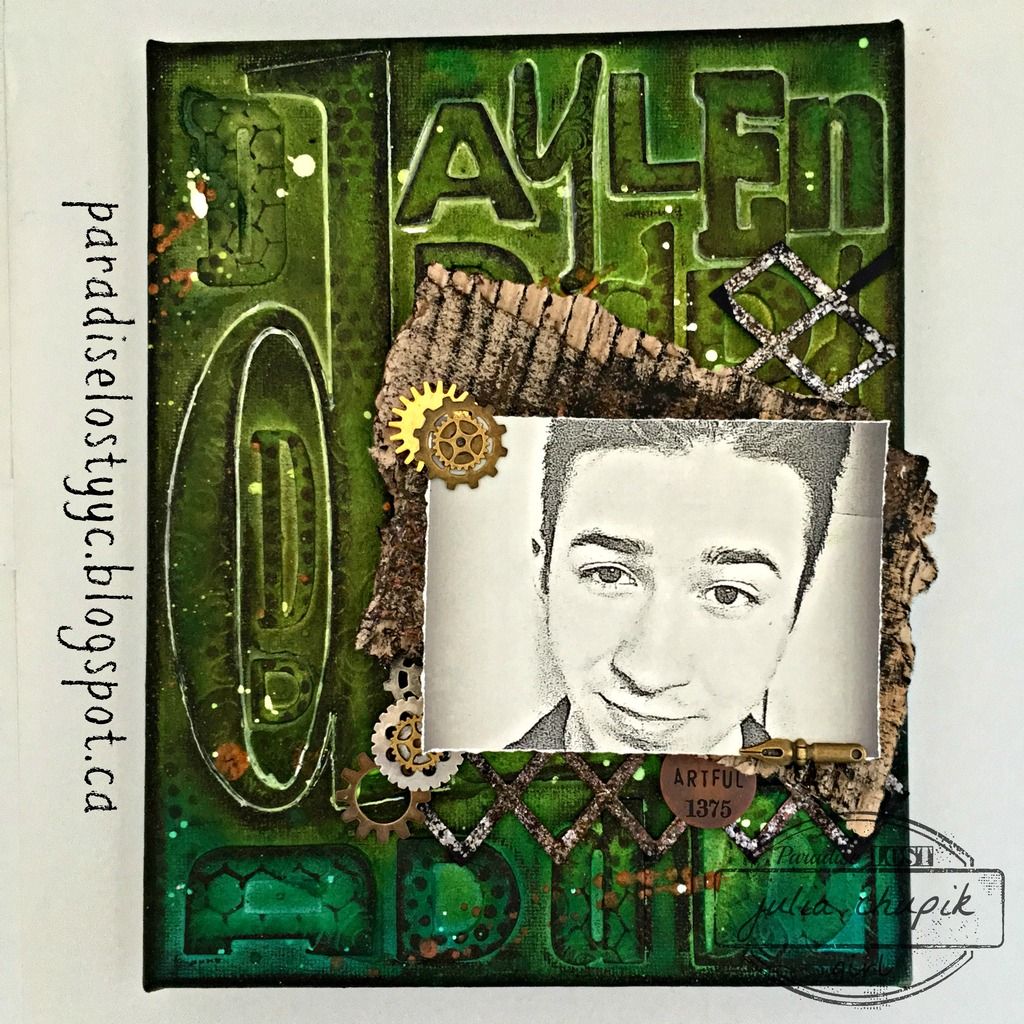
All The D's ~ Dashing Daylen

Hello! I am back today with another mixed media canvas I created 
using chipboard letters from my stash. This canvas features a selfie photo I 'stole' from my son's Facebook page. He's my youngest and this past fall went off to college to pursue his dream of becoming a graphic artist/character designer. Check out his artist page on facebook to follow his journey and to see some of his art - Daylen Chupik ~ Artist.

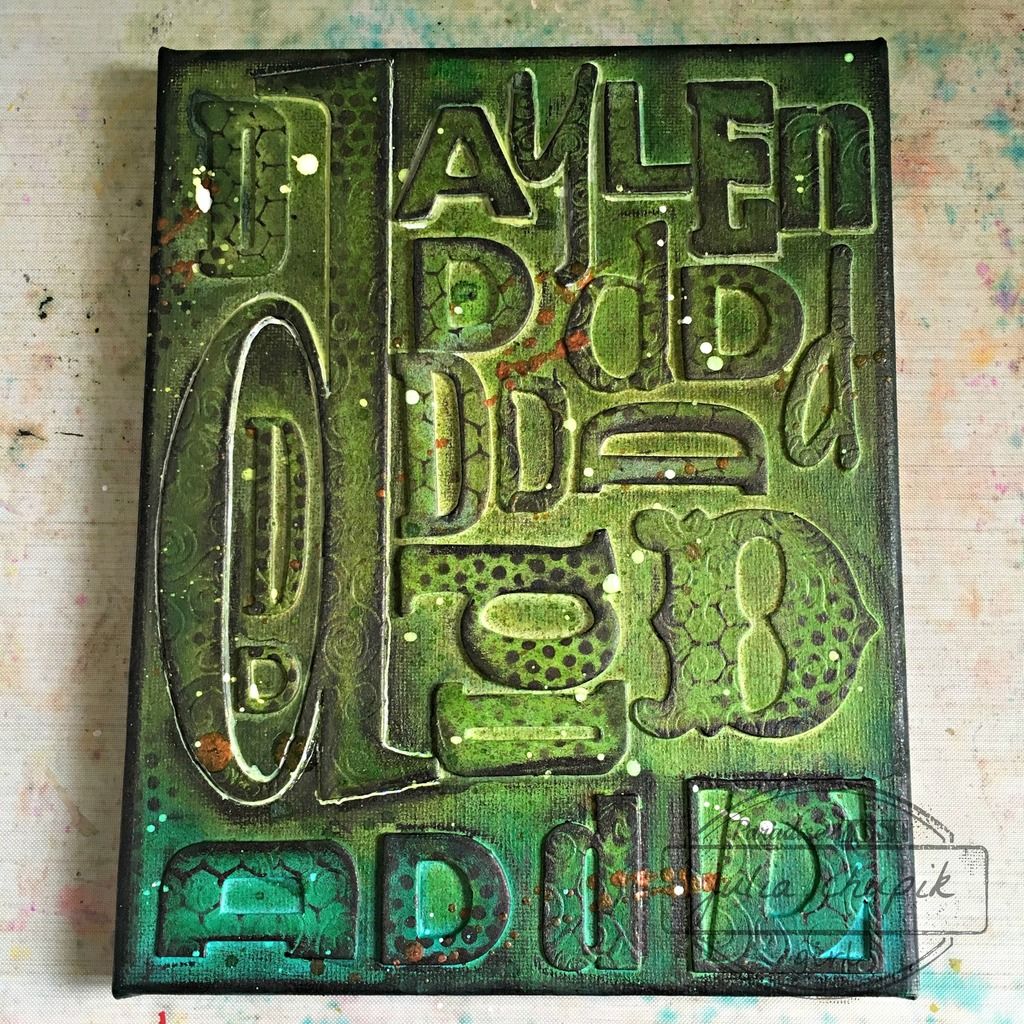
Here is my finished  canvas ~ 

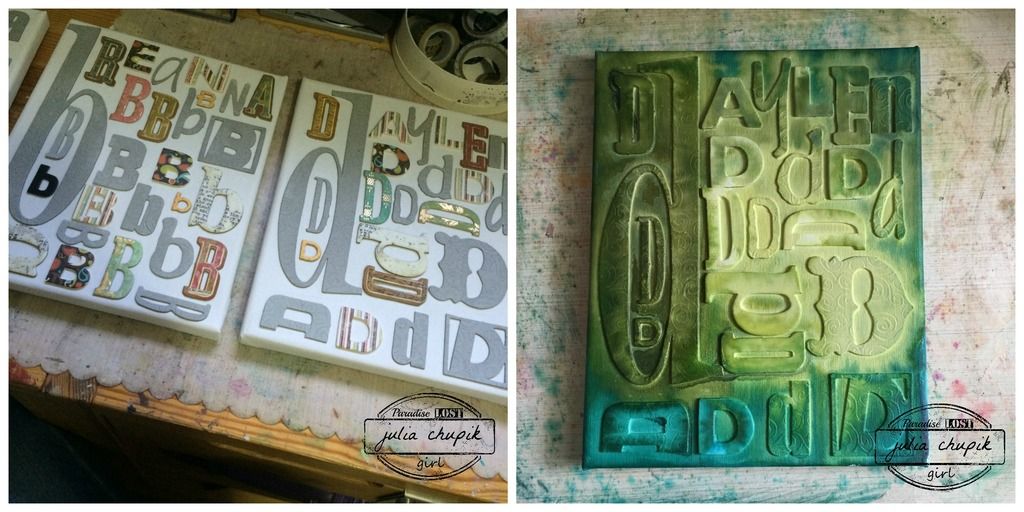
First I started with an 8x10 canvas and adhered my chipboard down with matte medium
then covering it the entire thing in 3 coats of gesso.
Once everything was dried, I started spraying my canvas with Dylusions Sprays ~
Fresh Lime, Dirty Martini, Polished Jade.

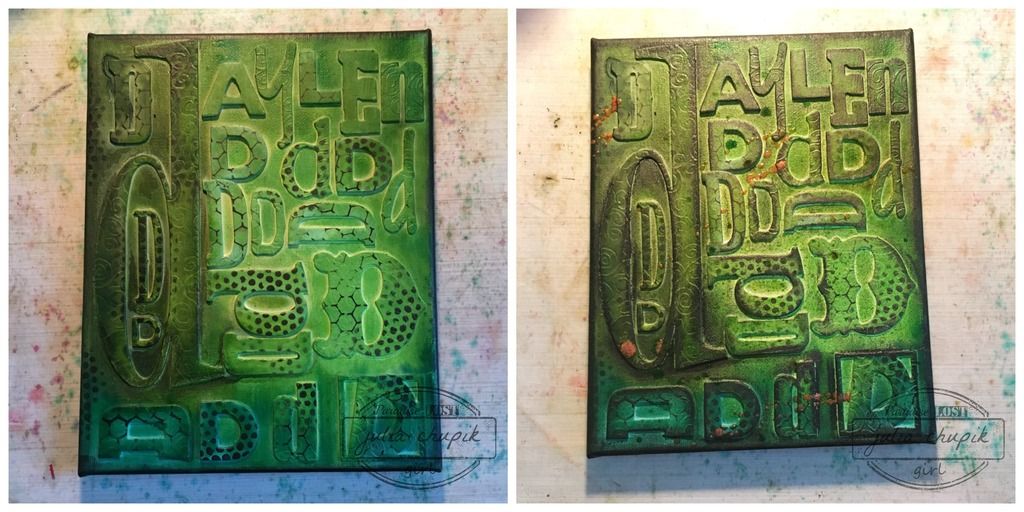
Once the sprays were dry I used my Black Marble Distress Paint & blending tool with a couple different layering stencils to add some random patterns & added some Peeled Paint & Cracked Pistachio Distress Ink. The copper splatters are irRESISTible Texture Spray from Imagine Crafts.

At this point, I realized that the letters of my son's name needed a little help to pop off the dark canvas background so I took a white fine point Sharpie Paint Pen and traced around them. I also used this pen to add some white splatters to help break up the darkness of the canvas.
To help 'frame' the canvas I added some more Black Marble Distress Paint with a blending tool
 to the sides and edges of the canvas.

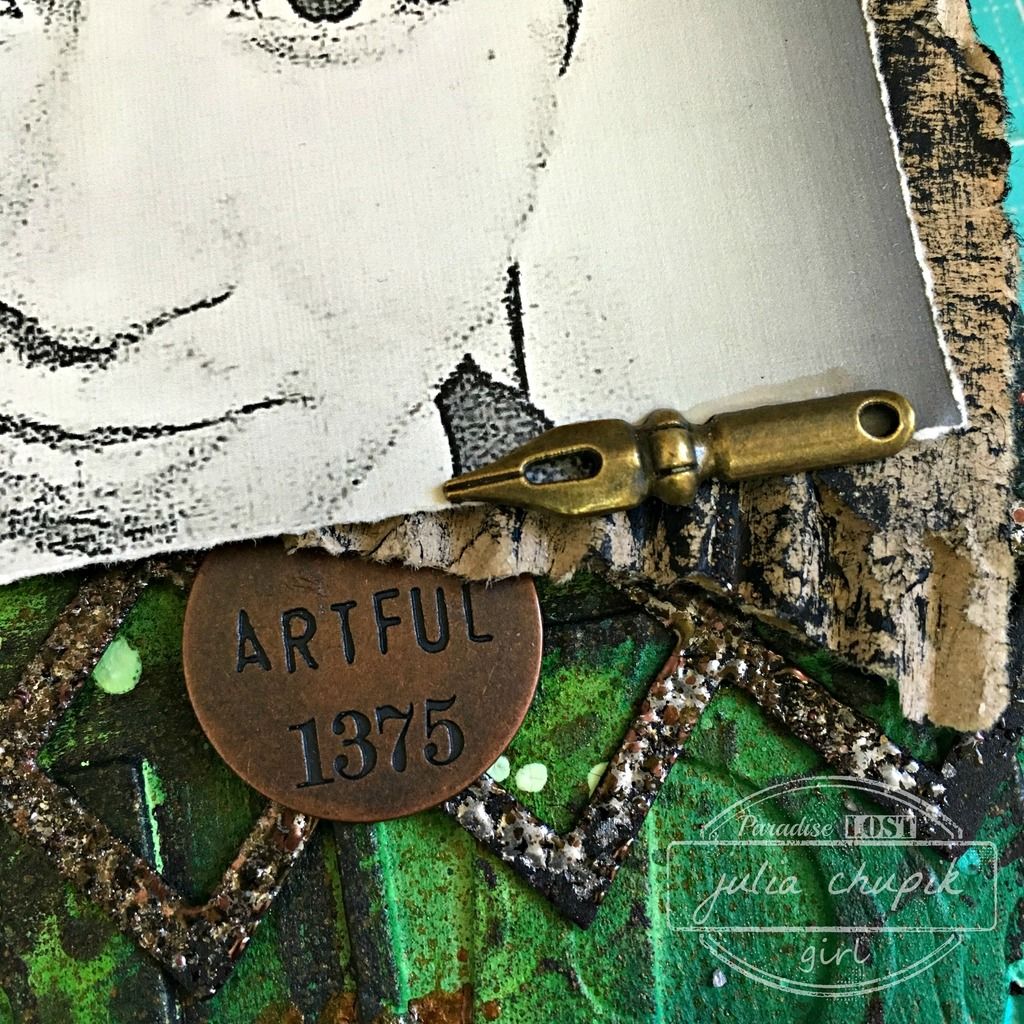
Now on to my focal point ~ the photo was a selfie I took off my son's Facebook page. I downloaded it and did some editing in PicMonkey before printing it off on linen cardstock.
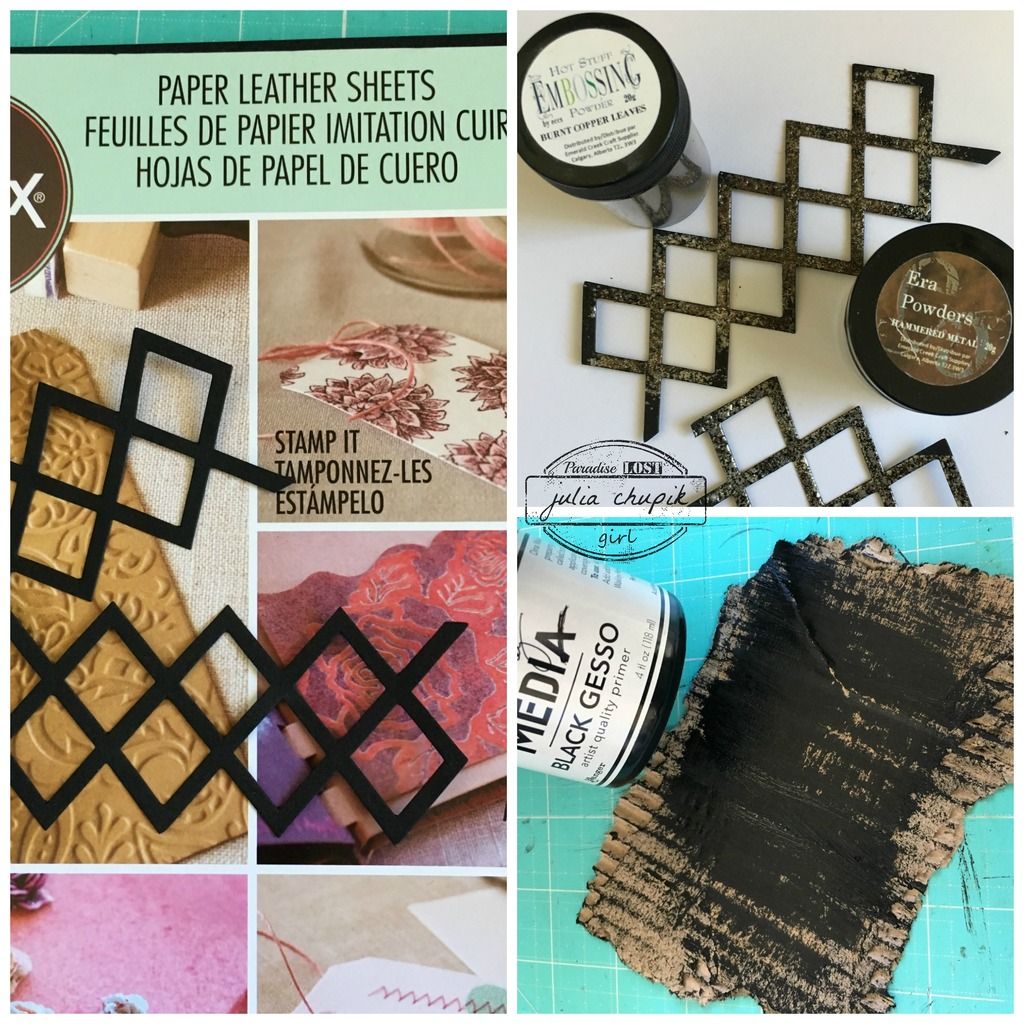
I used the Lattice Framework Die from Sizzix with the new Leather Paper Sheets also from Sizzix.
I added some Burnt Copper Leaves & Hammered Metal Embossing Powder from Emerald Creek Craft Supplies  to add a rusty metallic feel to the lattice.
 The anchor piece for my photo was some cardboard that I roughly torn up to be a little bit larger that my photo & dry brushed some black gesso over.

Here is a close-up photo of the lattice die with the embossing powders from Emerald Creek.
These powders are so delicious! I love every single one I have ever tried. Be sure to check out
the Emerald Creek store for these and so much more!

Once again ~ the final project. I enjoyed making these much and using up so many chipboard letters that I am also making more! One for me, my husband, our dog, a family one.....so many ideas!

Thursday, 2 June 2016

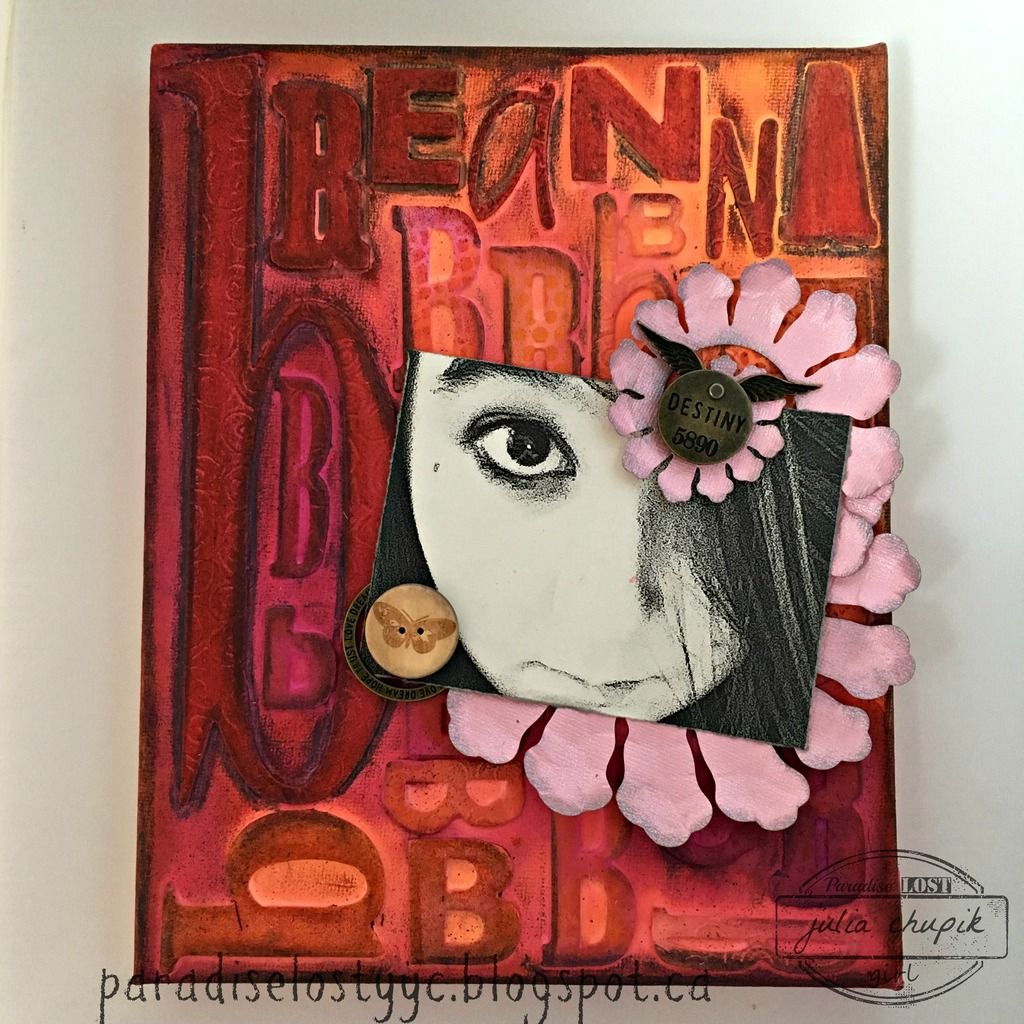
All The B's - Being Beautiful Breanna

Hello! I'm back this week with an idea that I have had going
around in my head for some time. When I was cleaning/organizing/purging my
craft room a few months ago I realized that I had accumulated quite quite a lovely collection
of chipboard & grungeboard alphabets. It was time to start using these.

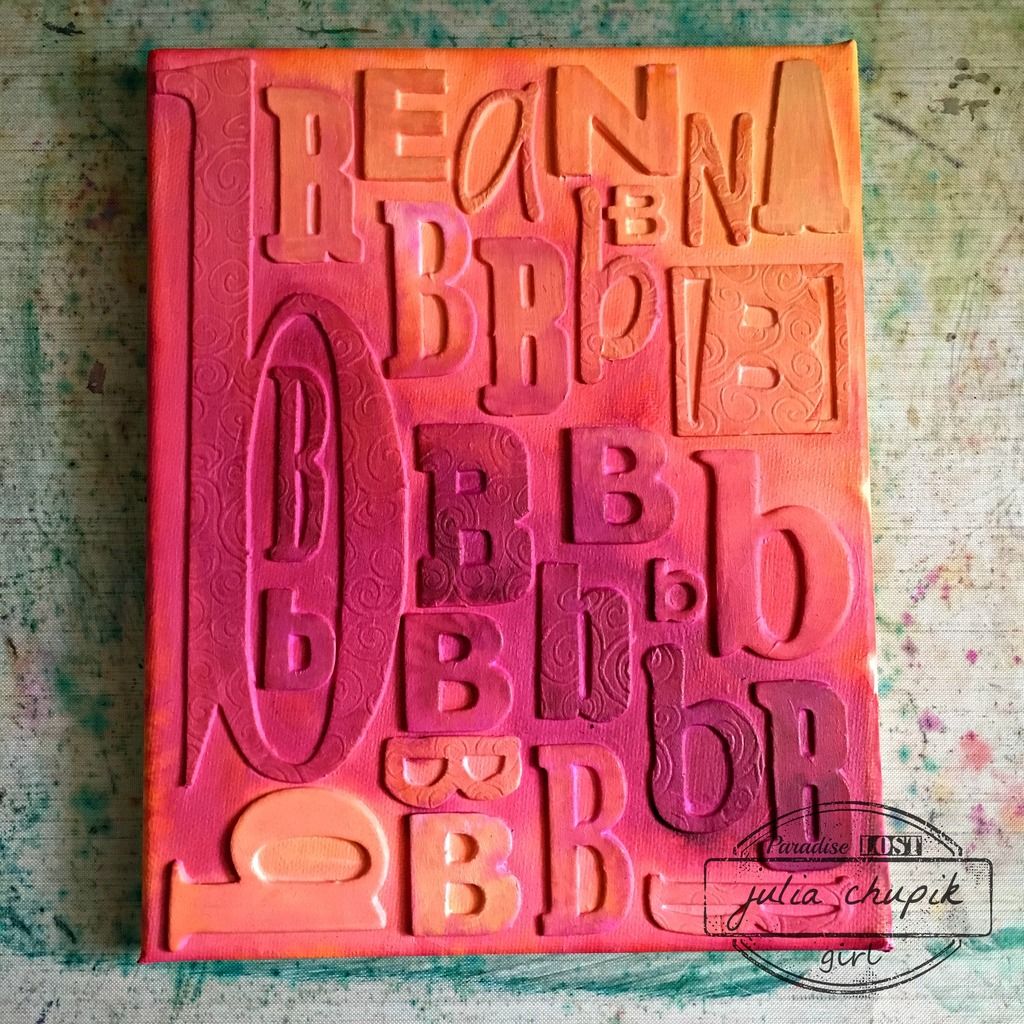
This is what I decided to do ~~~


I started with an 8x10 canvas and my collection of alphabets.
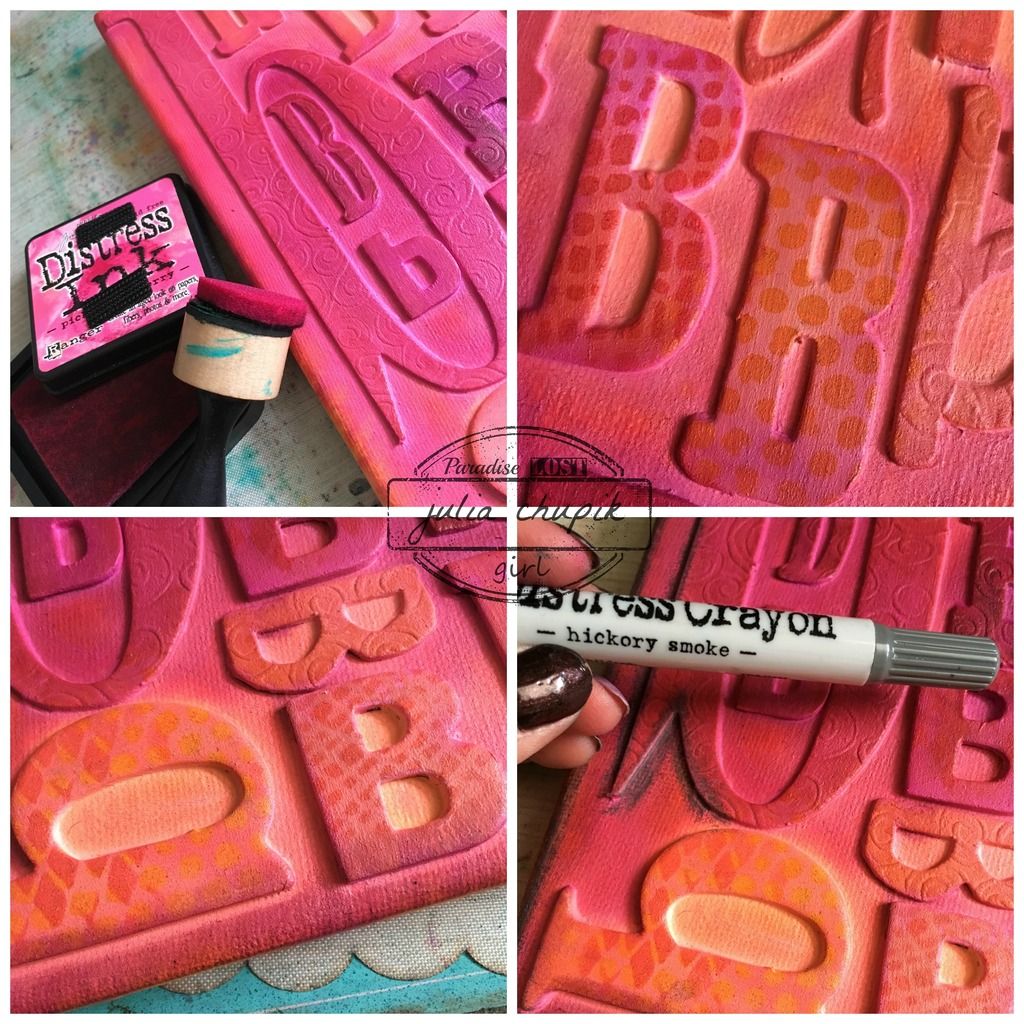
I first went through and spelled out my daughters name then pulled out all the B's.
I figured out the layout then using matte medium adhered them all down to the canvas. I then covered the entire canvas in the matte medium. I let this dry completely then applied 3 coats of white gesso.


I was finally ready to add my colours -
Dylusion's Sprays in Pure Sunshine, Squeezed Orange & Funky Fushia.
I love these colours together! So bright & sunny.

Next I added some Distress Ink in similiar colours just to help the letters pop a bit.
I also added some patterns using my layering stencils.
Lastly it was time to add a bit of grunge with my Hickory Smoke Distress Crayon along the edges and around the letters.

It was time for a few embellishments - 

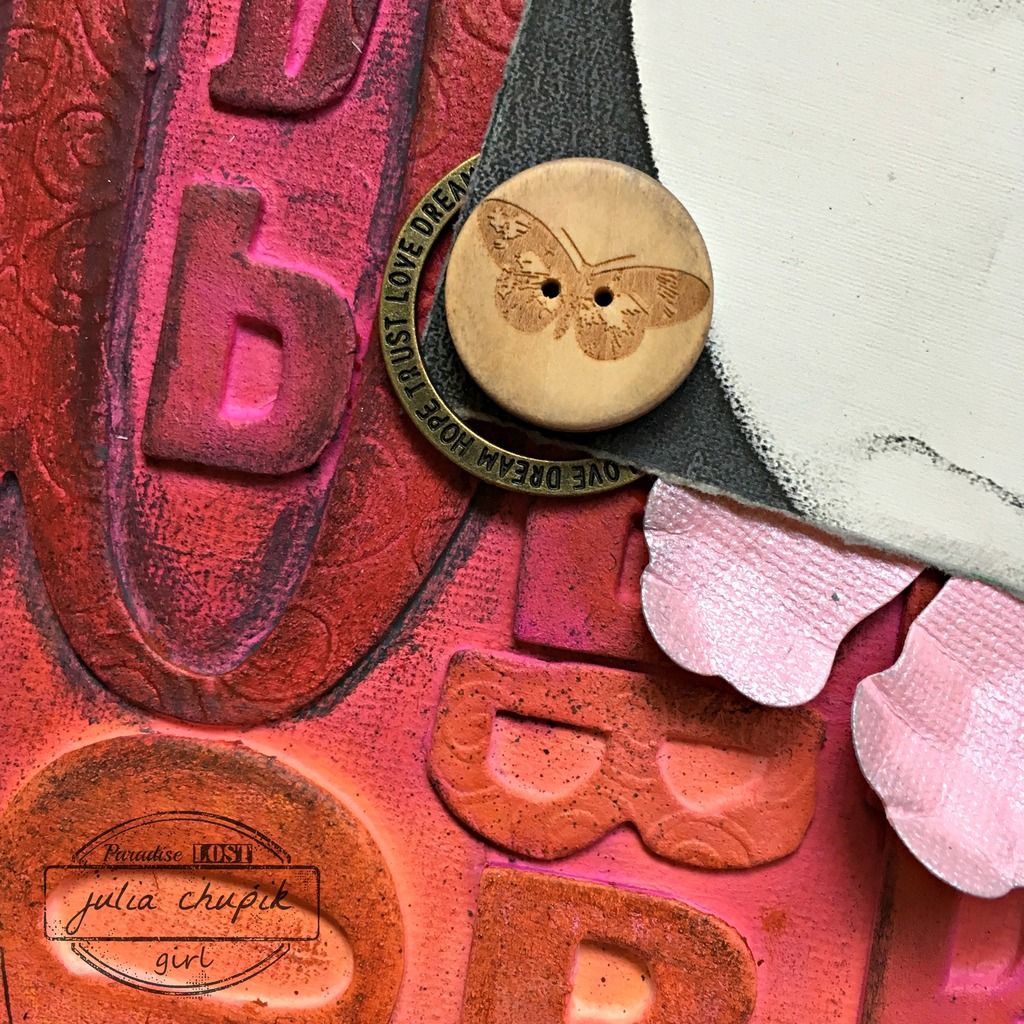
I kept the embellishments pretty simple. 
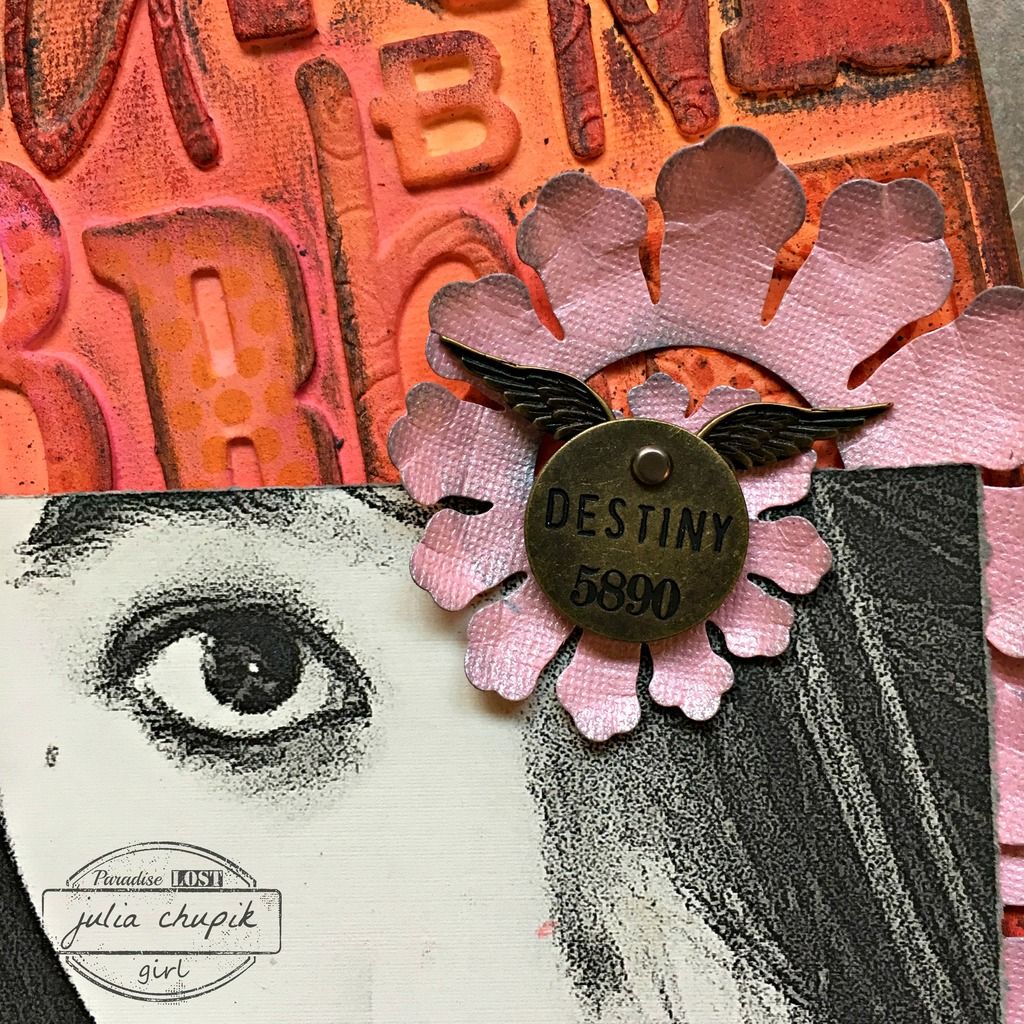
Thanks to my craft bestie Nicole Wright for letting me browse her impressive die collection - thats where I found the new Rolled Flower Die from Sizzix by Eileen Hull.
I cut the die cut in half stapled it back together in the shape you see here and using the blunt end of a paint brush shaped the petals. Before adhering to my frame I added a bit of Hickory Smoke 
Distress Ink to the edges.


submitted to the following challenges:

Rhedd's Creative Spirit - June Challenge


Thursday, 21 April 2016

Emerald Creek Dares - It's A Charmed Life

It's time for the next challenge at Emerald Creek Dares - and this one features the wonderful charms from Emerald Creek Craft Supplies. Kim has a fantastic selection of charms available at her online store. 

This will be my final Design Team post for Emerald Creek ~ I have enjoyed working with Kim & her amazing line of embossing powders, charms & stamps over the last 8 months. Check out the Design Team Call on the Emerald Creek Dares blog if you would like to join this fabulous Canadian design team!

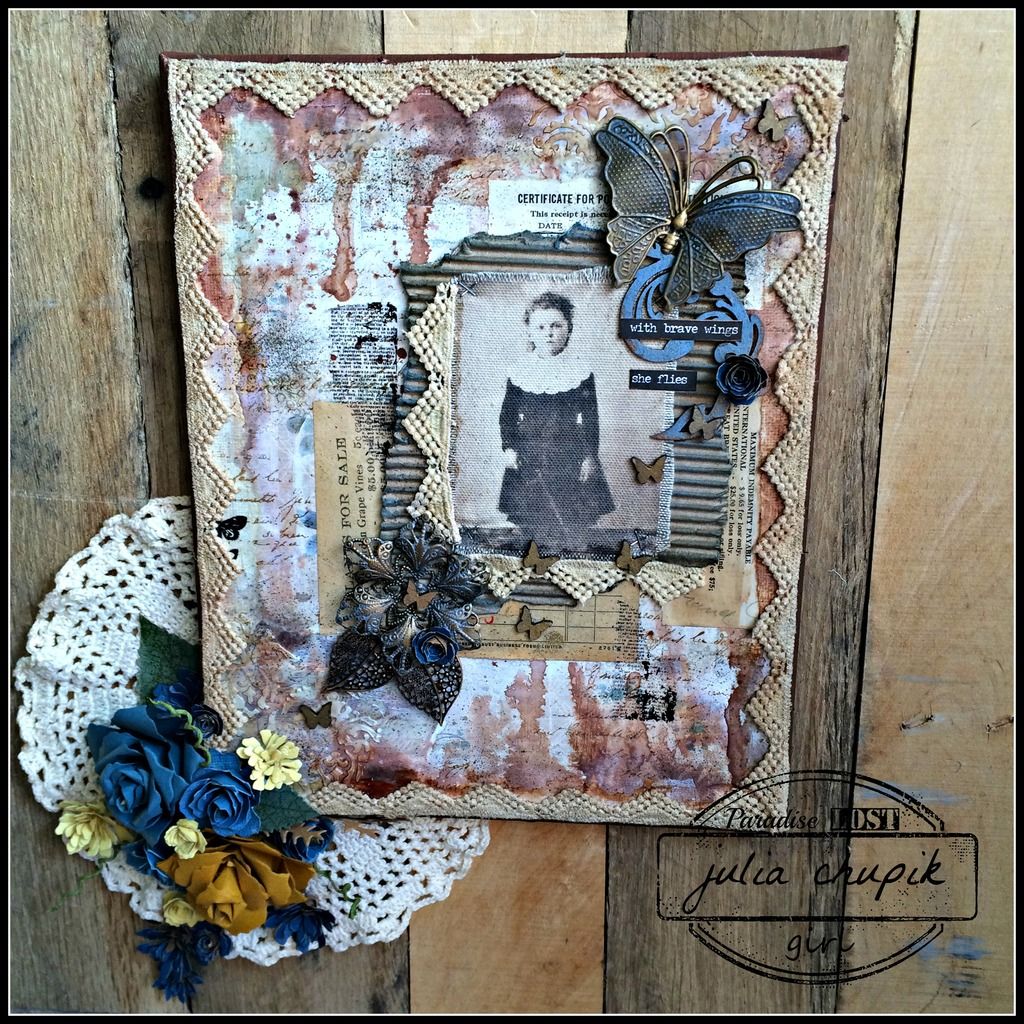
Now on to my project - I created a vintage look canvas.
I started with a flat 8x10 canvas and using matte medium glued down scraps of patterned paper from the Emporium Of Curosities Mixed Media Paper Pack from IndigoBlu.
Next I applied molding paste through the Flourish & Harlequin Layering stencils form Tim Holtz/Sizzix. I also applied DecoArt Crackle Paste with a palette knife.
After my canvas was completely dry I sprayed it with Dylusions Ink Sprays - Ground Coffee & Postbox Red. 
Still using the Emporium Of Curiosities Paper Pack from IndigoBlu, I placed paper pieces that I inked and distressed. This was going to begin forming my centre focal point.
The flowers were made using paper from the same paper pack and the Jumbo Tattered Foral die from Sizzix. Each flower is made of 6 layers of paper that I sprayed with water and scrunched up before fixing together with a brad.
The greenery is chipboard cut from the Garden Greens Die from Sizzix. I painted it with Peeled Paint Distress Paint. I then randomly stamped  a script stamp over the painted chipboard before covering  the pieces with the new Crazing Collage Medium from Ranger. I absolutely love the crackle finish the crazing medium leaves when it dries.
To add a bit more grunge I added some Burnt Copper Leaves Embossing Powder by first 'painting' on some matte medium over the edges of my canvas then sprinkling on the embossing powder. I let the this dry before heat embossing the powder.
A couple of Copper Filligree Leaf Charms from Emerald Creek perfectly finished off my floral focal point. A couple of vintage photos added to my canvas and I was done!

Now check out the rest of the design team projects for some more amazing inspiration then head over to the blog to share your 'Charming' projects with us for a chance to win!


Products used:

Emporium Of Curiosities Mixed Media Paper Pack - IndigoBlu
DecoArt Crackle Paste
Crazing College Medium - Ranger
Molding Paste
Layering Stencils - Harlequin, Flourish
Doily Die - Sizzix
Jumbo Tattered Florals Die - Sizzix
Garden Greens Die - Sizzix
Dylusions Ink Sprays - Ground Coffee, PostBox Red
8x10 canvas - Dollar Store


Thursday, 11 February 2016

Anything Goes - Emerald Creek Dare

It's time for a brand new challenge at Emerald Creek Dares and we want you to showcase your favourite technique, style or products .Whether it's mixed media, cards, scrapbooking or 3D ~ it doesn't matter. Anything goes!

My creation is near & dear to my heart and brings 2 of my passions together.

Paper crafting and genealogy.


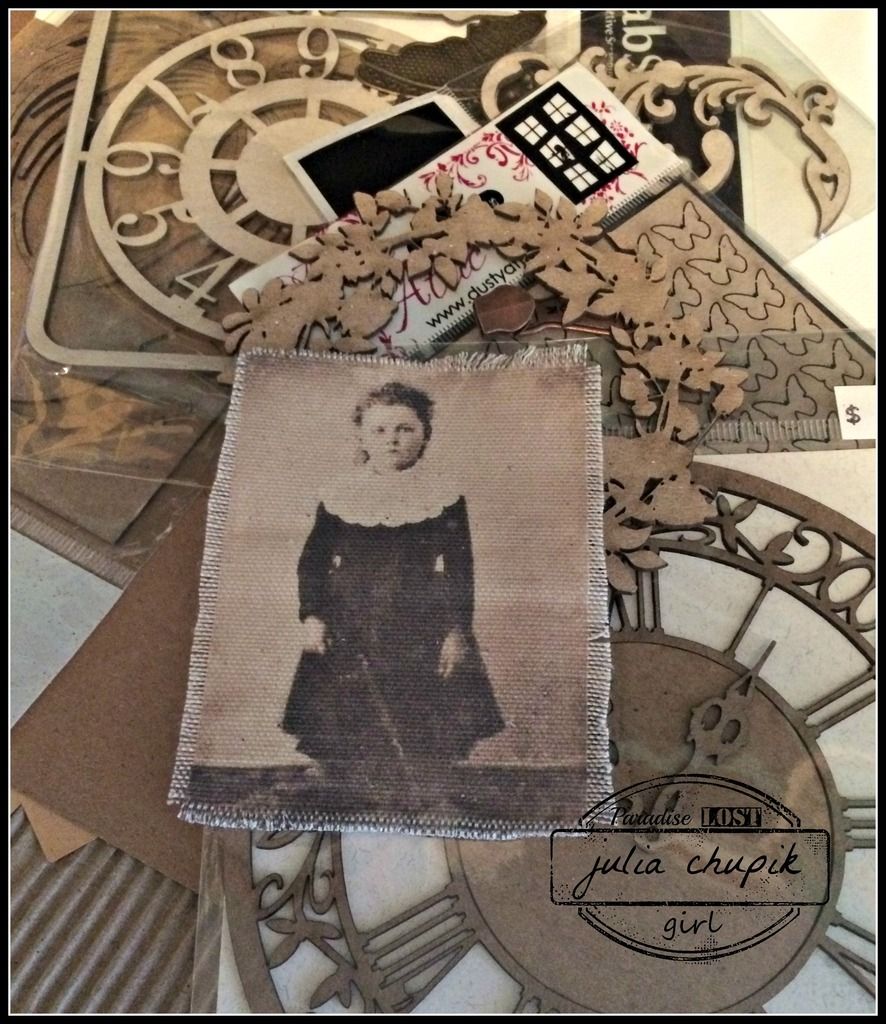
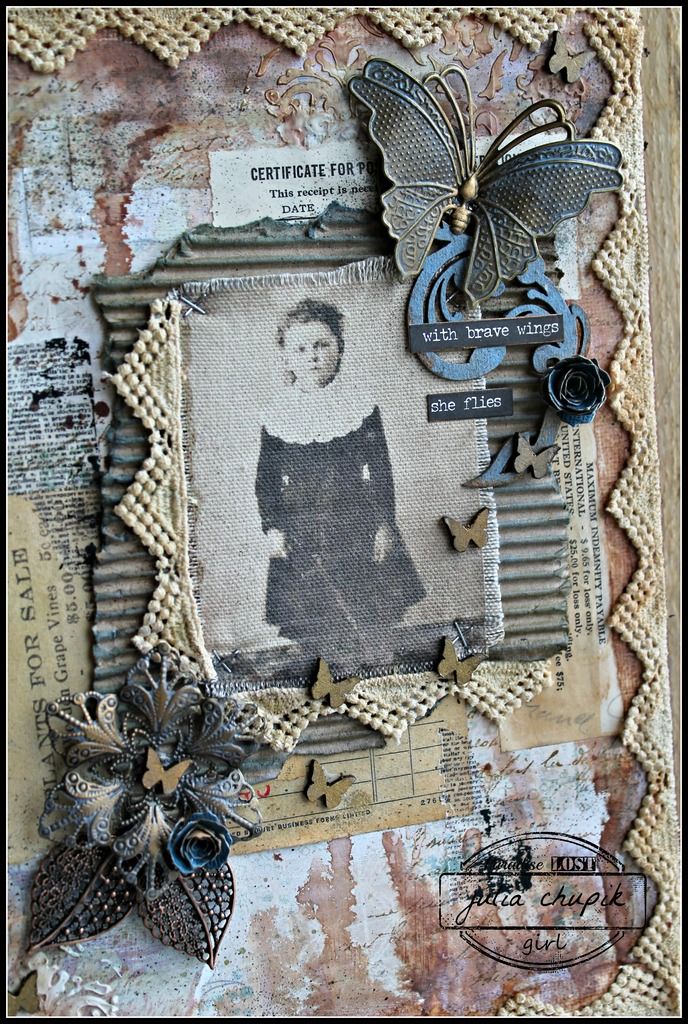
My project today was inspired by a tin type of my paternal great-great grandmother ~ Catherine ~ taken approx 1890. I scanned the tin type into my computer did some editing and then printed it out on some plain canvas that I had in my stash. I collected some other items ~ chipboard, ephemera and an 8x10 canvas.


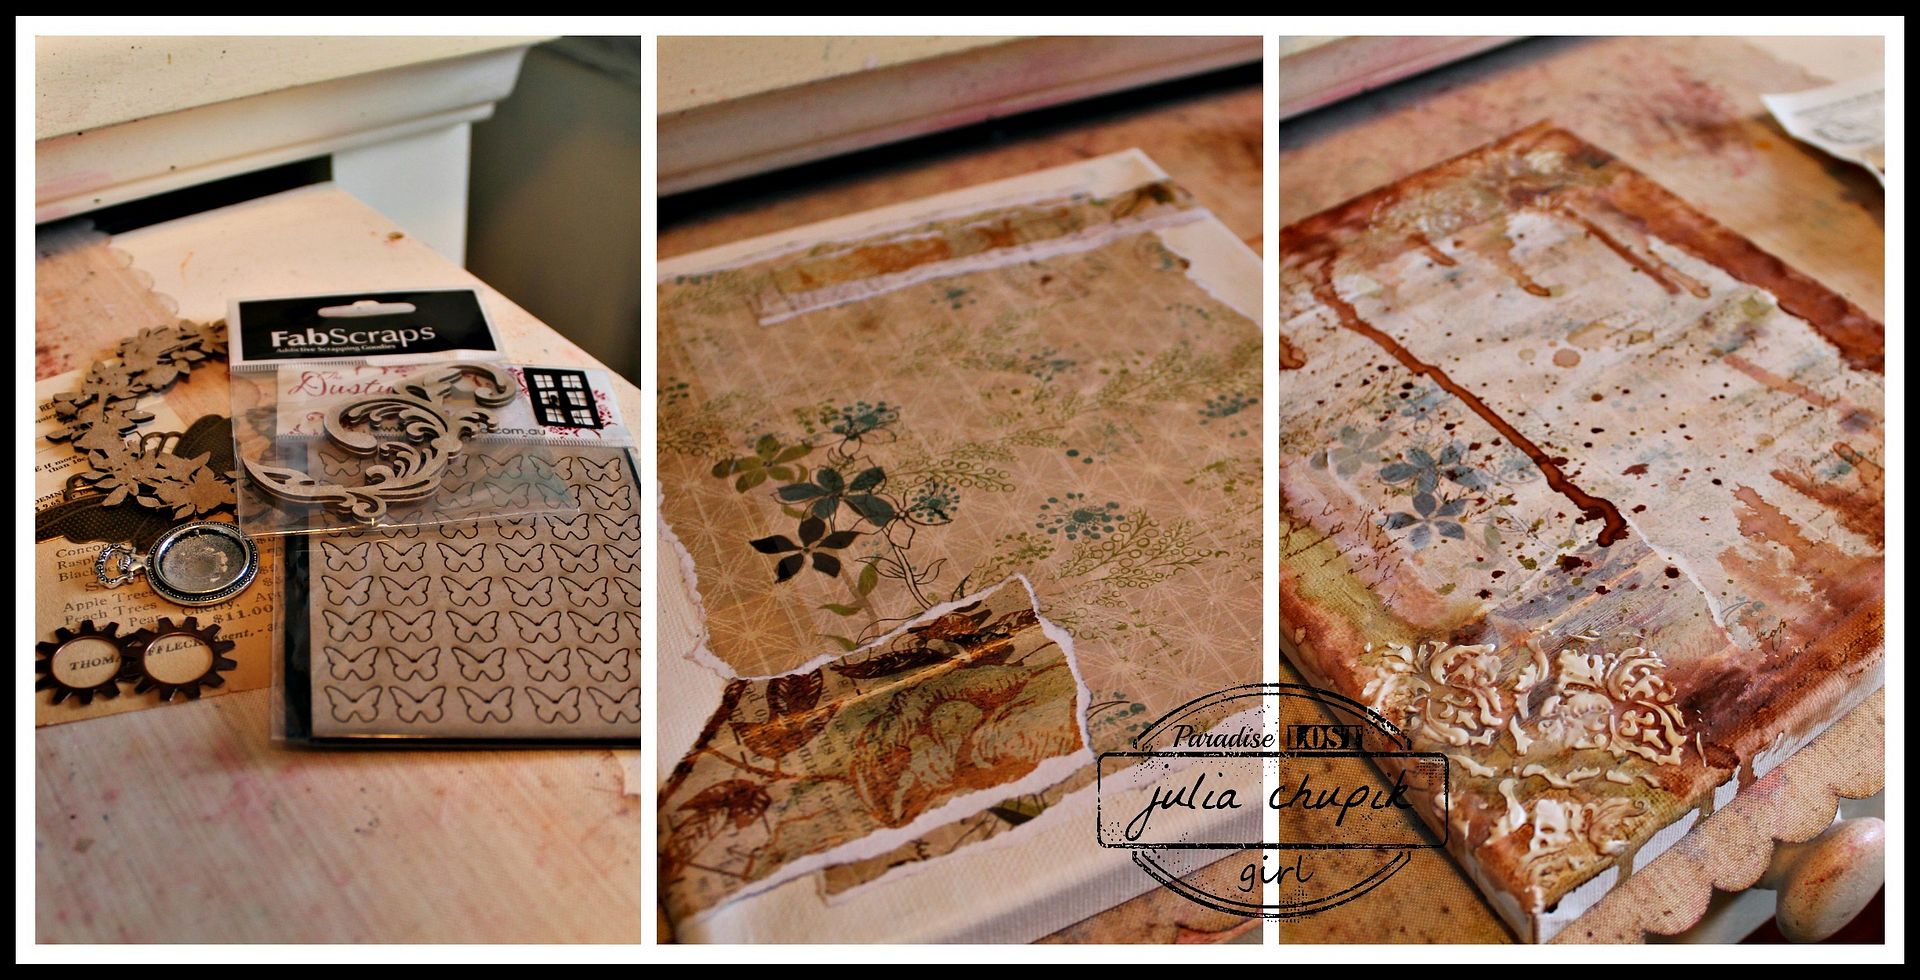
I started by adhering a scrap of patterned paper that I had in my stash to the frame before using matte medium to adhere some old receipts and newsprint. I then sealed the whole thing with matte medium & let the frame dry completely before the next step.


I then started adding Distress Stain in Vintage Photo, Weathered Wood & Old Paper ~ misting with water and letting it drip from the top of the frame. I made sure this was dry before repeating this step from the bottom of frame.
I added some molding paste through a stencil in 2 corners of the frame, some Remnant Rubs in a few places and Ground Espresso Distress Marker with my spritzer.
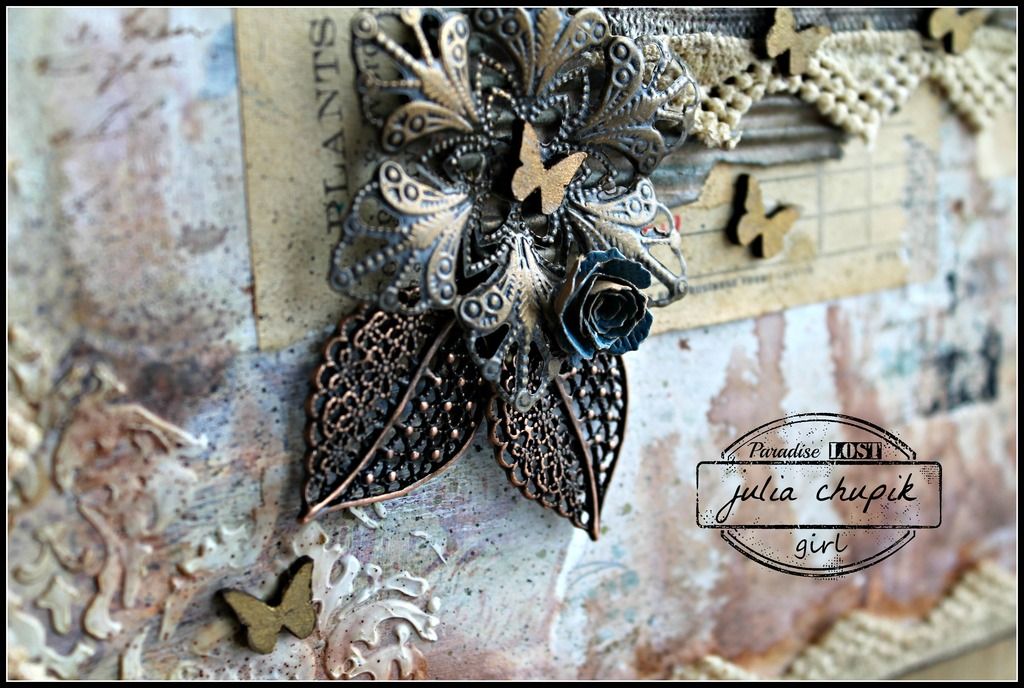
The metal pieces have been painted with Weathered Wood Distress Paint and wiped back when the paint is dry. I then applied some metallic rub-ons. I also used metallic rub-ons on the small chipboard butterflies. 


Check out these amazing Filigree Leaf Charms from Emerald Creek Craft Supplies. The antique metal alloy finish on the charms were perfect the way they were so I didn't have to add anything to them. 


Before adhering my frame to the pallet board backing I placed a vintage lace doily to the wood.
My final step was to make some Tiny Tattered Florals and some bigger flowers with the Tattered Pinecone & Jumbo Tattered Pinecone die from Sizzix.

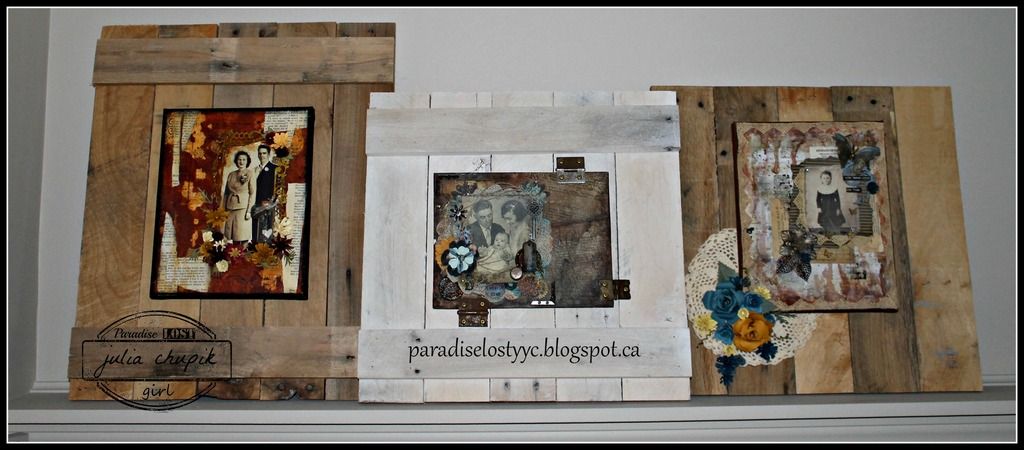
My family history gallery so far ~ 


Thank you so much for popping by my blog today!

Don't forget to visit the rest of the Emerald Creek Design Team 


Show off your stuff for our Anything Goes Dare
for a chance to win a $25 credit to Emerald Creek Craft Supplies

~stay crafty~

julia