Showing posts with label Distress Crayons. Show all posts

Wednesday, 22 November 2017

Merry & Bright Etcetera Tag

Welcome back my lovely crafty friends!

It's beginning to feel a lot like Christmas around here. I took a break from cardmaking and made this decor item using a medium Etcetera tag.

~ The finished project ~

I began with a medium Etcetera Tag and the Christmas Paper Stash.

I chose several different patterns of paper and trimmed them down to make a patchwork on my tag. I used matte medium to adhere my paper to the tag & trimmed off the excess. I then used my sanding block to distress the edges and peel off bits of the paper. 

I used my Distress Crayons - Black Soot, Vintage Photo & Walnut Stain - to go around the edges, of the tag and the pieces of paper.

Next I added some Antiqued Bronze Distress Crayon - this added just a bit of shimmer.

To complete my tag - I added some Festive Paper Dolls, Christmas Quote Chips, 
Christmas Clippings Stickers, 


Products Used:


Tuesday, 14 November 2017

Designer Challenge: Distress To Impress

Hello, my crafty friends!
It's time for another designer challenge from

This month the designers were given Distress Crayons Set 9 to create and inspire with.
Until the end of the month all sets of Distress Crayons will be 25% at Scrap 'n Stamp so its a great time to try them out or to complete your collection.
Be sure to leave a comment on my blog for a chance to win a set of Distress Crayons. Increase your chances of winning by visiting all the designers blogs and leaving some love.

Here is my finished project:

I started by gathering up my Distress Crayons, a couple of tags (covered in white gesso) 
and a couple of stencils. These stencils are the Autumn layering stencils from Tim Holtz. 
I used both the large and mini sizes.


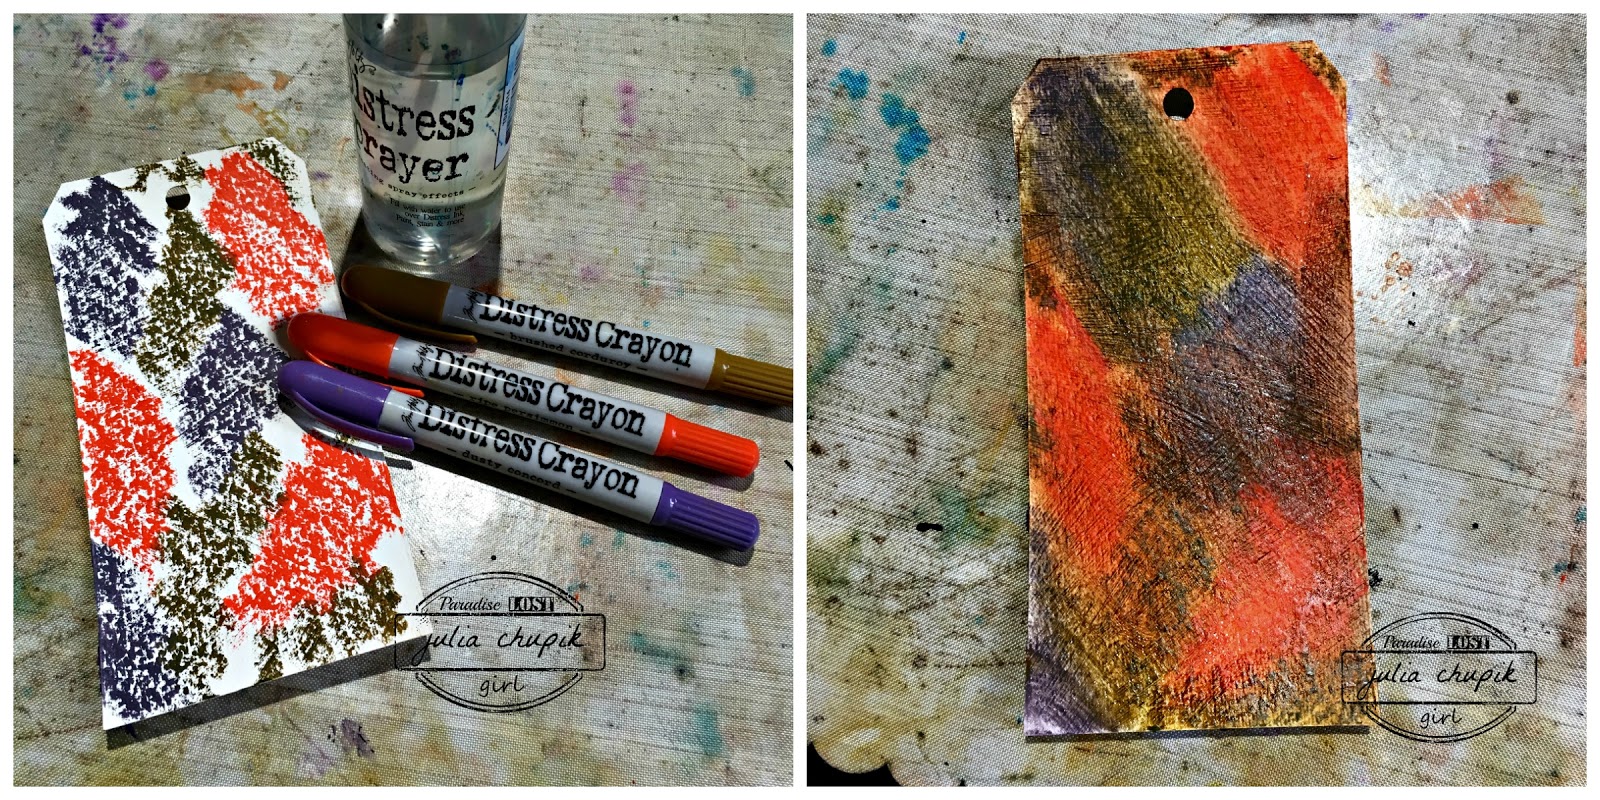
Distress Crayons Set #9 includes these colours: Barn Door, Ripe Persimmon, Pine Needles, Faded Jeans, Dusty Concord & Brushed Corduroy.
I started by scribbling Dusty Concord, Ripe Persimmon, & Brushed Corduroy randomly over my gesso covered tag. I find the colours blend best over gesso. I sprayed some water on my spalt mat and used my finger to blend the colours on my tag.

Next I took the large Autumn tag and with a baby wipe removed some of the crayon.

I repeated this technique with the mini Autumn stencil.

For my second tag - I used the same colours of Distress Crayons and stencils bu changed my technique. This time I used a blending tool and a slightly damp blending foam to apply the crayon through the stencil. Again this tag has been covered with white gesso. 

These were both tags at this point - one very bold & the other very subtle.

Before continuing I finished the edges of the tag with Distress Crayons - Dusty Concord on this one an Ripe Persimmon on the other (sorry, no pic)

I used my Bird Crazy & Crazy Dog stamp & die set for my focal points & coloured them in with a water brush pen and Distress Crayons. 

 I used the coordinating dies and cut out my images in black fun foam.
This game my stamped images a bit of dimension when adhered to my tag.

For my foliage I created a third tag using the distress crayons & the Bubbles Mini Stencil.
I used the small smallest dies from the Fall Foliage die set to cut out a bunch of leaves.

After adhering the leaves and stamped image to my tag I finished it off with a Small Talk sticker from the occasions pack.

Thank you so much for stopping by my blog today! Now head over to Karen's blog for even more Distress Crayon Inspiration.
Don't forget to leave a comment - you could win a set of Distress Crayons from

Design Team:

Julia Chupik (you're here!)


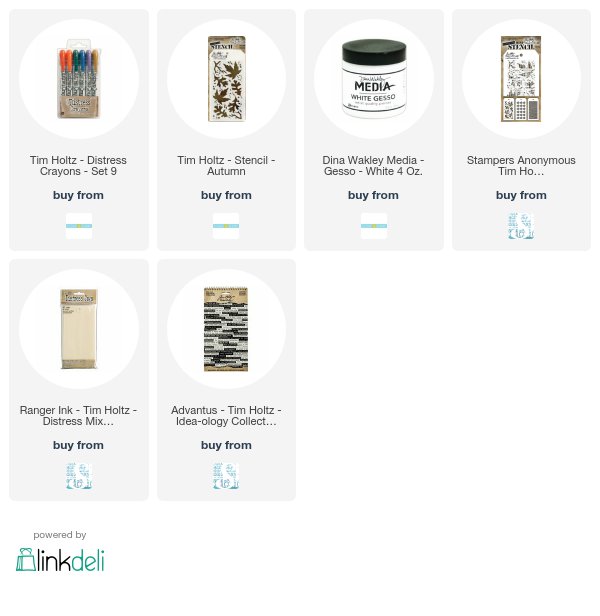
Products Used:
(This blog post contains affiliate links)

Wednesday, 11 October 2017

Twisted Trinket Box

Welcome back! 
I am here to share a 3D Halloween decor piece today.


I used the 3 In 1 Trinket Box Scoreboard XL die by Sizzix from designer Eileen Hull. 
I cut our the pieces using white mat board. I painted these with Dylusions Paint: Tangerine Dream.
Then sanded the edges.

Next I inked them with Walnut Stain Distress Ink. The sanded areas picked up the ink really well to give the painted mat board a dirty distressed look.

Then I added some more grunge with Black Soot Distress Crayon.

Before assembling my box I added some stamping.

One of the focal points of my box was this Ghost Die - Tim Holtz Bigz Die from Sizzix.
I painted these with Dylusions Paint: White Linen.

I sanded the edges.

Then inked the edges with Black Soot Distress Ink.

For the inside of my trinket box I added some Black Soot Distress Crayon to 
these resin bones from Tim Holtz Idea-ology.

I added some mini Paper Dolls from the Tim Holtz Paper Dolls - Ancestors  Pack.


To add the light element behind the bone pile I made a small cut on the back of the box and inserted a tea light. I left it white for the photo but then later on painted and inked it to blend in more with box.

I added a small skull rub on to the boys face. The hand and spider are also rub ons.
A few Chit Chat stickers and a word token and my Haunted Trinket Box was ready to be displayed.
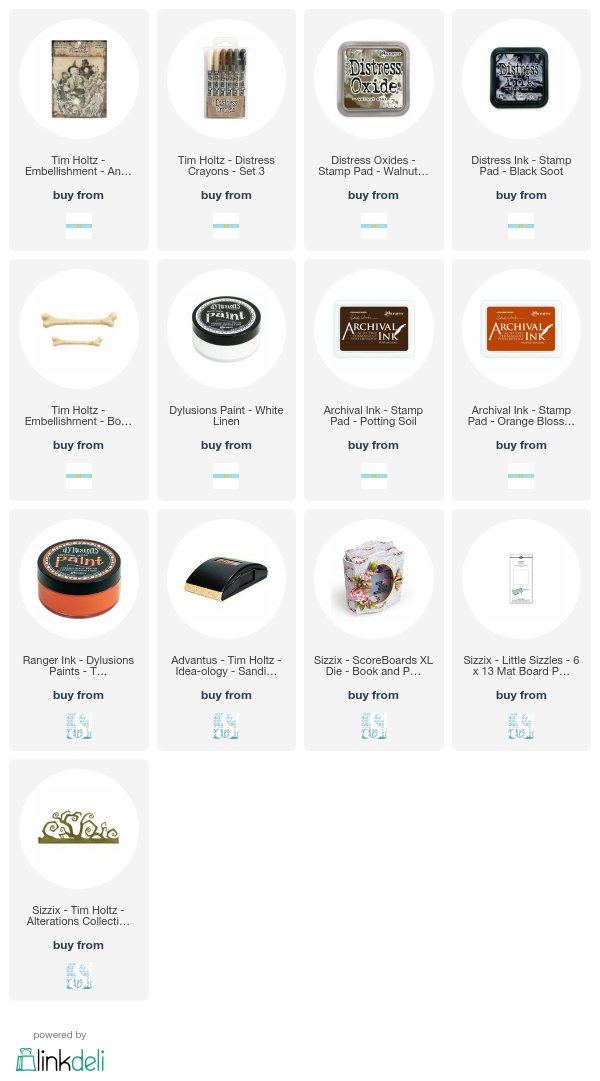
Here are the affiliate links for the products used for this project:

Tuesday, 18 April 2017

Art Journal....Be Brave & Create Art

Welcome to my blog! A place where I share my creations - art journals, scrapbooking, cardmaking and mixed media. I hope you enjoy your stay and visit often. Leave me a comment so I can visit your blog. I love making new crafty friends and being inspired.

Today I am going to share a journal page I just completed in my calculus textbook. 

Once a month I co-host a local crop for a lovely group of ladies. It's a lot of fun but I usually don't get a lot done except backgrounds in my art journal. This is how this journal page started and then sat unfinished for about month until this past week when inspiration hit.

My journal pages where prepped with a light coat of gesso. Once this was dry I took some Distress Paint - Gathered Twigs, Tea Dye & Scattered Straw - and dripped some of each colour on the right side page. I then closed the book, gently pressed down on it then opened it up again.

 Overall, I was pretty happy with how it turned out but to add another I pressed some Vintage Photo Distress Oxide on to my craft mat the smooshed my journal into it. I spritzed some water on my pages to activate the oxidation effect then dried my pages with my heat tool.

The Splash Layering Stencil from Tim Holtz/Stampers Anonymous is a new fave. I decided to do the stencil monoprint technique with Distress Oxide - Worn Lipstick. I pressed my oxide ink pad directly on my stencil. Then gave it a spritz of water before turning it over on to my pages.

I repeated this few times over both pages and then repeated it a few more times with Cracked Pistachio Distress Oxide.


Next I took my ink blending tool and applied some Walnut Stain Distress Ink along the edges and did some spritz & flick with water. I quick dry and that is how this page stayed for weeks.


I wish I would have taken photos of what I did next - but hopefully I can described it well enough to still inspire you.


I began by collecting a few items to add circles with gesso to my page....I used bottle top, empty medicine bottle and a round piece of dense foam. I dipped each in white gesso to add random circle on my pages. Next I took my set of Brights Distress Crayons and added some colour to my circles.

Next I took a paint brush and lightly dry brushed some white gesso around the circles the into the centre of the page. This really helped the circles to stand out.
Once the gesson had completely dried I took my black Sharpie and roughly doodled around the circles.

I used my Black Soot Distress Crayon to darken the edges and around the circles before adding some script stamping. Finally I added this little dapper guy from my pack of Paper Dolls from Tim Holtz Idea-ology line. I love these paper dolls! I glued some Quote Chips to the opposite page and this journal page was done.