Showing posts with label Archival Ink. Show all posts

Wednesday, 11 October 2017

Twisted Trinket Box

Welcome back! 
I am here to share a 3D Halloween decor piece today.


I used the 3 In 1 Trinket Box Scoreboard XL die by Sizzix from designer Eileen Hull. 
I cut our the pieces using white mat board. I painted these with Dylusions Paint: Tangerine Dream.
Then sanded the edges.

Next I inked them with Walnut Stain Distress Ink. The sanded areas picked up the ink really well to give the painted mat board a dirty distressed look.

Then I added some more grunge with Black Soot Distress Crayon.

Before assembling my box I added some stamping.

One of the focal points of my box was this Ghost Die - Tim Holtz Bigz Die from Sizzix.
I painted these with Dylusions Paint: White Linen.

I sanded the edges.

Then inked the edges with Black Soot Distress Ink.

For the inside of my trinket box I added some Black Soot Distress Crayon to 
these resin bones from Tim Holtz Idea-ology.

I added some mini Paper Dolls from the Tim Holtz Paper Dolls - Ancestors  Pack.


To add the light element behind the bone pile I made a small cut on the back of the box and inserted a tea light. I left it white for the photo but then later on painted and inked it to blend in more with box.

I added a small skull rub on to the boys face. The hand and spider are also rub ons.
A few Chit Chat stickers and a word token and my Haunted Trinket Box was ready to be displayed.
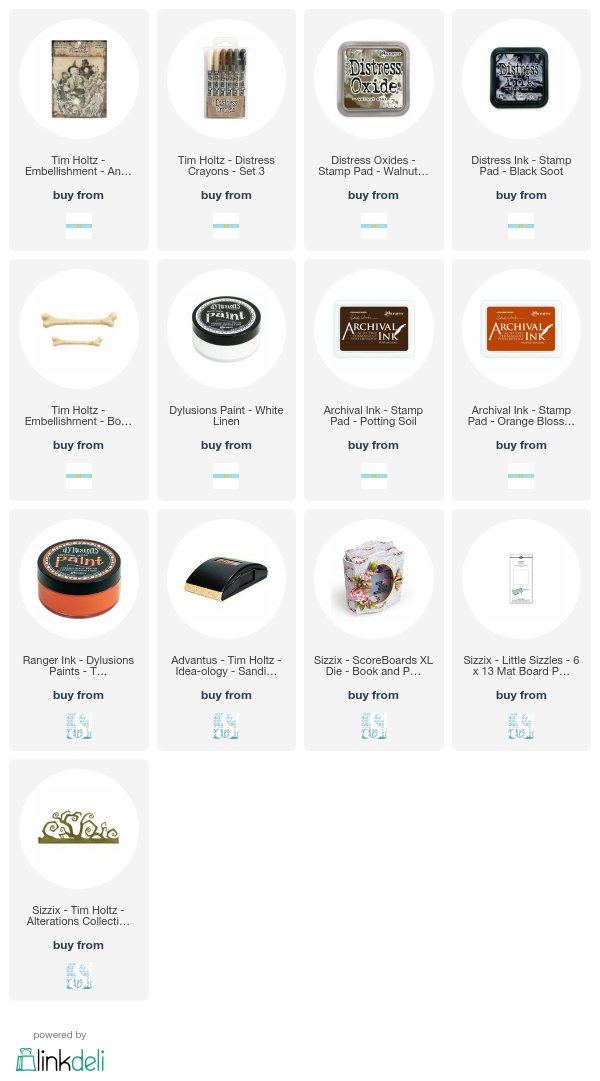
Here are the affiliate links for the products used for this project:
Monday, 10 October 2016

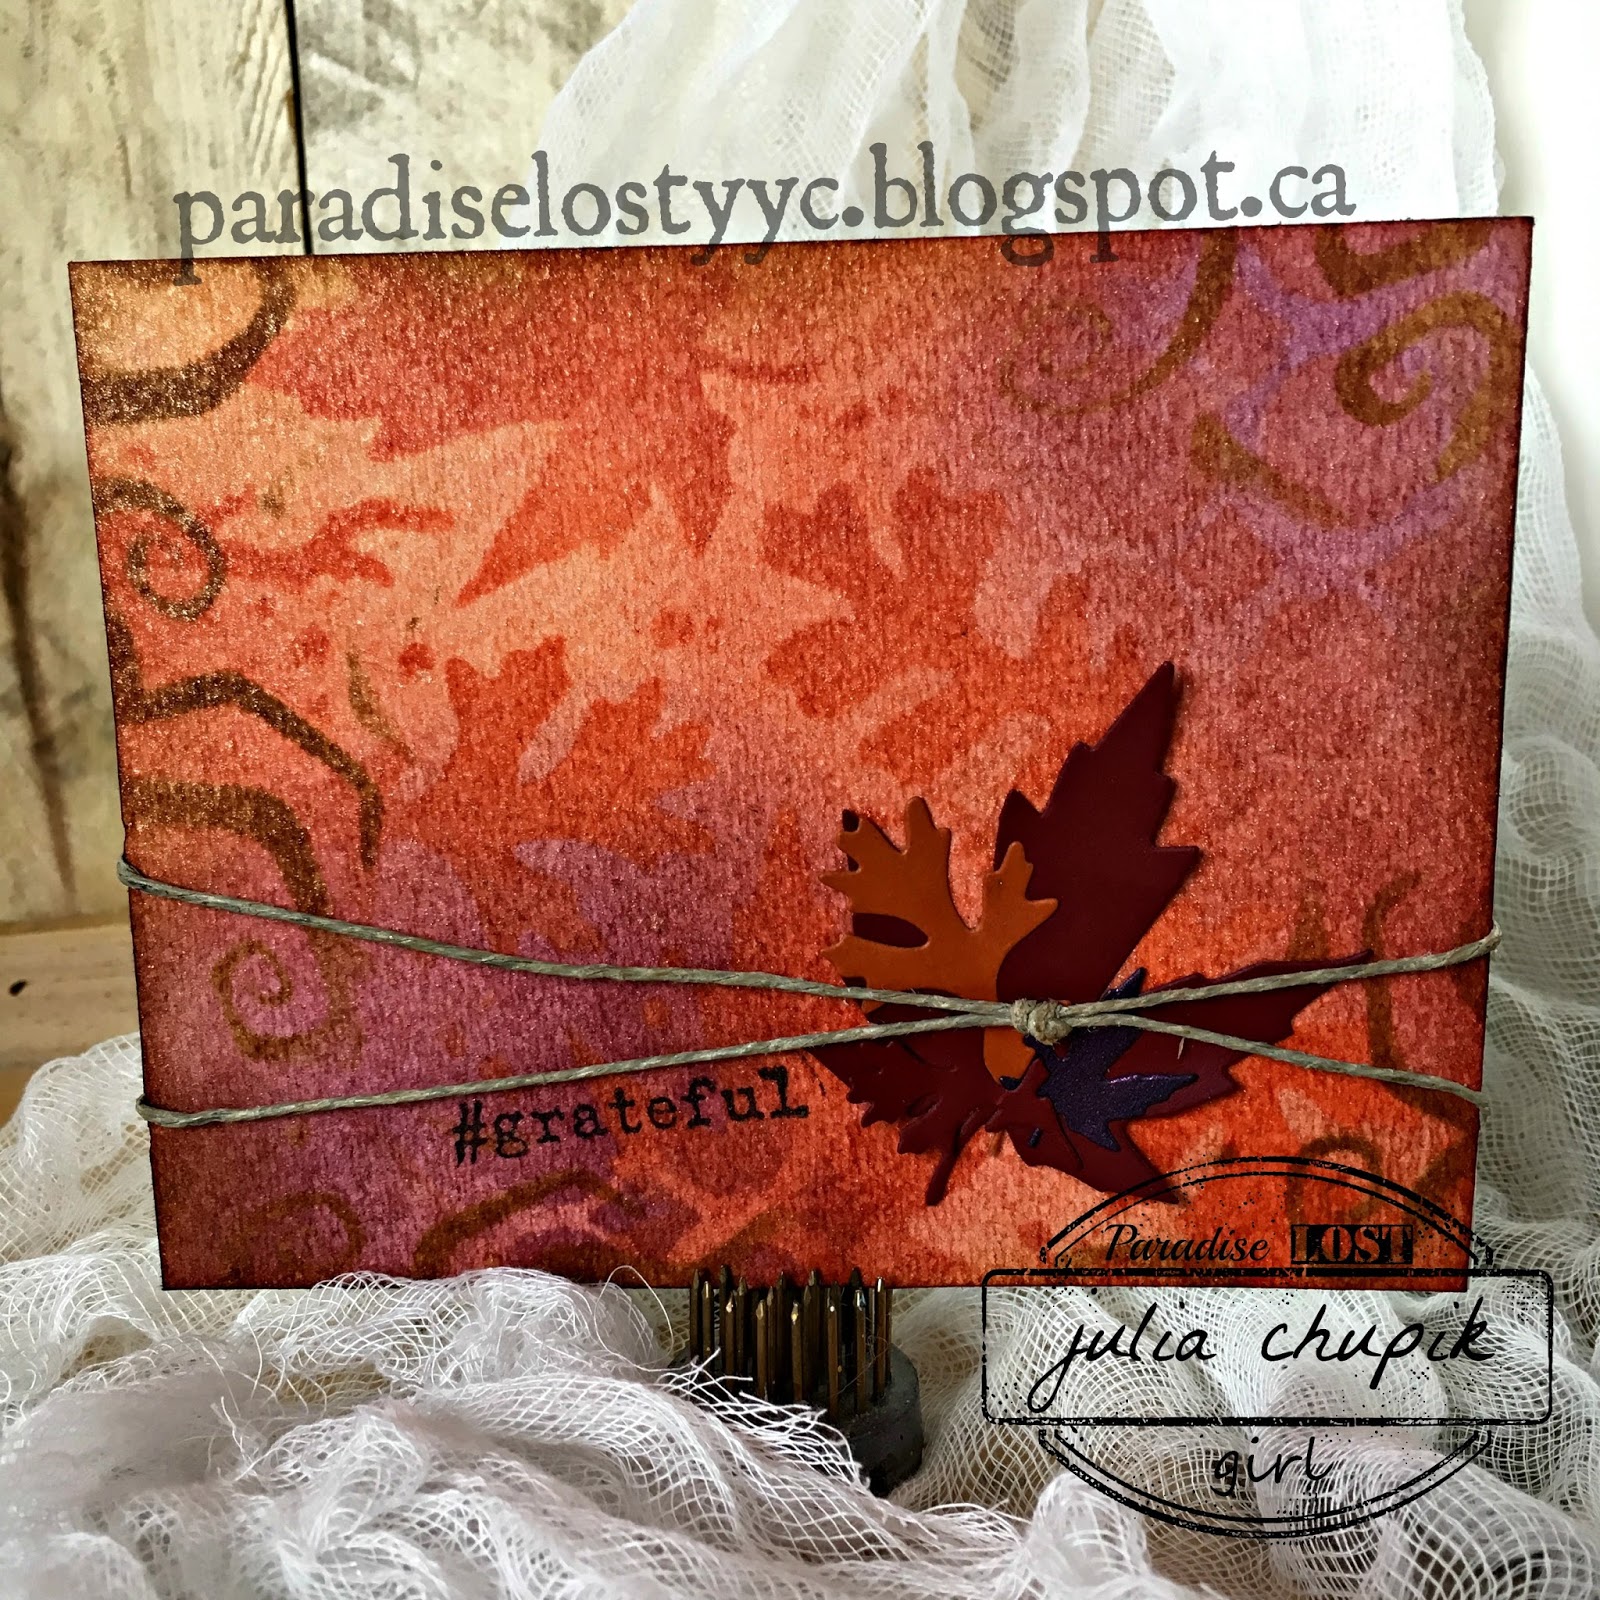
#Grateful

It's October and that means Thanksgiving in Canada.
This weekend it will be be all about the turkey, stuffing, pumpkin pie and spending time with family.
I have so much to be grateful for but I am especially thankful for my family, friends and all of you for following me.

So this is for you.....I am very grateful to have you here.

I used the Autumn & Twisted Stampers Anonymous Layering Stencils along with the Twisted Sizzix Die. I really love the Twisted Die and stencil.

I started by blending 4 Distress Ink colours - Wild Honey, Scattered Straw, Fired Brick & Ripe Persimmon on 140lb watercolour paper..

I spritzed my watercolour paper with water to remove some the ink and then dried it with 
my heat tool.

Next I used some layering stencils and Distress Inks.

The Twisted Stencil is my new favourite!

Here is the card background after I finished with the layering stencils.

I quick spritz of Mica Spray to add some razzle dazzle and I was ready for the finishing touches.

Here are two more cards I made using the same steps.


Wednesday, 28 September 2016

Friends - Tim Tag....September

It's time for more Technique Remix fun with Tim Holtz!

This month the challenge was to combine Paint Patina & Alcohol Ink Resist.

Check out Tim's tag inspiration & step by step instructions here.

Here is my finished tag -

As soon as I saw this months tag I knew I wanted to use this stamp from the Sideshow set from Stampers Anonymous and the Banksy Man on Bicycle from Viva Las VegaStamps.

I started by making a couple of backgrounds using the Paint Patina technique.


The next technique - alcohol ink resist on yupo - was intriguing and I finally got this result after about six attempts and several different combinations of alcohol ink colours.

I stamped my Banksy Man & "Friends" sentiment with Black Archival ink and my tag was done!


Challenge Entered:


Friday, 8 July 2016

All The G's - another letter canvas.

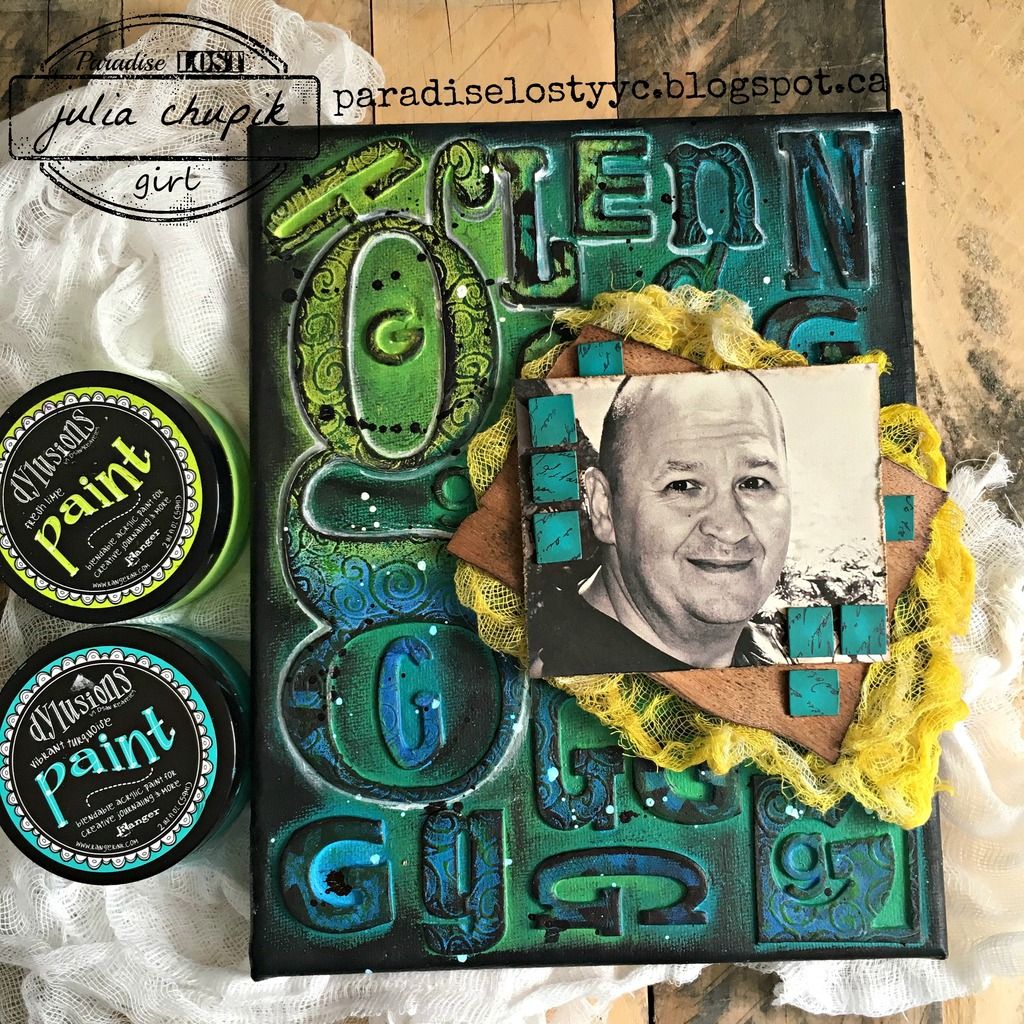
I'm back with another chipboard letter canvas - this time it's all the G's - and features a recent photo of my husband Glenn. 

Here is the finished canvas ~

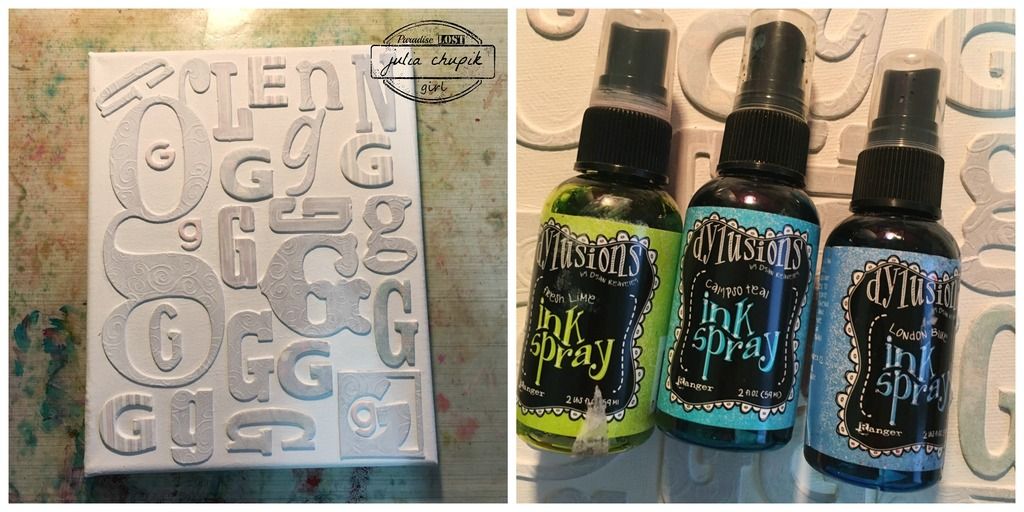
As with my other canvases - I started with a plain 8x10 canvas that I adhered every single chipboard 'g' that I could find in my stash. I used every single one! Once the matte medium was dry I covered the entire canvas in gesso.  
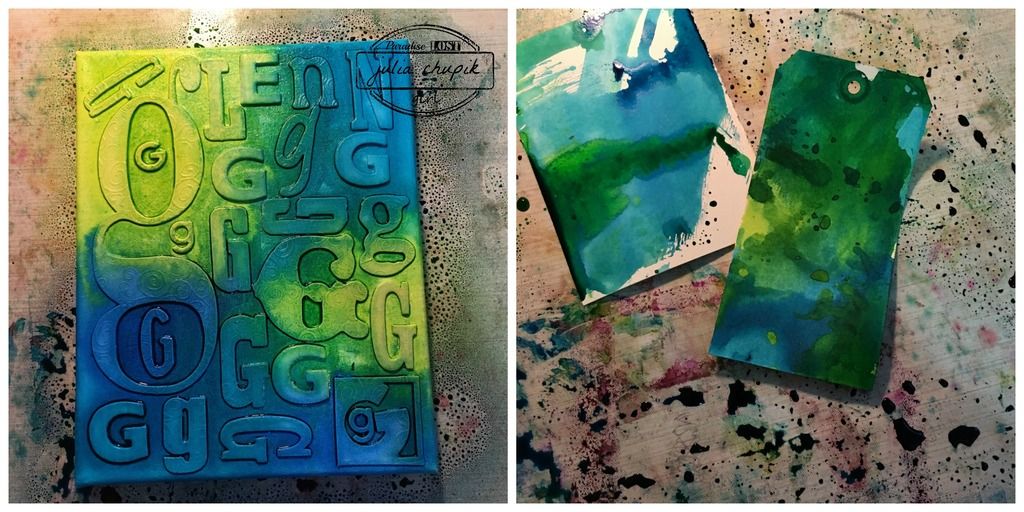
After the gesso was completely dry I began spraying my canvas with Dylusions Ink Sprays ~ Fresh Lime, Calypso Teal & London Blue.
I couldn't let all the awesome colour go to waste so I grabbed a couple of tags and my art journal to soak it all up for future projects.

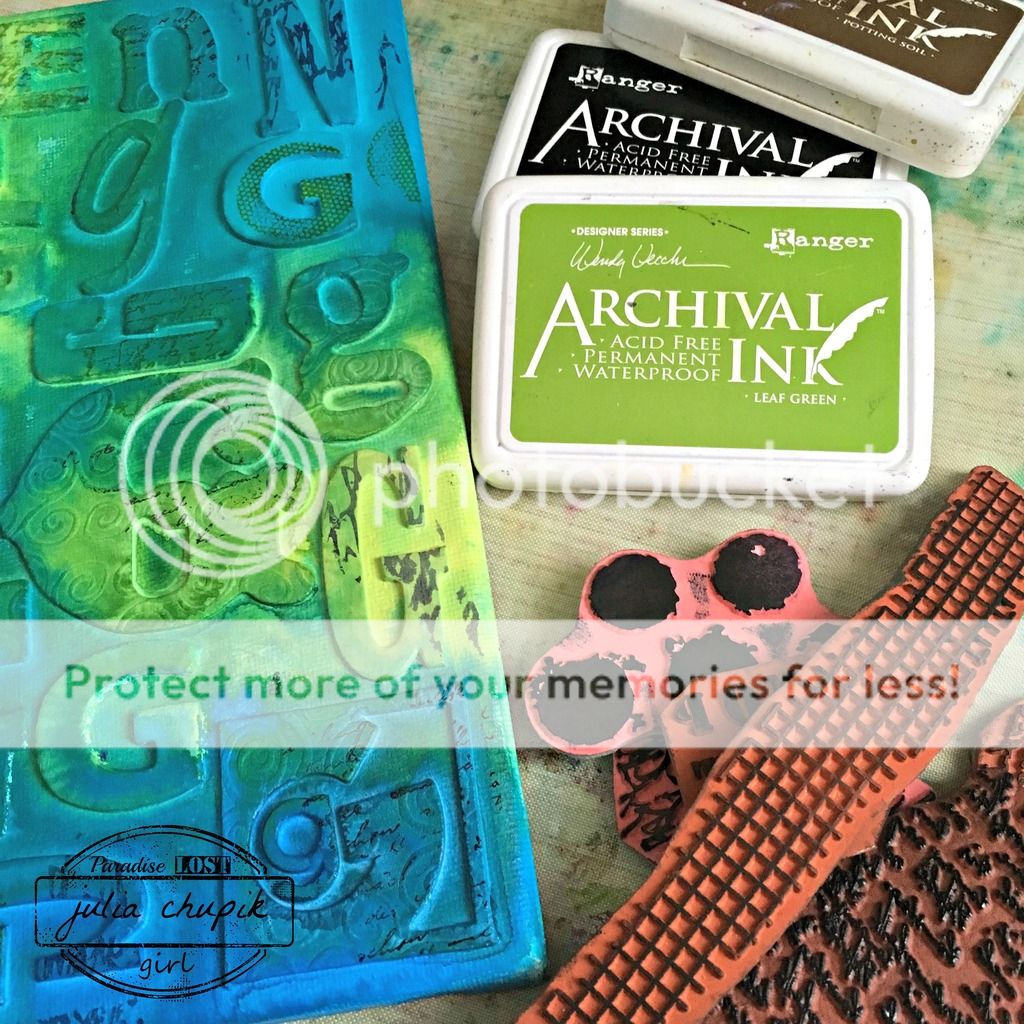
Next I added some stamping using some of my favourite texture stamps and Archival Ink in Jet Black, Leaf Green & Potting Soil.

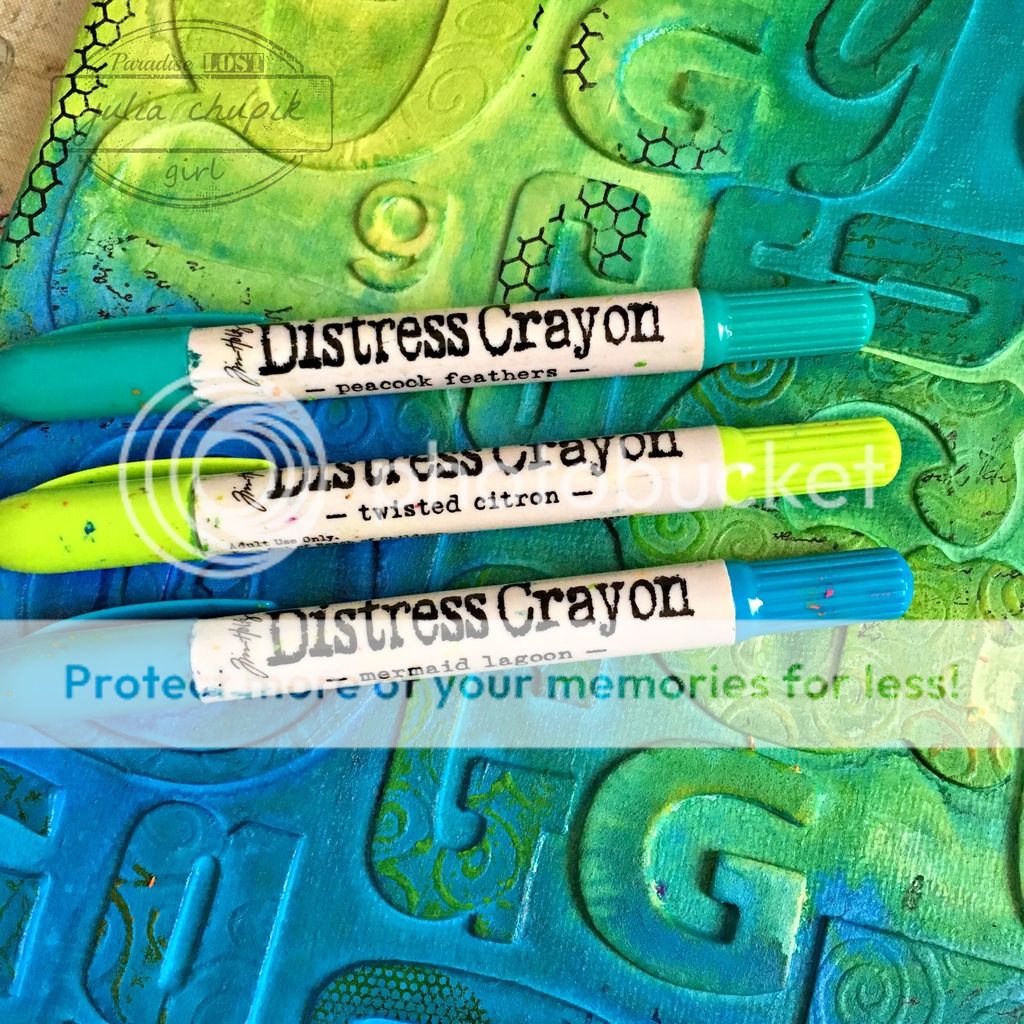
I grabbed my Distress Crayons next and used them to apply some highlights to the embossed textures on some the letters.

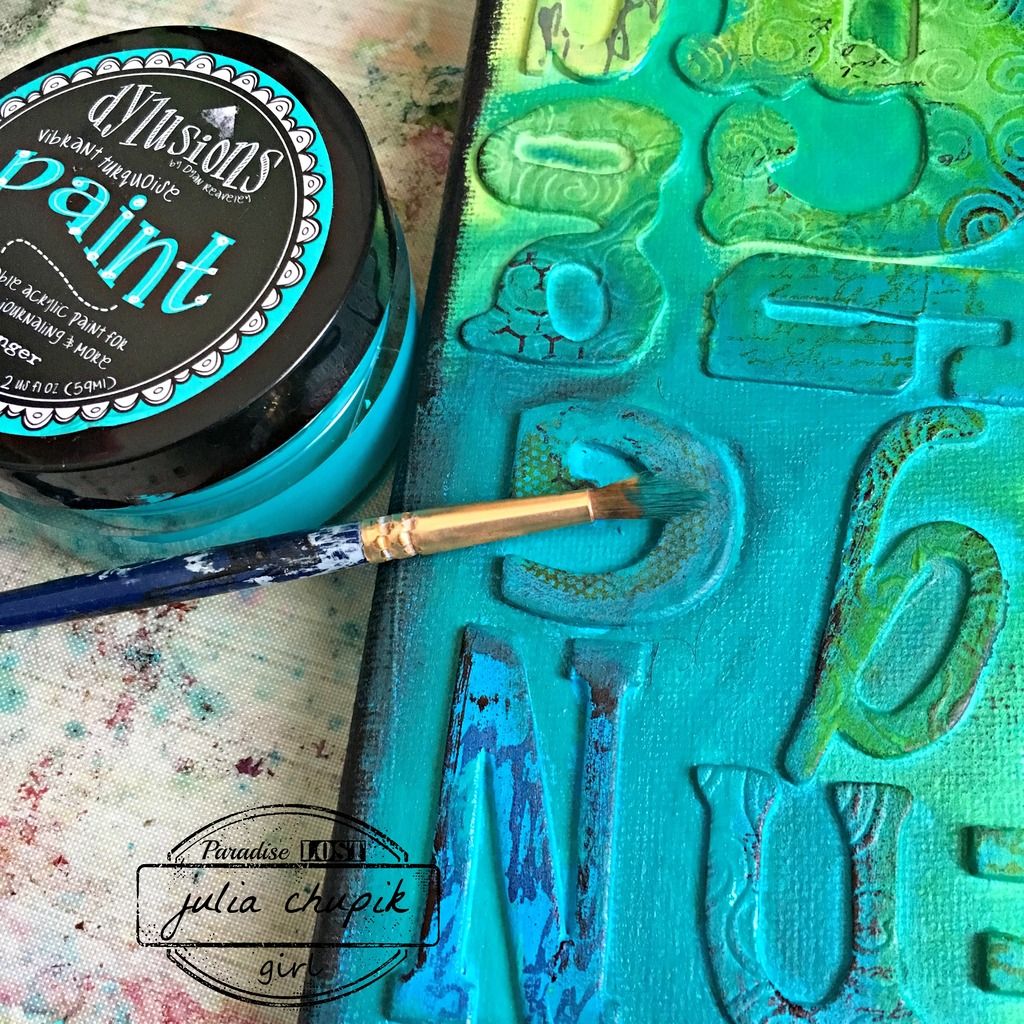
I even out the background & to help the letters pop, I painted around the letters with Dylusions Paint ~ Fresh Lime & Vibrant Turquoise. I love Dylusions Paints - they are so lush and smooth!


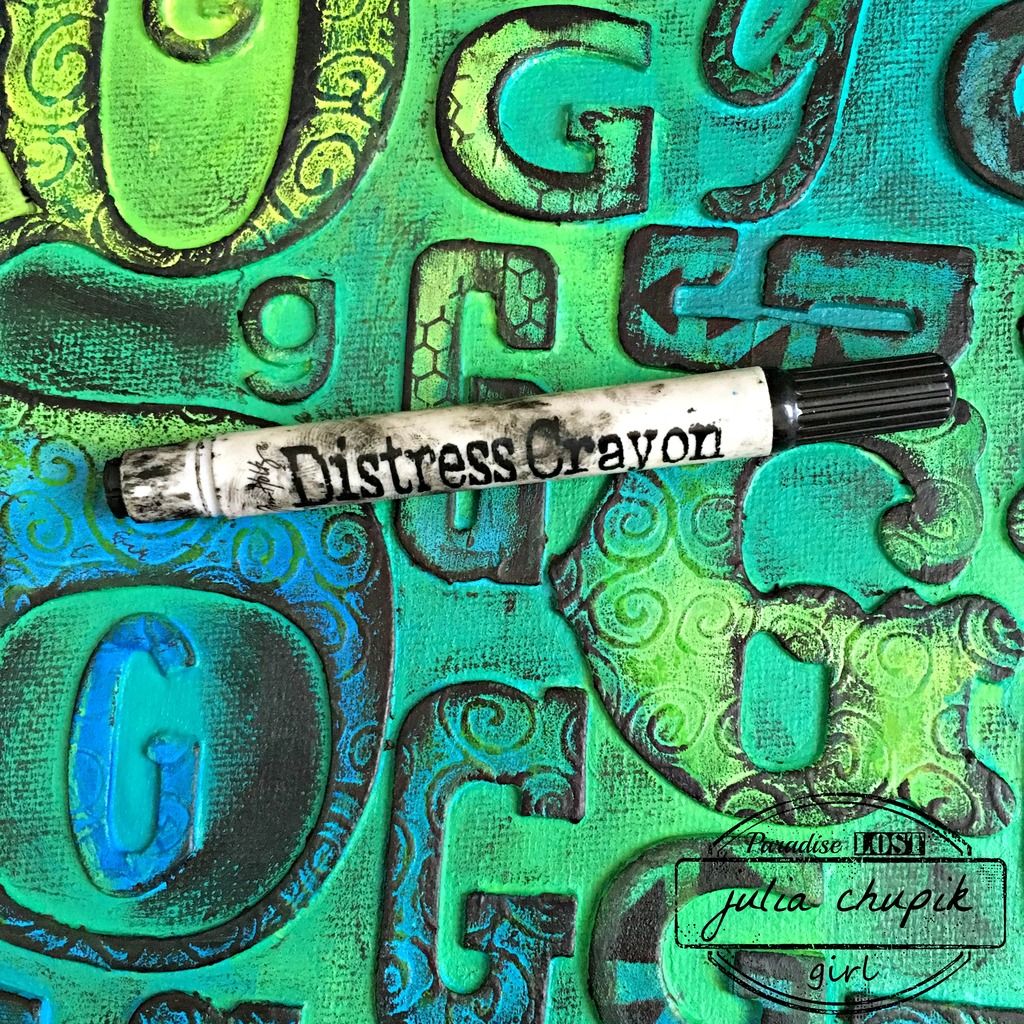
Next up - my trusty Black Distress Crayon to dirty things up a bit.

I used my white Sharpie paint pen to add highlights around the letters of his name and a few added splotches of paint in white and black to finish it off before adding the focal point.


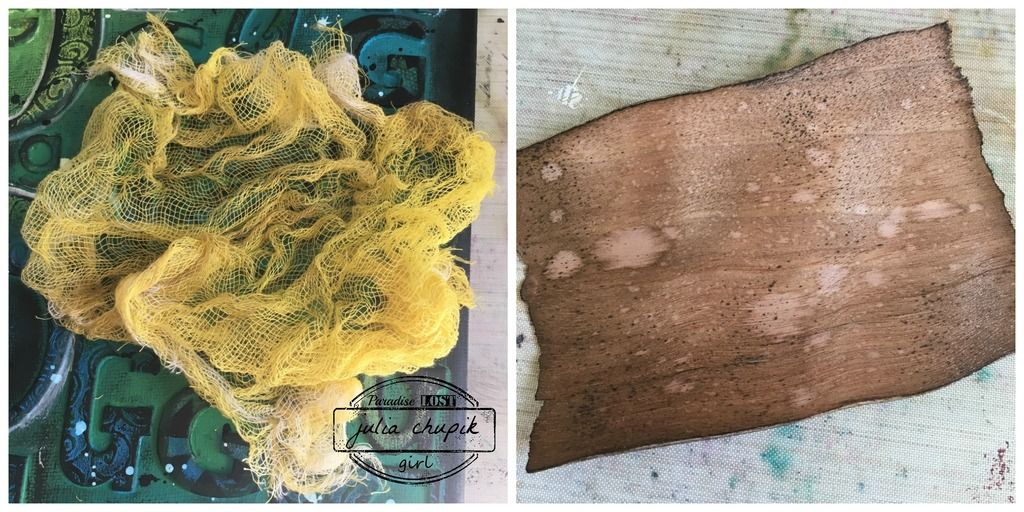
To anchor my photo to the canvas I took some cheese cloth and rolled it in some Squeezed Lemonade Distress Stain. To grunge it up I rubbed my Walnut Stain Distress Ink Pad over it.
my next layer is a piece of wood veneer paper from MME that I have had in my stash for quite sometime. I used Walnut Stain Distress Ink & my blending tool to add some colour then the spritz & flick technique to remove some colour and to add interest.

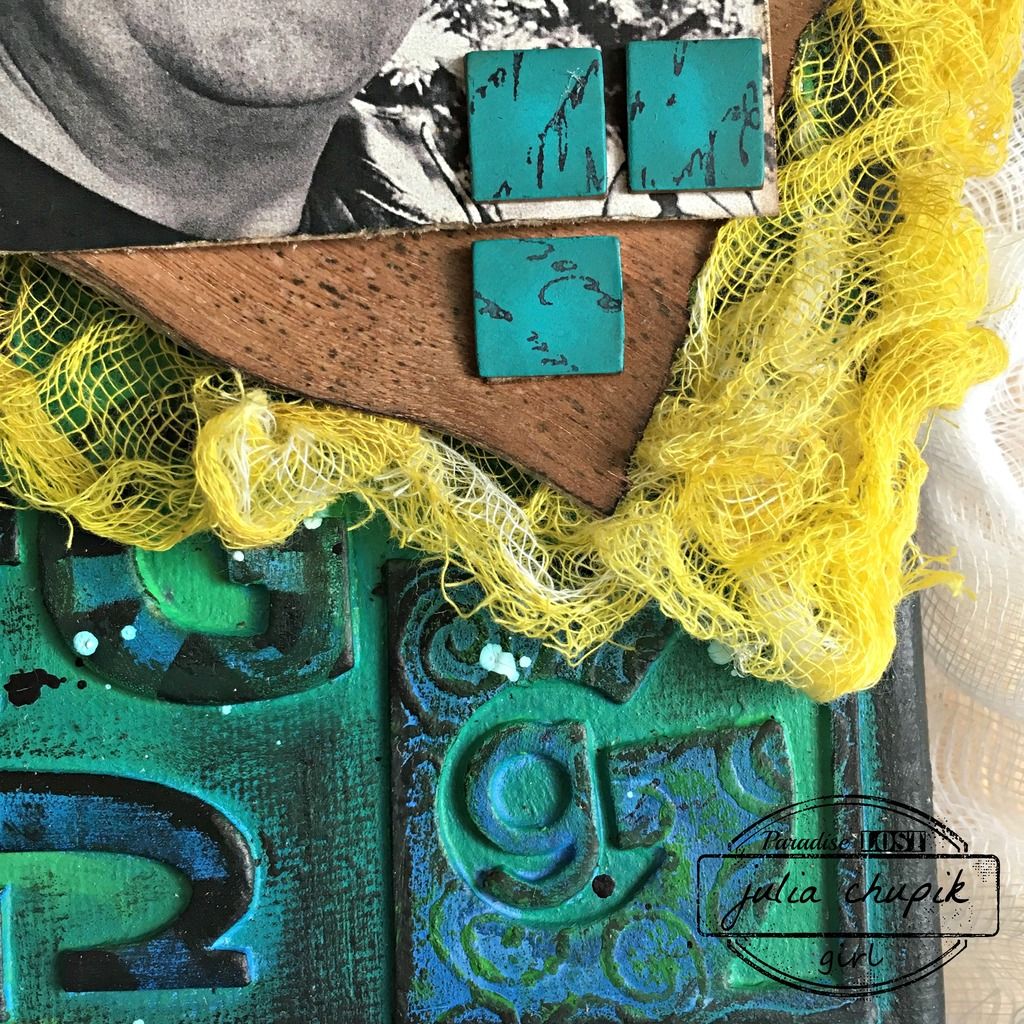
Here is a close up of the layers ~

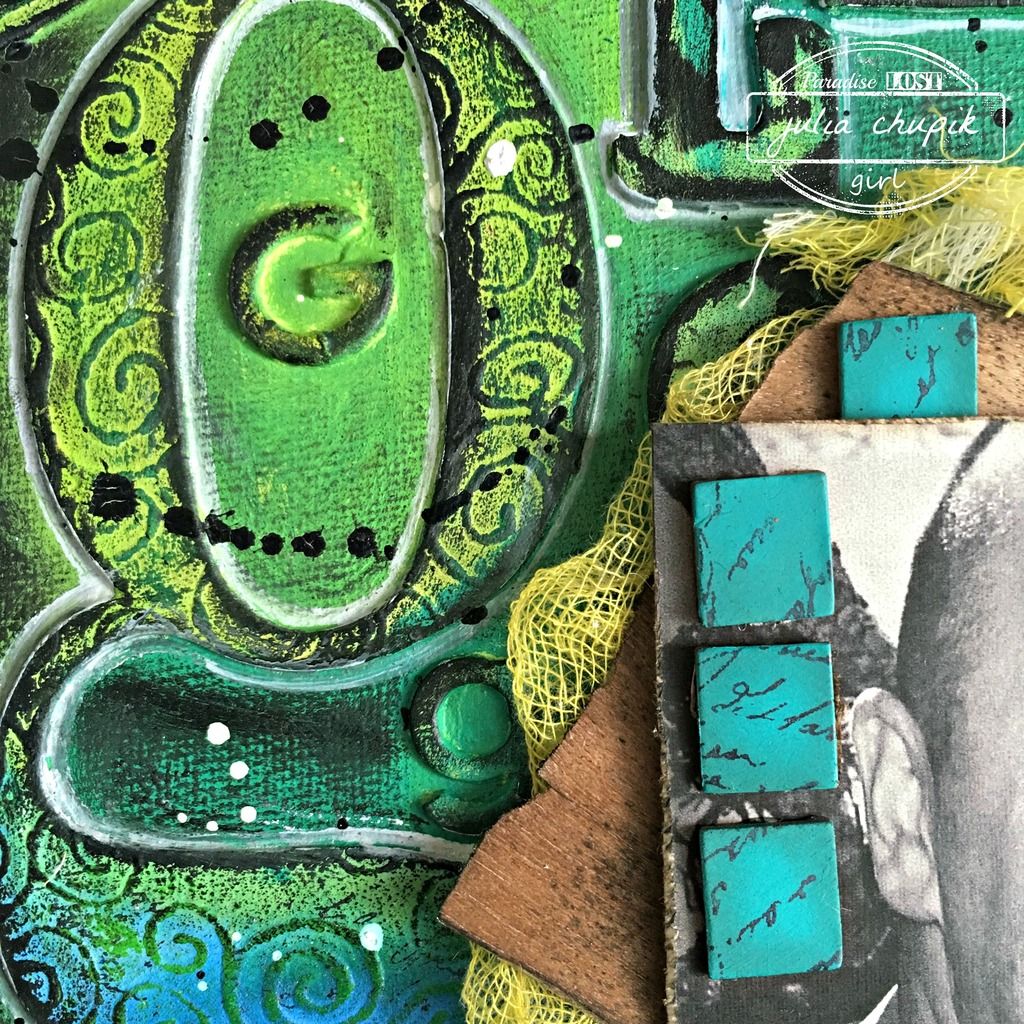
And another one of the canvas ~ 

~Finished canvas~


Friday, 27 May 2016

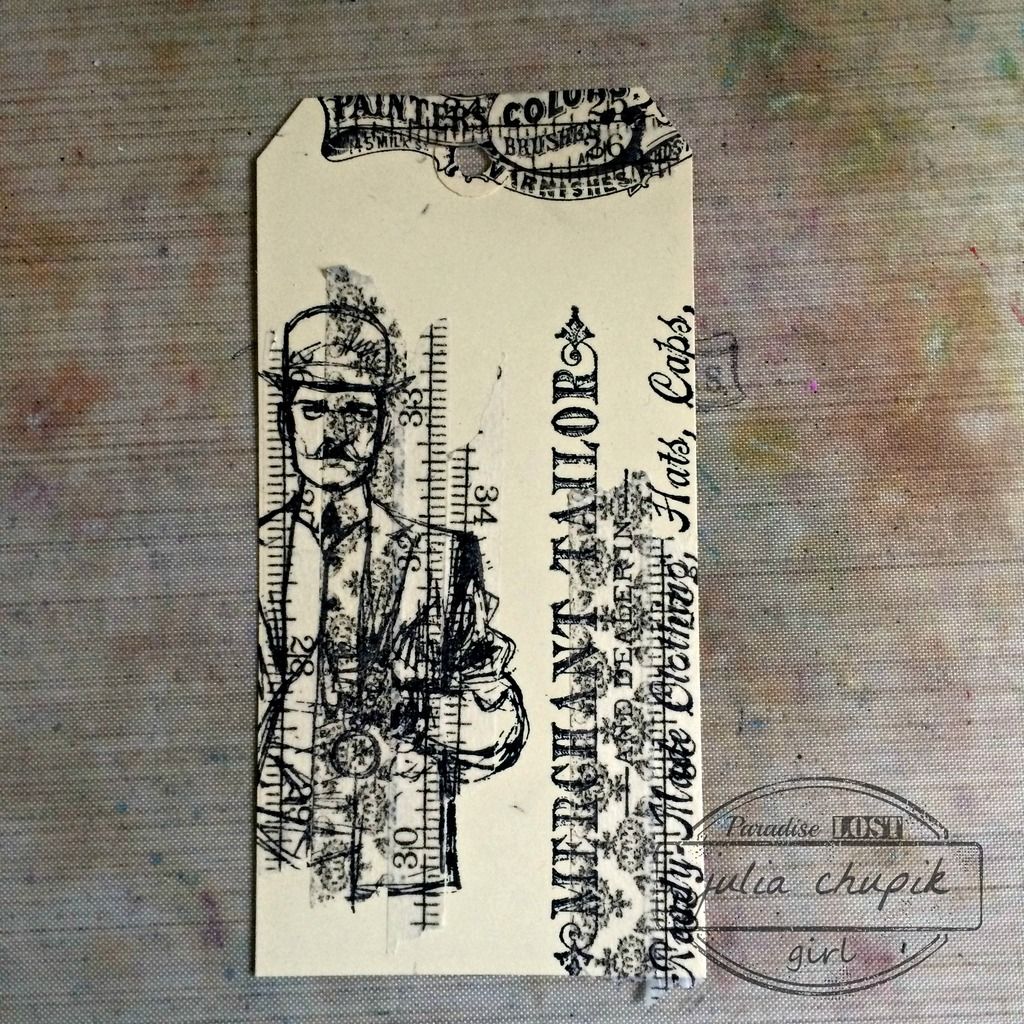
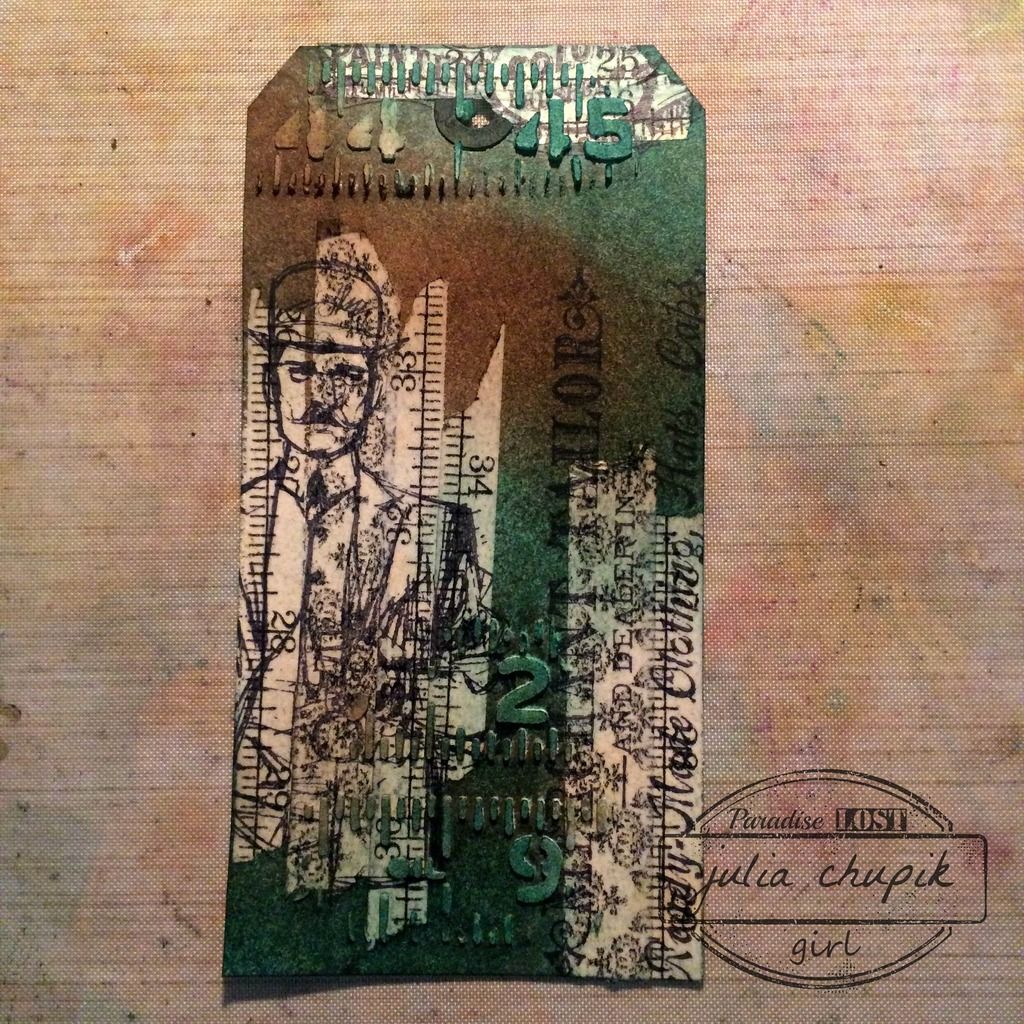
Tim Tag Remix - May Tag #3

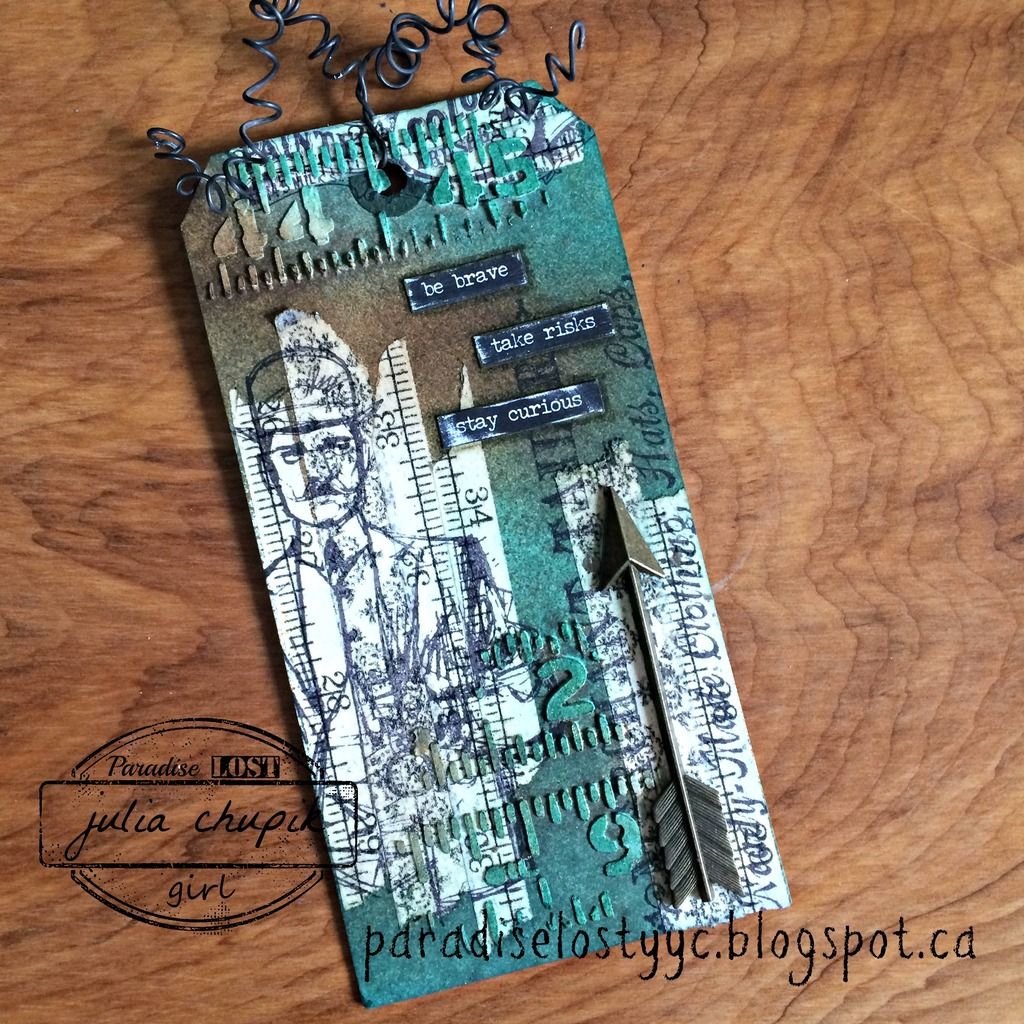
It's Friday and my 3rd and final tag for Tim's May Tag Remix.


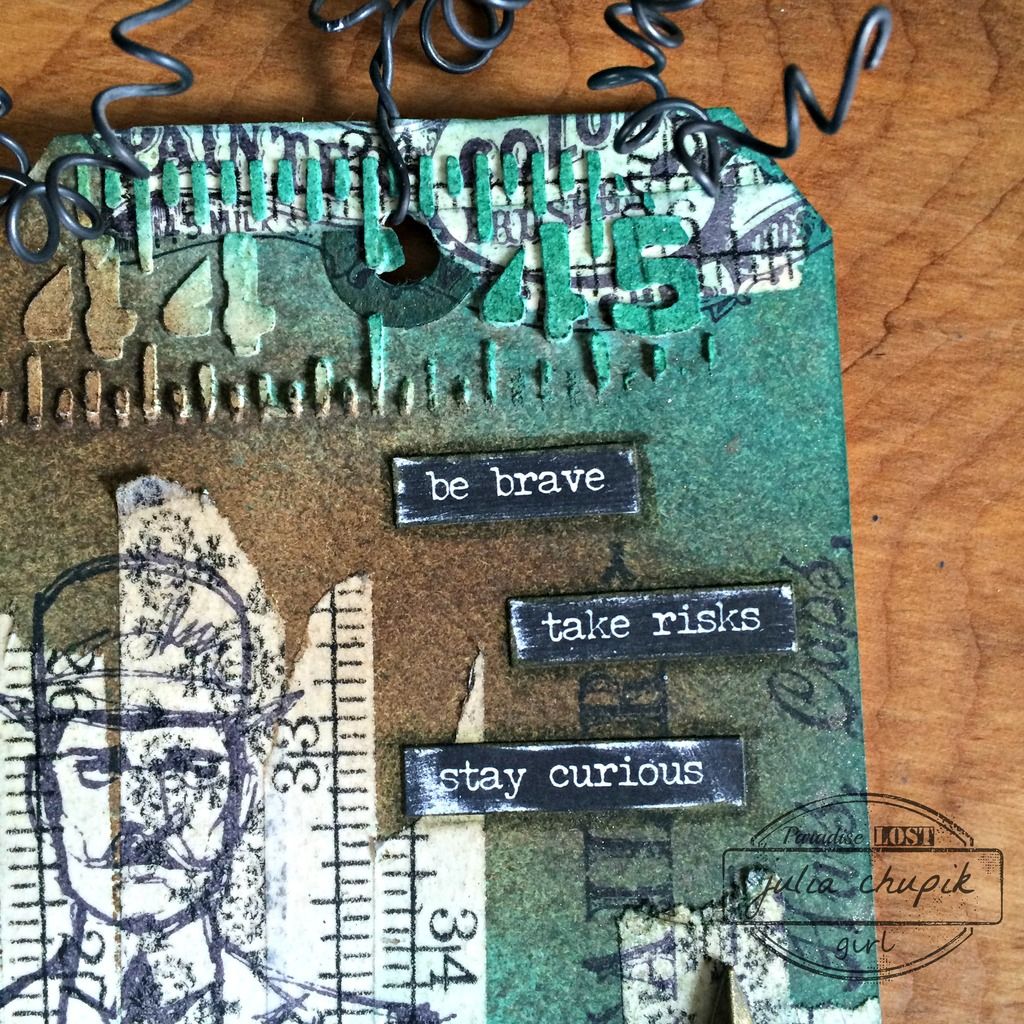
I decided to make a more masculine tag this time. I wanted something that I could give to my dad this Father's Day. Instead of  ribbon I used some wire that I had in my stash.


The Distress Stains & Inks used were Walnut Stain & Forest Moss.
Texture Paste was applied through the Measured layering stemcil &
 a spritzed pewter mica spray as a final layer.


A few small talk stickers and wire to finish it off.


Submitted to:


Wednesday, 25 May 2016

Tim Tag Remix - May Tag #2

A second tag?!? I know...I am just as surprised as you but it was a really rainy weekend.

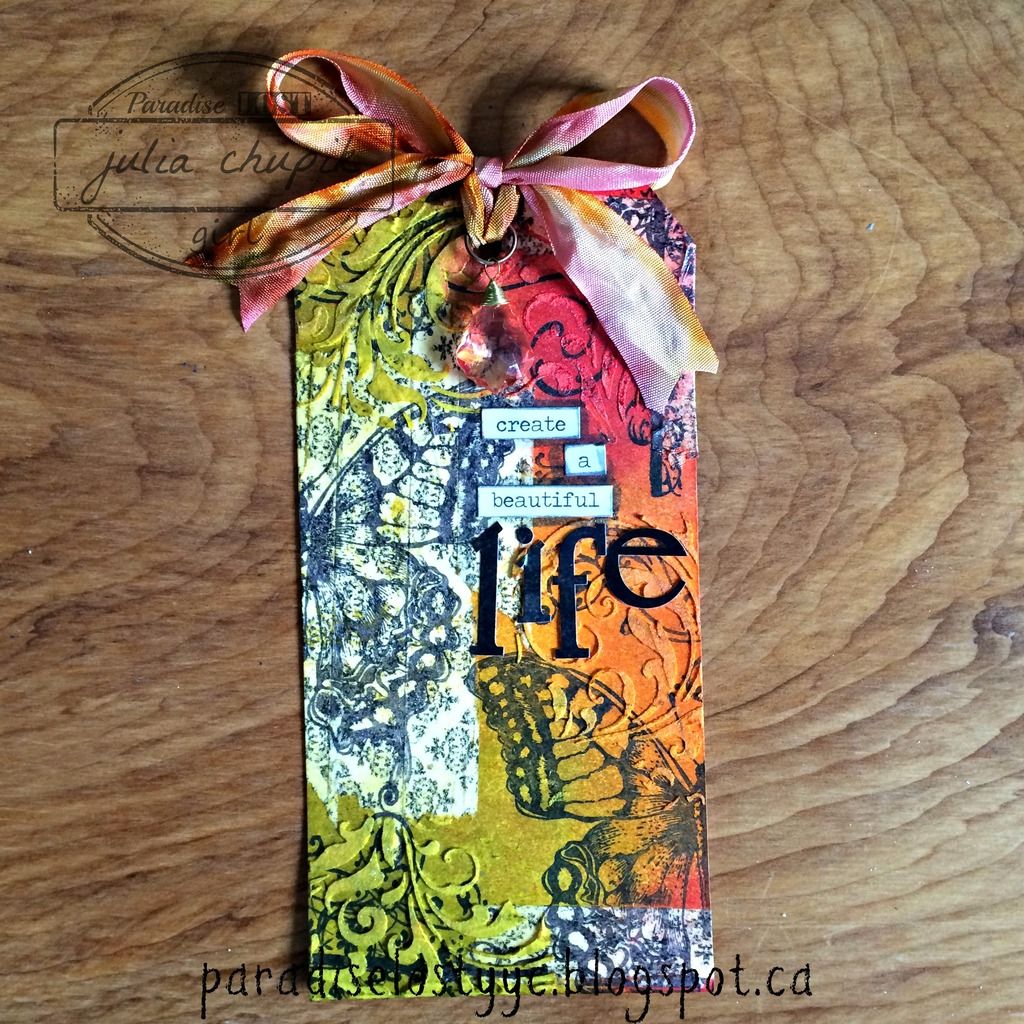
Here is my 2nd tag and probably my favourite so far. 
I love the bright colours and how the butterflies turned out.


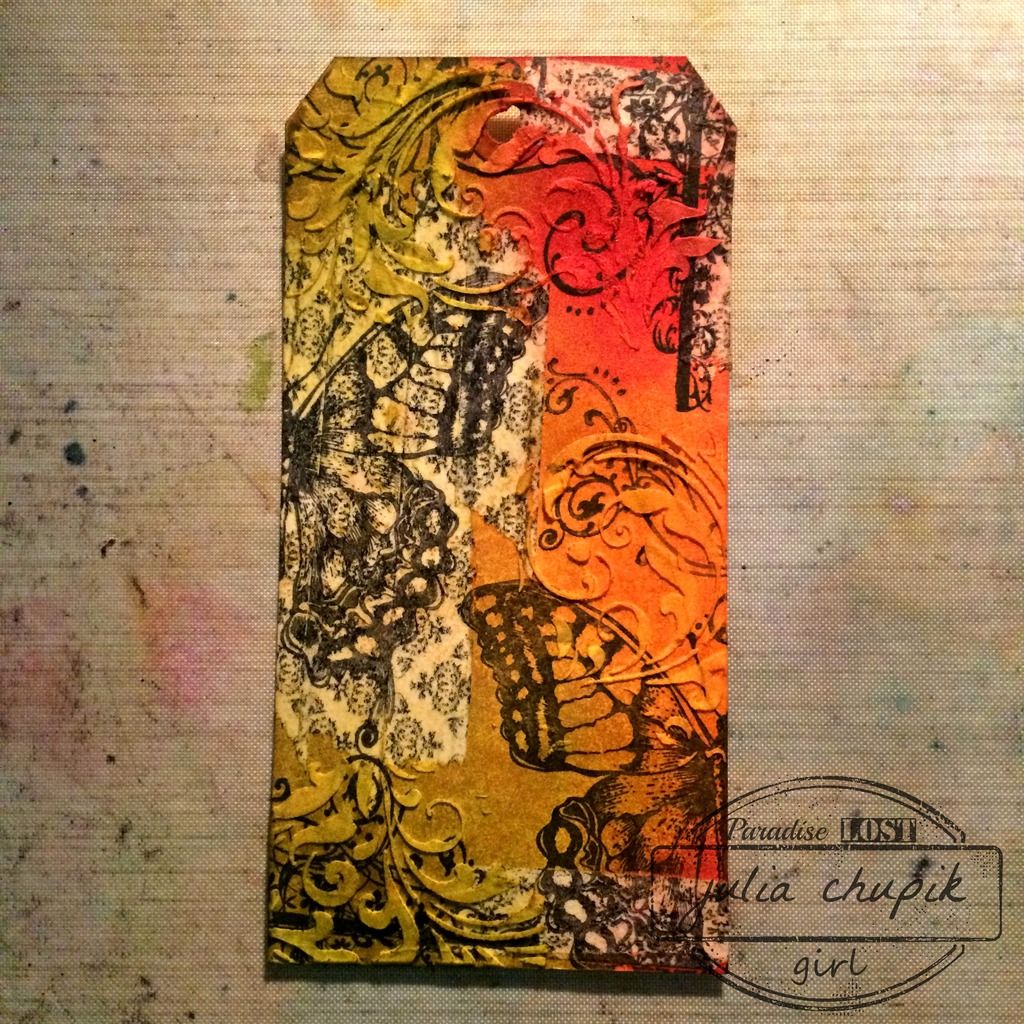
This Distress Stains & Inks used were Barn Door, Carved Pumpkin & Peeled Paint.
I applied the texture paste through the Flourish Layering Stencil.
The final layer was a spritz of Tarnished Brass Mica Spray.


My sentiment was made with small talk stickers ad some letter stickers from my stash.

Create A Beautiful Life

Submitted to: