Showing posts with label Autumn. Show all posts

Tuesday, 14 November 2017

Designer Challenge: Distress To Impress

Hello, my crafty friends!
It's time for another designer challenge from

This month the designers were given Distress Crayons Set 9 to create and inspire with.
Until the end of the month all sets of Distress Crayons will be 25% at Scrap 'n Stamp so its a great time to try them out or to complete your collection.
Be sure to leave a comment on my blog for a chance to win a set of Distress Crayons. Increase your chances of winning by visiting all the designers blogs and leaving some love.

Here is my finished project:

I started by gathering up my Distress Crayons, a couple of tags (covered in white gesso) 
and a couple of stencils. These stencils are the Autumn layering stencils from Tim Holtz. 
I used both the large and mini sizes.


Distress Crayons Set #9 includes these colours: Barn Door, Ripe Persimmon, Pine Needles, Faded Jeans, Dusty Concord & Brushed Corduroy.
I started by scribbling Dusty Concord, Ripe Persimmon, & Brushed Corduroy randomly over my gesso covered tag. I find the colours blend best over gesso. I sprayed some water on my spalt mat and used my finger to blend the colours on my tag.
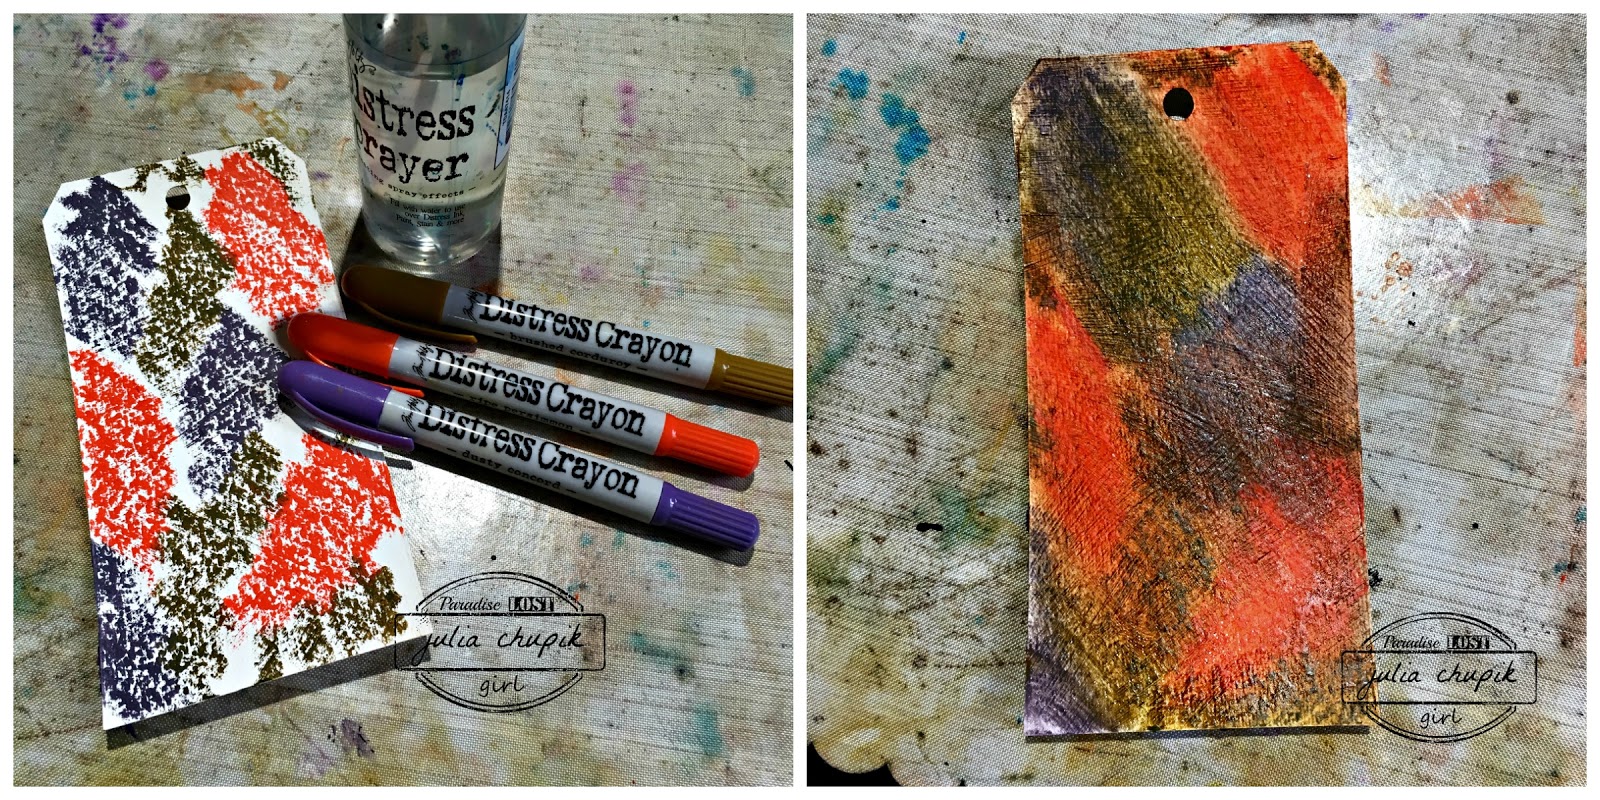
Next I took the large Autumn tag and with a baby wipe removed some of the crayon.

I repeated this technique with the mini Autumn stencil.

For my second tag - I used the same colours of Distress Crayons and stencils bu changed my technique. This time I used a blending tool and a slightly damp blending foam to apply the crayon through the stencil. Again this tag has been covered with white gesso. 

These were both tags at this point - one very bold & the other very subtle.

Before continuing I finished the edges of the tag with Distress Crayons - Dusty Concord on this one an Ripe Persimmon on the other (sorry, no pic)

I used my Bird Crazy & Crazy Dog stamp & die set for my focal points & coloured them in with a water brush pen and Distress Crayons. 

 I used the coordinating dies and cut out my images in black fun foam.
This game my stamped images a bit of dimension when adhered to my tag.

For my foliage I created a third tag using the distress crayons & the Bubbles Mini Stencil.
I used the small smallest dies from the Fall Foliage die set to cut out a bunch of leaves.

After adhering the leaves and stamped image to my tag I finished it off with a Small Talk sticker from the occasions pack.

Thank you so much for stopping by my blog today! Now head over to Karen's blog for even more Distress Crayon Inspiration.
Don't forget to leave a comment - you could win a set of Distress Crayons from

Design Team:

Julia Chupik (you're here!)


Products Used:
(This blog post contains affiliate links)

Monday, 9 October 2017

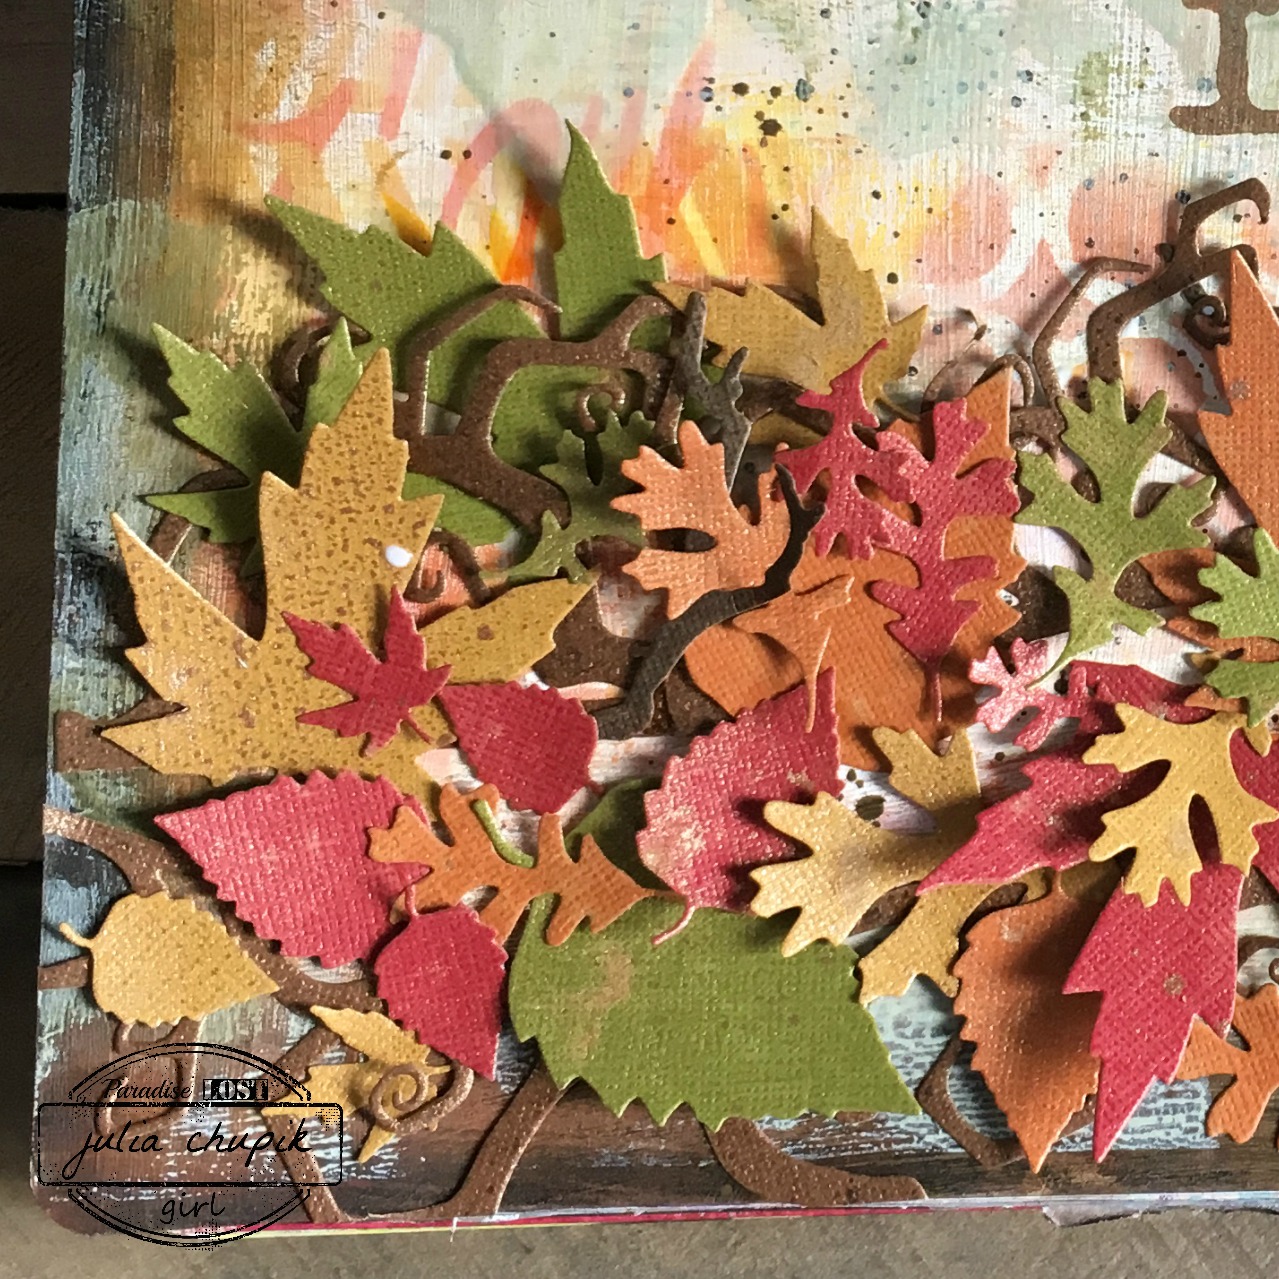
Happy Fall Art Journal

Happy Thanksgiving to all my Canadian friends wherever you may be in the world.

This will be a short post today.....an art journal page I did in my large Dylusions journal.

Here are the steps I used to create this page:
1. Brayered on acrylic paints in orange & yellow; random and didn't cover then entire page
2. Dry brushed on a light coat of gesso; let dry
3. Applied Distress Inks - Squeezed Lemonade, Carved Pumpkin & Ripe Persimmon through stencils
4. Around the edge of my page, I scribbled Distress Crayons - Walnut Stain & Black Soot and smudged them with my fingers.
5. Brayered on 2 different colors of green acrylic paint randomly over the page; let dry
6. While may page was drying I used my Fall Foliage and Twisted Edge dies from Tim Holtz/Sizzix and cut out some shapes with various colors of Distress Kraft Cardstock
7. I sprayed all of my die cuts with a light listing of Distress Mica Spray - Antiqued Bronze
8. I glued down all my die cuts along the bottom of the page 
9. I used the Tim Holtz Foam Cling Stamp - Type Lower, to stamp my sentiment.

Below are the affiliate links for the products used for this project.

Thursday, 8 October 2015

Fall-ing ~ Emerald Creek Design Team

It's time for the Fall release from the Emerald Creek Dares Design Team.
Now, I have to admit that I have mixed feelings about this season ~ I love the colours of the leaves as they change, the excitement of the NHL season beginning and the smell of a Pumpkin Spice Latte.
All of these things are wonderful but it also means that the snow can start falling anytime.

My project today was inspired by a walk I took with my dog in the beautiful river valley of the North Saskatchewan as it makes it way through Edmonton, Alberta.
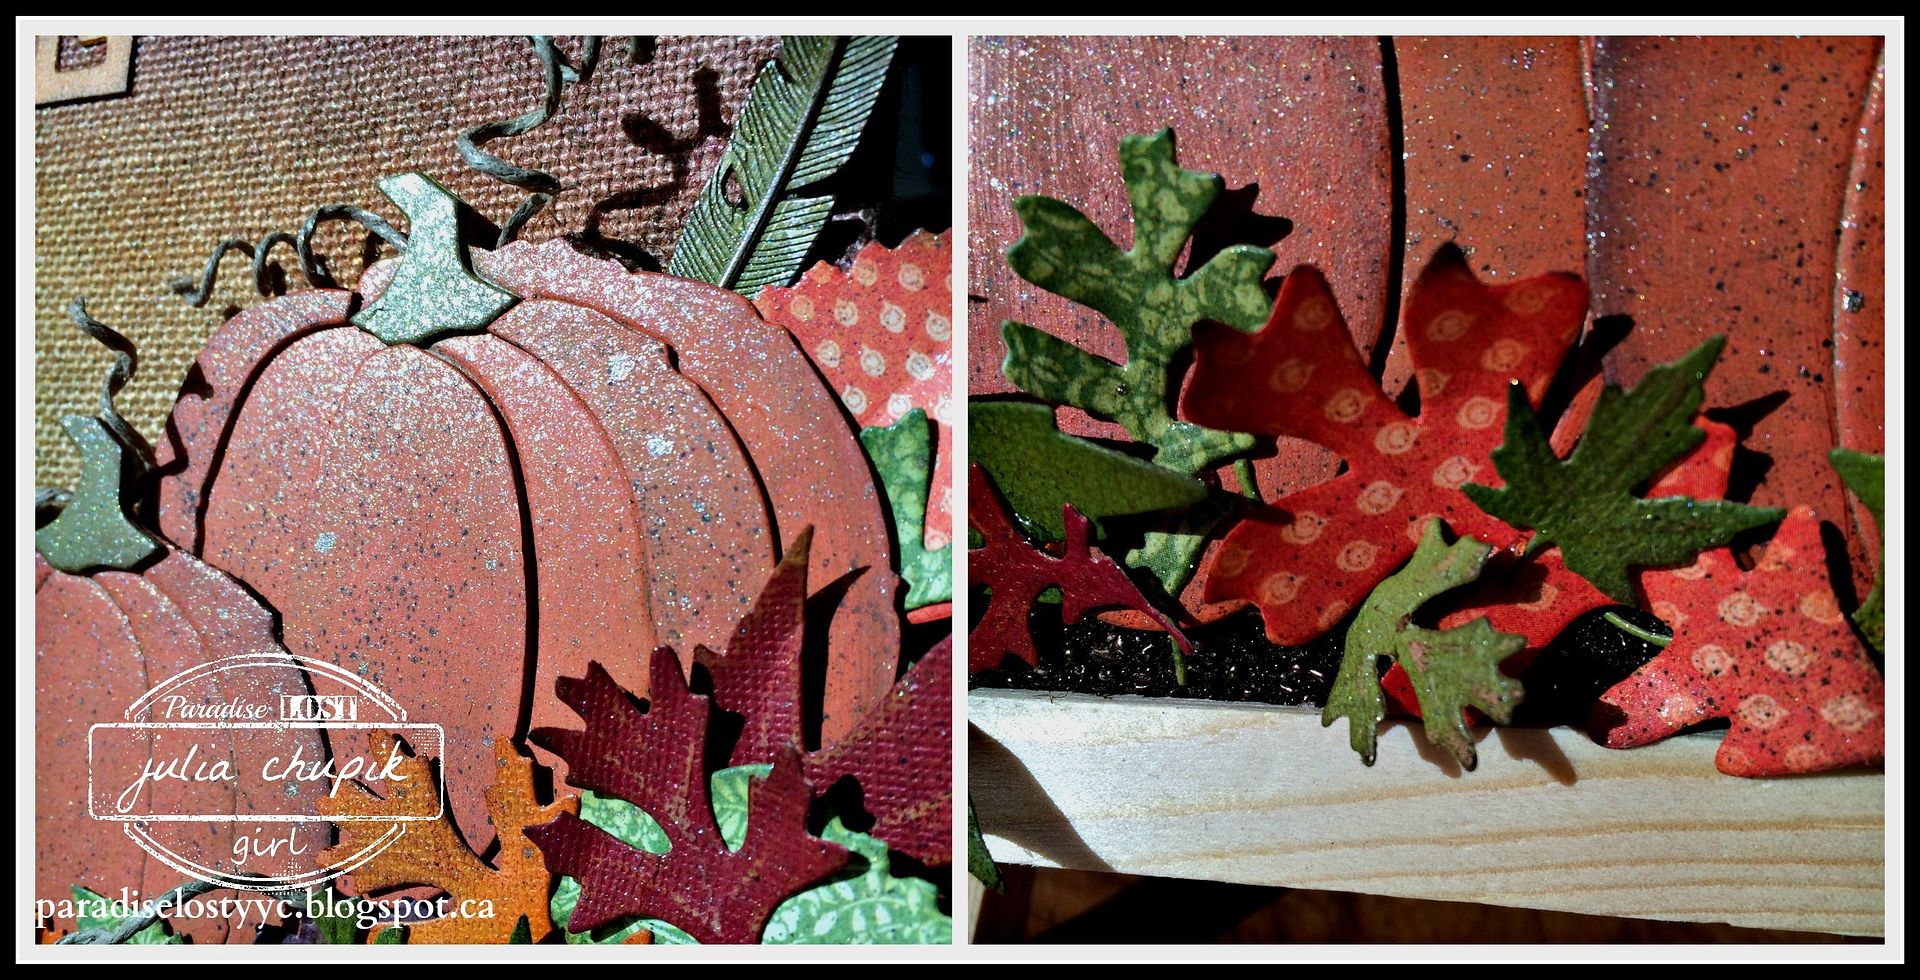
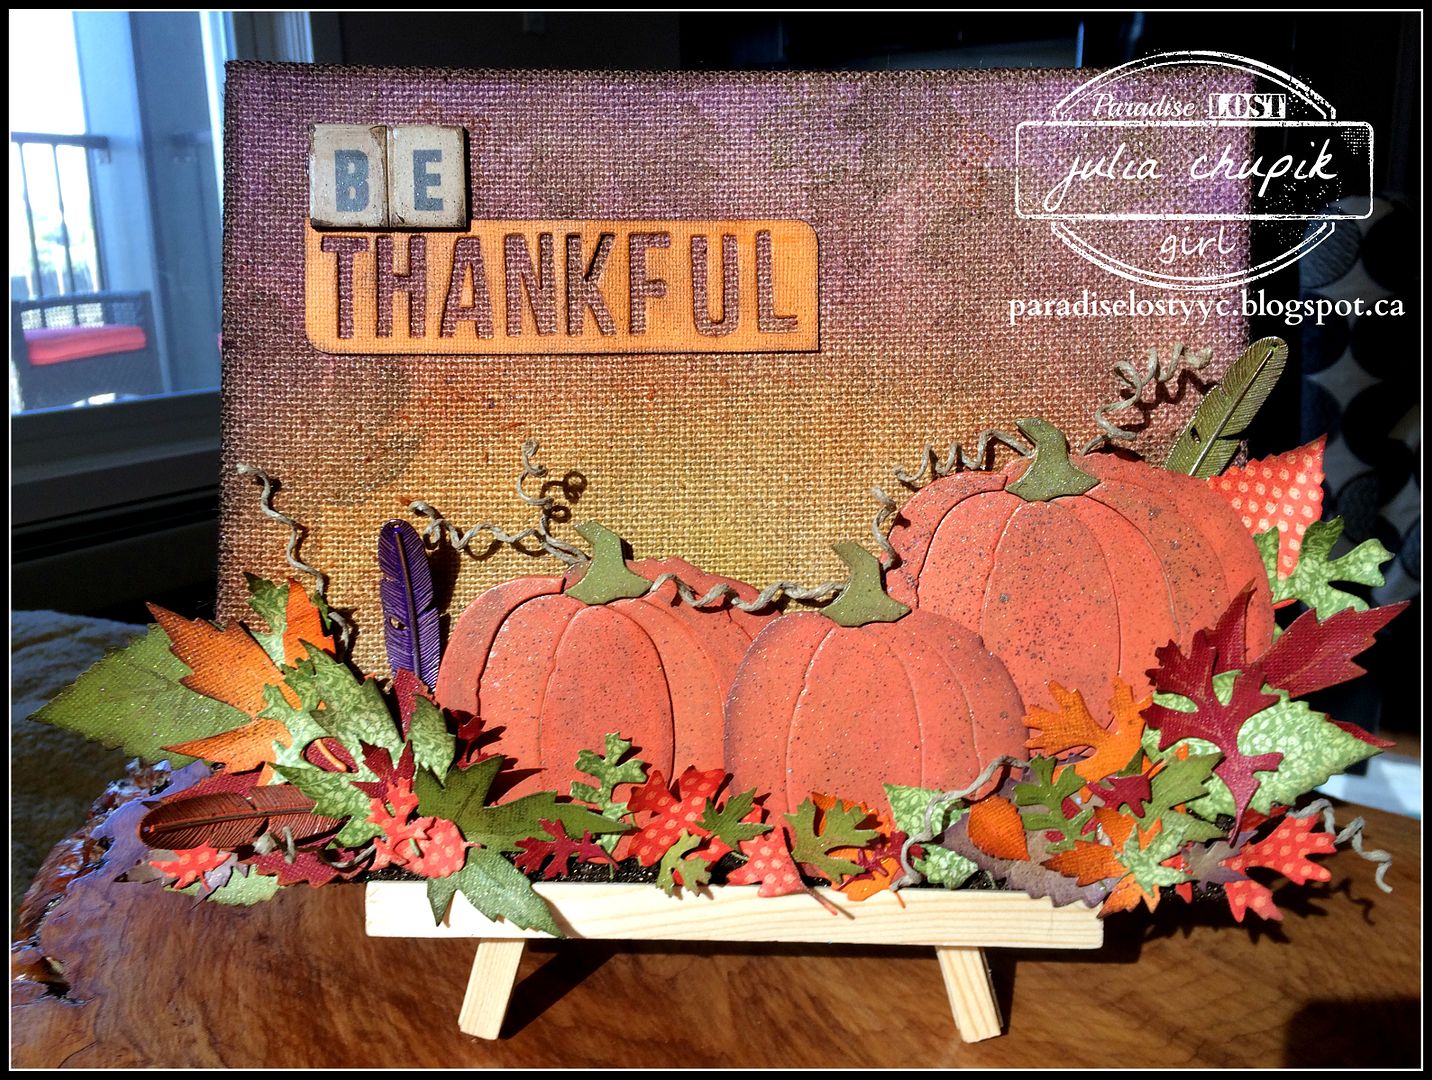
My base was an 8"x10" burlap canvas that I had in my stash.
I knew I wanted it to look like a pumpkin patch at sunset.
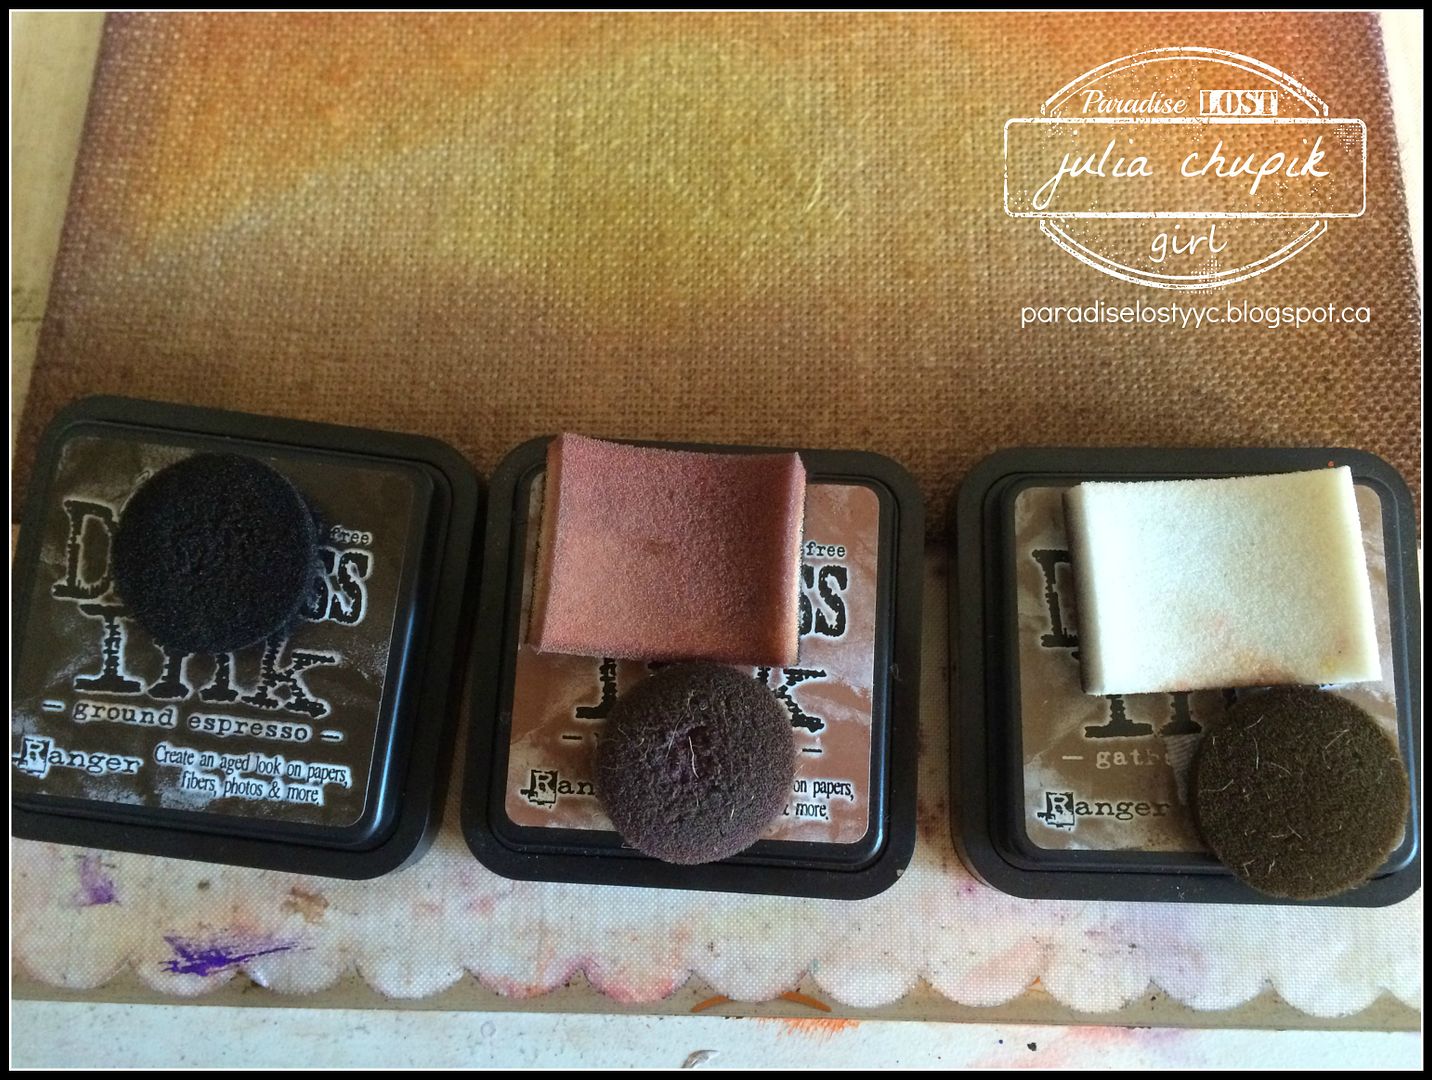
I used my blending tool to blend Vintage Photo, Gathered Twigs & Ground Espresso along the bottom edge of my canvas.
The sunset was a blend of several colours ~ Squeezed Lemonade , Scattered Straw, Spiced Marmalade, Fired Brick, Seedless Preserves & Wilted Violet.
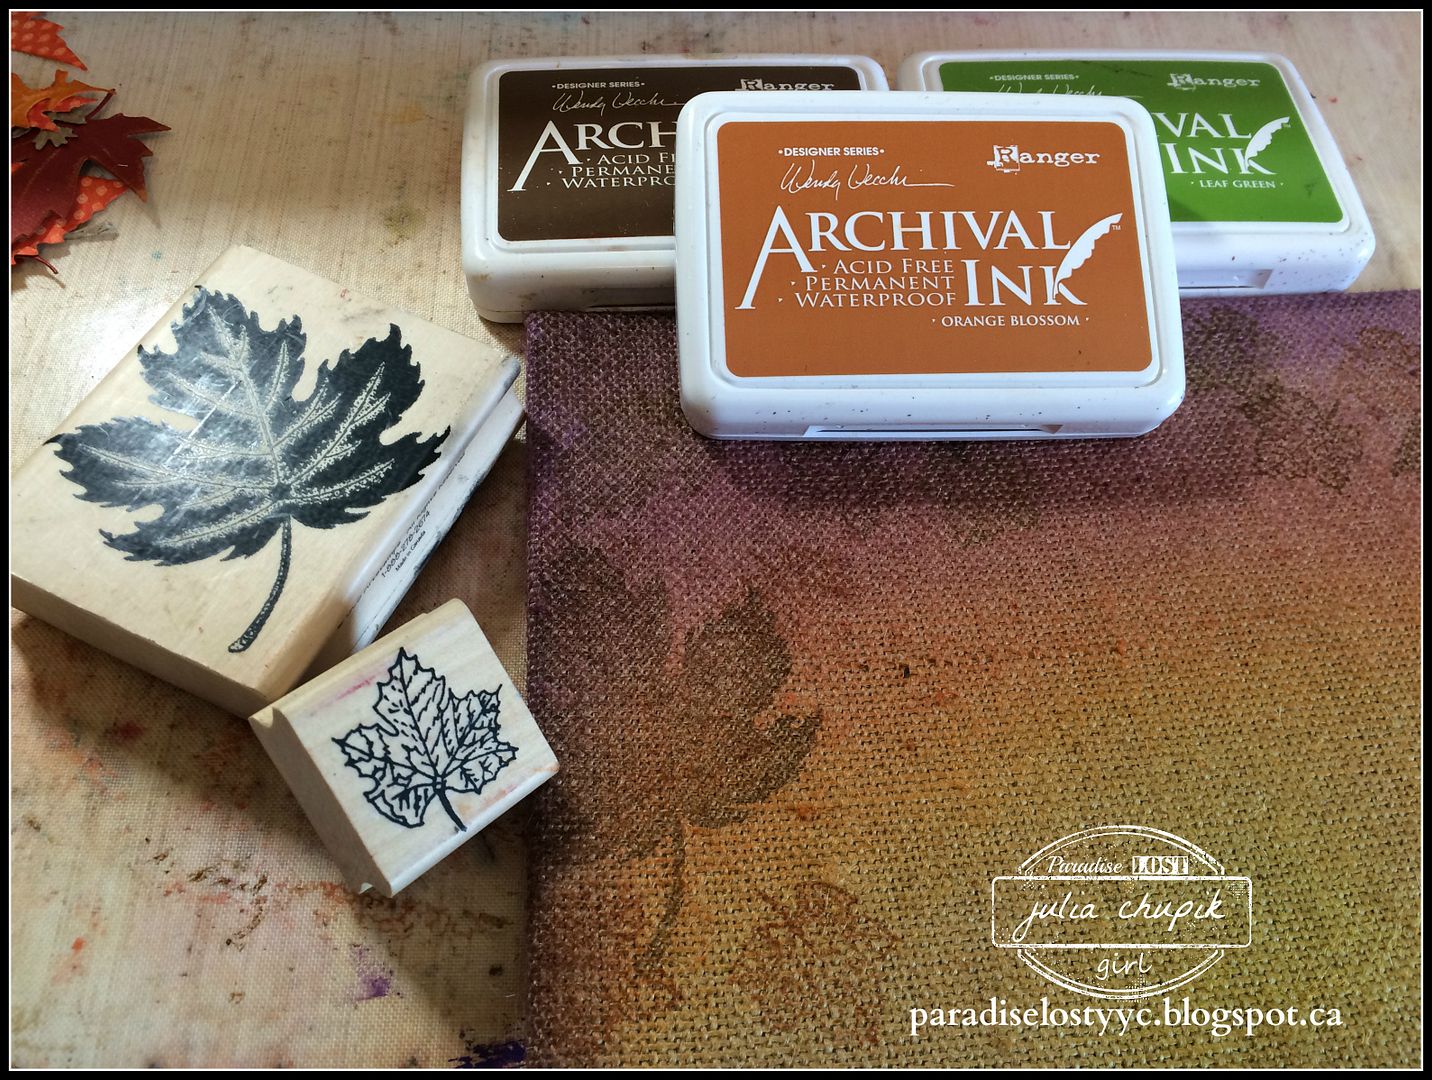
To add a little more interest to the background I stamped leaves in Archival Ink around the outside edges. I just love the Leaf & Maple Leaf stamps from Emerald Creek Craft Supplies!
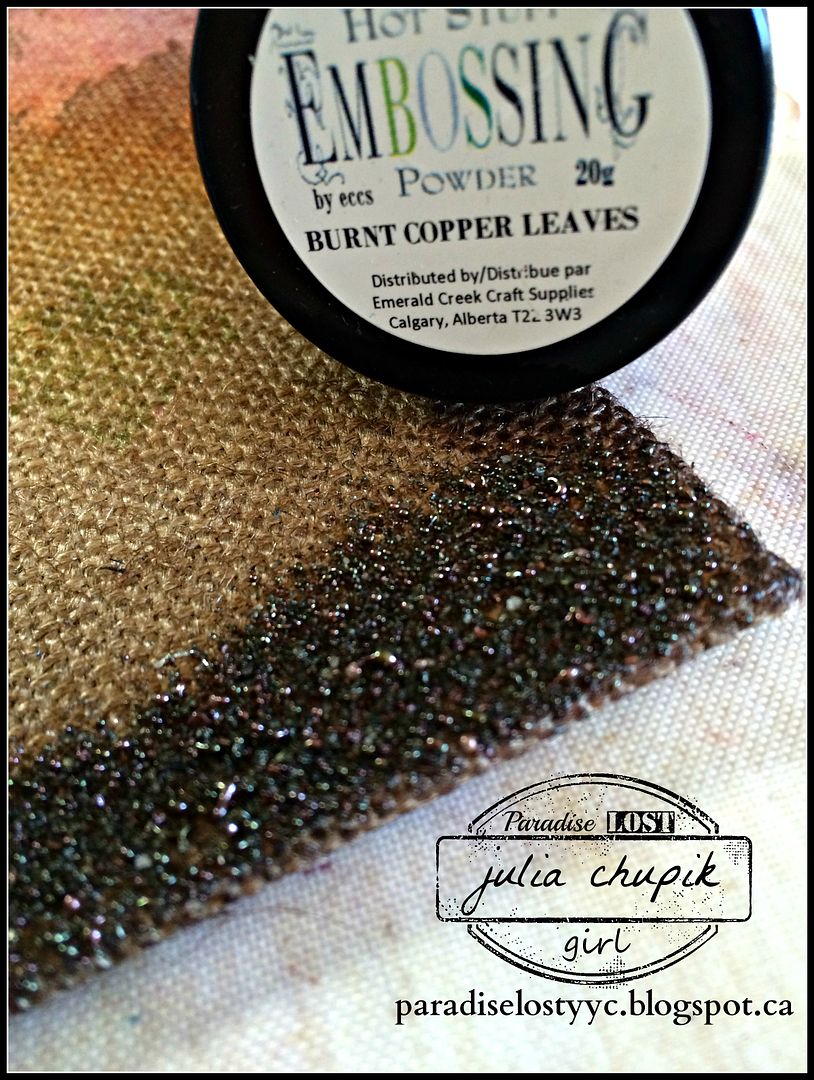
 I decided to add a bit more texture to the bottom edge by using the Burnt Copper Leaves Embossing Powder ~ this is an Exclusive blend only available at Emerald Creek Craft Supplies.

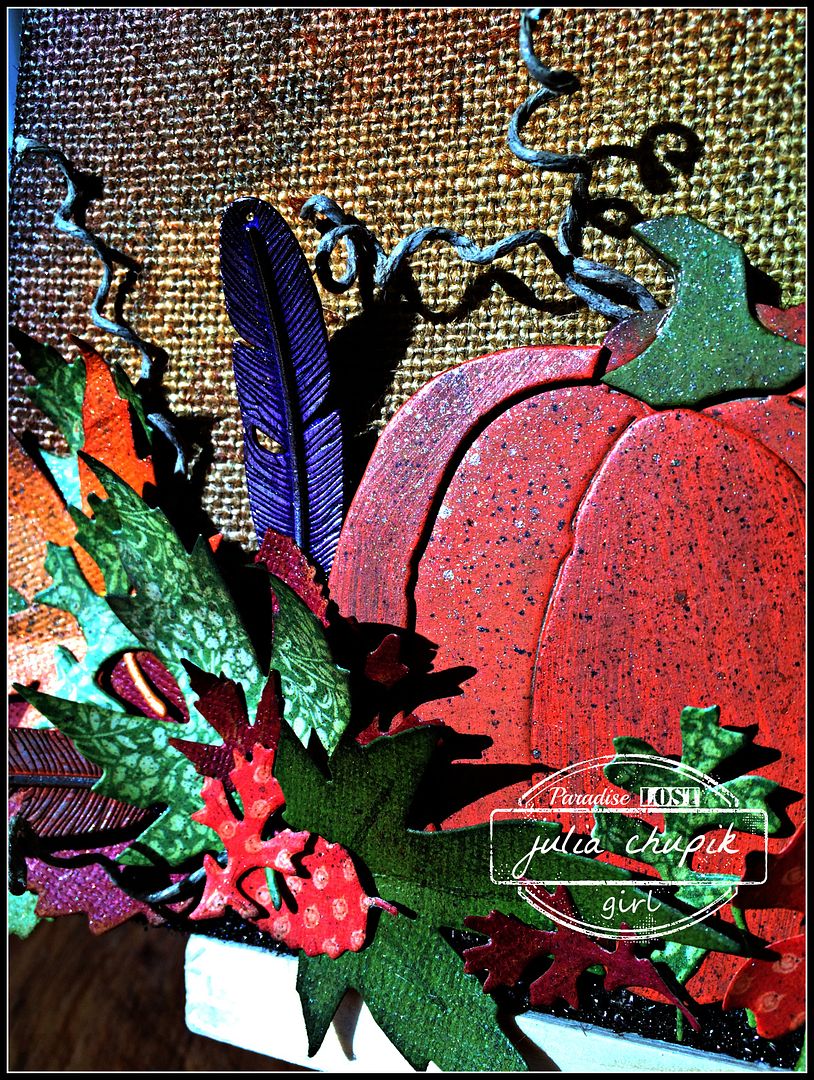
The Tim Holtz/Sizzix Pumpkin Parts die was new to me and I was very excited to use it.
All three pumpkins were diecut  out of chipboard and coloured with Distress Paint ~ Rusty Hinge and Ripe Persimmon. The smaller pumpkin is the same die, I just trimmed off the outer sections of the pumpkin to get a different shape. The stems were coloured with Crushed Olive Distress Paint. The 'vines' were made using a wax coated hemp string that I had in my stash. I wrapped it around a skewer to get the curled look. To finish the look of the pumpkins I used my spritzer tool with my Ground Espresso Distress Marker.
A fall canvas would not be complete without lots & lots of colourful leaves!
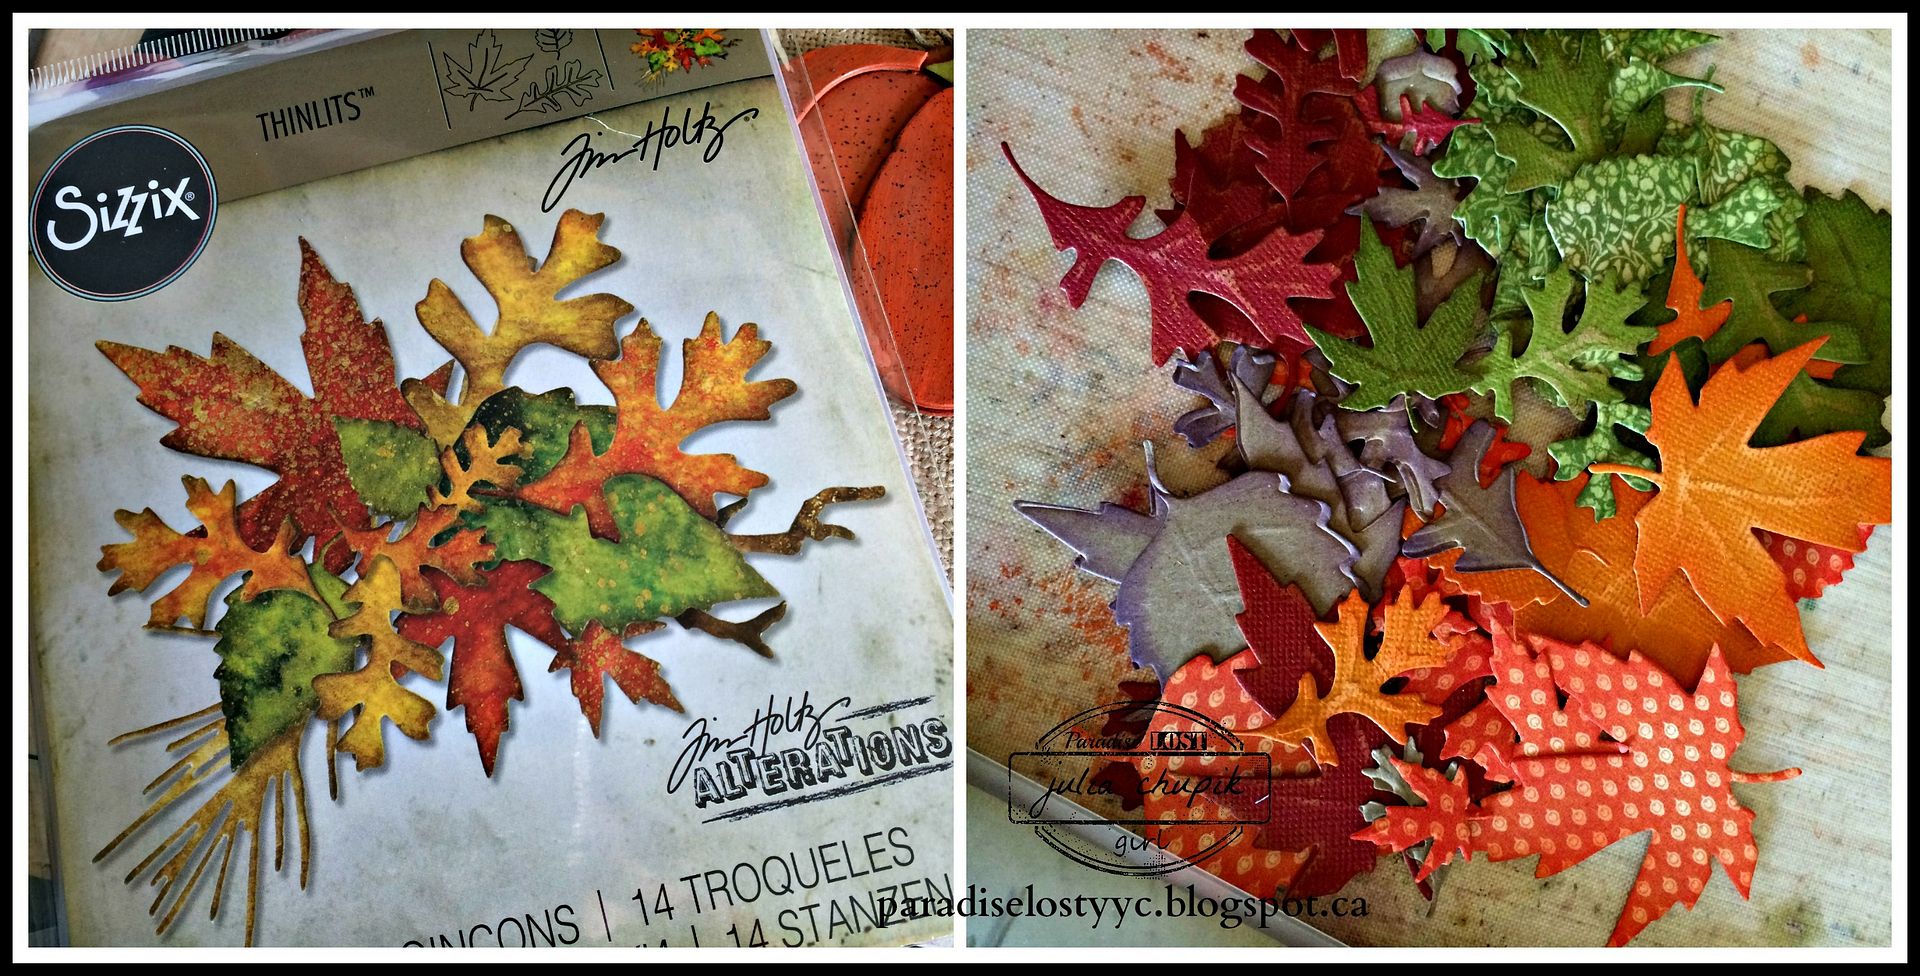
The Fall Foliage Thinlits from Tim Holtz & Sizzix was perfect!
I die cut  leaves out of Core'dination's Cardstock & printed paper then inked the edges.
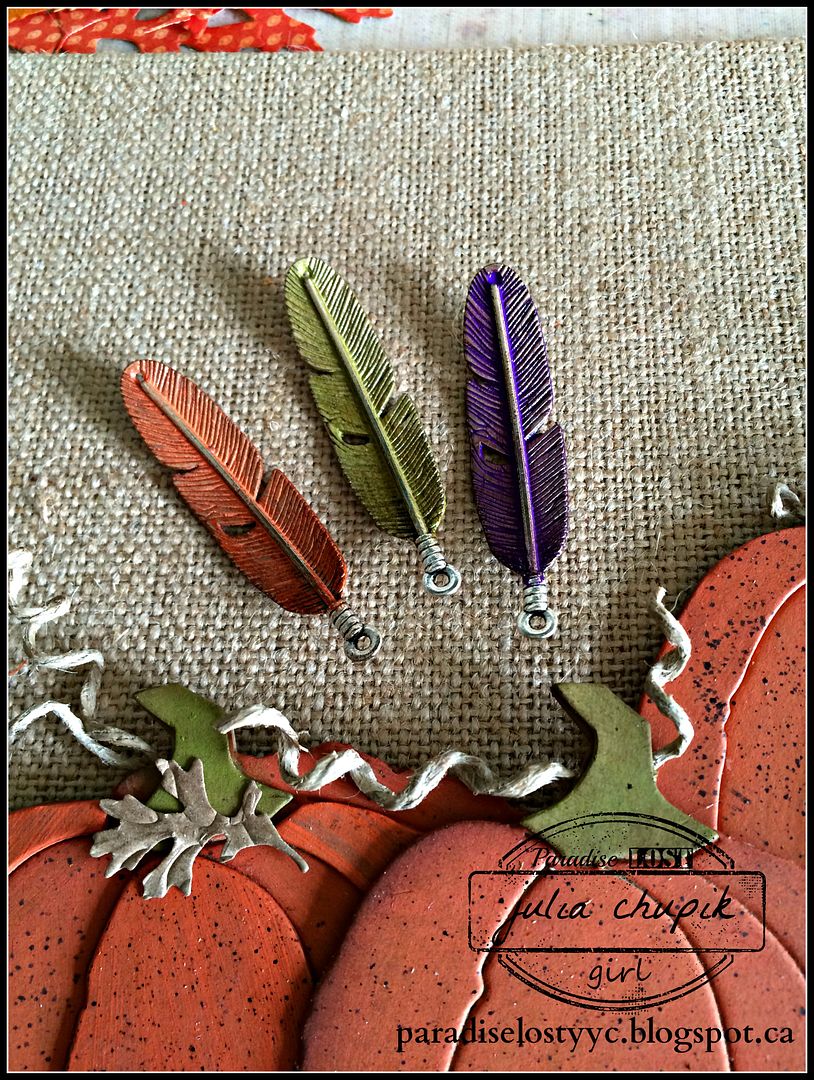
I couldn't wait to use my Distress Paint on these amazing Feather Charms from Emerald Creek.
I used Wilted Violet, Ripe Persimmon & Crushed Olive Distress Paint, wiping off a bit of the paint as it was starting to dry. I then used my Distress Blending tool to add some Ground Espresso Distress Ink to the edges.
It was time to adhere all these pieces to my canvas and after it was all glued down and just right, I gave the entire canvas a light spritzing with Perfect Pearls Heirloom Gold for just a bit of shimmer.

 Thank you for visiting my blog today!
Be sure to check out the blog posts from the rest of the Emerald Creek Dares Design Team for a lot more Fall Themed inspiration!

Nicole Wright Designs
Diana Hetherington - missusgmoments
Cathy Potosky - Amethyst Dragon's Alcove
Karon Hughes - Karon's Krafty Korner 

Check out the Emerald Creek Dares Blog for a chance to win a $25 online gift certificate!

http://www.emeraldcreek.ca/


Friday, 2 October 2015

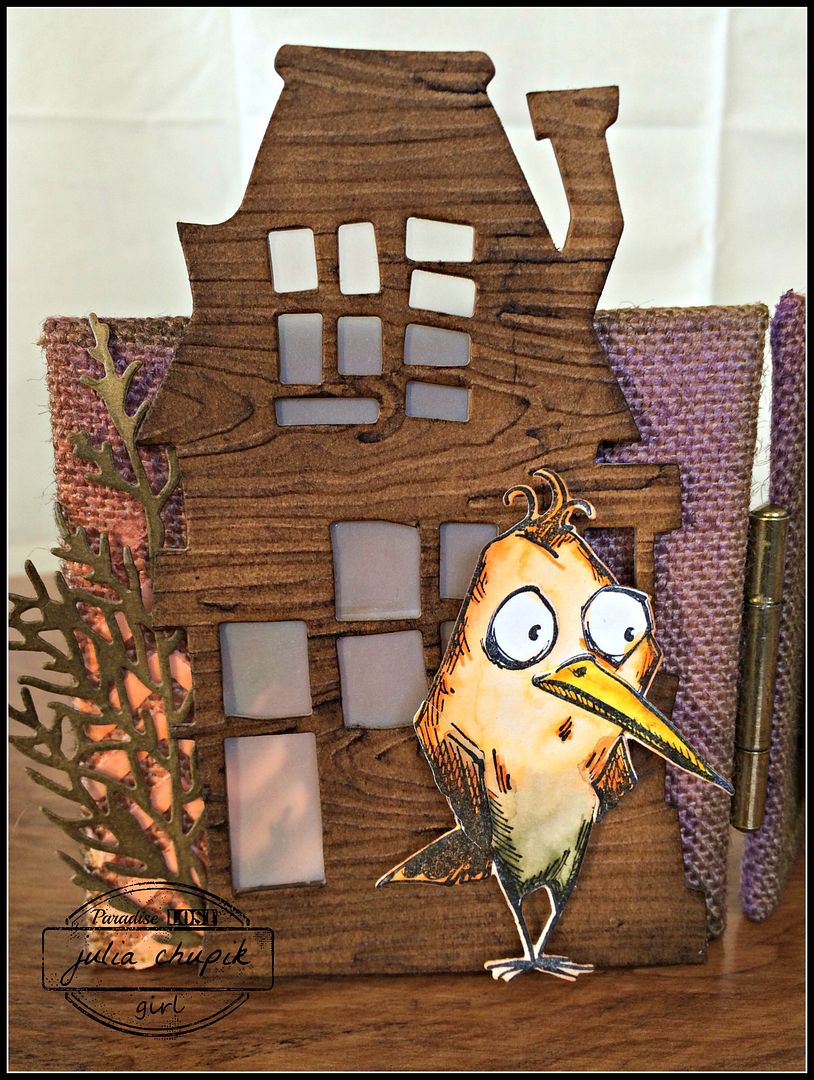
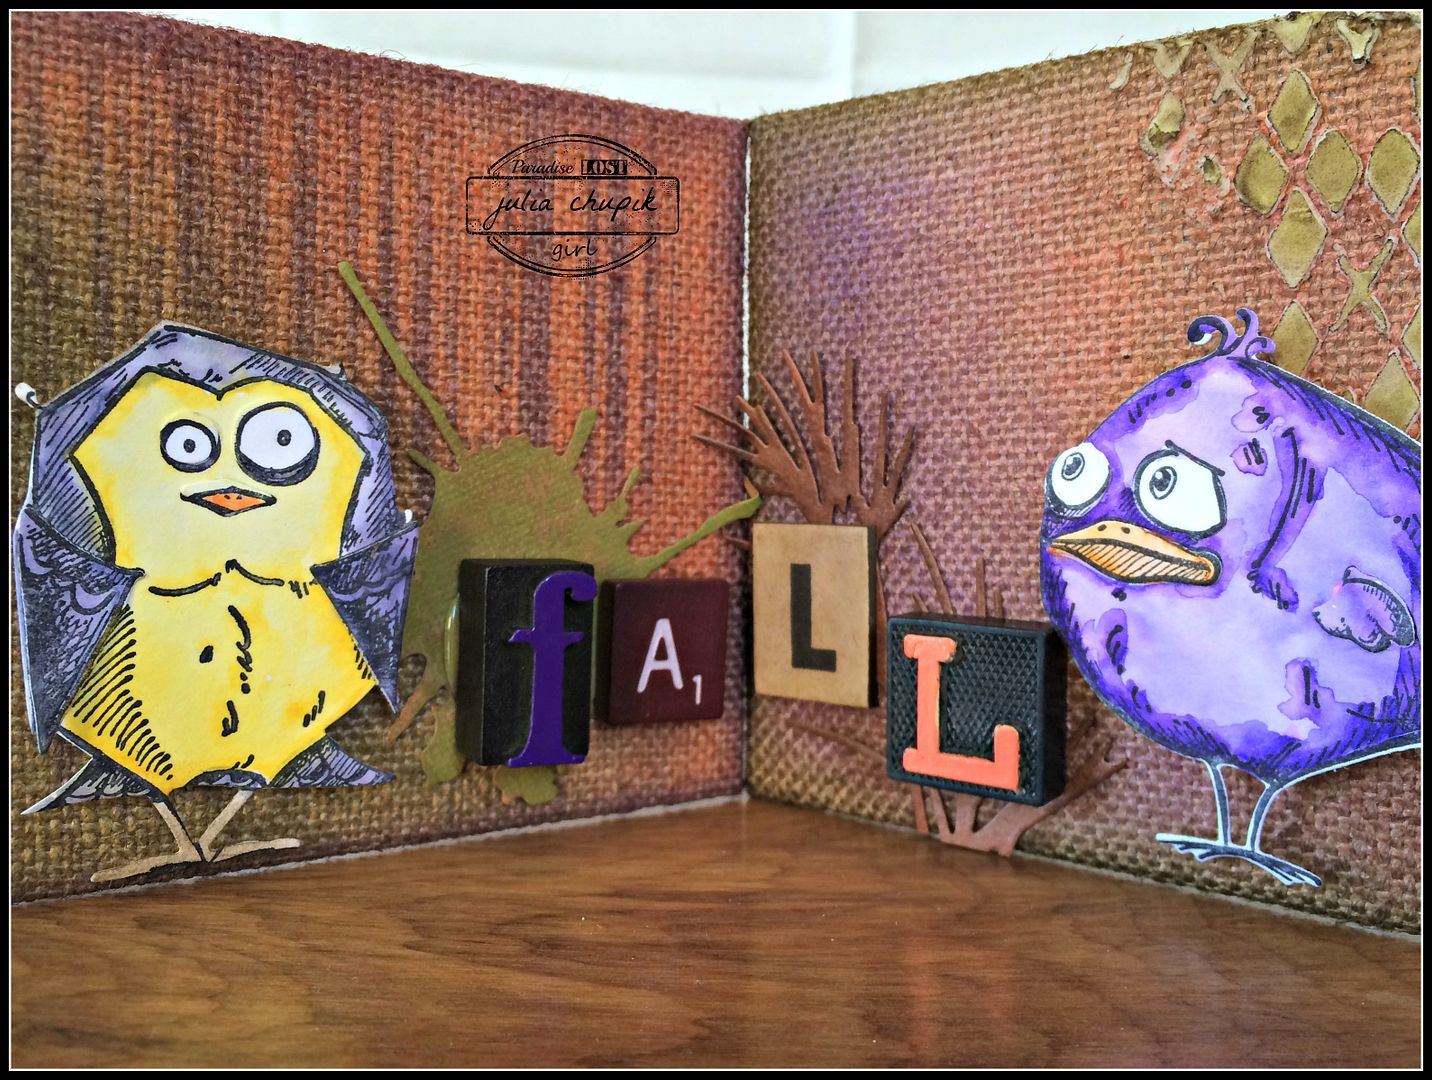
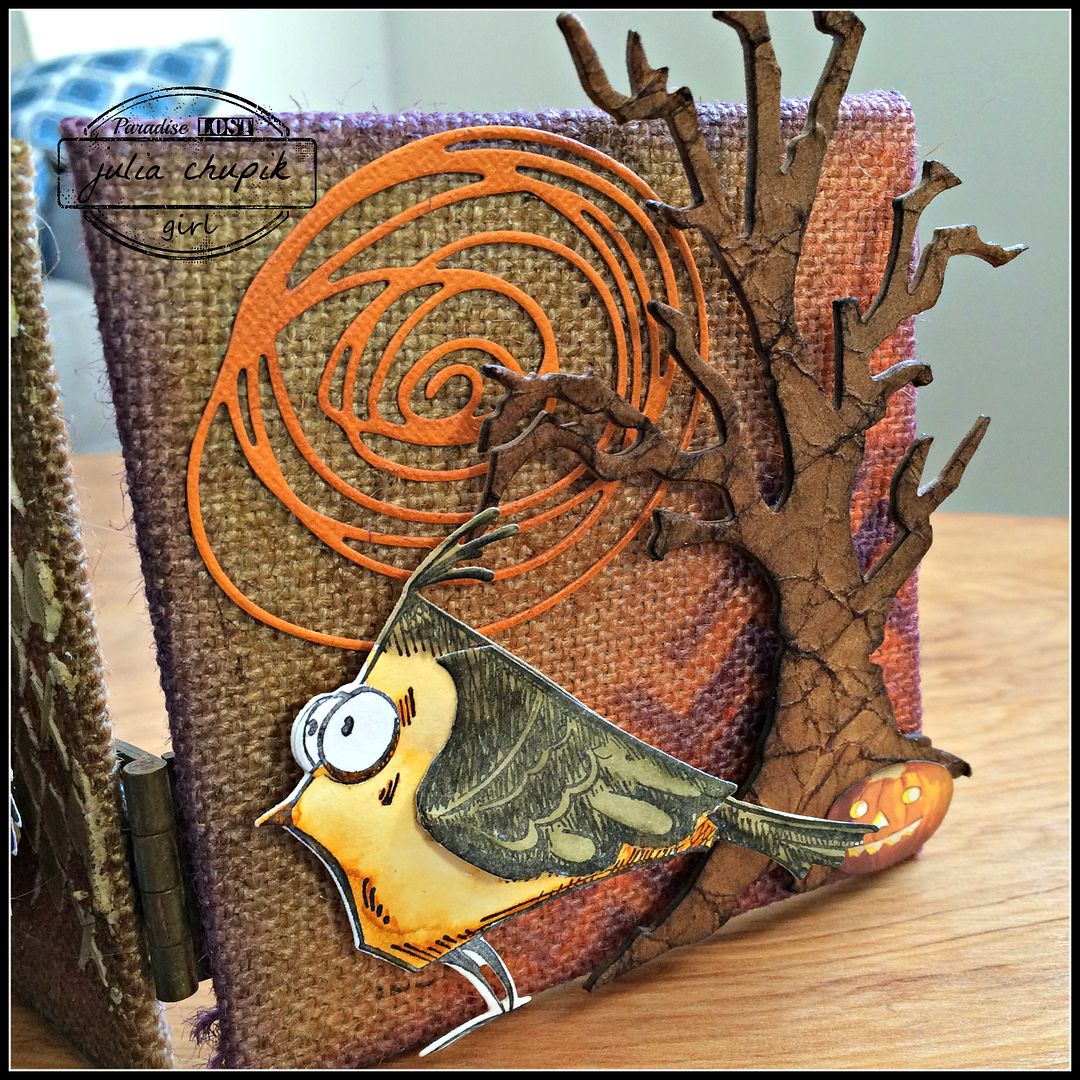
Mini Fall Canvas Set

Well, it finally happened - I took my dog for a walk at a local park in the river valley and I felt things.
The beautiful colours of the leaves, the rustling sound the leaves made as my dog ran & bounded through them. It was glorious!
All I needed a glass a warm apple cider and slice of pumpkin pie and it would have been perfection!

I came home full of inspiration and immediately went to, what I like to call, my Box of Bases!
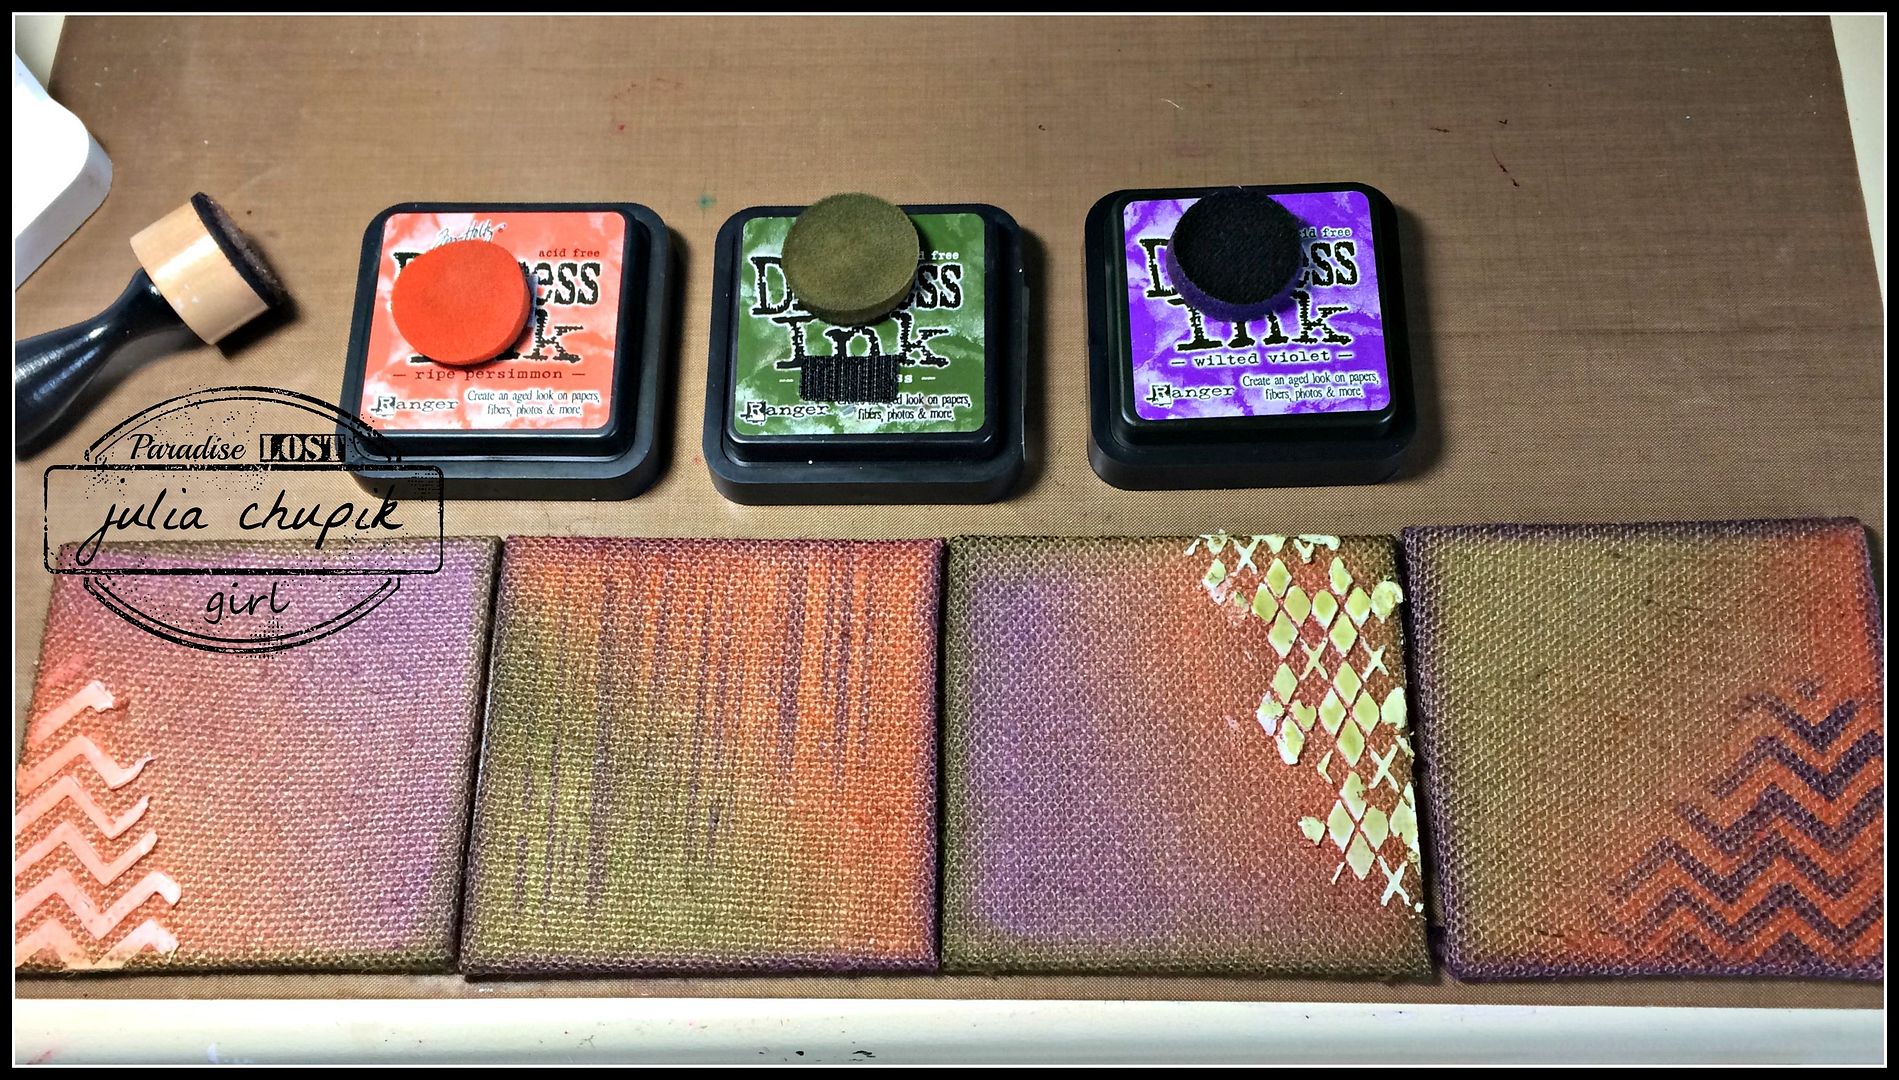
It's where is keep canvasses, wood frames, 3D boxes etc etc. As I was flipping through I found 4 mini burlap canvasses - 4"x 4". Perfect!


Ripe Persimmon, Forest Moss and my brand new Wilted Violet that I bought at Emerald Creek Craft Supplies is a gorgeous fall colour pallet. I used my blending tool to apply the the colours to the burlap. On 2 of the canvasses I applied Ranger Texture Paste through the Zig Zag Stencil & the Argyle Stencil by Tim Holtz & Stampers Anonymous. After the texture paste dried I applied more distress ink. I applied Wilted Violet with my ink blending tool through the Zig Zag & Stripes Stencils on the other 2 canvasses.
I decided to use the Bird Crazy Stamp set because those little guys were just the perfect size. 
I stamped & watercolored 4 of them with my Distress Ink. 
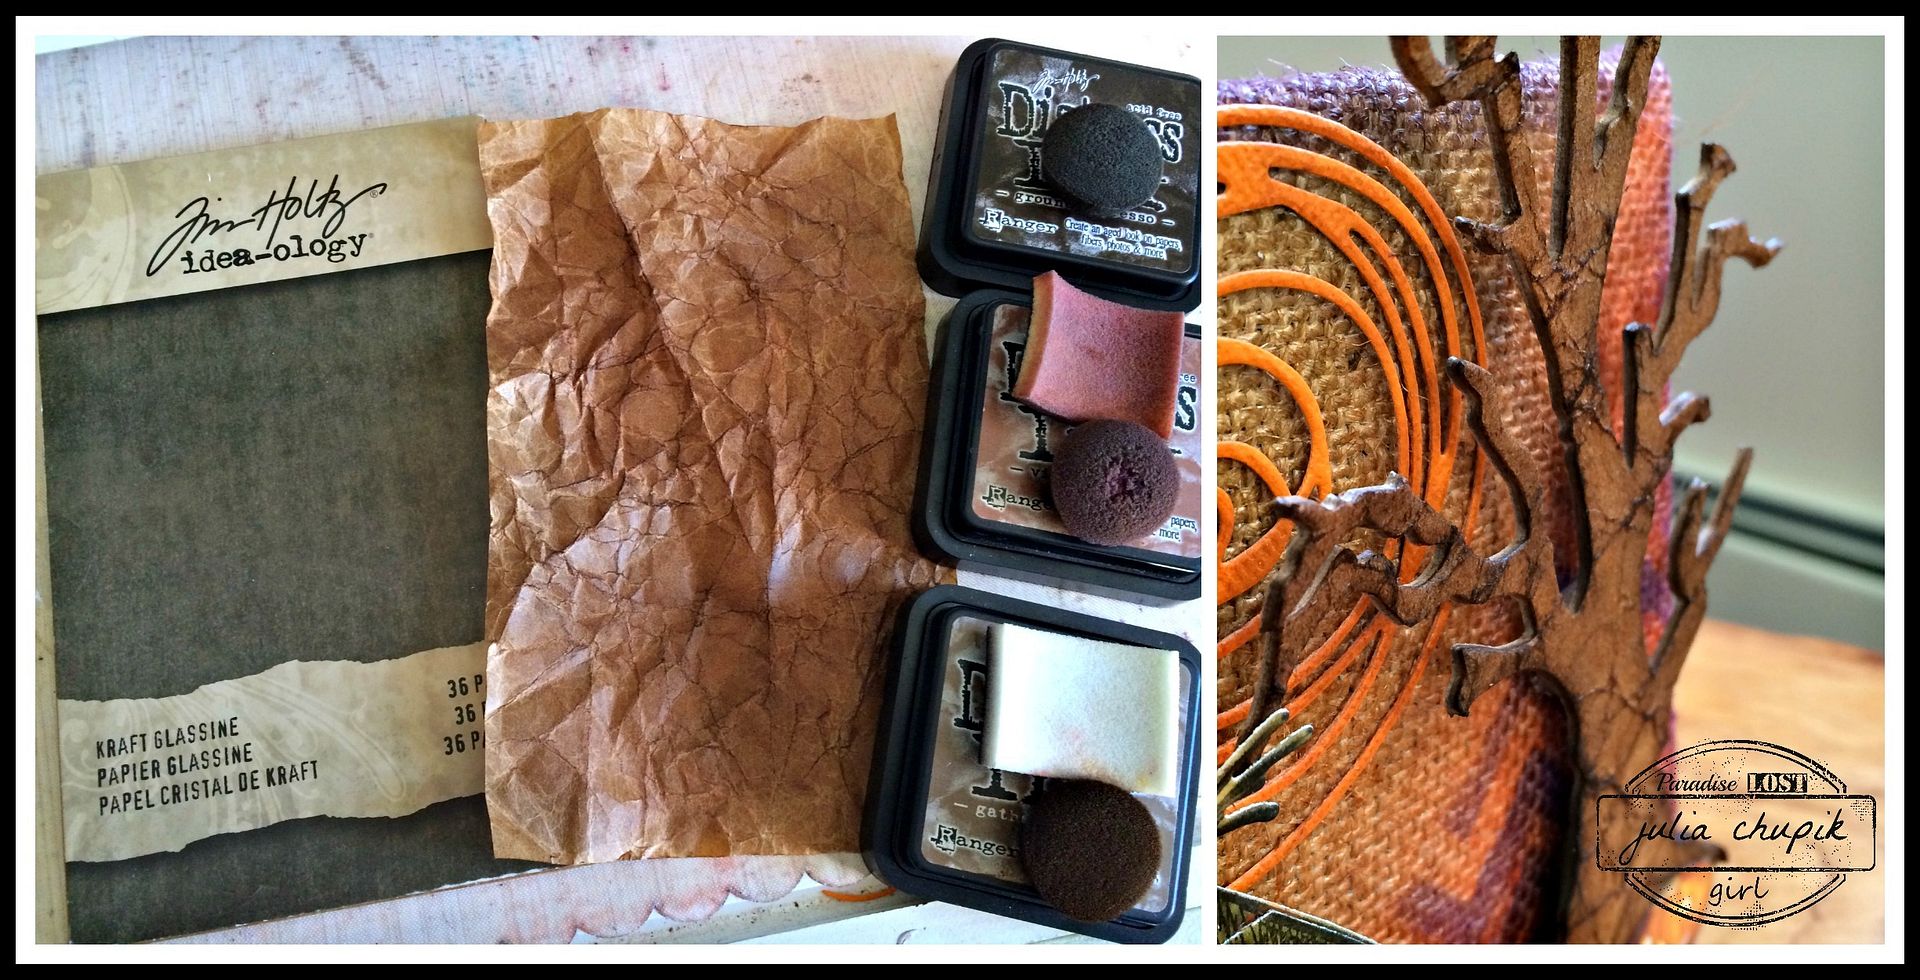
I wanted some larger die cut elements and the Branch Tree & Rickety House were just the right size. 


To get the texture on the tree I took a sheet of Glassine and scrunched it up before appling Ground Espresso, Vintage Photo & Gathered Twigs with my blending tool. I then used matte medium to adhere the glassine to chipboard before diecutting my image. I used the same technique for the rickety house except I used my woodgrain embossing folder the for texture.


I used the Holidays Greens and Scribbles & Splats Thinlit dies to add a few more elements and some random letters to spell our "Fall". 


Finally, I used some old rusty hinges that I bought at ReStore to join all four mini panels together.


Thanks for visiting my blog today! I really appreciate it!
Don't forget to check out the Emerald Creek Dares blog for this months challenge and for a chance to win a $25 gift card to the online store!
http://www.emeraldcreek.ca/
http://blog.emeraldcreek.ca/


Tuesday, 15 September 2015

Tim Tag September 2015

I can't believe it is already half way through September! Where did the time go?
The hubby & I are starting to feel more settled in our new condo and I think I have my craft room pretty much organized. Or at least as organized as I can get.

I was so ready to sit down and get my hands messy while making my September Tim Tag!
Check out Tim's Tag here

Gorgeous, right?

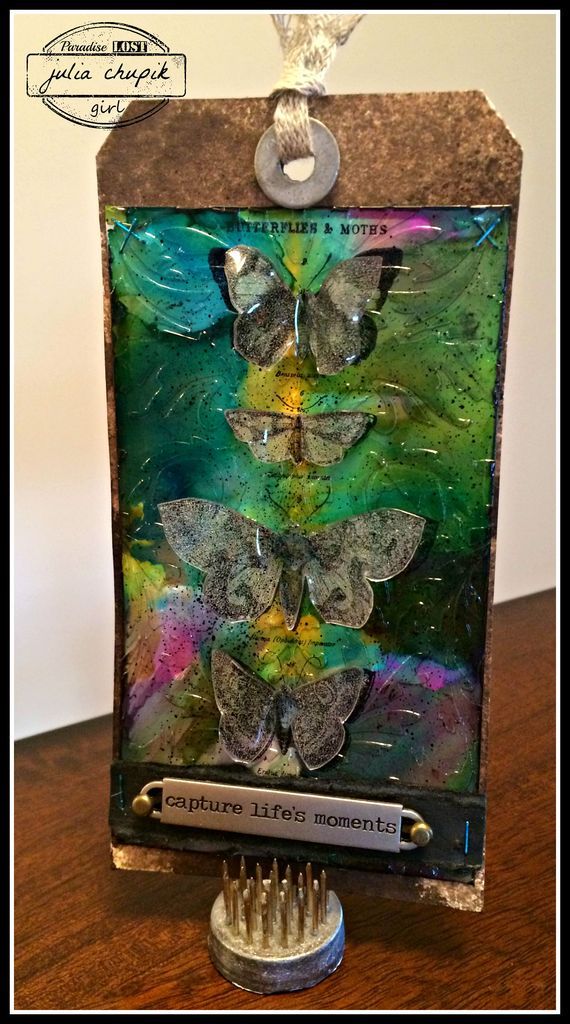
I had to get a bit creative since I didn't have the Frosted sheets. I had Frosted Film and decided to layer that on to a piece of acetate/plastic that I had in my stash. It seemed to work when I experimented with it.

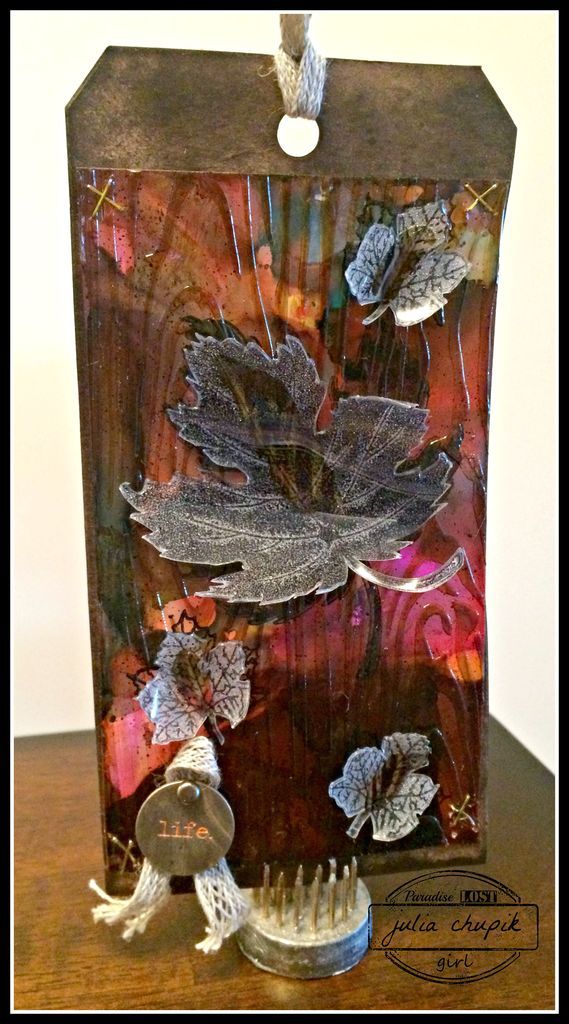
Here is my first finished tag - 


 I absolutely love the look of the transparent gloss gel over the alcohol inks.

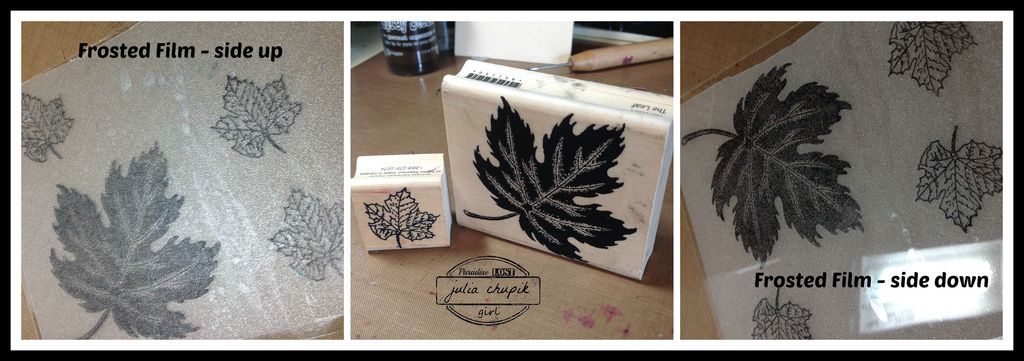
I decided to make another tag but this time with a more Fall feel to it and what feels more like Fall than leaves! I used these 2 stamps from Emerald Creek Craft Supplies.
I ended up using my finished leaves with the frosted film side down, I just liked the look of the stamped image better but I still had the shimmery, frosty effect.


I used the Woodgrain Stencil by Tim Holtz for the background and gain I love, love, love the look with the transparent gloss gel. This will be a product I will use again very soon.


Thank you so much for visiting my blog today!

Leave me a message so that I knew you were here. I love making crafty new friends
 and visiting your blogs!


~~~stay crafty~~~


julia

Submitted to:
 12 Tags of 2015 - September