Showing posts with label Tiny Tattered Floral. Show all posts

Tuesday, 6 June 2017

Another Altered Book Journey

Hello my crafty friends! Welcome to my blog. As you can see by my lack of posts, the warmer the weather gets the less I craft. It's just too darn nice outside!

I am here to share another altered book....this one more of a diorama style.
I was inspired by this quote:

'I don't want to just read books, I want to crawl inside of them and live there.'


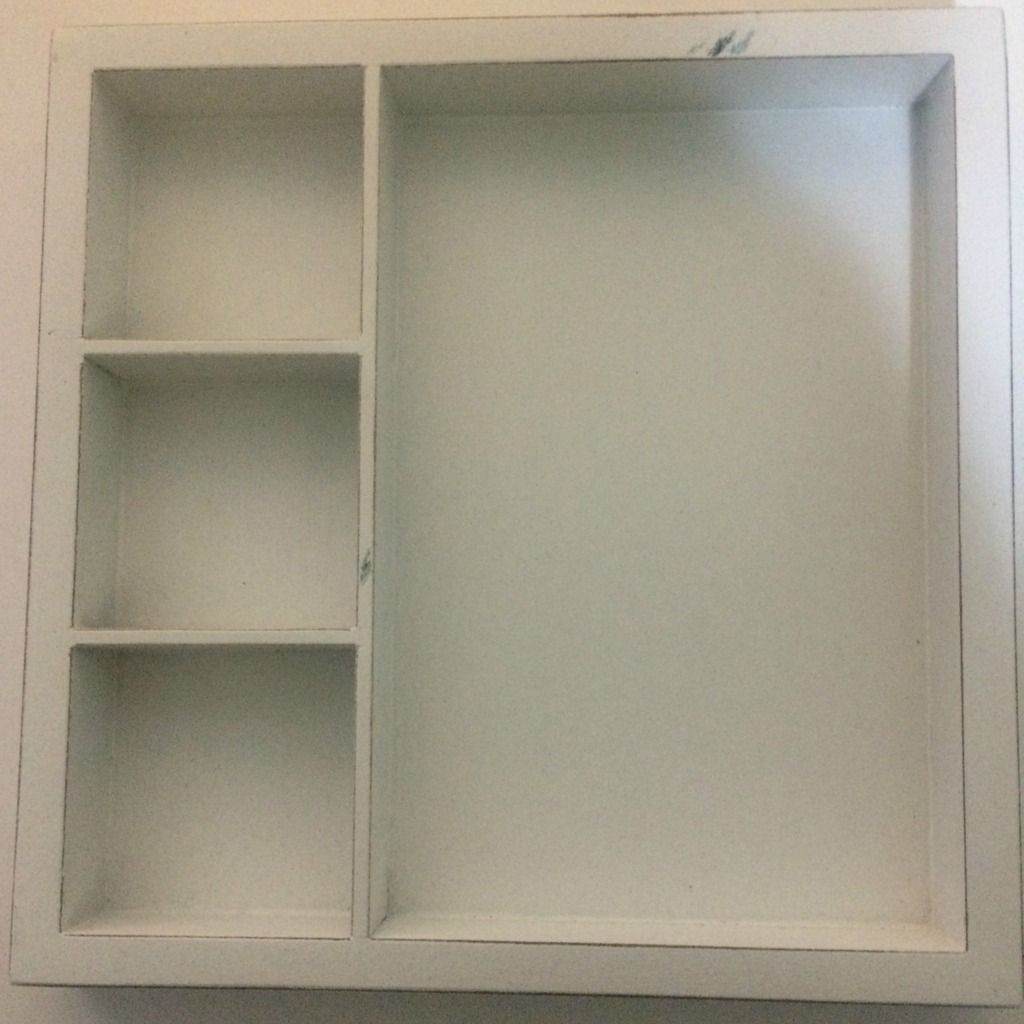
I love books.....all kinds of books but especially the old ones. The yellowed, musty pages and just so lovely. For this project I chose a 50 year old book on the "Principals of Economics". Snoresville, am I right? Perfect for taking an x-acto knife to and cutting a rectangle shape through the cover and about 2/3rds of the the way through the book.


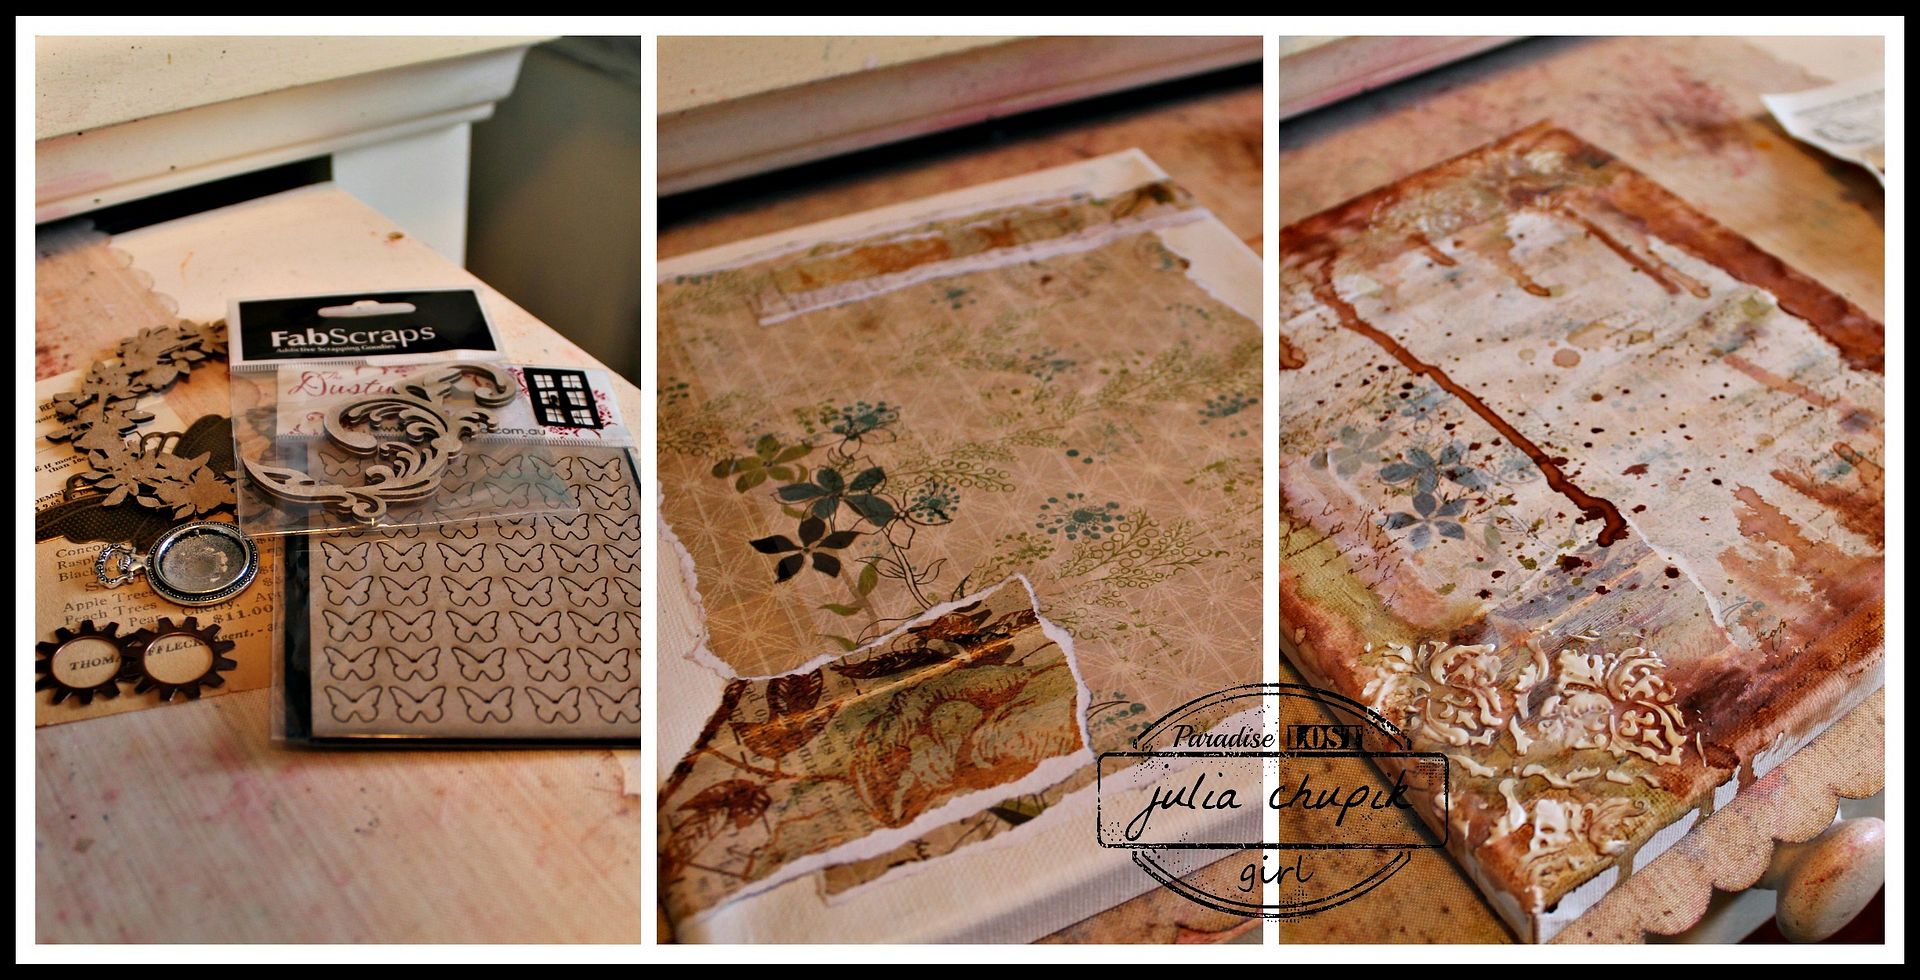
I glued into my book a lovely forest scene from another old book that belongs to my craft bestie - Nicole Wright. I also borrowed her set of Stabilo 3 in 1 Woody Pencils to watercolour in my forest scene. These pencils are fantastic and keep their gorgeous bright colours even after they dry!


 Once this was dry I closed the book and used a white glue to seal all the edges of the book. A giant clip helped hold everything together while the glue dried.


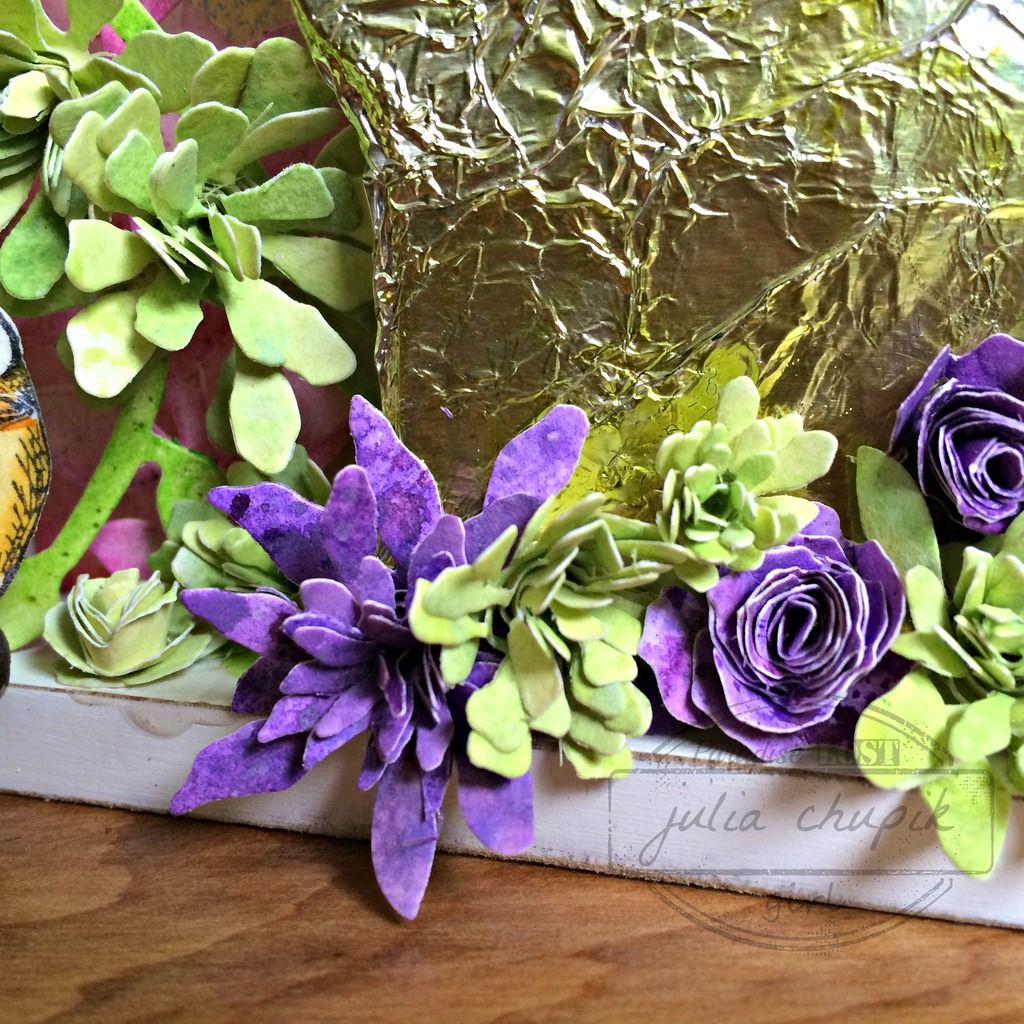
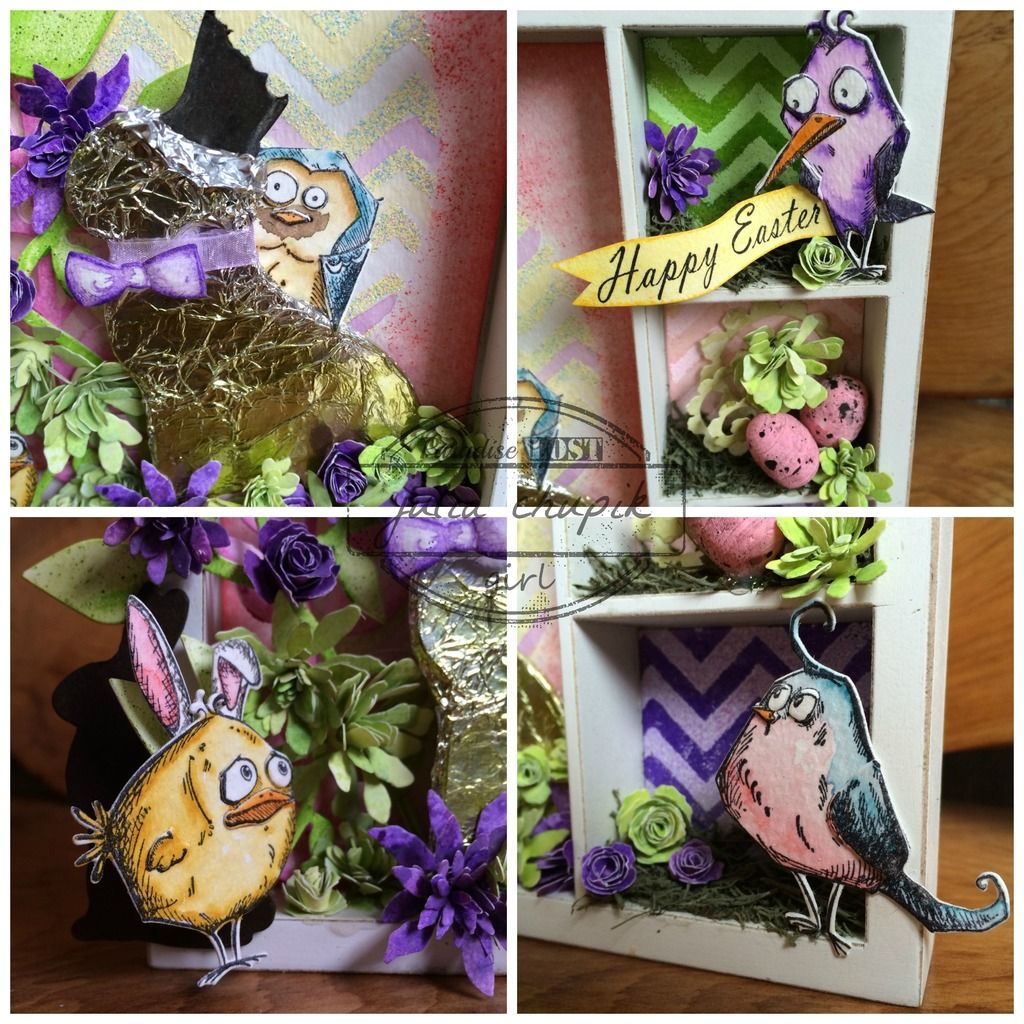
Once everything was dry I started building my scene with moss, and pieces of wood from my stash. I added a few Tiny Tattered Flowers and Leaves and some Paper Dolls.


The quote that inspired this project was made using words I found in a couple of books I had.

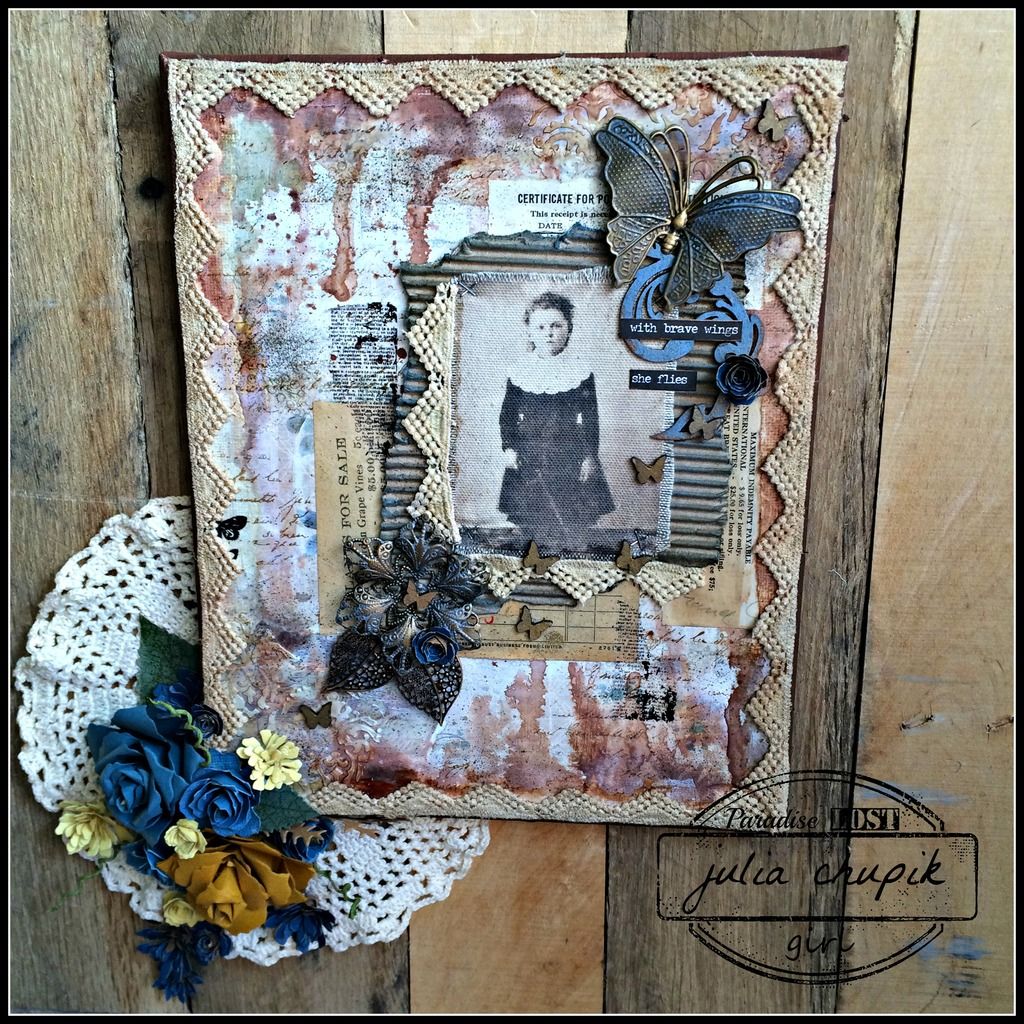
I am so please with how this turned out. Another home decor item to add to my book shelf.


Friday, 19 August 2016

Technique Remix Time - August

I can't believe it's been a month since my last blog post! It's been a great summer but now it's time to get back in the craft room. Before I start working on Creative Chemistry 103 I wanted to get my tag for Tim's Technique Remix Challenge for August done. 

Check out Tim Holtz's Tag here.

Here is my take - I decided to go for a shabby garden look.

Before I did the Brayered Stain technique I stamped an image from the Mixed Media 2 stamp set from Stampers Anonymous. I used Old Paper Distress Paint to stamp it on to my tag.

I chose 3 Distress Stains to brayer on to my tag next - Victorian Velvet, Bundled Sage & Spun Sugar.

I just love how the Distress Paint stamped image resists the stain.

Before adding my elements I used my round blending tool to add some Bundled Sage Distress Ink to my tag. I forgot to take a photo of that step.

I used the Lattice Framework Die for the next technique. I die cut using chipboard for the main part and some pattern paper, cork & canvas for the insets. 


My flowers were made by layering two die cuts (one cardstock & one patterned paper) from the Tiny Tattered Florals set. I like the fuller look of the flower that this gives me.

I adhered a sentiment from the Casual Talk sticker pack before layering my Tint Tattered Floral over some Garden Greens die cut.

The theme for my take was inspired by the Shabby Garden Mood Board over at the Anything But Cute challenge blog. The mood board reminded of my grandma's garden on the farm but especially her lovely pink roses. 


Challenges Entered:


Monday, 23 May 2016

Tim Tag Remix for May

Rainy spring days & long weekends are perfect for spending time in the craft room.
I have been needing an excuse to sit down and get my Tim Tag done this month and 
I found it.

I am seriously loving the technique remix Tim is creating & sharing this year.
Each month is a fabulous reminder of previous techniques.
Check out Tim's Tag blog post here.

Gorgeous, right? I especially love the tissue tape resist technique. I really have to use this more.

Here is my tag following Tim's step by step techniques found on his blog.

I already have a small drawer filled with tiny tattered flowers already assembled and ready to use.
I make them with leftover pattered paper and cardstock from other projects. I have so many right now that I probably wont have to make anymore for a very long time. The colours for my tag were inspired by a few flowers that I already had on hand.

I got a little stamp happy and when I got to this point thought maybe I overdid it.
However, I just continued on and hoped that the other layers would help.
I added texture paste through my alphabet layering stencil and let it dry before adding my Distress Stains.

The Distress Stains & Inks I used were Fossilized Amber, Worn Lipstick & Victorian Velvet.
After masking off my focal point I gave my take a quick spritz of Tarnished Brass Mica Spray. It doesn't show up very well in the photo but looks amazing as a final layer.


Submitted to:


Thursday, 24 March 2016

Emerald Creek Dare - Easter Hunt

It's time for another challenge at Emerald Creek Dares
and this time we are celebrating Easter and the Easter Egg Hunt.

Show off how you celebrate Easter at Emerald Creek Dares for a chance to win
a $25 credit to the Emerald Creek online store.

My family of Crazy Birds and the Easter Egg Hunt

I started with a small square box that I had in my box. It needed very little prep as it was already white but I did take my small sanding block to the edges to distress it just a bit.

I started by making my background for the small squares. I trimmed some watercolour paper to fit each space and sponged Versamark over my Chevron Layering Stencil from Tim Holtz before applying Emerald Creek pastel embossing powder in 3 different colours - green, lilac & pink.
I finished these off with some Distress Stains in coordinating colours.


The background for the large box was made using watercolour as well but this time I used a large oval stencil that I thought could pass for an Easter Egg. Again I sponged Versamark through the Chevron Layering Stencil and this time used the Easter Parade embossing powder from Emerald Creek - its just one of a whole line of  Festive Glitters. I love them all! 

I received my Distress Crayons this week and was so excited to use them with this project. I have a lot to learn about them but had fun playing around with some watercolour techniques on my bunnies & floral embellishments.


For my flowers I used 98 lb watercolour paper that I dragged through Distress Stains & Picket Fence Distress Paint that I applied to my craft mat. The Picket Fence give the stains a gorgeous pastel feel. I then use my set of Tiny Tattered Florals die set to cut out a bunch of flowers.
Here is a close up photo of the finished flowers ~

And close-ups of those Crazy Easter Egg Hunting Birds. One of those rascals couldn't resist a nibble of  the chocolate bunny ears.

Thank you for visiting my blog today! 
I wish each of you a very Happy Easter and may your long weekend be filled with love, happiness & joyful celebration with family & friends.

Be sure to check out more Easter inspiration from the rest of the Emerald Creek Design Team
then visit the Emerald Creek Dare blog to share your creation with us.


Emerald Creek Craft Supplies
products used:

Stamp:

Embossing Powders:


Thursday, 11 February 2016

Anything Goes - Emerald Creek Dare

It's time for a brand new challenge at Emerald Creek Dares and we want you to showcase your favourite technique, style or products .Whether it's mixed media, cards, scrapbooking or 3D ~ it doesn't matter. Anything goes!

My creation is near & dear to my heart and brings 2 of my passions together.

Paper crafting and genealogy.


My project today was inspired by a tin type of my paternal great-great grandmother ~ Catherine ~ taken approx 1890. I scanned the tin type into my computer did some editing and then printed it out on some plain canvas that I had in my stash. I collected some other items ~ chipboard, ephemera and an 8x10 canvas.


I started by adhering a scrap of patterned paper that I had in my stash to the frame before using matte medium to adhere some old receipts and newsprint. I then sealed the whole thing with matte medium & let the frame dry completely before the next step.


I then started adding Distress Stain in Vintage Photo, Weathered Wood & Old Paper ~ misting with water and letting it drip from the top of the frame. I made sure this was dry before repeating this step from the bottom of frame.
I added some molding paste through a stencil in 2 corners of the frame, some Remnant Rubs in a few places and Ground Espresso Distress Marker with my spritzer.
The metal pieces have been painted with Weathered Wood Distress Paint and wiped back when the paint is dry. I then applied some metallic rub-ons. I also used metallic rub-ons on the small chipboard butterflies. 


Check out these amazing Filigree Leaf Charms from Emerald Creek Craft Supplies. The antique metal alloy finish on the charms were perfect the way they were so I didn't have to add anything to them. 


Before adhering my frame to the pallet board backing I placed a vintage lace doily to the wood.
My final step was to make some Tiny Tattered Florals and some bigger flowers with the Tattered Pinecone & Jumbo Tattered Pinecone die from Sizzix.

My family history gallery so far ~ 


Thank you so much for popping by my blog today!

Don't forget to visit the rest of the Emerald Creek Design Team 


Show off your stuff for our Anything Goes Dare
for a chance to win a $25 credit to Emerald Creek Craft Supplies

~stay crafty~

julia

Friday, 29 May 2015

Milkshakes......May Tag

Or in this case a 7" x  7" mini canvas. 
Check out Tim's Tag Tutorial & get inspired

This was a perfect project to use my mini retro diner ephemera.
The colours of the ephemera work really well with cracked pistachio & abandoned coral distress ink.
I couldn't resist using Fossilized Amber on the crinkle ribbon just for an added pop of colour.


Thanks for checking out my blog today!

~~~stay crafty~~~

julia

Challenges......
Tim Holtz.......May Tag

Thursday, 28 May 2015

Crafty Storage Boxes.....Part 2

Today I finally complete my crafty storage for my new craft space. 
Over the past couple of weeks I have been searching for & collecting boxes that 
I thought would work.

Aren't these awesome! I painted everything with one coat of Old White Chalk Paint
from Annie Sloan with the exception of the black chalkboard finish.
These wooden nesting boxes will be perfect for ribbon & washi tape storage. 
The largest one can fit about 20 - 2oz bottles of  acrylic paint! 
These small drawers were a dollar store find. I removed the metal drawer pulls
 and applied alcohol ink so that they coordinated my stamp storage box. 
The Numeric stamps from Stampers Anonymous were the perfect size for the drawer
fronts. 
Yet another dollar store find - triple drawer with chalkboard fronts. The Flower Garden Stamps from Stampers Anonymous look amazing stamped in white on the drawer front.
Look at how awesome my Tiny Tattered Florals look!


Thanks for visiting my blog today!

~~~stay crafty~~~

julia