Showing posts with label Distress Micro Glaze. Show all posts

Friday, 26 January 2018

Distress Oxides + Distress Micro Glaze + Glossy Paper

Hello and welcome back!
Did anyone else spend last weekend glued to social media waiting and watching for live updates from Creativation? It was so much fun and I wasn't jealous at all. There are so many exciting products being released this spring!

One of the most exciting demos I watched was this one from Tim Holtz.....watch and be amazed.

This technique of absolutely blew my mind and I rushed to my craft room to try it out.
After a few attempts and being dazzled by the results I decided to take it one step 
further with a stencil.

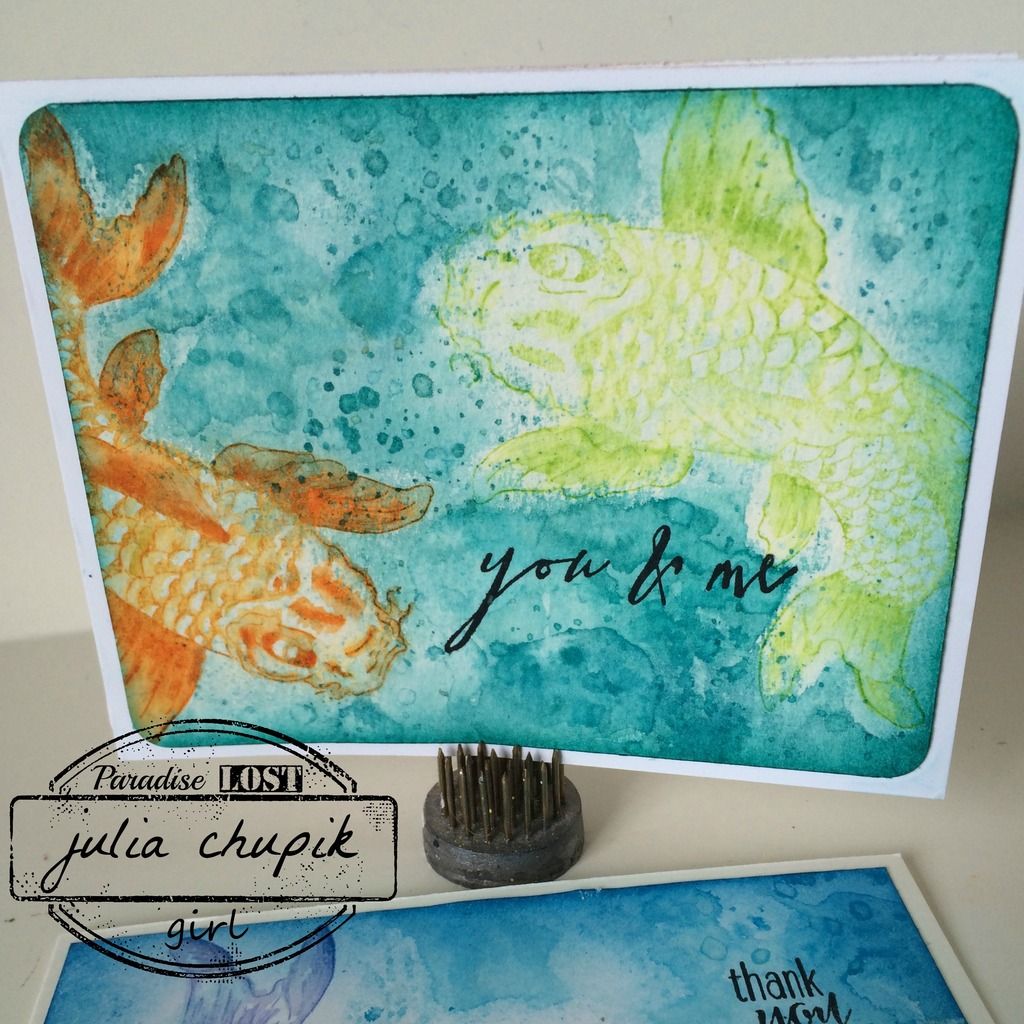
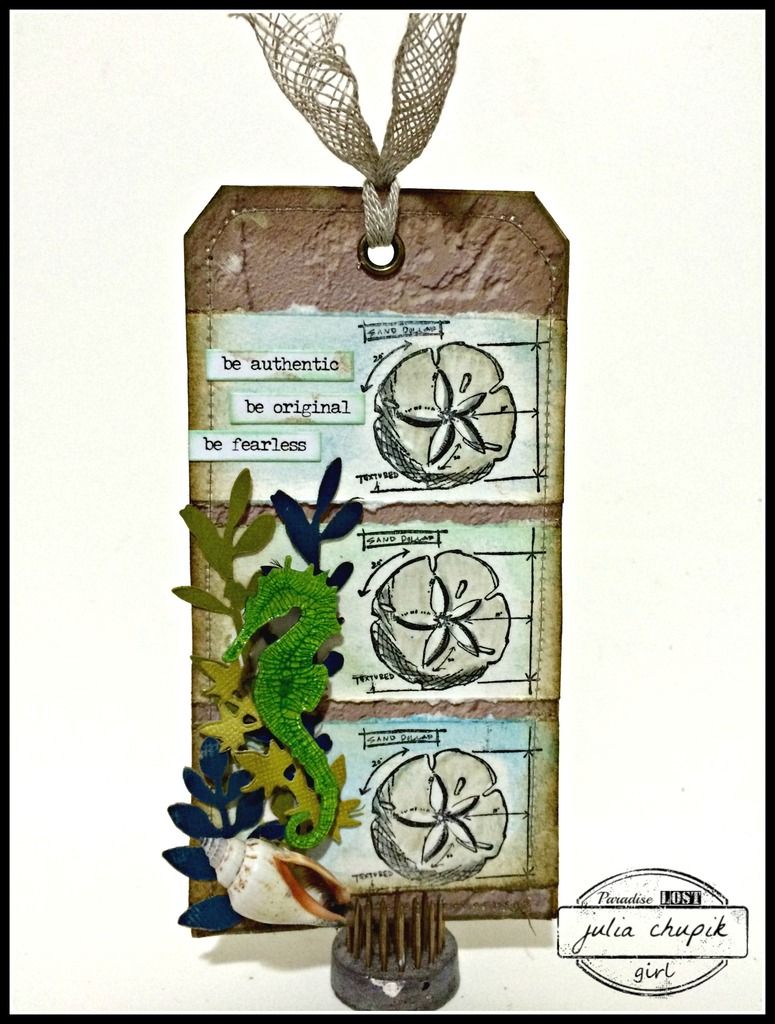
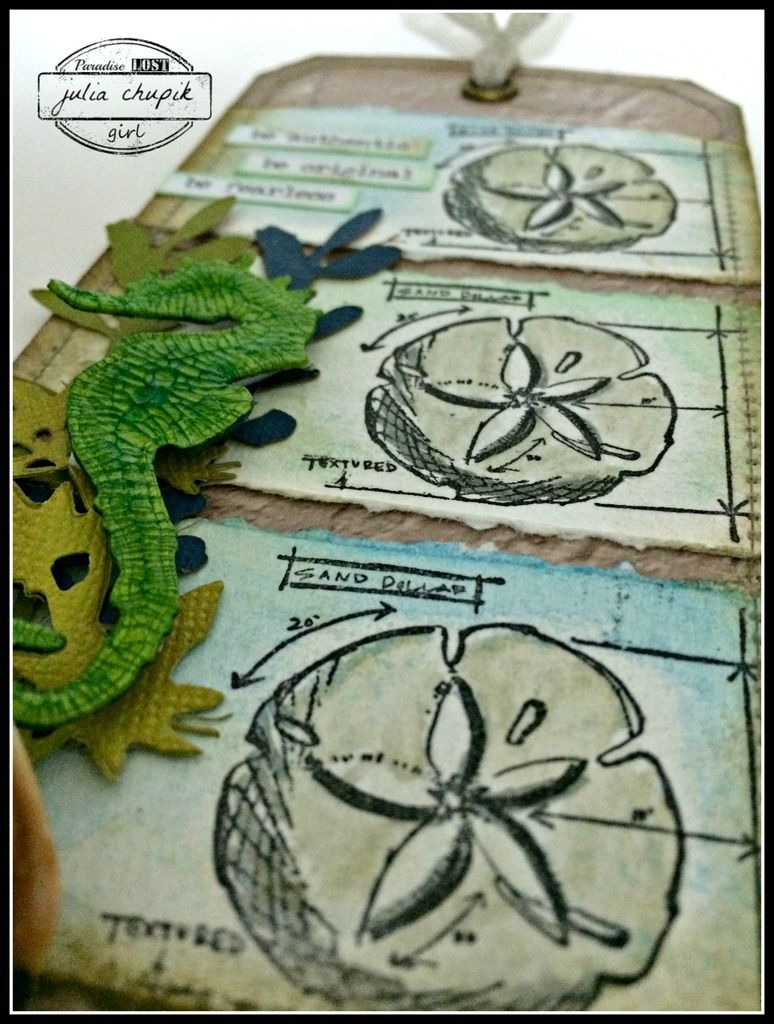
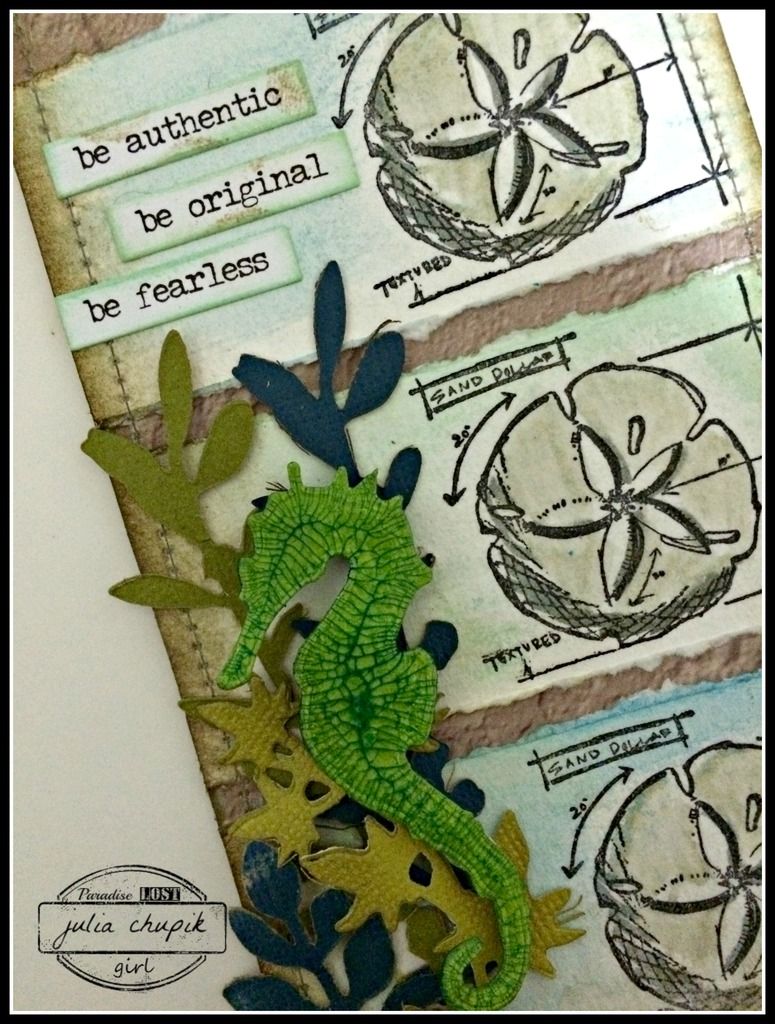
Here is the final result.


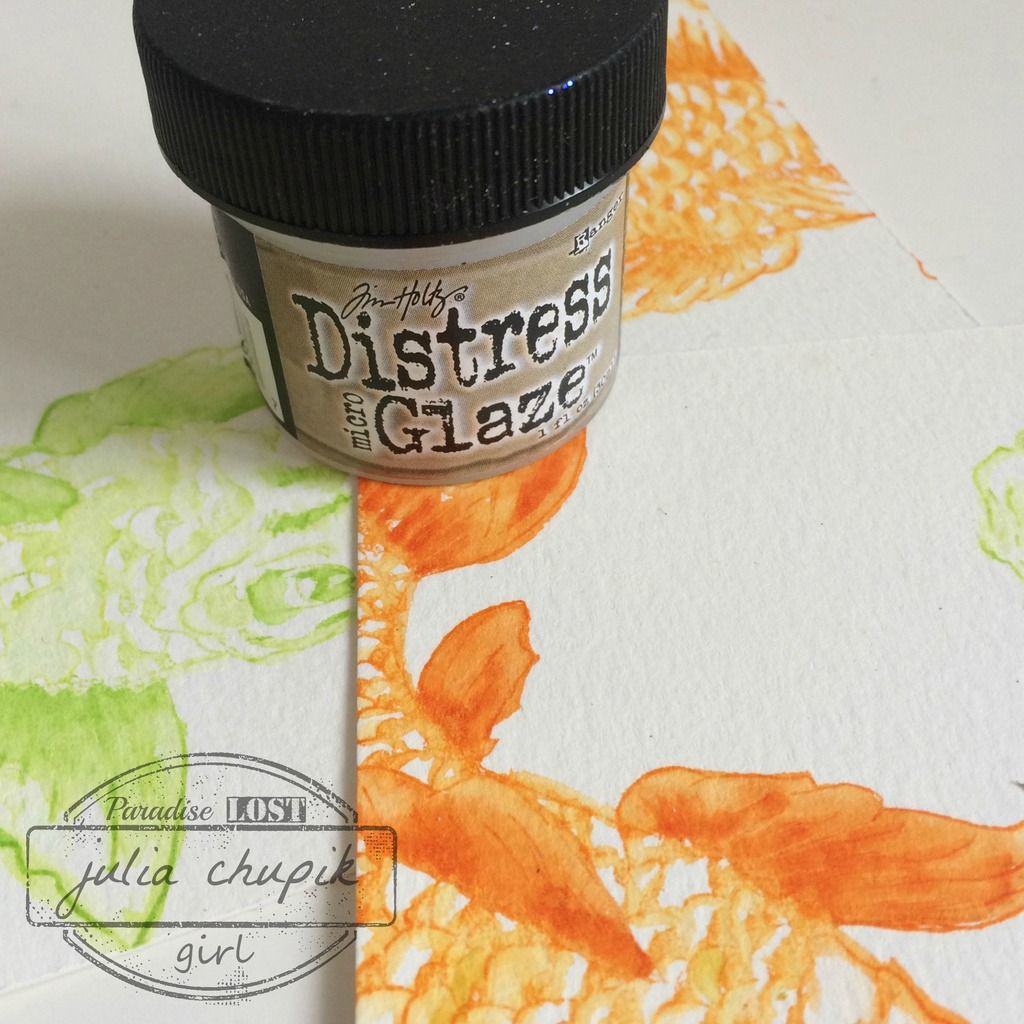
After using the smoosh technique to apply the Abandoned Coral & Twisted Citron Oxides to the glossy paper - I took my Tim Holtz Layering stencil (THS059 Blocks) placed it over the glossy paper and applied Distress Micro Glaze with an ink blending tool.

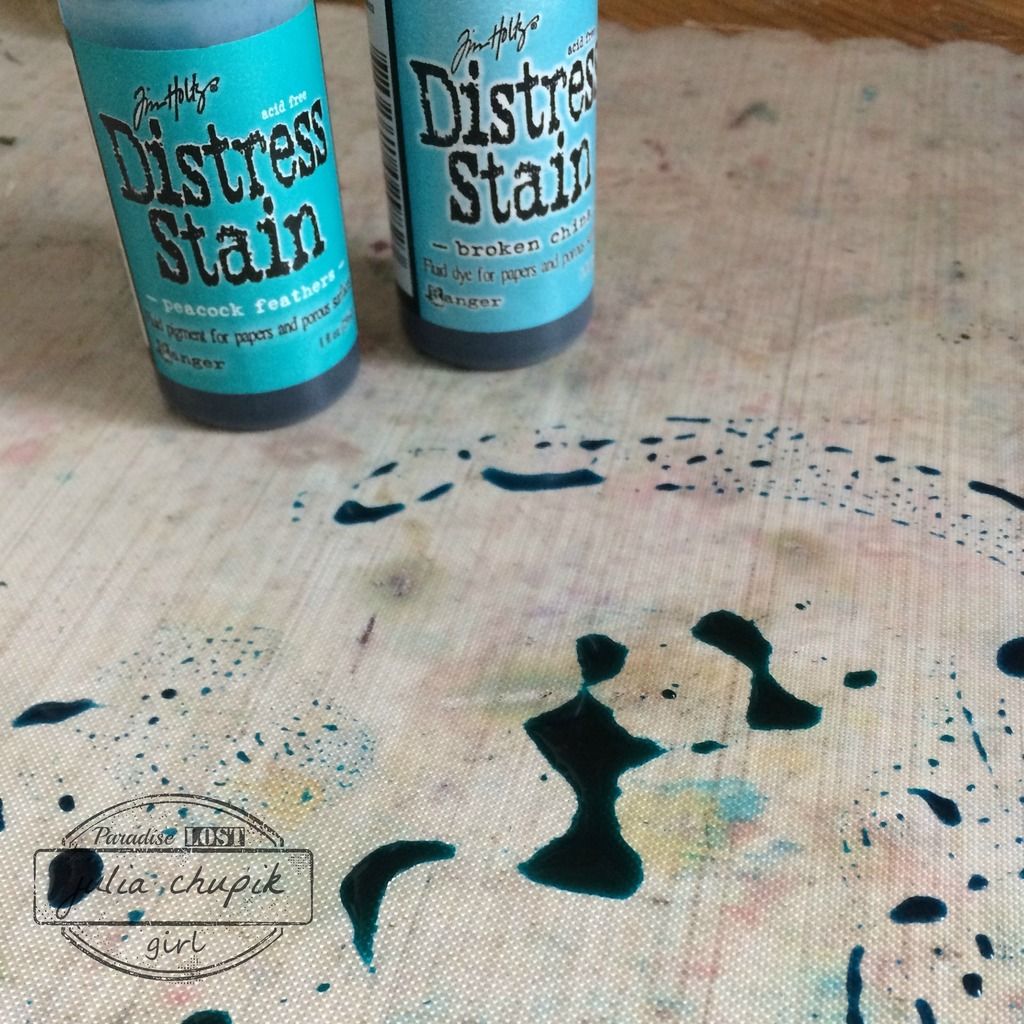
I then dragged my glossy card through some Vinatge Photo Distress Oxide on my craft mat. This left the Vintage Photo only on the stenciled image not covered with Distress Micro Glaze.

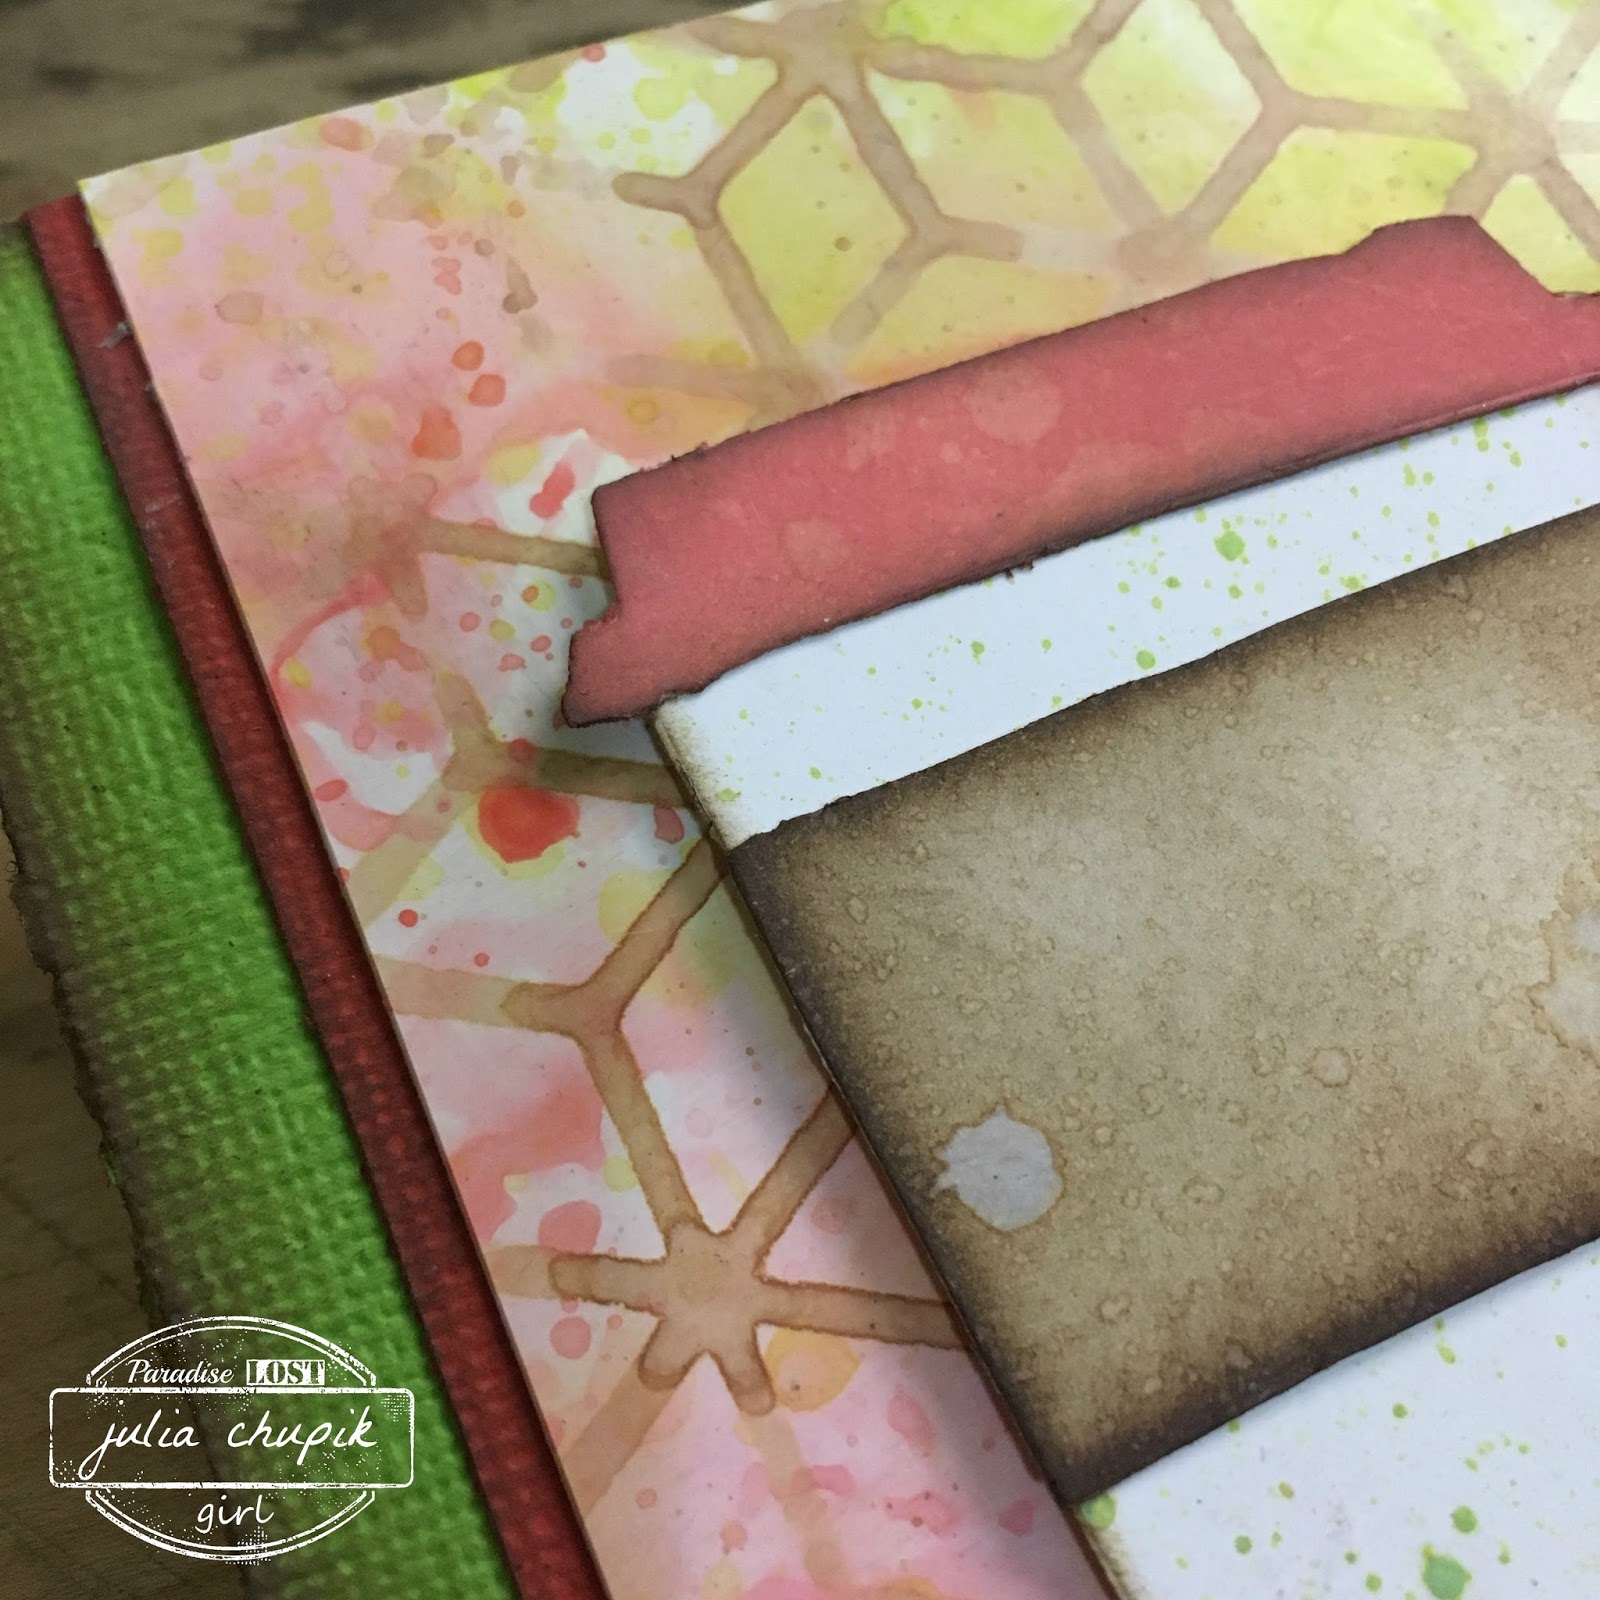
The last step was to go voer then entire card again with the Distress Micro Glaze to remove the chalky white finish left from the oxidation.
This is such a fantastic technique and one that I am sure to use over and over.

Click below to watch the step-by-step video I made while making this card.


Tuesday, 21 February 2017

Hipster Birthday Card

The move is done and everything is unpacked. 
**insert happy dance here**
I worked at lightning fast speed because I couldn't wait to start playing 
with my new Distress Oxides & Hipster stamps.

I just so happened to need a masculine birthday card and the 
Hipster Monkey was perfect!


My most favourite tool at the moment is the Misti. I can now get a
perfect stamped image on cold-pressed watercolour paper.

Now that I had a nice crisp image, I was ready to use my Distress Markers
to add some watercolour. For this one I used Wilted Violet, Hickory Smoke, Lucky Clover, Ground Espresso & Walnut Stain.

I applied a Thin layer of Distress Micro Glaze to my watercolour image to
protect it for my next step.

For my background I chose Wilted Violet Distress Ink and Vintage Photo 
& Broken China Distress Oxide.

I applied these colours to my craft sheet and spritzed with some water before laying
 my card in the inks. I repeated laying the card in the ink a few times & using my heat tool to dry
in between.

I absolutely love the oxidized effect of the new Distress Inks. Its gorgeous!

To finished off my background I used my ink blending tool to apply some black Dylusions paint through a couple of layering stencils. I stamped my sentiment words on some scrap watercolour paper: trimmed it out and inked the edges. I attached the words to the card with some dimensional foam adhesive.
I am definitely a fan of the Distress Oxides and can't wait to play with them some more!


Monday, 11 July 2016

Tim Technique Remix - July

It;s time to share my take on this month's 12 Tags of 2016 Technique Remix from Tim Holtz.
Instead of going with a travel theme like Tim I decided to pay homage to my favourite summer drink - the Green Tea Frappuccino from Starbucks. Soooo yummy!

Here is my finished tag - 

First, I gathered up all my supplies and stamped my frappuccino image on
so watercolor paper.

I love using my Distress Markers to watercolor - they are so amazing!

I used my new Dylusions Black Painter Pen to add some details to the edge because I was too lazy to drag out and set up and sewing machine. ;)

My sentiment is 'happy moments' - die cut using the Happy Holiday & Friends Thinlit die sets.


submitted to:


Tuesday, 22 March 2016

Distress Ink & Watercolour - My Current Obsession

I love watercolour and have made a lot of cards using watercolour techniques
but I recently became completely obsessed with a no-line watercolour
technique I saw on Scraps & Stamps.
You can check out Nicole's blog post about no-line watercolouring here.


Nicole uses a combo if Distress Ink & Peerless  Transparent Watercolours.
Her finished project is gorgeous but it got me thinking - why couldn't I just stamp the image using Distress Inks and then blend the ink with my detailed watercolour pen?
Easy peasy lemon squeezy.

I stamped the koi image from the Nicole Wright Designs Upstream stamp set
on to 140lb cold-pressed watercolour paper using Twisted Citron & Carved Pumpkin
 Distress Ink Pads. Now it was time to grab the water brush and start blending.


It doesn't take much to get a beautiful watercolour effect and it's oh so simple & quick.
To get a bit more definition I took my Distress Markers in the same colours and added more colour to the fins before blending with water..

To protect my images before the next step I applied a layer of Distress Micro Glaze.

The final step was to swipe the paper through some Distress Stain for a water effect.

My completed card - I love the water droplets made with the stain.

Here is another card made using the same steps but this time when I applied the
Distress Micro Glaze I made sure to spread it a bit past the image. I wanted to have more a 'halo' effect when I applied the stain layer.

Thank you so much for visiting my blog today!

~~stay crafty~~

julia


Monday, 13 July 2015

be authentic....my Tim Tag for July

I can't believe it not even the middle of July and I am already posting my 
Tim Tag for the month! It's almost like I'm organized or something.
hahahahaha - ya, right!

Check out Tim's tag here - it's very patriotic!


I had to get a little creative because I didn't have the  same stamp set Tim used. 
So I starting flipping through my stamps and founf the sand dollar from the Mini Blueprints 6 set.
This was the first time I tried the new Distress Micro Glaze and I have to say that I love it!


I took me a couple of tries to decide on a colour combination that I liked but I finally settled on blues & greens. I kind of wished the colours turned out a bit darker but over all
 I'm still very happy with the result.
Who wants to go to the beach?!

Thanks for visiting my blog today!
 I love reading all your comments & visiting your blog too!

~~stay crafty~~

julia

Submitted for challenges:
Tim Holtz: July Tag  

Emerald Creek Dares - Fall 2015 Designer Call