Showing posts with label July. Show all posts

Tuesday, 1 August 2017

Monarch Thank you Card

Welcome back! It's been a quiet summer in my craftroom but I 
managed to sneak in a few moments to make this Thank You card.


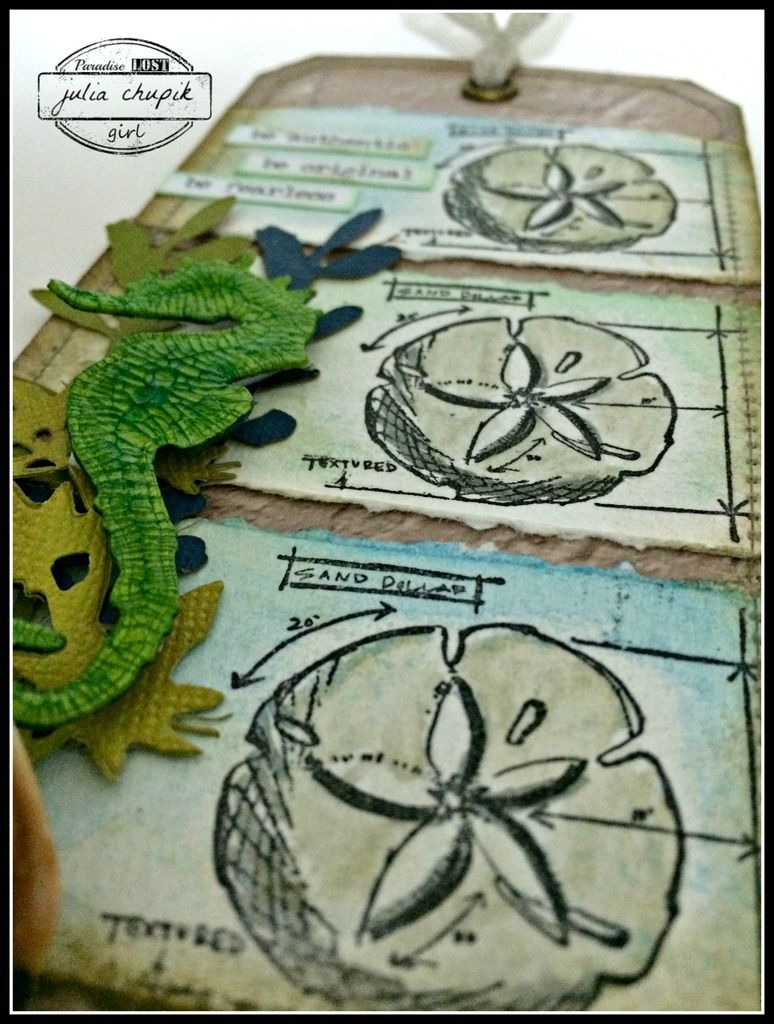
I started with a favourite stamp set - Botanical Sketch and a new stamp set that I am sure will be a 
forever favourite - Flutter. 

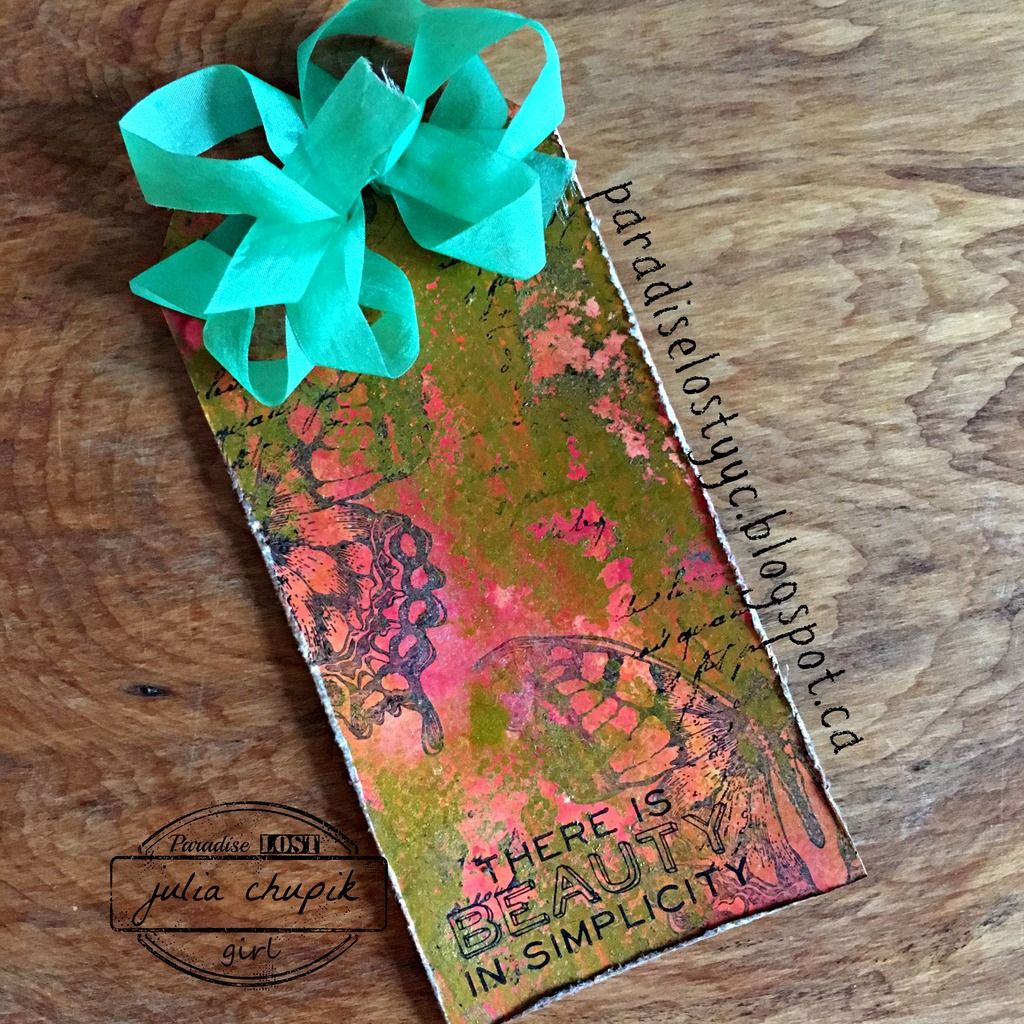
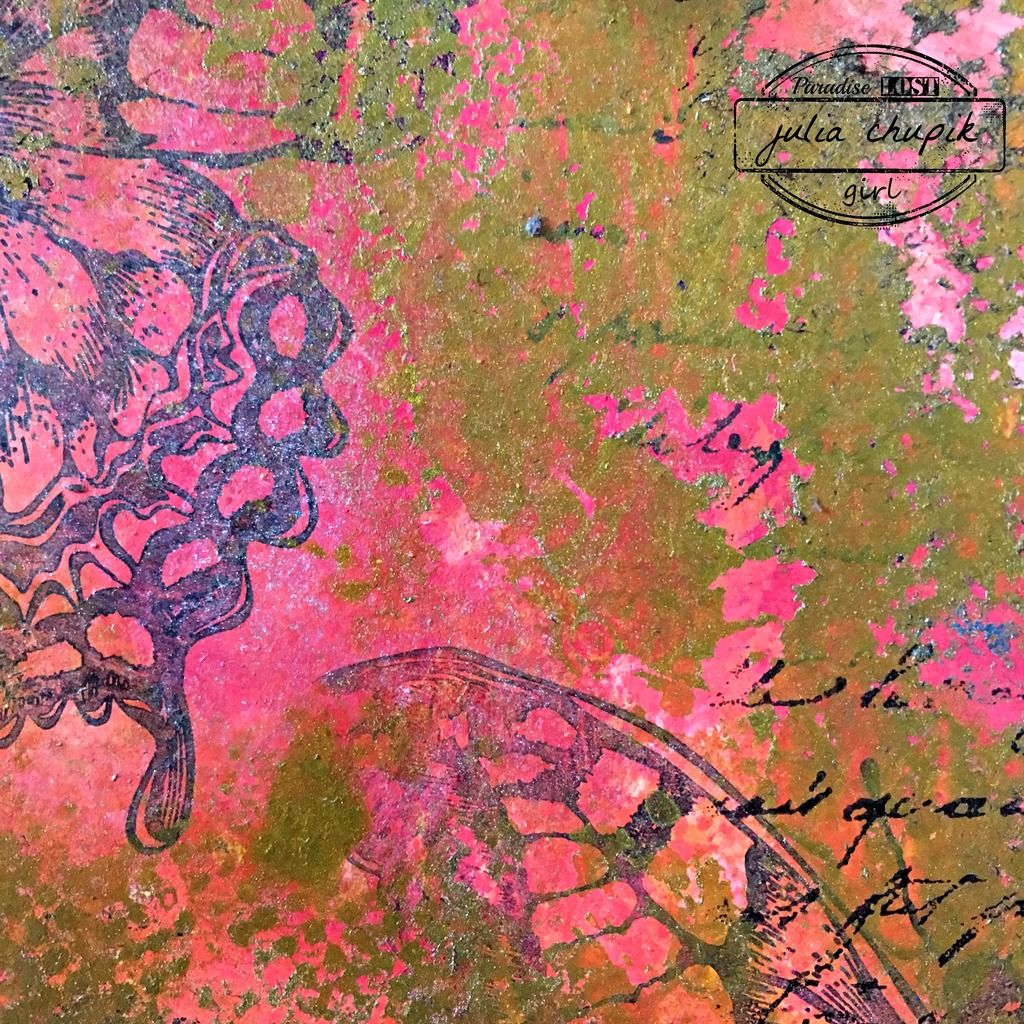
I started by blending the Fossilized Amber Distress Oxide over a 5" x 5"  heavy white cardstock, then blended Spiced Marmalade Distress Oxide only along the edges. I then went back with the Fossilized Amber and blended the colours together.  Next I used my Misti to stamp the Botanical Sketch image on to the background. 

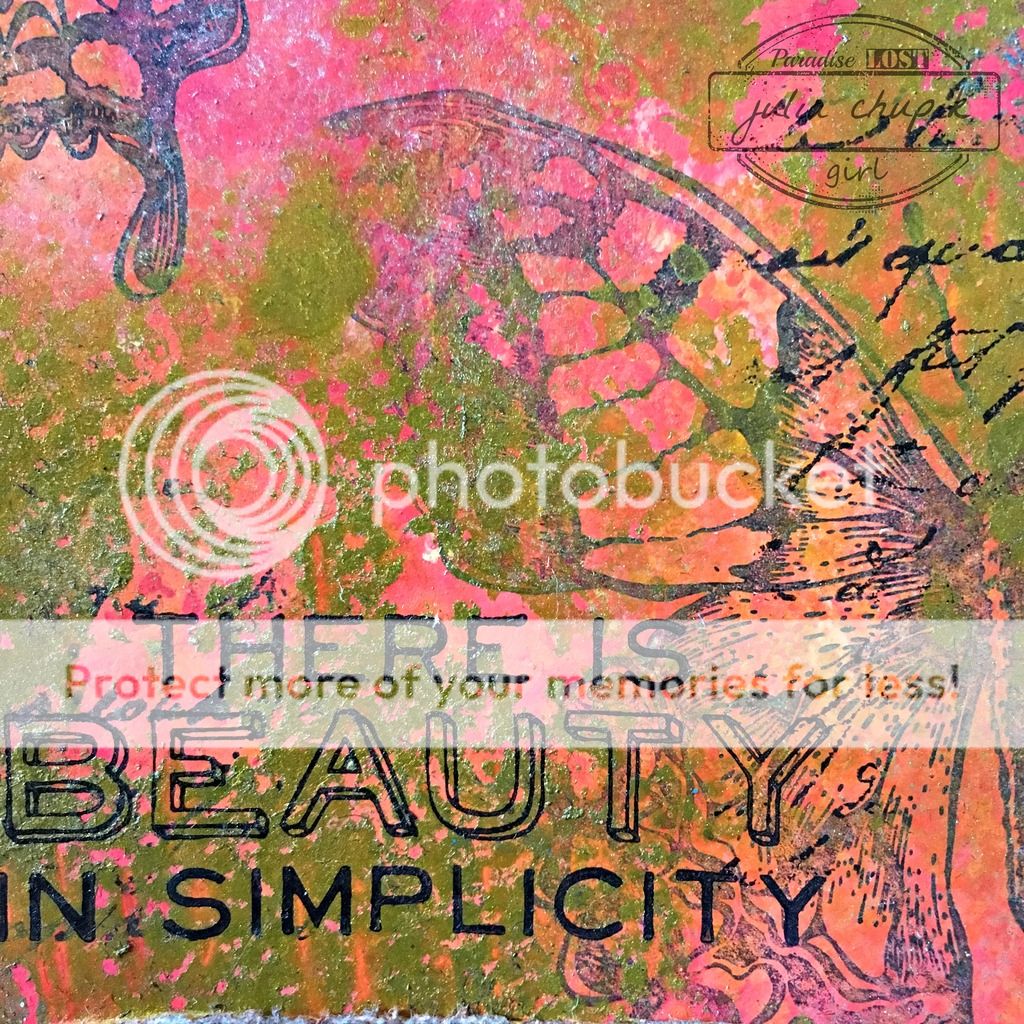
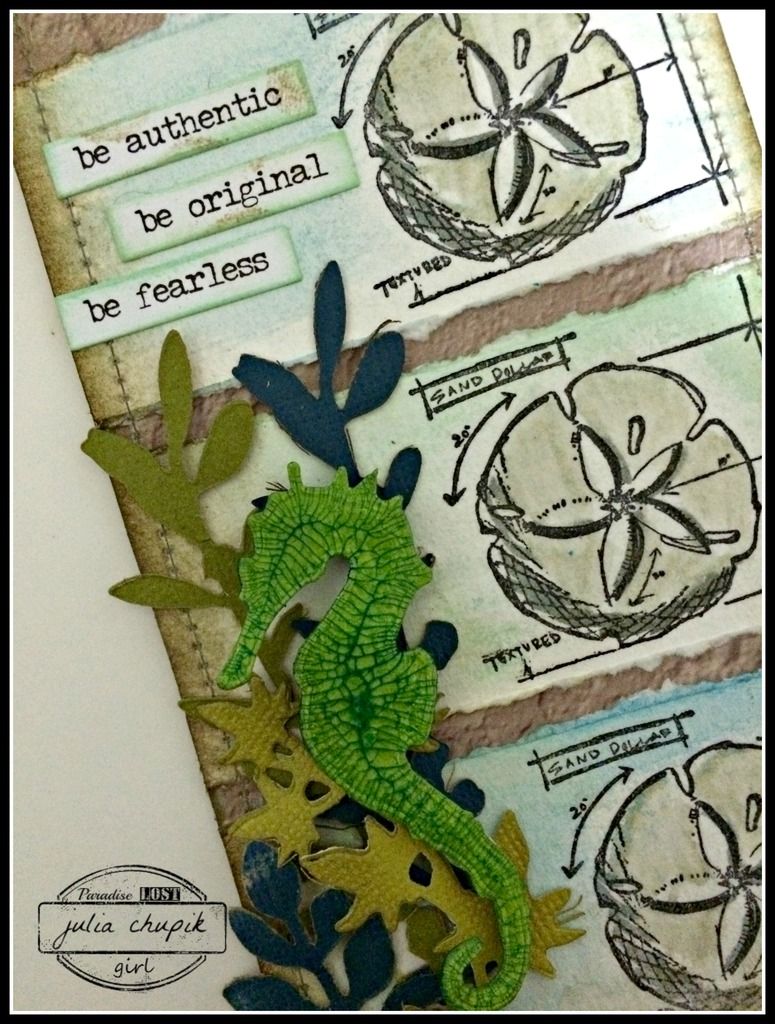
I used Fired Brick Distress Oxide on the stamp and spritzed it with a bit of water. I let the stamp sit on the paper for about 30 seconds. I stamped my sentiment and the monarch butterfly with embossing ink and used fine detail black embossing powder.

I used some Distress Inks to colour my stamped image before using the coordinating framelit to die cut out my image. Yippee for no fussy cutting!

My butterfly needed his antennae so I decided to create my own with wire, my heat tool and black embossing powder. I used my heat tool to heat the wire and dipping it in the jar of the embossing powder. 

I did this several times until the wire was covered. I gave the wire one final blast while pointing the wire down so that the melting powder would pool at the tip of the wire. Voila! Butterfly antennae!

All that was left to do was adhere my butterfly to the card.


Friday, 8 July 2016

All The G's - another letter canvas.

I'm back with another chipboard letter canvas - this time it's all the G's - and features a recent photo of my husband Glenn. 

Here is the finished canvas ~

As with my other canvases - I started with a plain 8x10 canvas that I adhered every single chipboard 'g' that I could find in my stash. I used every single one! Once the matte medium was dry I covered the entire canvas in gesso.  
After the gesso was completely dry I began spraying my canvas with Dylusions Ink Sprays ~ Fresh Lime, Calypso Teal & London Blue.
I couldn't let all the awesome colour go to waste so I grabbed a couple of tags and my art journal to soak it all up for future projects.

Next I added some stamping using some of my favourite texture stamps and Archival Ink in Jet Black, Leaf Green & Potting Soil.

I grabbed my Distress Crayons next and used them to apply some highlights to the embossed textures on some the letters.

I even out the background & to help the letters pop, I painted around the letters with Dylusions Paint ~ Fresh Lime & Vibrant Turquoise. I love Dylusions Paints - they are so lush and smooth!


Next up - my trusty Black Distress Crayon to dirty things up a bit.

I used my white Sharpie paint pen to add highlights around the letters of his name and a few added splotches of paint in white and black to finish it off before adding the focal point.


To anchor my photo to the canvas I took some cheese cloth and rolled it in some Squeezed Lemonade Distress Stain. To grunge it up I rubbed my Walnut Stain Distress Ink Pad over it.
my next layer is a piece of wood veneer paper from MME that I have had in my stash for quite sometime. I used Walnut Stain Distress Ink & my blending tool to add some colour then the spritz & flick technique to remove some colour and to add interest.

Here is a close up of the layers ~

And another one of the canvas ~ 

~Finished canvas~


Wednesday, 6 July 2016

Summer Of Creative Chemistry - Week 5

Summer of Creative Chemistry continues this month over at Online Card Classes and Tim's challenge for this week was to use 3 or more colours of Distress Paint & any technique from Day One of CC102. I looked back at the tags I created for Day One when I first did CC102 and the only technique I didn't try was Eroded Metallics. That's probably because I didn't have any of the Distress Metallic Paints at the time.

Since I had all the products I decided to focus this weeks project on that technique.


I started with 4 colours of Distress Paint - Squeezed Lemonade, Ripe Persimmon, Candied Apple & Carved Pumpkin. Following the technique in the class - I applied all of these paints to the tag and blended with my foam tool.


After thoroughly drying the paint layer with my heat tool, I stamped my images with Archival Ink.
Following the directions from class I applied Tarnished Brass Distress Paint. Once this layer was dry I applied my sentiment & some random script stamping.


I love this technique! I can't wait to try it again with different colour combinations and different metallic distress paints.


Monday, 13 July 2015

be authentic....my Tim Tag for July

I can't believe it not even the middle of July and I am already posting my 
Tim Tag for the month! It's almost like I'm organized or something.
hahahahaha - ya, right!

Check out Tim's tag here - it's very patriotic!


I had to get a little creative because I didn't have the  same stamp set Tim used. 
So I starting flipping through my stamps and founf the sand dollar from the Mini Blueprints 6 set.
This was the first time I tried the new Distress Micro Glaze and I have to say that I love it!


I took me a couple of tries to decide on a colour combination that I liked but I finally settled on blues & greens. I kind of wished the colours turned out a bit darker but over all
 I'm still very happy with the result.
Who wants to go to the beach?!

Thanks for visiting my blog today!
 I love reading all your comments & visiting your blog too!

~~stay crafty~~

julia

Submitted for challenges:
Tim Holtz: July Tag  

Emerald Creek Dares - Fall 2015 Designer Call