Showing posts with label Dylusions Paint. Show all posts

Wednesday, 11 October 2017

Twisted Trinket Box

Welcome back! 
I am here to share a 3D Halloween decor piece today.


I used the 3 In 1 Trinket Box Scoreboard XL die by Sizzix from designer Eileen Hull. 
I cut our the pieces using white mat board. I painted these with Dylusions Paint: Tangerine Dream.
Then sanded the edges.

Next I inked them with Walnut Stain Distress Ink. The sanded areas picked up the ink really well to give the painted mat board a dirty distressed look.

Then I added some more grunge with Black Soot Distress Crayon.

Before assembling my box I added some stamping.

One of the focal points of my box was this Ghost Die - Tim Holtz Bigz Die from Sizzix.
I painted these with Dylusions Paint: White Linen.

I sanded the edges.

Then inked the edges with Black Soot Distress Ink.

For the inside of my trinket box I added some Black Soot Distress Crayon to 
these resin bones from Tim Holtz Idea-ology.

I added some mini Paper Dolls from the Tim Holtz Paper Dolls - Ancestors  Pack.


To add the light element behind the bone pile I made a small cut on the back of the box and inserted a tea light. I left it white for the photo but then later on painted and inked it to blend in more with box.

I added a small skull rub on to the boys face. The hand and spider are also rub ons.
A few Chit Chat stickers and a word token and my Haunted Trinket Box was ready to be displayed.
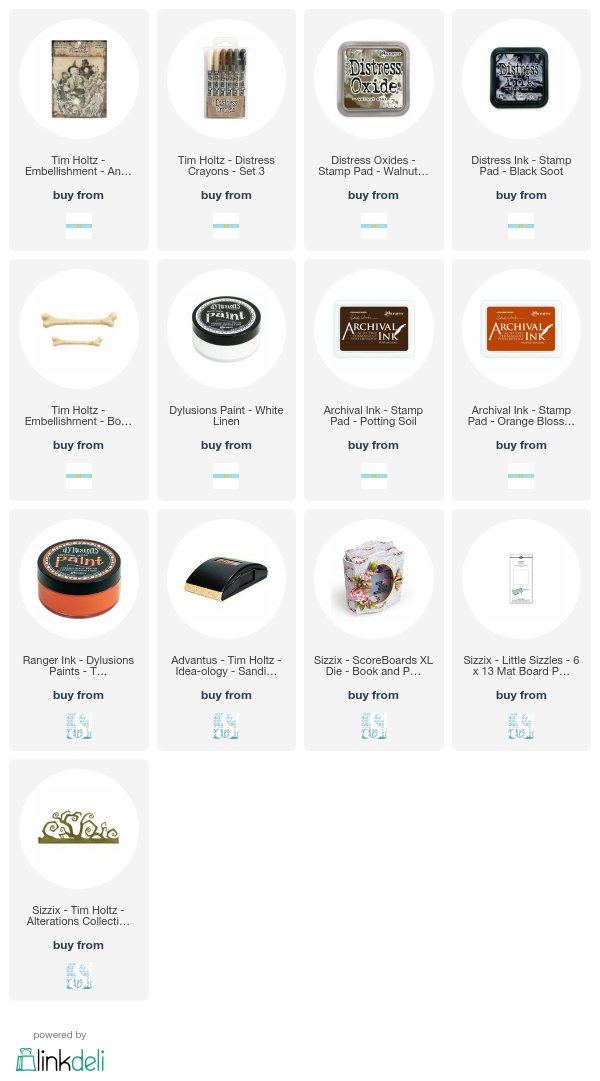
Here are the affiliate links for the products used for this project:
Monday, 9 October 2017

Happy Fall Art Journal

Happy Thanksgiving to all my Canadian friends wherever you may be in the world.

This will be a short post today.....an art journal page I did in my large Dylusions journal.

Here are the steps I used to create this page:
1. Brayered on acrylic paints in orange & yellow; random and didn't cover then entire page
2. Dry brushed on a light coat of gesso; let dry
3. Applied Distress Inks - Squeezed Lemonade, Carved Pumpkin & Ripe Persimmon through stencils
4. Around the edge of my page, I scribbled Distress Crayons - Walnut Stain & Black Soot and smudged them with my fingers.
5. Brayered on 2 different colors of green acrylic paint randomly over the page; let dry
6. While may page was drying I used my Fall Foliage and Twisted Edge dies from Tim Holtz/Sizzix and cut out some shapes with various colors of Distress Kraft Cardstock
7. I sprayed all of my die cuts with a light listing of Distress Mica Spray - Antiqued Bronze
8. I glued down all my die cuts along the bottom of the page 
9. I used the Tim Holtz Foam Cling Stamp - Type Lower, to stamp my sentiment.

Below are the affiliate links for the products used for this project.

Thursday, 4 May 2017

My Paper Doll Family

Hello & welcome back!

I'm here to share yet another Etc tag. I love these! LOVE!


Here is one I made using the medium size tag -
click on the photo to see more details and close-up photos.


The tag I have to share with you today is using the large Etcetera Tag.
The first thing I did was paint my tag with white gesso then set it aside while I 
worked on my focal point piece.


I started with a Tim Holtz Idea-ology Cabinet Card frame. I carefully opened it up and removed the front frame part from the back.

I used the smoosh technique to add some Distress Oxides ink to the inside of the back piece.
(not shown in photo - I smooshed the front frame into the left over ink to add some splotches to it)

Then used some Distress Ink & the Ornate Layering stencil with the stencil monoprint technique to add some interest over the Distress Oxide.

I added my Paper Doll parents to the background with some foam dots then added the frame
 with 2 layers of foam tape. To finish off the edges of my frame I cut strips off the packaging insert from a layering stencil and adhered them with tacky tape.


The gesso is now dry on the tag so its time to start adding my paint. I chose to use Pomegranate Seed & Black Marble Dylusions Paint for this. First I applied the Pomegranate Seed with a
dry brush. I then applied the black with a brayer. Once the paint was dry I used a sanding
block to distress the edges a bit.

Taking the same Ornate Stencil that I used on my cabinet card frame, I applied the some Picket Fence Distress Ink in a few spots on the tag. I also added some script stamping with black Archival Ink.

My next step was to mix some Distress grit paste with some Peeled Paint Distress Oxide.
I applied this through the Floral Layering Stencil on to the tag. Once the green grit paste dried I decided to add another layer of grit paste in a contrasting colour - this was Worn Lipstick Distress Oxide ink.

I assembled my focal point with my 3D cabinet card frame and various pieces of ephemera from my stash. 

I still wasn't happy with the edge of my cabinet card frame so I added some 
jute twine with a bit of hot glue. 

I used a couple of metal embellishments that I found in stash to cover the hole in the tag.

My finished tag - 

Tuesday, 28 March 2017

Get Distracted & Celebrate

Today was the first day in almost a week that I felt like getting creative. I have been fighting off a nasty cold/flu and it was a doozy. To get myself back into a creative groove I decided grab my Distraction Journal.

Click on the photo below to see how I created this journal.

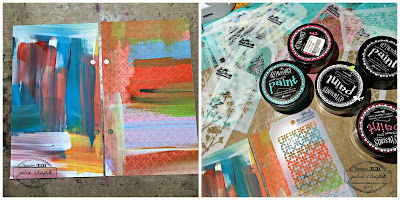
I flipped through my journal, chose these 2 pages and gathered up some materials: Dylusions paints & mini layering stencils.

I applied some stenciled images randomly over both pages. At this point I had no idea where this was going - I was just enjoying the process.

I am really enjoying using mask & silhouette stencils at the moment but I only one set and it was too big to use for these 7"x 5" pages so I decided to make my own. I used a piece of acetate packaging that I had been saving and my Butterfly Duo die from Sizzix.

I used Black Marble Dylusions Paint & a foam applicator with my die cut stencils. I then used some bright Distress Crayons to apply a bit colour to the edges of the butterflies.

I chose the Celebrate Life sentiment from a Dina Wakely Stamp Set to use and the Picket Fence Distress Ink worked great over the black paint. 

To finish off my page I used extra fine point Sharpies in pink & purple to trace the outline of the butterflies and add some splatters.

Creative juices restored! I'm back and ready to get crafty.


Submitted to:


Friday, 24 March 2017

Creativity......an art journal page

Welcome back! 
I am still on a roll with creating pages in my calculus textbook art journal.

This page is full of colours and layers. I created while away at a 4-day retreat and the 
Silhouette Script stencil from Crafters Workshop and the Tim Holtz Motivation stamp from Stampers Anonymous I used were borrowed from another crafter.

I started by dry brushing some gesso over the pages and letting it dry. The first 3 paint colours were applied with a brayer. I then added some contrasting colours with a few different stencils & some random stamping with archival ink.

I stamped the sentiment on some tissue paper with black Archival Ink before applying with some matte medium. I used paint to stencil a chevron pattern over the edges of the tissue paper to help it blend into the background.

I used black Dylusions paint for the 6x6 Silhouette Script stencil.

This was pretty fun to create and I love all the bright colours and how they layered together.


Tuesday, 14 March 2017

Be The Rainbow....art journal

Welcome to my blog! You came on a great day - I have an art journal entry to share.
This one started with a quote - Be The Rainbow In Someone Else's Cloud.
This is my mantra every day.


I started by directly applying the ink by running the Distress Oxide ink pads horizontally across both pages. I spritzed with some water while drying with my heat tool. Pretty simple and really fast.

Next I took a brand new to me Silhouette & Mask Stencil from Dyan Reaveley & Ranger. I love these! They are so versatile and so much fun.
I used the stencil on the left page and layered the images. Then I used the largest sized mask on the right page and applied black Dylusions paint over the entire page.

I stamped my sentiment on the right hand page by using Versamark black ink over the image and Distress Oxide ink over the black paint. I absolutely love how these inks show up over the the dark background.


I finished off my pages by using my Dylusions white paint pen to outline the figures and drawing some lines around the page on the right side.