Showing posts with label Dylusions. Show all posts

Sunday, 24 December 2017

Merry Christmas & Happy New Year!

I just wanted to take a few minutes to wish all of you a very 
Merry Christmas & a happy, healthy & crafty 2018.

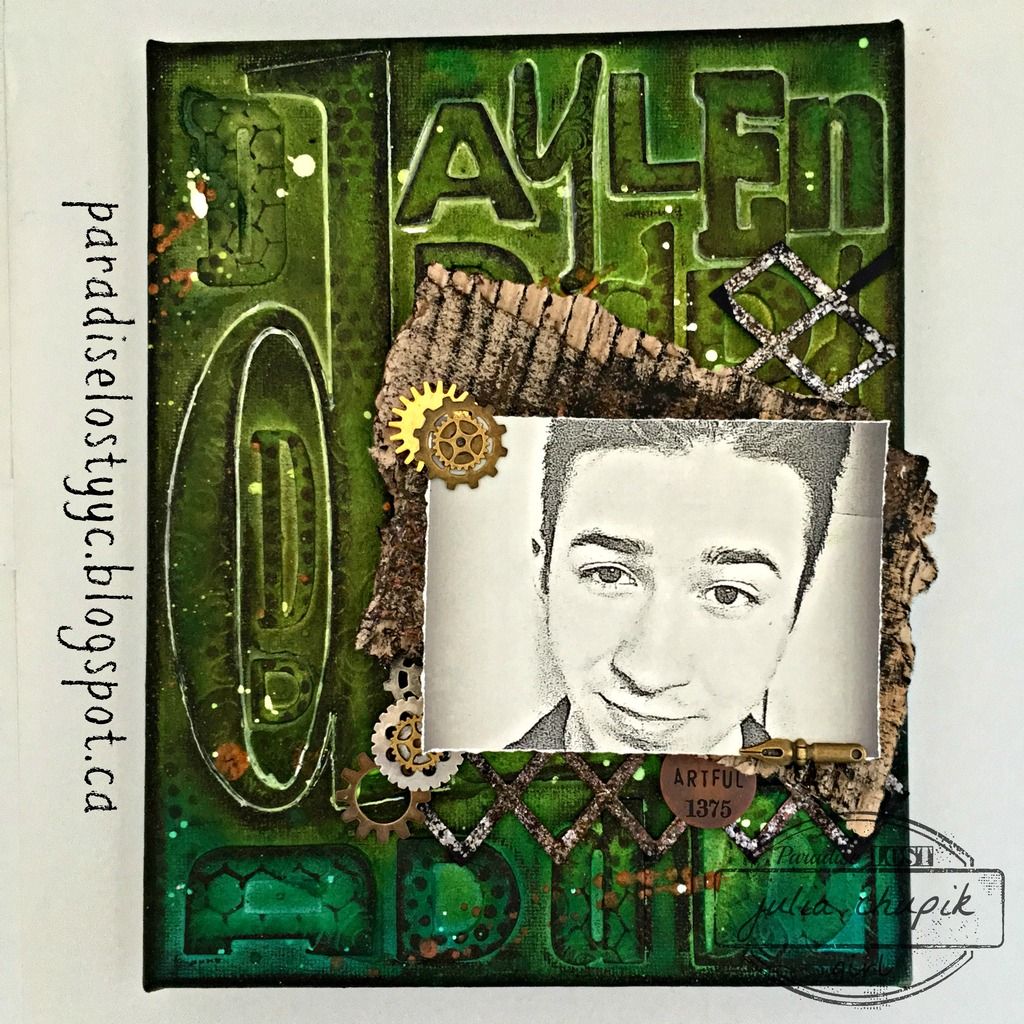
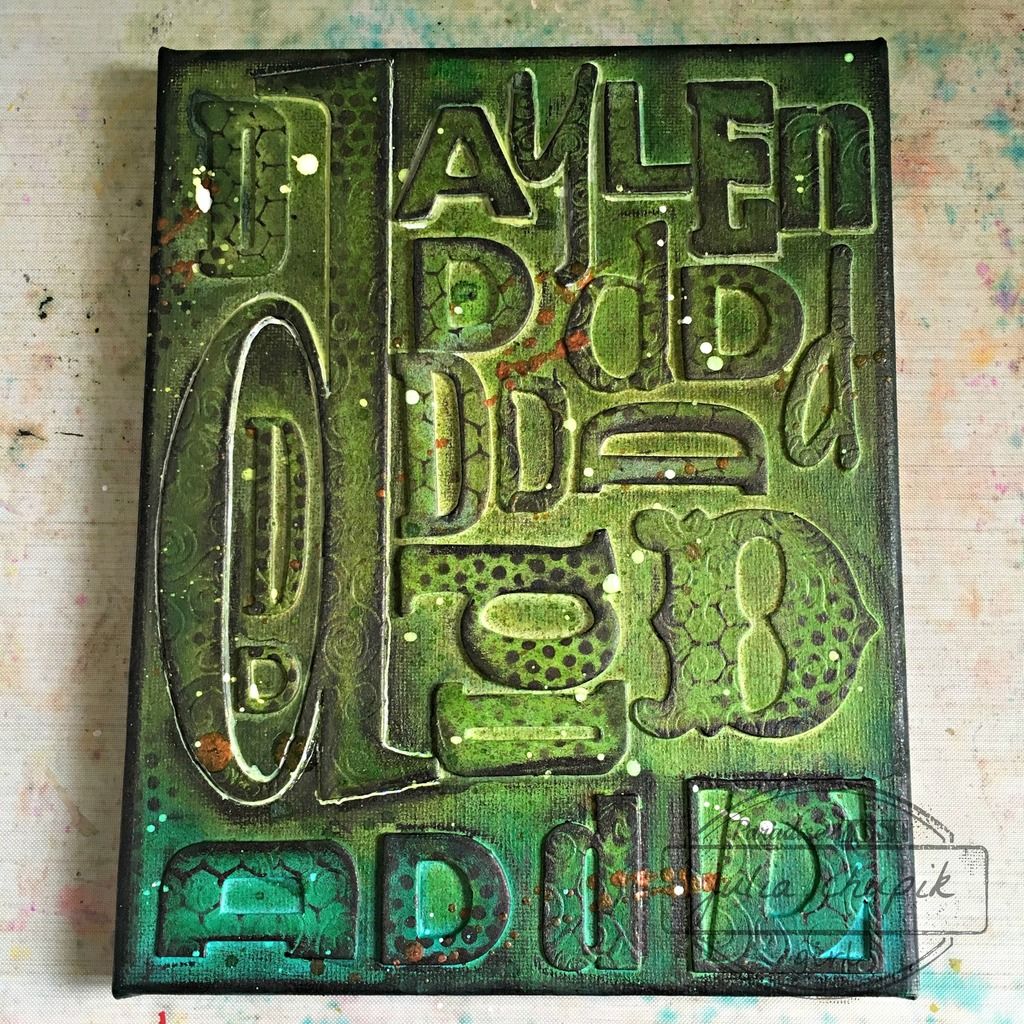
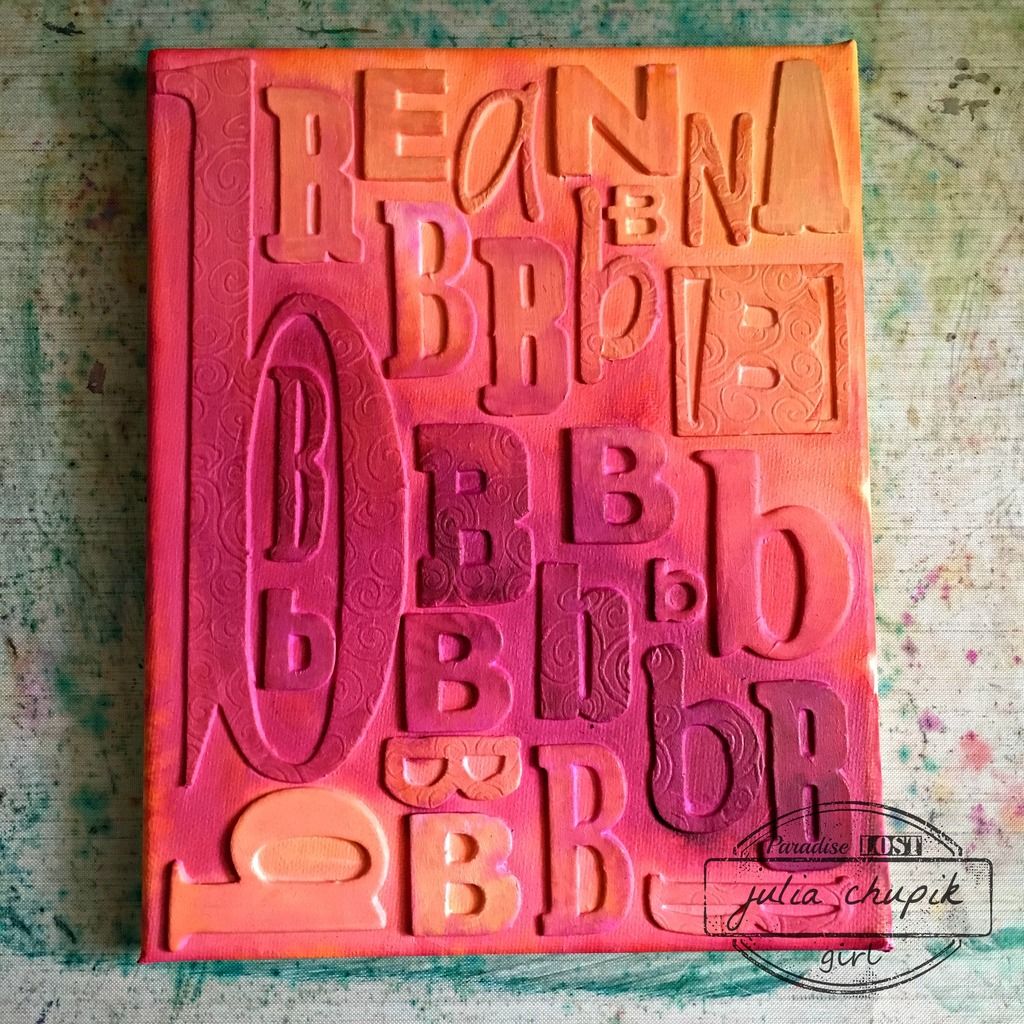
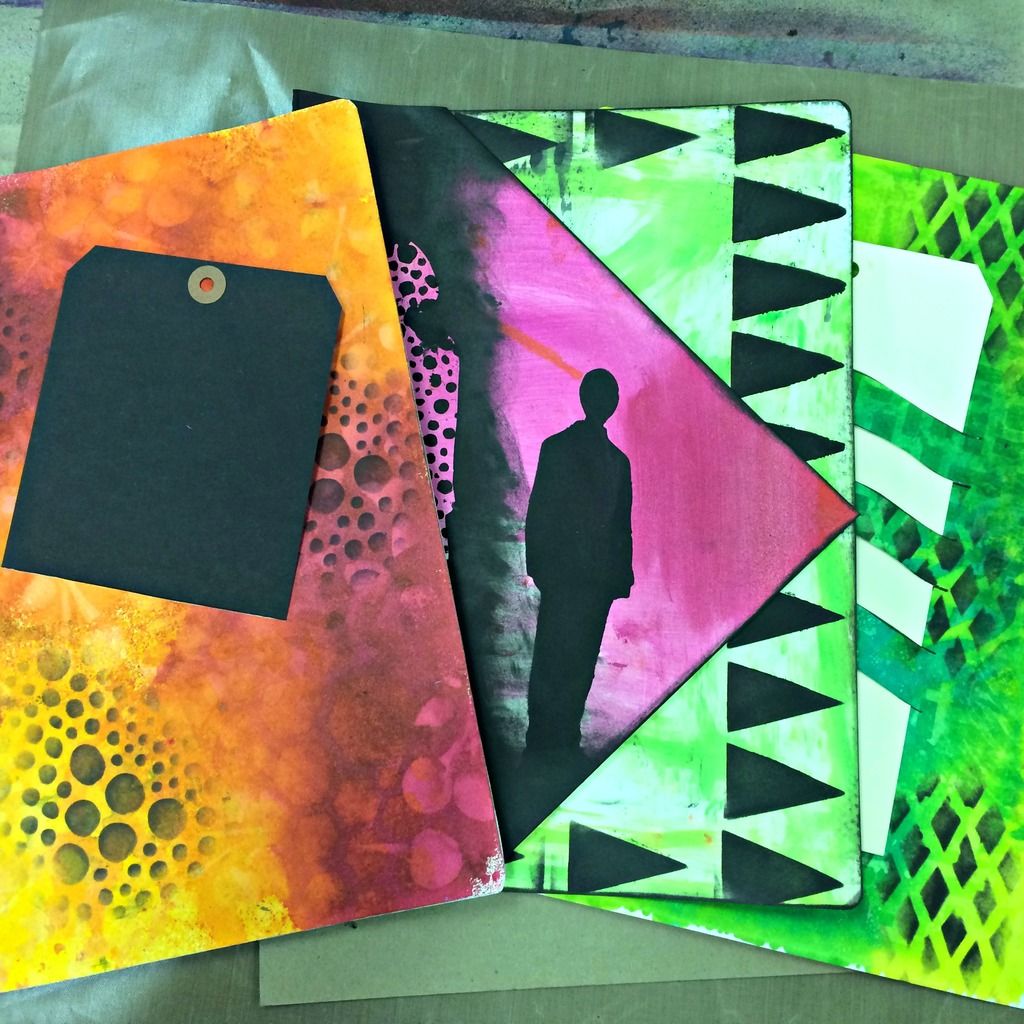
I have an art journal page page I created to celebrate the season -
 I used the Home For The Holidays Paper Pack from Wild Whisper Designs.

I absolutely love the pattern paper from Wild Whisper. It's heavy weight makes it
durable for mixed media which I love. Each pack come with 6 sheets of double sided paper and the designs are fresh and unique.
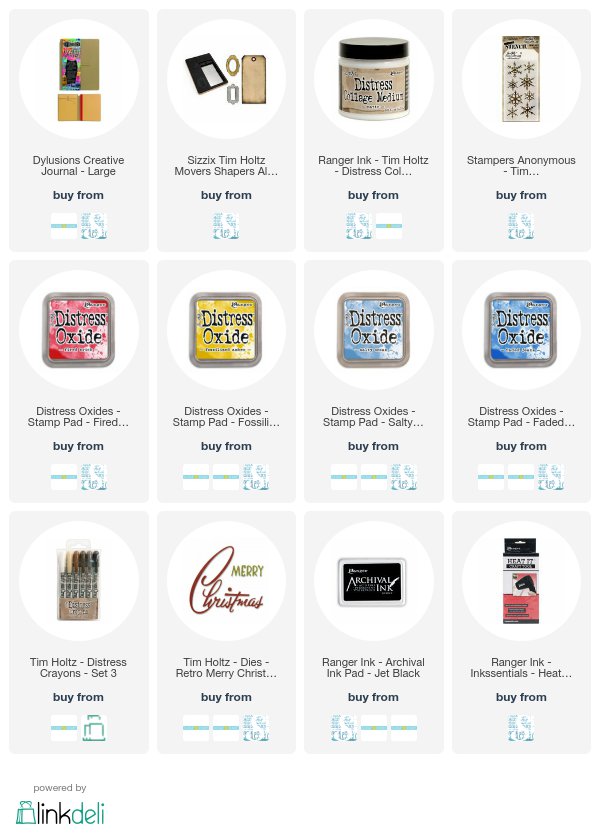
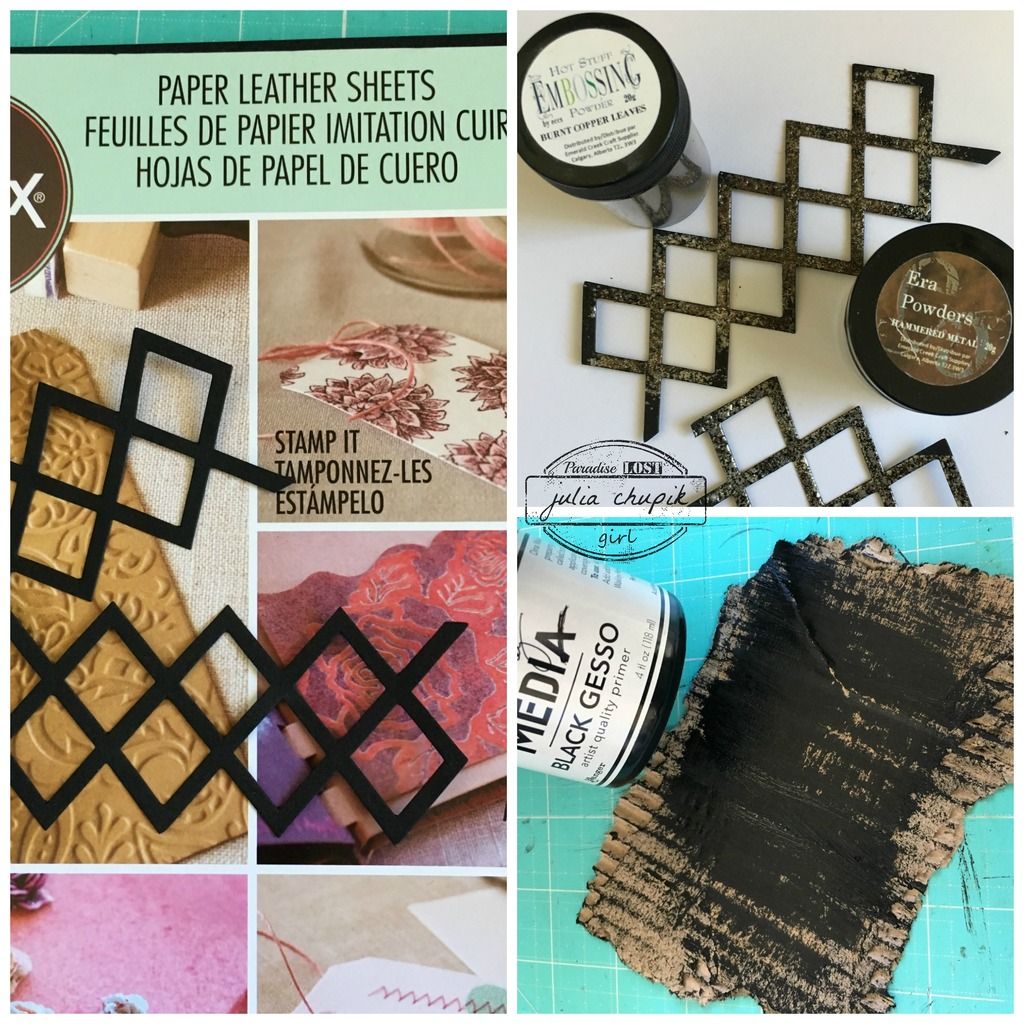
Look below for a complete list of products I used to create this page.


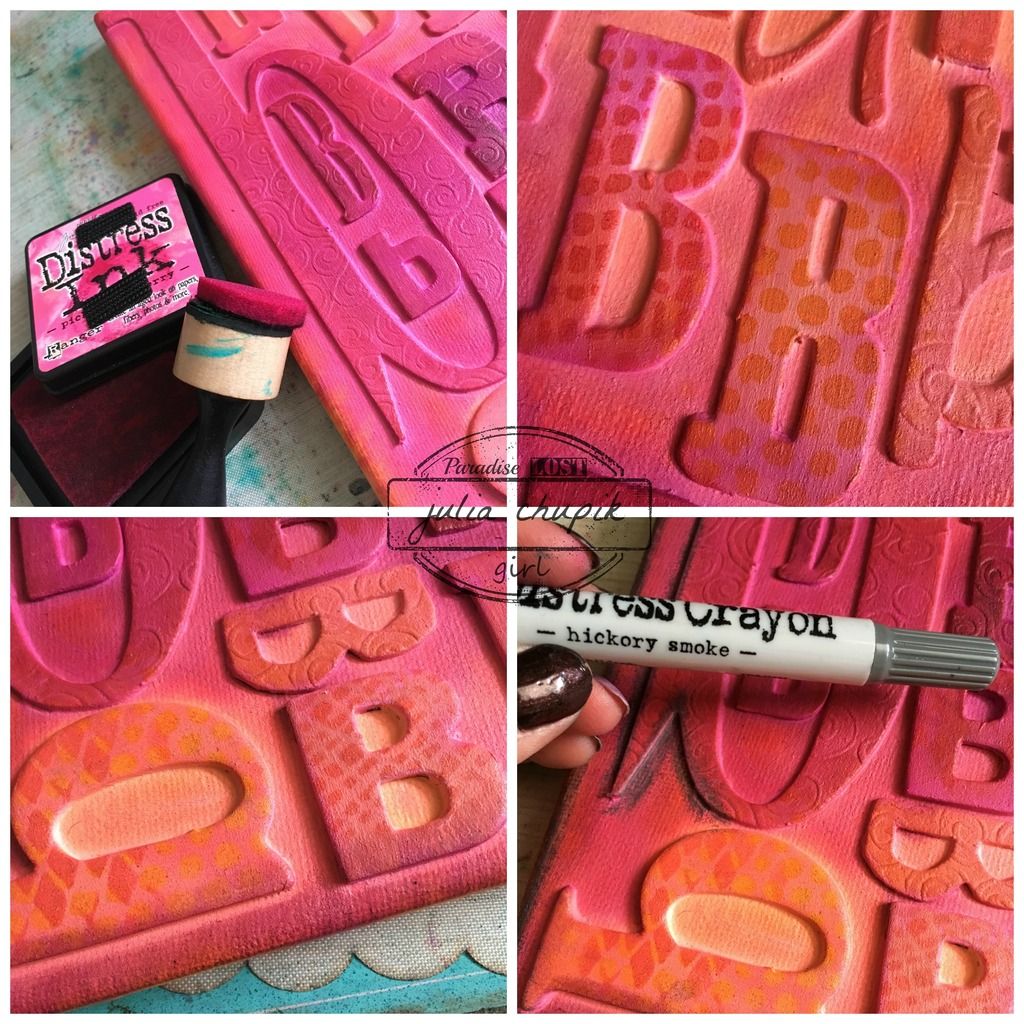
Click below to watch how I created this page:

Watch for more inspiration from me for Wild Whisper as I will joining their 2018 Design Team.


Products Used:
(This blog uses affiliate links that earn me a small commission at not extra cost to you)

Wild Whisper Designs:
Home For The Holidays Paper Pack

Home For The Holidays Stamp Set

Friday, 24 March 2017

Creativity......an art journal page

Welcome back! 
I am still on a roll with creating pages in my calculus textbook art journal.

This page is full of colours and layers. I created while away at a 4-day retreat and the 
Silhouette Script stencil from Crafters Workshop and the Tim Holtz Motivation stamp from Stampers Anonymous I used were borrowed from another crafter.

I started by dry brushing some gesso over the pages and letting it dry. The first 3 paint colours were applied with a brayer. I then added some contrasting colours with a few different stencils & some random stamping with archival ink.

I stamped the sentiment on some tissue paper with black Archival Ink before applying with some matte medium. I used paint to stencil a chevron pattern over the edges of the tissue paper to help it blend into the background.

I used black Dylusions paint for the 6x6 Silhouette Script stencil.

This was pretty fun to create and I love all the bright colours and how they layered together.


Tuesday, 14 March 2017

Be The Rainbow....art journal

Welcome to my blog! You came on a great day - I have an art journal entry to share.
This one started with a quote - Be The Rainbow In Someone Else's Cloud.
This is my mantra every day.


I started by directly applying the ink by running the Distress Oxide ink pads horizontally across both pages. I spritzed with some water while drying with my heat tool. Pretty simple and really fast.

Next I took a brand new to me Silhouette & Mask Stencil from Dyan Reaveley & Ranger. I love these! They are so versatile and so much fun.
I used the stencil on the left page and layered the images. Then I used the largest sized mask on the right page and applied black Dylusions paint over the entire page.

I stamped my sentiment on the right hand page by using Versamark black ink over the image and Distress Oxide ink over the black paint. I absolutely love how these inks show up over the the dark background.


I finished off my pages by using my Dylusions white paint pen to outline the figures and drawing some lines around the page on the right side.


Monday, 6 June 2016

All The D's ~ Dashing Daylen

Hello! I am back today with another mixed media canvas I created 
using chipboard letters from my stash. This canvas features a selfie photo I 'stole' from my son's Facebook page. He's my youngest and this past fall went off to college to pursue his dream of becoming a graphic artist/character designer. Check out his artist page on facebook to follow his journey and to see some of his art - Daylen Chupik ~ Artist.

Here is my finished  canvas ~ 

First I started with an 8x10 canvas and adhered my chipboard down with matte medium
then covering it the entire thing in 3 coats of gesso.
Once everything was dried, I started spraying my canvas with Dylusions Sprays ~
Fresh Lime, Dirty Martini, Polished Jade.

Once the sprays were dry I used my Black Marble Distress Paint & blending tool with a couple different layering stencils to add some random patterns & added some Peeled Paint & Cracked Pistachio Distress Ink. The copper splatters are irRESISTible Texture Spray from Imagine Crafts.

At this point, I realized that the letters of my son's name needed a little help to pop off the dark canvas background so I took a white fine point Sharpie Paint Pen and traced around them. I also used this pen to add some white splatters to help break up the darkness of the canvas.
To help 'frame' the canvas I added some more Black Marble Distress Paint with a blending tool
 to the sides and edges of the canvas.

Now on to my focal point ~ the photo was a selfie I took off my son's Facebook page. I downloaded it and did some editing in PicMonkey before printing it off on linen cardstock.
I used the Lattice Framework Die from Sizzix with the new Leather Paper Sheets also from Sizzix.
I added some Burnt Copper Leaves & Hammered Metal Embossing Powder from Emerald Creek Craft Supplies  to add a rusty metallic feel to the lattice.
 The anchor piece for my photo was some cardboard that I roughly torn up to be a little bit larger that my photo & dry brushed some black gesso over.

Here is a close-up photo of the lattice die with the embossing powders from Emerald Creek.
These powders are so delicious! I love every single one I have ever tried. Be sure to check out
the Emerald Creek store for these and so much more!

Once again ~ the final project. I enjoyed making these much and using up so many chipboard letters that I am also making more! One for me, my husband, our dog, a family one.....so many ideas!


Thursday, 2 June 2016

All The B's - Being Beautiful Breanna

Hello! I'm back this week with an idea that I have had going
around in my head for some time. When I was cleaning/organizing/purging my
craft room a few months ago I realized that I had accumulated quite quite a lovely collection
of chipboard & grungeboard alphabets. It was time to start using these.

This is what I decided to do ~~~


I started with an 8x10 canvas and my collection of alphabets.
I first went through and spelled out my daughters name then pulled out all the B's.
I figured out the layout then using matte medium adhered them all down to the canvas. I then covered the entire canvas in the matte medium. I let this dry completely then applied 3 coats of white gesso.


I was finally ready to add my colours -
Dylusion's Sprays in Pure Sunshine, Squeezed Orange & Funky Fushia.
I love these colours together! So bright & sunny.

Next I added some Distress Ink in similiar colours just to help the letters pop a bit.
I also added some patterns using my layering stencils.
Lastly it was time to add a bit of grunge with my Hickory Smoke Distress Crayon along the edges and around the letters.

It was time for a few embellishments - 

I kept the embellishments pretty simple. 
Thanks to my craft bestie Nicole Wright for letting me browse her impressive die collection - thats where I found the new Rolled Flower Die from Sizzix by Eileen Hull.
I cut the die cut in half stapled it back together in the shape you see here and using the blunt end of a paint brush shaped the petals. Before adhering to my frame I added a bit of Hickory Smoke 
Distress Ink to the edges.


submitted to the following challenges:

Rhedd's Creative Spirit - June Challenge


Wednesday, 11 May 2016

Many Thanks!

Ever since the weather turned nice I have had a hard time staying in my craft room.
I just want to be outside enjoying the sun, warm temps. My garden needed some well deserved attention and the patio was screaming for the planters to be filled with flowers.

I did manage to sit down and make a few Thank You cards for my daughter to give to her co-workers
at the lab she is finishing her practicum up at. It felt good to get messy & I may just find myself back in the craft room again today. It is delightfully sunny outside though. ;)

Here is one of the finished cards ~ you'll just have to stick around until the end of this post to see the other three.

I started with my favourite 140lb cold press watercolour paper,
Peacock Feathers Distress Spray & a floral stencil (Sorry, I have no idea what company it is from. Its an oldie but a goodie).

After spraying the stain I gave it a quick 2 spritzes of mist before flipping the stencil over onto a second piece of watercolour paper and rolling my paper towel over it.
I repeated the same technique on 2 more pieces of watercolour paper but used Wilted Violet
Distress Spray & Tim Holtz Gothic Layering Stencil.
I inked the edges of all the cards using the coordinating Distress Inks & my round blending tool
Next I added some random stamping before applying some Dylusion Paint through a stencil with some blending foam.
All that was left to do was to add my sentiment and emboss it with fine detail embossing powders.


Monday, 2 May 2016

Thank you Dyan!

After taking a couple of weeks off to recharge I am ready to start creating again.
I couldn't think of a better way to jump-start the creative juices
than to be in the presence of the fabulous Dyan Reaveley.

Dyan was guest instructor at Scrap Addicts in Edmonton this past weekend.
She taught 4 classes over 2 days. I took 2 classes and that's my greatest 
regret ~ I should have taken all four!

I had so much inky fun making pages using some of Dyan's techniques.
Her Dylusion's sprays are gorgeous!

My favourite part of the weekend was learning how to make & add 
pockets and nteractive features in an art journal.

It is going to be so much fun incorporating these techniques into my 
own art journal, canvases & tags!

Thanks you, Dyan!

Be sure to follow Scrap Addicts on facebook or their website for upcoming 
guest instructor announcements!

Scrap Addicts also has an online store with free shipping for orders over $75 within Canada.