Showing posts with label Canada Online Store. Show all posts

Saturday, 3 February 2018

Getting Fab with Foil - Scrap 'n Stamp Designer Challenge

It's time for another Designer Challenge at Scrap 'n Stamp.
If you are following along the blog hop then you have come here from Tara's post at the Scrap 'n Stamp Blog. This month the designers were challenged to use Ranger Foil Sheets.
Full disclosure - I haven't used these foil sheets very much so there was a lot of trial & error in creating these cards. I'm sure there are better ways to transfer the foil but I'm pretty happy with these results. I hope you do too.

~Here are the completed cards~

I applied the foil on the background and on my focal point.

I used sticky embossing powder to transfer the foil to my stamped images. The sticky embossing powder didn't give me a perfect transferred image but I sort of liked the result.

Using a bone folder helped to transfer the foil to the sticky embossing folder.

The Sketched Layered Fronds stamp from Dina Wakley Media was fun to use for this technique. The top layer left a fabulous foiled outline to the solid base stamp.

Watch the step-by-step video I made to see how I created these cards from beginning to end.

Be sure to check out the other designers blog for more Fab With Foil inspiration.  Be sure to leave comments at all the stops along the way and you could win a pack of  Ranger Foil Sheets!

Julia Chupik -------> You're here!
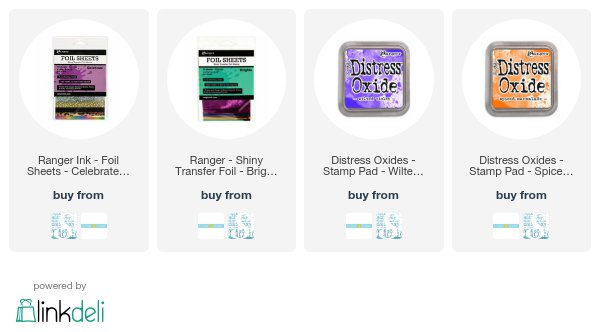

Products Used:


Friday, 19 January 2018

3 Cards using Baked Texture Embossing Powders

Hello again! Today is day #2 of my January 2018 Kit reveal for Scrap Shotz.

I have 3 cards to share with you today including a step-by-step video tutorial.

Click below to watch the video tutorial.


A full list of supplies and more photos can be found over on the Scrap Shotz Blog.


Thursday, 21 December 2017

Christmas 1956 - Scrap Shotz Snap Shotz

Merry Christmas!

I am on the Scrap Shotz Snap Shotz Blog today sharing a 12x12 layout I created using product available at the online store.

Check out all the details here.


Saturday, 9 December 2017

Bright Lights Blog Hop - Scrap 'n Stamp Designer Challenge

Hello & welcome! You should have arrived here from Tara's post on the Scrap 'n Stamp blog.
Be sure to visit each blog on the hop and leave a comment for a chance to win a Lawn Fawn die from this months new release. Let's get hoppin'.

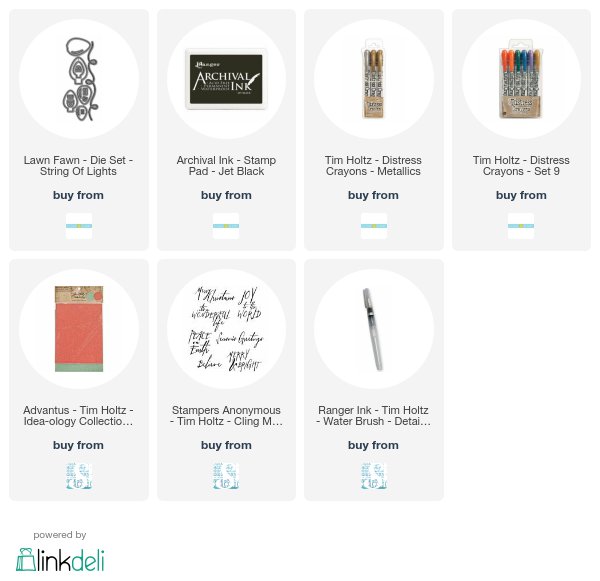
This month we were given the challenge of using the Lawn Fawn String of Lights die set.

- Here is my finished card -

I started with a piece of white cardstock that was 4 7/8" x 4 7/8". I took the 'string' part of the die set and placed it across the cardstock like in the photo below. I put it through my Big Shot and then removed the 'string' part. This left me with
I cut out the top layer of my balloon in red glitter paper, the bottom layer of the balloon in white cardstock, the string and lightbulb base in gold glitter paper.
I inserted the gold glitter string between the two pieces of the cardstock from step one and adhered with some doubled sided tape. I then flipped it back over and stamped my sentiment.

I then adhered my lightbulbs down along the gold string. 
Next I adhered my white cardstock to a piece of 5 1/8" x 5 1/8" black cardstock.
I added some Tarnished Brass Distress Crayon to the edge and Barn Door Distress Crayon around the lightbulb with a detailer water brush.


Julia Chupik - that's me!

Products Used:
(I use affiliate links on my blog. These links earn me a small commission at no 
extra cost to you. Thank you for your support)


Tuesday, 14 November 2017

Designer Challenge: Distress To Impress

Hello, my crafty friends!
It's time for another designer challenge from

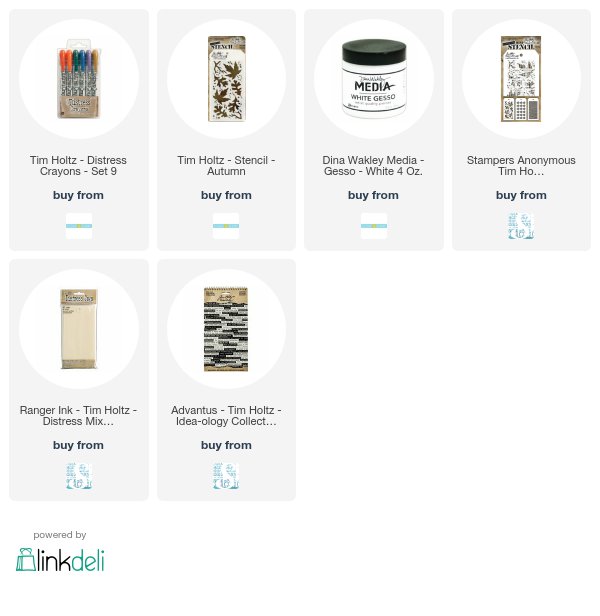
This month the designers were given Distress Crayons Set 9 to create and inspire with.
Until the end of the month all sets of Distress Crayons will be 25% at Scrap 'n Stamp so its a great time to try them out or to complete your collection.
Be sure to leave a comment on my blog for a chance to win a set of Distress Crayons. Increase your chances of winning by visiting all the designers blogs and leaving some love.

Here is my finished project:

I started by gathering up my Distress Crayons, a couple of tags (covered in white gesso) 
and a couple of stencils. These stencils are the Autumn layering stencils from Tim Holtz. 
I used both the large and mini sizes.


Distress Crayons Set #9 includes these colours: Barn Door, Ripe Persimmon, Pine Needles, Faded Jeans, Dusty Concord & Brushed Corduroy.
I started by scribbling Dusty Concord, Ripe Persimmon, & Brushed Corduroy randomly over my gesso covered tag. I find the colours blend best over gesso. I sprayed some water on my spalt mat and used my finger to blend the colours on my tag.

Next I took the large Autumn tag and with a baby wipe removed some of the crayon.

I repeated this technique with the mini Autumn stencil.

For my second tag - I used the same colours of Distress Crayons and stencils bu changed my technique. This time I used a blending tool and a slightly damp blending foam to apply the crayon through the stencil. Again this tag has been covered with white gesso. 

These were both tags at this point - one very bold & the other very subtle.

Before continuing I finished the edges of the tag with Distress Crayons - Dusty Concord on this one an Ripe Persimmon on the other (sorry, no pic)

I used my Bird Crazy & Crazy Dog stamp & die set for my focal points & coloured them in with a water brush pen and Distress Crayons. 

 I used the coordinating dies and cut out my images in black fun foam.
This game my stamped images a bit of dimension when adhered to my tag.

For my foliage I created a third tag using the distress crayons & the Bubbles Mini Stencil.
I used the small smallest dies from the Fall Foliage die set to cut out a bunch of leaves.

After adhering the leaves and stamped image to my tag I finished it off with a Small Talk sticker from the occasions pack.

Thank you so much for stopping by my blog today! Now head over to Karen's blog for even more Distress Crayon Inspiration.
Don't forget to leave a comment - you could win a set of Distress Crayons from

Design Team:

Julia Chupik (you're here!)


Products Used:
(This blog post contains affiliate links)


Friday, 10 November 2017

Part 2 - November Kit Reveal for Scrap Shotz

Welcome back!
I am on the Scrap Shotz Snap Shotz blog today for part 2 of my November Kit reveal.

Click on the logo to see the full reveal - 

Here is a sneak peek of the project - 


Wednesday, 1 November 2017

November Kit Reveal for Scrap Shotz

Hello crafty friends! Today you will find me on the Scrap Shotz Snap Shotz Blog 
with the premiere of the November Kit Reveal.  

Click on the Scrap Shotz logo to go check it out and the loveliness of the Novmeber Kit.


Here is a sneak peek for you.........


Monday, 4 September 2017

Scrap Shotz September Kit Reveal . Pt 2

I'm back with part 2 of my September Kit reveal for Scrap Shotz.
Yesterday it was all about mixed media and home decor. 

Today its all about cards - and for these cards I used some of the paper scraps I had leftover from my mixed media projects from yesterday.


The double-sided pattern paper from the Carta Bella Transatlantic Paper Line are very thick and make great card bases. They score beautifully. On this card I used s sentiment that I cut out of one of the sentiment papers. These are also perfect for pocket scrapbooking. I added some brads that come with kits before inking the edges and mounting on some bazzill cardstock. And you got it, this cardstock comes in the kit too! 

Here is  a look at the inside of the card  - 

Here is another card that I made specifically for a globetrotting couple who will be celebrating an anniversary very soon. As soon as I saw this quote I knew it would be perfect!

Here is a look inside the card - 


Be sure to go check out the Scrap Shotz blog for lots more September Kit 
inspiration from the design team


Sunday, 3 September 2017

Scrap Shotz September Kit Reveal

Hello! Welcome to the September Kit reveal!
Today is my first project for Scrap Shotz using the September Kit and add-ons.
 These kits are fabulous and bursting with wonderful goodies.

September's kit features the Transatlantic Travel paper from Carta Bella. 

The design team is using a page sketch from Stuck?! Sketches

Here is my take on the sketch using the September Scrapbook Kit.

I created a mixed media layout  - first I choose a pattern paper from the kit and used matte medium to adhere is to piece of chip board. *Full Disclosure - I don't do a lot of scrapbooking so when I create a layout like this it will usually be framed and hung up in my house - thats why I use the chipboard**
I cover the front of the paper with matte medium and let it dry completely.

When this was done I took some Distress Crayons and applied these through a stencil on to my background.  

Next, I took a palette knife and applied Distress Crazing Medium over my entire page leaving some areas thicker than other. This gave me larger crazing in spots. I left this to dry overnight.

I took my Black Soot and Walnut Stain Distress Crayons and went over the areas with the larger cracks to highlight them. Being sure to get the crayons in the cracks before wiping off the excess.
To create my focal point I used various ephemera from the kit along with 2 photos from my stash.

To create the 'O' in the word Explore I used this cute new stamp from Emerald Creek Craft Supplies.

This stamp is brand new and will be available from Scrap Shotz in September and is included in the September Kit.


BONUS PROJECT:
I was having so much fun creating with this kit that I created another mixed media home decor item.
This time I used a small Etcetera Tag as my substrate.


Be sure to check out the Scrap Shotz blog for even more September Kit inspiration from the Design Team.