Showing posts with label Distress Markers. Show all posts

Wednesday, 20 September 2017

Quick Birthday Card

Welcome back!
Today's post is a short one about the quick creation of a birthday card.
I needed a quick card to send in a care package that would be heading off to 
my son at university.


I grabbed my Candied Apple Distress Oxide ink pad and Sprayer.
I applied some ink to my splat mat and sprayed it with some water.

I laid my watercolour paper in the ink then gave the ink a blast of canned air.
I love this splatter effect! I repeated this technique a few times until I was happy with it.

My focal point - the birthday hat - is the from the 2015 STAMPtember Blueprint Set.
I stamped it with Archival Ink on watercolour paper & coloured it with Distress Markers.
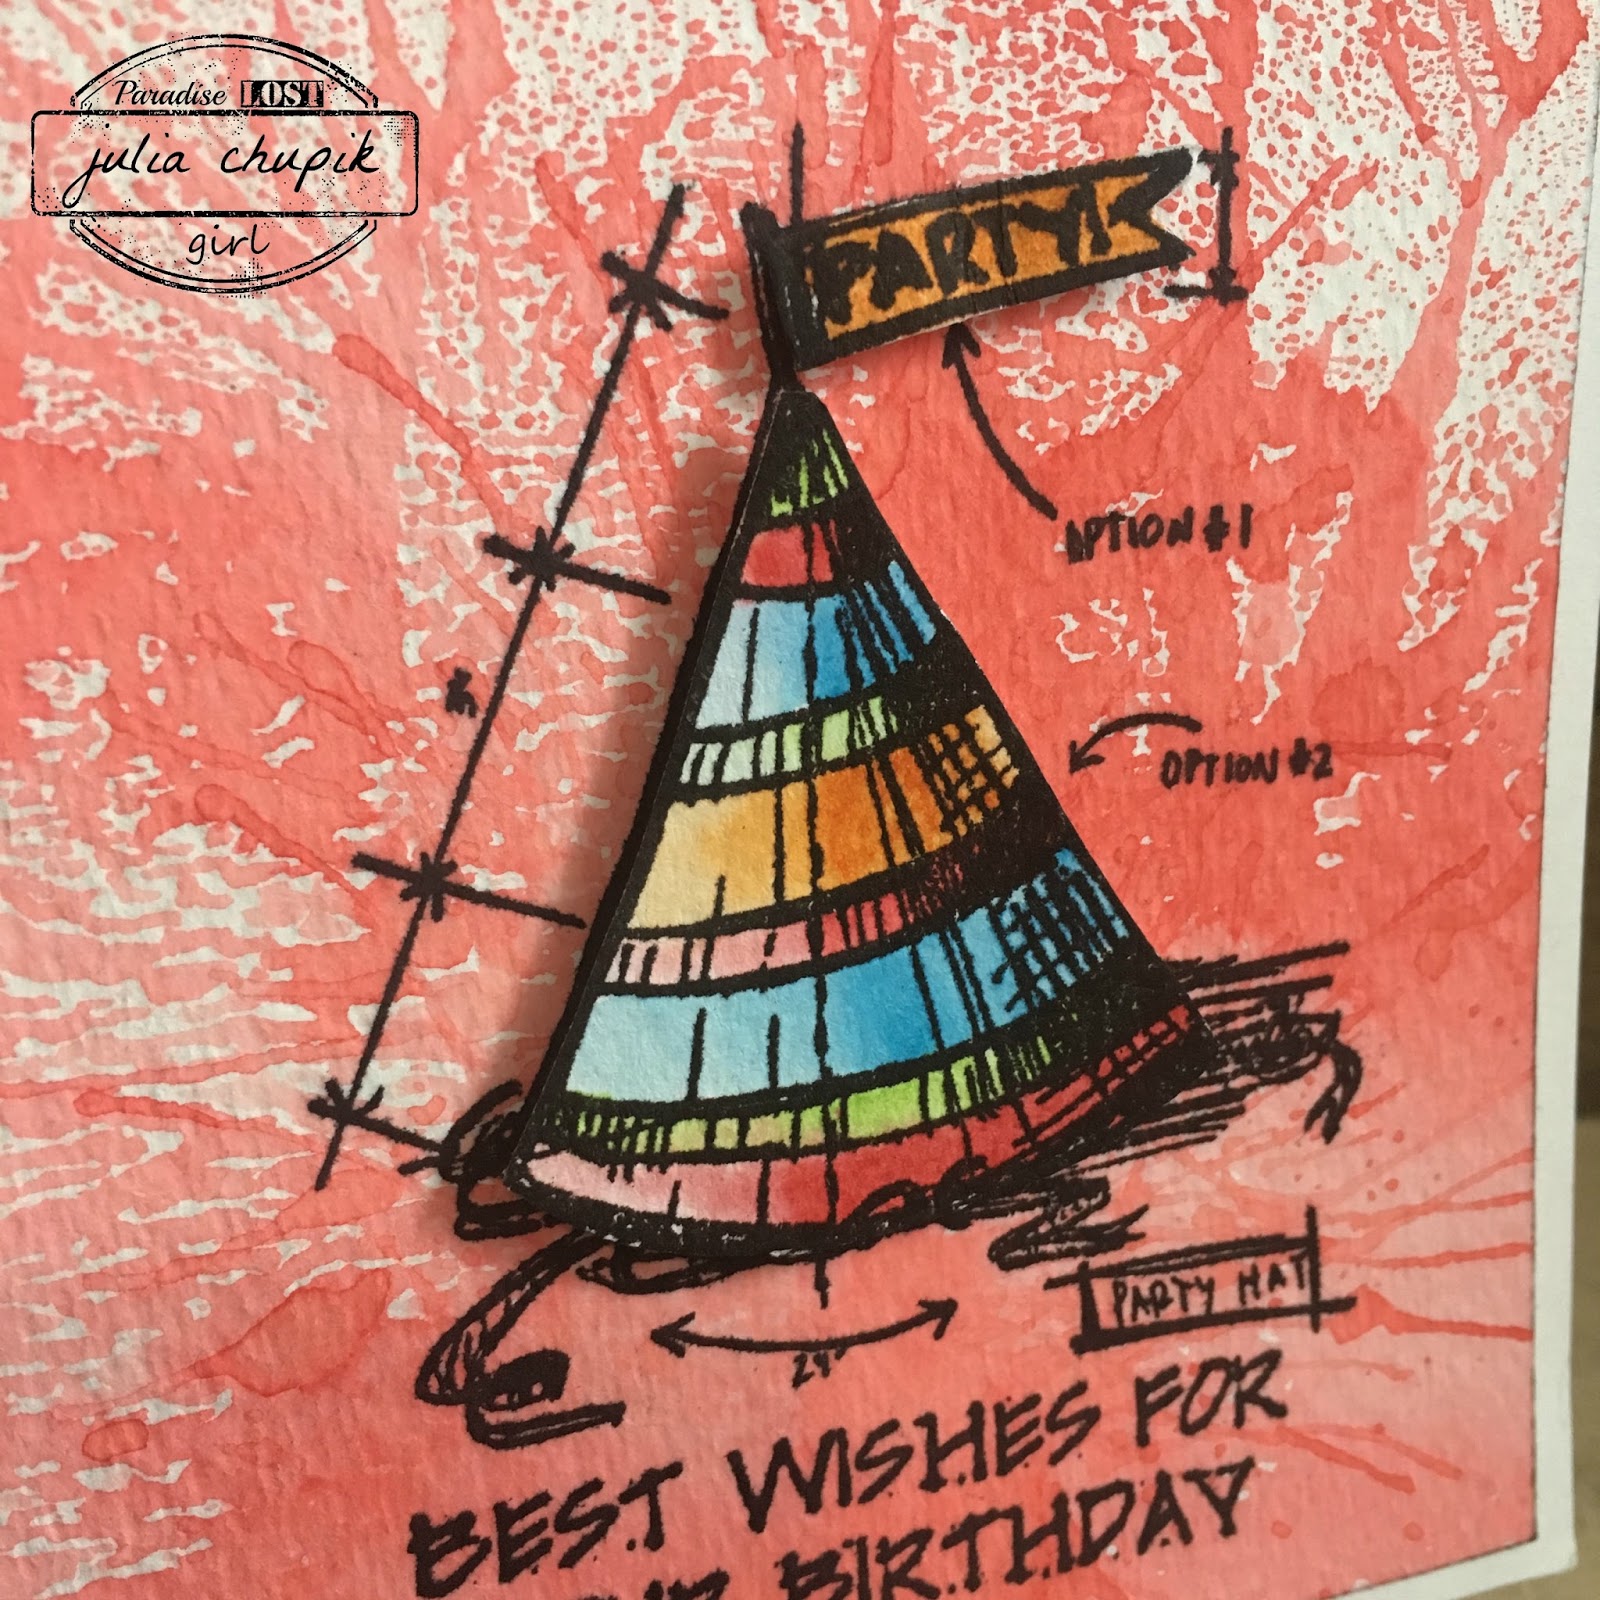
I stamped the image on my card base before layering the coloured birthday hat over it with
dimensional foam.

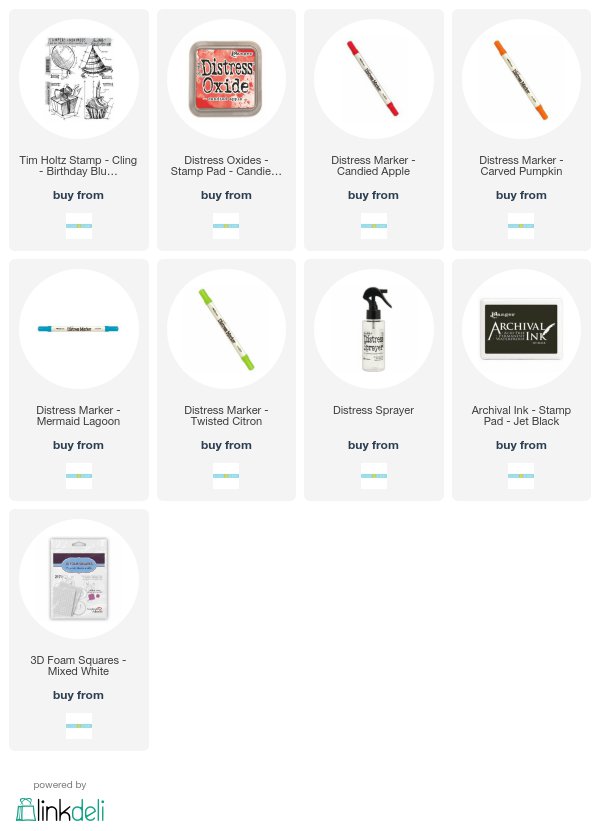
Products used to make this project:
I am an affiliate to Scrap 'n Stamp and Scrapbook.com and may receive a small commission, which in no way affects the price you pay. I only recommend products & retailers that I trust & believe in. Thank you for your support!!

Friday, 26 May 2017

An Altered Book - The Castaways

Welcome back to my blog! things have been a bit quiet around here.

A word of warning before we continue - yes, an old book was altered, glued, torn and ripped in the making of this blogpost. Viewer discretion is advised. 

I have a lot of old books - some up to 100 years old - that I have collected over the years. Some I bought at garage sales, some of them once belonged to my grandfather and some were given to me by my crafty BFF, Nicole.

For this project I chose a book that came from my grandfather - The Castaways.
To begin I took the largest die from a rectangle nesting die set and traced out the shape on the front of the book, making sure to leave the title.
I took my x-acto knife and carefully cut out the traced shape from the cover. I made sure to a cutting pad under the cover before doing this.  Next I took my x-acto knife and trimmed a smaller sized rectangle shape through the first 50 pages or so.

To curl the pages - first I put my cutting pad in the book to protect the uncut pages; then i took my mister bottle and sprayed the pages a couple of times; next I took my fingers and gently starting curling the pages outwards. This took some time and required some additional sprays of water but I loved the results. while the paper was still wet I ran my Walnut Stain Ink pad over the curled pages and then let them dry.
My happy castaway couple is a card from the Found Relatives pack that I coloured with Distress Markers before adhering into my book behind the curled pages. Once I had this done I starting gluing these curled pages together along with the page with my castaways. Then I glue the lot to the front over. The remaining pages of the book were glued together in groups of 50 pages or so.


These became my journal pages - although I didn't actually journal as this was meant as a decorative piece. I did gesso the pages, add some Distress Oxide Ink, some stamping and then added some pieces that stick out the top and side edges.

Some of these pieces are die cuts, paper, vintage postcards and half of a stereoscope card. I happen to have a few of these and the palm tree one was perfect.


This is how the finished book looks and how it will be displayed. I just love all the bits and bobs peaking out of the pages.

To finish off the front cover I added a few of the wood starfish pieces from Southern Ridge Trading Co. They take paint very well and I love that they have a bit of dimension to them.


Wednesday, 24 August 2016

Crazy about Crazy Dogs!

I was so excited to pick up my Crazy Dogs stamp set from Debbie's Scrap Shack last week 
& couldn't wait to make a few cards with them. 


I started by stamping my images with Versamark on to watermark paper &
embossed it with superfine black embossing powder.
. 

I coloured my images with Distress Markers and my water pen. I masked off
the image and sprinkled some Color Burst from Ken Oliver. A spritz of water and Bam! Those fantastic colours just pop! Gorgeous, right?
I love these! They create a fantastic background.

A sentiment stamp then adhered to my card base and I have a a quick & easy card!

Using the exact same techniques, I made 5 more cards.

Some I made with certain people in mind - just waiting for the perfect occasion. 


This stamp reminds me of my dog, Dakota. So I am sure I will use it the most.

This card explains my life everyday!


Monday, 11 July 2016

Tim Technique Remix - July

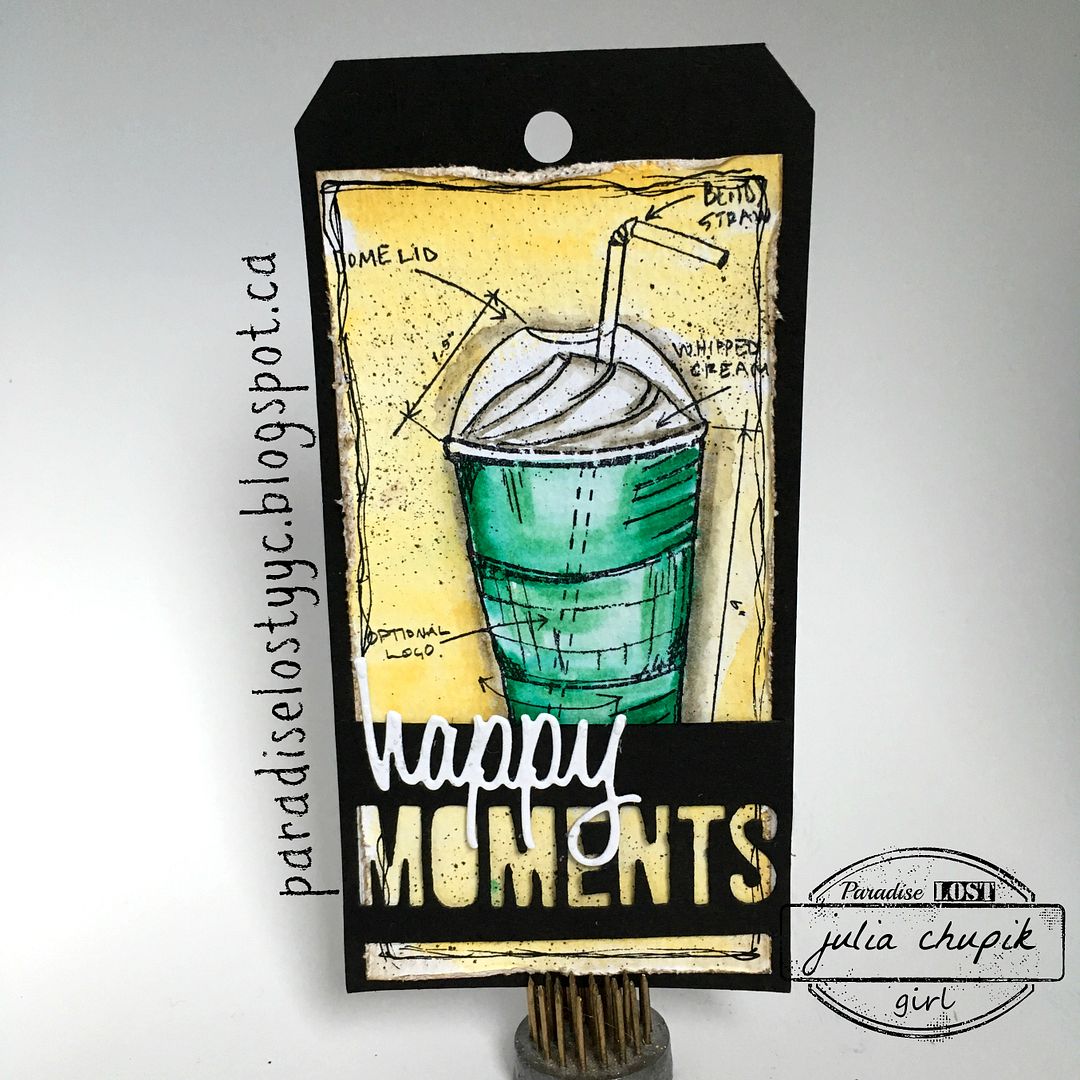
It;s time to share my take on this month's 12 Tags of 2016 Technique Remix from Tim Holtz.
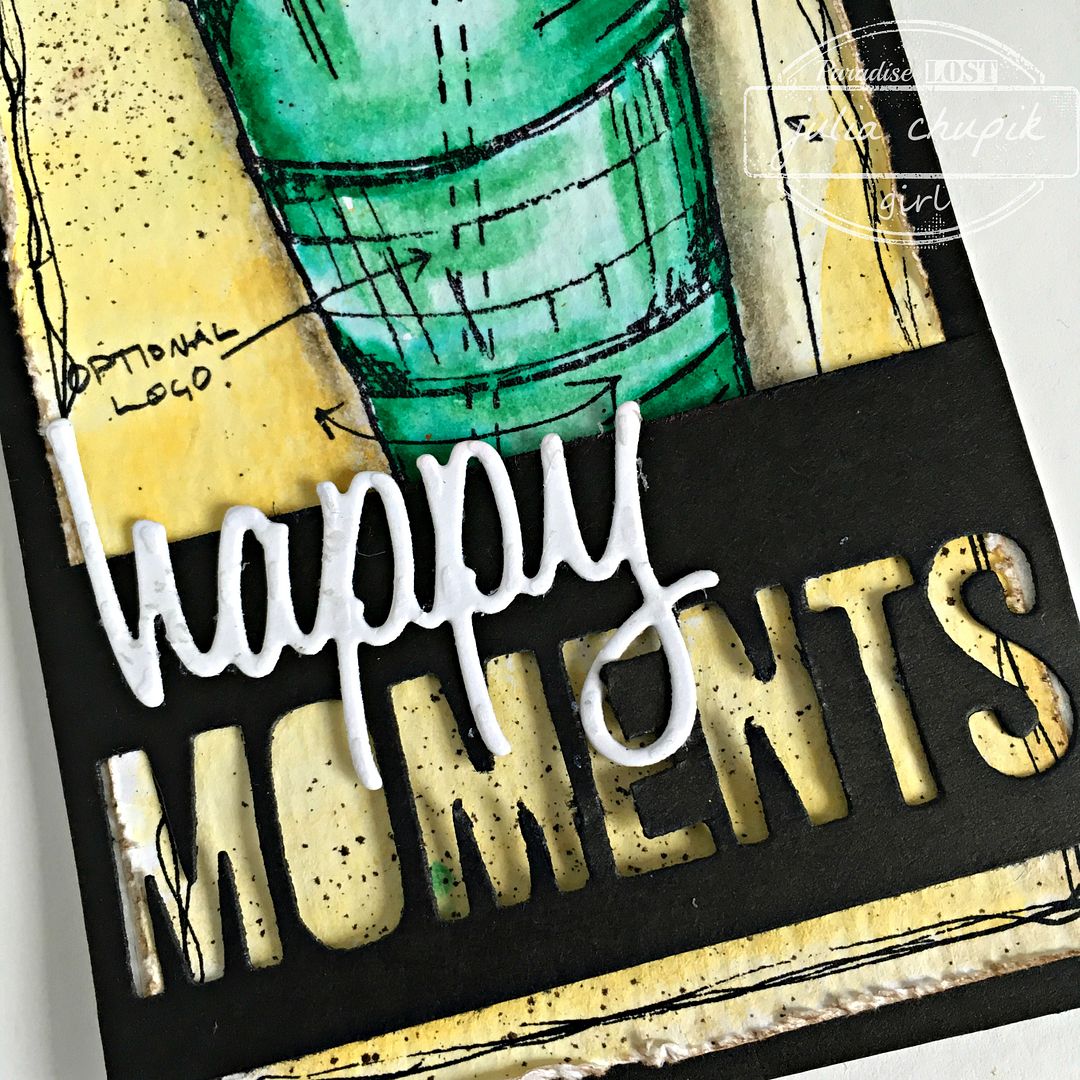
Instead of going with a travel theme like Tim I decided to pay homage to my favourite summer drink - the Green Tea Frappuccino from Starbucks. Soooo yummy!

Here is my finished tag - 

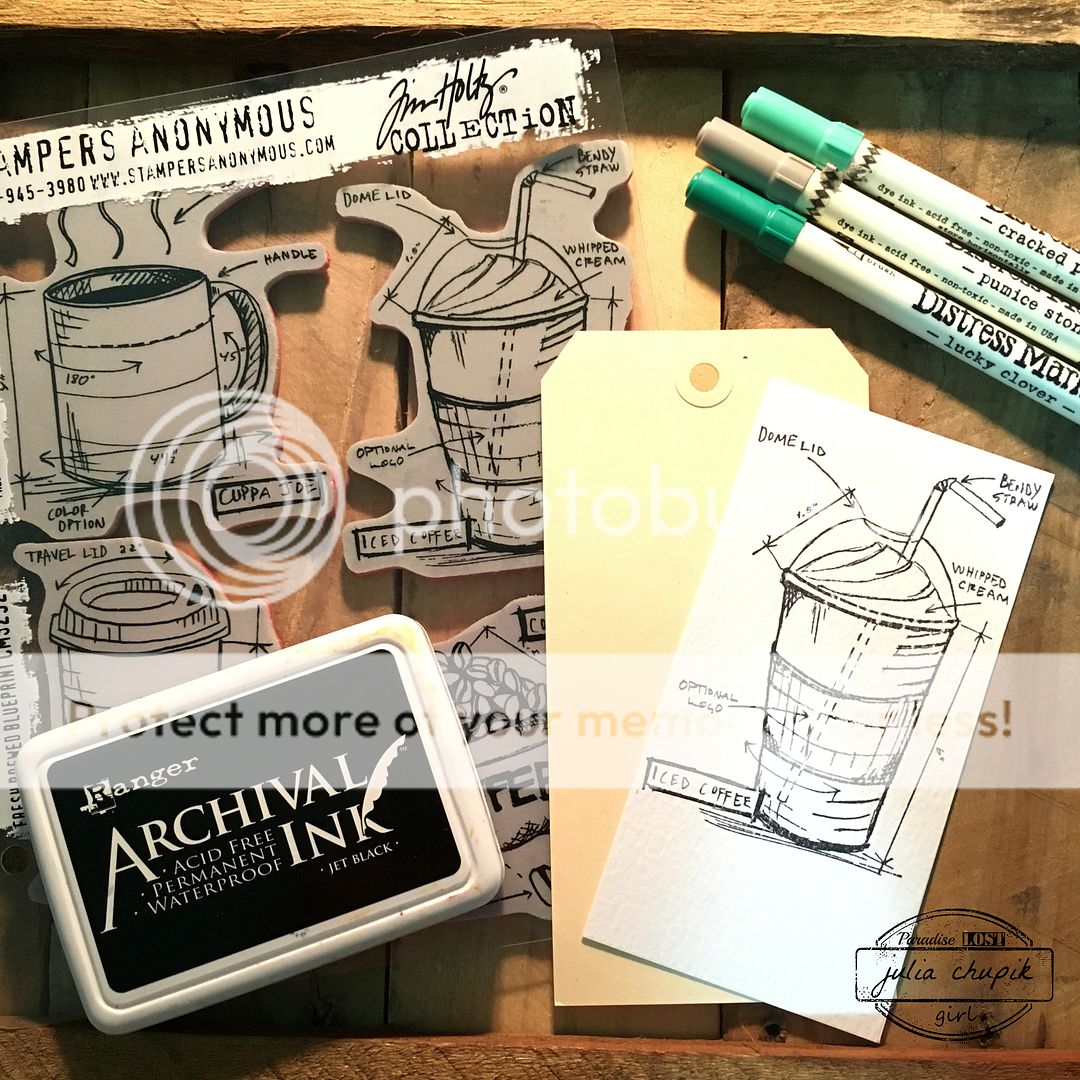
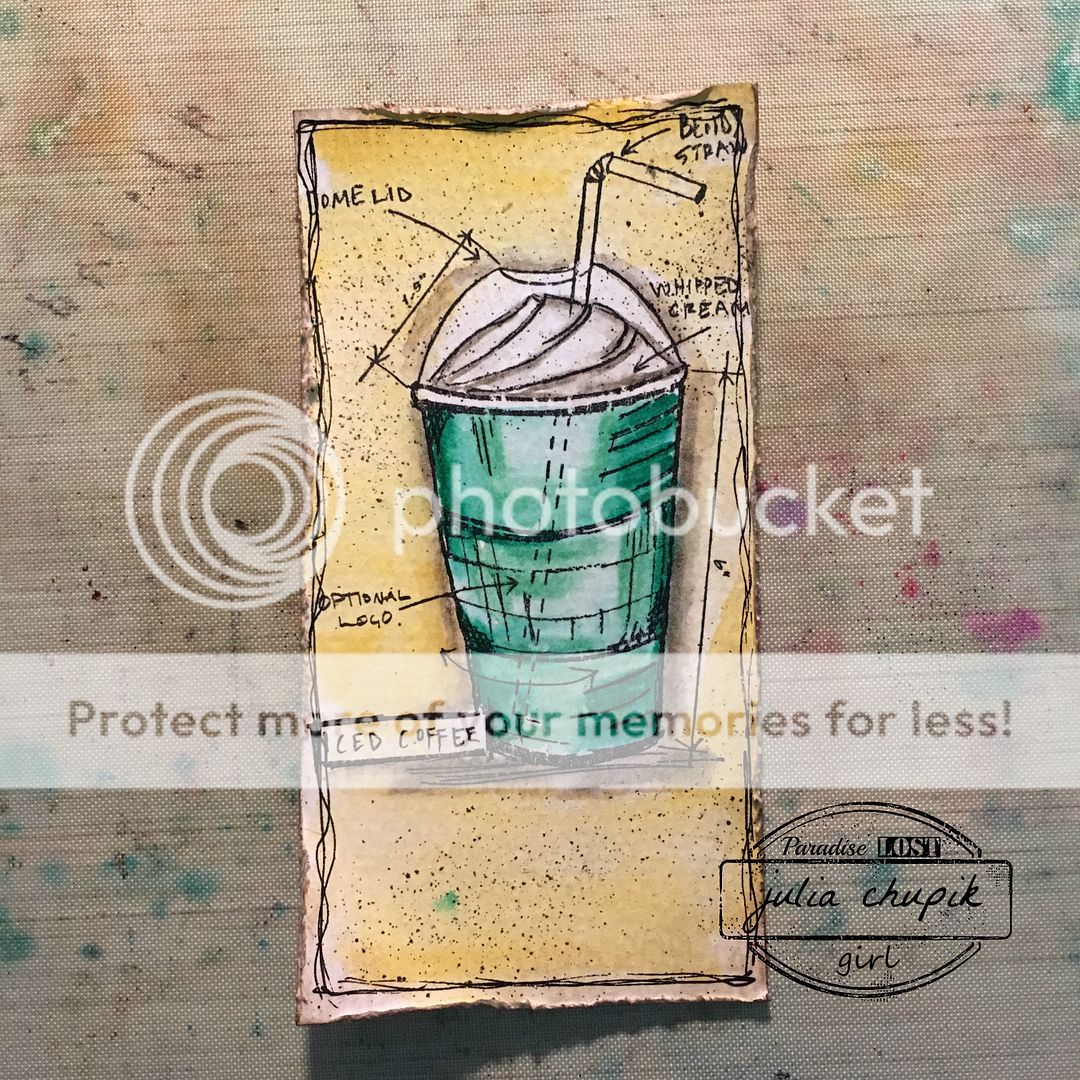
First, I gathered up all my supplies and stamped my frappuccino image on
so watercolor paper.

I love using my Distress Markers to watercolor - they are so amazing!

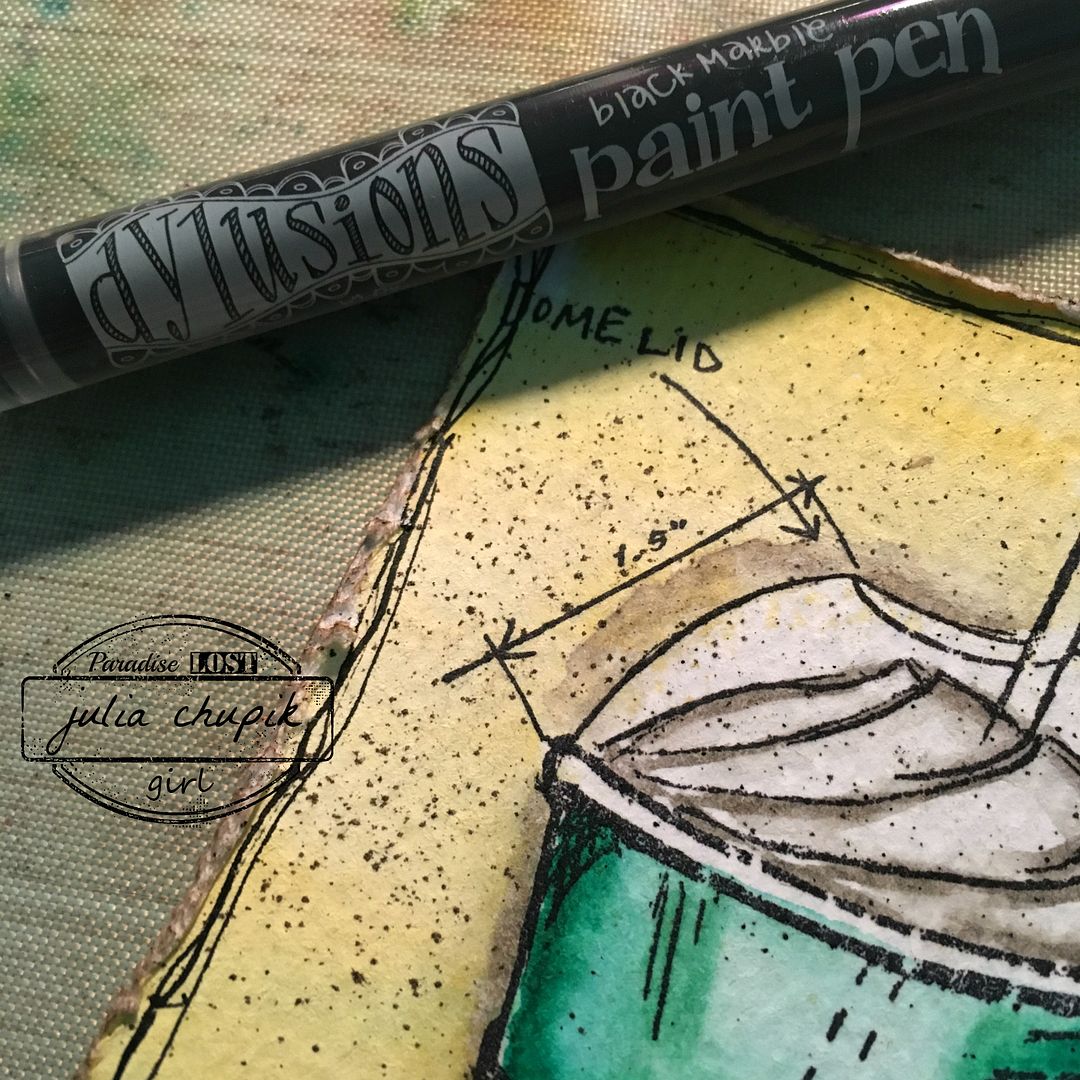
I used my new Dylusions Black Painter Pen to add some details to the edge because I was too lazy to drag out and set up and sewing machine. ;)

My sentiment is 'happy moments' - die cut using the Happy Holiday & Friends Thinlit die sets.


submitted to:


Friday, 10 June 2016

Summer Of Creative Chemistry - Week 2

It's week 2 of the Summer of Creative Chemistry!
I was late starting week 1 because I thought I didn't need it. I did CC 101 & 102 already.
Why did I need to repeat it all over again? Well, let me tell you that revisiting these techniques has only opened my eyes to the new possibilities!
So if you are a Distress product fan and haven't decided on taking the course, it is well worth it!

Check out all the details here -

For week 2 we were challenge to use Distress Stains & stamping.

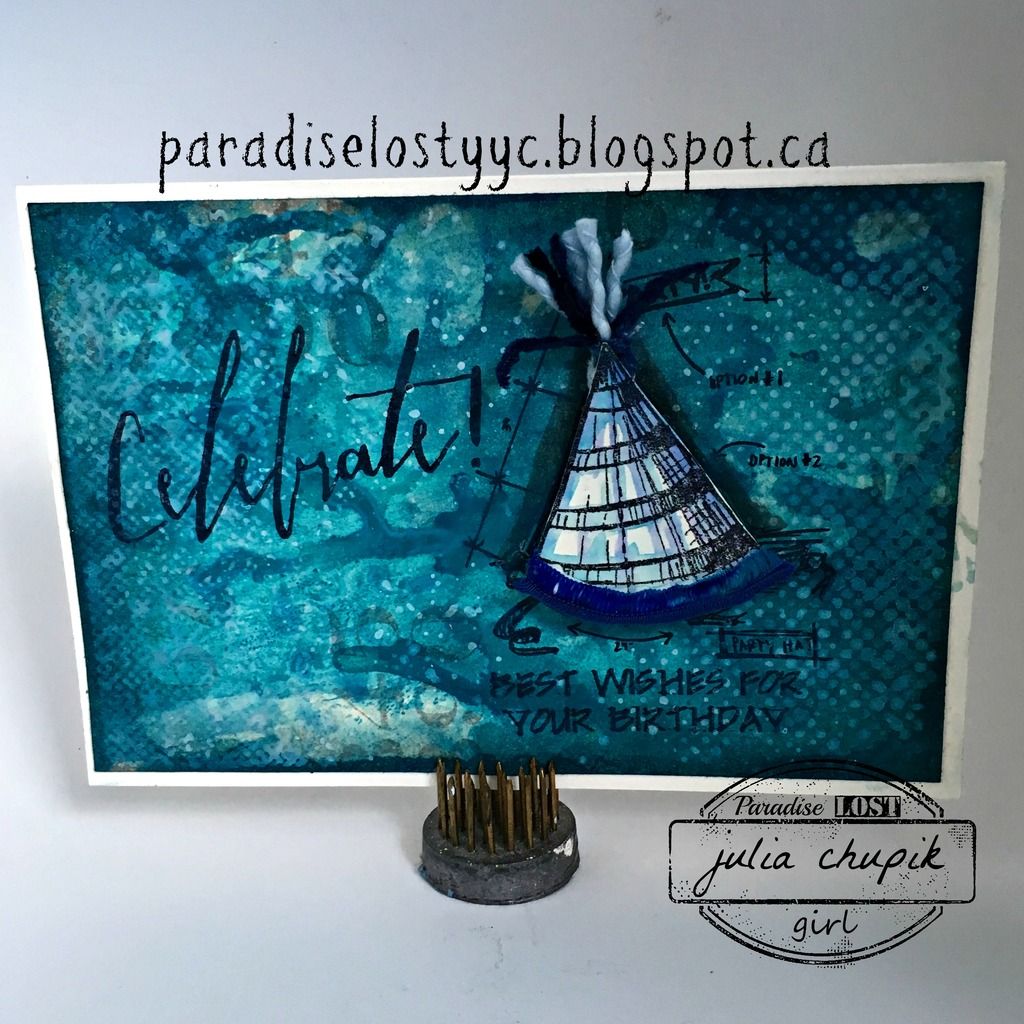
I decided to make a birthday card ~

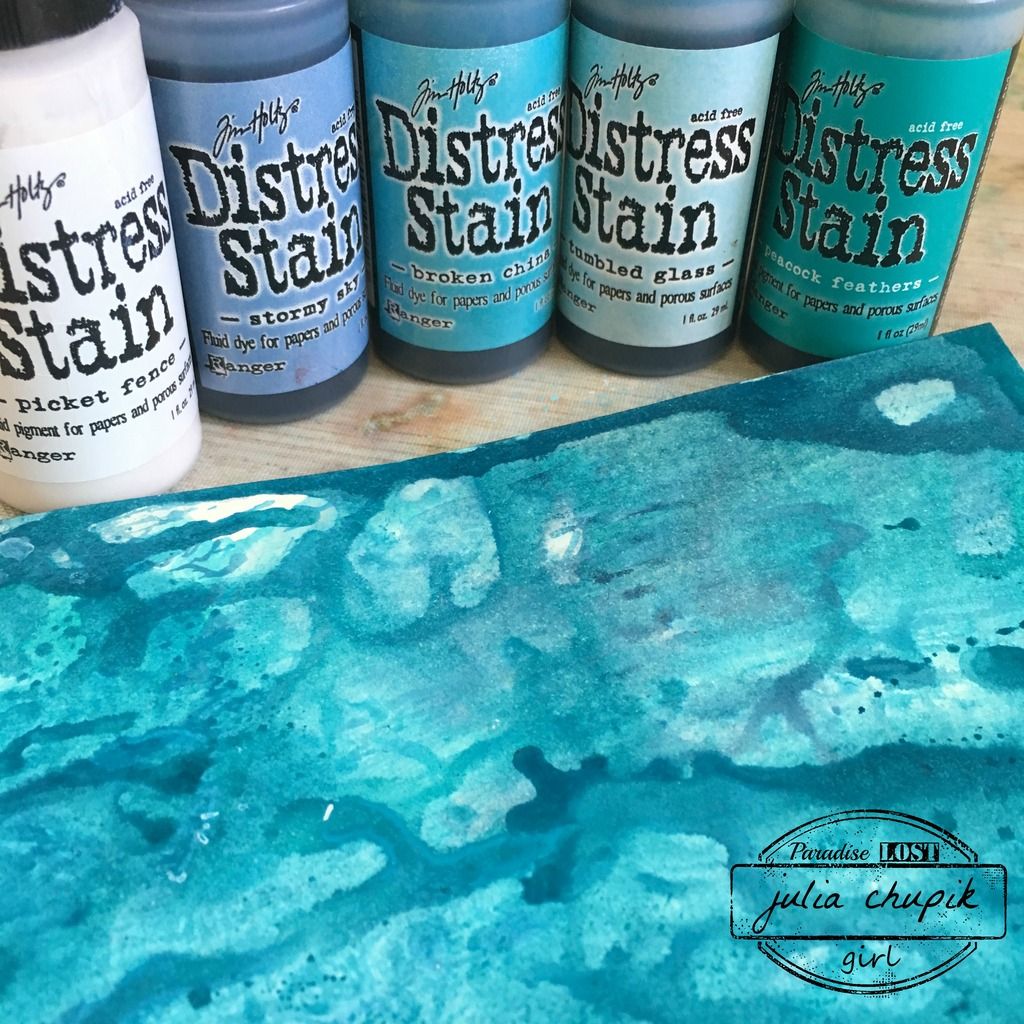
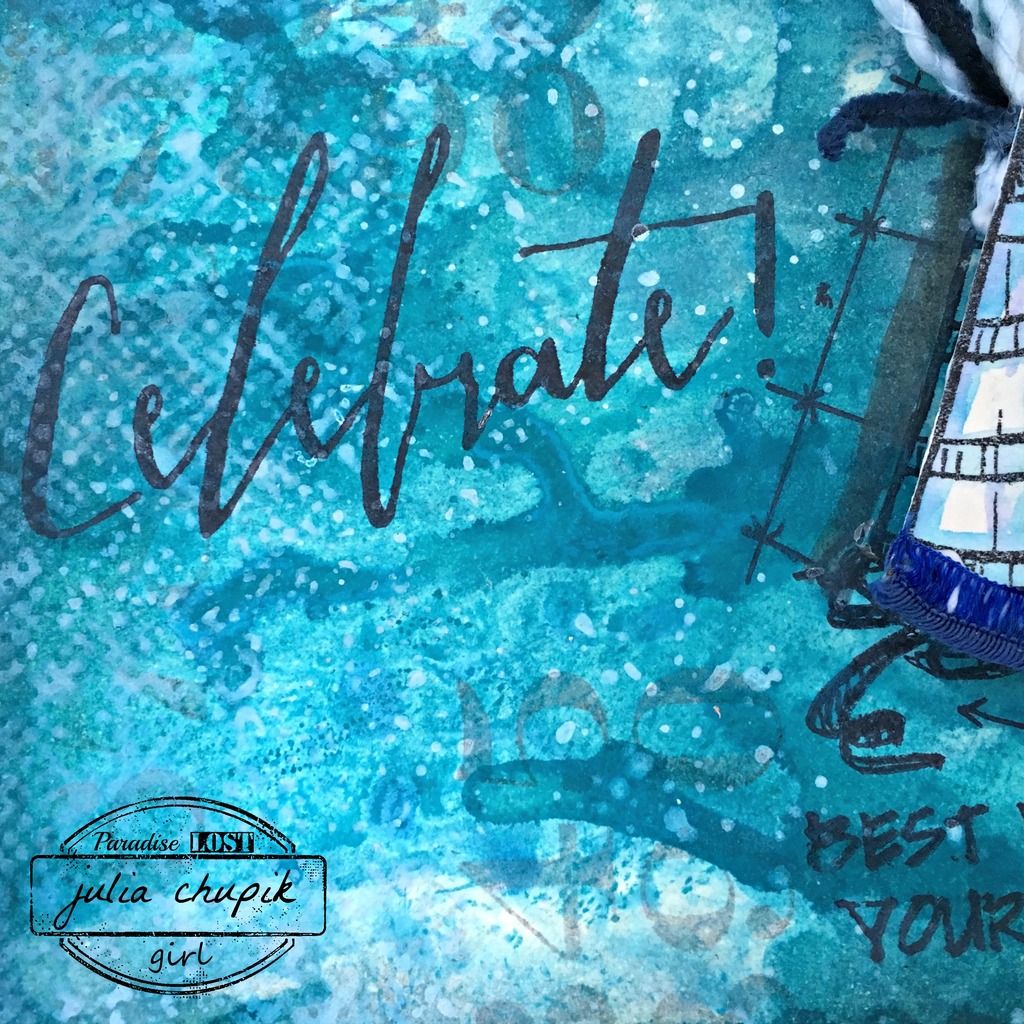
I used Stormy Sky, Broken China, Tumbled Glass, Peacock Feather & Picket Fence Distress Stains to create a marbled effect background on my card base.

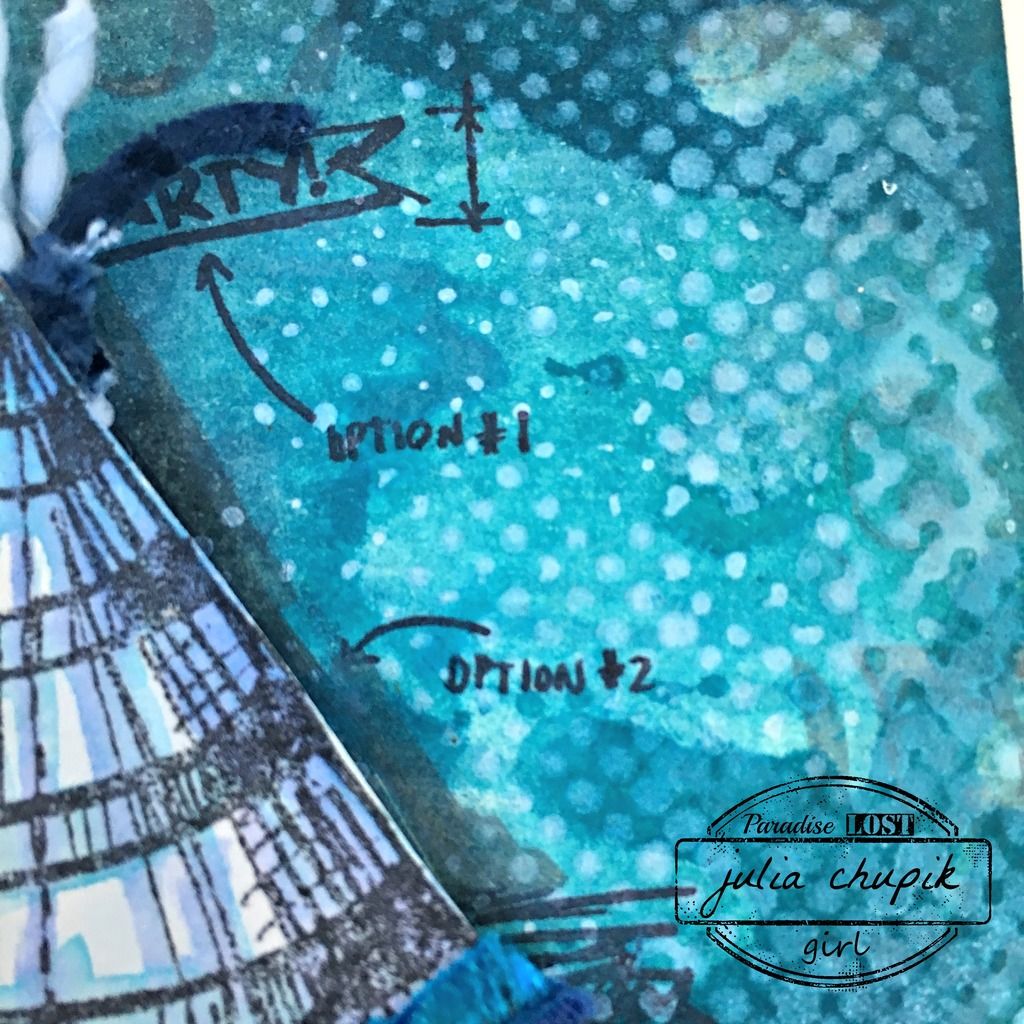
I then used the Halftone stamp (from the Halftone & Rings stamp set) & Picket Fence Distress Stain to stamp on top of the marbled background. 
Here is a closeup of the Picket Fence stamped over the background.
I stamped the the word "Celebrate" and the Party Hat image on the card.
I stamped the party hat a second time on to some watrcolour paper and used my Distress markers to watercolour the image before cutting the hat out and adhering it to my card. I added some ribbon to complete the hat.


Wednesday, 18 November 2015

My Tim Tag ~ November 2015

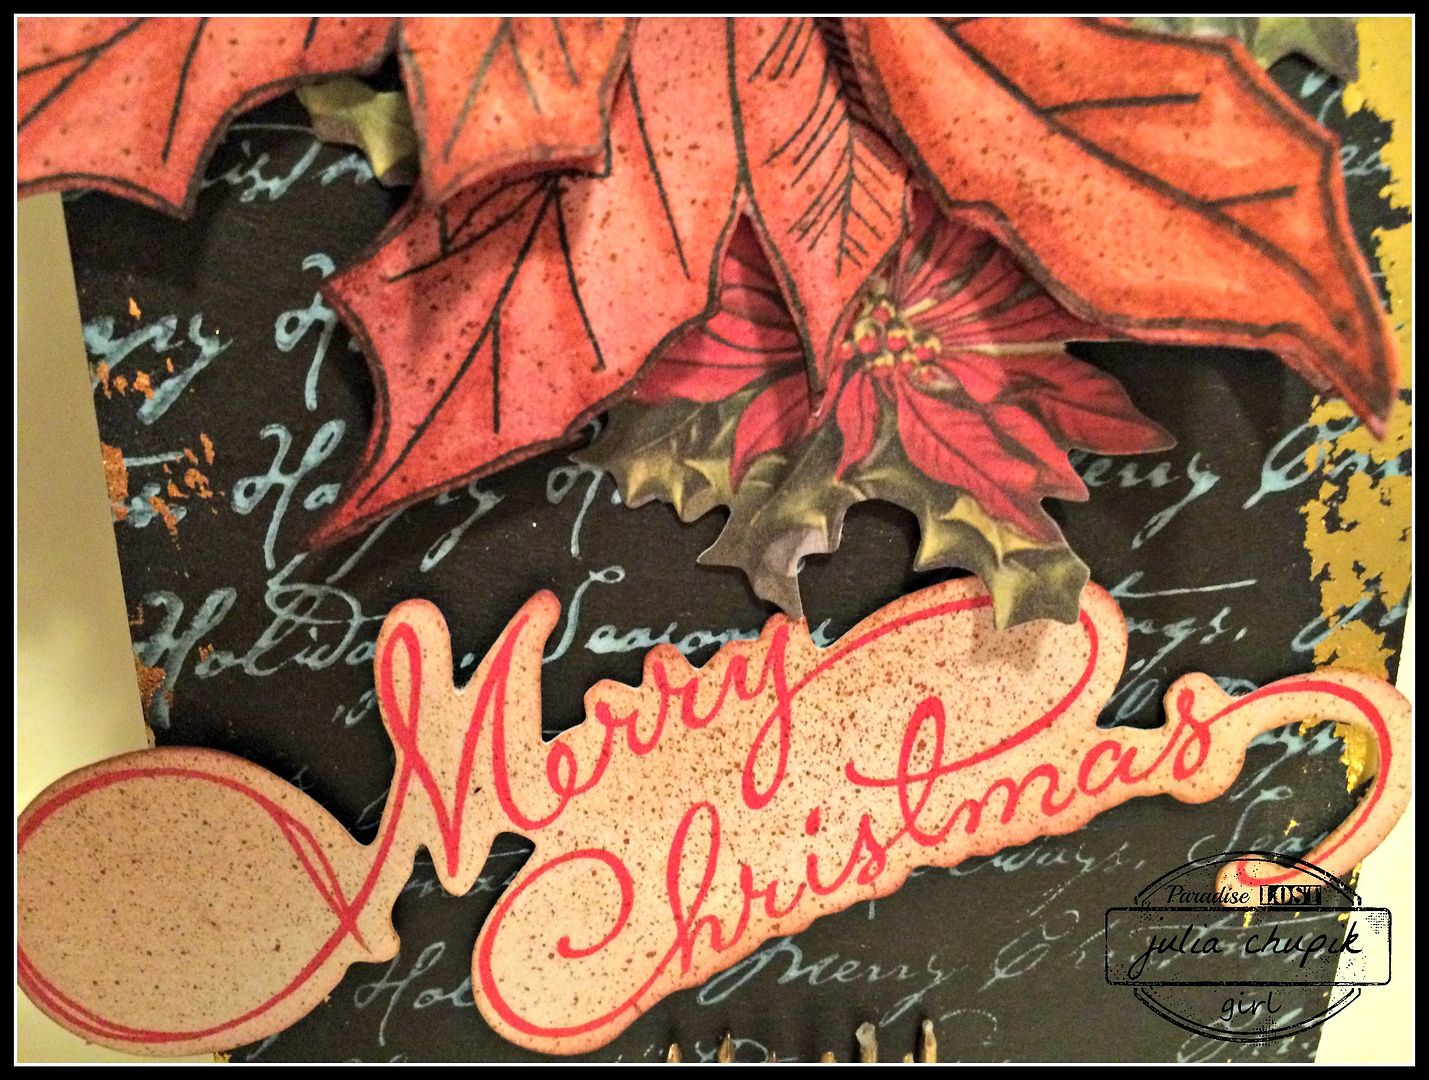
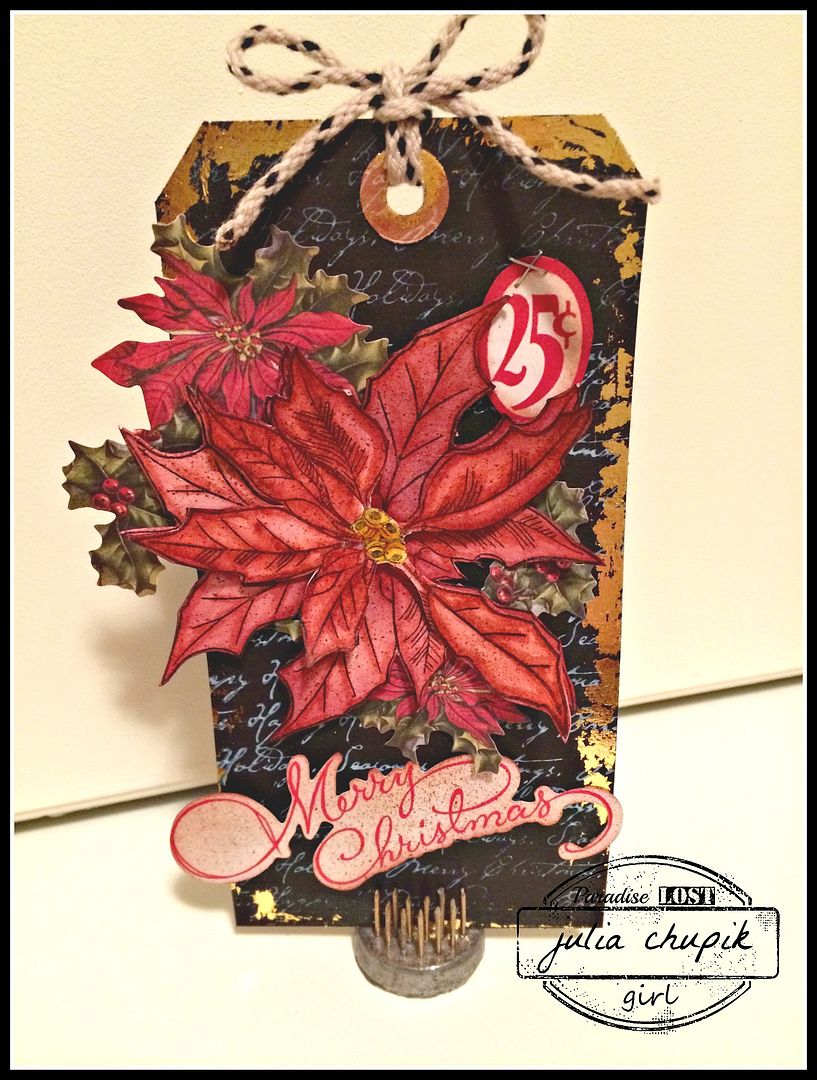
It's beginning to look a lot like Christmas.....or winter at least and I am ready to take on Tim's tag for November. Check out his tag tutorial here. 

I decided to take my tag in more of Christmas theme but using some of Tim's techniques.

Off I flew to my tickle trunk of Christmas stamps to look for some oldies but goodies.
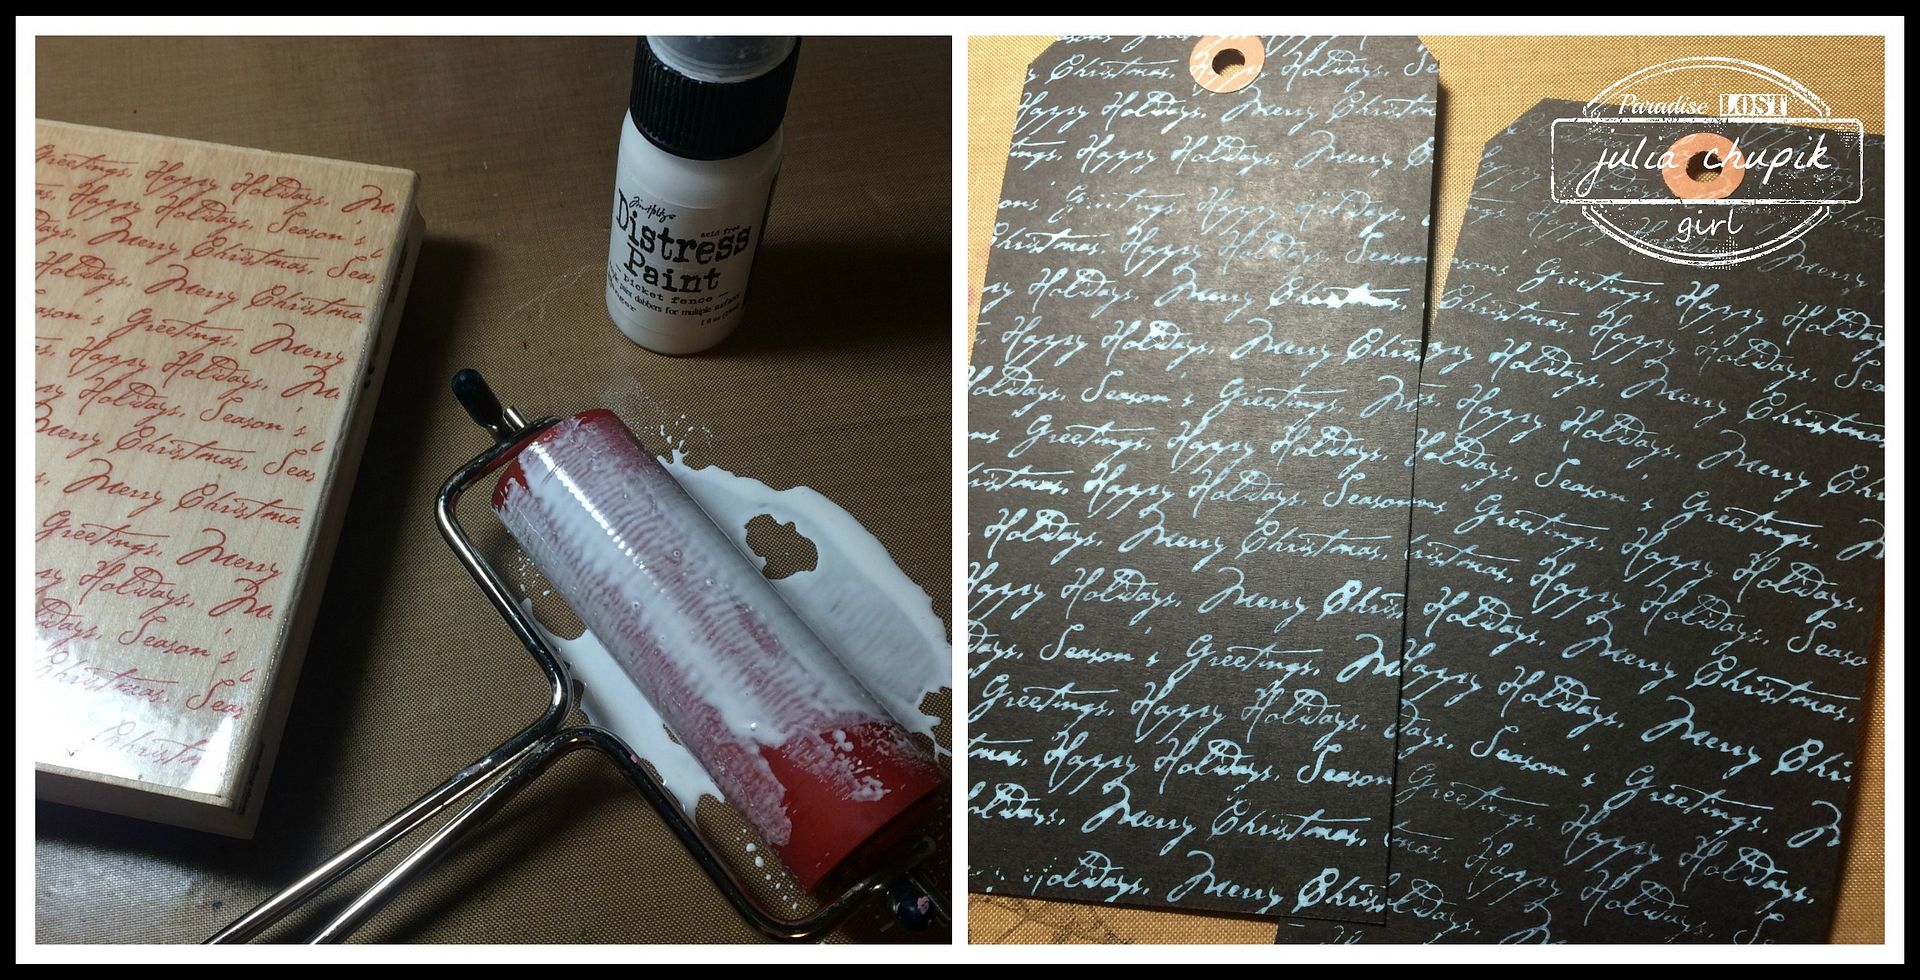
I found one from Rubber Stampede called "Sayings" that I have had forever but haven't used in a few years. It would be perfect for the background technique on a black tag.


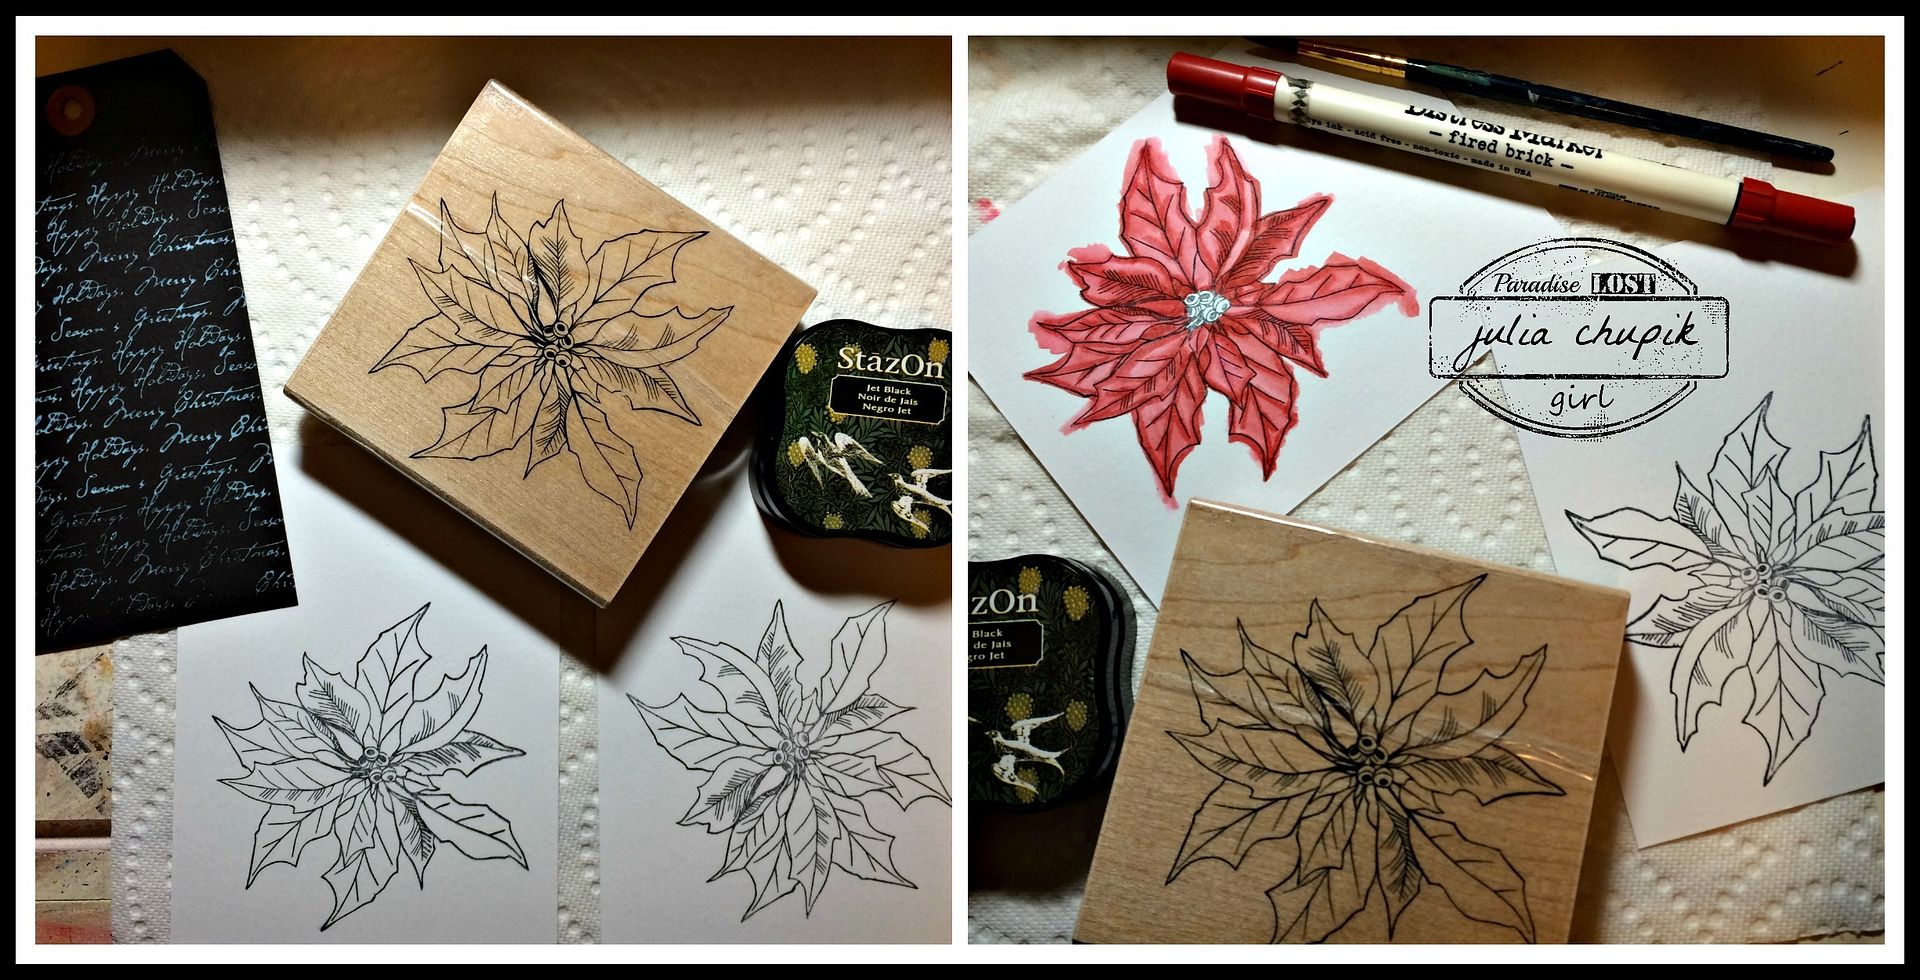
Next I found a poinsettia stamp from Penny Black called "Warm Wishes".
I decided to stamp 2 images on watercolour paper with Staz-on & using my Fired Brick Distress Marker and a watercolour brush to add the colour.


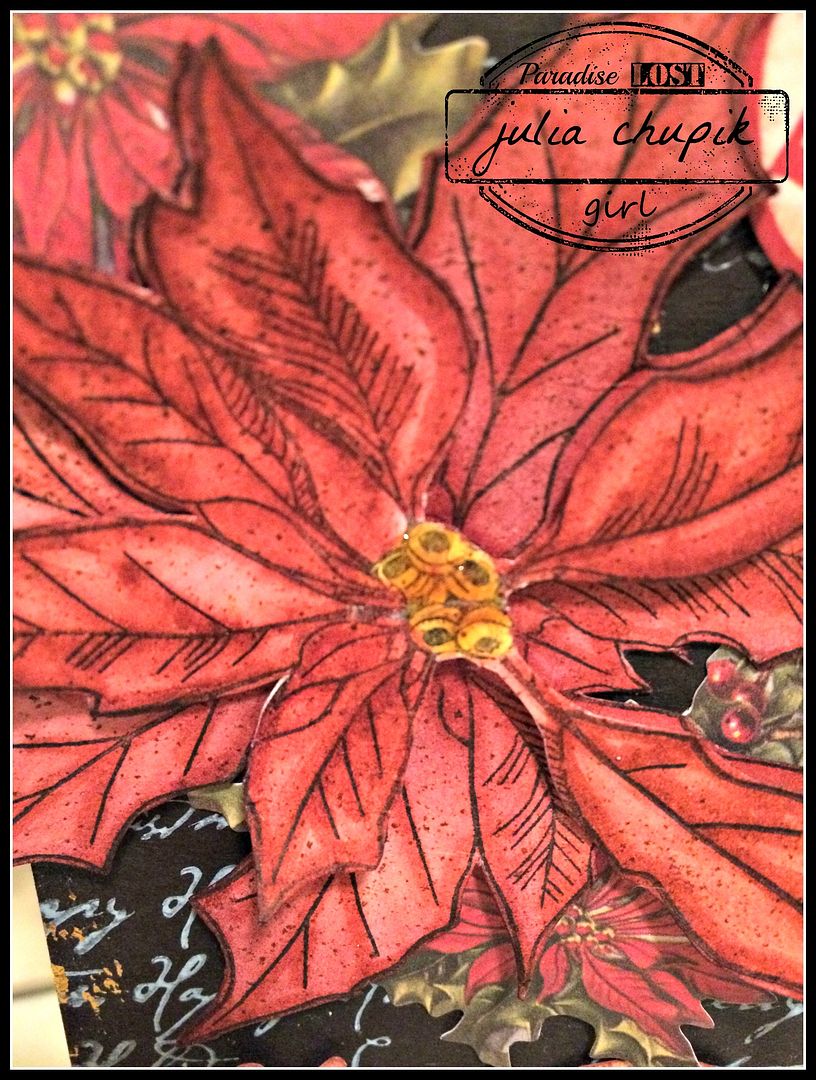
I fussy cut one poinsettia as it was then fussy cut only the centre leaves of the other so I could layer them with a foam square. I gently curled the leaves before gluing it to my tag.  I love the dimensional look it gives.

I should mention that before I adhered the flower to the tag I burnished some gold foil to the edges of my tag like Tim did in his tutorial.


I added a few bits from the Christmas Ephemera pack from Tim Holtz Idea-ology and used my spritzer tool & vintage photo Distress marker to add some details over the entire tag.

Thank you so much for dropping by my blog today!
I really appreciate your visit & comments.

~~ stay crafty~~

***don't forget to pop by the Emerald Creek Dares blog***
Enter your 'Remembrance' projects for a chance to win a $25 credit to the online store.
http://blog.emeraldcreek.ca/2015/11/remember-fallen.html

Tuesday, 20 October 2015

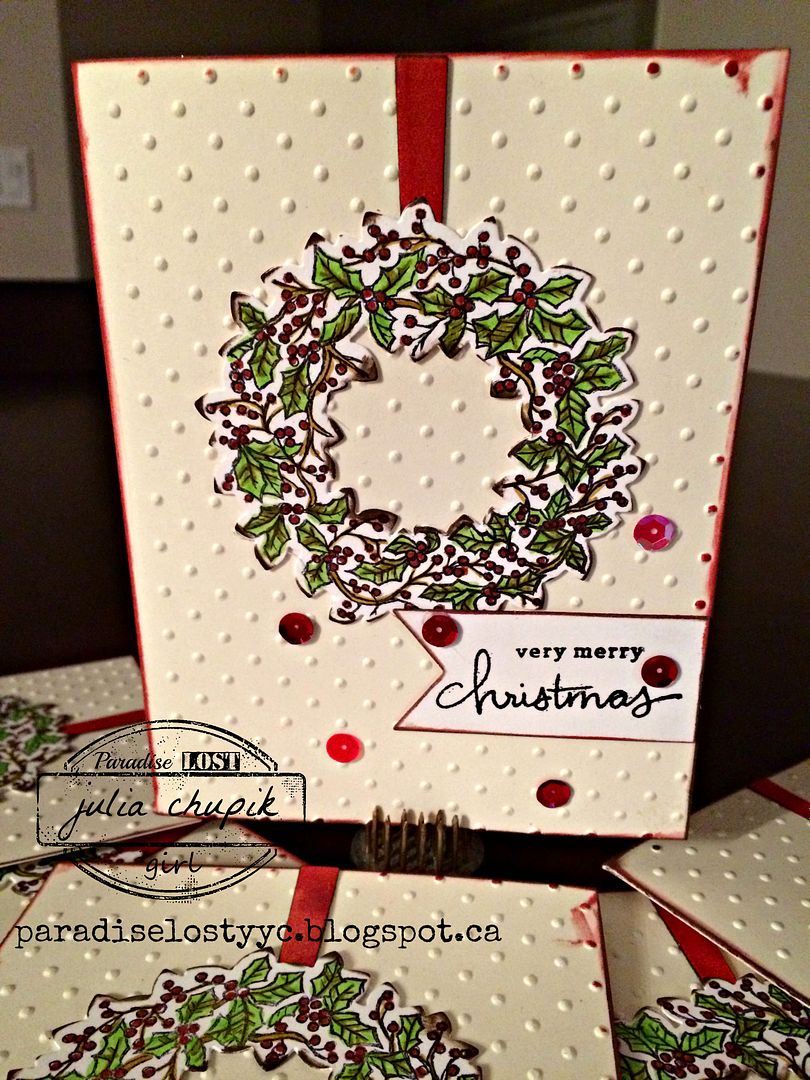
Peaceful Wreath

Saturday night was the first Paradise Lost One Day Crop of Fall 2015 and it was fabulous!
It was great to catch up with friends and to make some new friends.
Thank you to all the lovely ladies who attended!

 In the end, I wasn't really as productive as I had planned on being.
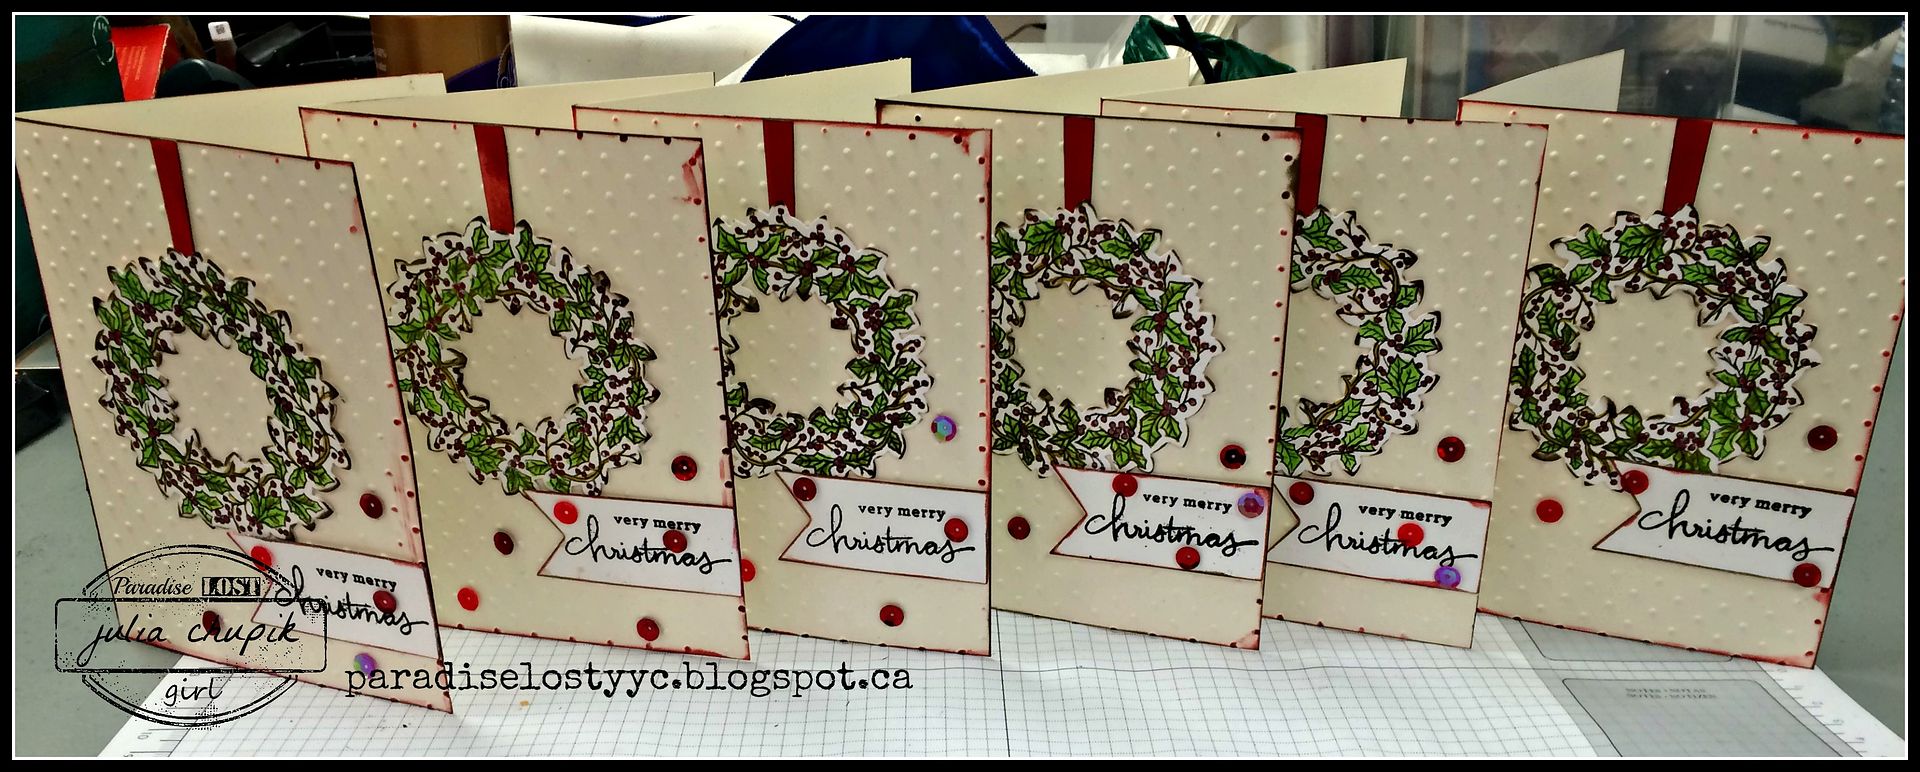
12 hours later and I had 6 Christmas cards.
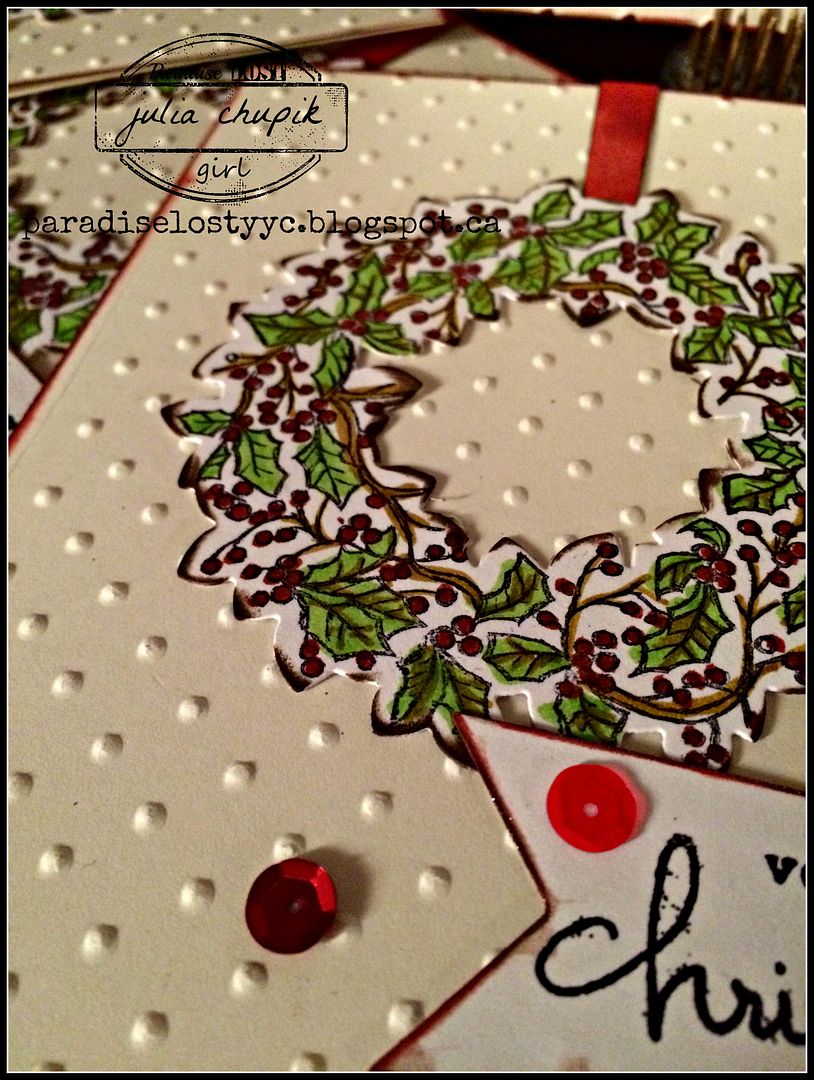
I am so thankful to Heather for bringing her Peaceful Wreath stamp set from Stampin' Up!
I used Fired Brick, Twisted Citron & Peeled Paint to colour in the stamped image of Peaceful Wreath.
I don't use sequins a lot but they worked really well with the dot embossed card base.
and added a wee bit of bling.

I'm starting to feel festive and inspired to make more Christmas themed projects!

Thanks for visiting my blog today!